Ice Cream Art Project

Easy Art Project at Home. Ice Cream Art Project on Hello Rascal Kids Lifestyle Blog.

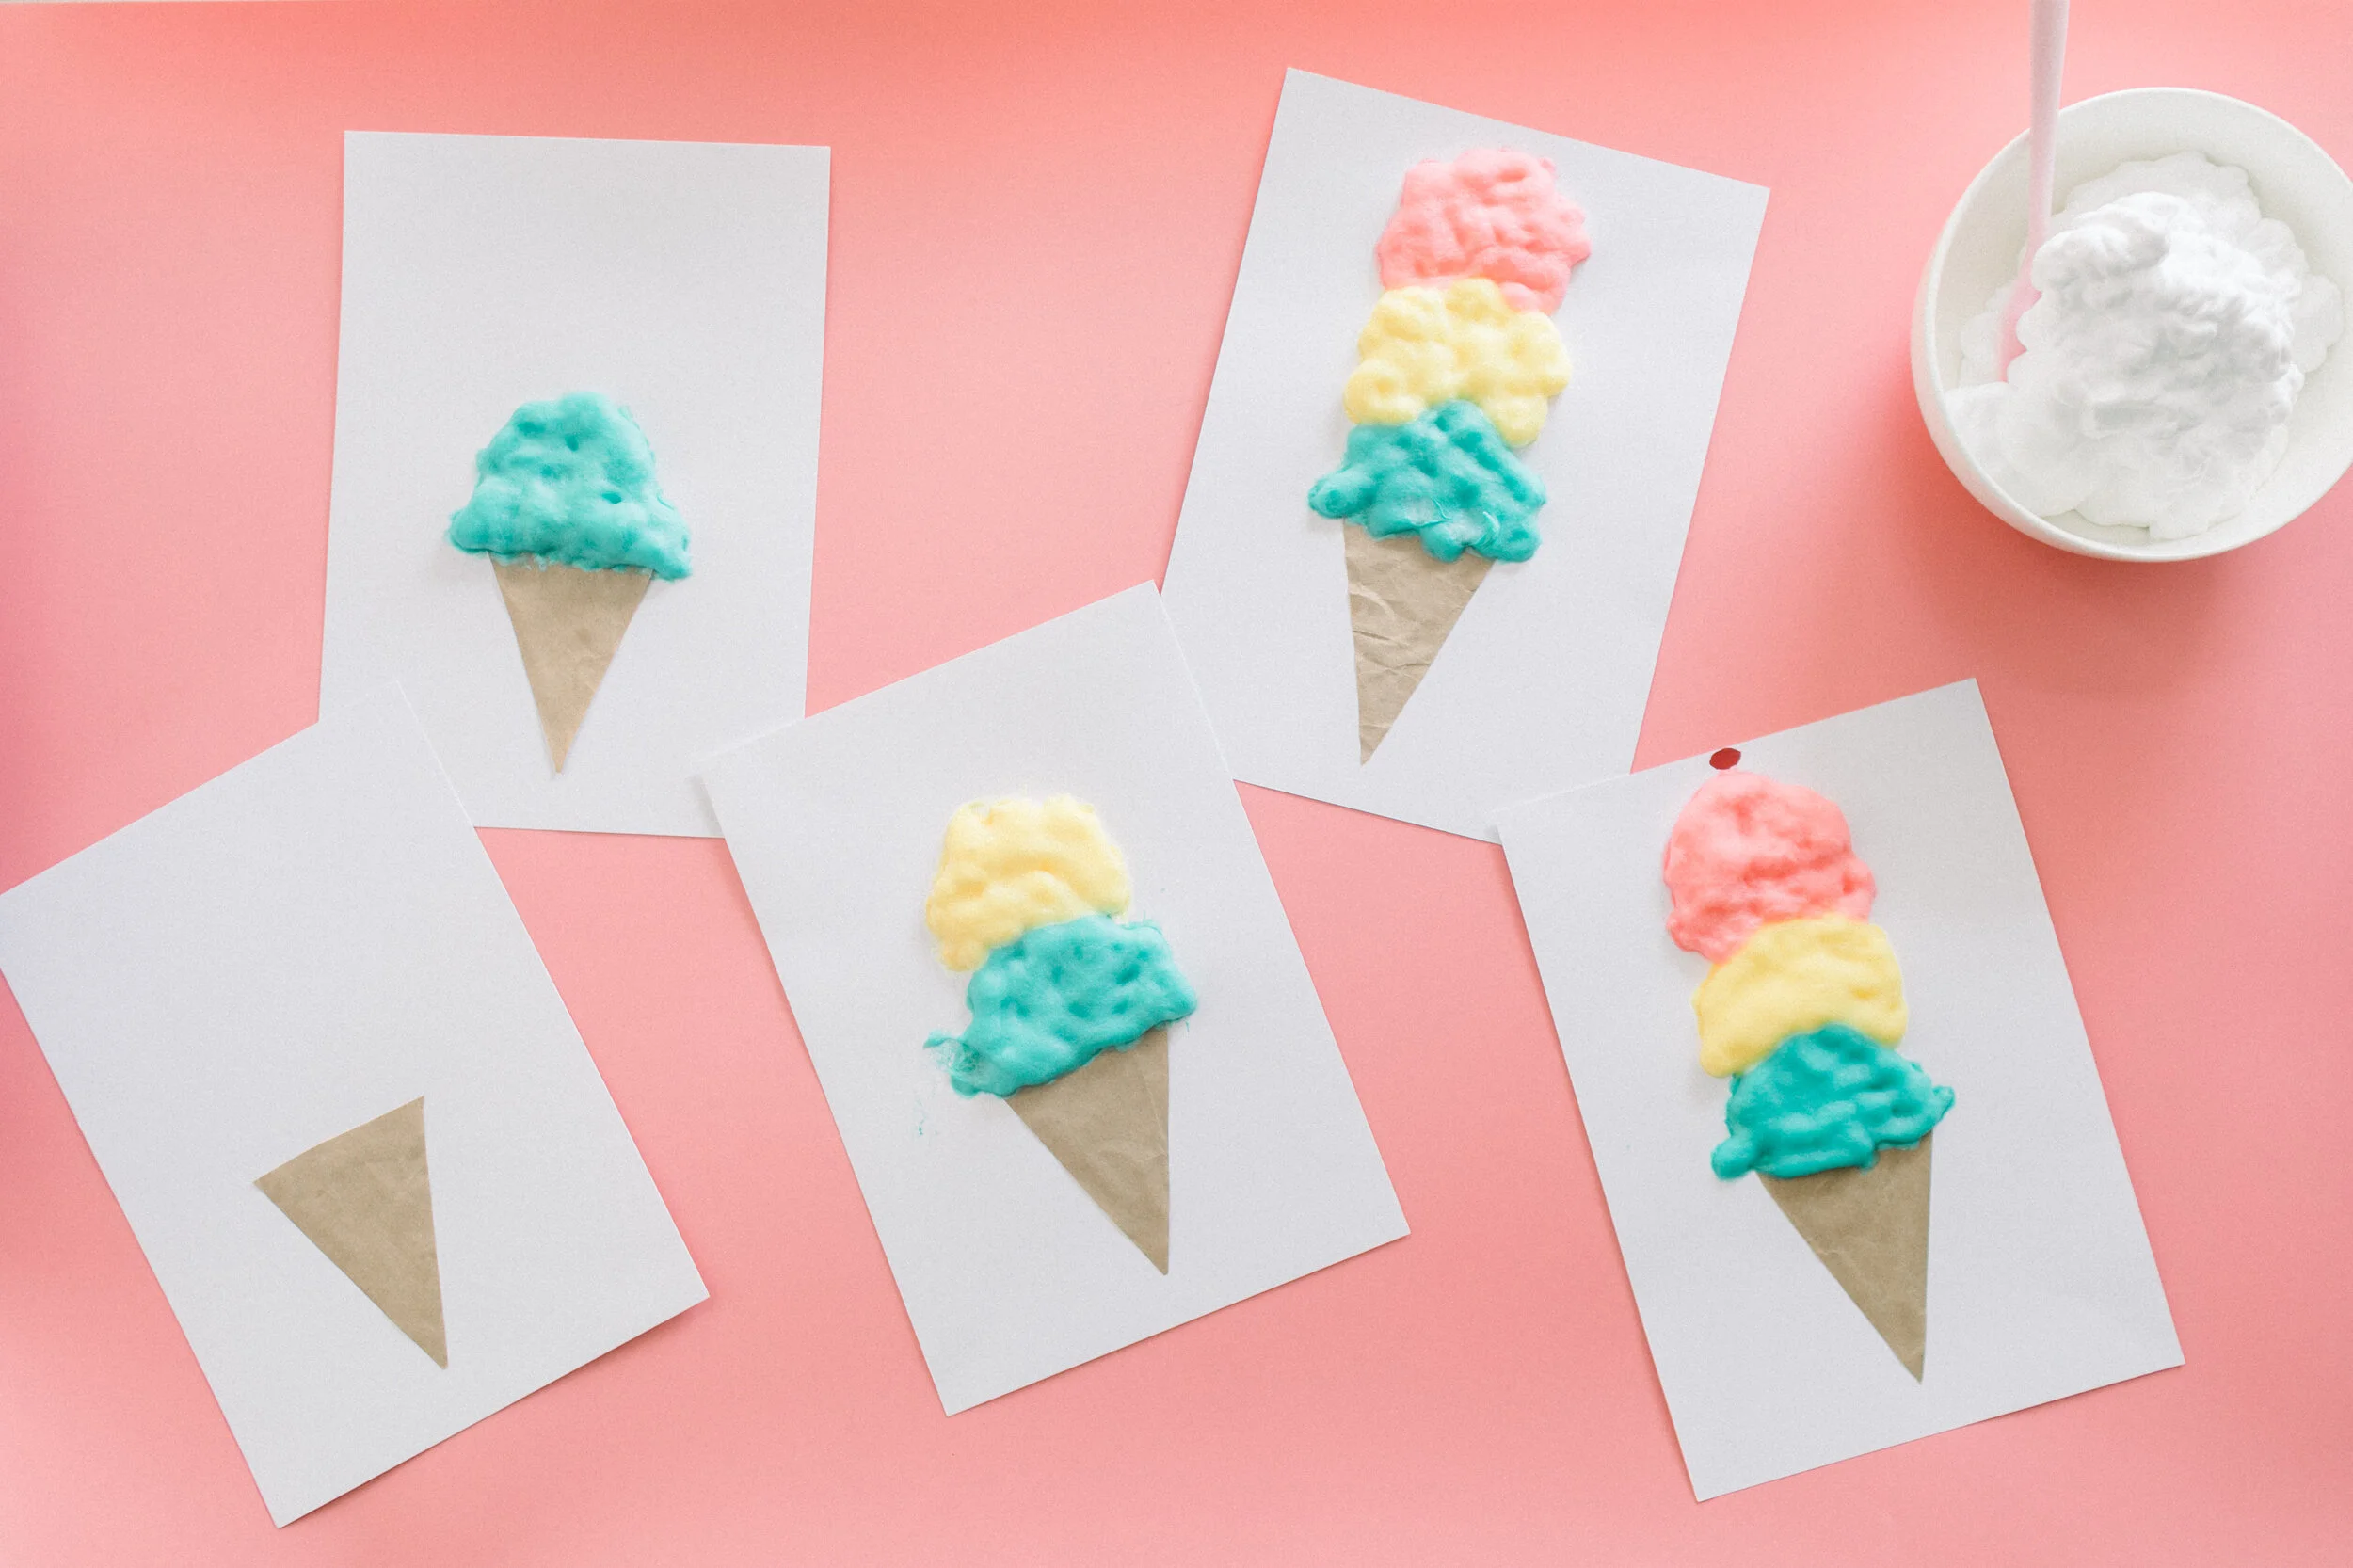
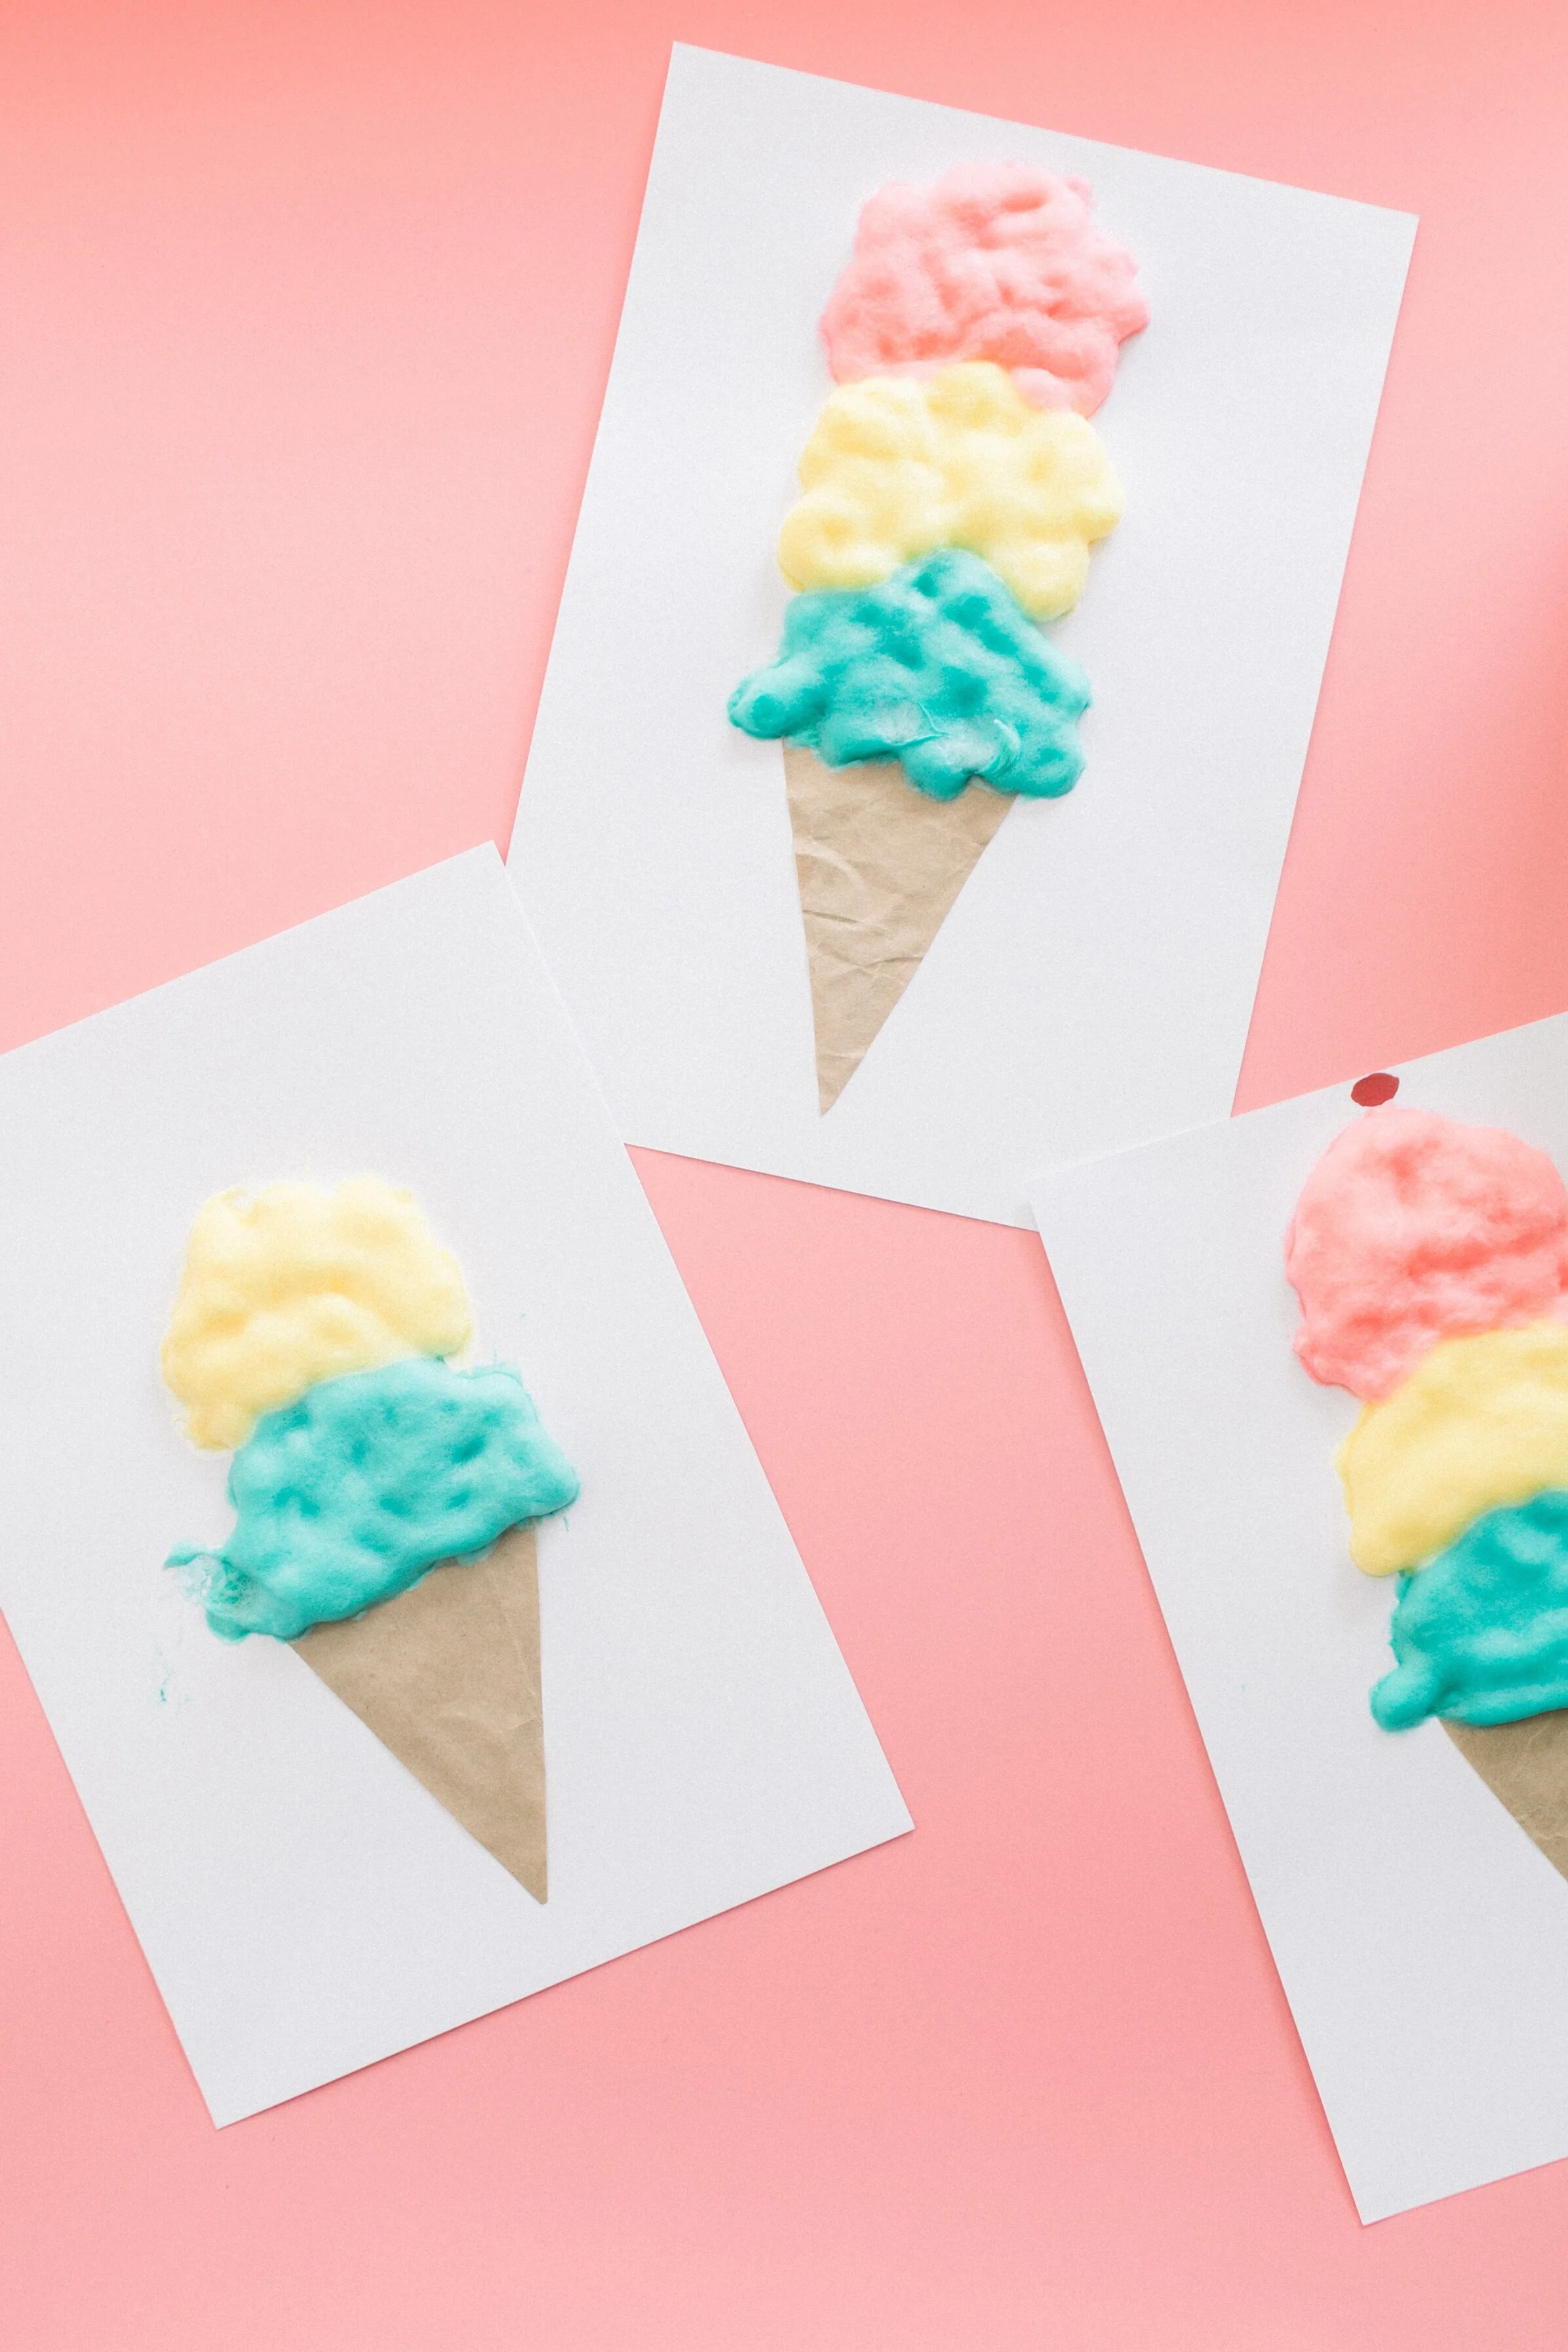
What do kids love more than a combination of attending a fun party, playing dress up, and making arts and crafts? Throwing ice cream into the mix! Homemade puffy paint is a great way to imitate the texture and look of ice cream. It’s made of shaving cream and is easy to clean up, so don’t be afraid to get creative with your rascals!

Supplies

  • White glue

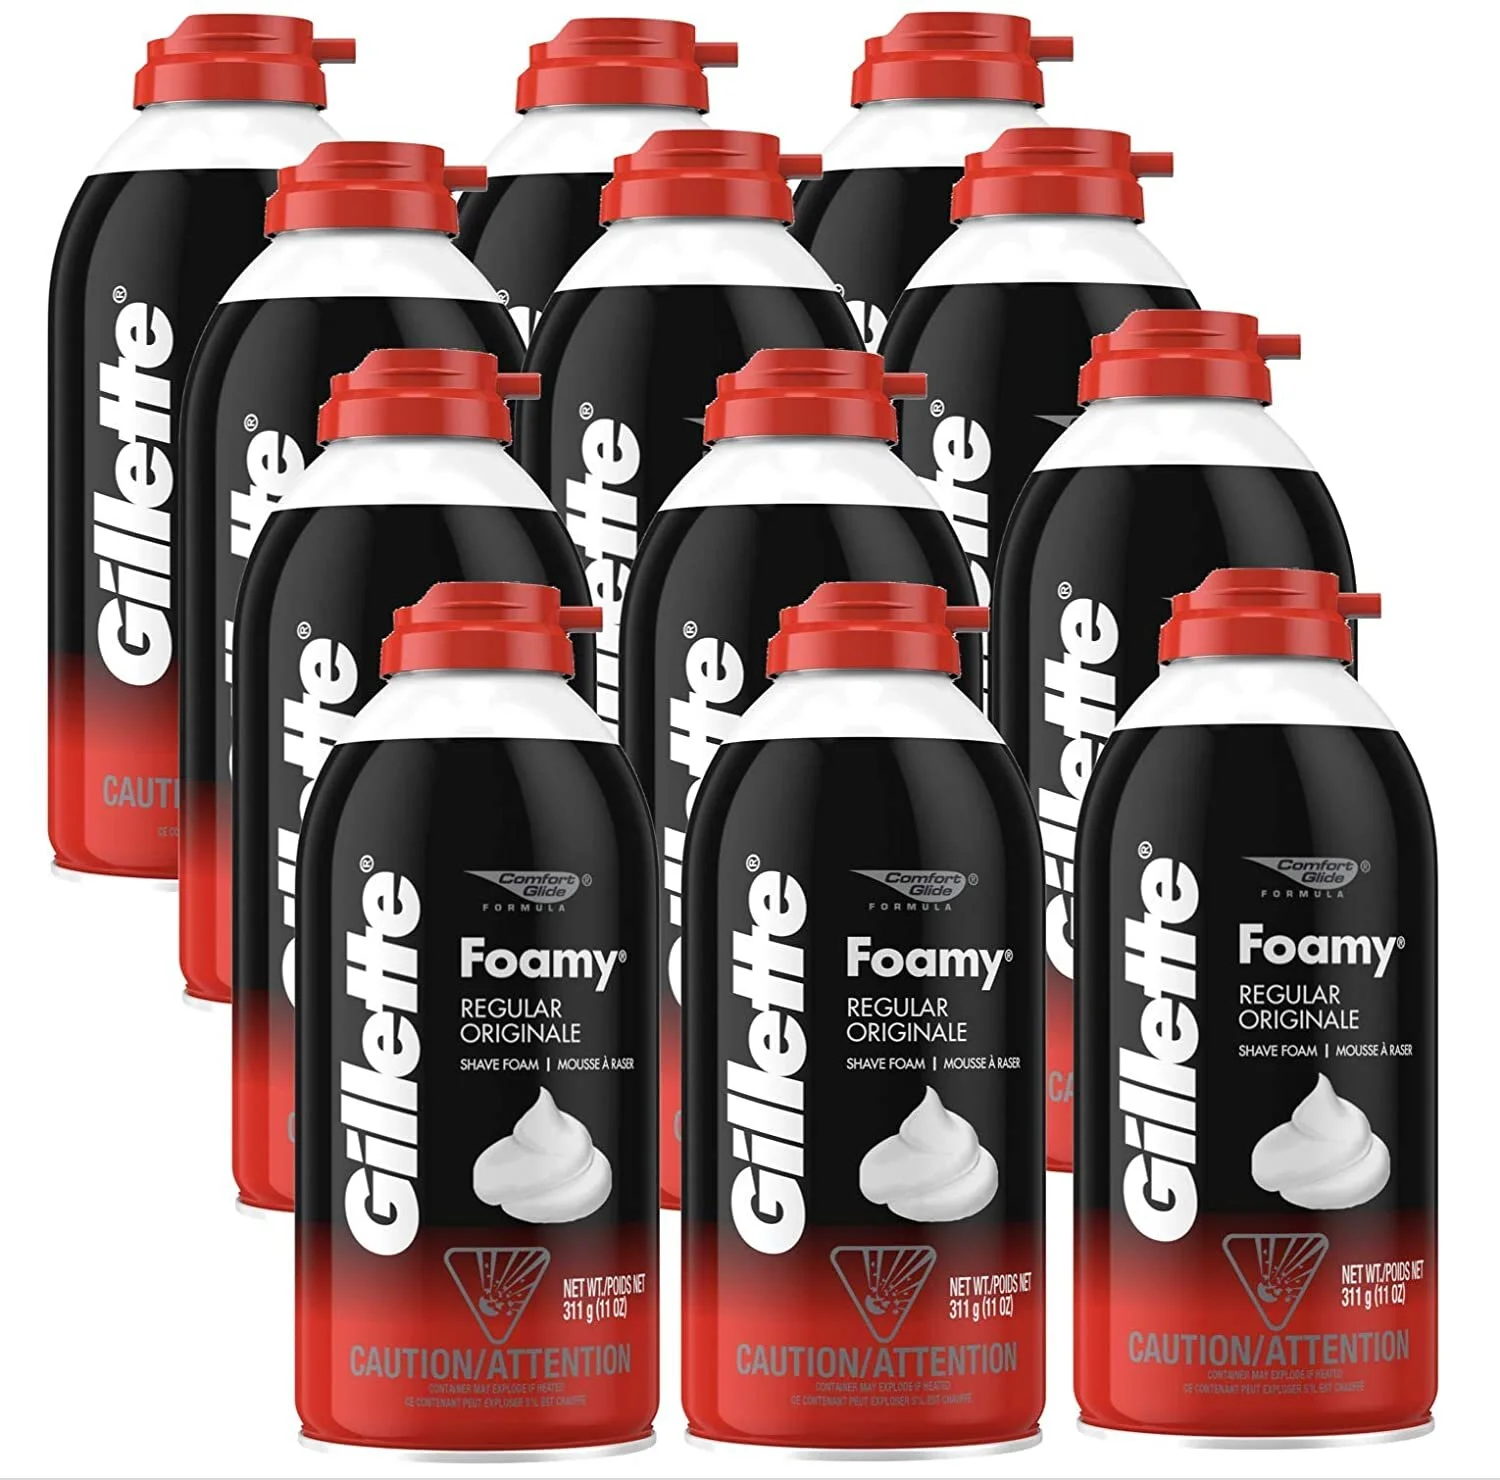
  • Shaving cream

  • Food coloring

  • Card stock

  • Brown paper

  • Scissors

  • Pencil

  • Paintbrush

  • Spatula

Easy Art Project at Home. Ice Cream Art Project on Hello Rascal Kids Lifestyle Blog.

Design

Cut a triangle cone shape out of brown paper and tape it towards the bottom of the cardstock. Be sure to leave room at the top of the paper for your puffy ice cream paint. Use a pencil to make an ice cream shape on the top of the cone so your rascals can use it as an outline.

Directions

  1. Mix equal parts of white glue to shaving cream. Start off with one cup of each in a bowl and mix with a spatula.

  2. Add food coloring of your choice. Use a small amount of coloring first, (one drop) and add more if desired. Mix until the color is combined.

  3. Use a paintbrush to paint a thick layer of the puffy paint directly on the top of the cone and around your pencil outline.

  4. Allow to dry flat for at least 12 hours.

Written by Head Rascal (Ngoc Nguyen Lay), mother of two rascals, ages 5 and 7. Project created and designed by Amaris Ma.


Shop this Post

Loving the Members of Our Community

The concept of community and those who live outside of our 4 walls can be tough for young rascals to understand. It is hard for young minds to think about things they cannot see or experience. The idea of being alone, feeling lonely, or not getting affection are concepts our little people may not understand. Yet, there are people of all ages and walks of life who are experiencing these feelings daily.

In this very real, very scary, and very isolating time of the coronavirus pandemic, we have helped our boys understand that there are people who cannot see their families and loved ones. While watching the local news one morning, a segment aired about an adult son visiting his aging father in a nursing home. It showed the adult son sitting outside, talking on the phone with his father who was sitting inside. No touching. No hugging. No physical contact. My young rascals asked questions:

  • Why can’t they be in the same room?

  • Why can’t they open the window?

  • How will they hug goodbye?

  • Who will hug them?

  • Are they loved?

My mama heart just ached. Ached for my rascals trying to understand. Ached because my rascals are developing empathy and this is just the beginning of some really big feelings. Ached for those who cannot touch or be touched by those they love.

Then they asked, “Can we love them?” That answer is yes!

We began a journey of making homemade arts and crafts that can be mailed to various nursing homes in the country. So far, we have sent love letters and art to nursing homes in Texas, Wisconsin, Colorado, and California.

We made foam sticker bookmarks, wrote letters, created sunshine signs, designed art out of multi-talented pencils, assembled patriotic craft sticks, and fashioned USA doorknob hangers.

My rascals now have a greater sense of serving and loving others, even those we have never met.

In return, the rascals have received their own love letters from residents and staff at the nursing homes. These small gestures have made everyone’s hearts full.

20200610_113135.jpg

Shared by Brandi Stanton, mama of 2 rascals ages 2 and 4.


Shop This Post

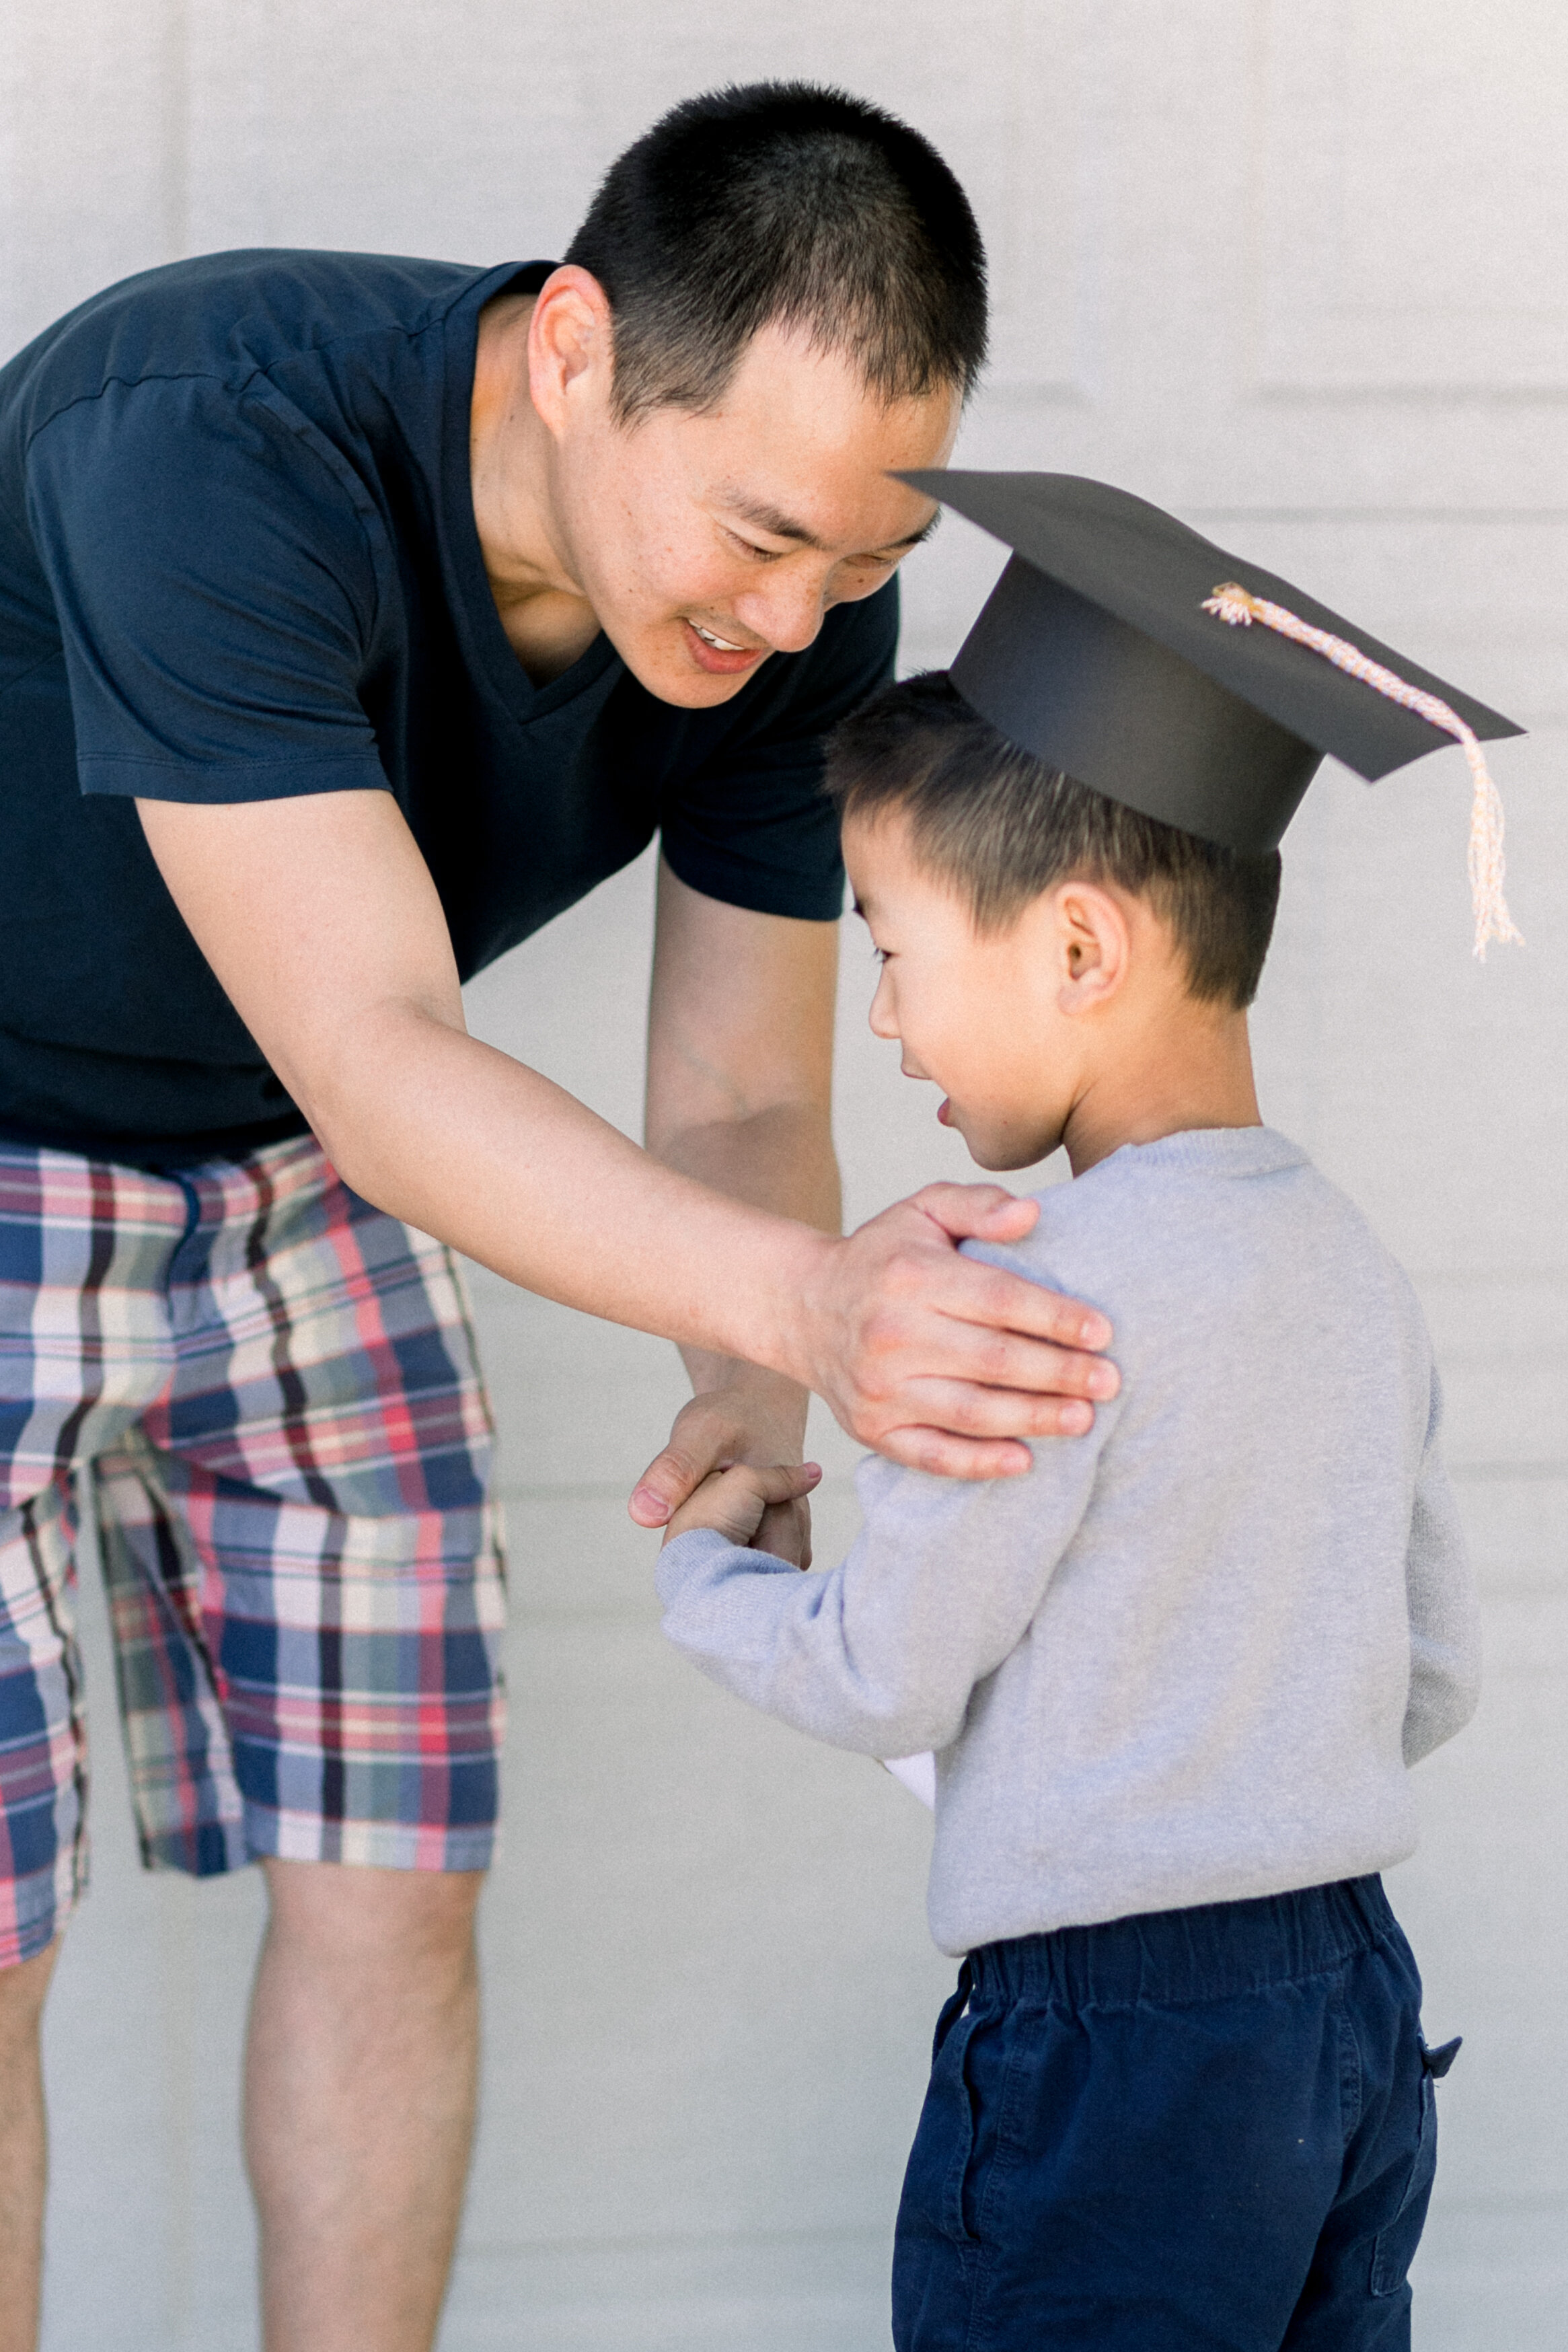
Making Graduation Caps for Kids

DIY Graduation Caps for kids on Hello Rascal Kids.

Completing milestones is a big deal for kids. Whether it’s the transition from preschool to kindergarten, elementary school to middle school, or even the transition from one year to the next, the completion of another school year is worth celebrating!

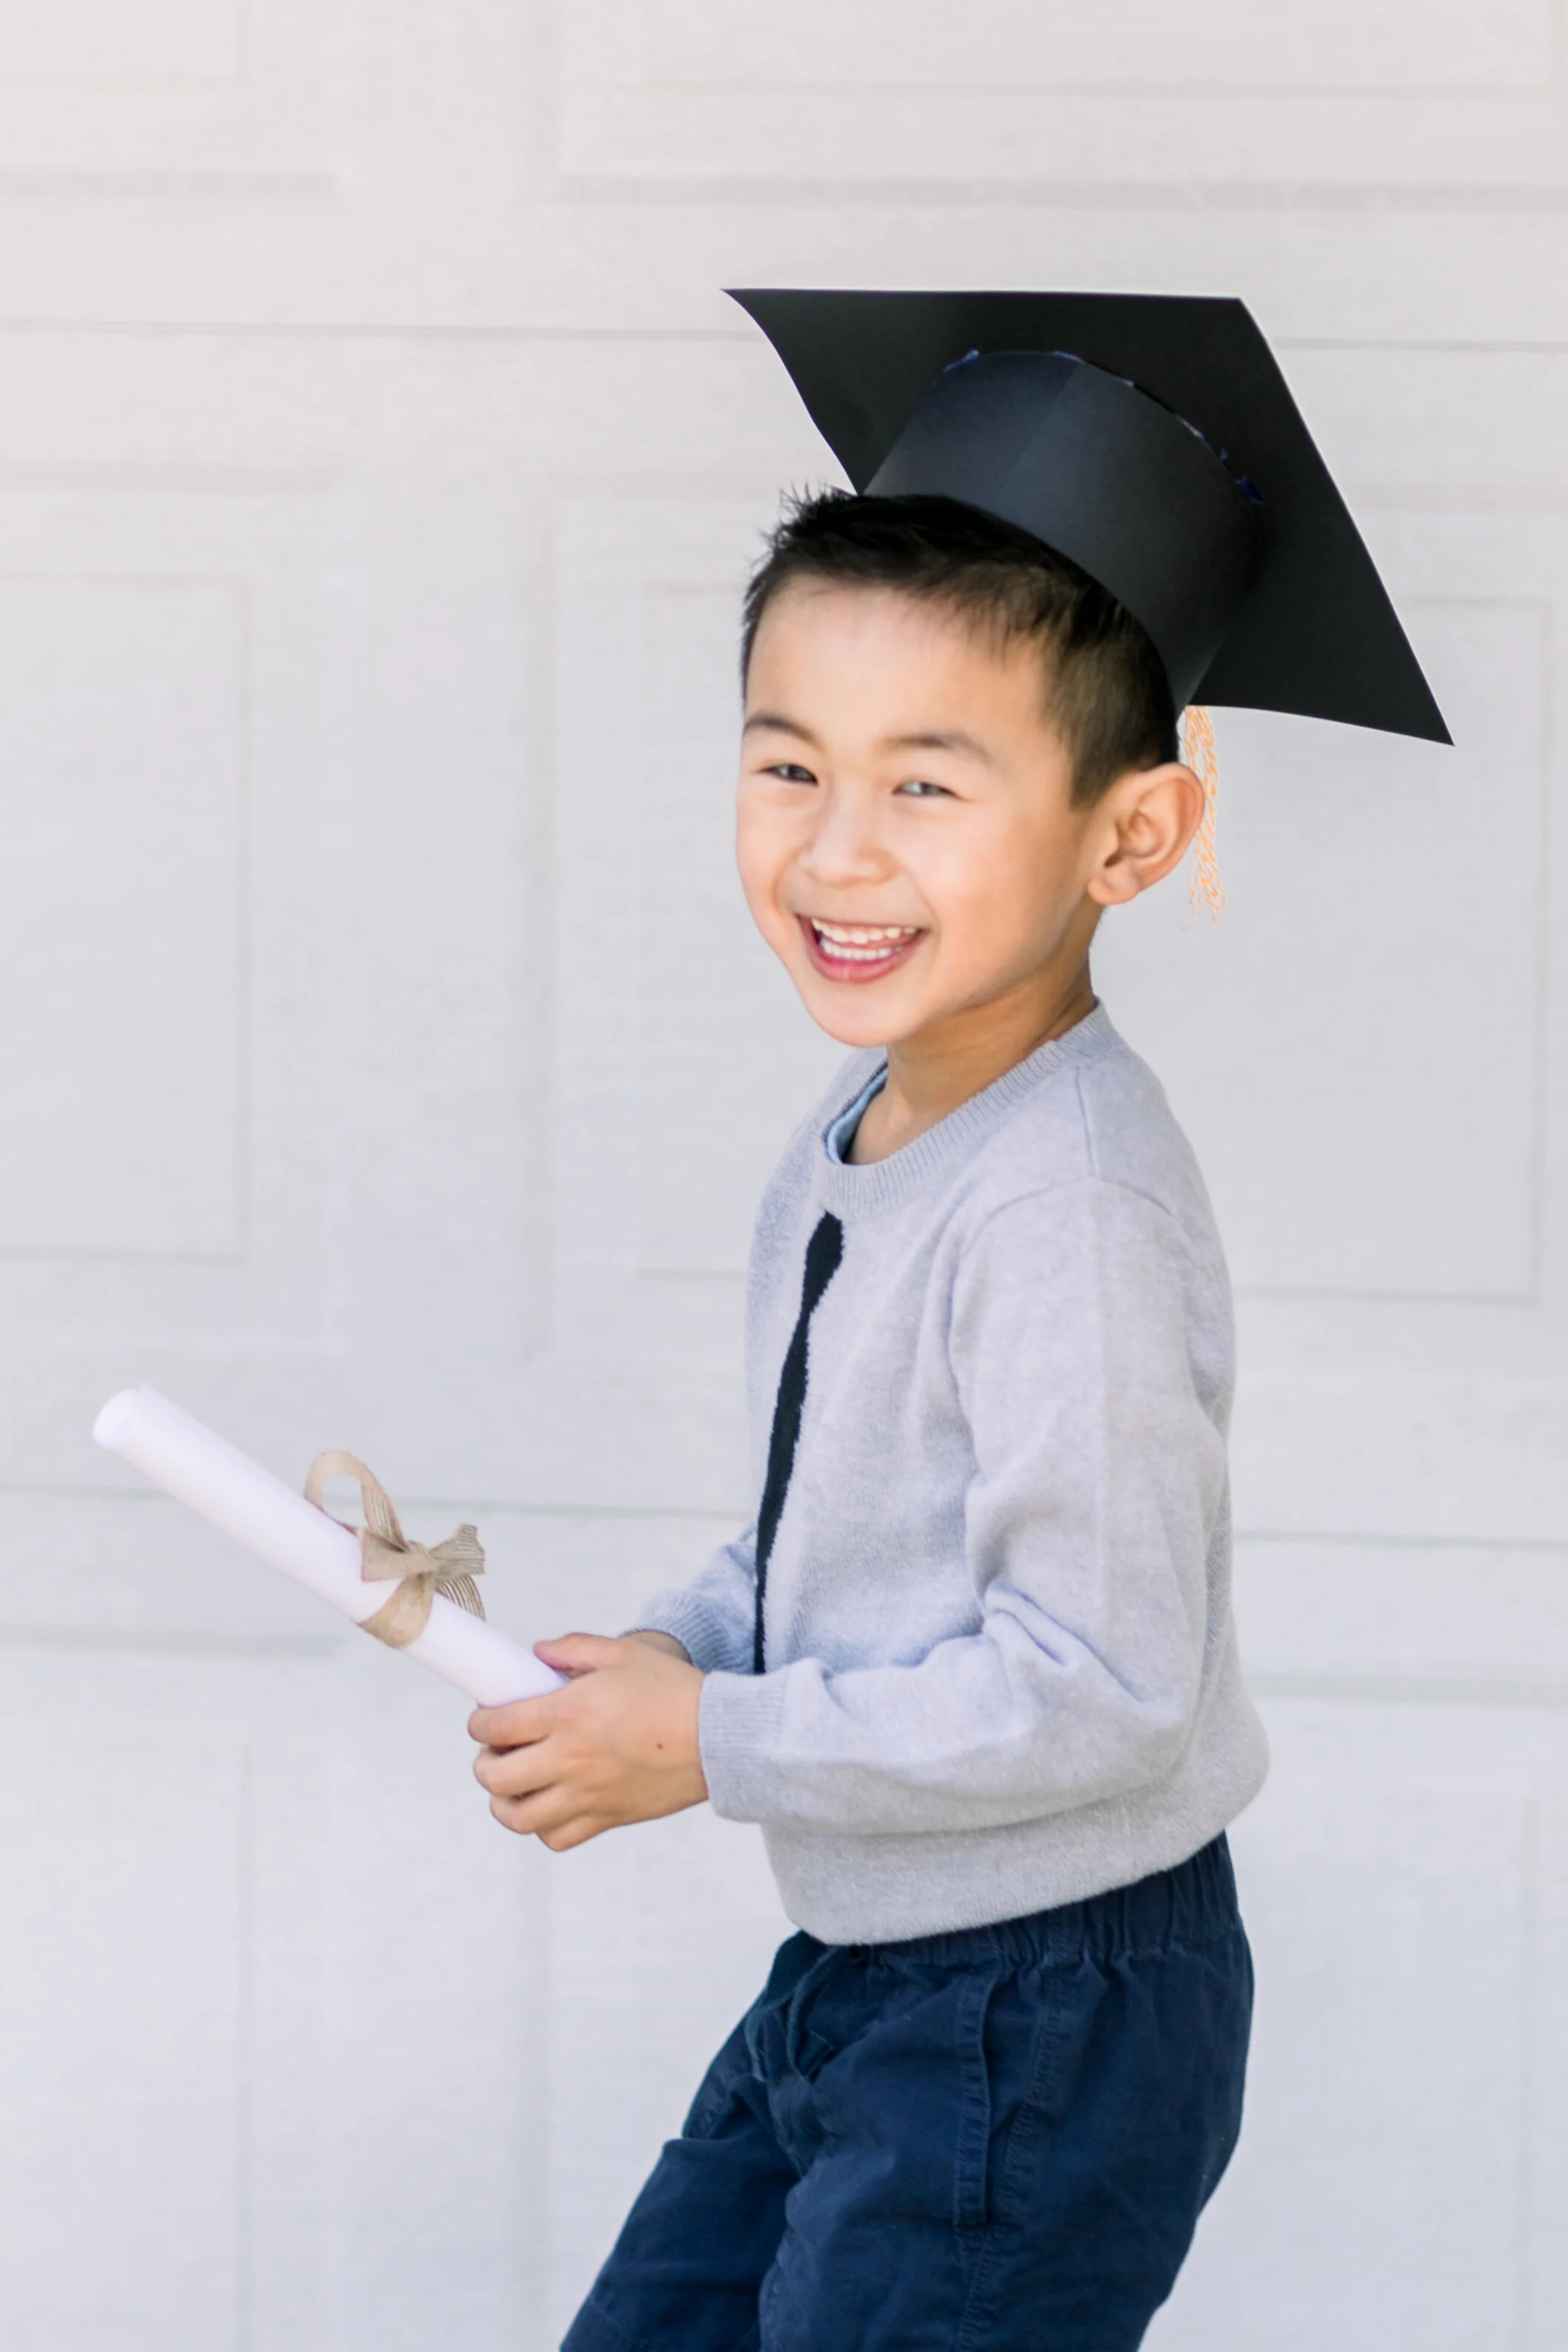
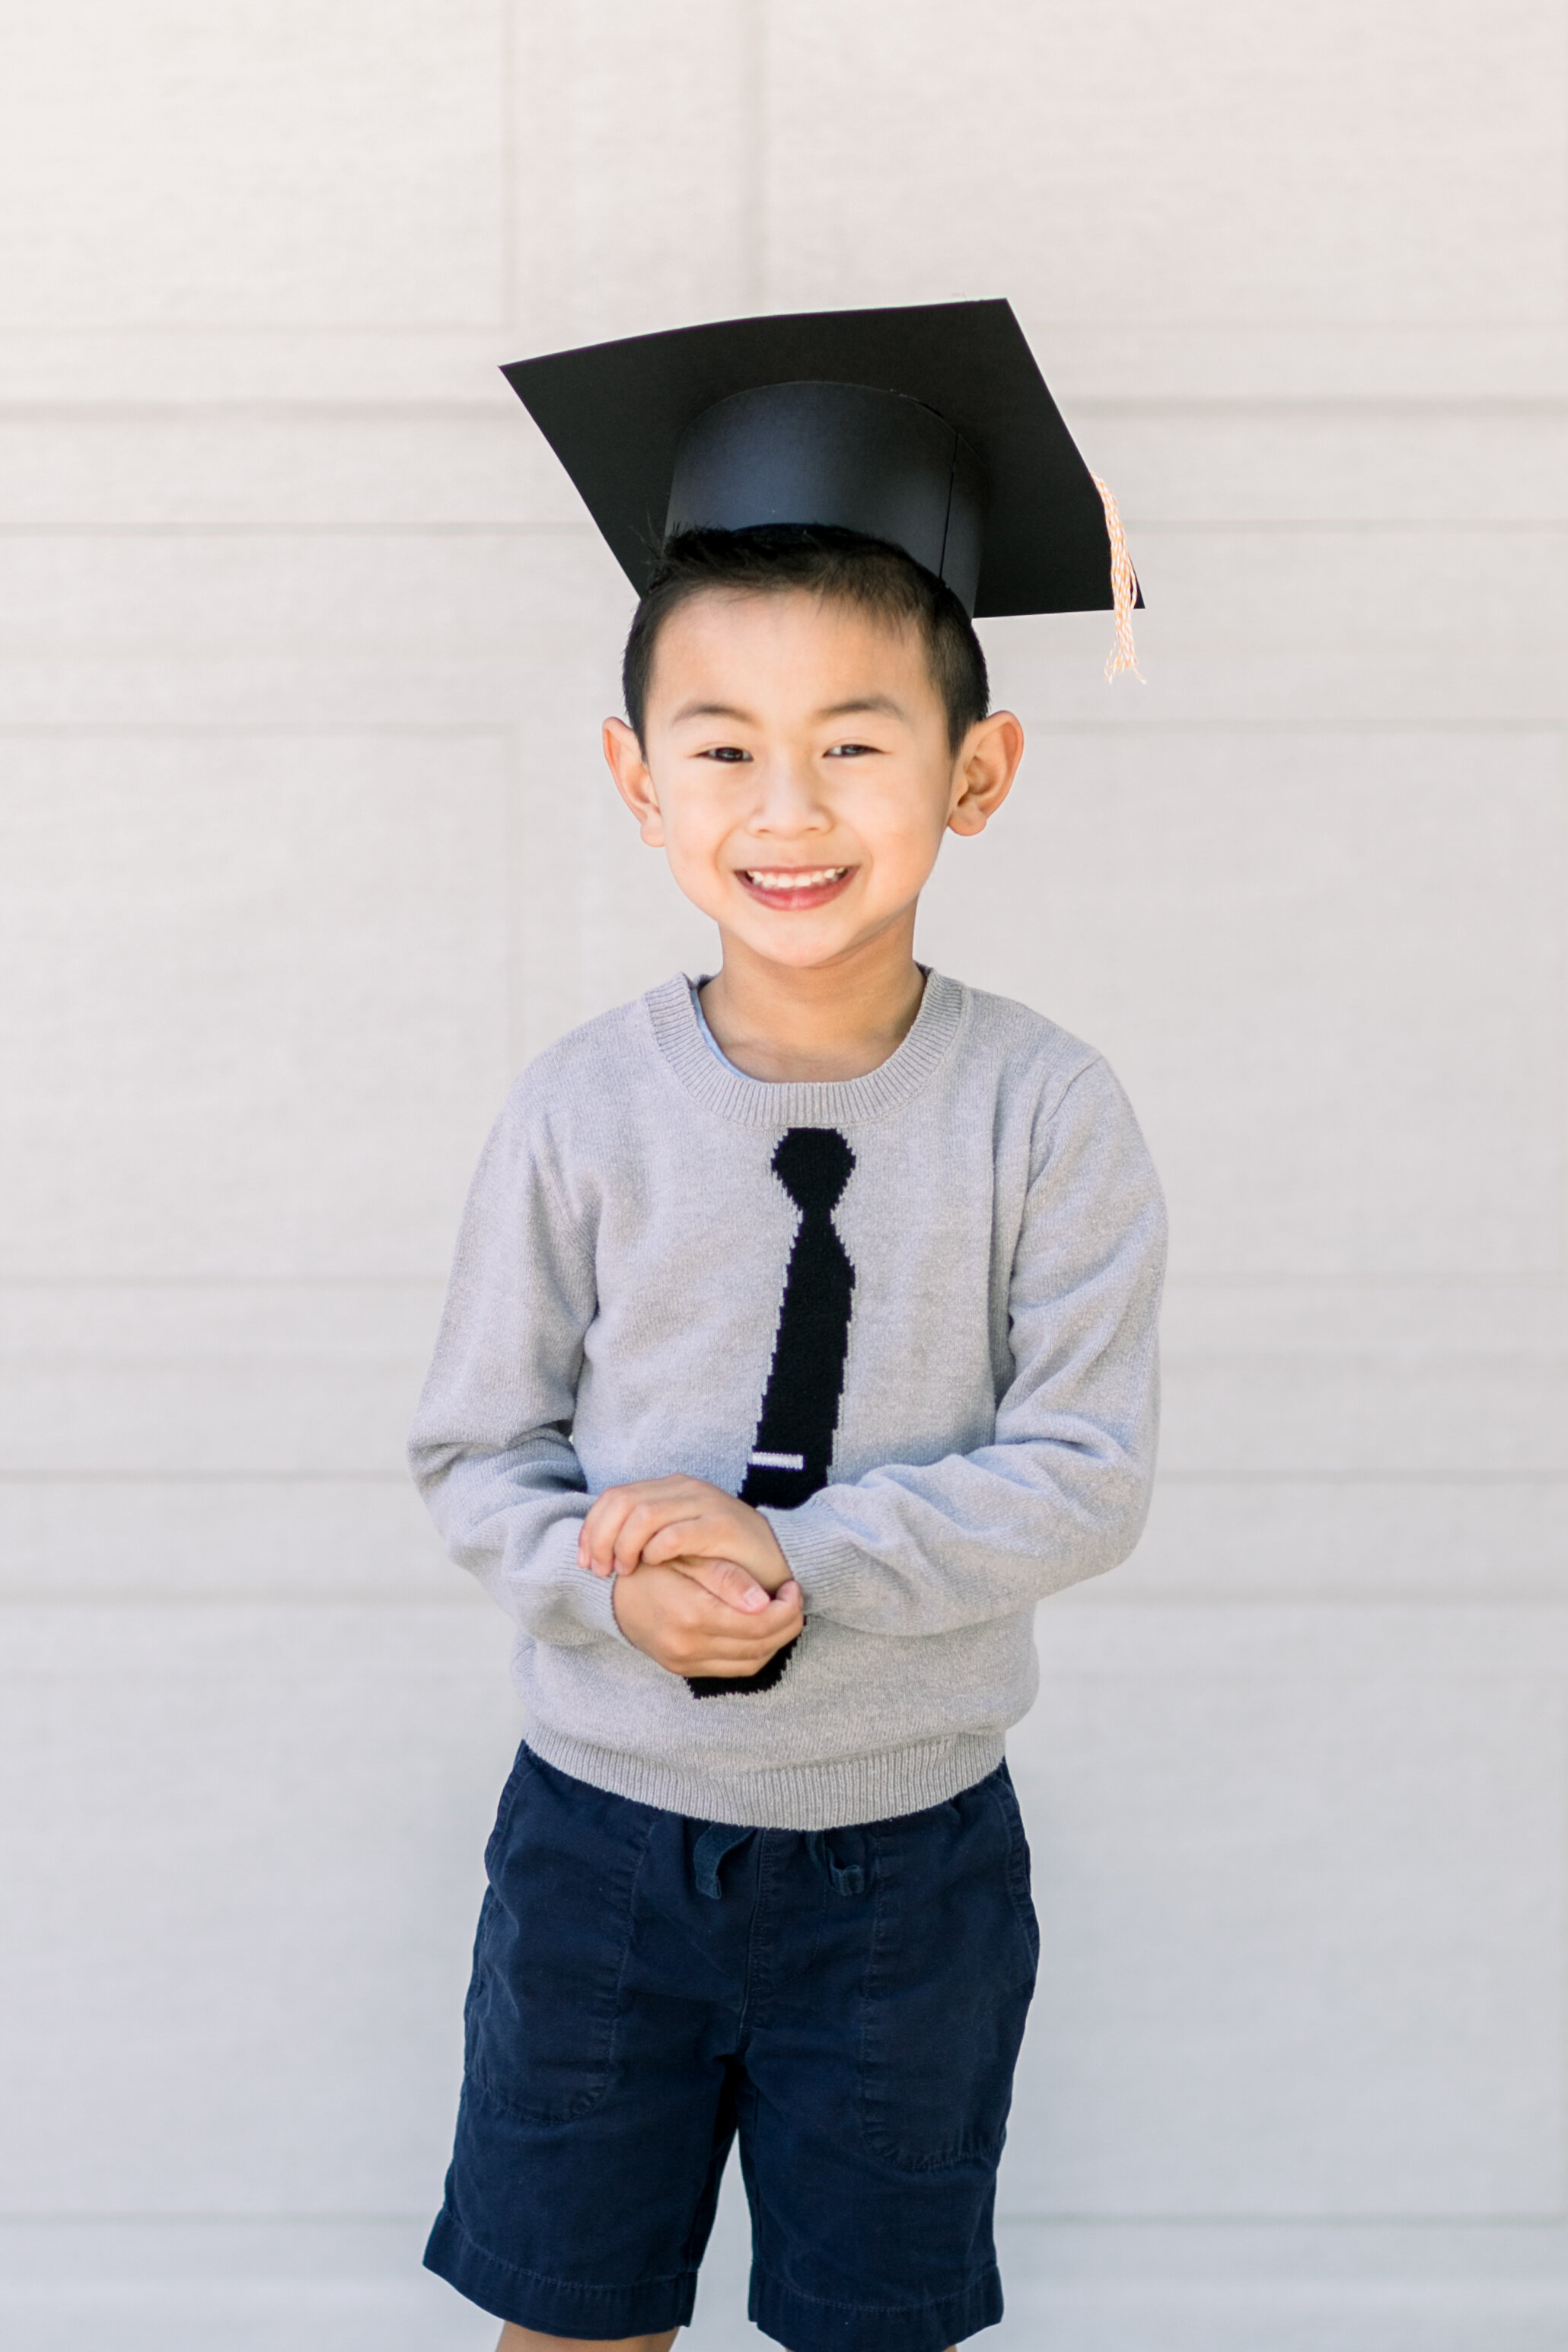
With the close of the school year quickly approaching, many of our rascals are transitioning to the next big step in their lives without being able to share this moment with friends, family, and teachers. However, not being physically in school doesn’t mean we have to forego celebrating their achievements altogether; it just makes celebrating a little bit different. Our youngest rascal completed preschool this year, and he’s ready for kindergarten in the Fall. One way we celebrated this achievement was making our own graduation caps!

Schooling for most of us has been different, but you can still make this moment a really special event with this super simple DIY project! Create a graduation cap for your child, paired with your own at-home recognition ceremony, and they will feel like a star!

DIY Graduation Caps for Kids

Here is how you can make your own graduation cap at home:

Supplies Needed:

  • 10 inch by 10 inch colored cardstock paper (ideally black)

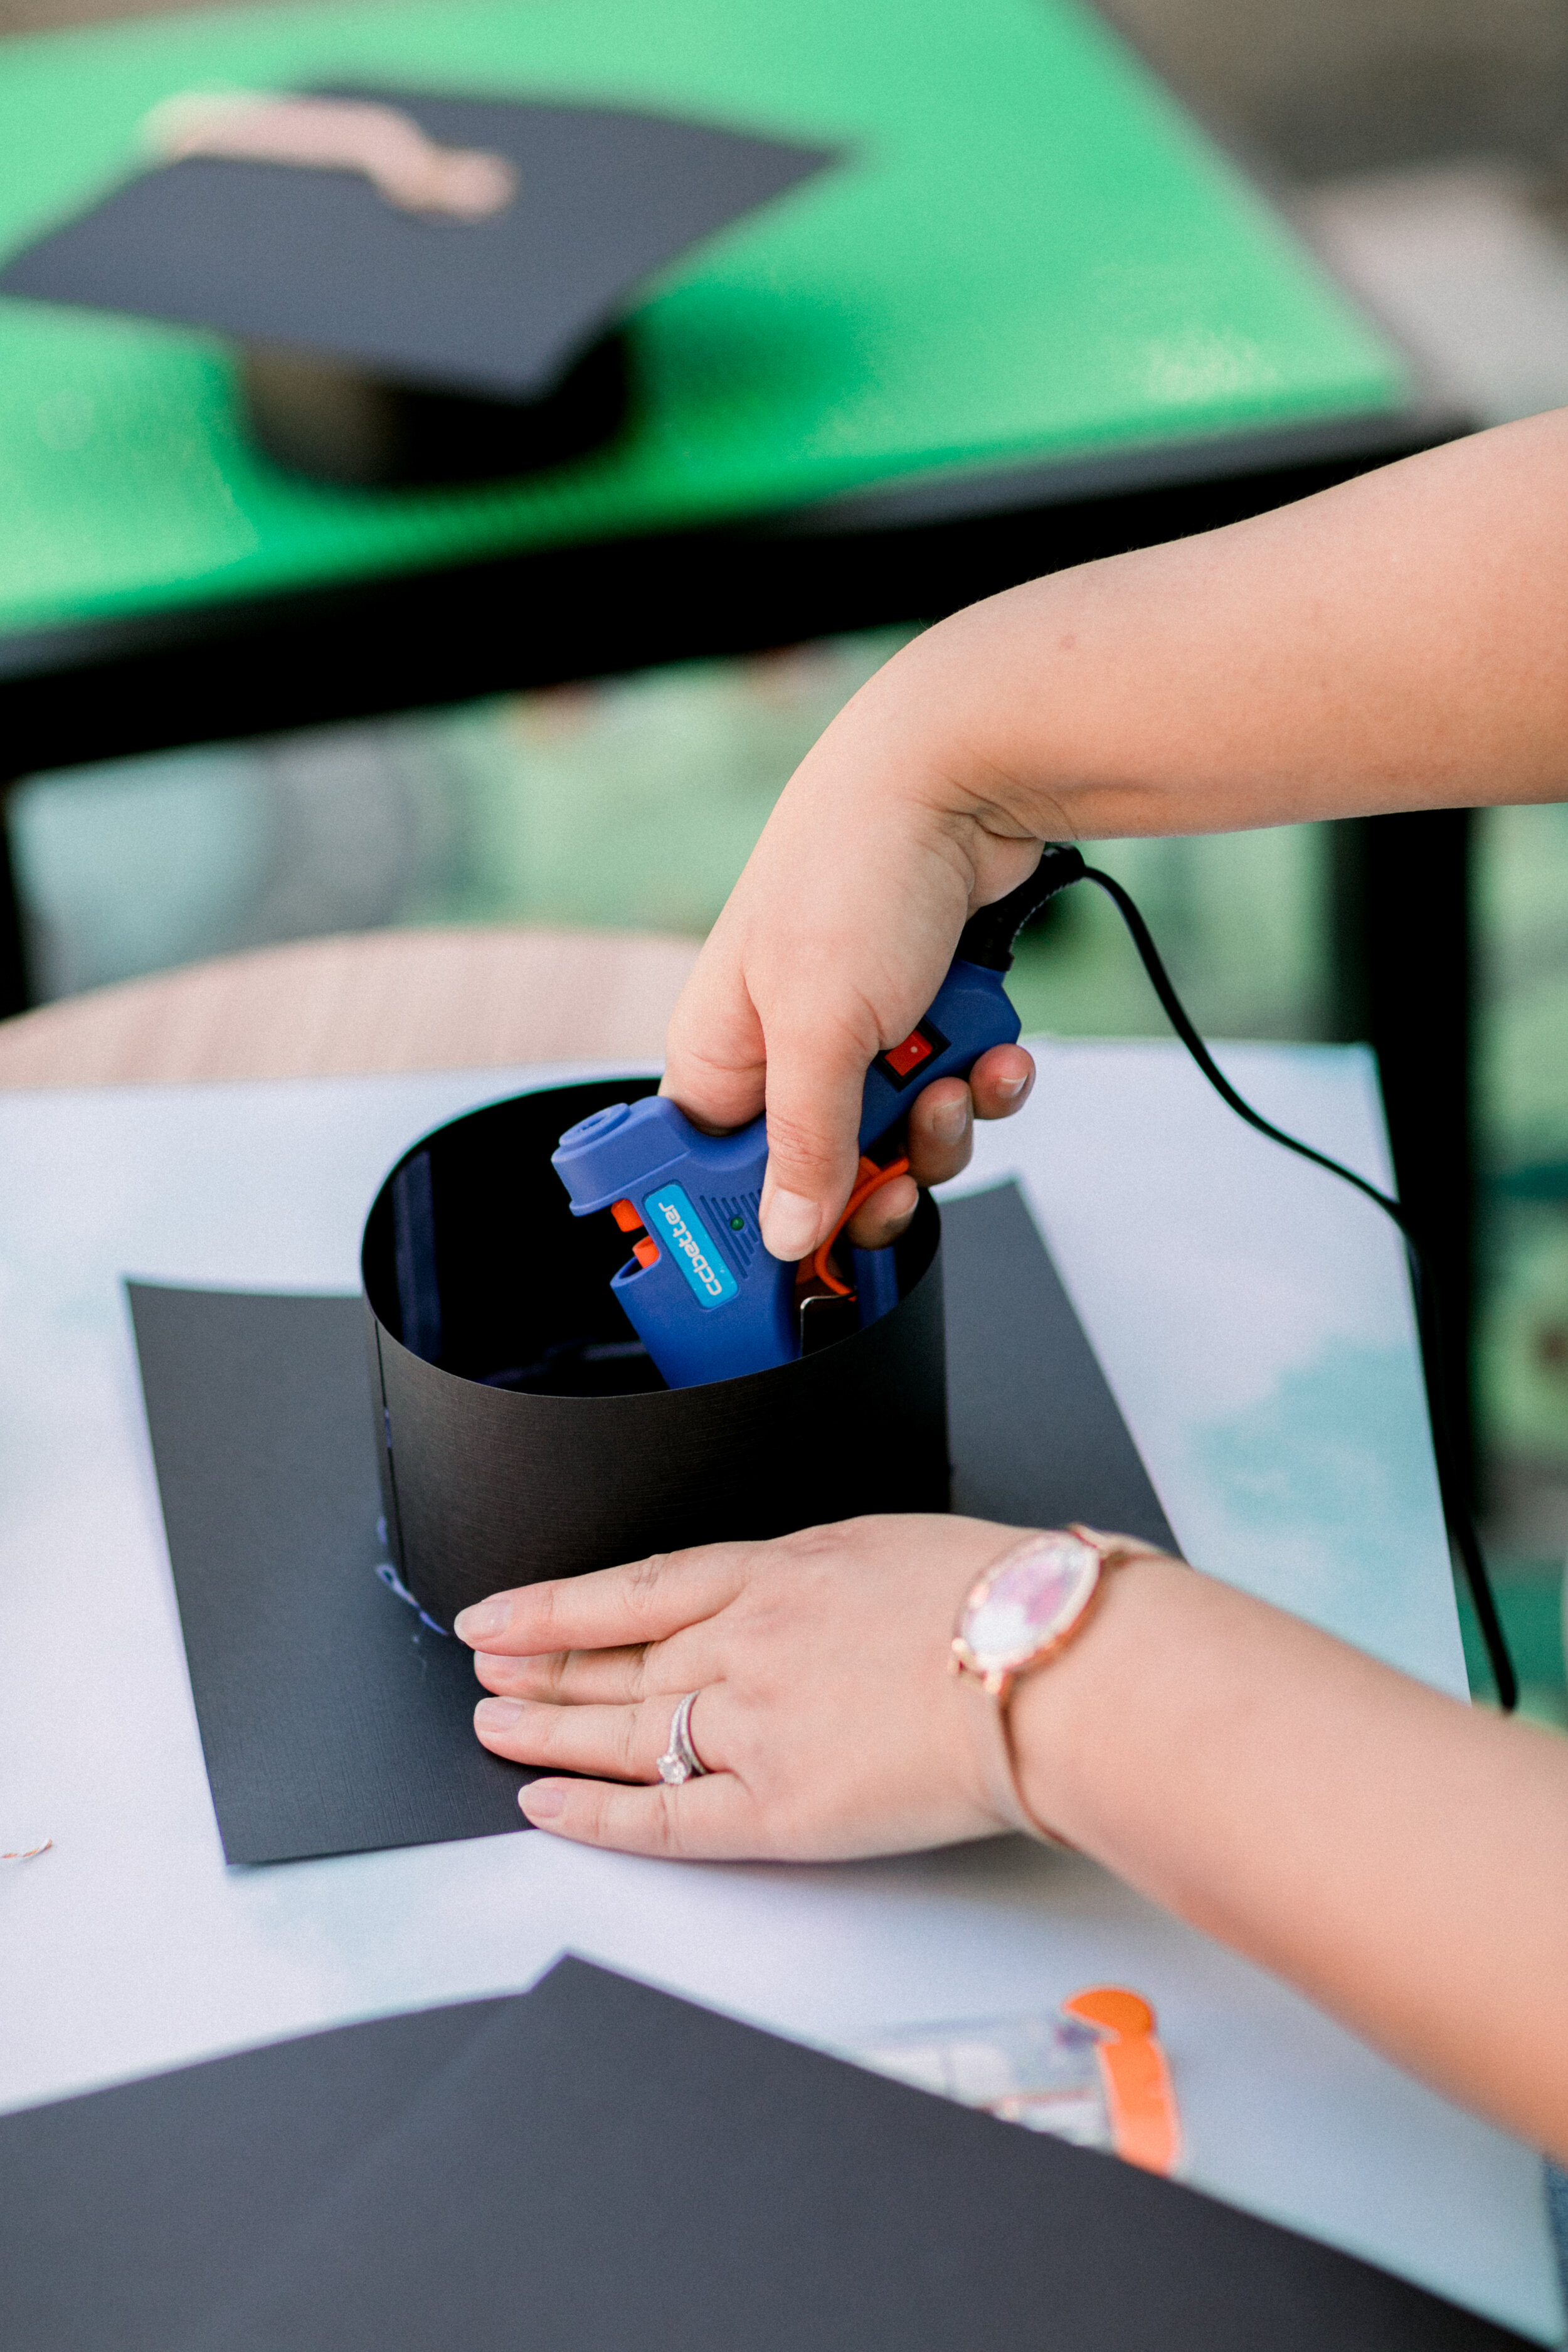
  • Hot glue gun

  • Yarn or ribbon

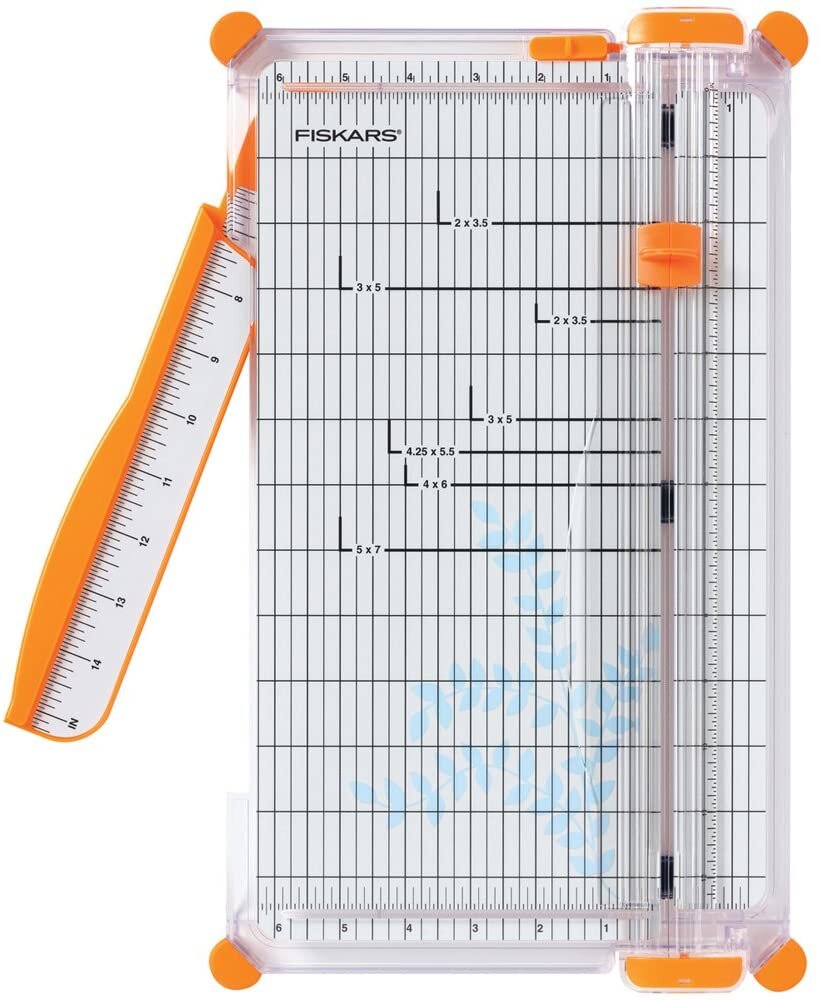
  • Scissors or paper cutter

Instructions:

1.     Start by cutting the top of the graduation cap out of the cardstock paper. Kids have smaller heads than us, so keep this in mind when measuring it out! You will need a square that is approximately 7 inch by 7 inch. Feel free to adjust this size based on your child’s needs.

2.     Next, you can begin assembling the lower half of the graduation cap. For this part, you will need two strips of cardstock paper. Measure around your child’s head, then cut out enough so that the cap fits around their head comfortably.

3.     Then, wrap the strip around your child’s head to ensure that you have sized the graduation cap appropriately. Add glue along the shorter edges of your strips and press them together to create a continuous loop. Set aside to dry.

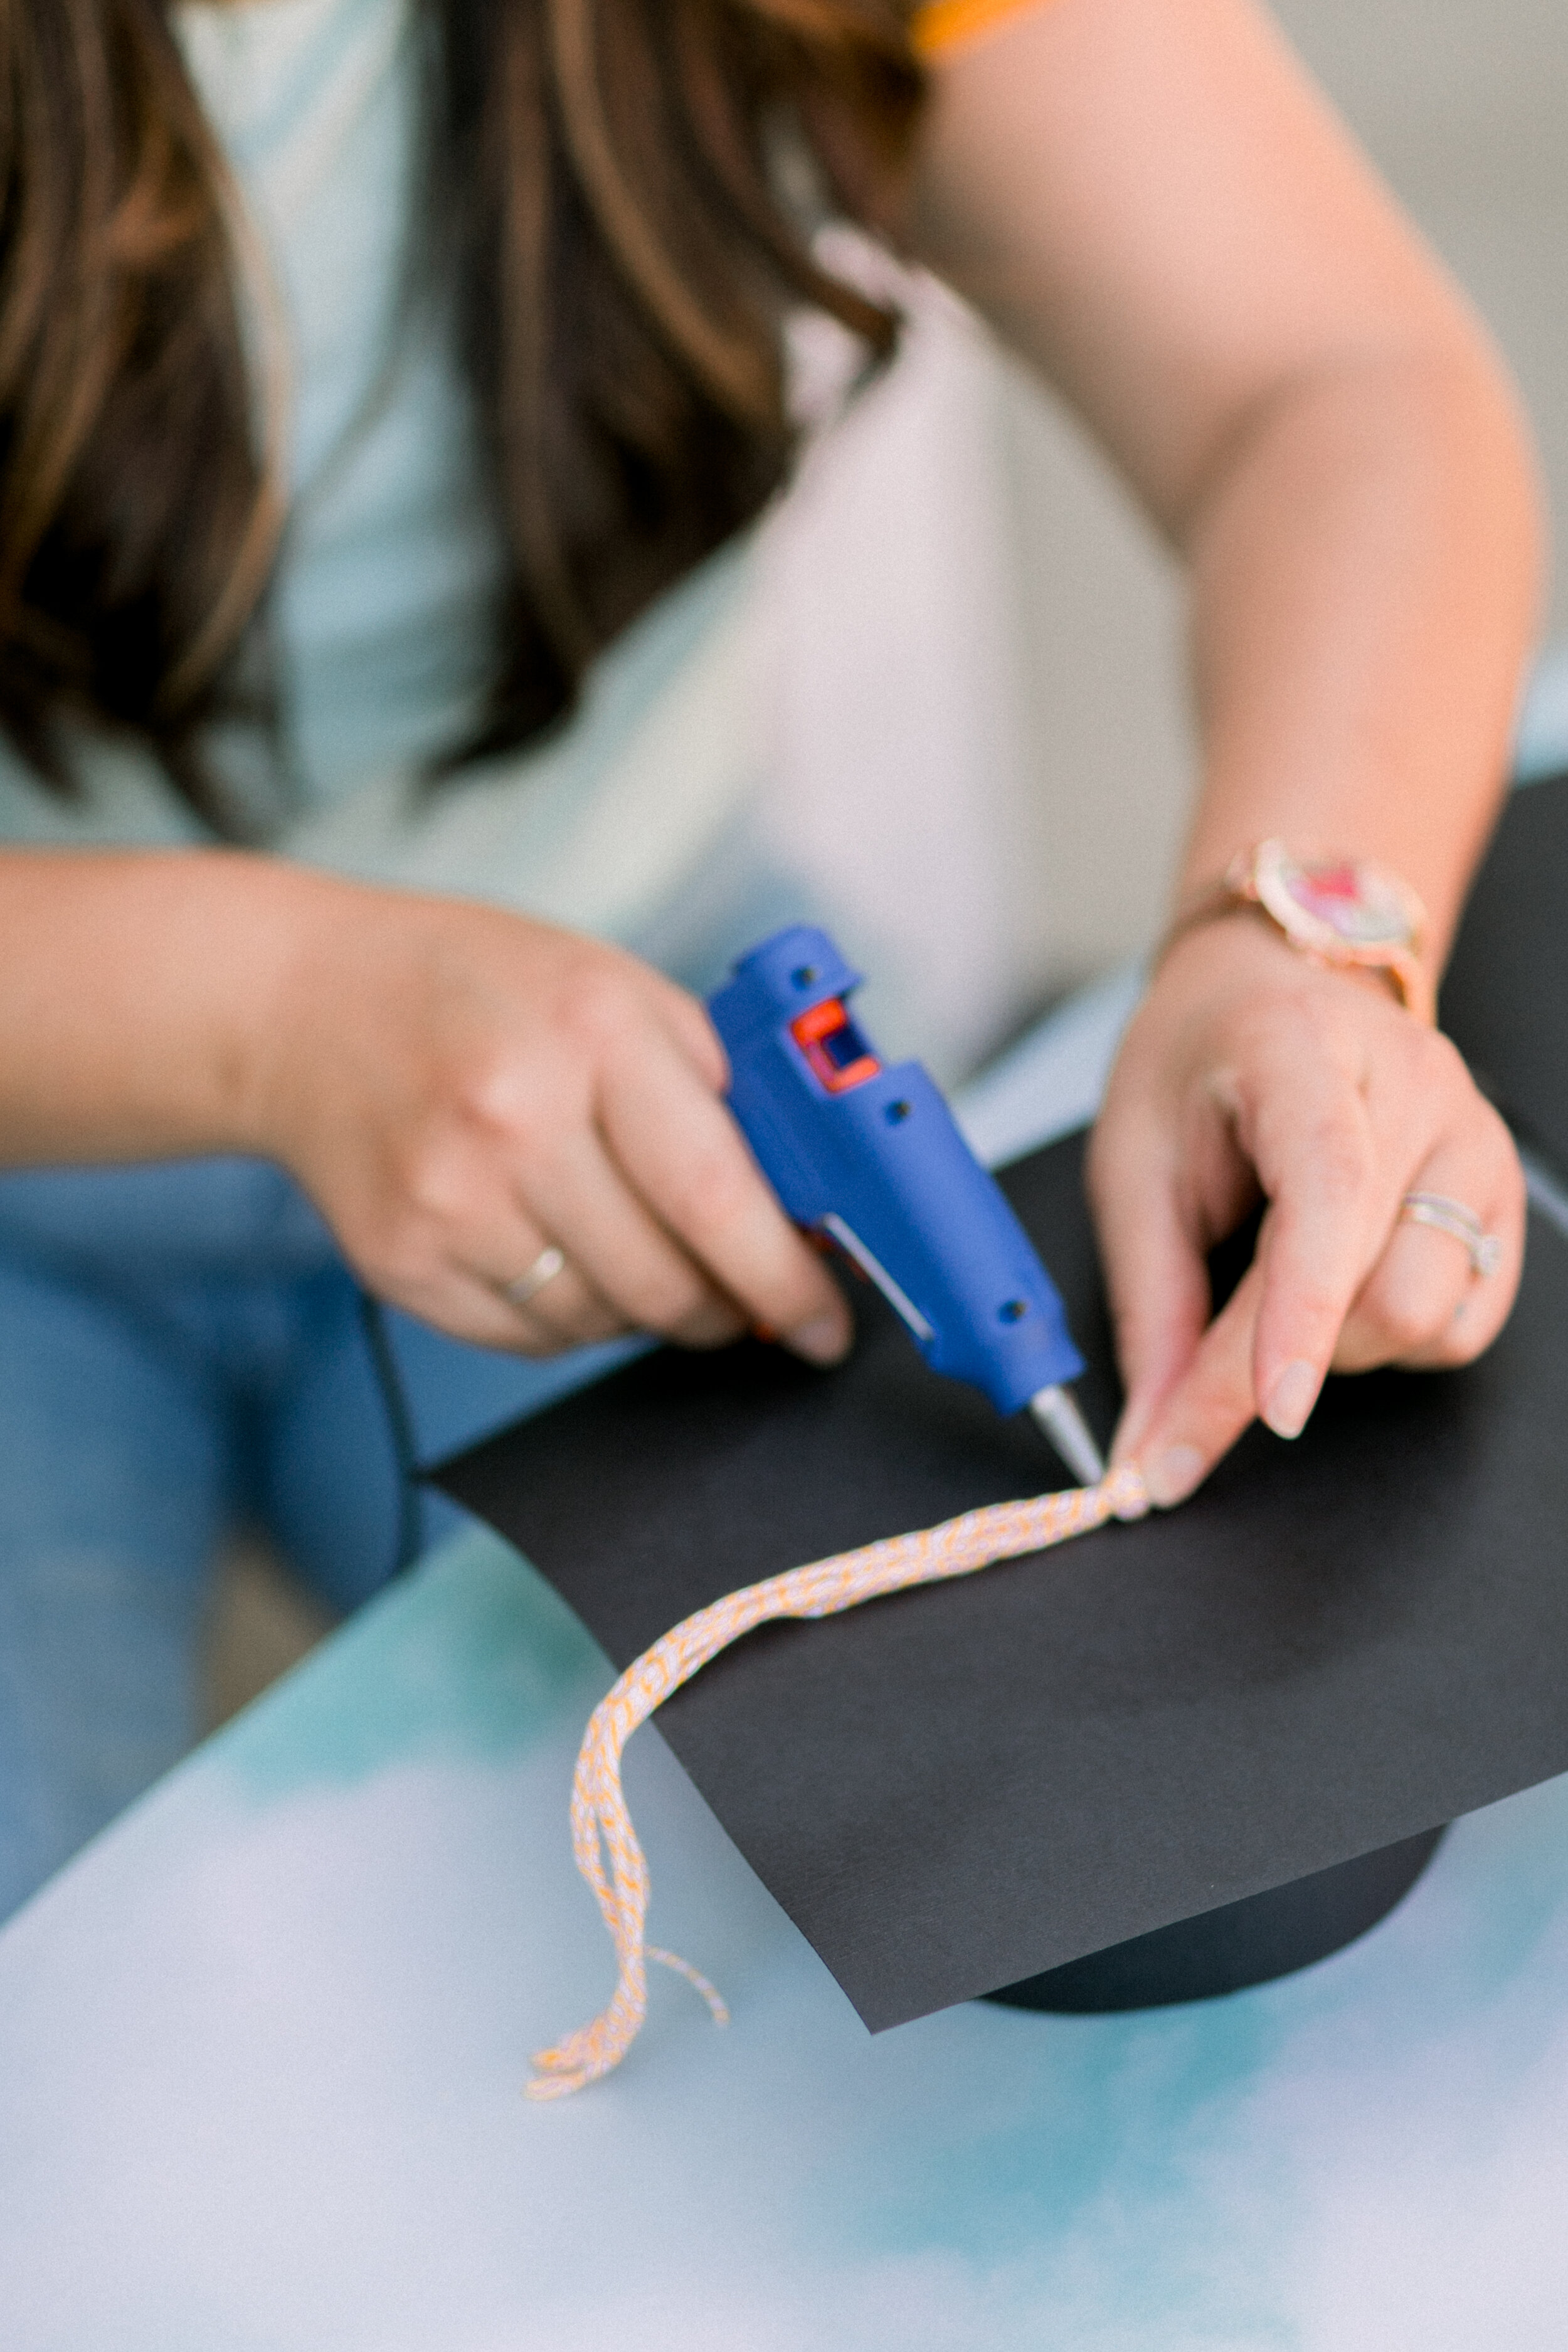
4.     To create the tassel of the graduation cap, simply gather some lengths of yarn or ribbon and tie them into a low knot. Snip and fringe to create the tassels. Add some glue to the end of the tassel and attach it to the center of the cap.

5.     Finally, add a strip of glue along the top rim of the loop you previously set aside to dry. Place the top half of the hat on the loop and press gently. Allow to dry.

6. Once all of your pieces are dry and secure, your child’s graduation cap is ready for their makeshift celebration!

This is a fun way to celebrate your child’s achievements and it will really make them feel special in these trying times.

Written by Head Rascal (Ngoc Nguyen Lay), mother of two rascals, ages 5 and 7. Photos by Simply Adri Photography.


Shop This Post

Product Review: Preschool Training Scissors

Teaching children to use scissors can be a challenge. There could be blood… scars… severed fingers…wait, just kidding!

But really, scissor skills are not easy for little hands that may not have the strength to open and close the grip, the gross motor skills to hold the scissors at the right angle to cut, or the coordination to control the paper with one hand and the scissors with the other. Scissors can be “Disaster Central” with your little one, but they don’t have to be. At least, not when you have the right tools.

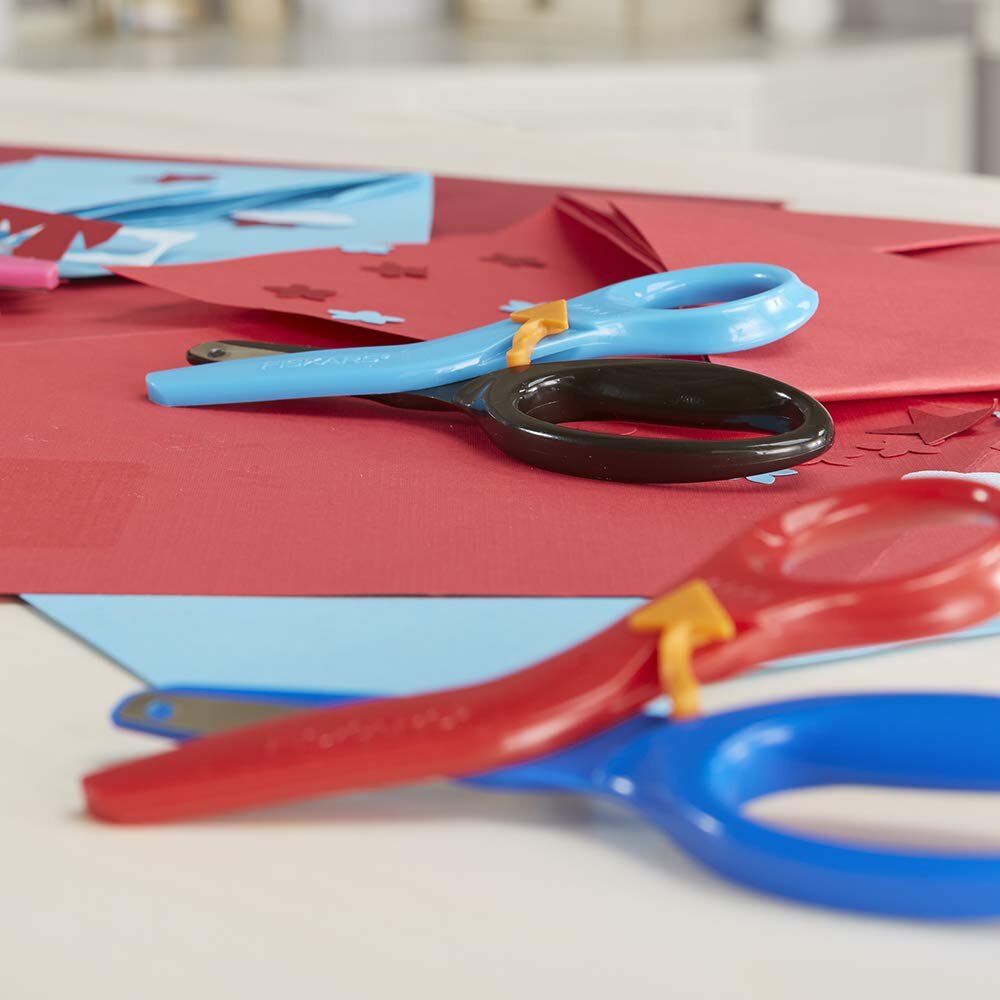
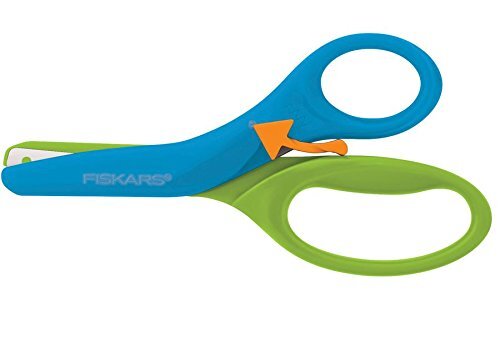
When you’re ready for scissors, I recommend Fiskars Pre-School Training Scissors (found on Amazon). Not only are they super inexpensive, but they perform perfectly.

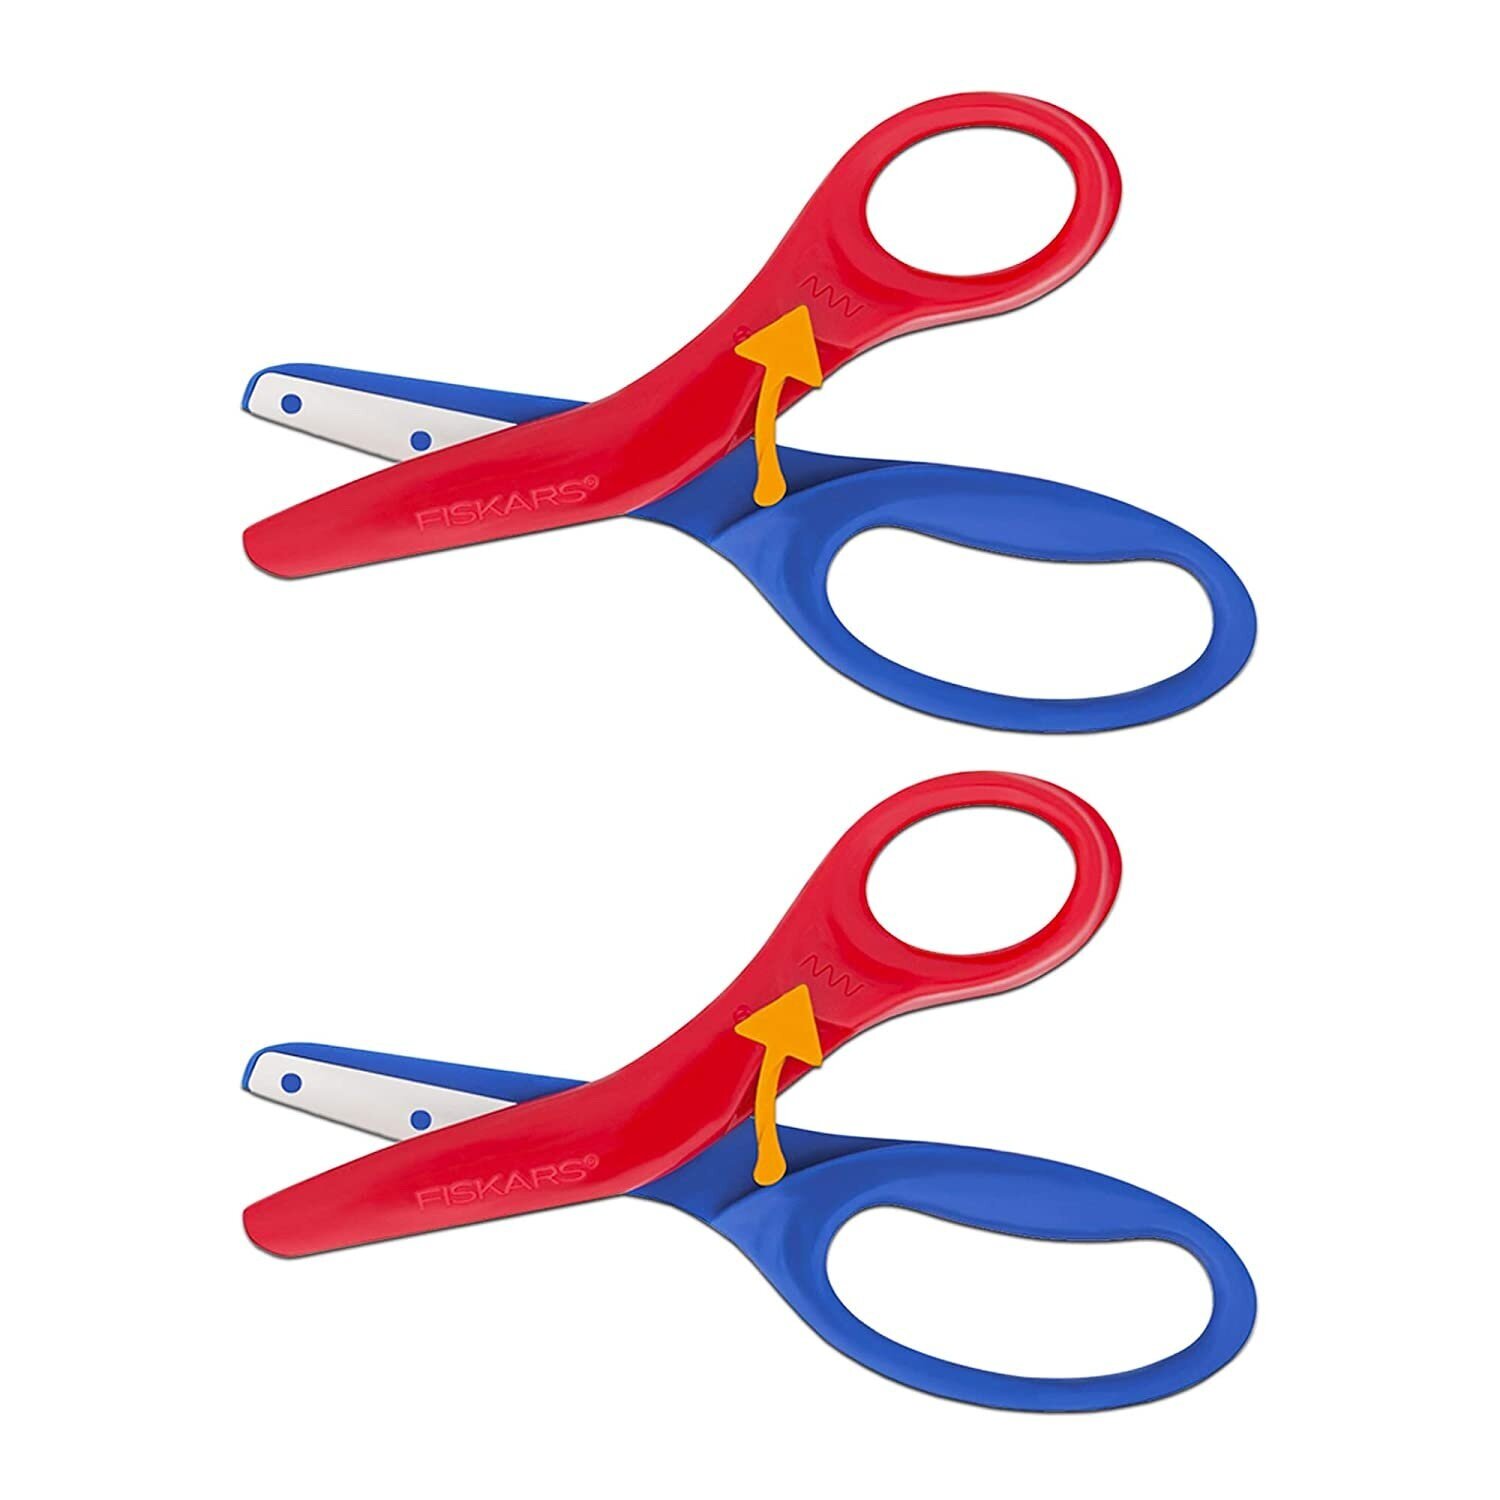
When set in the “training” mode, the scissors automatically retract back to the open position. All your little one has to do is close the scissors to cut and they automatically spring back open. This feature helps train the hand muscles to maneuver the open-close skill, helping your rascals master scissors!

Don’t throw out these scissors when your little one becomes competent. Simply retract the arrow to the starting position and you have standard scissors anyone can use. My youngest rascal, just shy of 2.5 years old, took to these scissors immediately. The auto-open function is genius!

If your little one is not yet ready for scissors, start by letting them tear paper. It is just as easy as it sounds! I saved tissue paper from birthday gifts and junk mail for this task (I think tissue paper tears a little easier than regular paper, so start there and then build up). Let your child tear and rip up that paper as they develop the muscle strength in their hands and arms. Then, when they are ready, you can introduce the perfect training scissors.

Tried and tested by Brandi Stanton, mother of 2 rascals, ages 2 and 4.


Shop This Post

Thoughts on Parenthood

Recently, I started writing letters to my boys for them to open when they turn 18. It really got me thinking about parenthood, my rascals and the overwhelming feeling that I am being pushed and pulled in all different directions. I know I’m not the only parent to feel like this. Anyone else felt this way, especially now? Share if you relate. Your feelings are valid!

Thoughts on Parenthood

Written by Head Rascal (Ngoc Nguyen Lay), mother of two rascals, ages 5 and 7.

Abstract Art for Kids

Abstract+Art+for+Kids+on+Hello+Rascal+Kids.+Family+Lifestyle+website+for+parents+and+kids.+Arts+ideas+for+kids.jpg

Art is a favorite hobby in our house. We maintain a vast collection of art supplies all day, every day: stickers, stamps, markers, crayons, water colors, washable paint, scissors, glue, tissue paper, coloring books, sidewalk chalk, construction paper, and activity books, just to name a few!

Sometimes our art activities are super simple - like putting stickers on piece of construction paper or using stamps on white paper. I assure you that those activities are great for letting your kids express their creativity and while honing their fine motor skills, even though they seem “easy.”

Other times we get really invested in our art creations. Today, my rascals learned a little bit about abstract art while also dabbling in sponge art, primary colors, secondary colors, geometric shapes, and empty space.

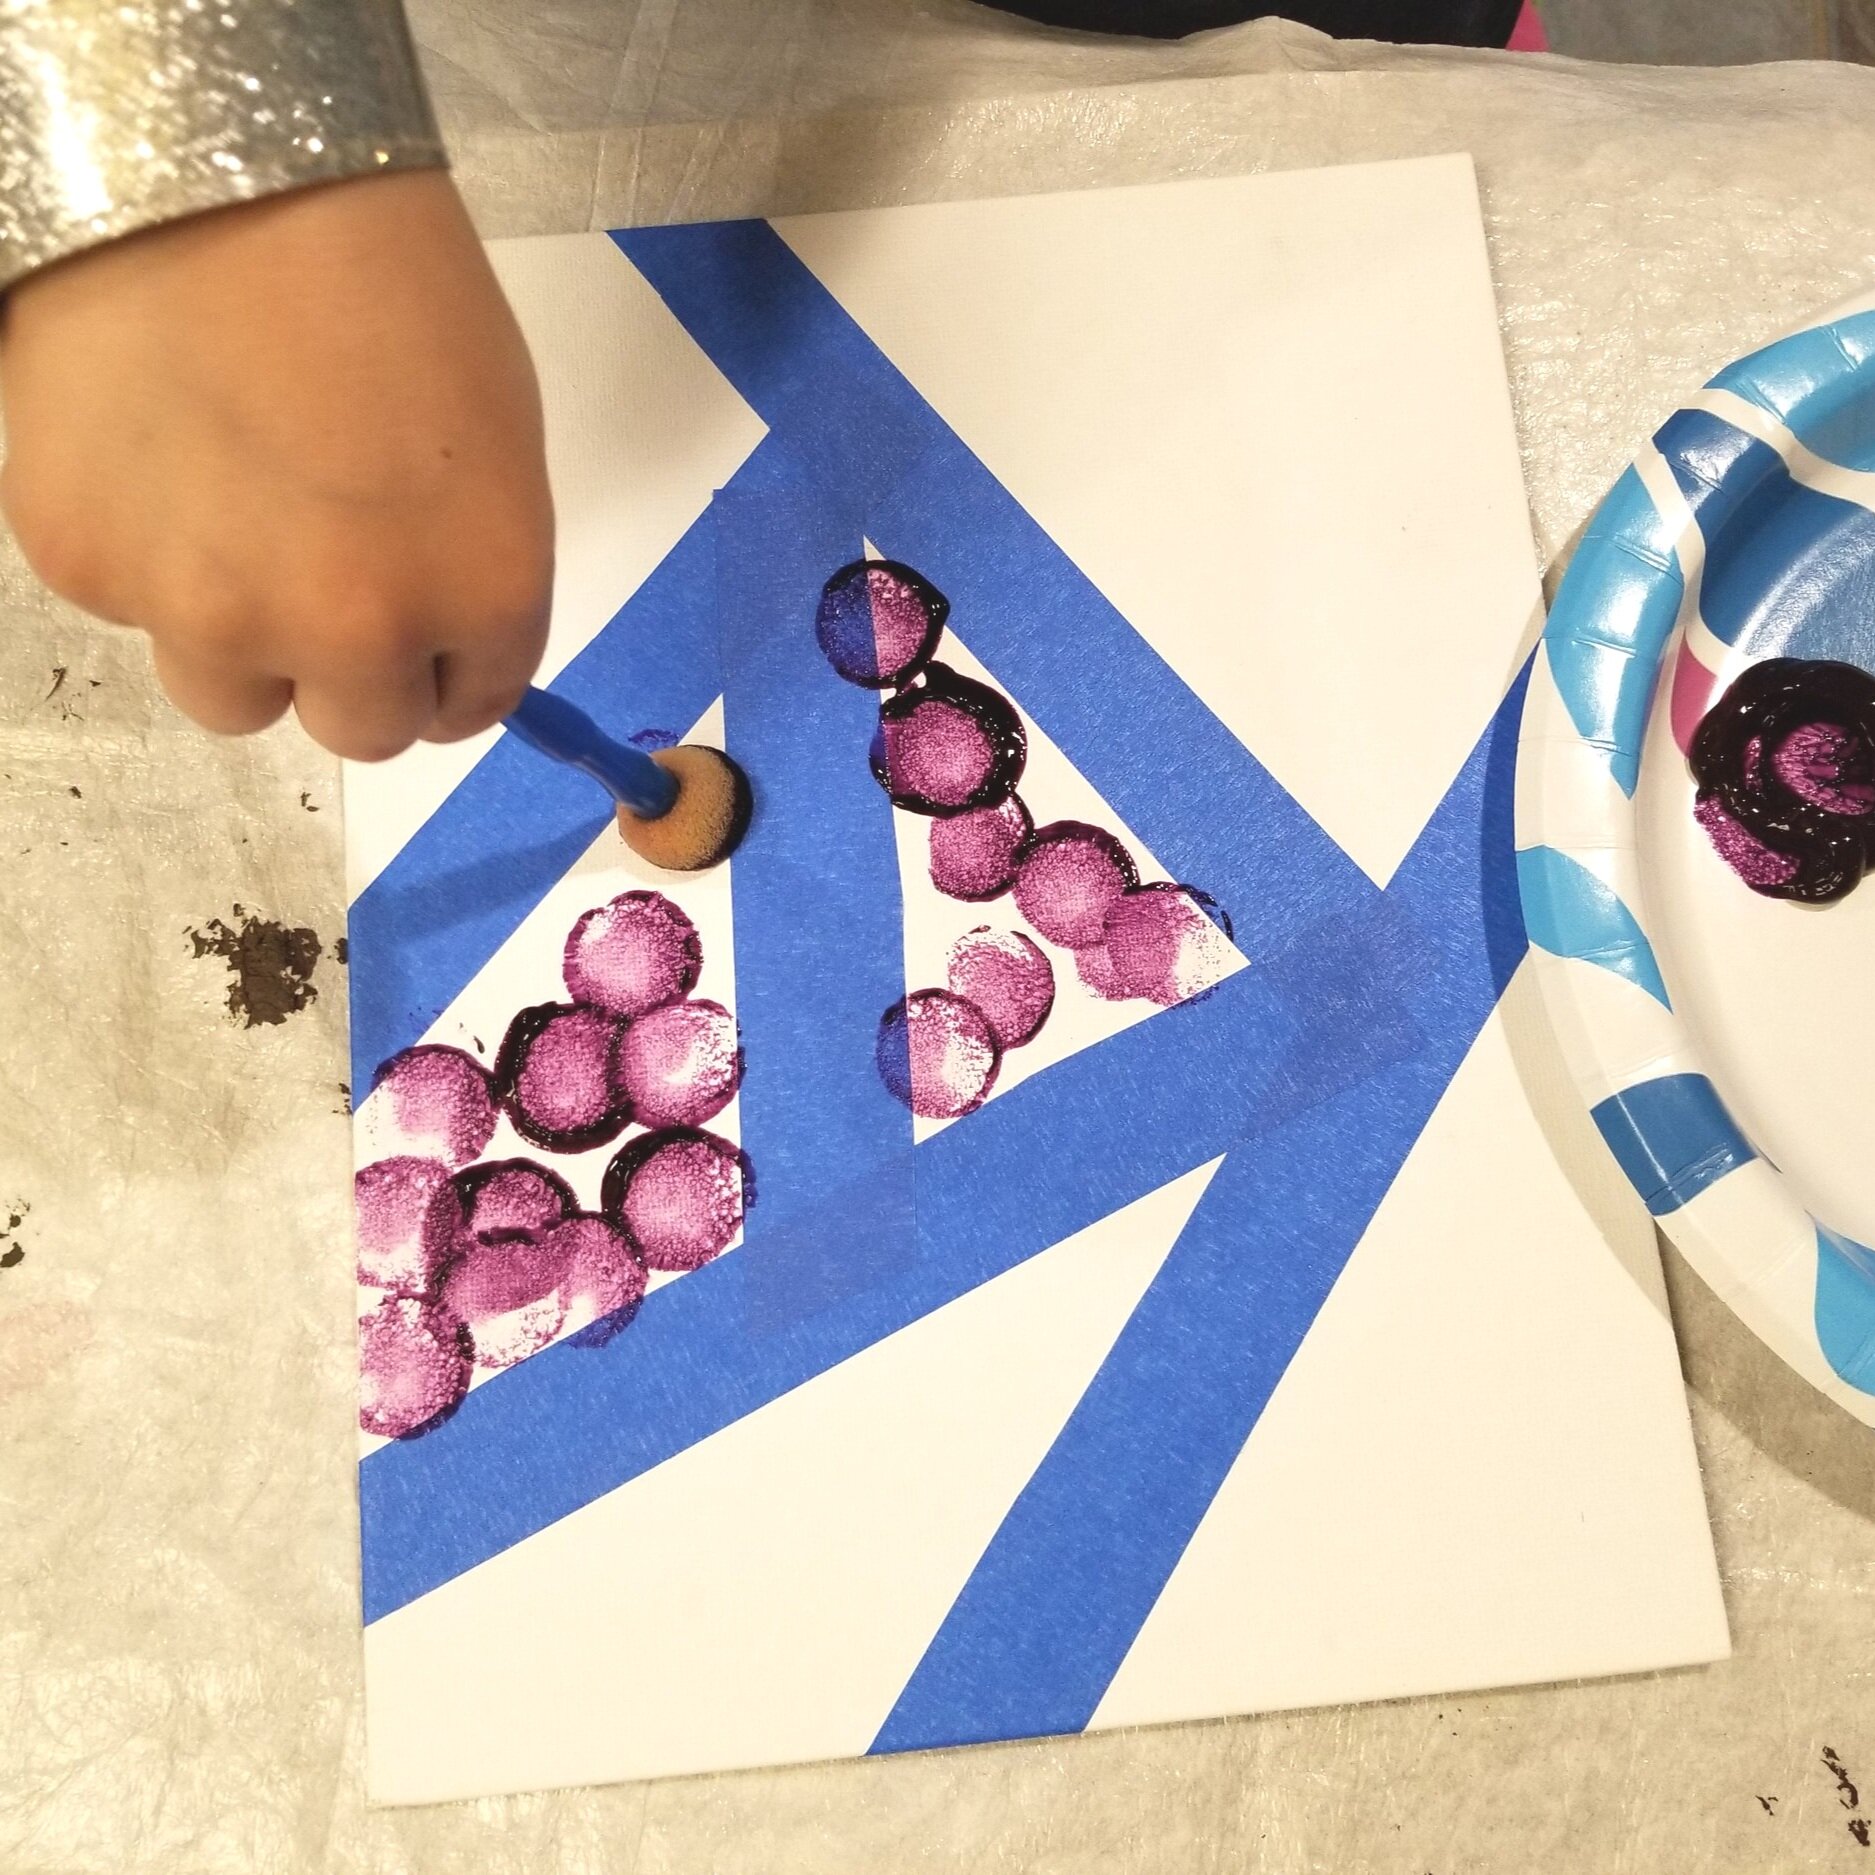
To begin, we grabbed small canvases and blue painters tape. Using their small fingers and practicing dexterity, the rascals placed strips of tape across the canvas in a criss-cross fashion. This part of the activity can be pretty independent for your rascal, depending on age and ability.

Next, my rascals chose their paint tool; they both selected sponge brushes. My 4 year old understands how to “dab” with a sponge brush while my 2 year old “swipes” it like a standard paint brush. Word to the wise: offer one color of paint at a time, otherwise you’ll end up with a mostly brown canvas.

With a vast amount of freedom (in order to best encourage self-expression), my rascals used their sponge brushes to paint their canvases. My role was to encourage using one color at a time, provide nickel-size blobs of paint on their palettes (AKA plates), and help rinse the brushes & sponges after each use.

We allowed the wet canvases to sit undisturbed overnight.

Abstract Art for Kids on Hello Rascal Kids. Family Lifestyle website for parents and kids. Arts ideas for kids.

The next morning, they used their little fingers to pull the tape from their canvases. Voila! Their masterpieces were revealed!

Abstract Art for Kids on Hello Rascal Kids. Family Lifestyle website for parents and kids. Arts ideas for kids.

Shop these supplies on Amazon:

Canvas
Washable Paint
Sponge brushes

*A drop cloth is super helpful because paint and paint brushes do not always stay on the canvas. Grab a drop cloth from your local art or hardware store and use it again, and again, and again.

Happy Art Days!

Written by Brandi Stanton, mother of 2 rascals, ages 2 and 4.


Shop This Post

Letter from our Head Rascal

letter.jpg

Hello there friends,

As I write this, my two little rascals are next to me at our dining table and we are balancing our new reality where the world around us is in limbo. Despite the uncertainty, I hold on to this simple thing called hope. My optimism comes from my kids and husband; when I feel like crying, they are there with a sweet smile or a silly joke and all seems right in the world. I cherish this time with them, but the level of the unknown future is unsettling for me.

Our world is changing. The world has already changed. But we can still create the world in which we want to live in.

It’s the understatement of a lifetime, but I wanted to acknowledge the extremely trying times that have been brought on by the COVID-19 pandemic. Let’s be honest, every aspect of our lives has been upended in the past few weeks. As we get lost in the midst of it all on a larger scale, we may find ourselves downplaying how this affects us personally. I know I have.

I wanted to reach out and tell you that it is okay to not feel okay.  In the past few weeks, I’ve shifted from valuing the extra time with my rascals and the ability to slow down our regular routine, to the heaviness of the world reality hitting me at once, to trying to find a way to maintain a daily feeling of joy and gratitude while also grieving my daily connections with the outside world. As I struggle to understand where I am with it, I know, deep down, that everything will work out. 

As content creator for Hello Rascal Kids, it is okay to acknowledge our feelings about losing our creative outlets and routines, about queued posts that need to be pushed further or scrapped completely, about whether we should even be posting “happy” content. It may seem frivolous to worry about these things in the midst of a global pandemic, but these are real ways that our lives have been affected and your feelings are valid. Hello Rascal Kids and my family, like many of your families, had so many plans for the future – travel, Spring Break ideas, Easter activities – and these plans will no longer pan out. That’s okay. Allow yourself to adjust and adapt to our present reality, even if it’s not perfect, because it won’t be. Share your imperfect holiday, share your imperfect celebrations, share your imperfect work-from-home routines, share your imperfect at-home workouts. Share all your imperfection, because it‘s all so beautiful and we are in this together.

We will continue to create content and be consistent in whatever ways we can. Hello Rascal Kids has always been about my rascals and about kids being kids, but that doesn’t mean it always has to be perfect. My joy has always been and remains to be my kids, but that experience will look different now. Presently, it is focused on how to play the role of parent and teacher, how to manage their emotions as we go through changes as a family, and how to navigate working-from-home with two energetic, unpredictable rascals running around. I am still trying to create meaningful experiences for my kids in whatever ways I can because of all the joy they have brought me. Creating these experiences will look different for all of us; it will depend on your values, your abilities, and your present situation as it has been impacted by the pandemic.

Here’s an update about our original rascals. AJ and Ben are making sure to giggle and causing chaos when possible. Nothing has changed much on that front. They are navigating mom and dad’s new role as their teacher(s) for the next few months. Most days, they listen to our instructions and are good students, but there are days they try to test our limits. We are currently trying to teach Ben how to read. It’s a new challenge for all of us. We decided to take it on during this time, because we always relied on preschool to get him ready for kindergarten, but we know it’s important, now more than ever, that we play a big role in it as well. Ben is also going to celebrate his 5th birthday soon, so we are brainstorming ways to celebrate safely at home. AJ started remote classes two weeks ago. Our school sent him home with his laptop the day they announced the school closure and really prepared the kids to take ownership of this learning process. AJ does miss social interaction with his friends. We’ve been trying to schedule FaceTime calls with friends and family, which has been extremely helpful. They have both spent plenty of time playing in the yard; we are making sure they wiggle and move around when the sun is out. We also took this opportunity to rearrange furniture to maximize space in their bedroom and playroom. AJ and Ben have each other, so I know they will get through this. They have always been “better together,” and now I think they will grow to be “stronger together.”

How are your rascals? How are you all? Let’s start a dialogue where we share resources, tips, and stories. I’ll re-share them so we can connect and support each other. For now, I’ve put together a list of resources below in hopes that they will help you hold onto normal in any way possible. These resources are not in any way meant to dismiss your feelings or your struggles. These are meant to be resources that you all can pick and choose from based on what works for you and your family. What works for mine may not work for yours, and vice versa, and that is okay.

I am going to be slowing myself down. Don’t feel discouraged if you have to slow down too. We wish you the best of luck in finding your light. Everybody has their own light, and my hope is that we can help each other illuminate it.

Resources for the kids:

Resources for you and adjusting to your new routine:

One of Hello Rascal Kids’ core values is: “We are an uplifting space, led first by our own attitudes. We know life and parenthood is not always happy, simple, or fun, but we want you to rely on us to help you remember, create, and celebrate uplifting moments with your own family.” We are committed to coming together to get through this crisis as a community.

With Much Love, 

Ngoc Nguyen Lay, Your Head Rascal

Playdough at Home

It’s squishy. It’s floppy. It’s malleable. It’s…playdough! Not just any playdough, but the kind you make at home with your kids using ingredients you can trust. I can’t think of anything better than showing my kids how to use kitchen utensils and tools, measuring wet and dry ingredients, and creating their own playdough art masterpieces.

on+Hello+Rascal+Kids.+Family+Lifestyle+website+for+parents+and+kids.jpg

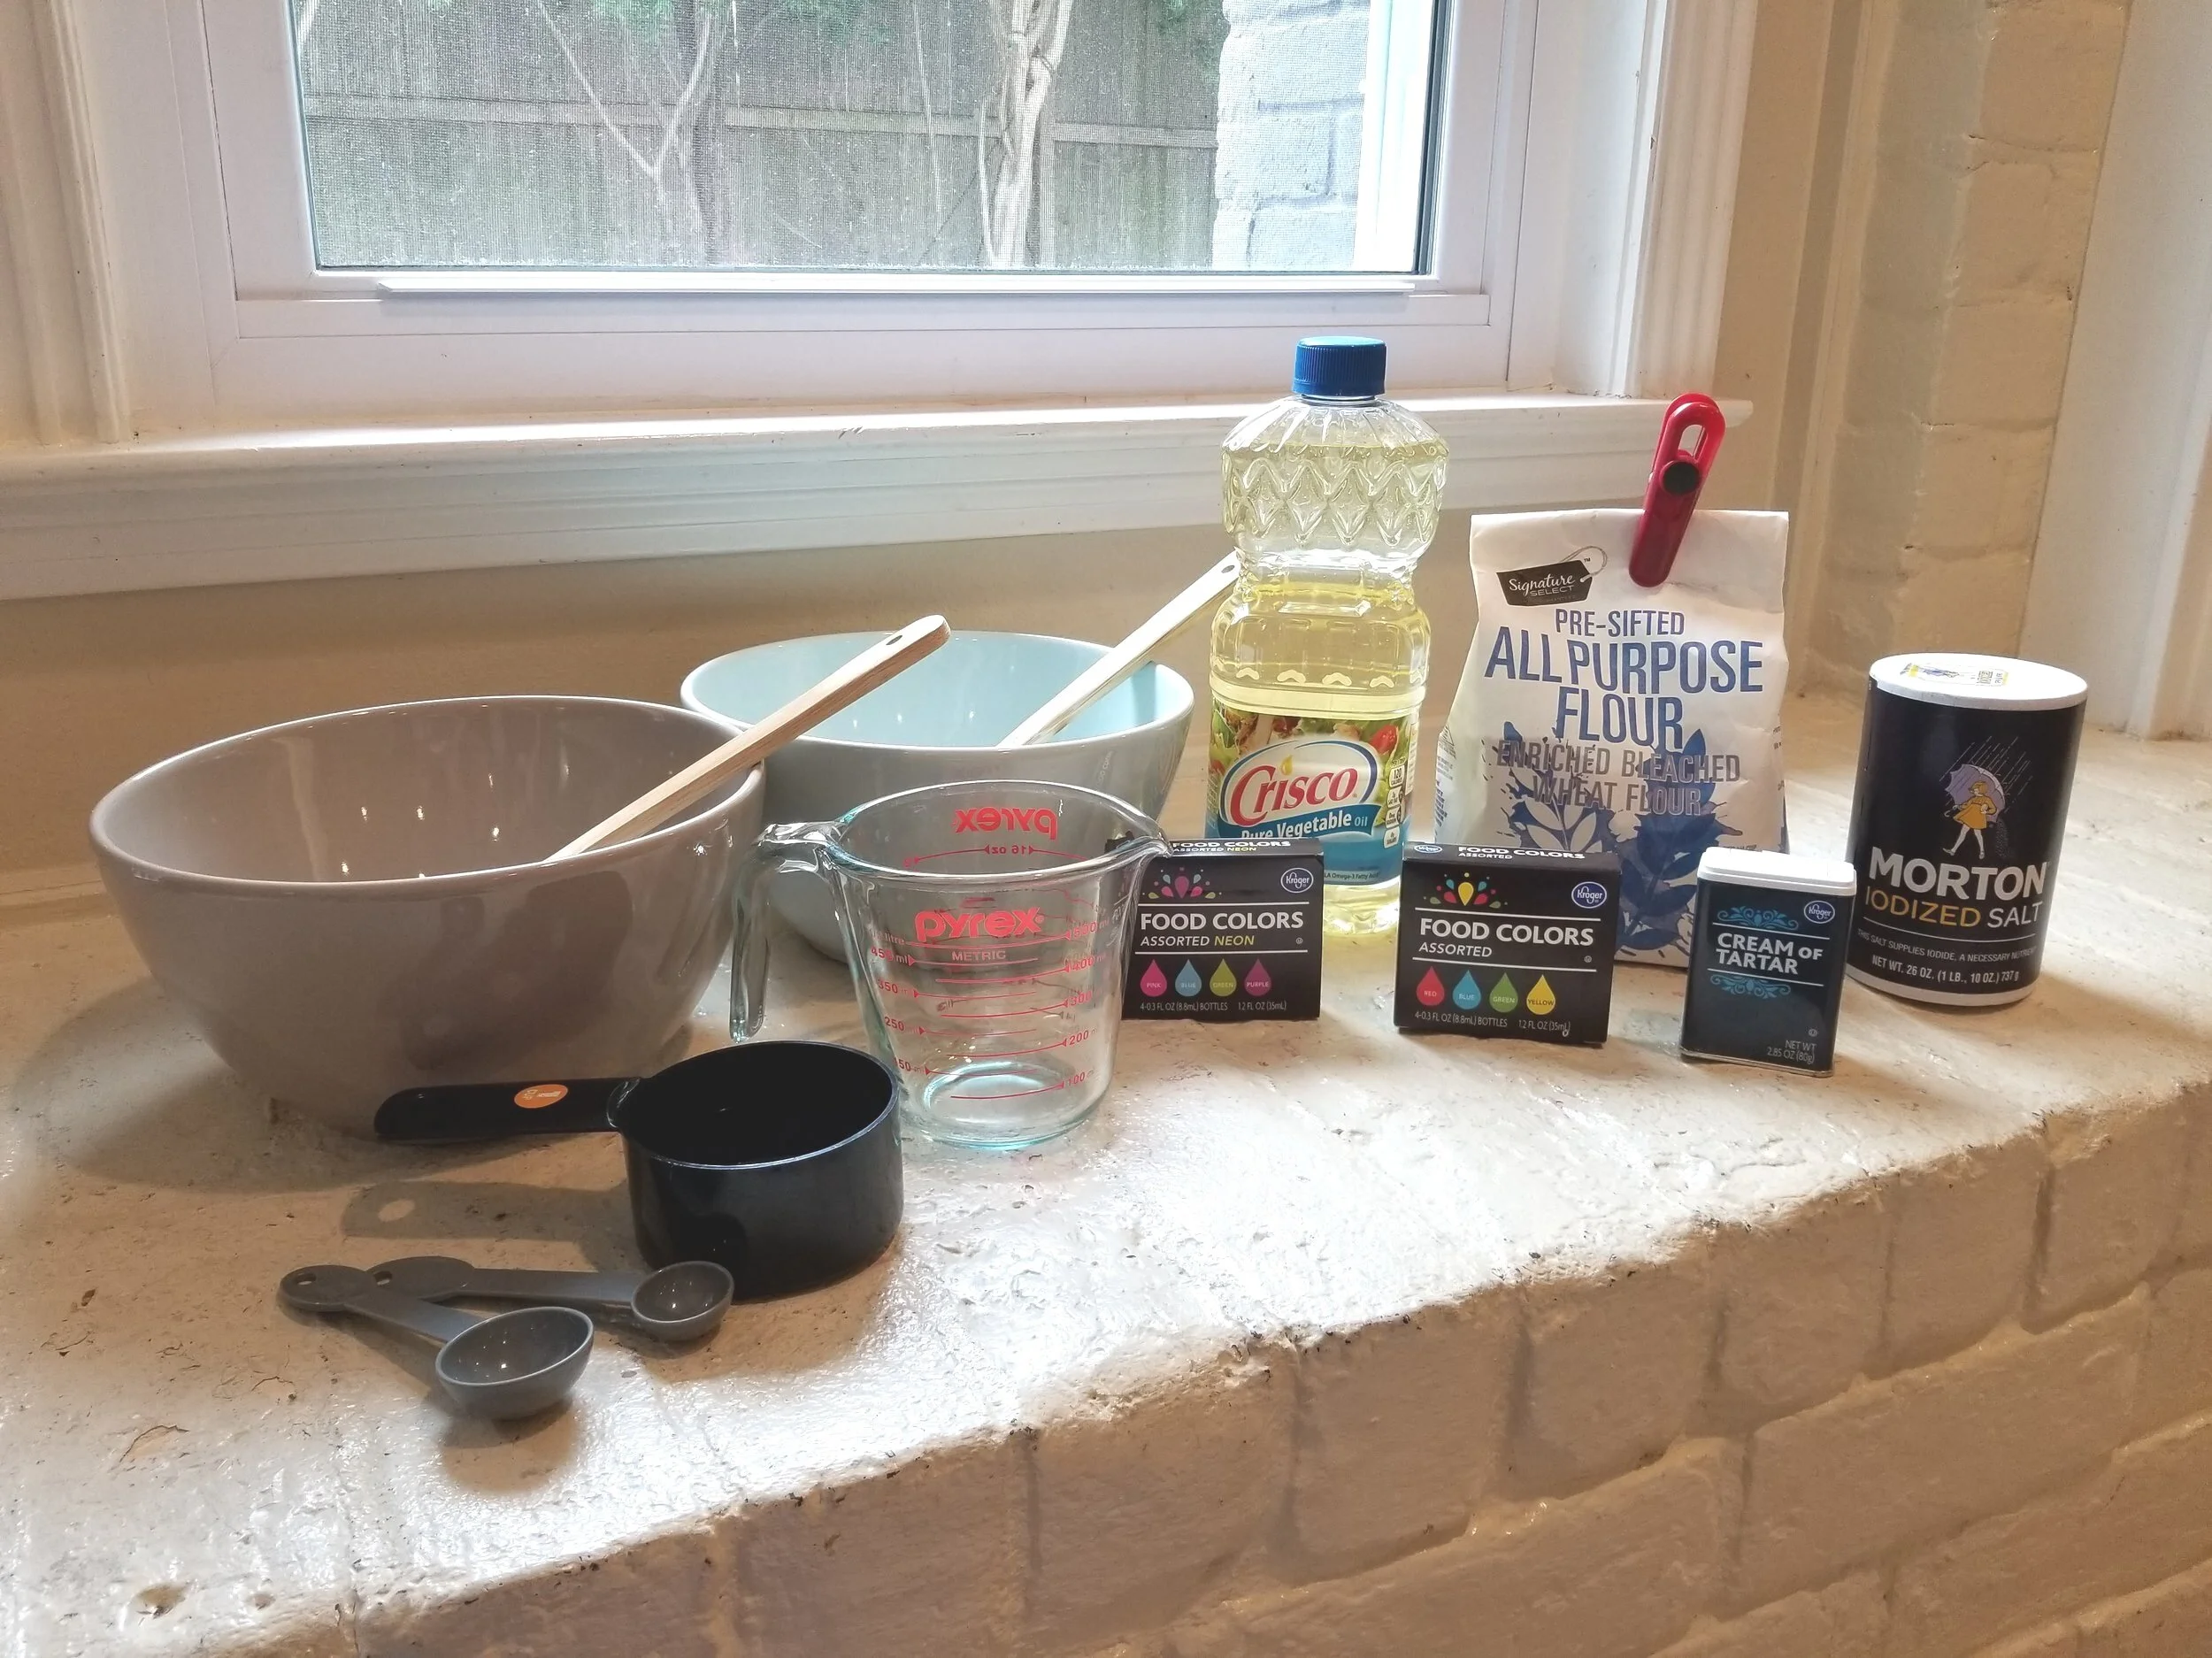
There is a high probability that you already have these ingredients in your pantry; take a peek and get started today! The ingredient list is straightforward:

  • 1 cup flour

  • 2 tsp cream of tartar

  • 1/2 cup salt

  • 1 cup water

  • 1 tbsp cooking oil

  • food coloring

This recipe can easily be doubled, tripled, or quadrupled depending on the number of kids, the size of your microwave safe dish, and the capacity of your microwave.

The directions are super easy: First, you want to add all ingredients together into a microwave safe dish.

It’ll look something like this:

Use a large spoon to mix the ingredients together. Put the bowl in the microwave and cook for 1 minute. Remove the bowl from the microwave, stir, and put back in to cook for another minute. Continue this process until the playdough comes together and you can no longer stir it.

Take the playdough out of the bowl (warning: it will be hot) and knead it until it is cool and smooth. Then it is time to let your kids create their masterpieces!

Playdough at Home on Hello Rascal Kids. Family Lifestyle website for parents and kids.

Written by Brandi Stanton, mother of two rascals ages 2 and 3.

Gnome Cards

Gnome Cards on Hello Rascal Kids. Family Lifestyle Website for parents and kids.

When was the last time you sent a text message?  Easy to recall, right?  What about the last time you sat down and wrote a letter?  Maybe a thank you card?  It’s been a while, huh?

With all of the amazing advancements in technology, it’s so easy to write a quick text to get your point across.  But, back in the day, writing letters by hand was the thing to do! Imagine waiting patiently for the mailperson to deliver the goods - and when you opened your mailbox, you had a real life “You’ve Got Mail” experience!  It was truly a treat to open the envelope and find a cute card from your friend who moved to the other side of the country.

Gnome Cards on Hello Rascal Kids. Family Lifestyle Website for parents and kids.

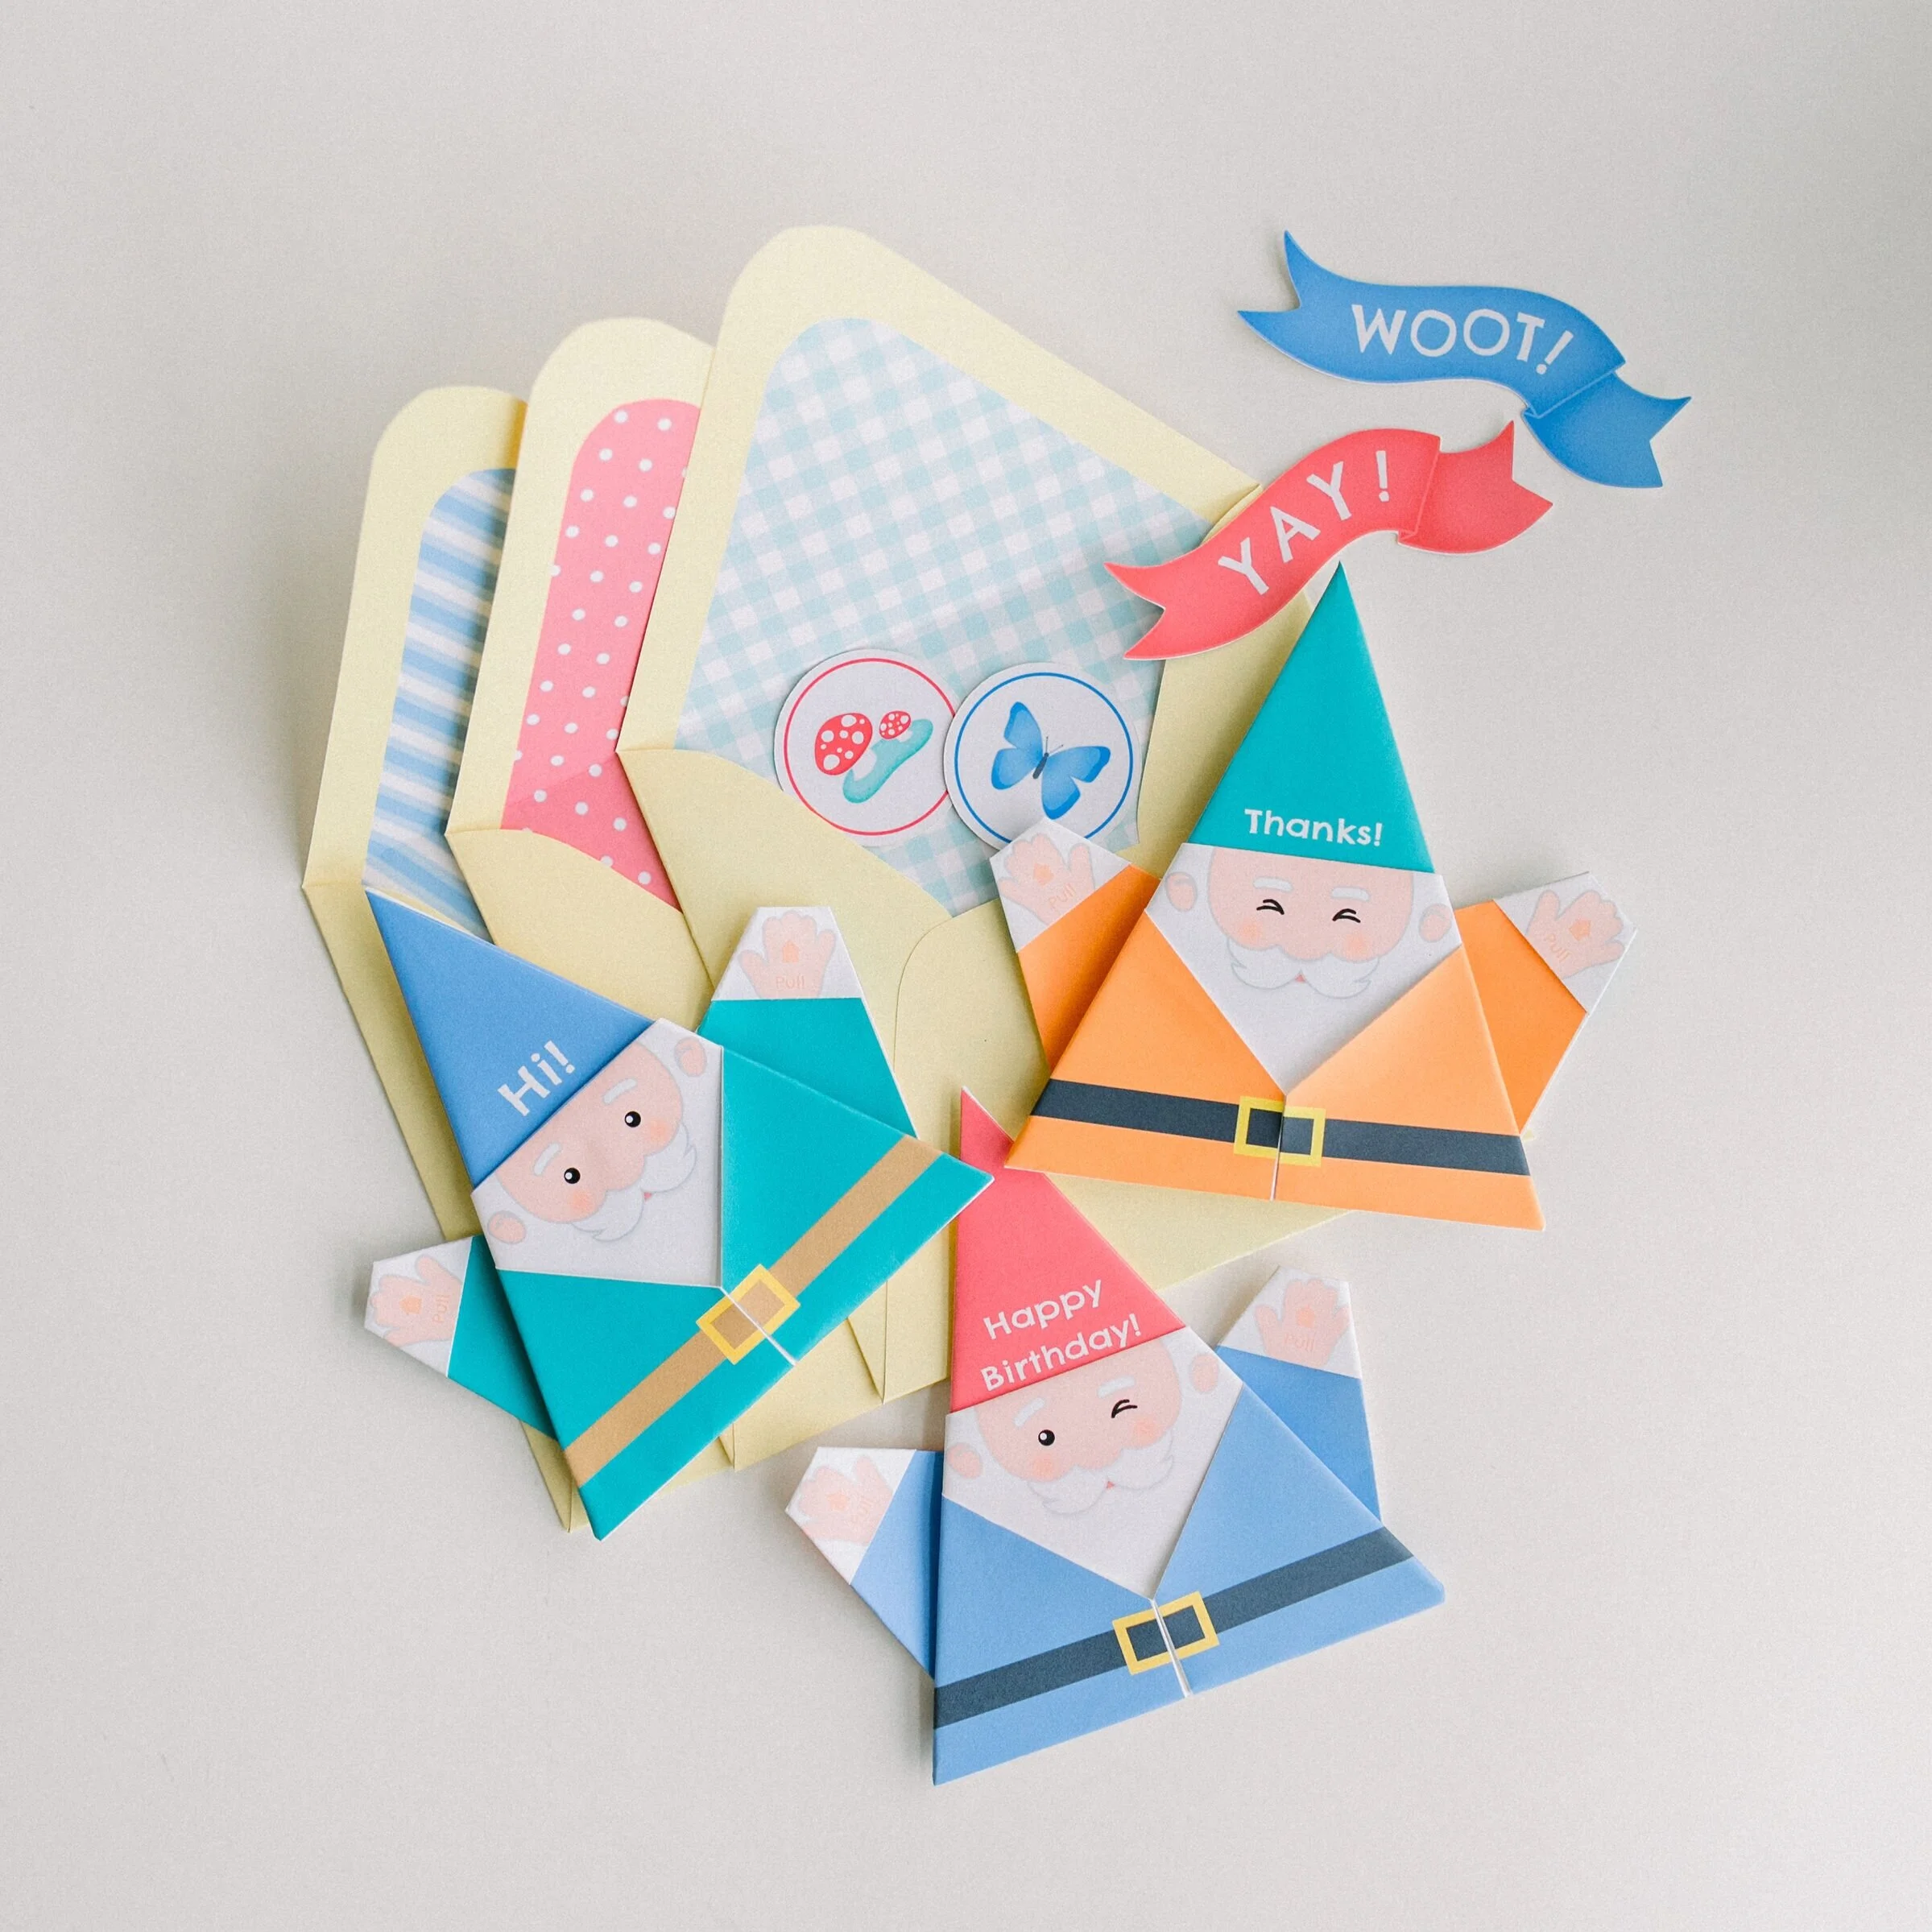
We at Hello Rascal Kids believe that everyone deserves to have that feeling! That is why we have partnered with the folks over at YayMail to bring you these adorable Gnome Cards!  These cards can be used as holiday cards, or just a fun anytime card to send to your pen pal.

Gnome Cards on Hello Rascal Kids. Family Lifestyle Website for parents and kids.

Now, a pen pal does not have to be someone who lives far away - they can be your classmates, neighbors, or whoever you’d like!  We want to challenge you to get the address of one friend you can write to over winter break!  Imagine how excited they will be when they open their mailbox and see this Gnome!

Gnome Cards on Hello Rascal Kids. Family Lifestyle Website for parents and kids.

Written by Ngoc Nguyen Lay, Head Rascal. Mother of two rascals, ages 4 and 6. Photo by Simply Adri Photography. Printable Origami Gnome Card: YayMail

The Art of Writing Thank You Notes

My rascals are 2 and 3 years old and they love art. They love creating art, making art, and even destroying art. I strive to find ways to incorporate art into each day. We do sidewalk chalk, we color with markers and crayons, we practice our scissor and tearing skills, we dance to music, and we even paint our bodies (so messy, but so cute!).

One of my favorite ways to incorporate art in our regular lives is to include my rascals while writing thank you notes. (The actual art of writing thank you notes seems to have transitioned to extinction or email, but we still practice the skill with paper and pen.) Neither of my boys can write their name or letters just yet, but they sure can create something beautiful and fun.

The Art of Writing Thank You Notes on Hello Rascal Kids.

Let me tell you, the recipients of these notes LOVE them. I always get comments from the receivers that they enjoyed getting something other than junk mail and bills, and they love that the artwork is handmade.

In my house, we write thank you notes for lots of reasons: friends came over for a visit, a grandparent brings over a book, gifts were received for birthdays and holidays, for trips, adventures, and experiences with friends and family, and for hand-me-down items from other families.

The boys love creating letters and cards. My oldest rascal even dictates what I should write as the note. In the simplest fashion, my rascals use markers and stickers to decorate their cards. When we have more time, we utilize paint, glue, and photography. There are no limits to the creativity of a handmade card!

A few tips I have learned along the way:

  • Paper folded in half or thirds works equally well for letting writing.

  • Keep lots of envelopes on hand.

  • Collect cards for all occasions everywhere you go.

  • The charities to which we donate often send us blank cards in exchange for the donation. We use these!

  • Amazon sells cards in bulk. Some are blank, some are themed, some are for special occasions. These are great to have on hand.

  • Stores like Half Price Books and Dollar Tree are great places to buy cards in bulk for a discount.

  • I buy blank postcards for all sorts of letter writing. Save a few pennies by buying postcard stamps from the Post Office instead of using regular stamps.

This is a great way to invest in your child’s manners and understanding of etiquette, while also sharing their artwork with family and friends!

Written by Brandi Stanton, mama of two rascals, ages 2 and 3.


Shop The Post

Clothespin Airplanes

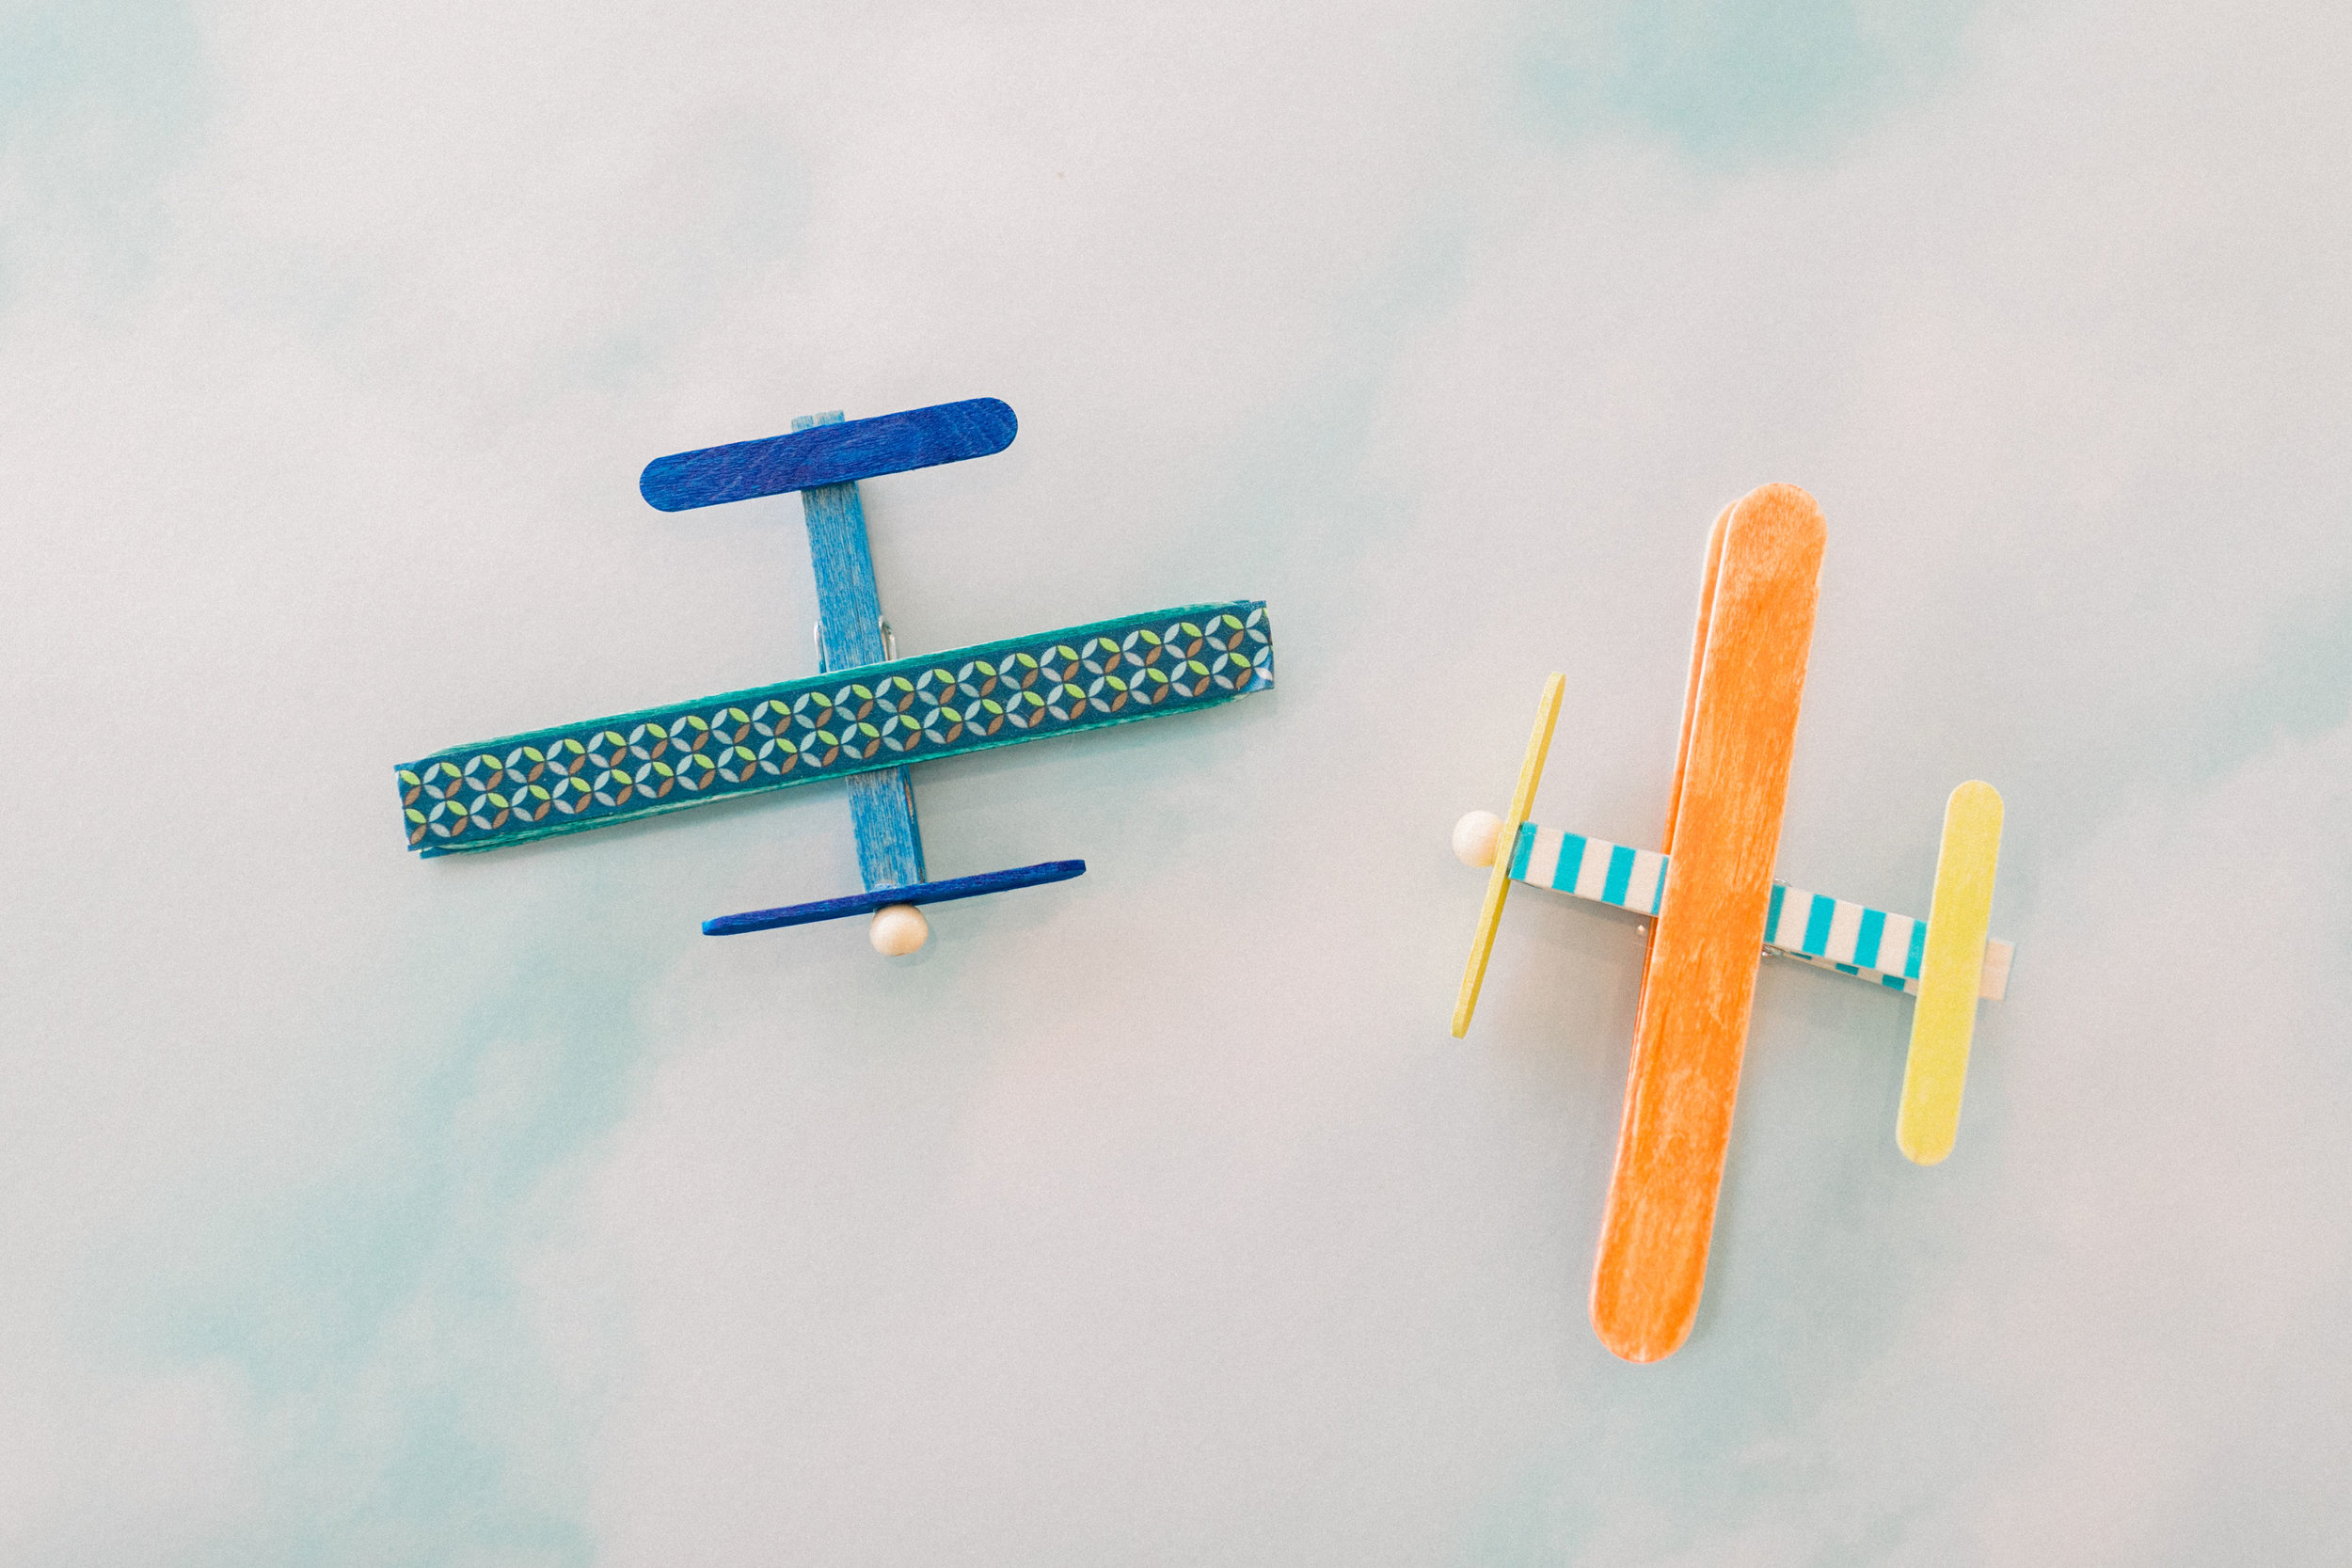
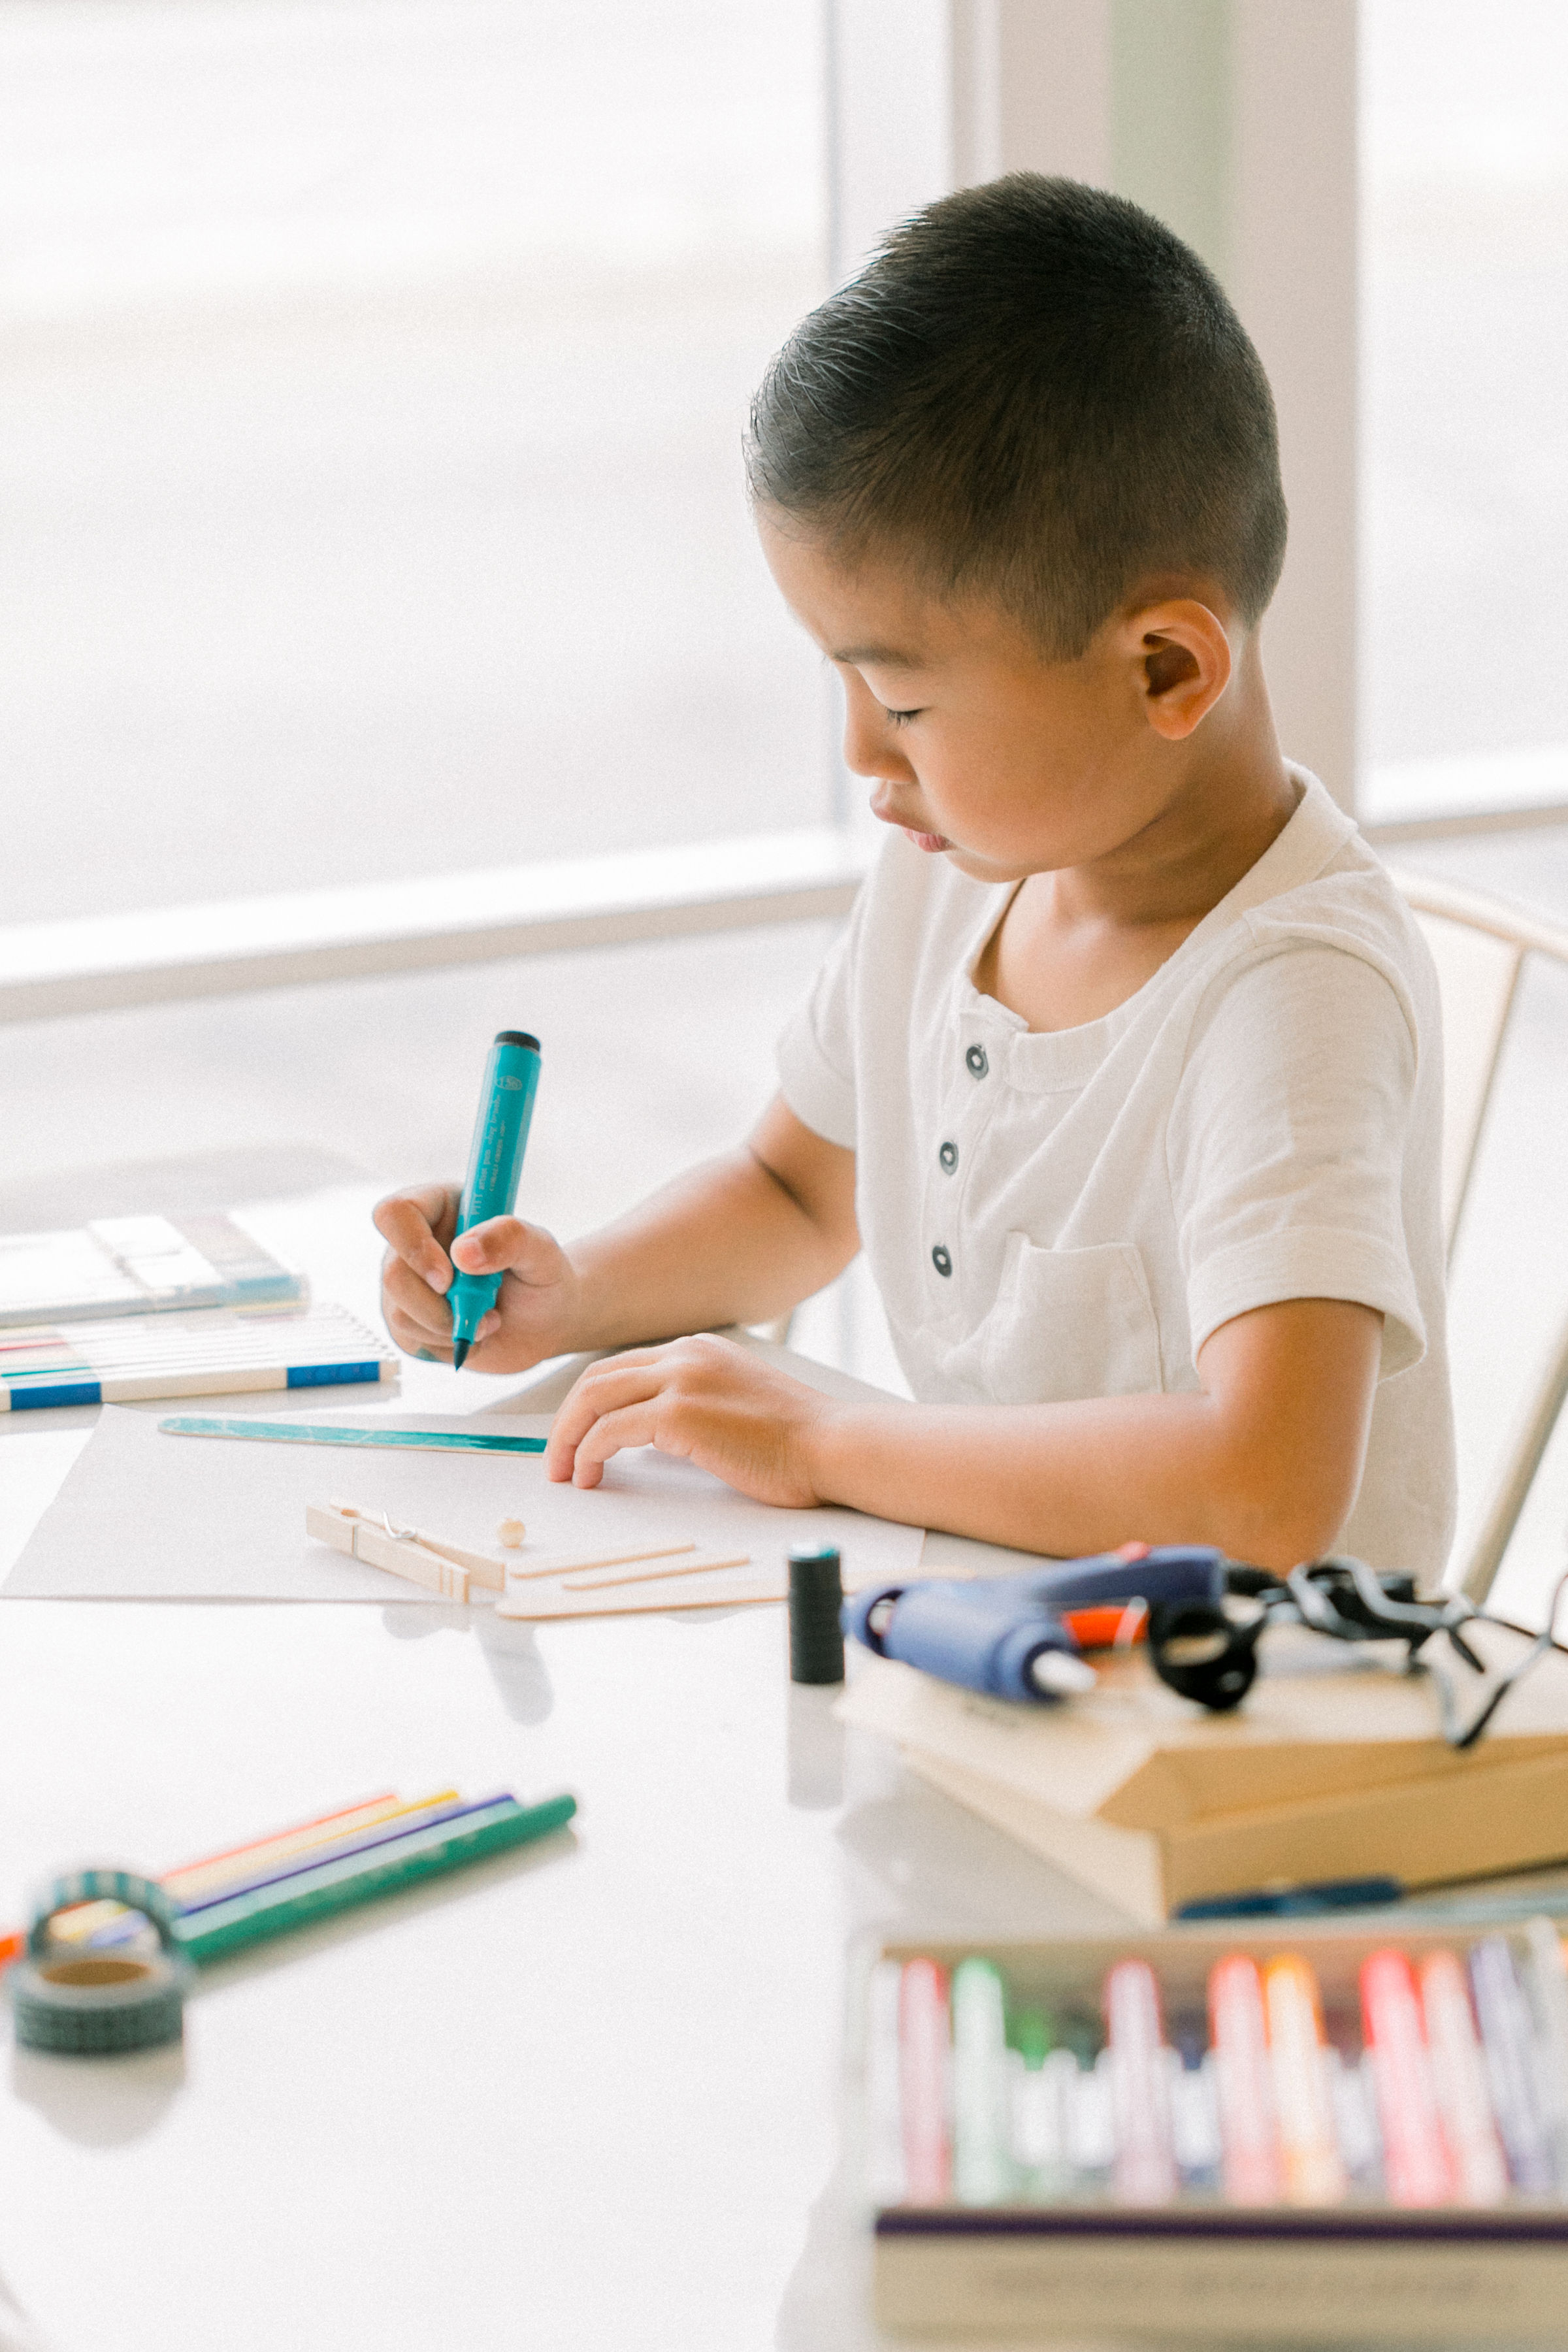
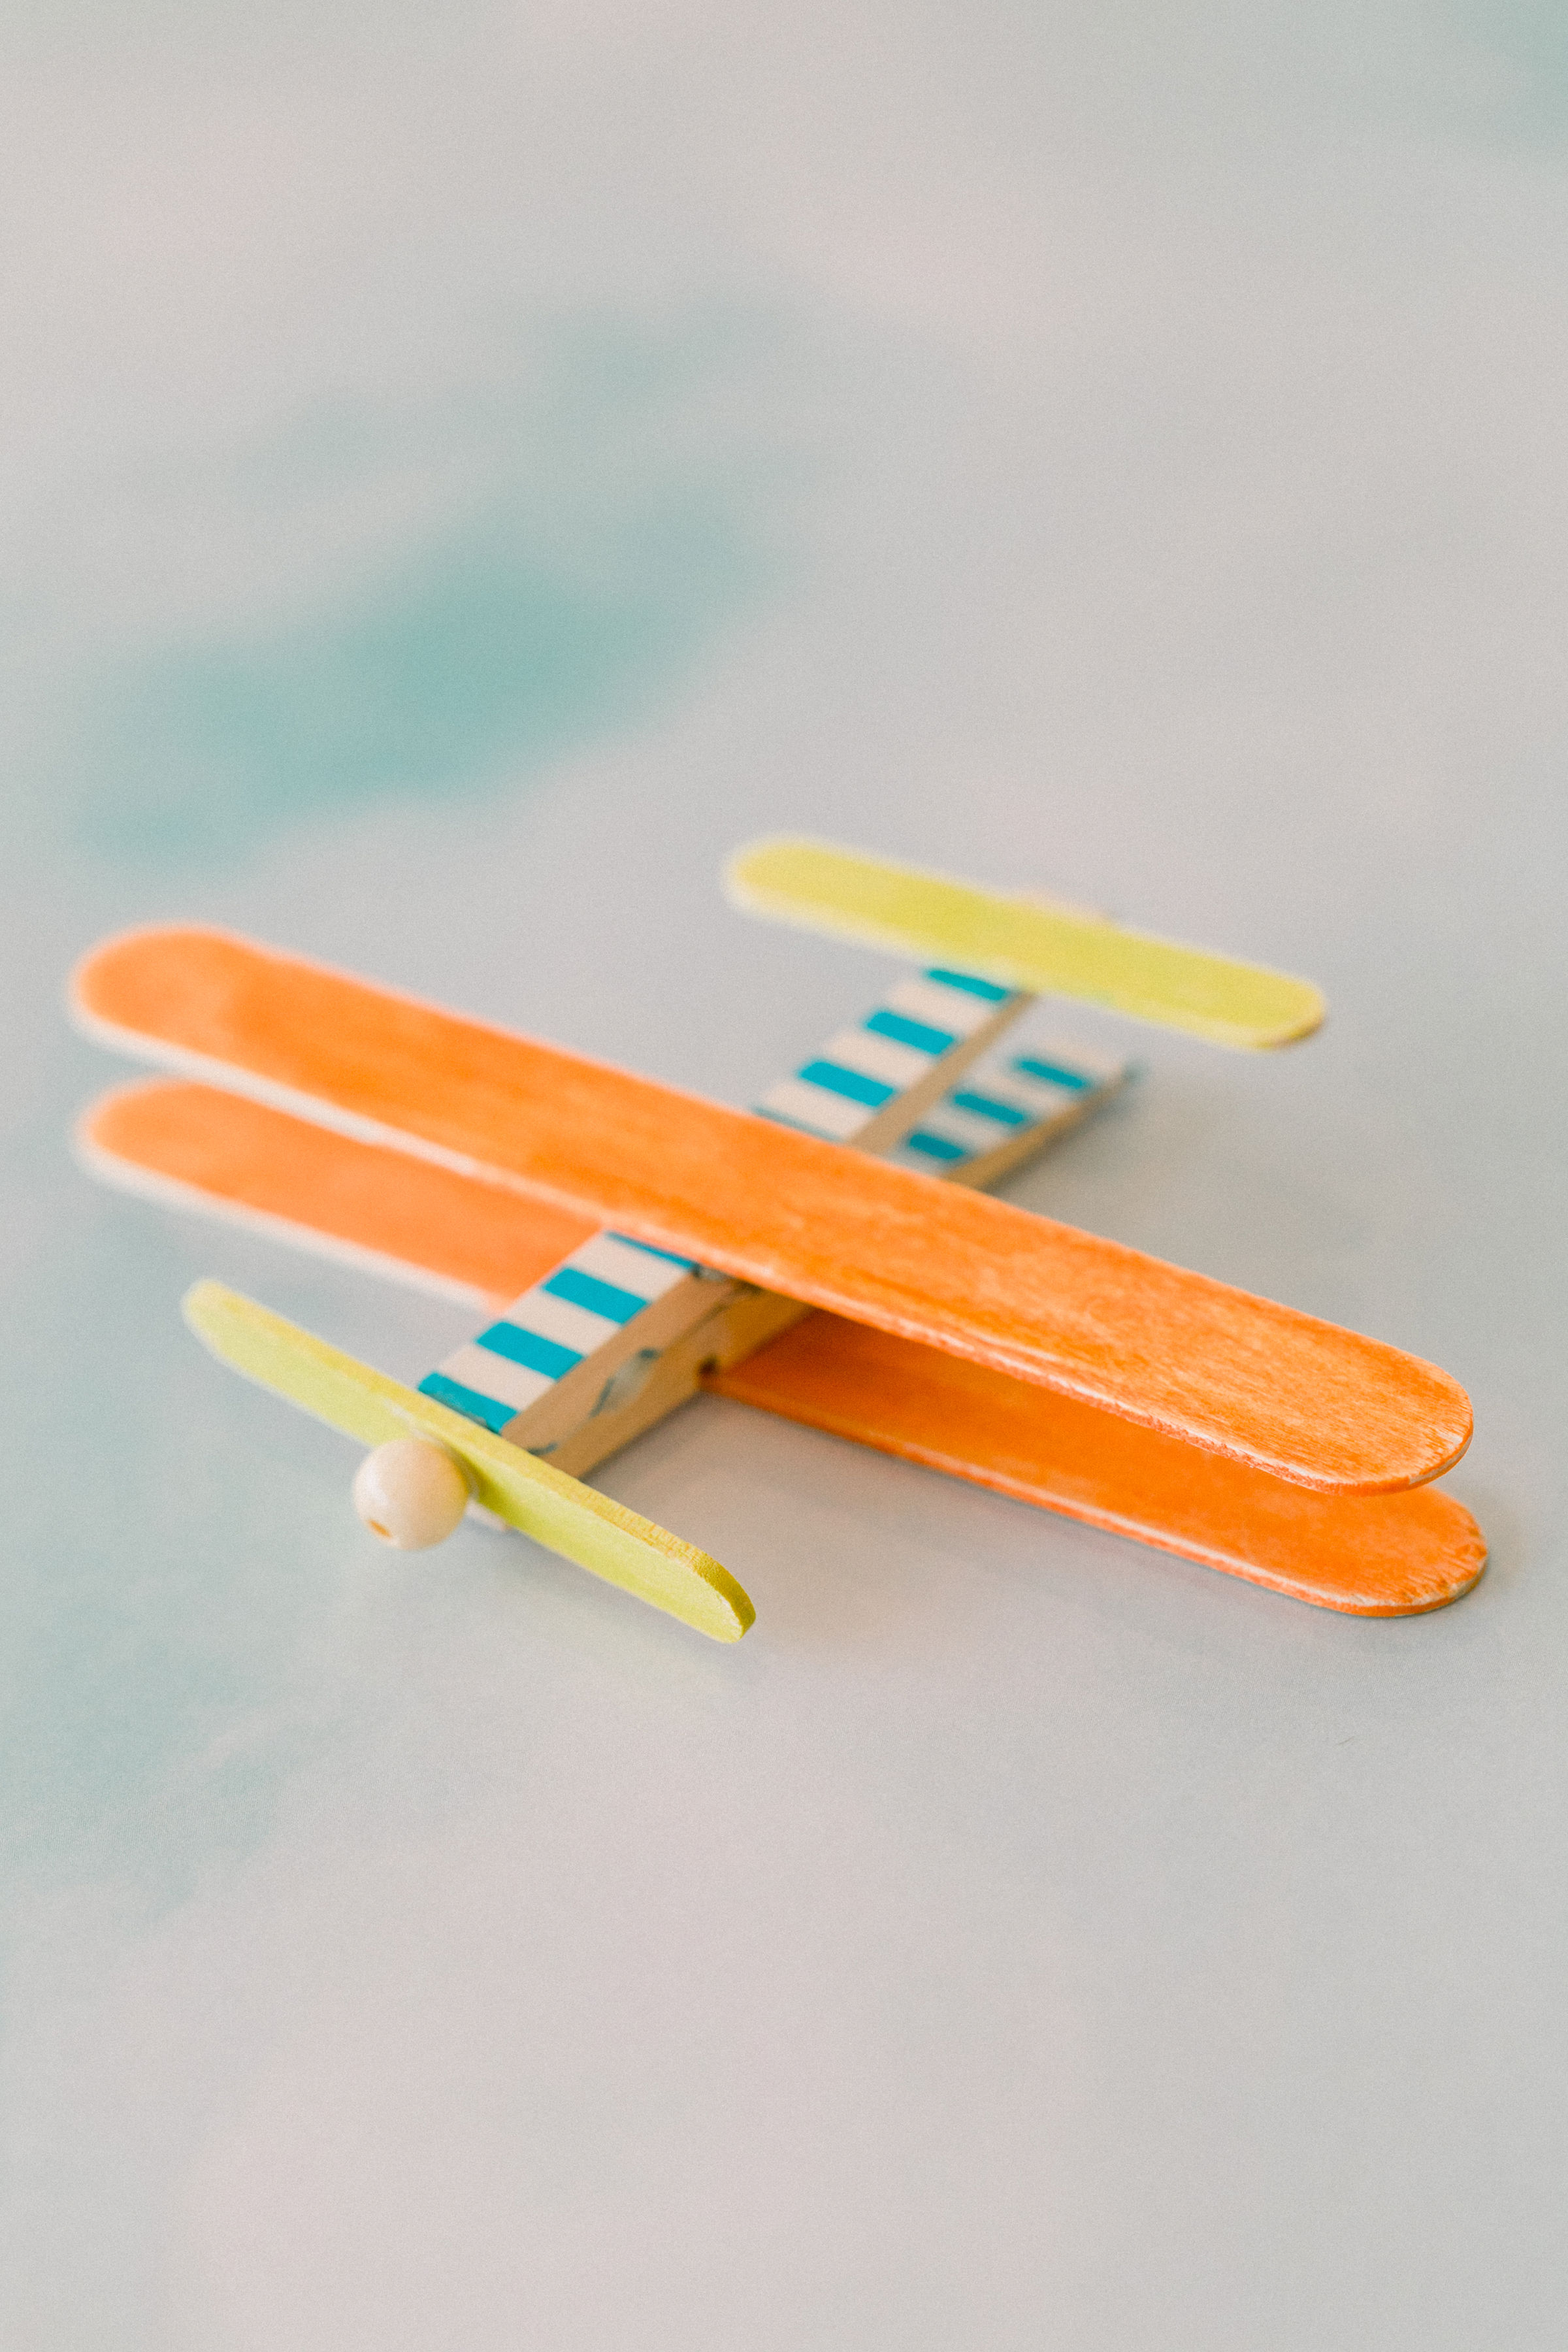
My boys love anything they can throw around. If it can fly, well, that is even better! We made these clothespin airplanes with a few supplies from the craft store.

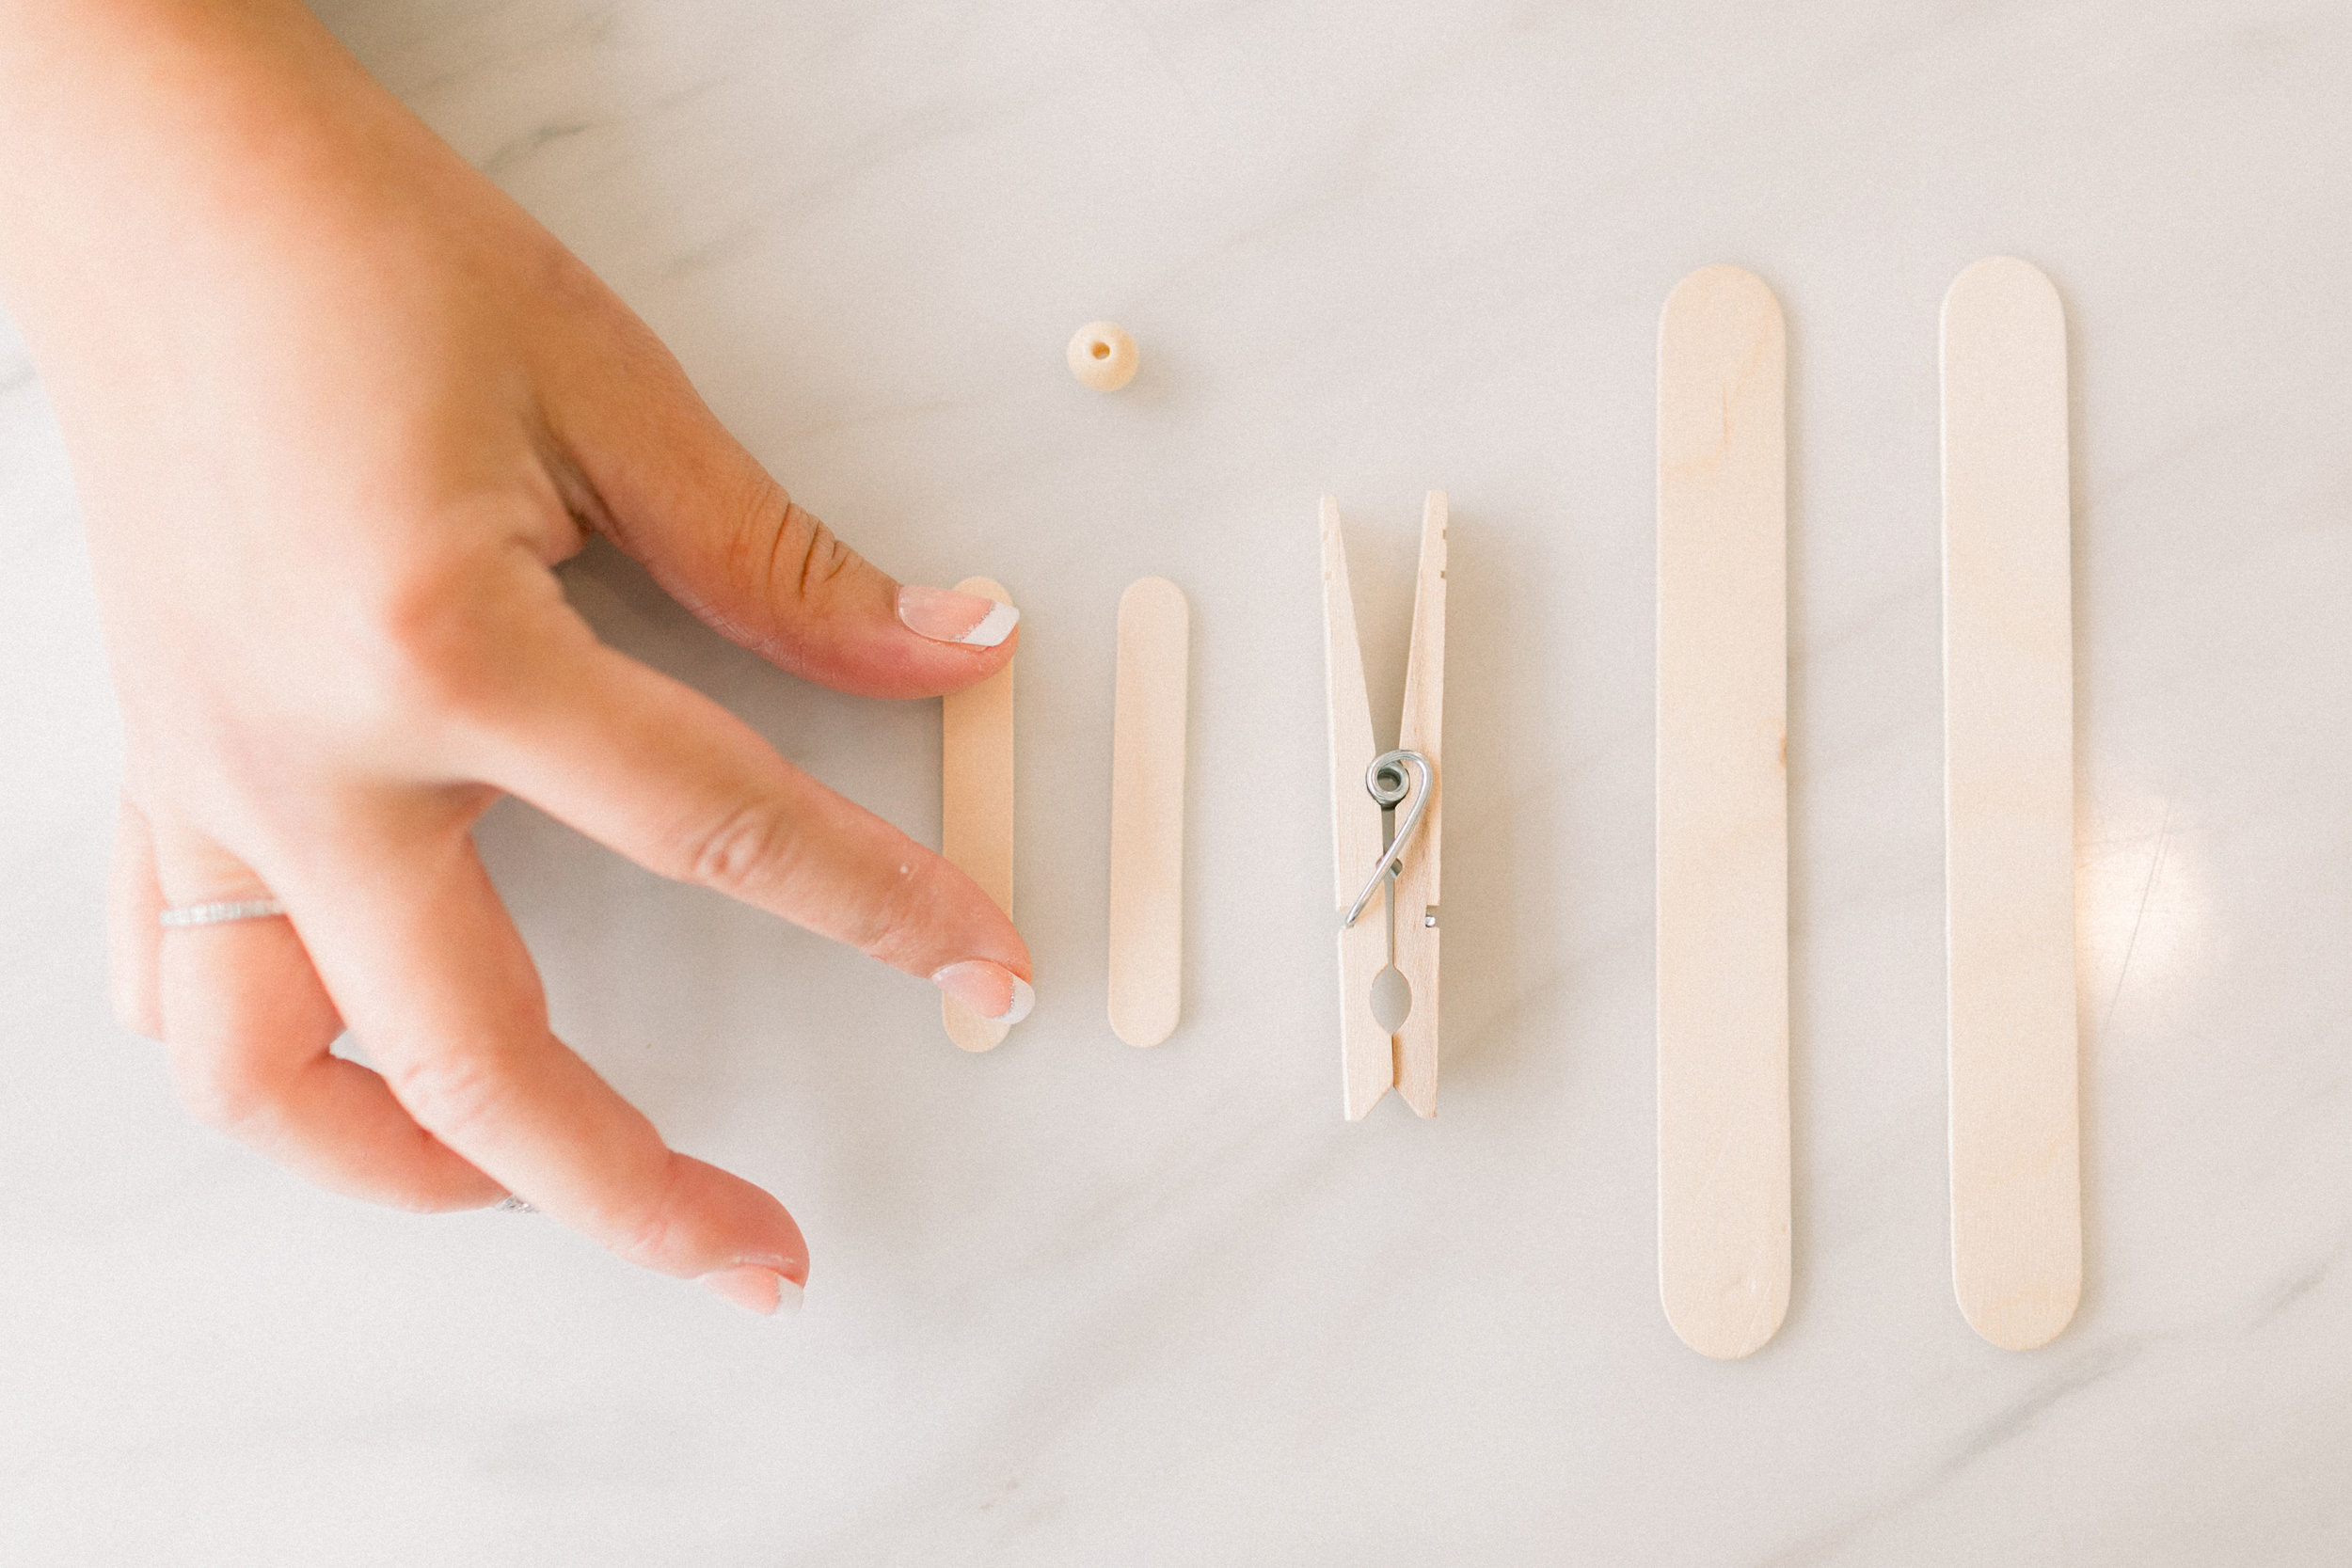
Supplies Needed

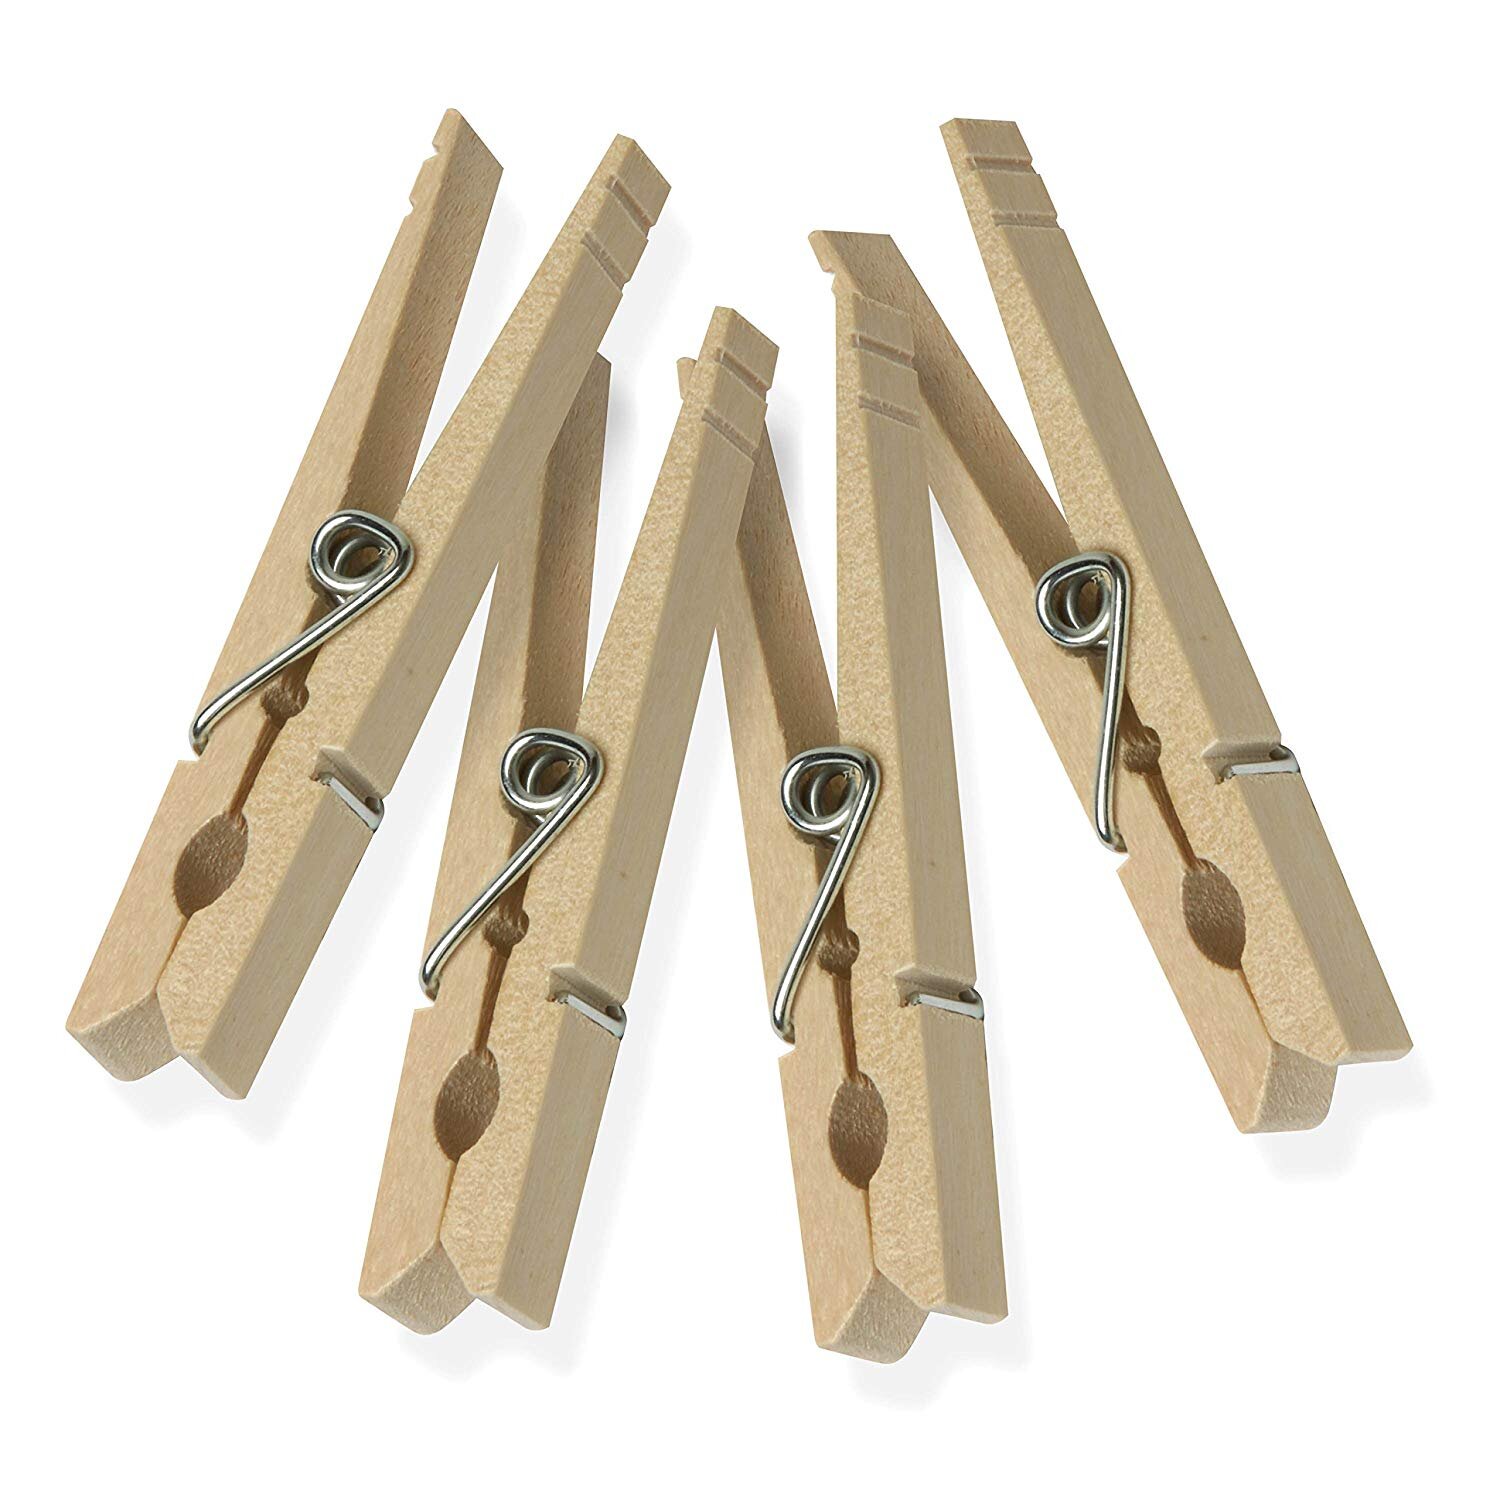
  • 1 Clothespin

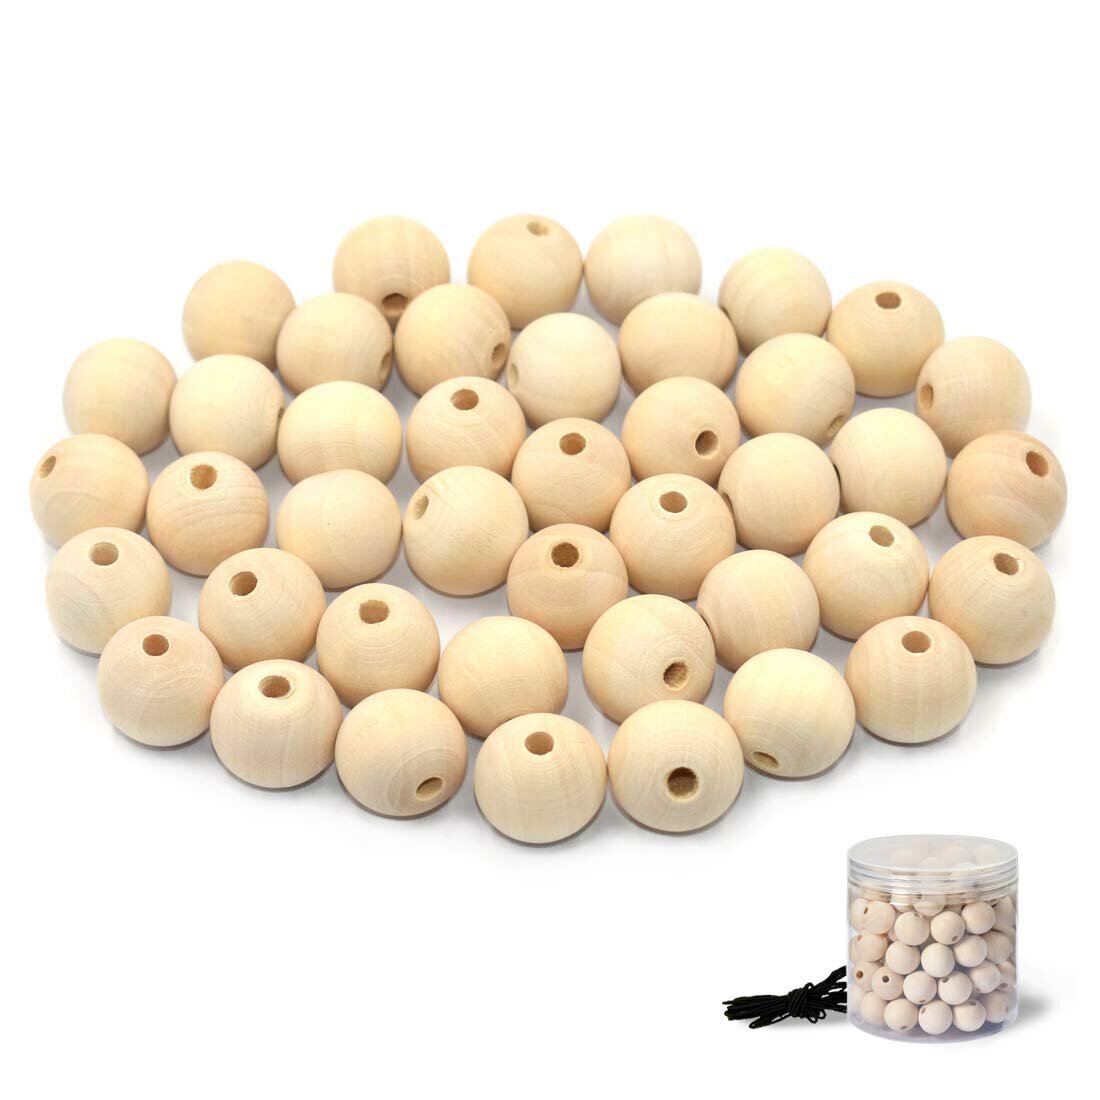
  • 1 Wooden Bead

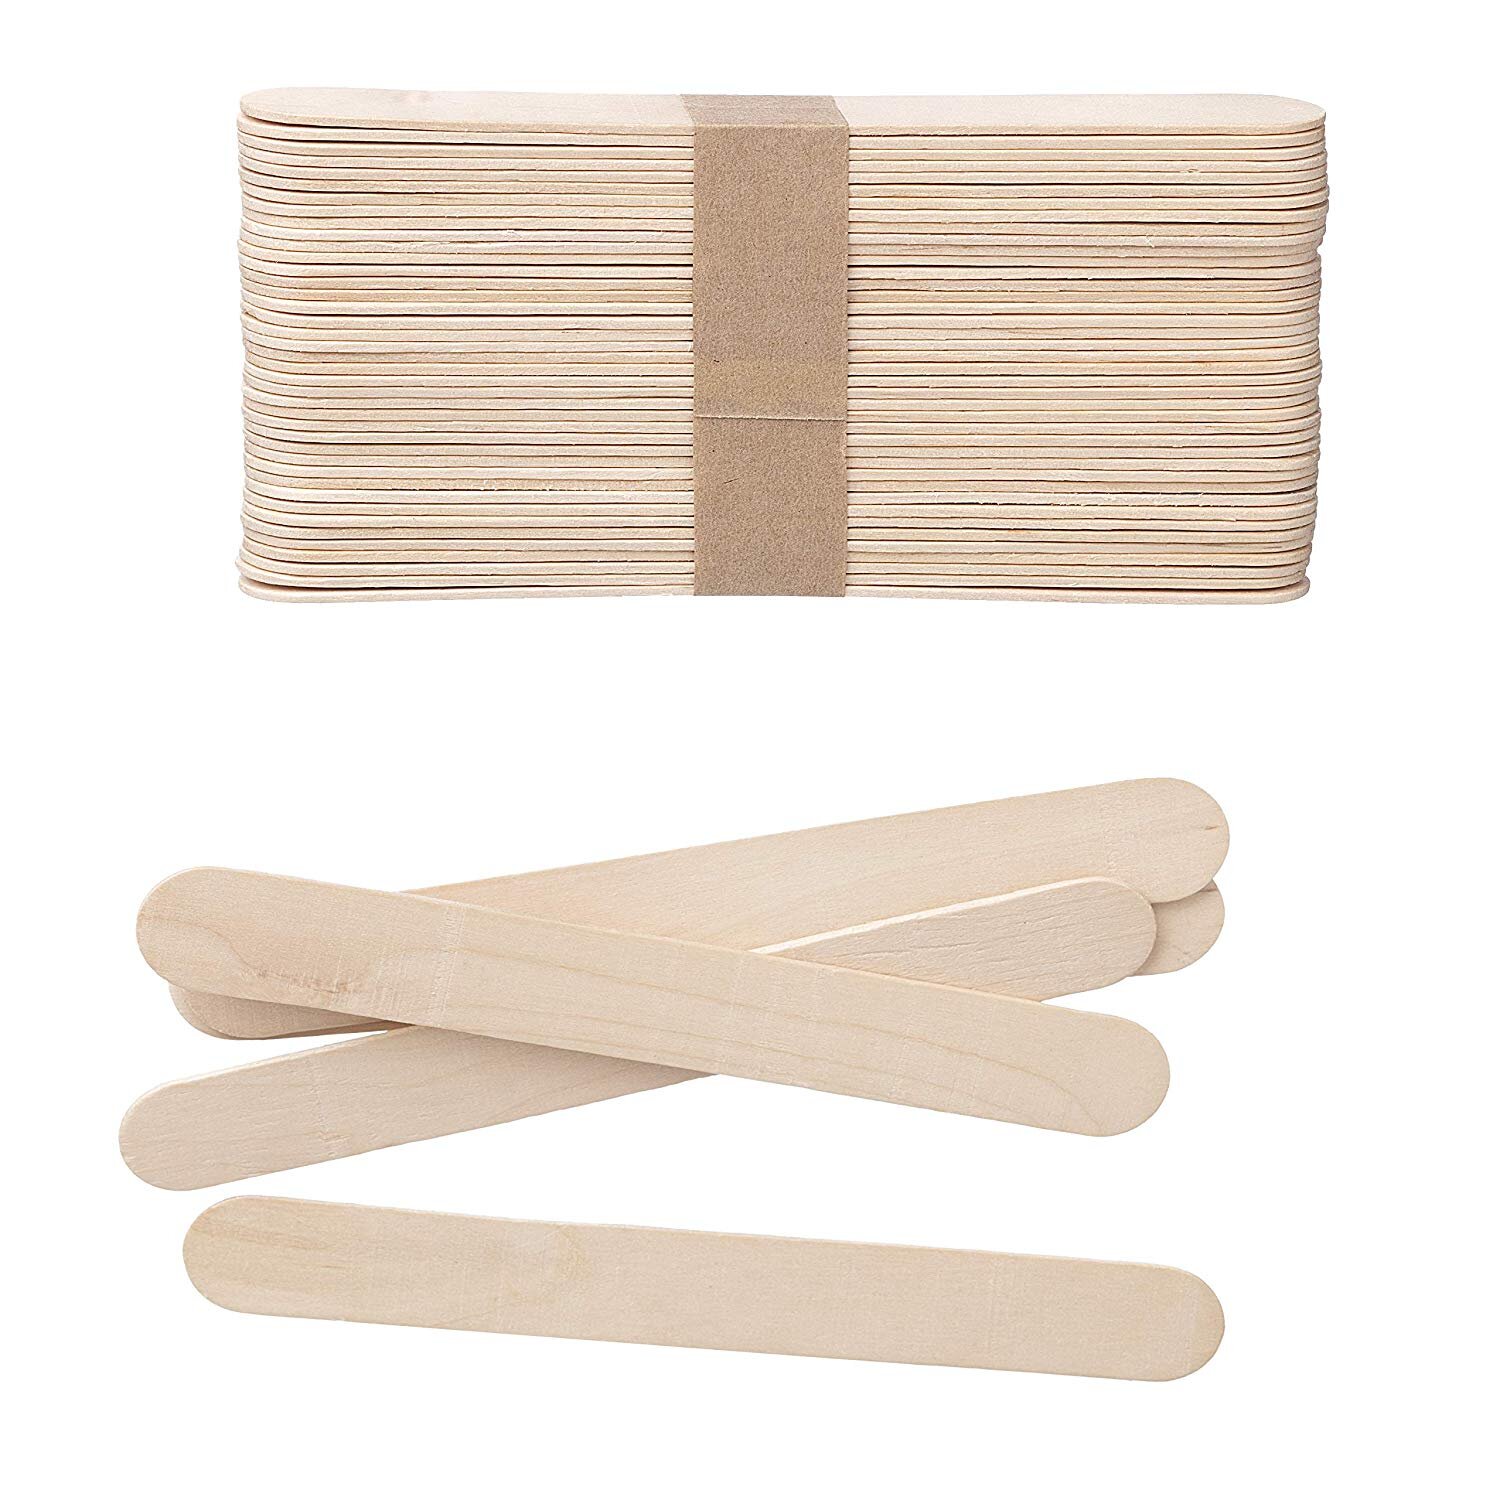
  • 2 Wooden Popsicle Sticks

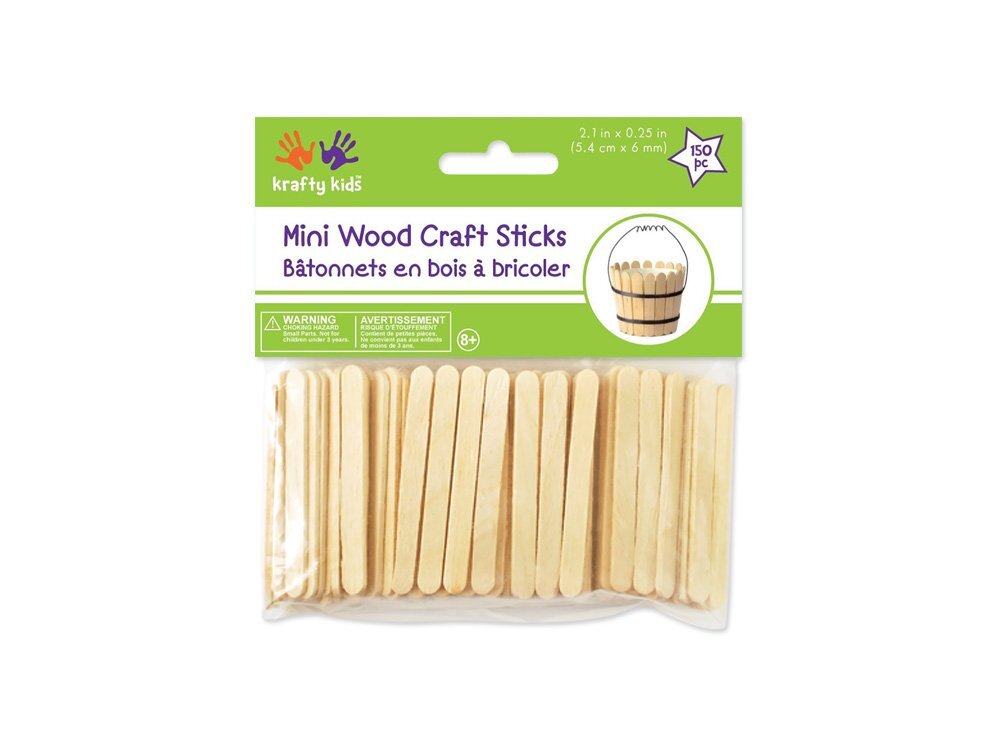
  • 2 Mini Craft Sticks

  • Markers or Paints/Brushes

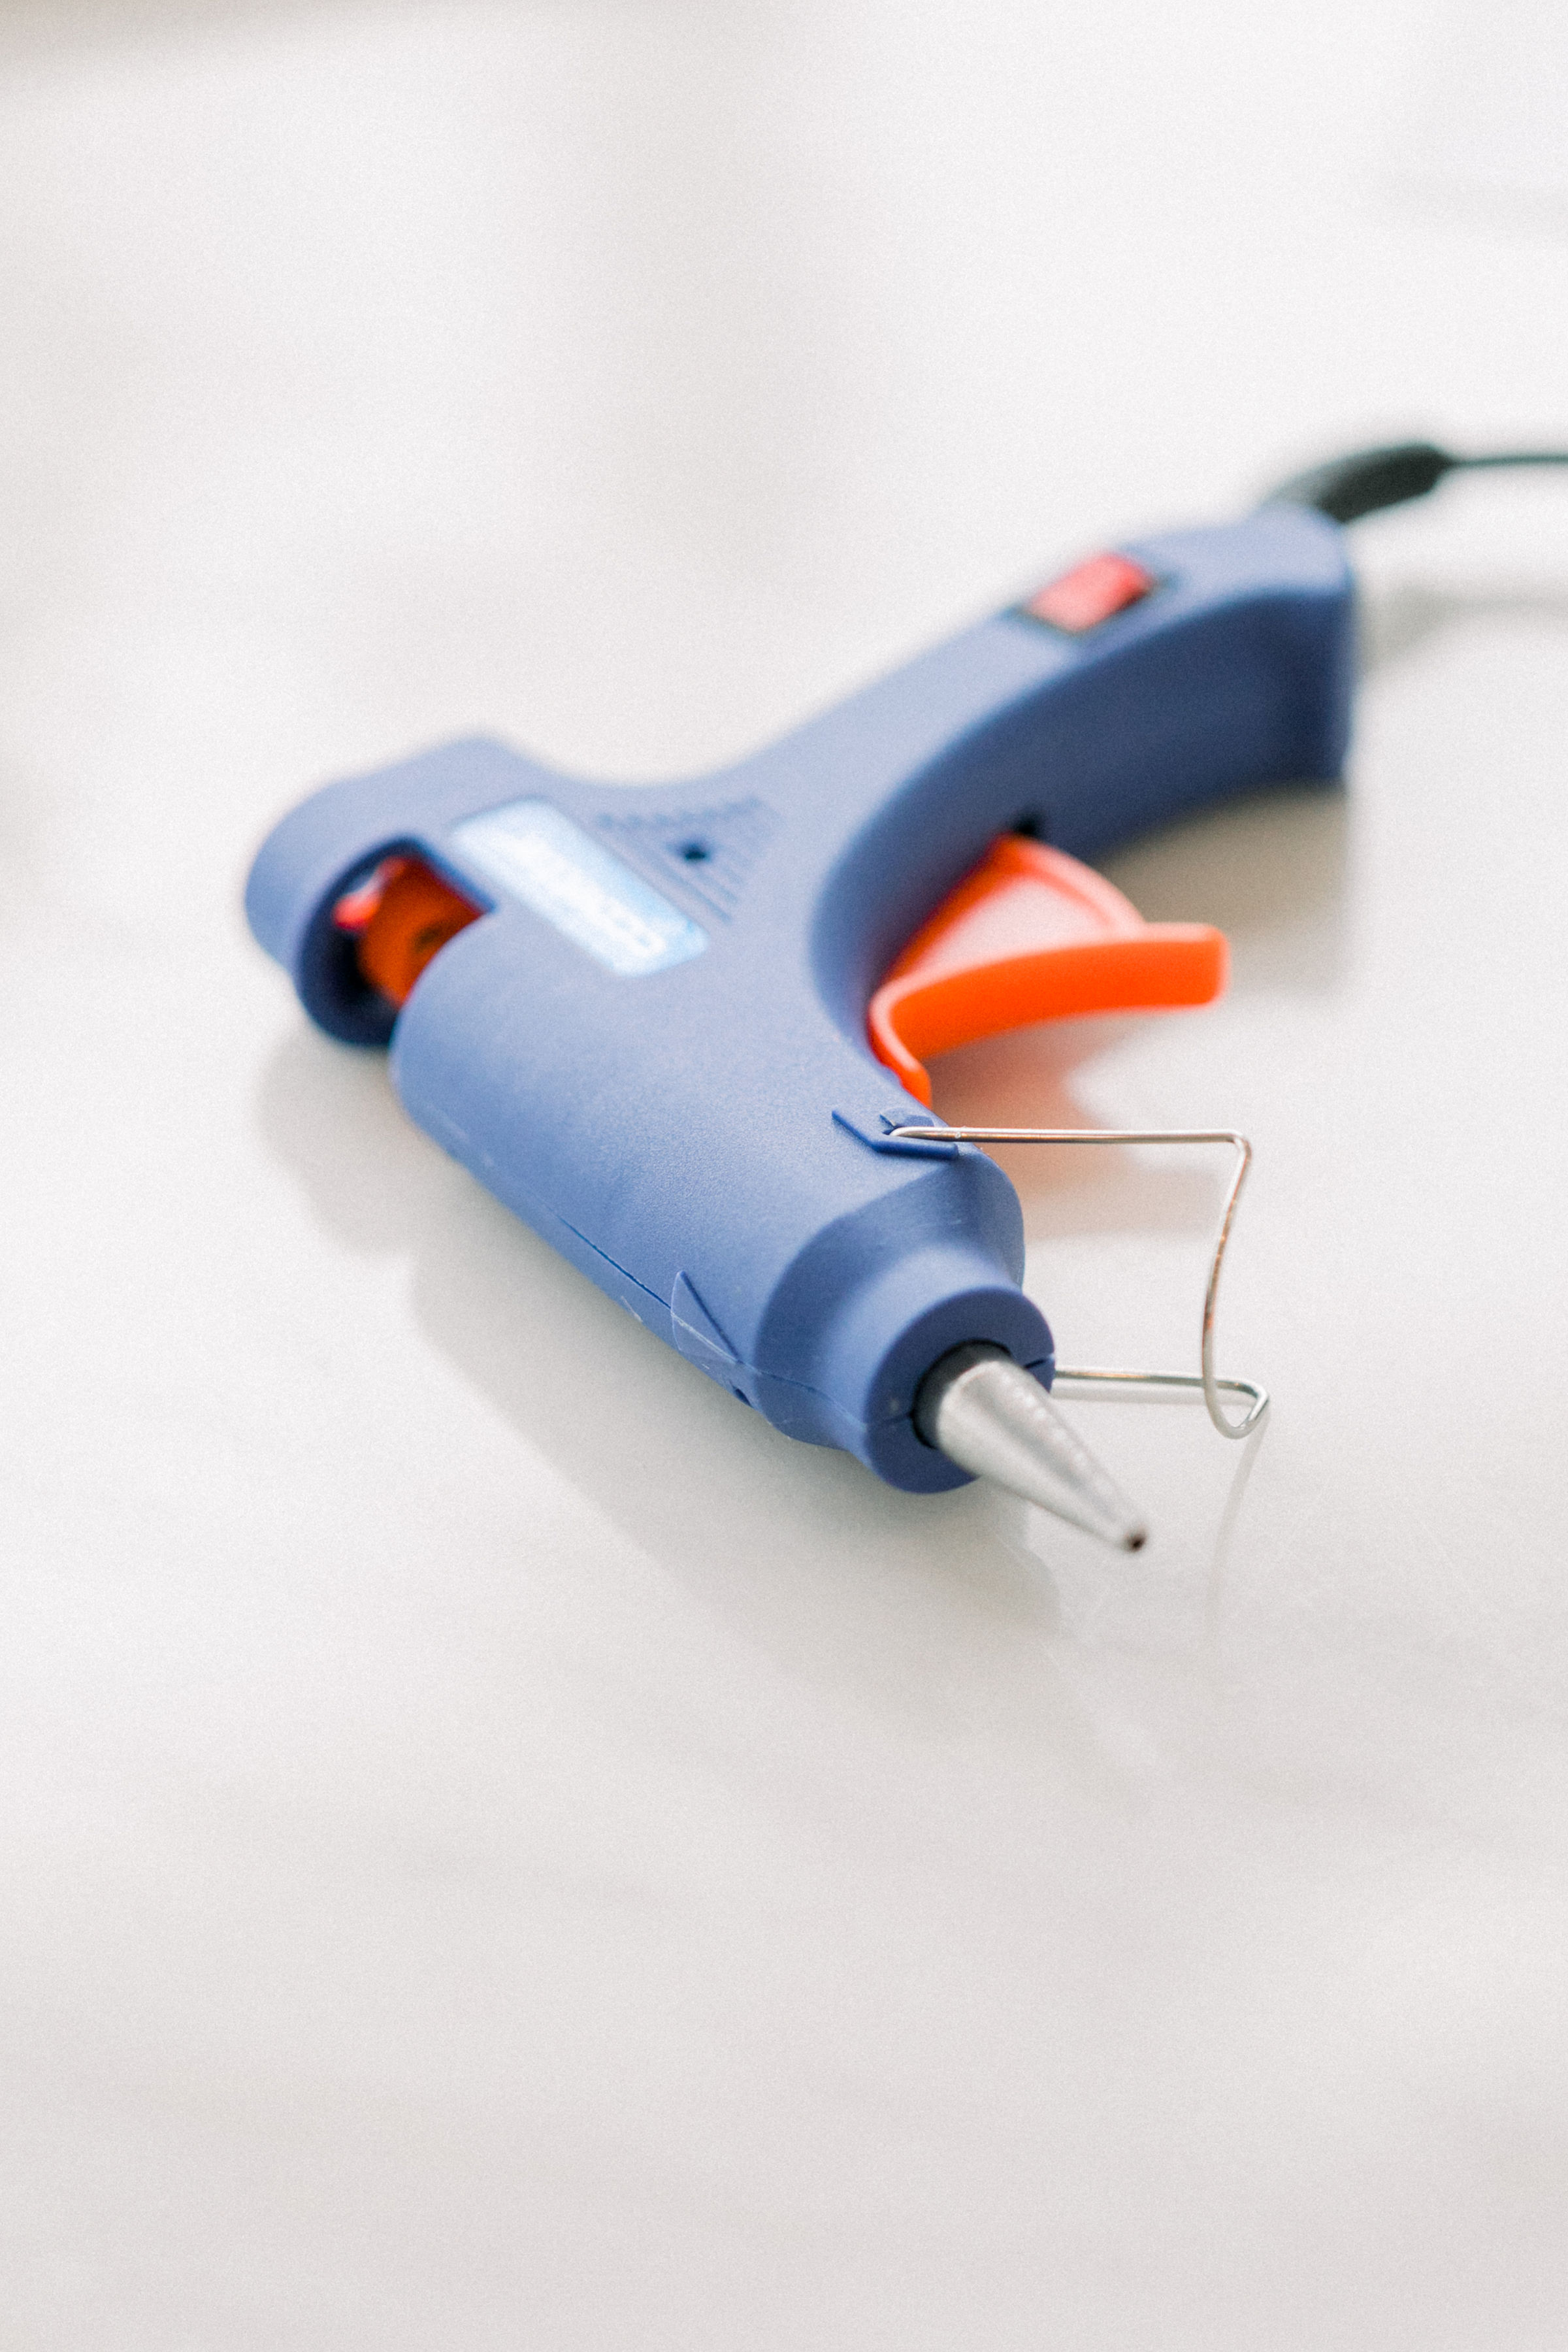
  • Glue or Hot Glue Gun

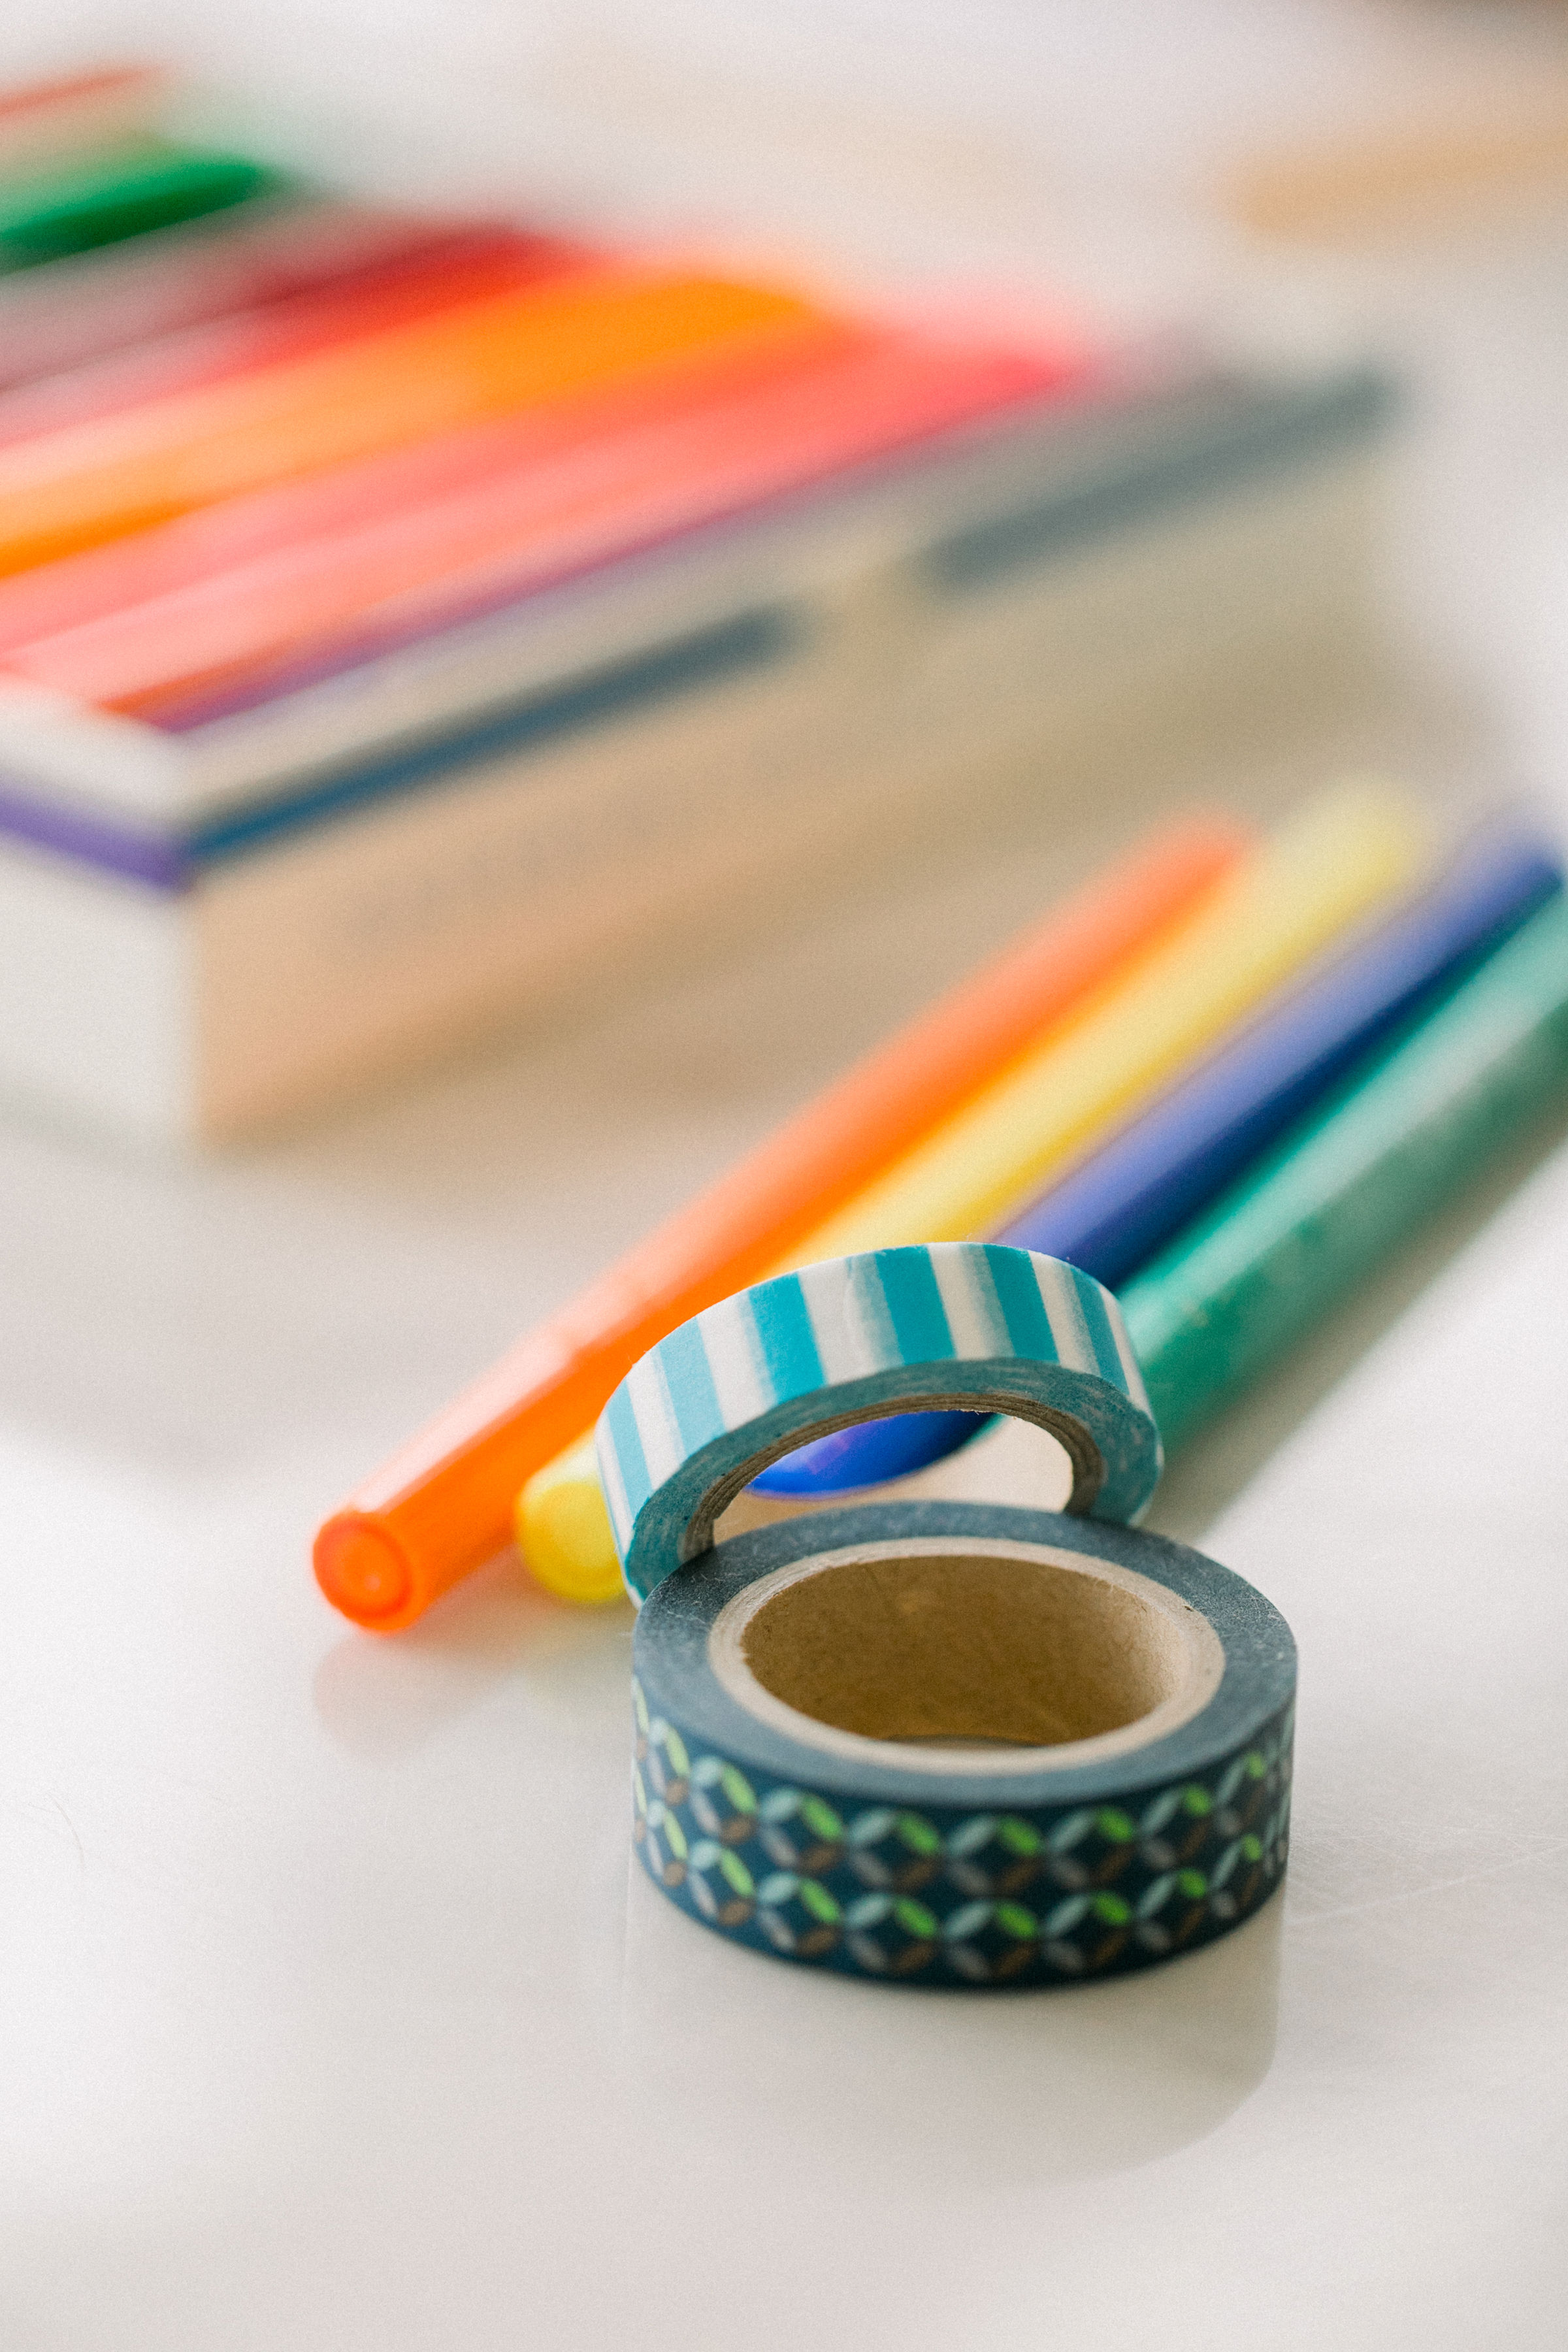
  • Washi Tape

Instructions

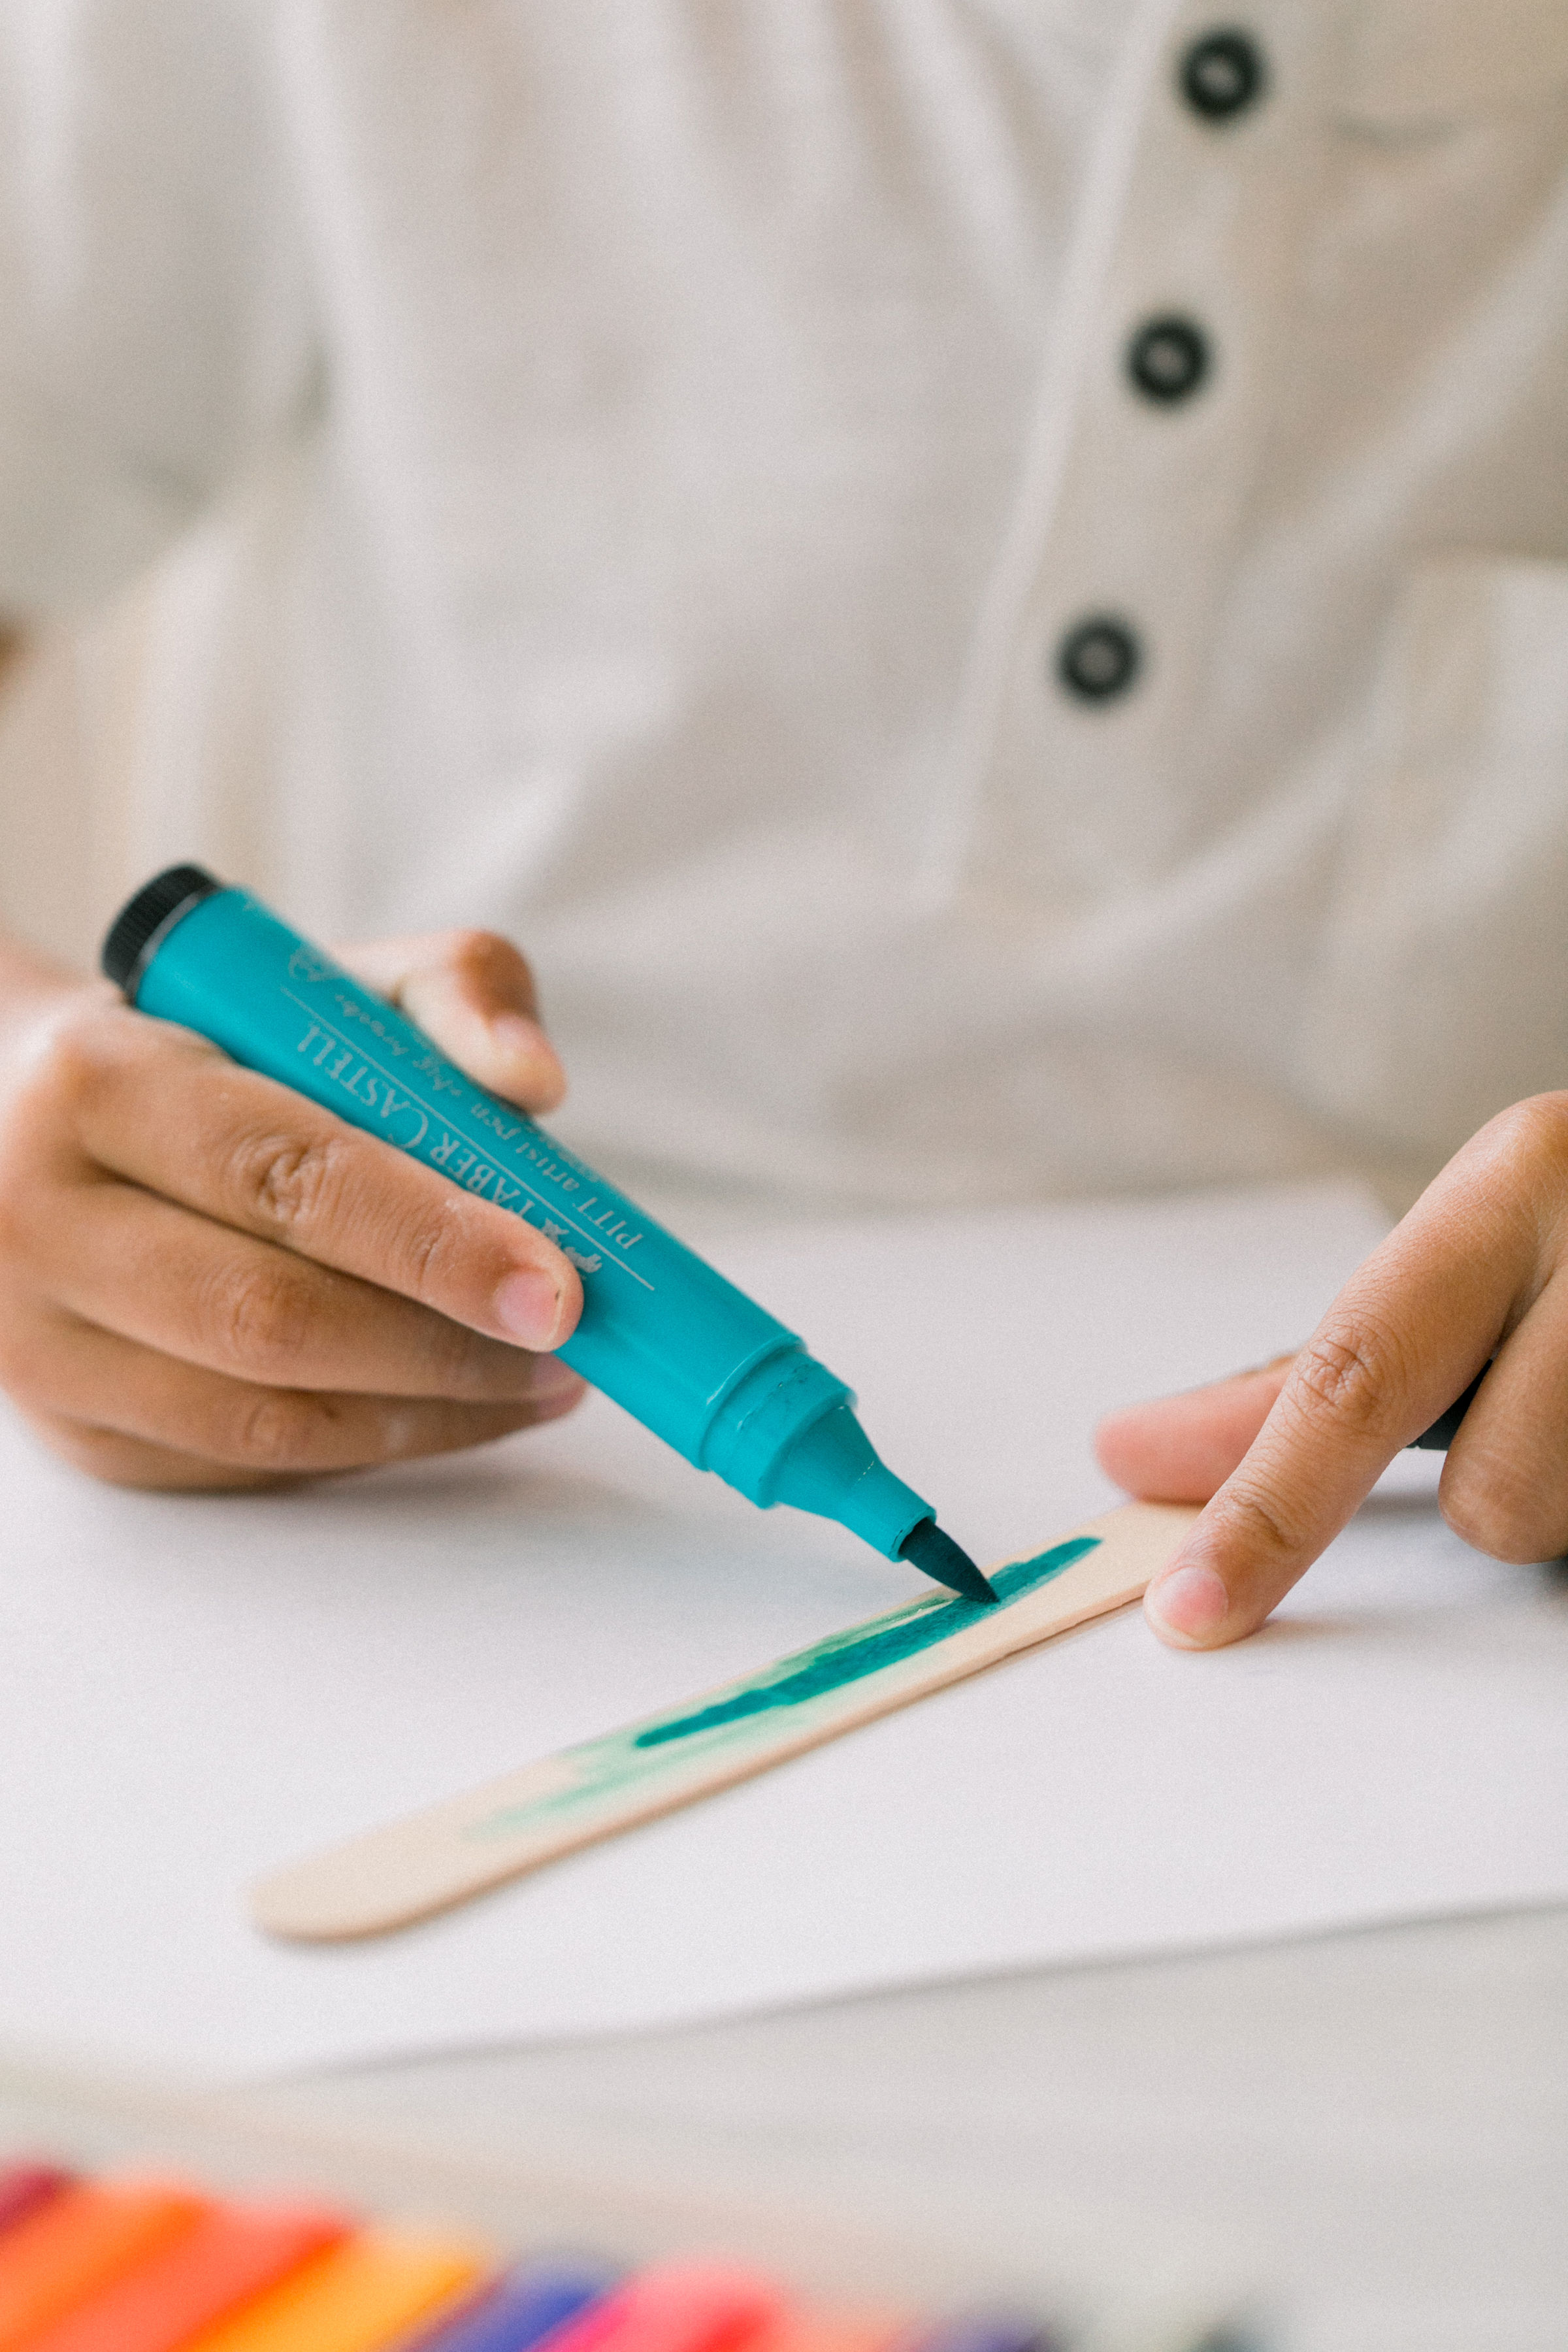
Color the clothespin and sticks with markers or paint. You can also use washi tape to decorate as well.

Place a dot of glue in the middle of the 2 large craft sticks and the sticks on the top and the bottom of the clothespin. This creates the wings of the plane.

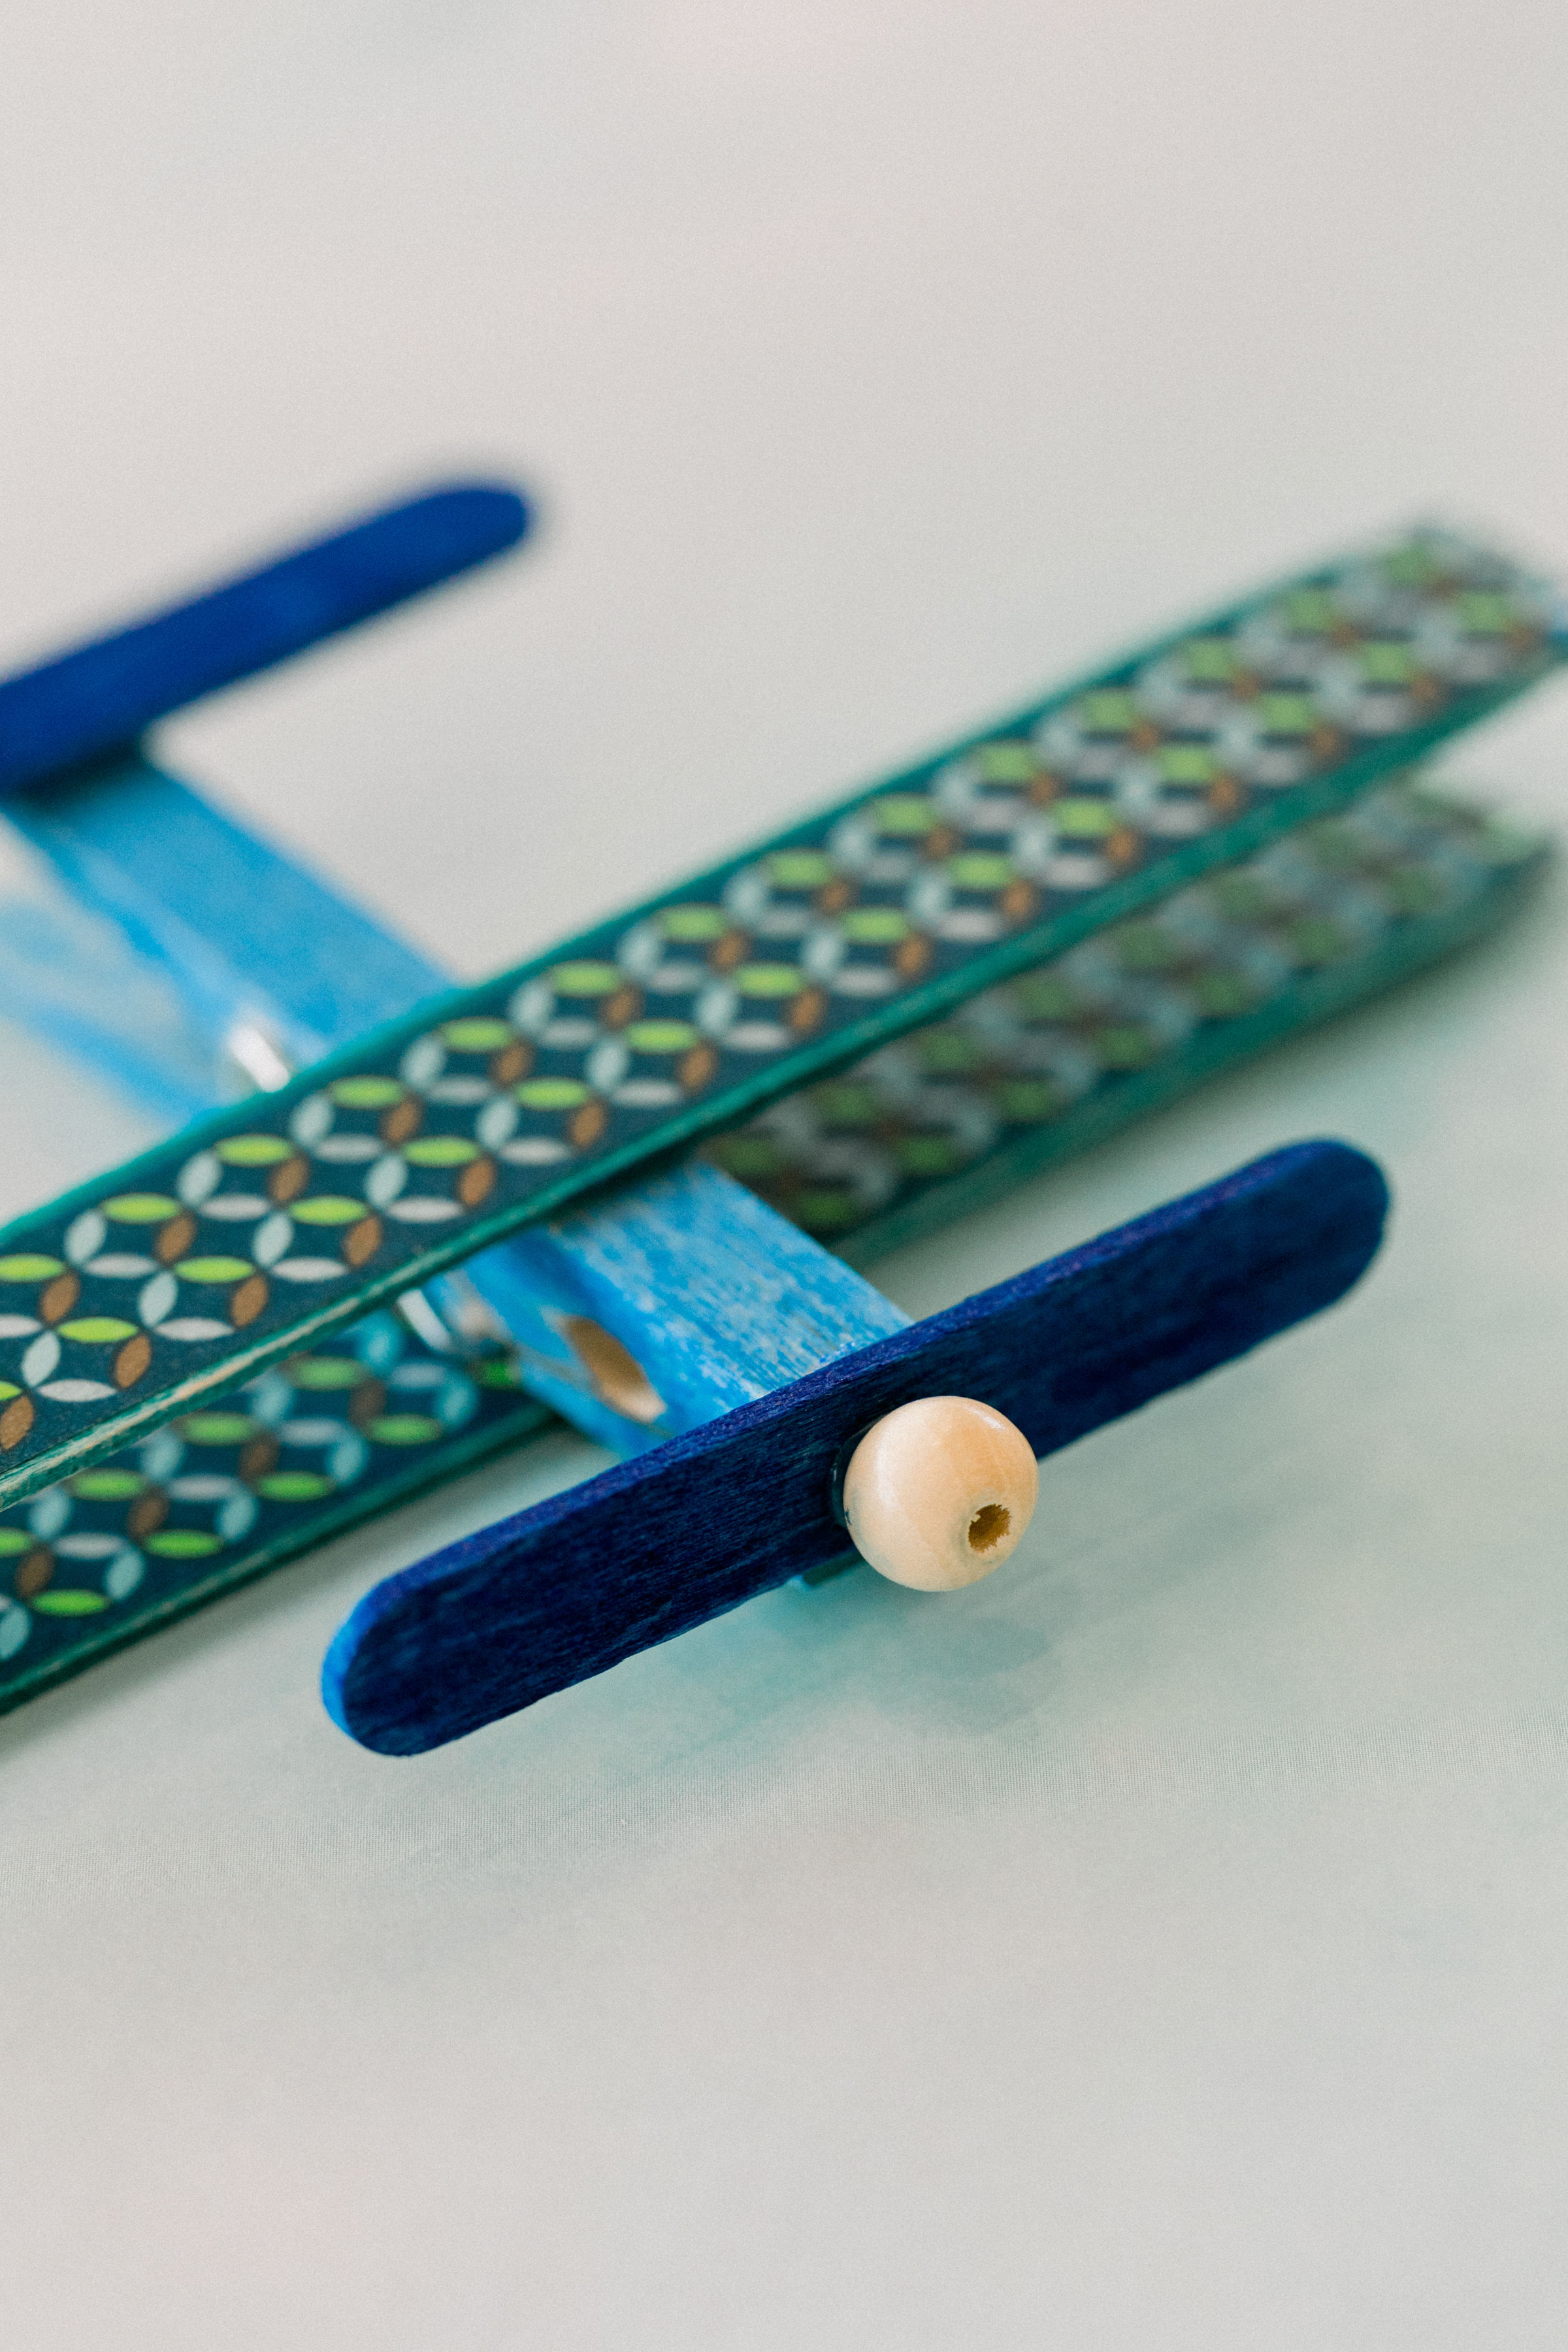
After the wings are dry, glue a mini craft stick on the back for the tail. Then, glue the wooden bead onto the middle of another mini craft stick for the propeller and let it dry.

Hold the plane up and glue the propeller on the top opening of the clothespin. You may have to hold it in place until it dries.

Make your own DIY Clothespin Airplanes with Hello Rascal Kids.

Written by Ngoc Nguyen Lay, Head Rascal. Mother of two rascals, ages 4 and 6.


Shop the Post

Pumpkin Mummy Crafts

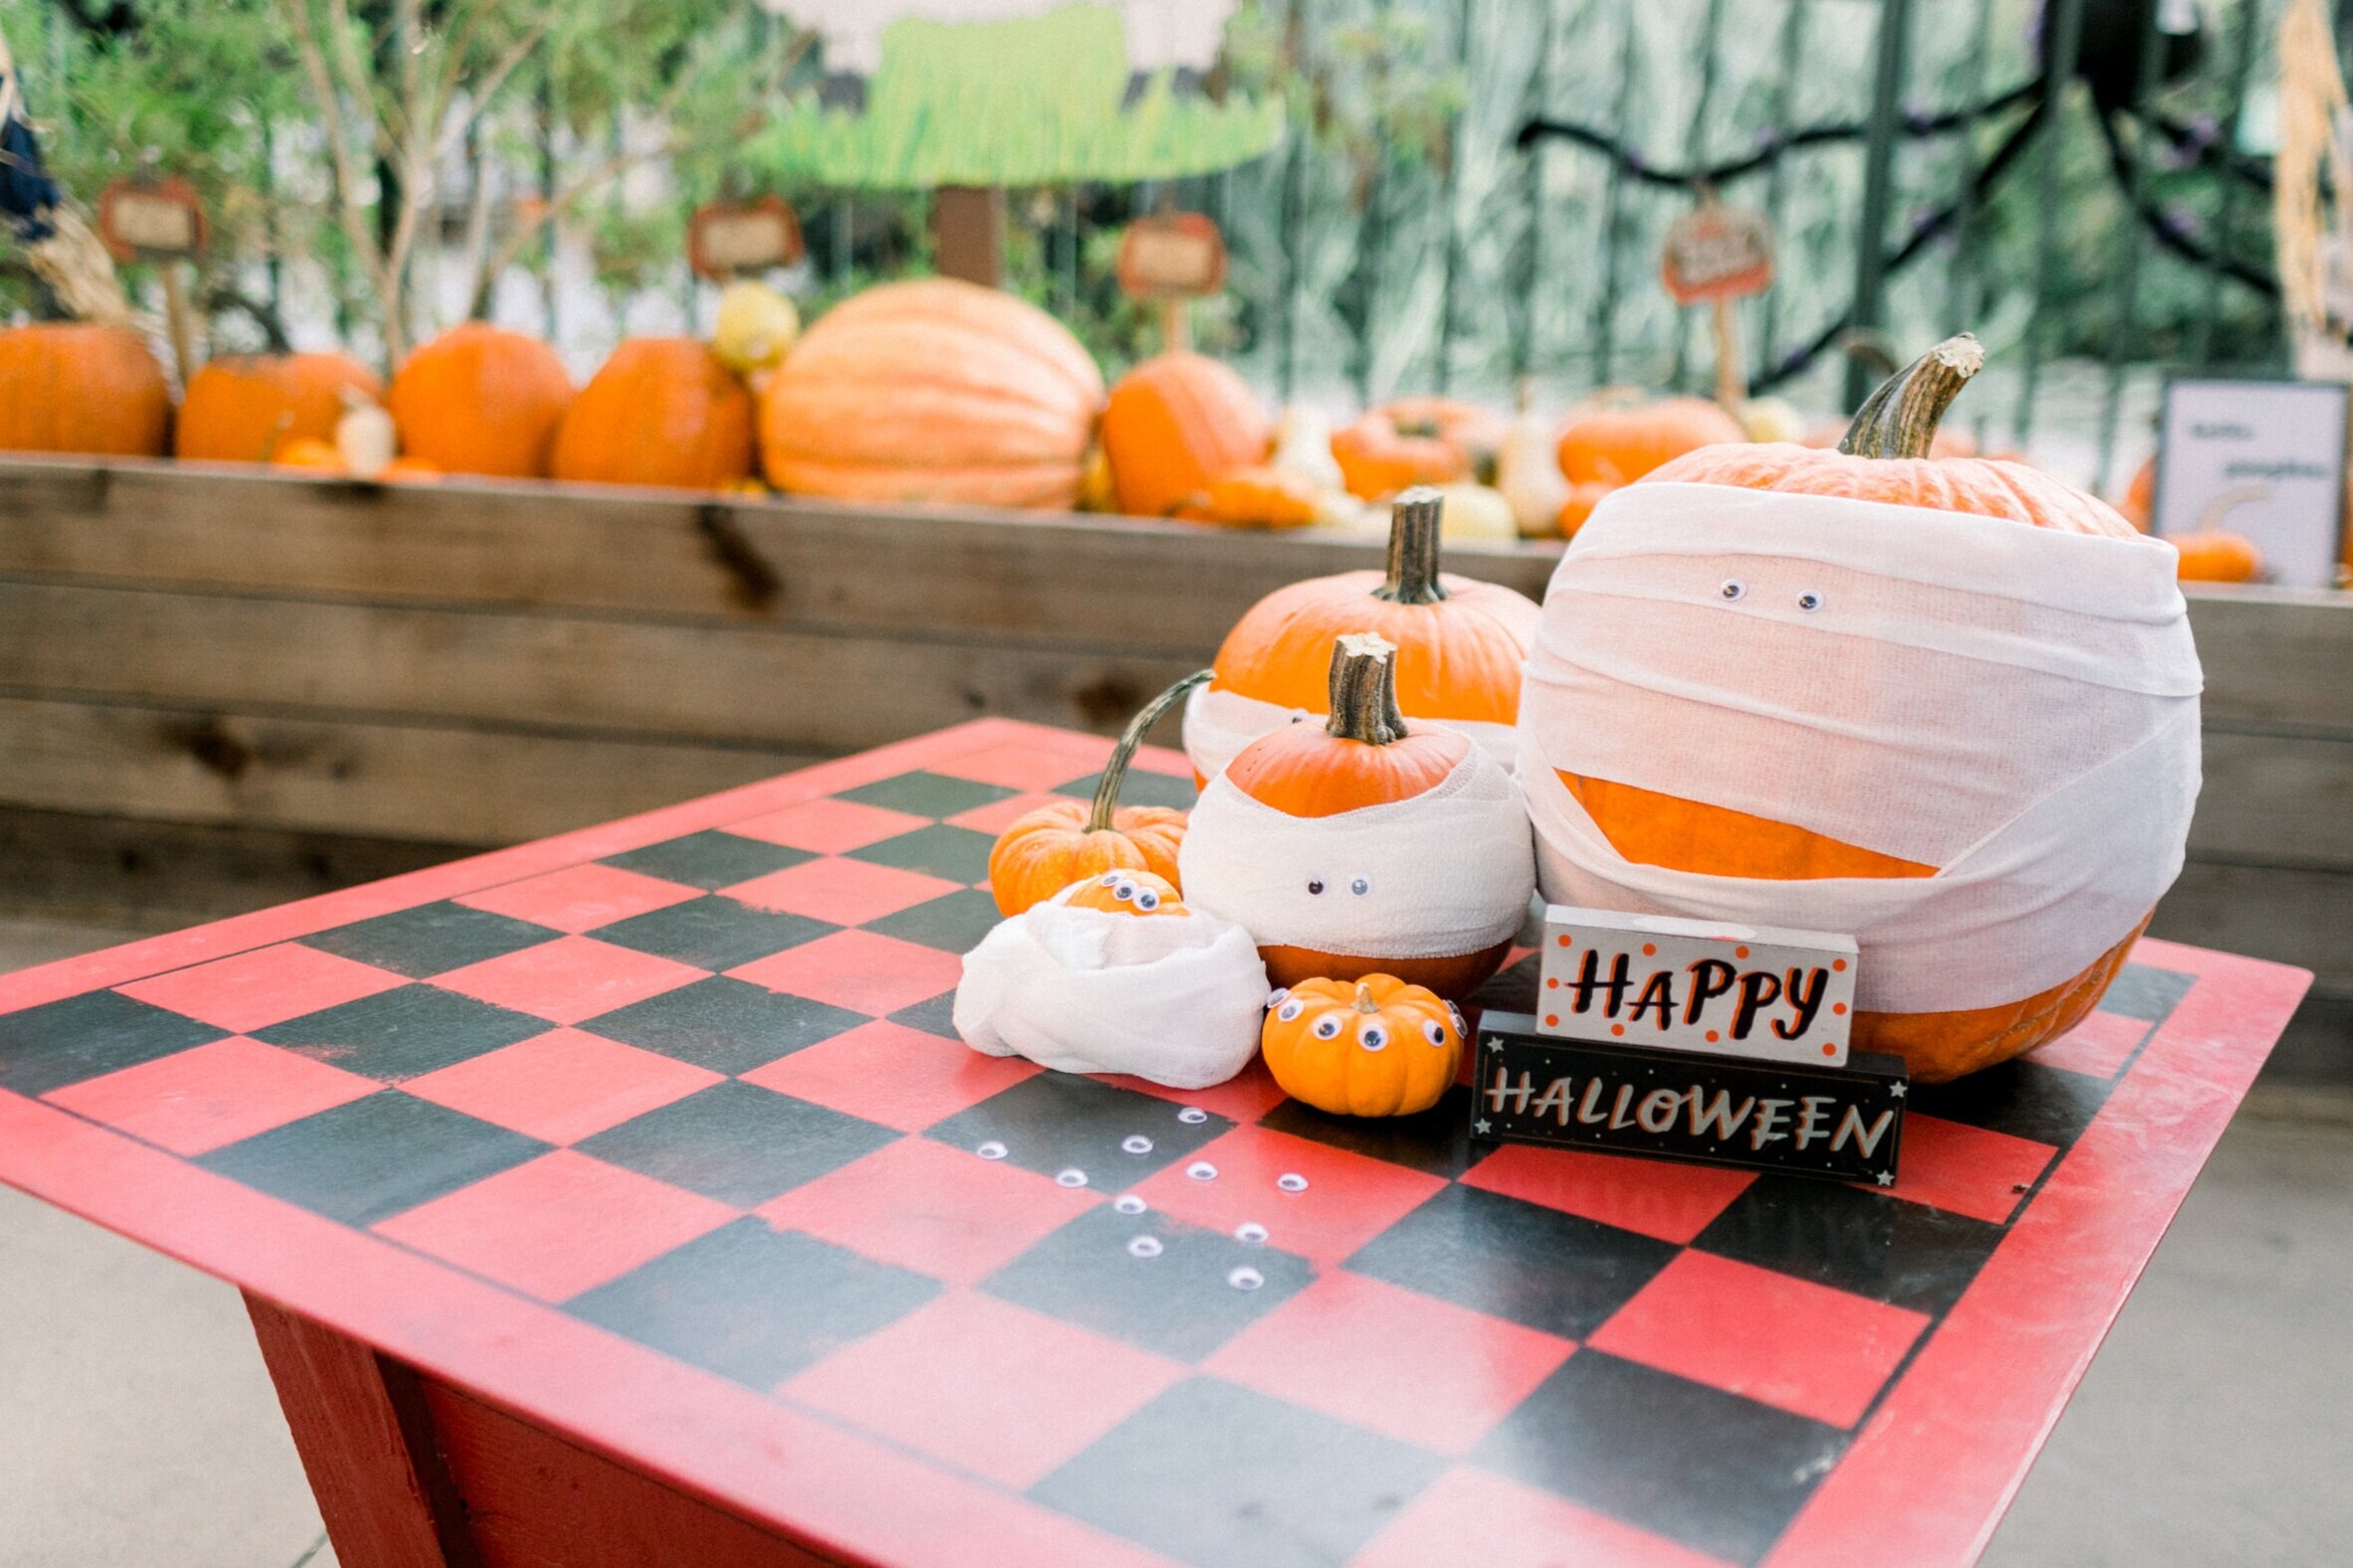
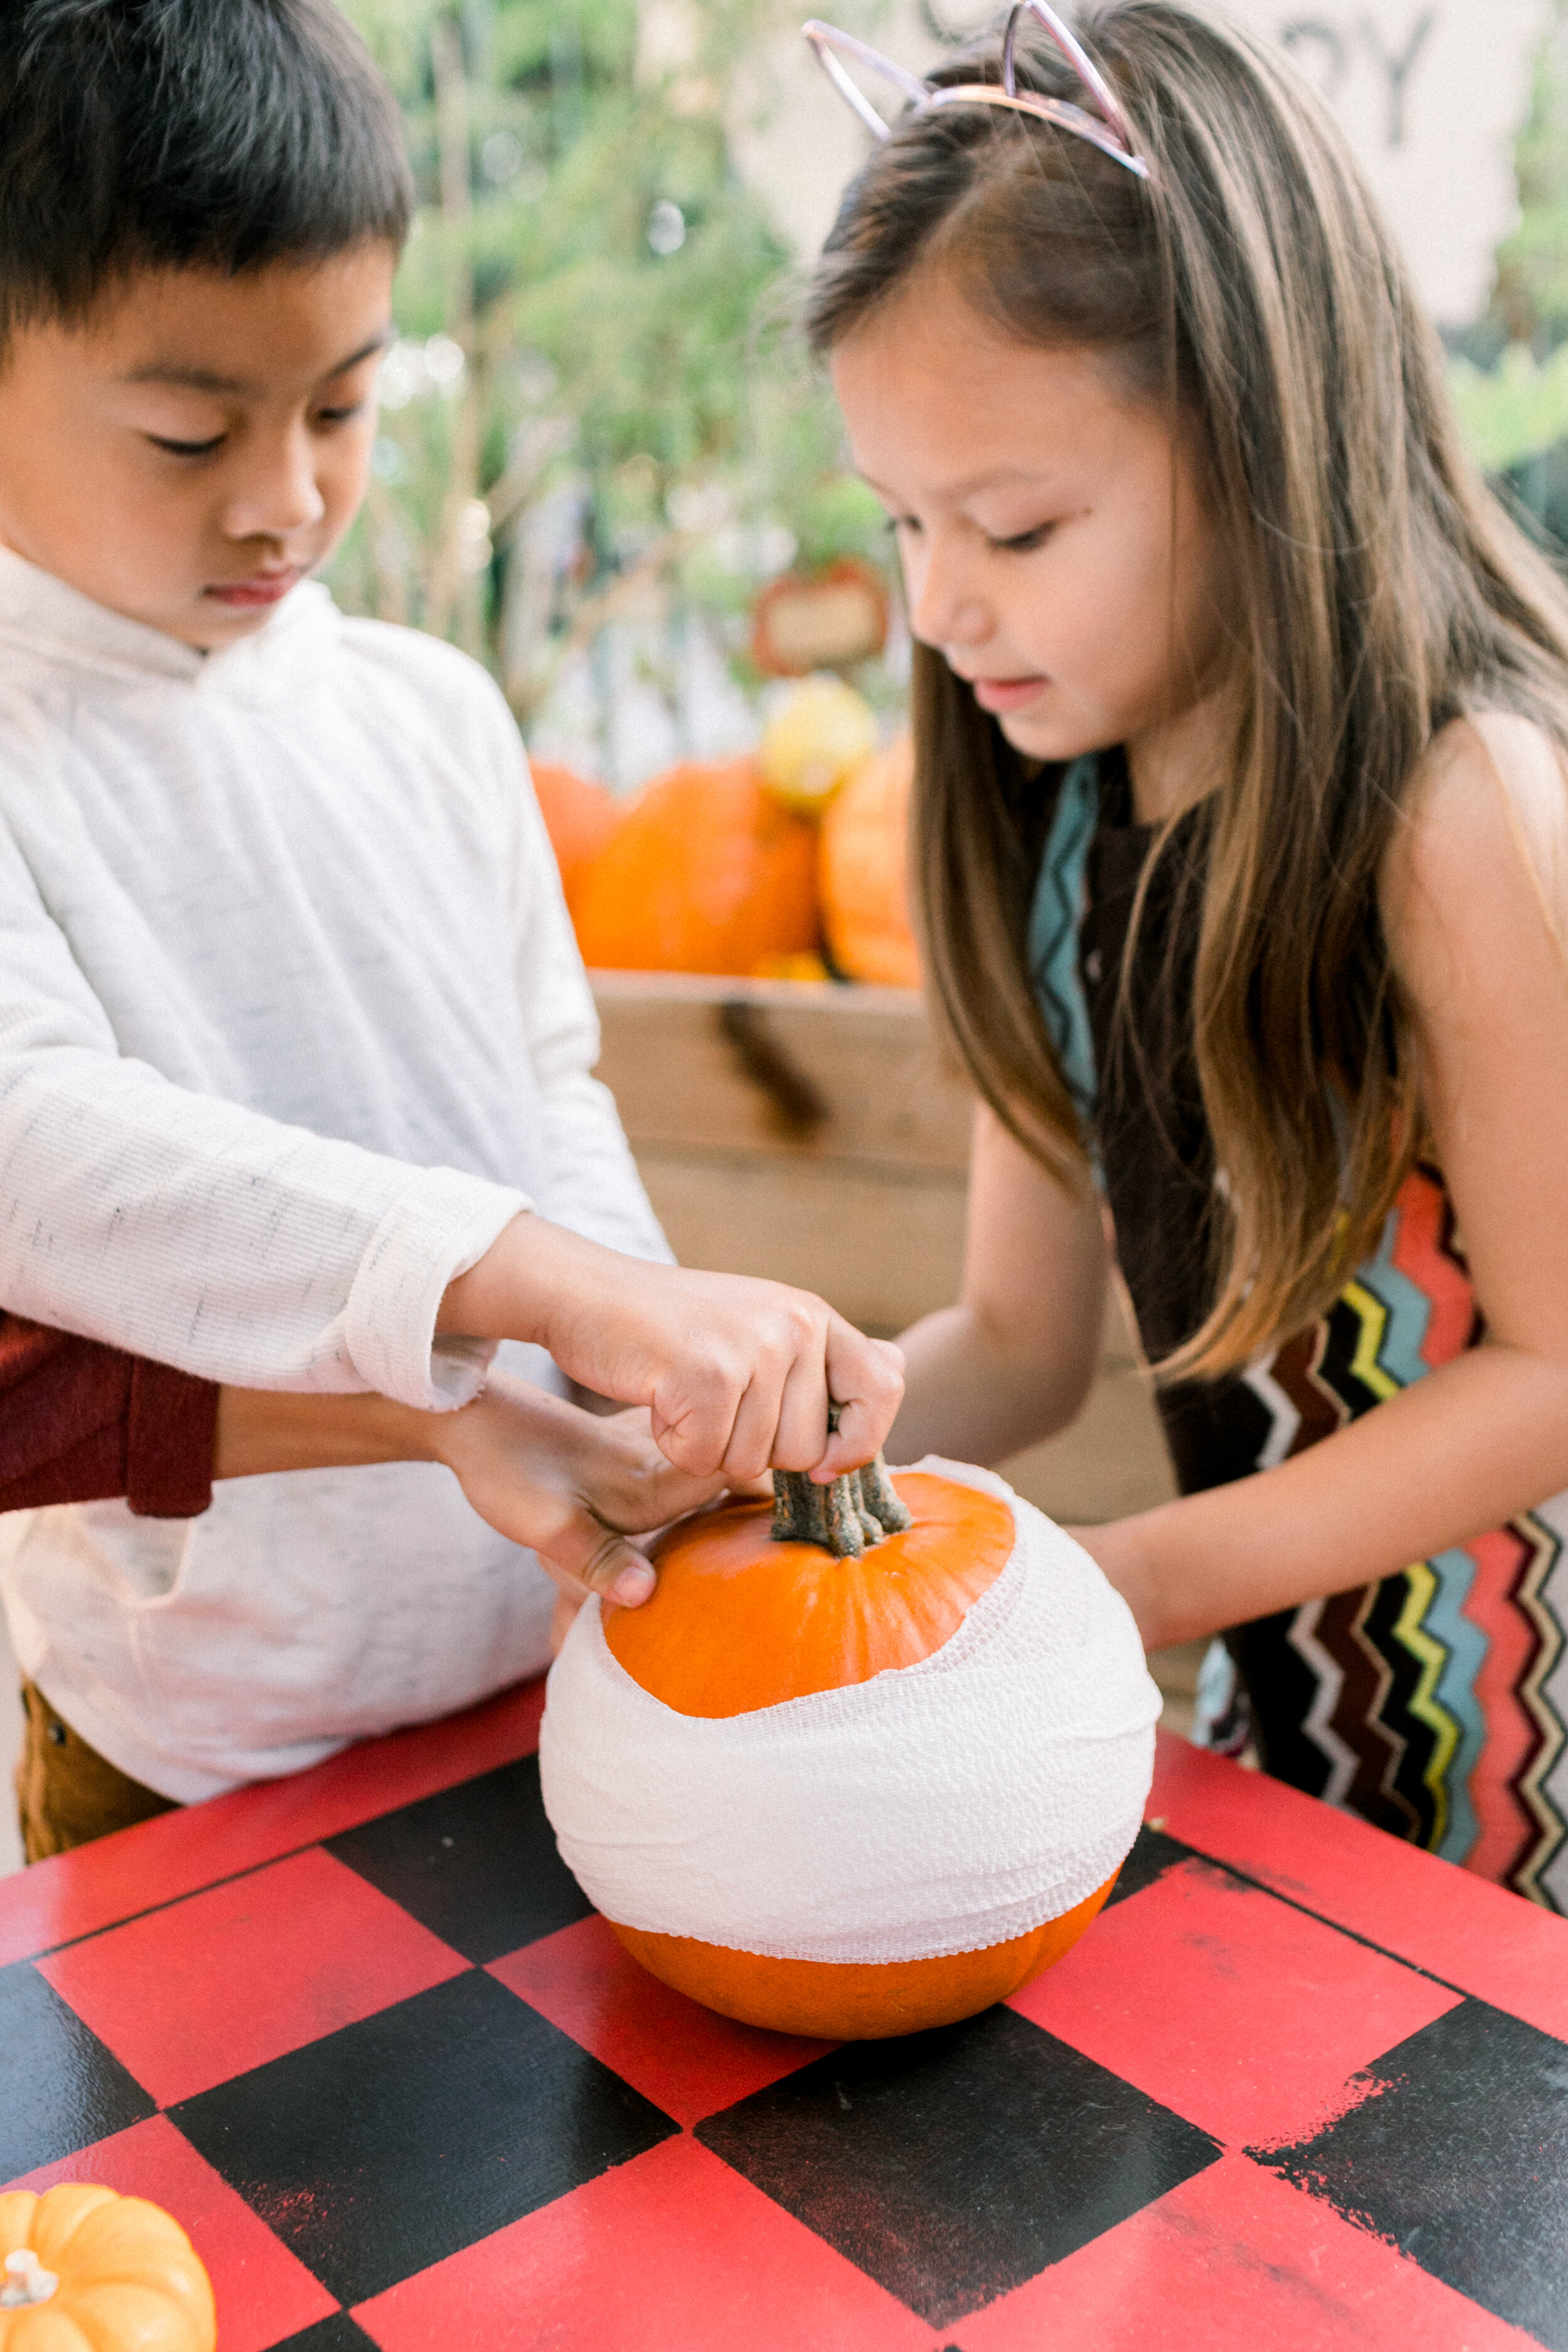
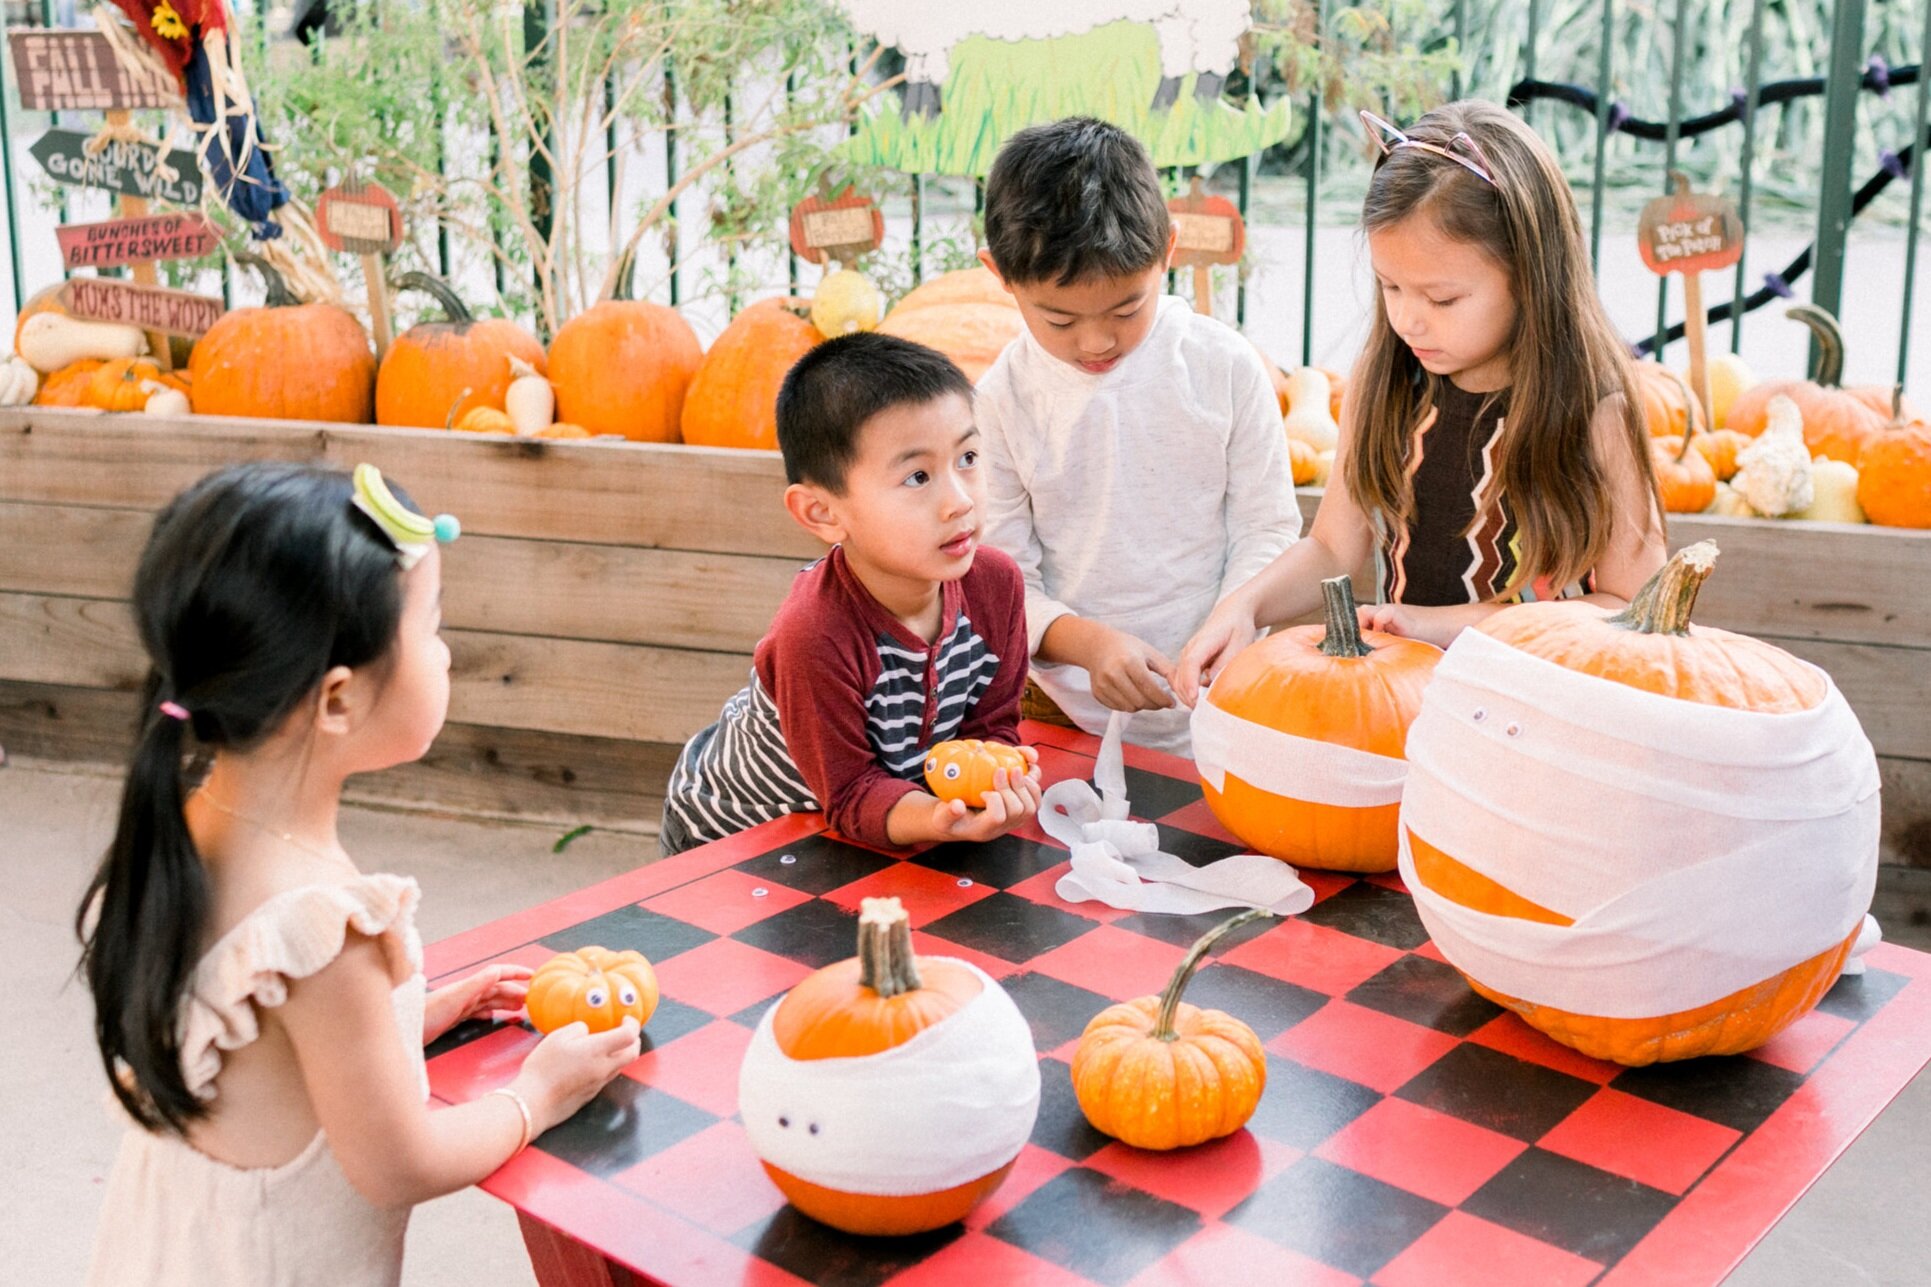
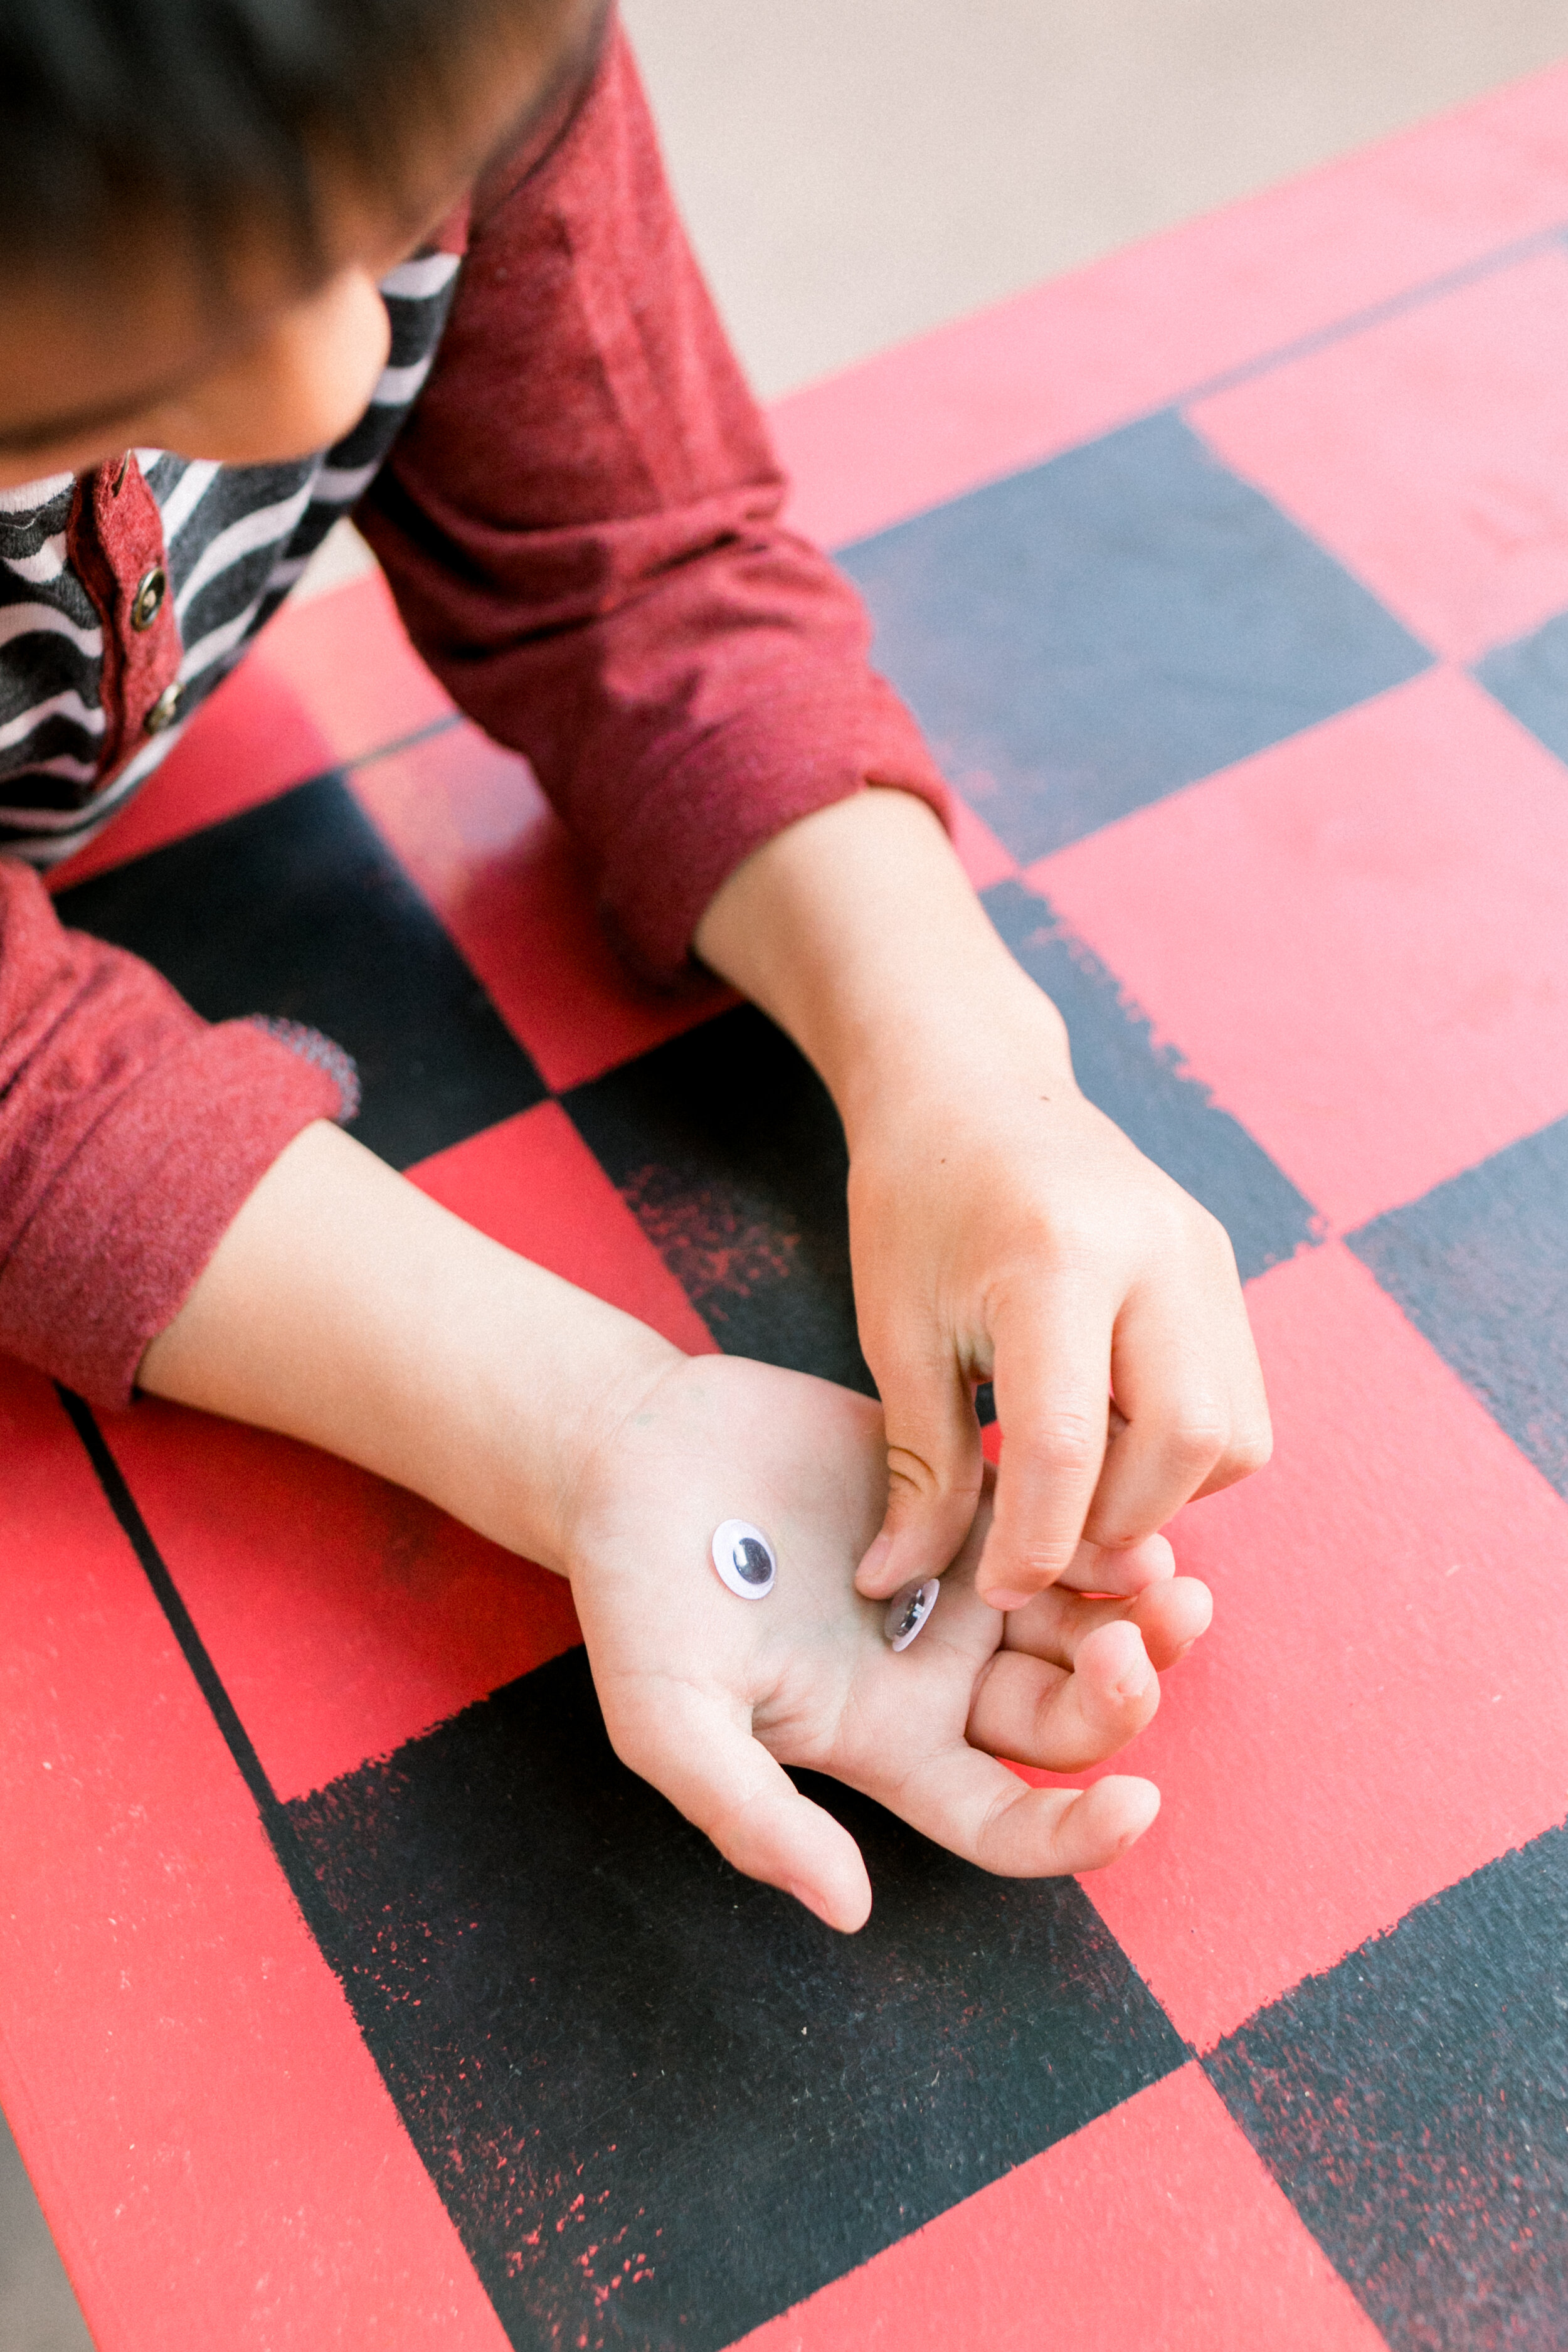
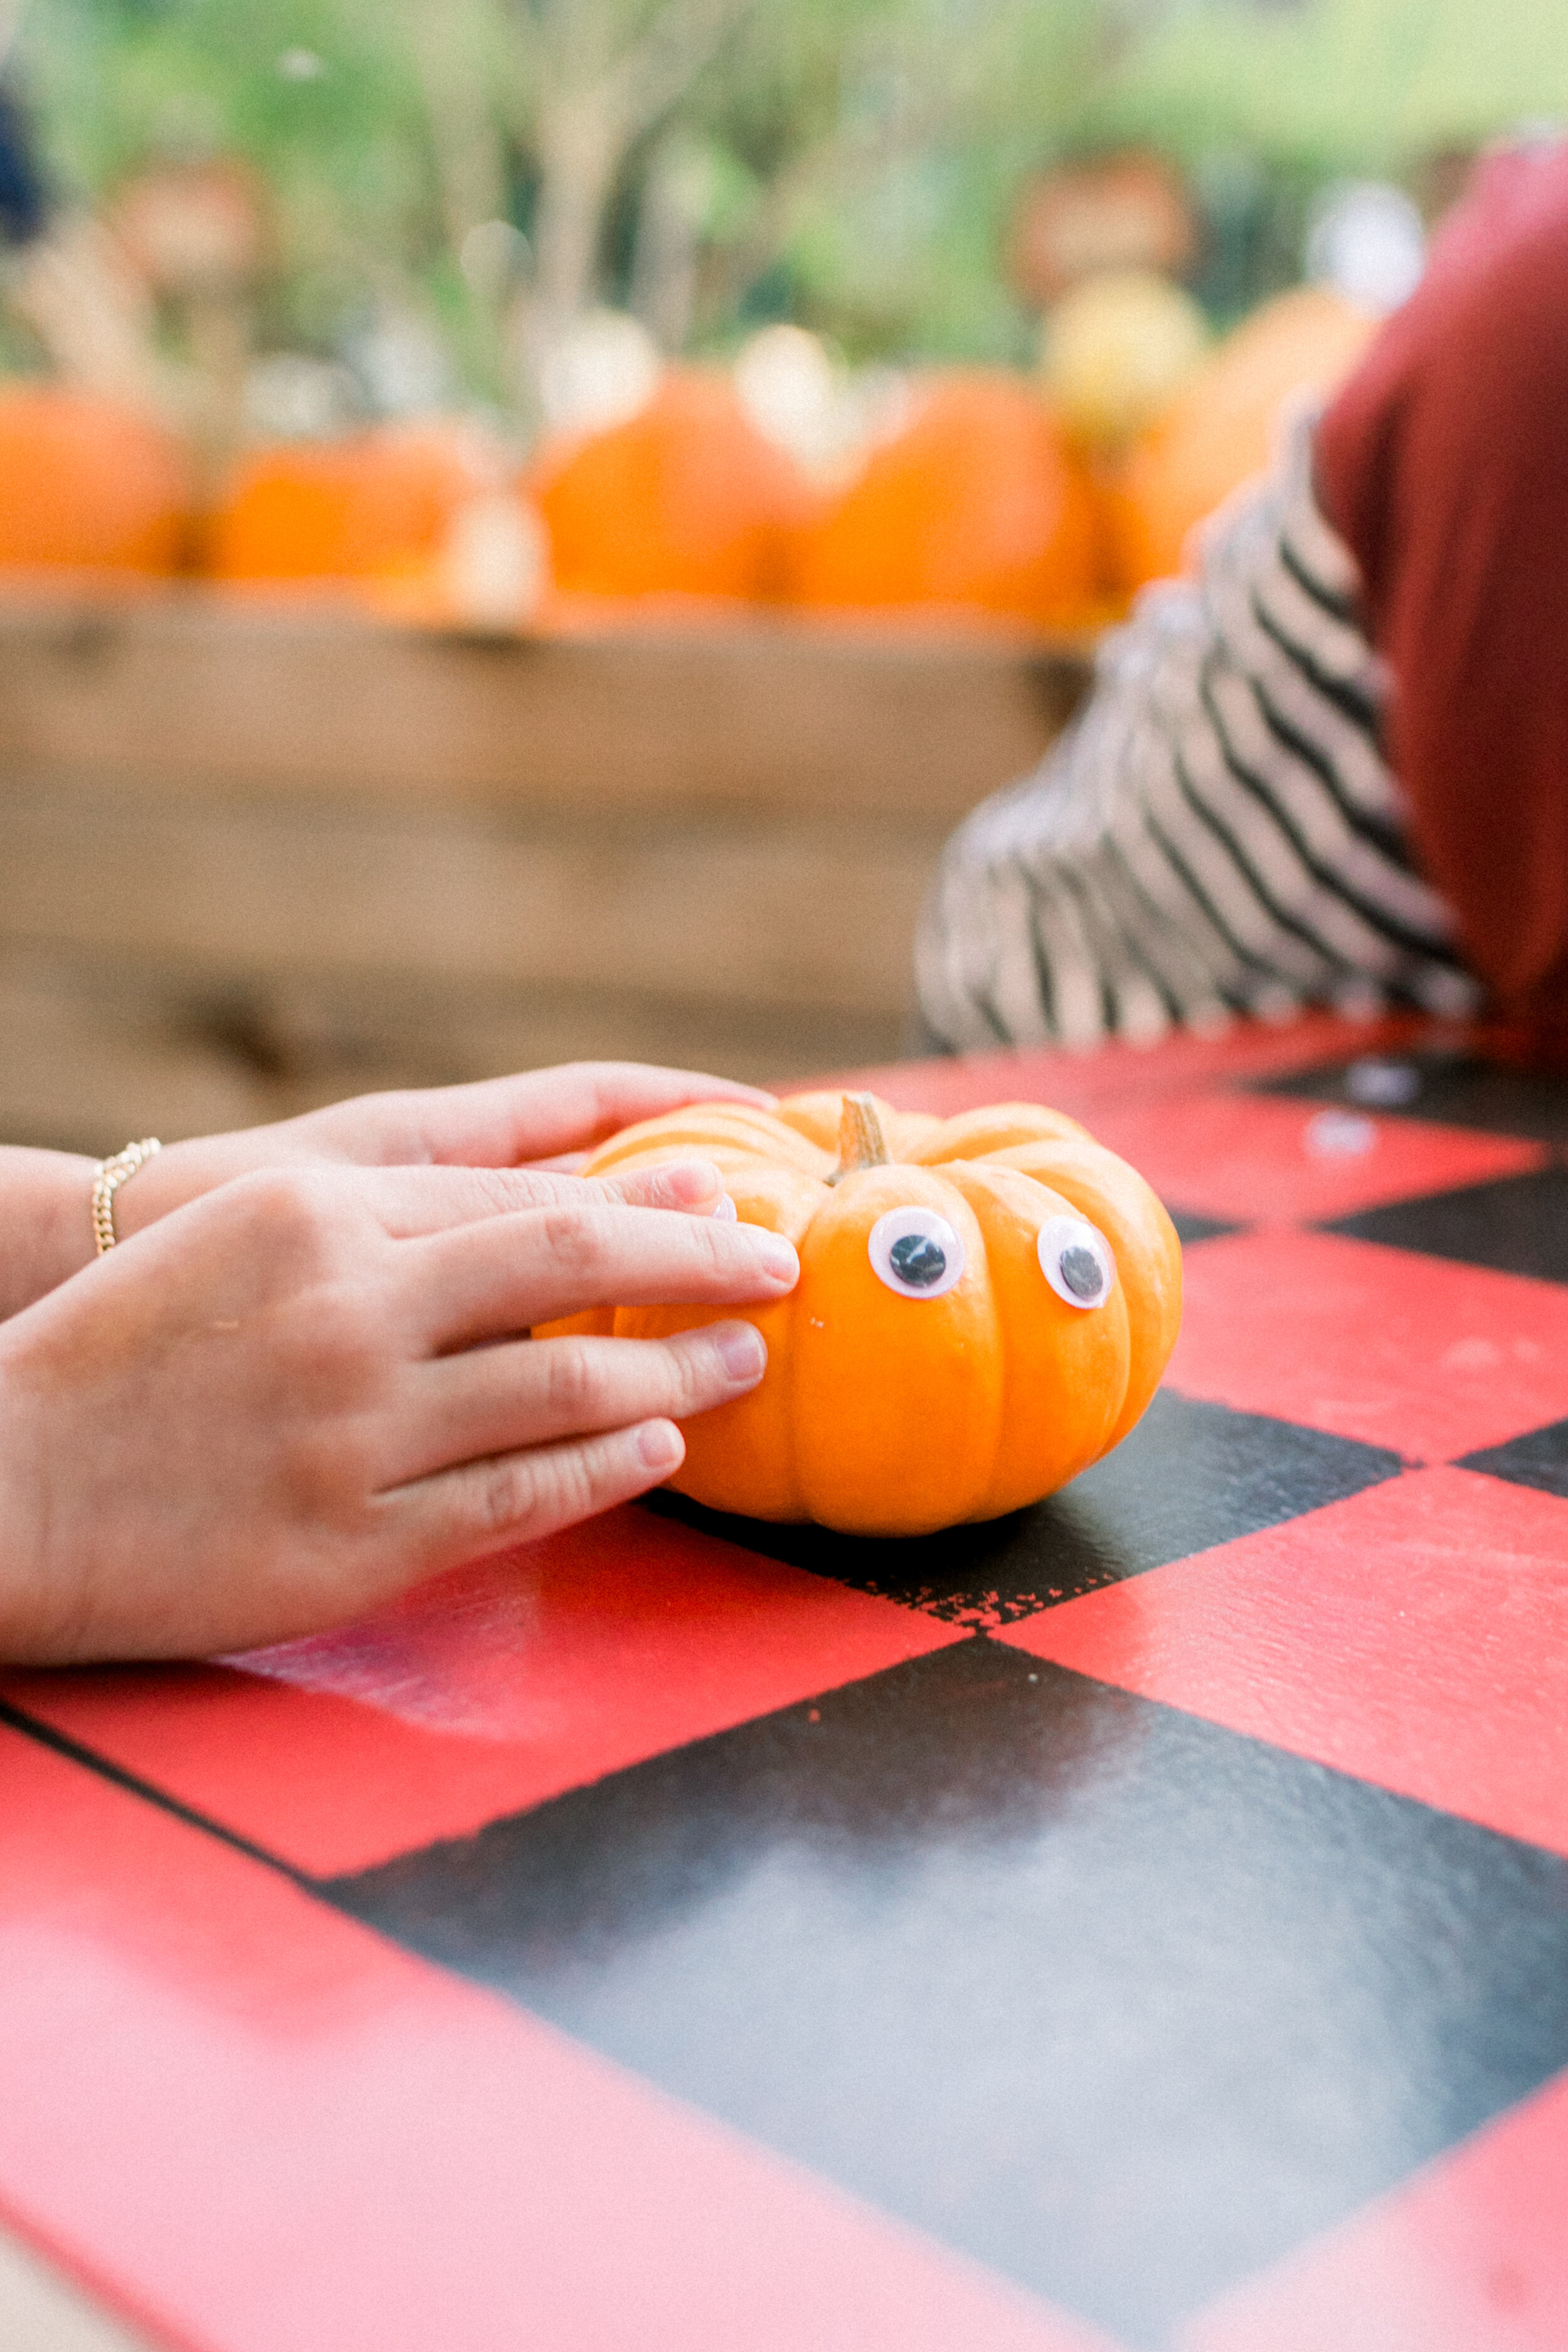
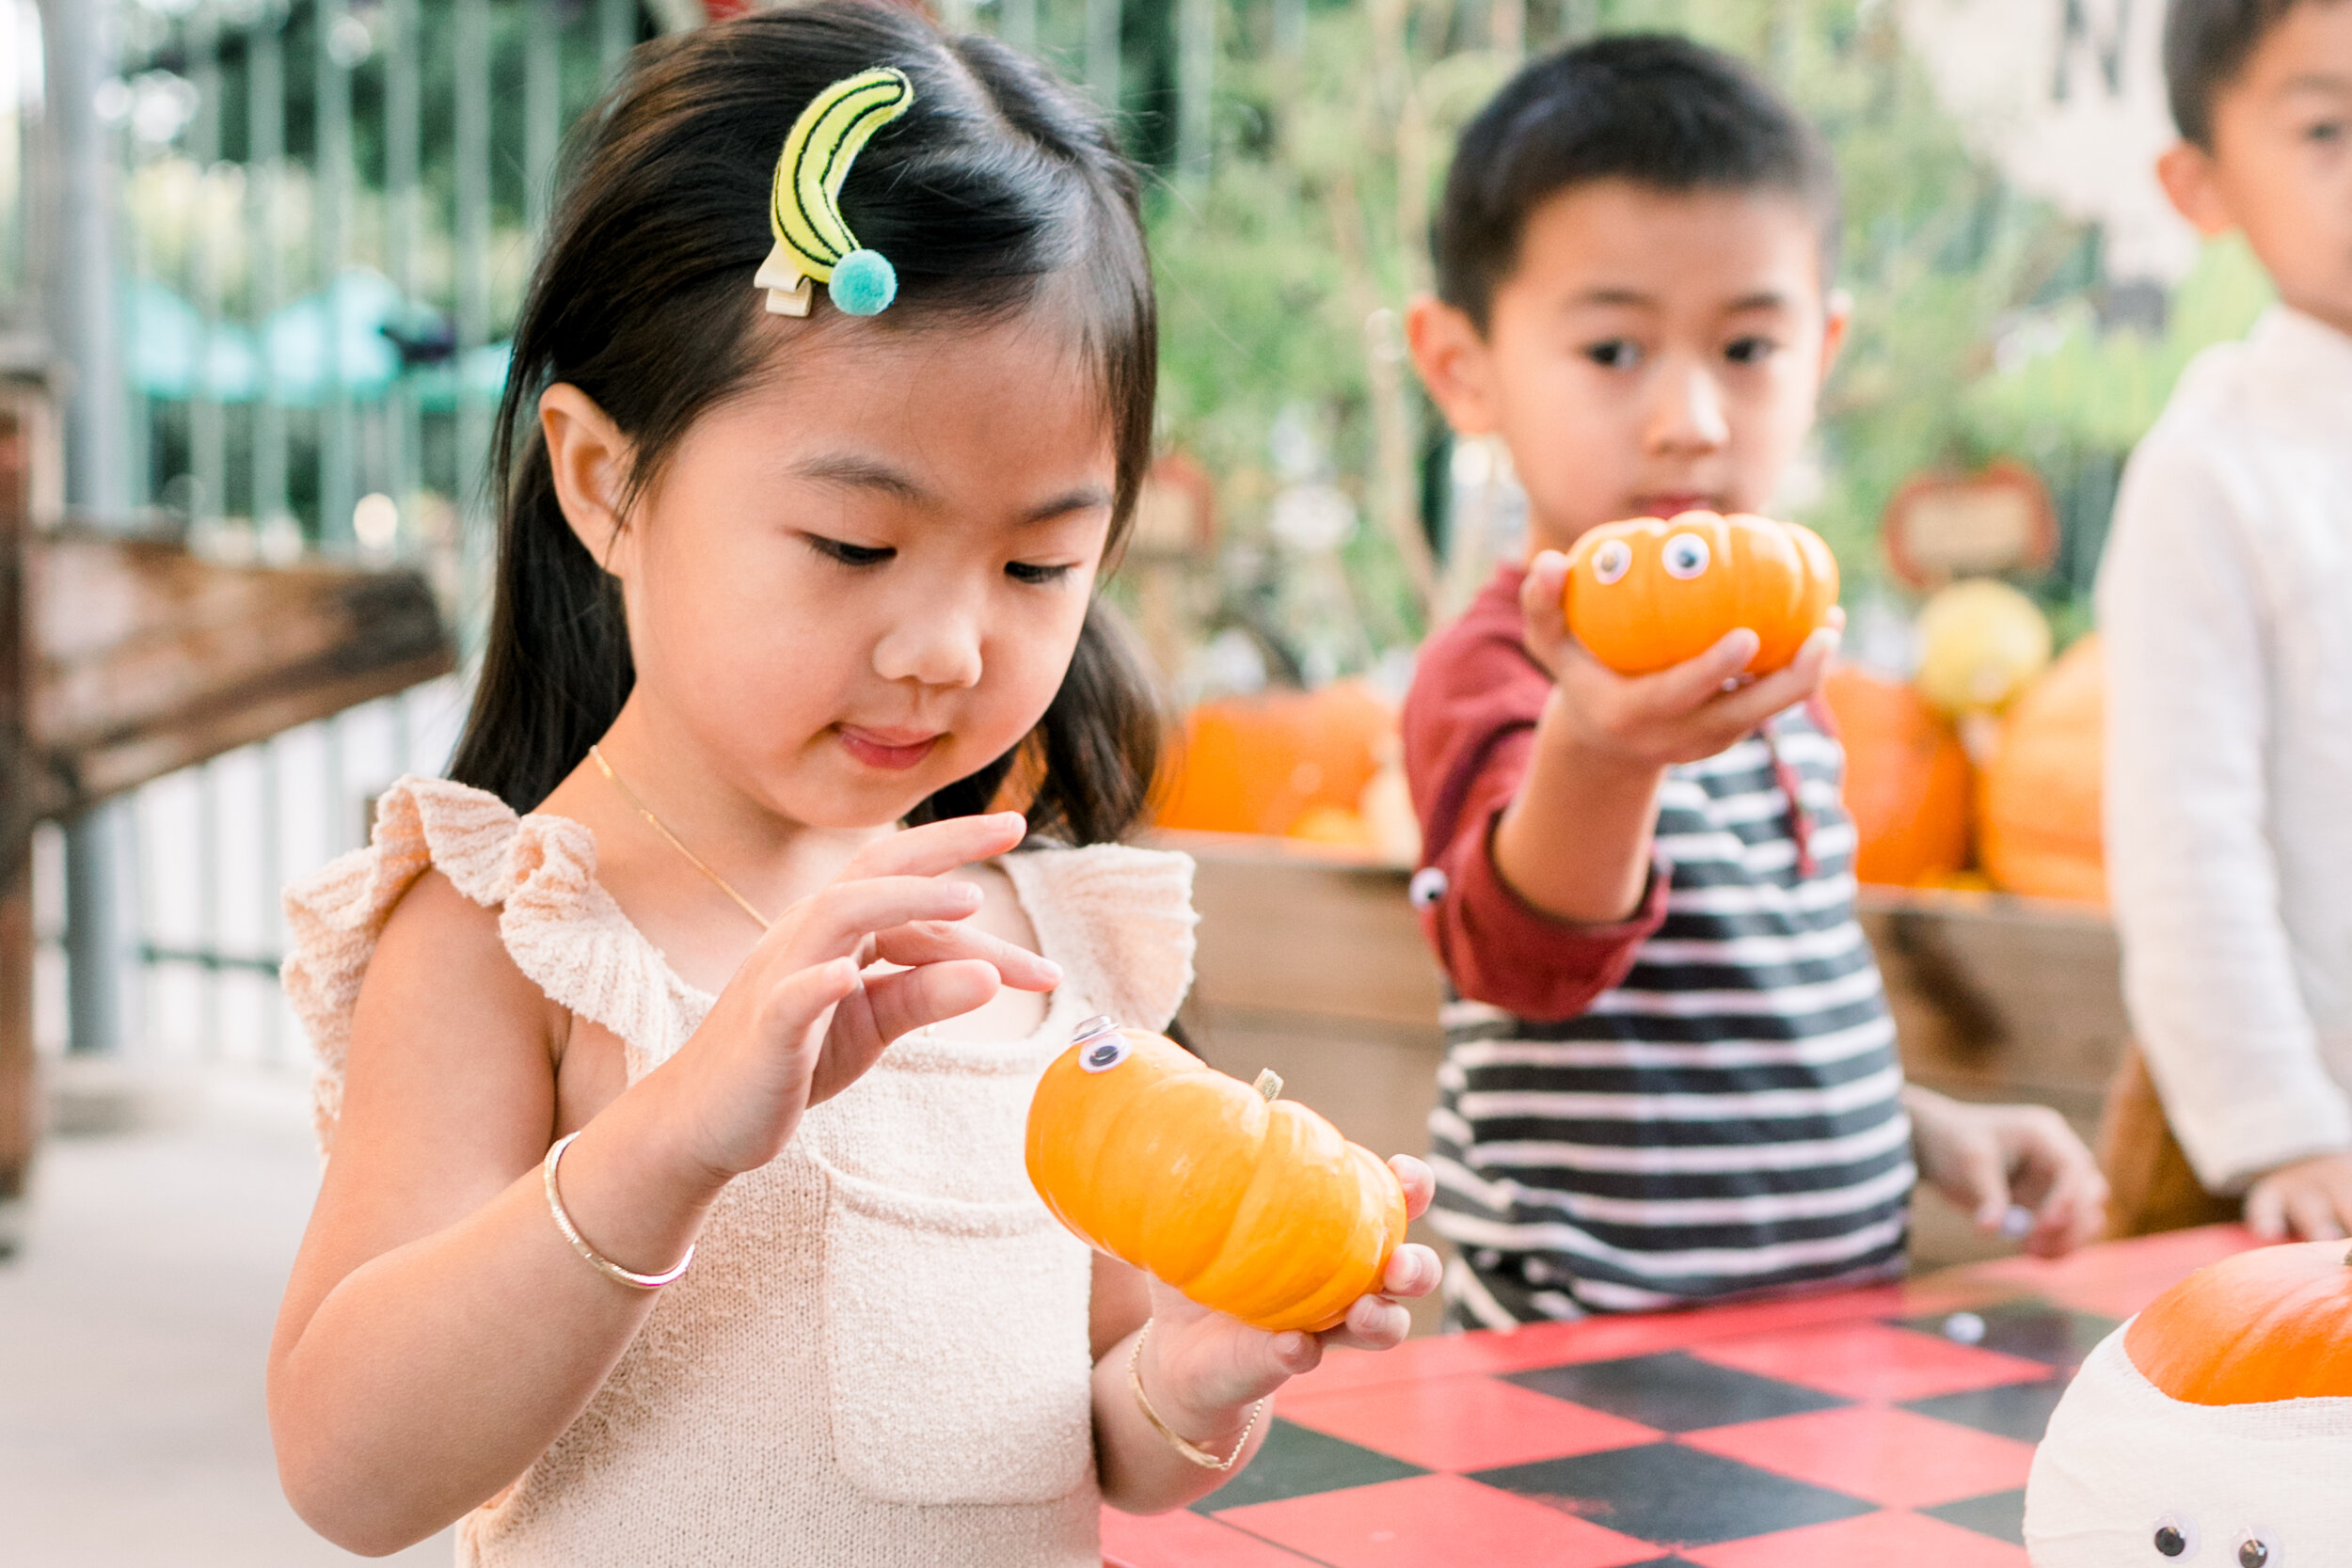
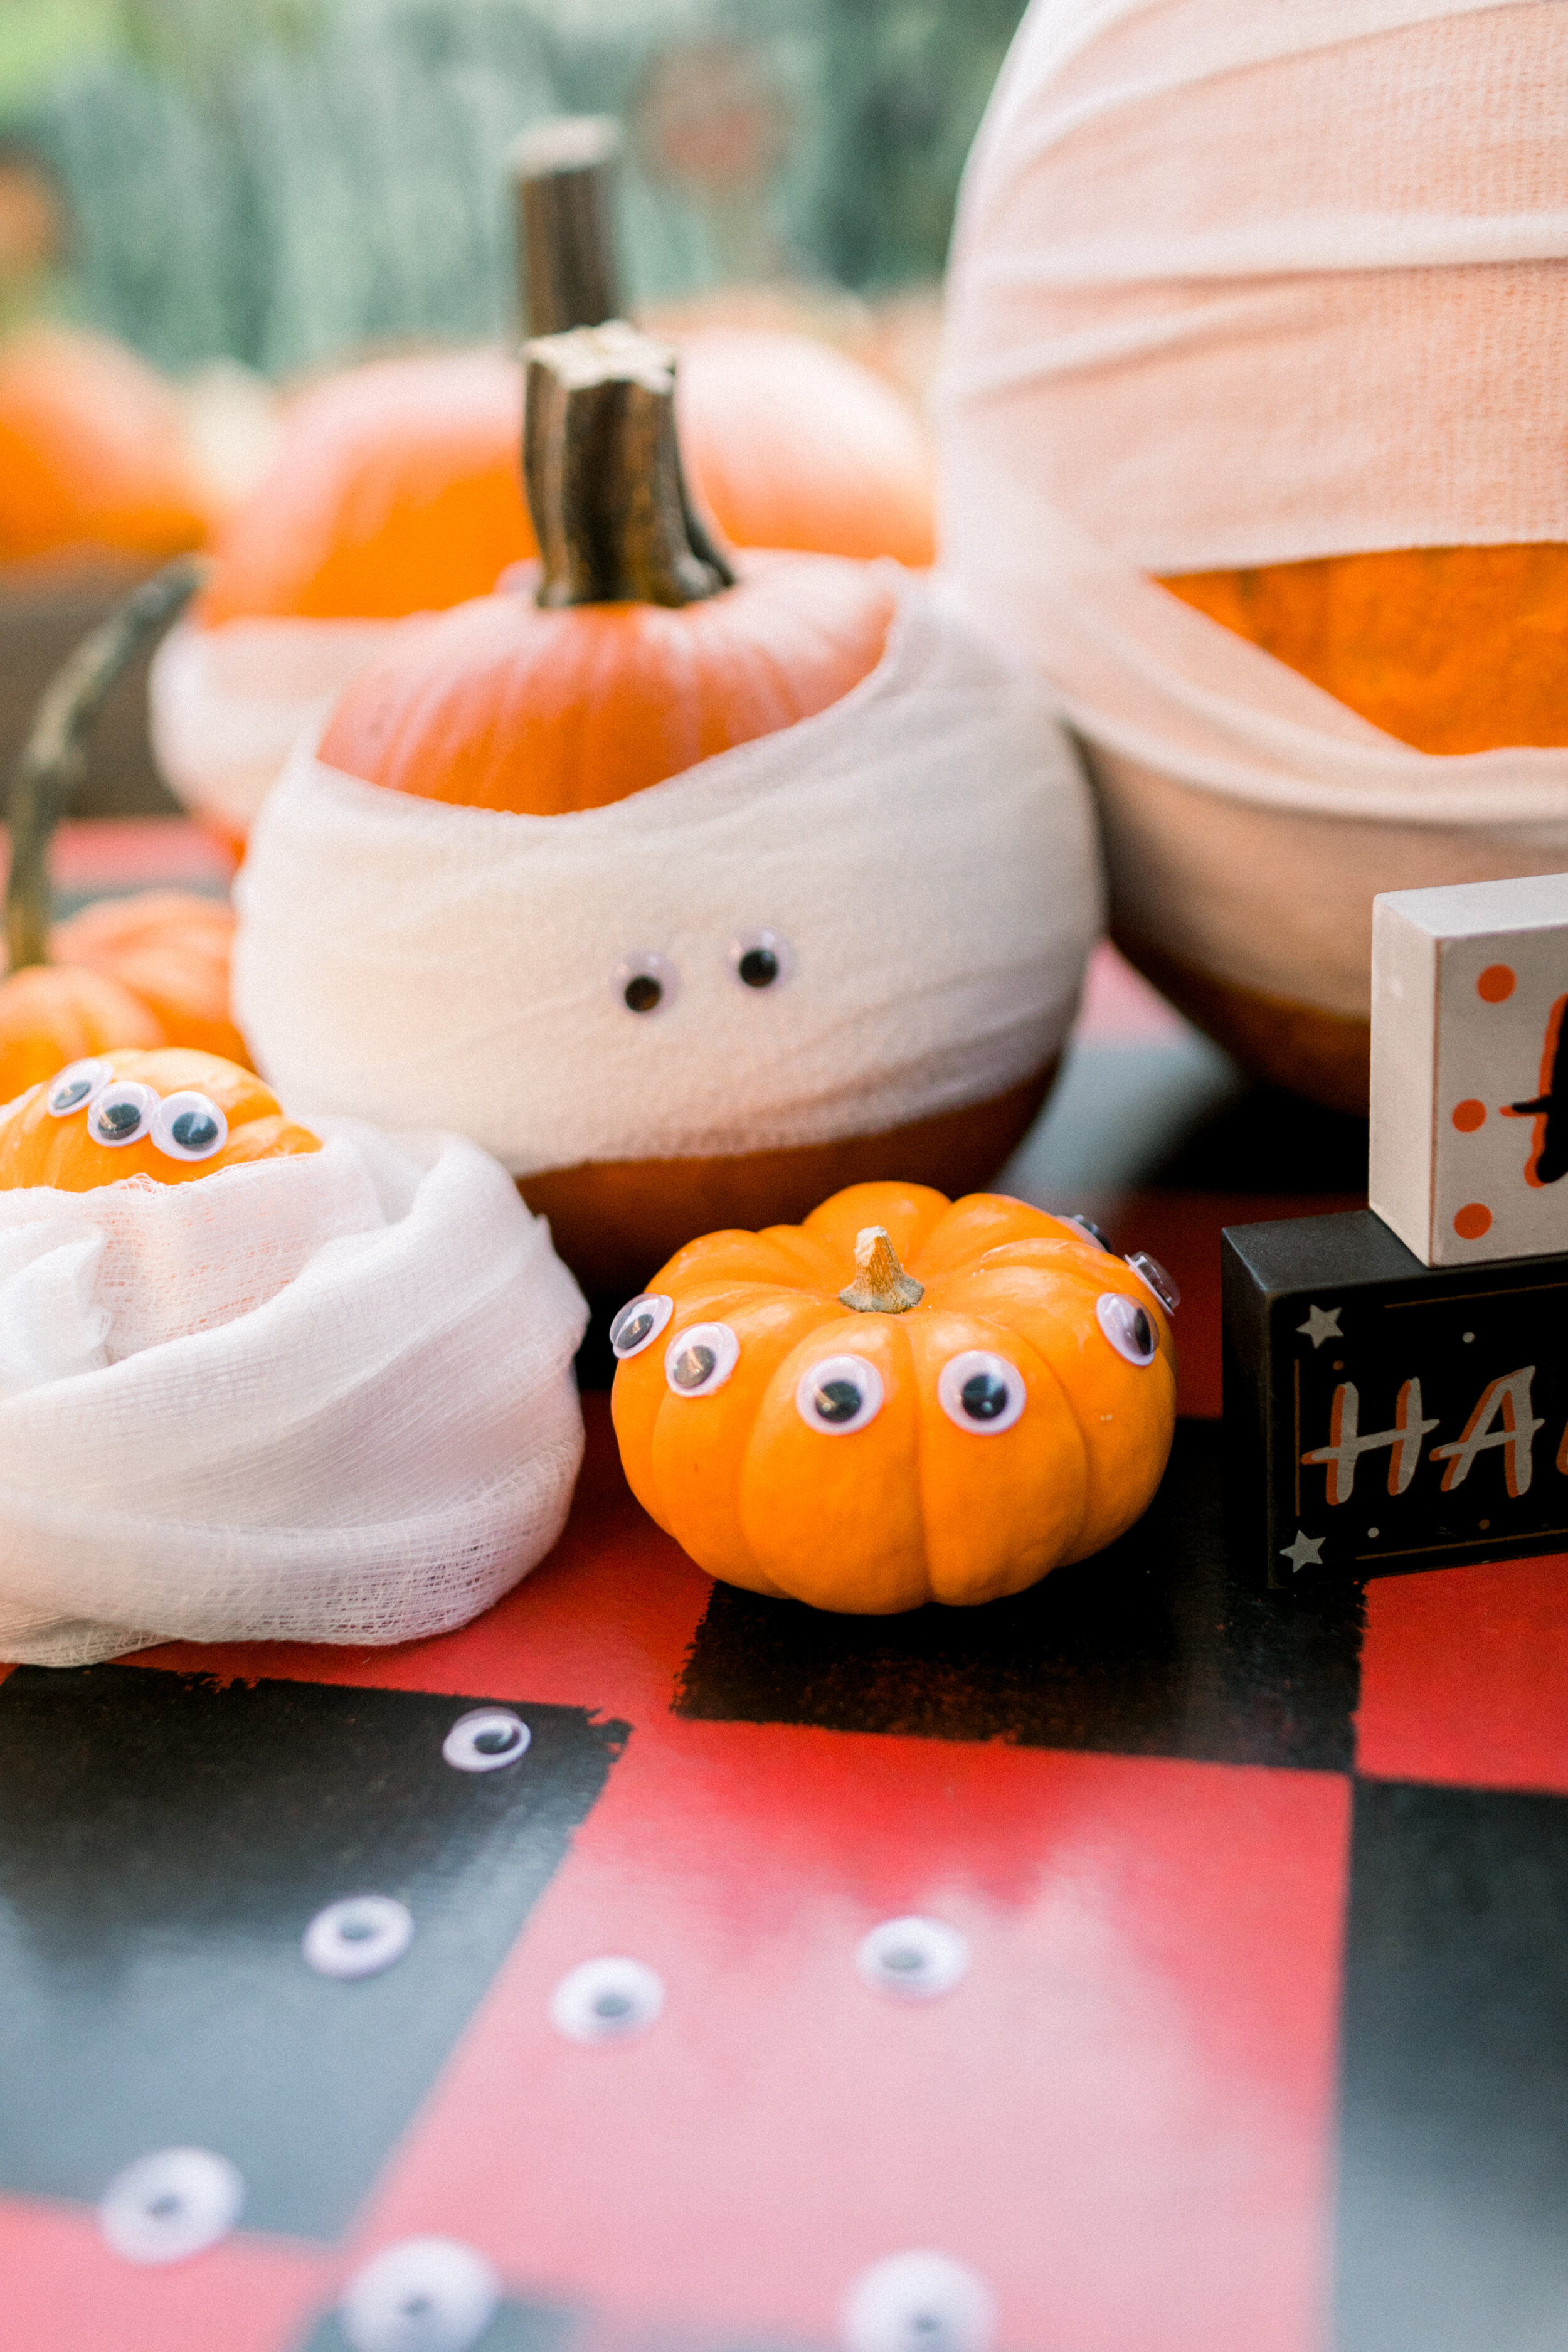
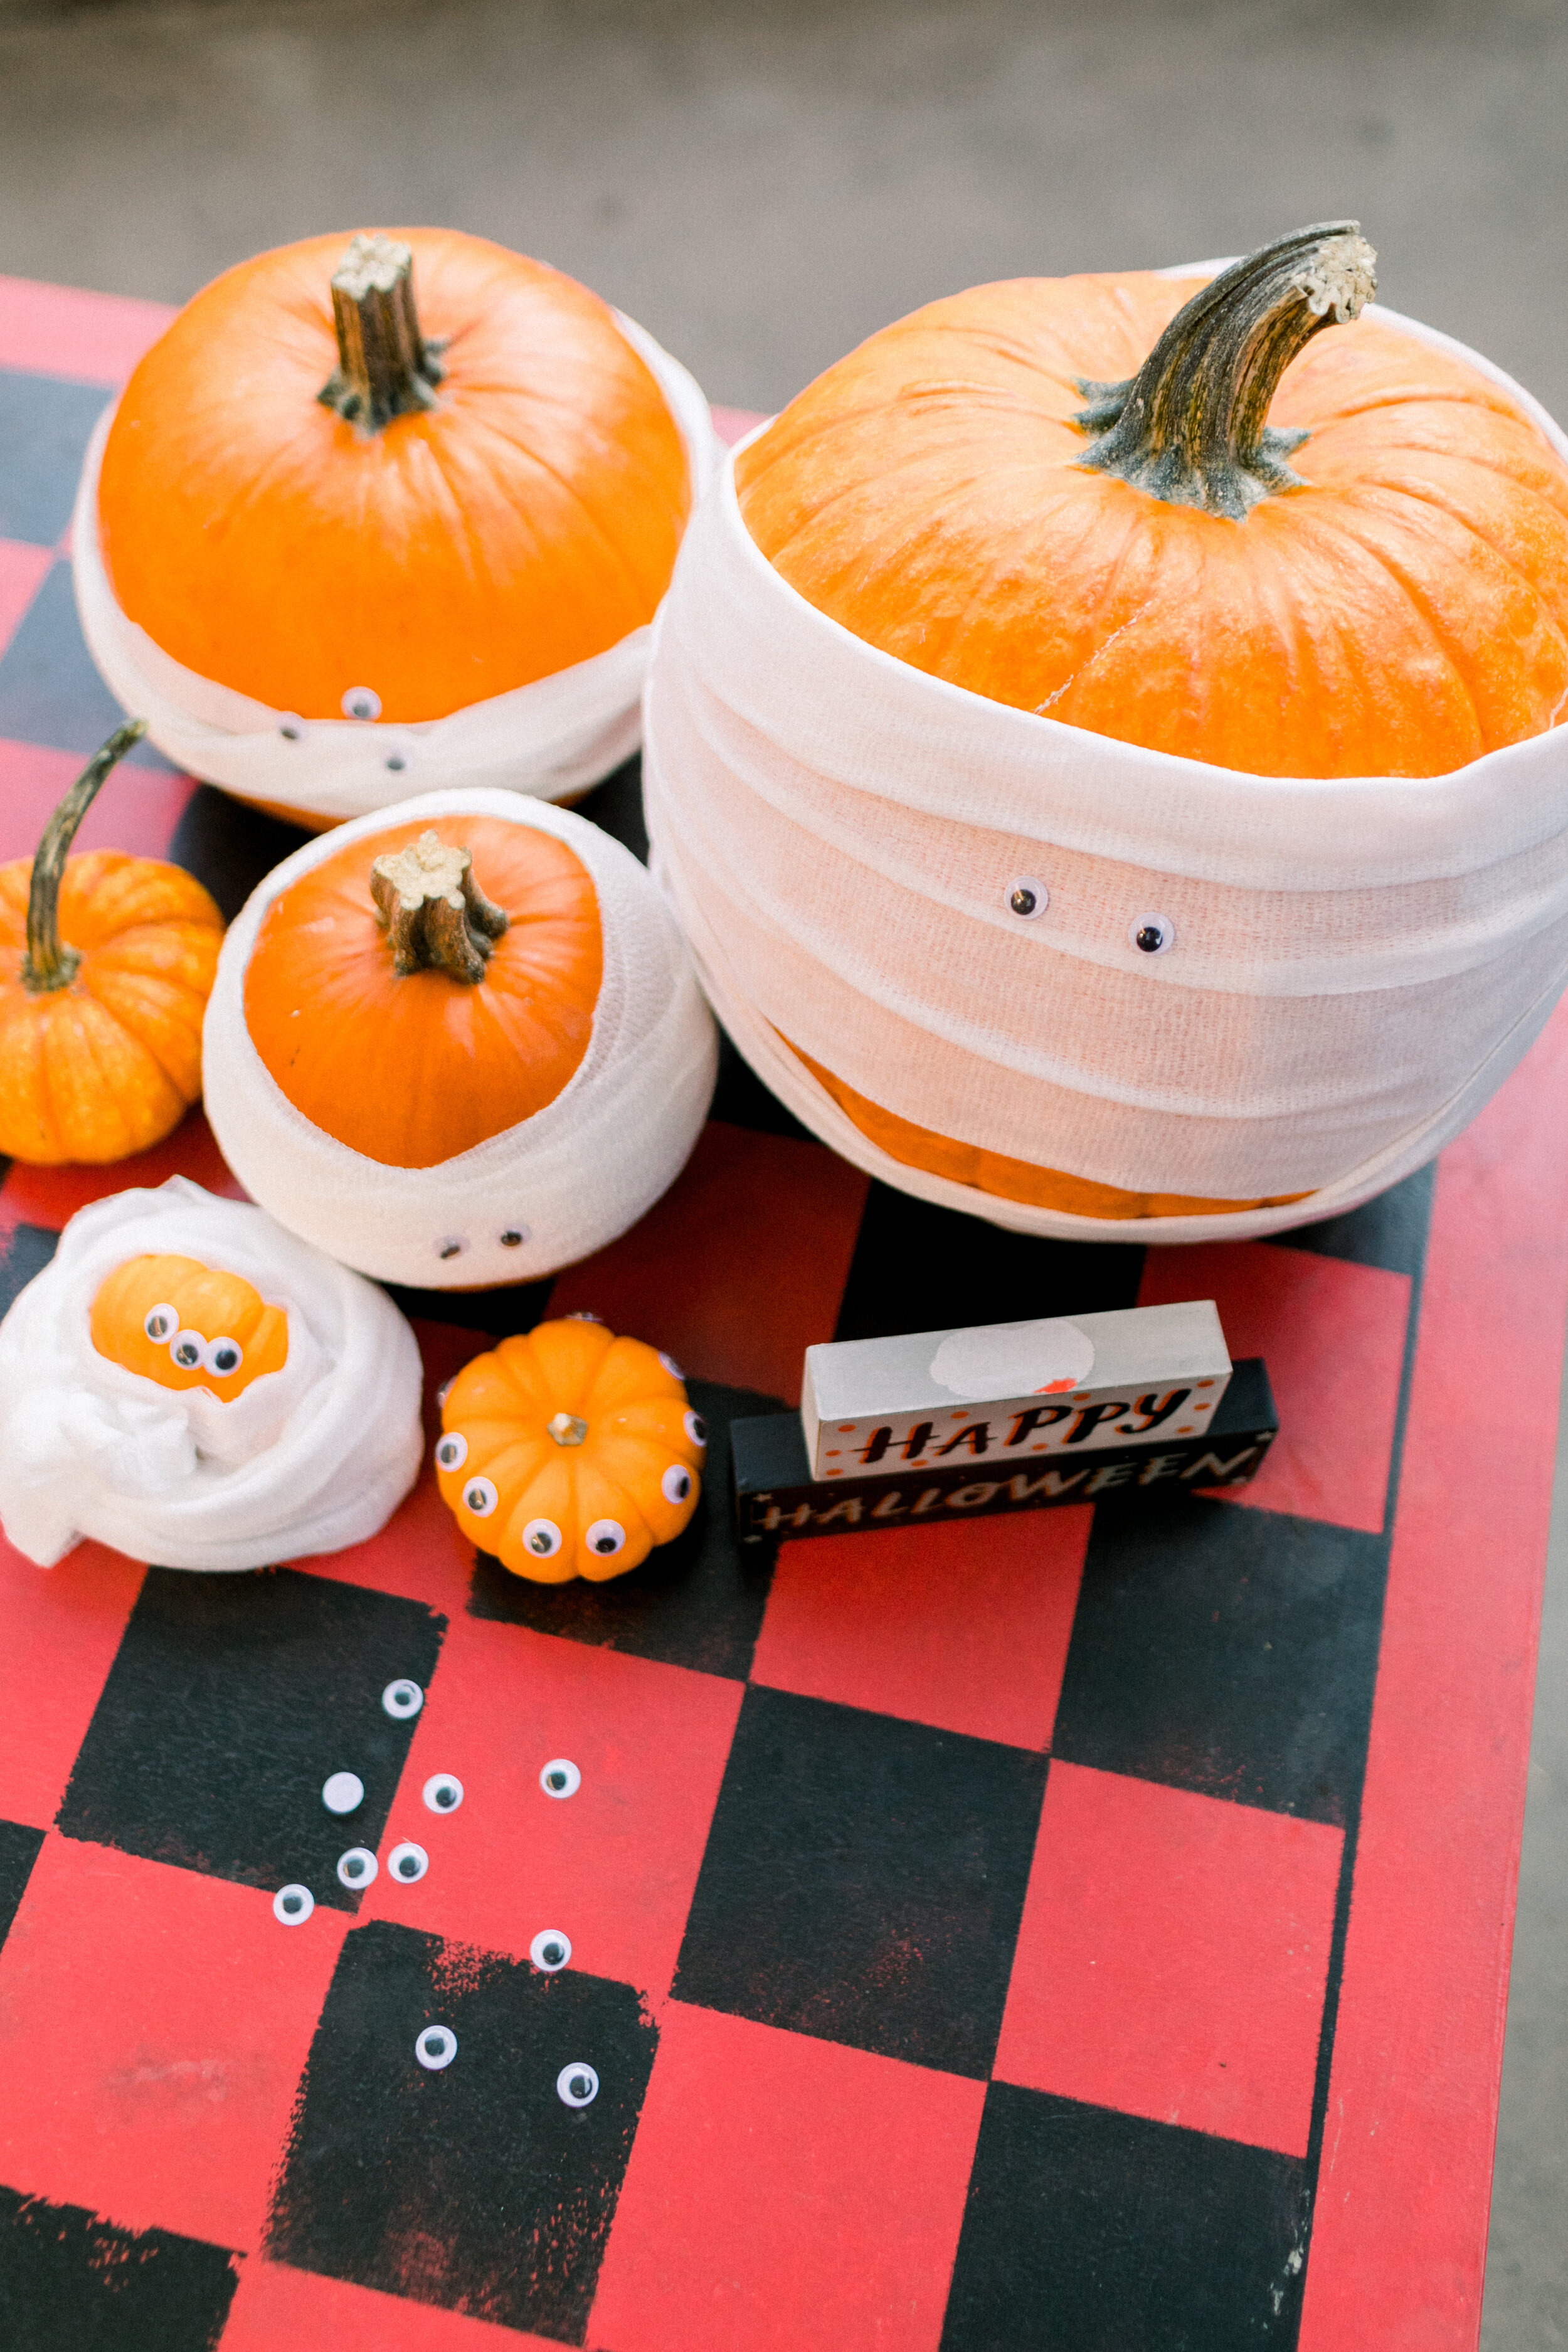
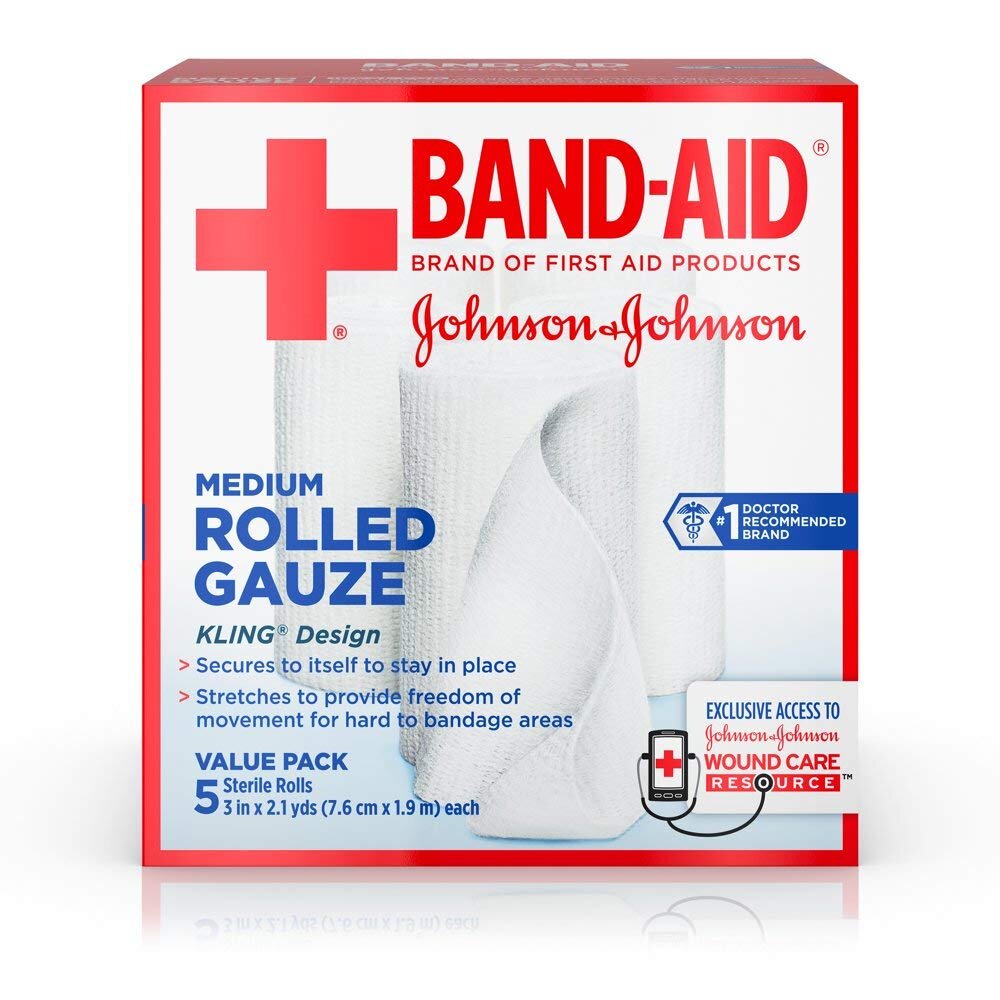
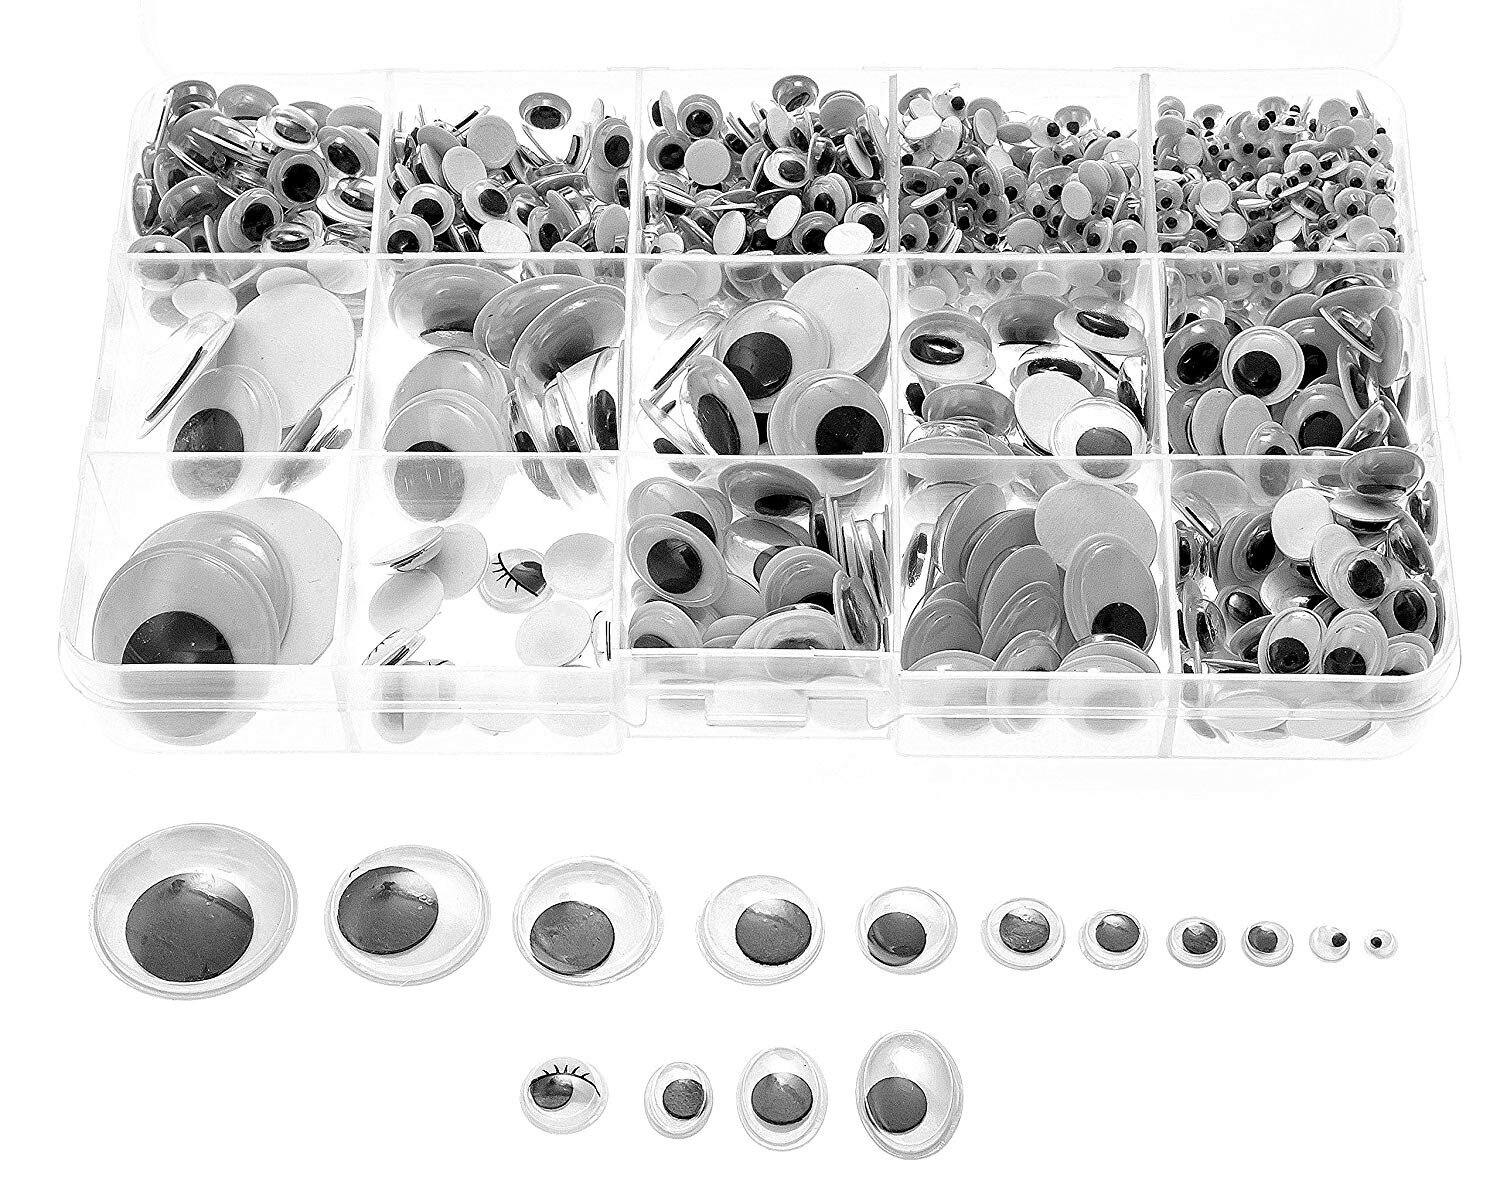
Last Halloween, my family had a pumpkin carving night but, as you may have guessed, my husband and I ended up doing all the work. This year, I wanted to create a super easy rascal-friendly craft to do with the pumpkins we brought home from the pumpkin patch. Mummify your doorstep with this no-carve pumpkin decorating idea. All you need are some strips of gauze and googly eyes to make a spooky pumpkin King Tut would be proud to call his own.

Supplies

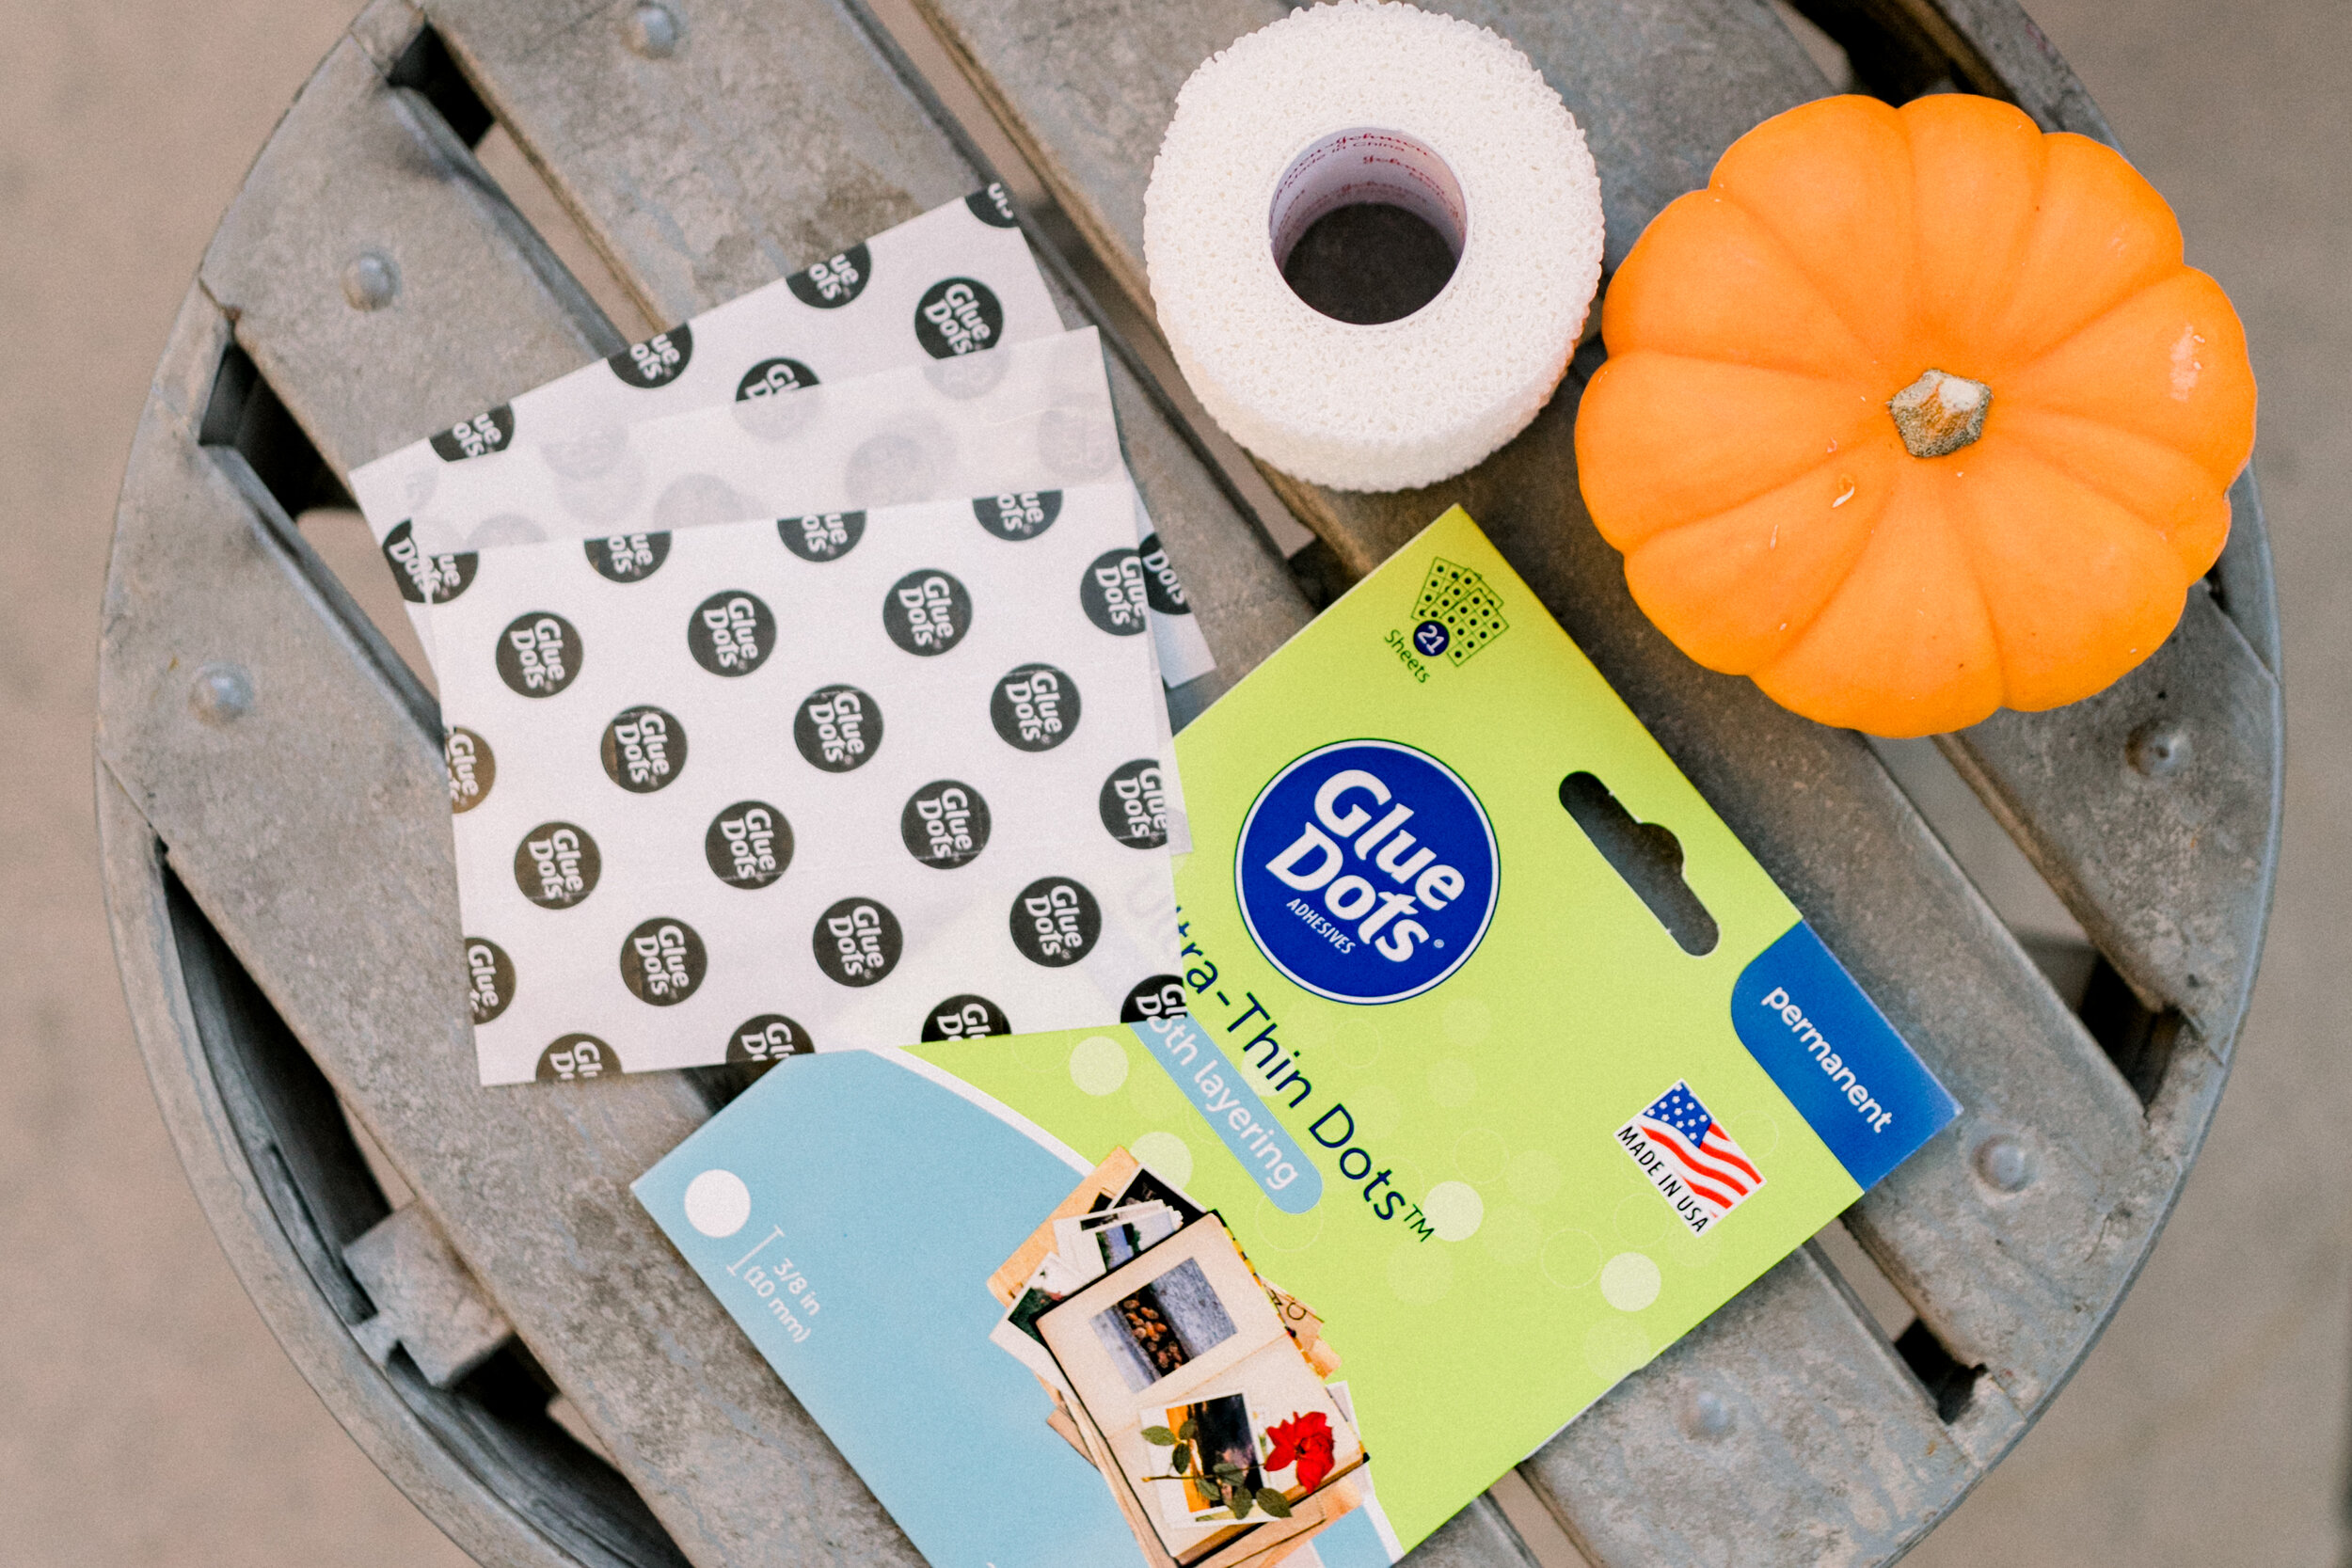
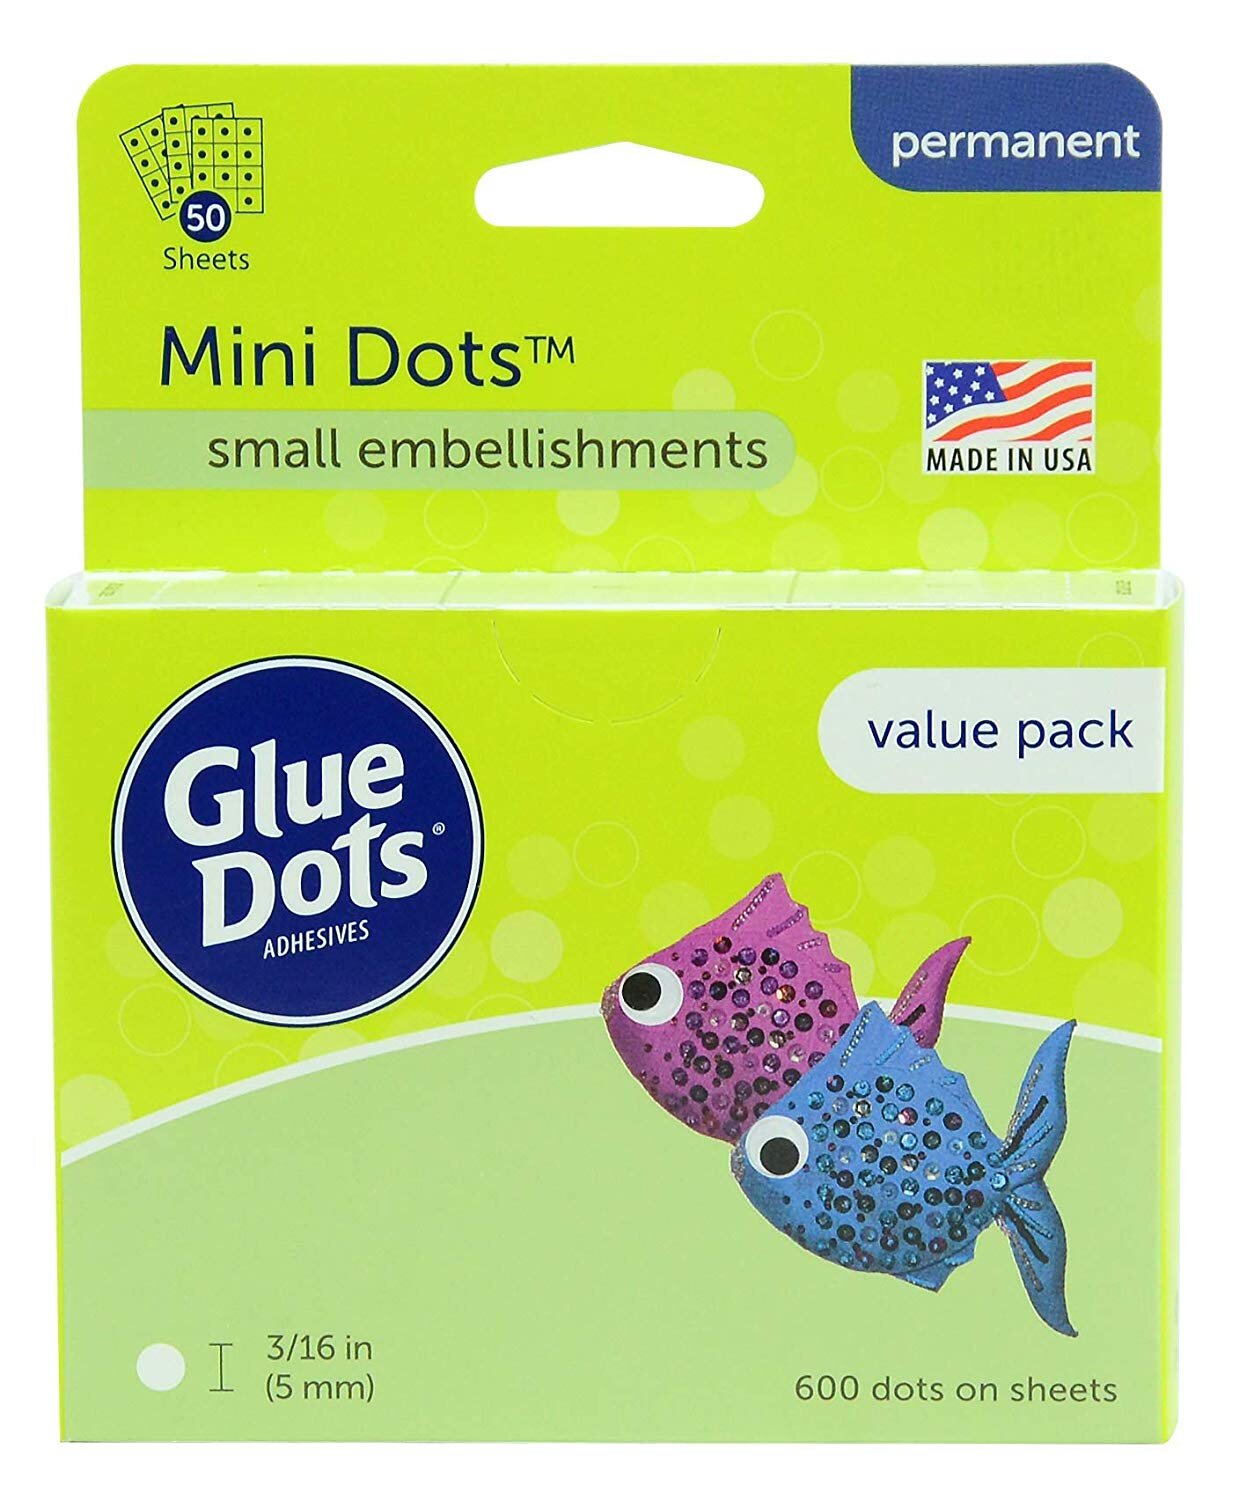
  • Glue Dots

  • Gauze

  • Googly Eyes

  • Scissors

  • Markers

Instructions

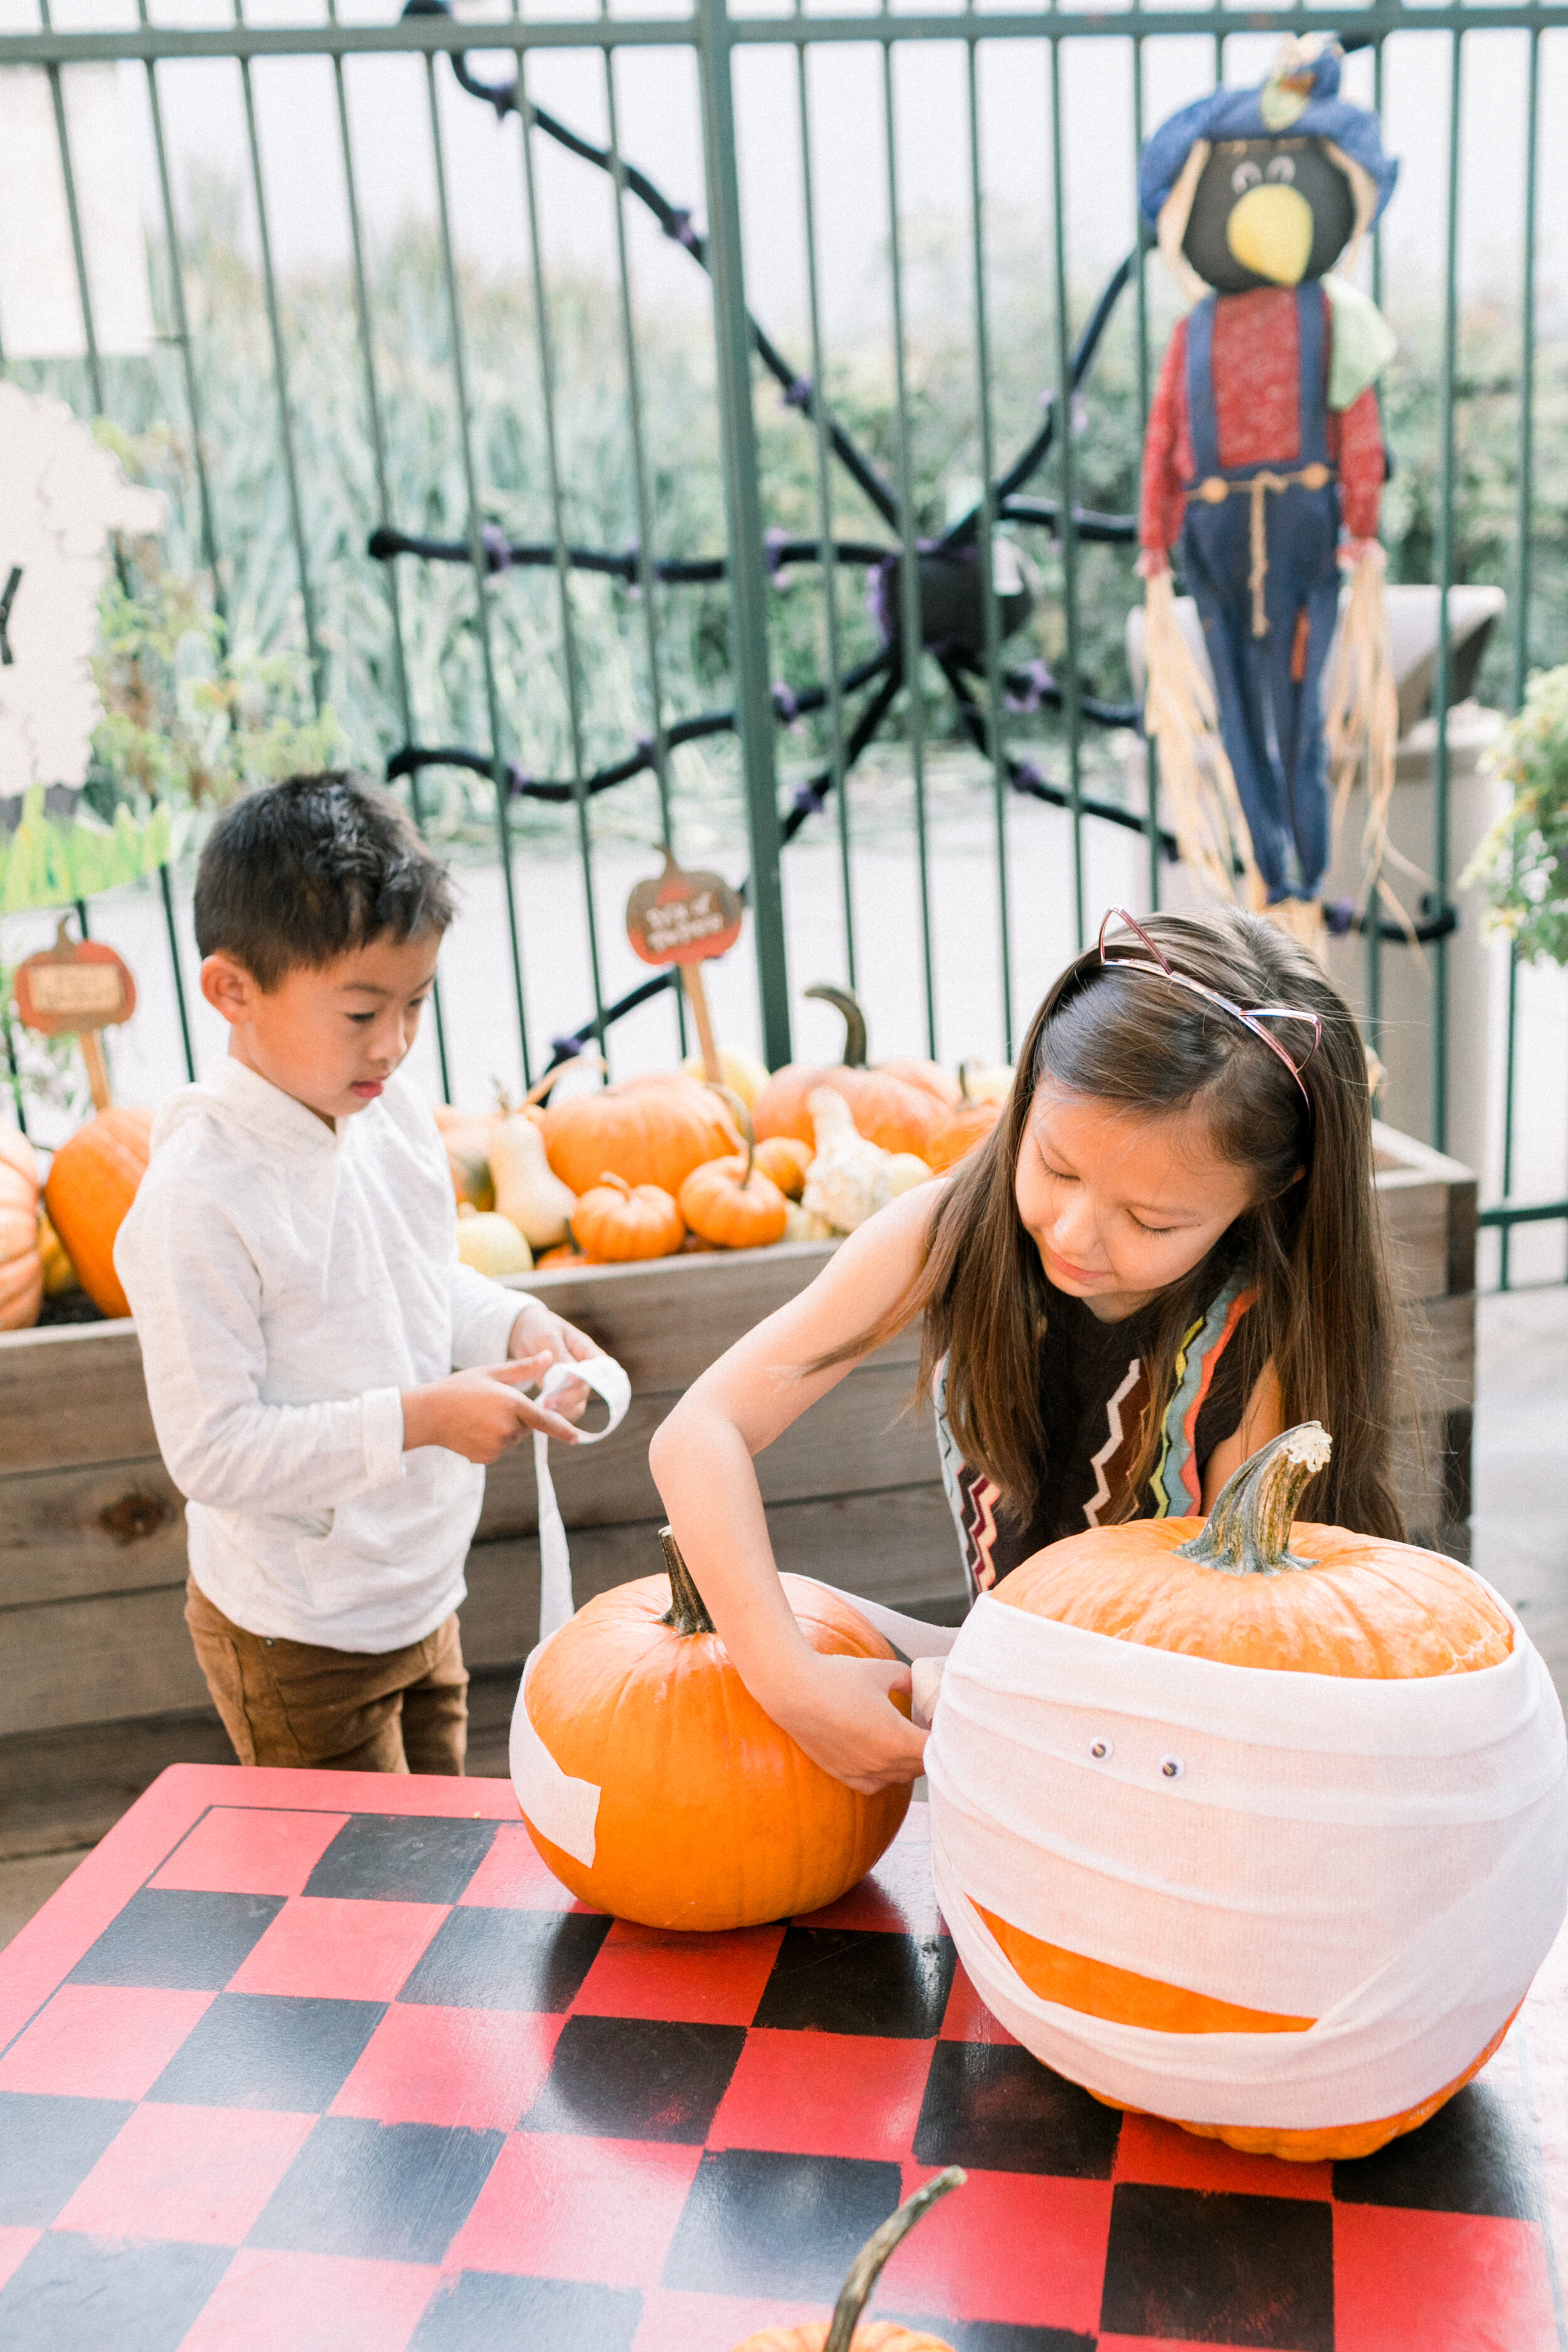
  1. Use glue dots to secure one end of your gauze to the pumpkin.

  2. Wrap the gauze around the pumpkin and glue again to hold it in place.  Repeat.

  3. Attach the googly eyes with the glue dots and use a permanent marker to add a mouth.

Enjoy your festive no-carve pumpkin!

Written by Head Rascal (Ngoc Nguyen Lay), mother of two rascals, ages 4 and 6. Photo by Simply Adri Photography. This post was sponsored by Glue Dots.

Shop The Post

Painted Pumpkins

In our house, we like to celebrate Halloween all October long. With two young rascals, we keep the Halloween scare factor to a minimum and focus our decor on the joy of pumpkins, pumpkin patches, and dressing up as our favorite characters.

Painted Pumpkins for Hello Rascal Kids. Family lifestyle blog for parents and kids.

Our first visit to a local pumpkin patch is usually the first weekend in October. We then continue to visit pumpkin patches all month long! We bring home tons of pumpkins - tiny ones as gifts for teachers, white ones for decoration, large ones for carving, and small to medium sized ones for painting.

The beginning of October is usually still summer in Houston, so our first pumpkin purchases cannot be carved, as they would not last the entire month. Our yearly tradition of painting pumpkins started at a friend’s birthday party one year and is now one of our favorite Halloween traditions.

Reasons painting pumpkins is a great activity for your rascals:

The mess factor is minimal.
No special tools or templates are needed.
Painted pumpkins will not rot as quickly as carved ones do.
And, most importantly, the pride your children will take in their masterpiece is second to none.

Supplies Needed:
- paintbrushes
- acrylic paint (this one is my favorite)
- paint palette (AKA paper plate)
- cup of water for rinsing paintbrushes
- something to cover your workspace (newspaper, drop cloth, sheet, or butcher paper all work well)

Once you set up your supplies, it’s time to let your little artist get started. Not only is this a great time to let them get creative, but it is also a learning experience. With my older rascal, we predict what will happen when we mix colors and then I let him experiment. When their masterpiece is finished & dry, be sure to showcase their pumpkin in a prime location amongst your Halloween decorations.

TIP: I recommend clothes you don’t mind getting dirty because I find acrylic paint to be pretty unforgiving on fabric. Designating an old oversized shirt as an artist’s smock can help minimize damage to your rascals’ regular wardrobe.

Written by Brandi Stanton, mother to two rascals ages 2 and 3.


Shop The Post

Slime Art

It’s a slime party or, rather, a slime art project. We know kids love slime, but in addition to playing with the gooey stuff, you can also turn them into beautiful artwork.

MATERIAL

  • Elmer's white School Glue

  • Baking Soda

  • Contact Solution

  • Popsicle Sticks

  • Food Coloring

  • Containers

  • Glitter (optional)

  • 5x7 Canvas Board

  • Pencil

DESIGN THE PAINTING

Use the pencil to lightly draw your design on the canvas. Get inspiration from a favorite cartoon character or things your rascals love to do. You’ll need to know what color you want in the painting to prepare the color slimes. Keep the design simple and no more than 5 colors.

MAKE SLIME

The slime we’re using here will be slightly stickier than what you might be used to so it will stay on the canvas, but it shouldn’t stick to your hands. You can add shaving cream for a puffier look or glitter for a shimmery look.

STEPS

1. Pour glue into containers

2. Add desired food coloring and mix well using a popsicle stick

3. Add baking soda to the glue and mix*

4. Add a little contact solution (a few drops at a time) and mix until it gets gooey

5. When the mixture becomes clumpy but still sticky, the slime is ready

6. Repeat steps 1-5 until all the colors you need in the painting are created

*For every 4 fl oz Elmer's white school glue, mix 1/2 tbsp of baking soda and 1 tbsp of contact lens solution

INSTRUCTIONS

Use your fingers to scoop out a small amount of slime and then mold and shape the slime to fill in the space on the canvas as if you’re coloring. Start with the biggest areas that are the same color. Add small details by pressing them onto the canvas Keep the canvas flat until it dries (about 1 hour).

Written by Tina Li of In The Cloud Events. Mother of two rascals, ages 6 and 8.


Shop the Post

Gardening with Kids

If you asked me just last year if I cared to spend lots of time in my garden, the answer would be an emphatic “No Way!”

But, I wanted to see improvement in my garden and the best way to create this change was to put in time and effort.

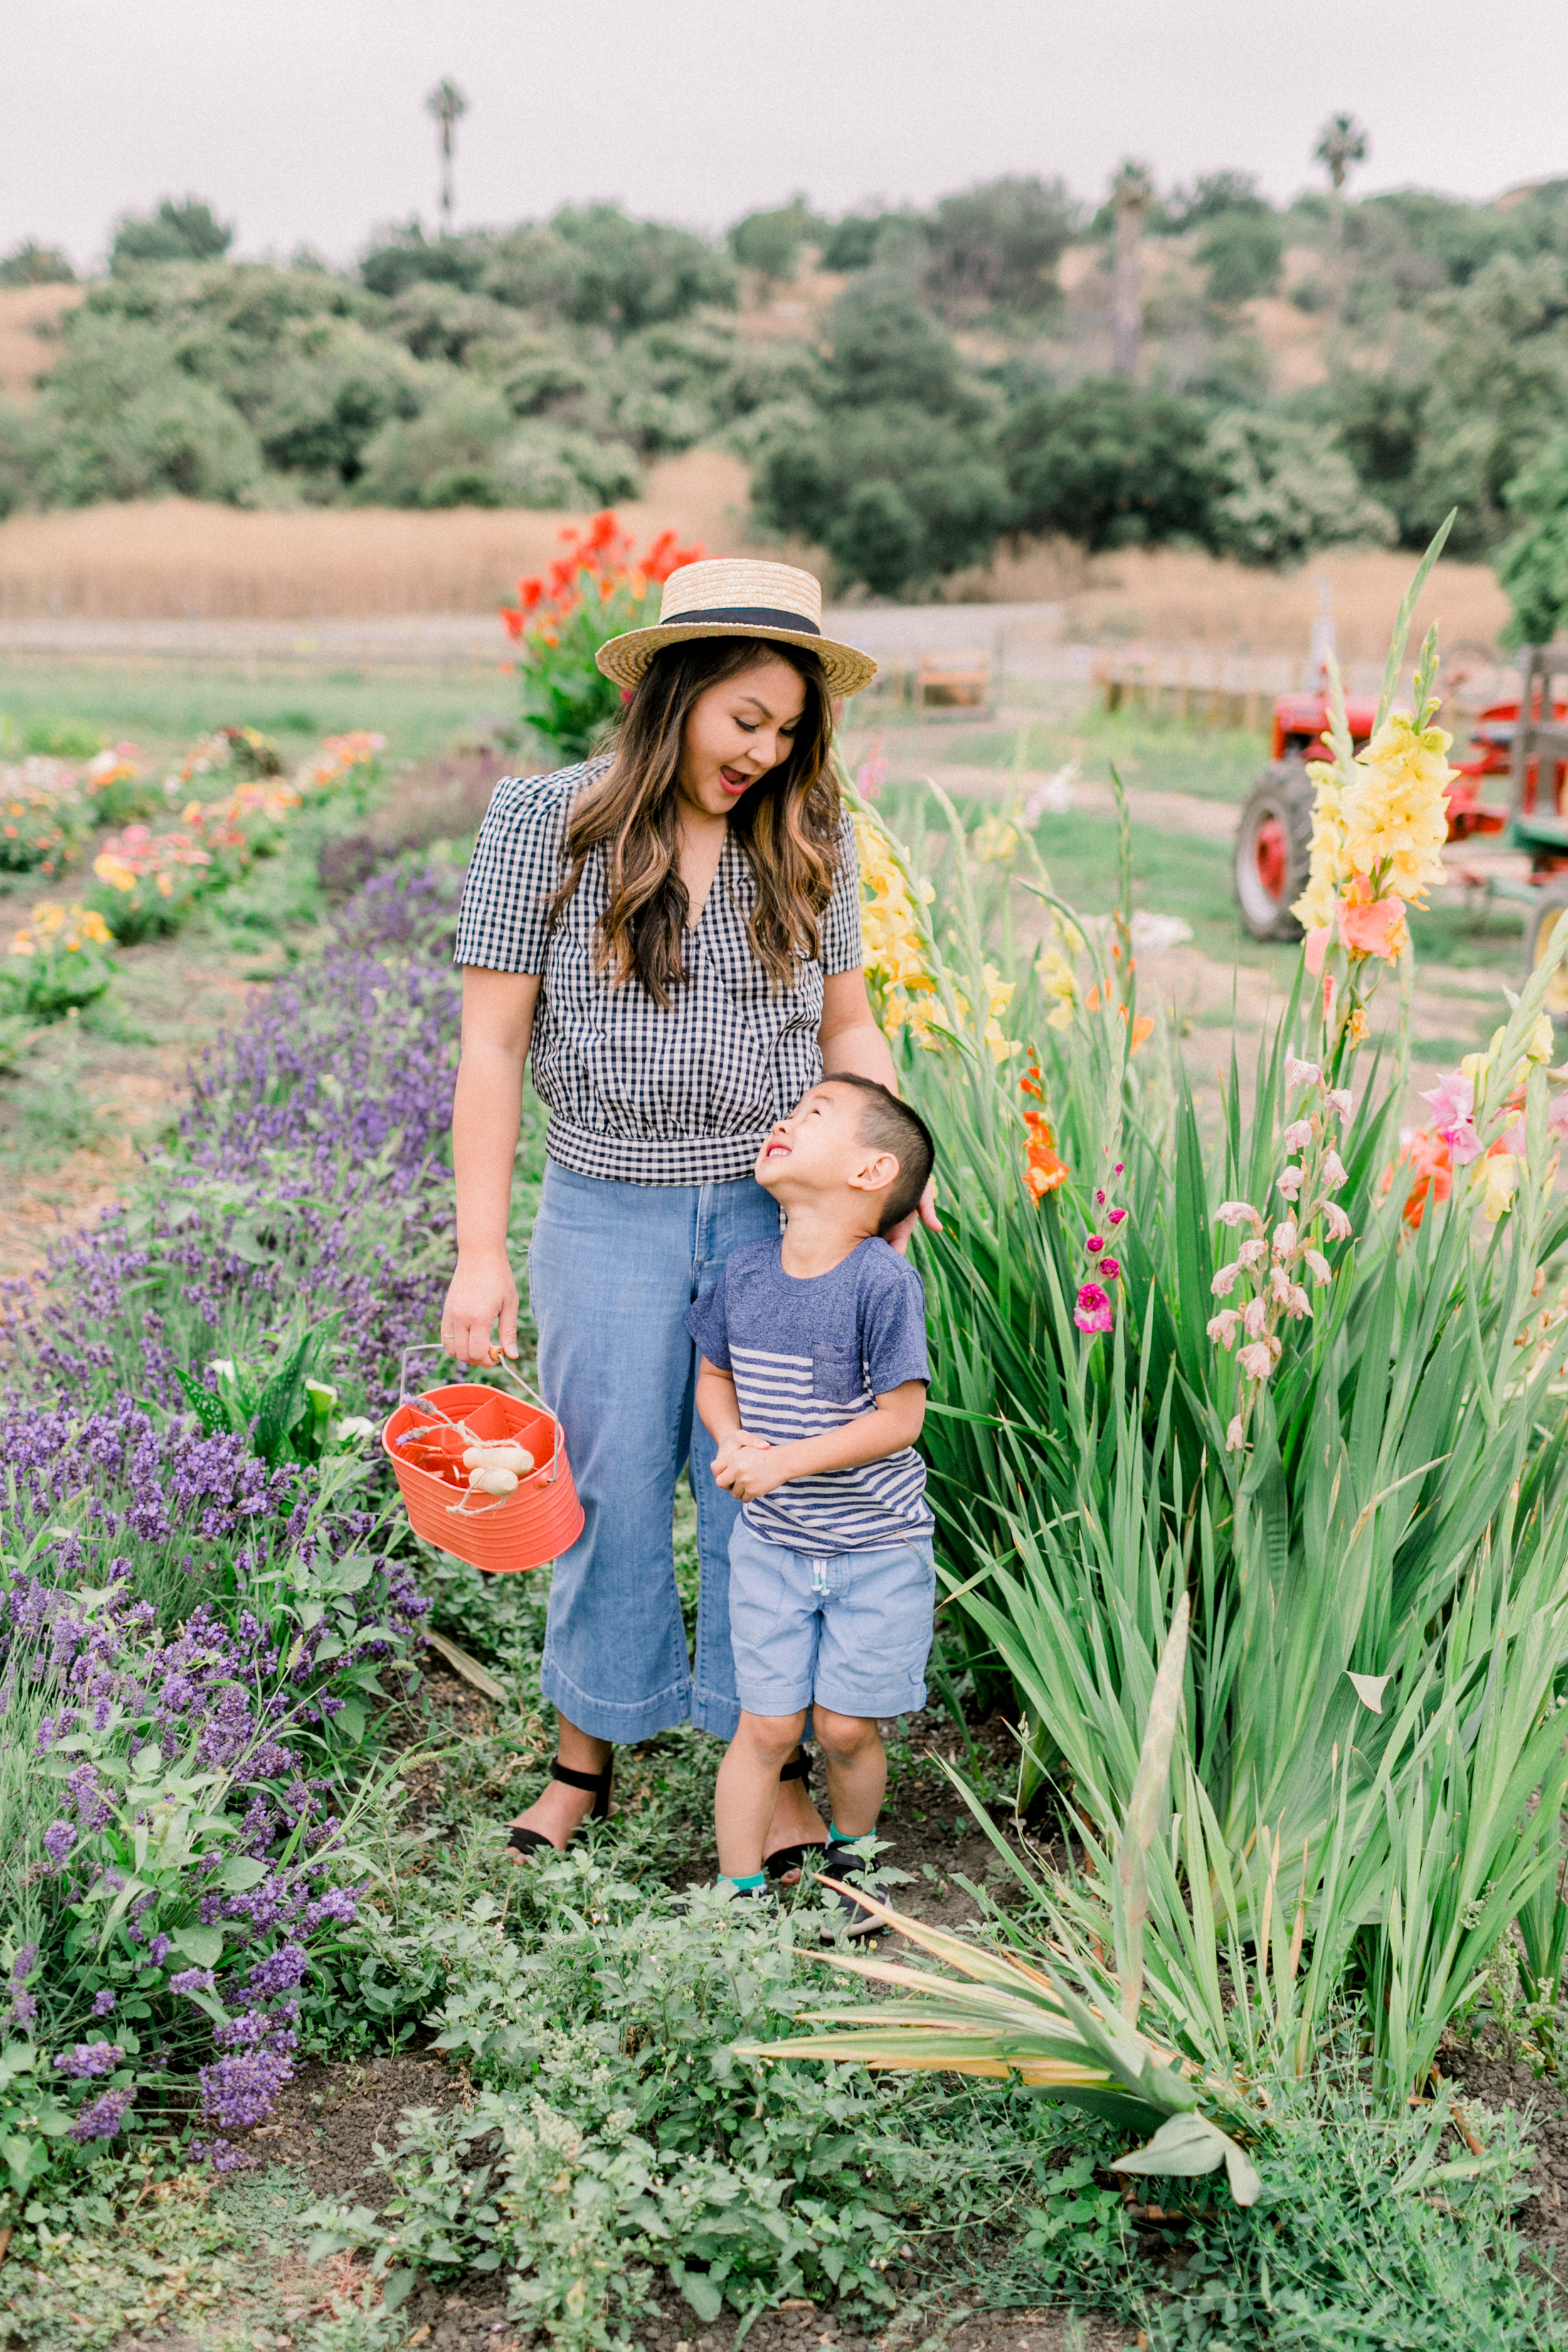
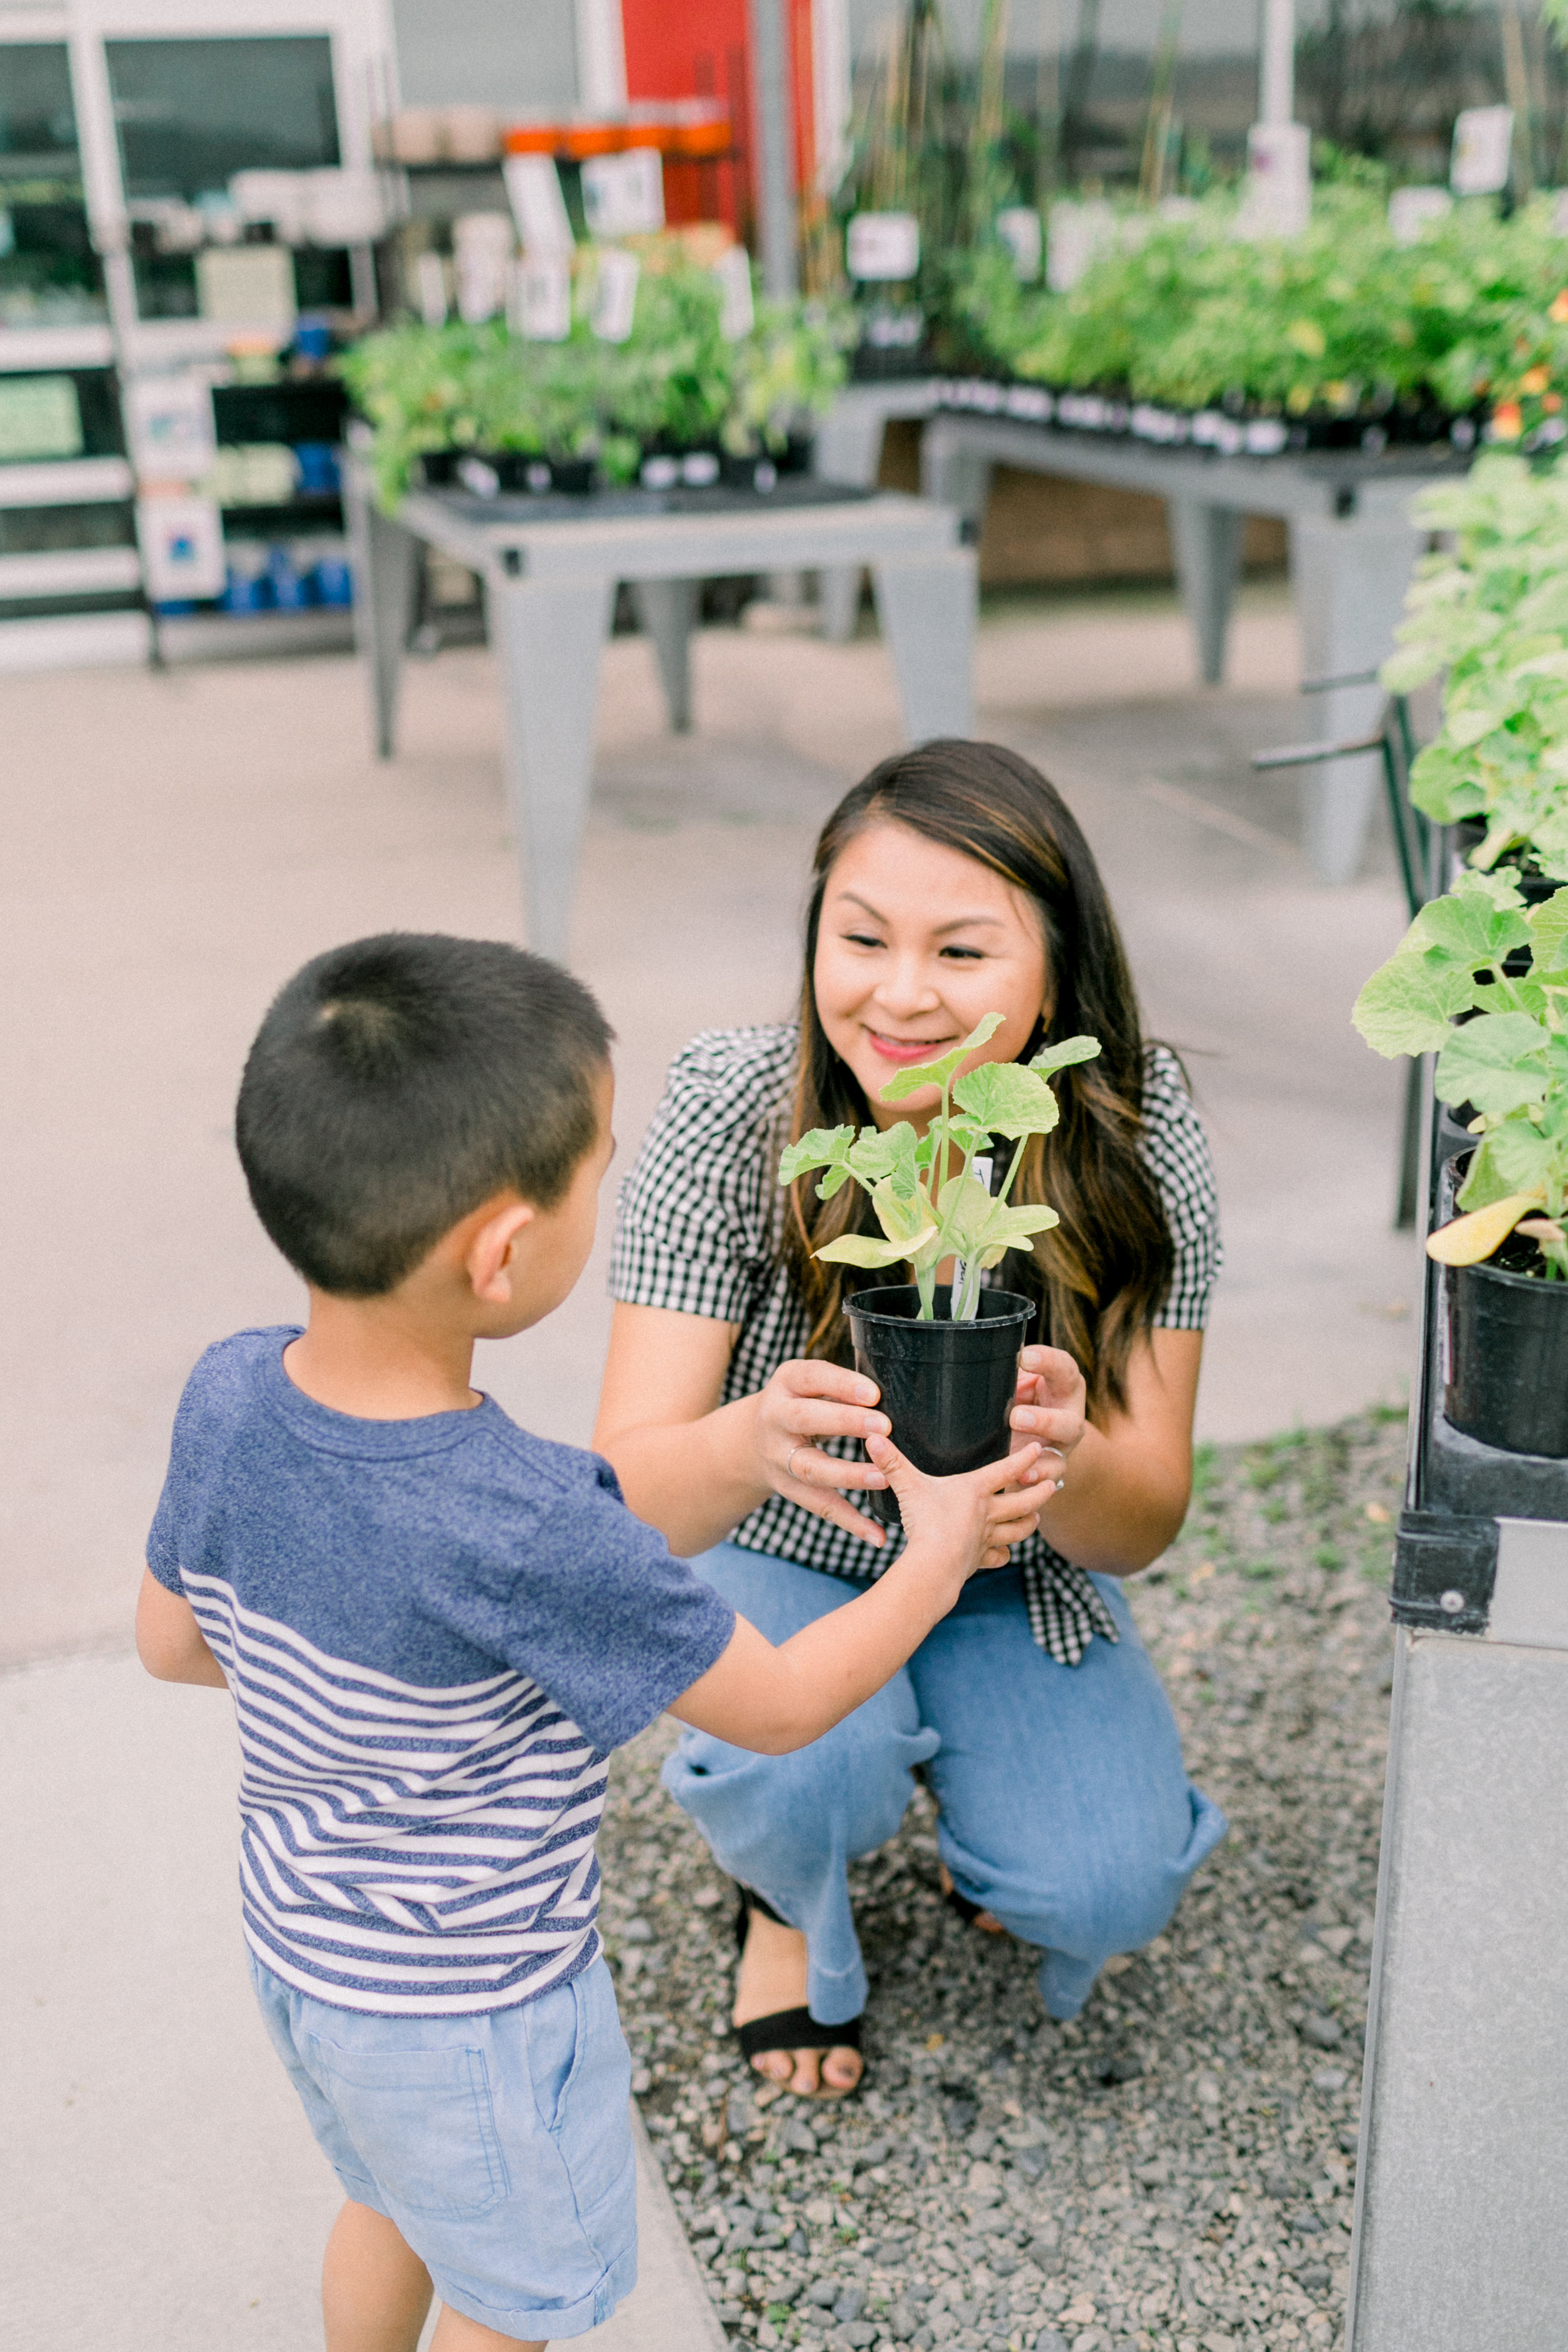
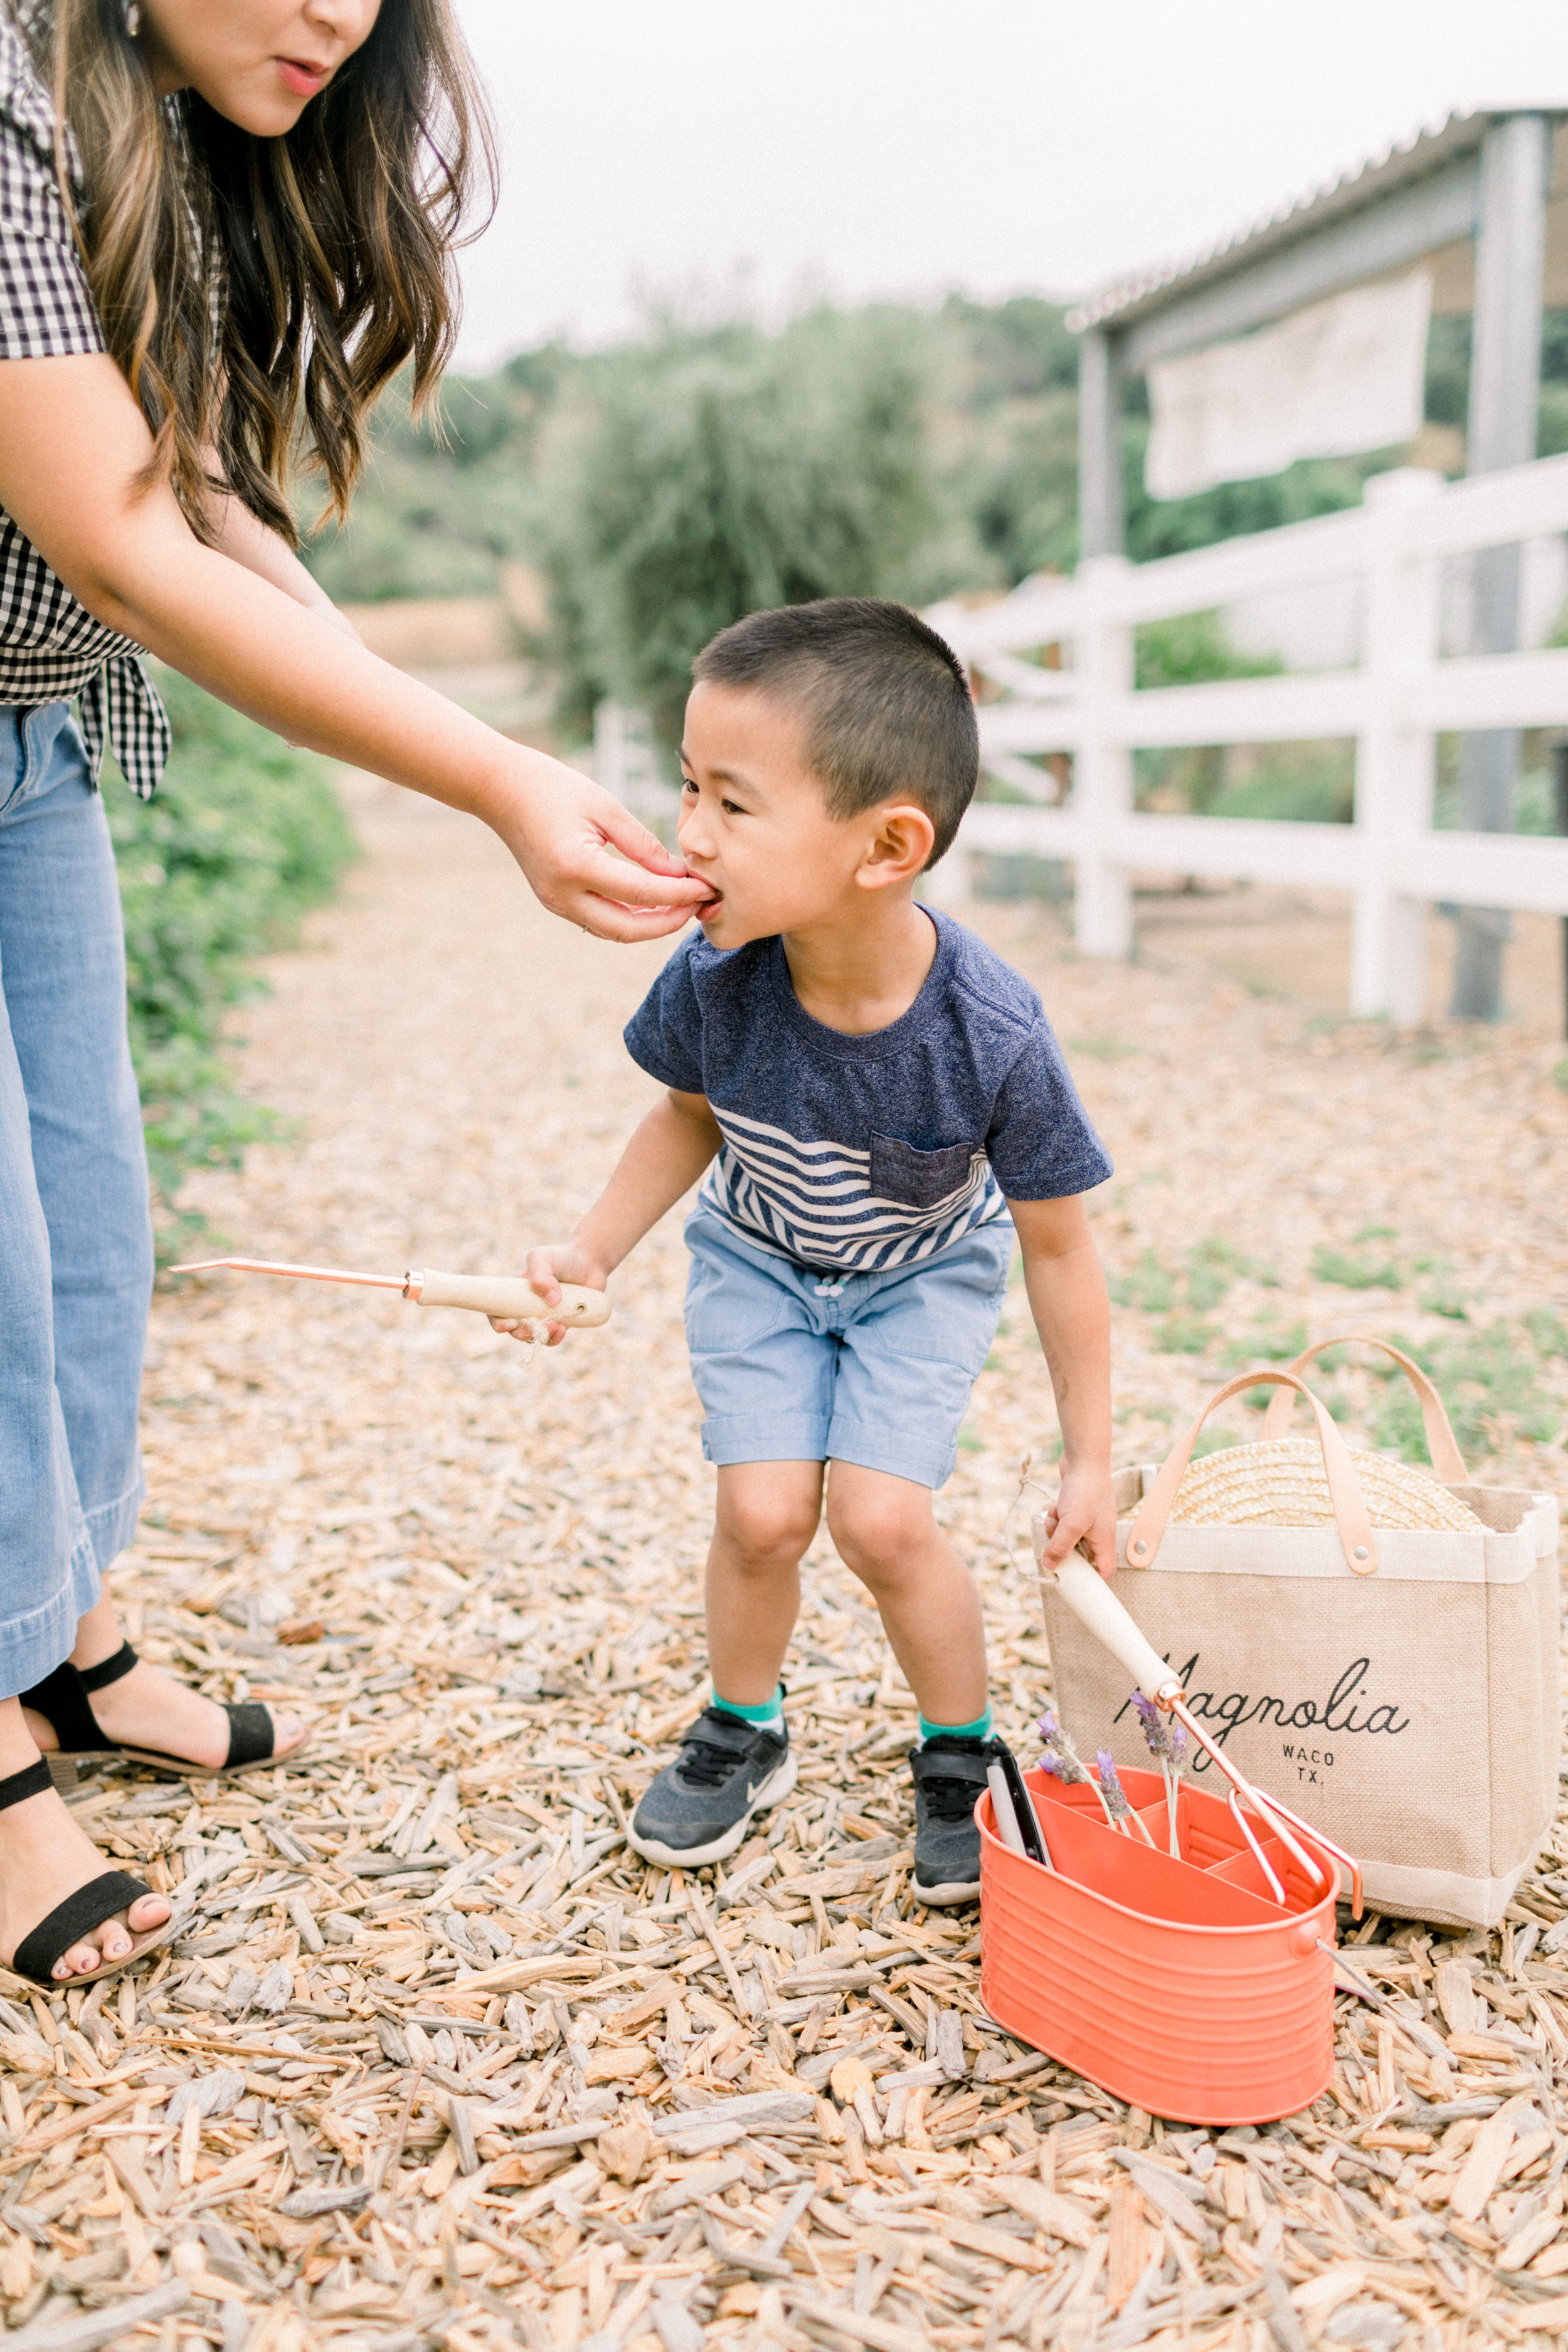
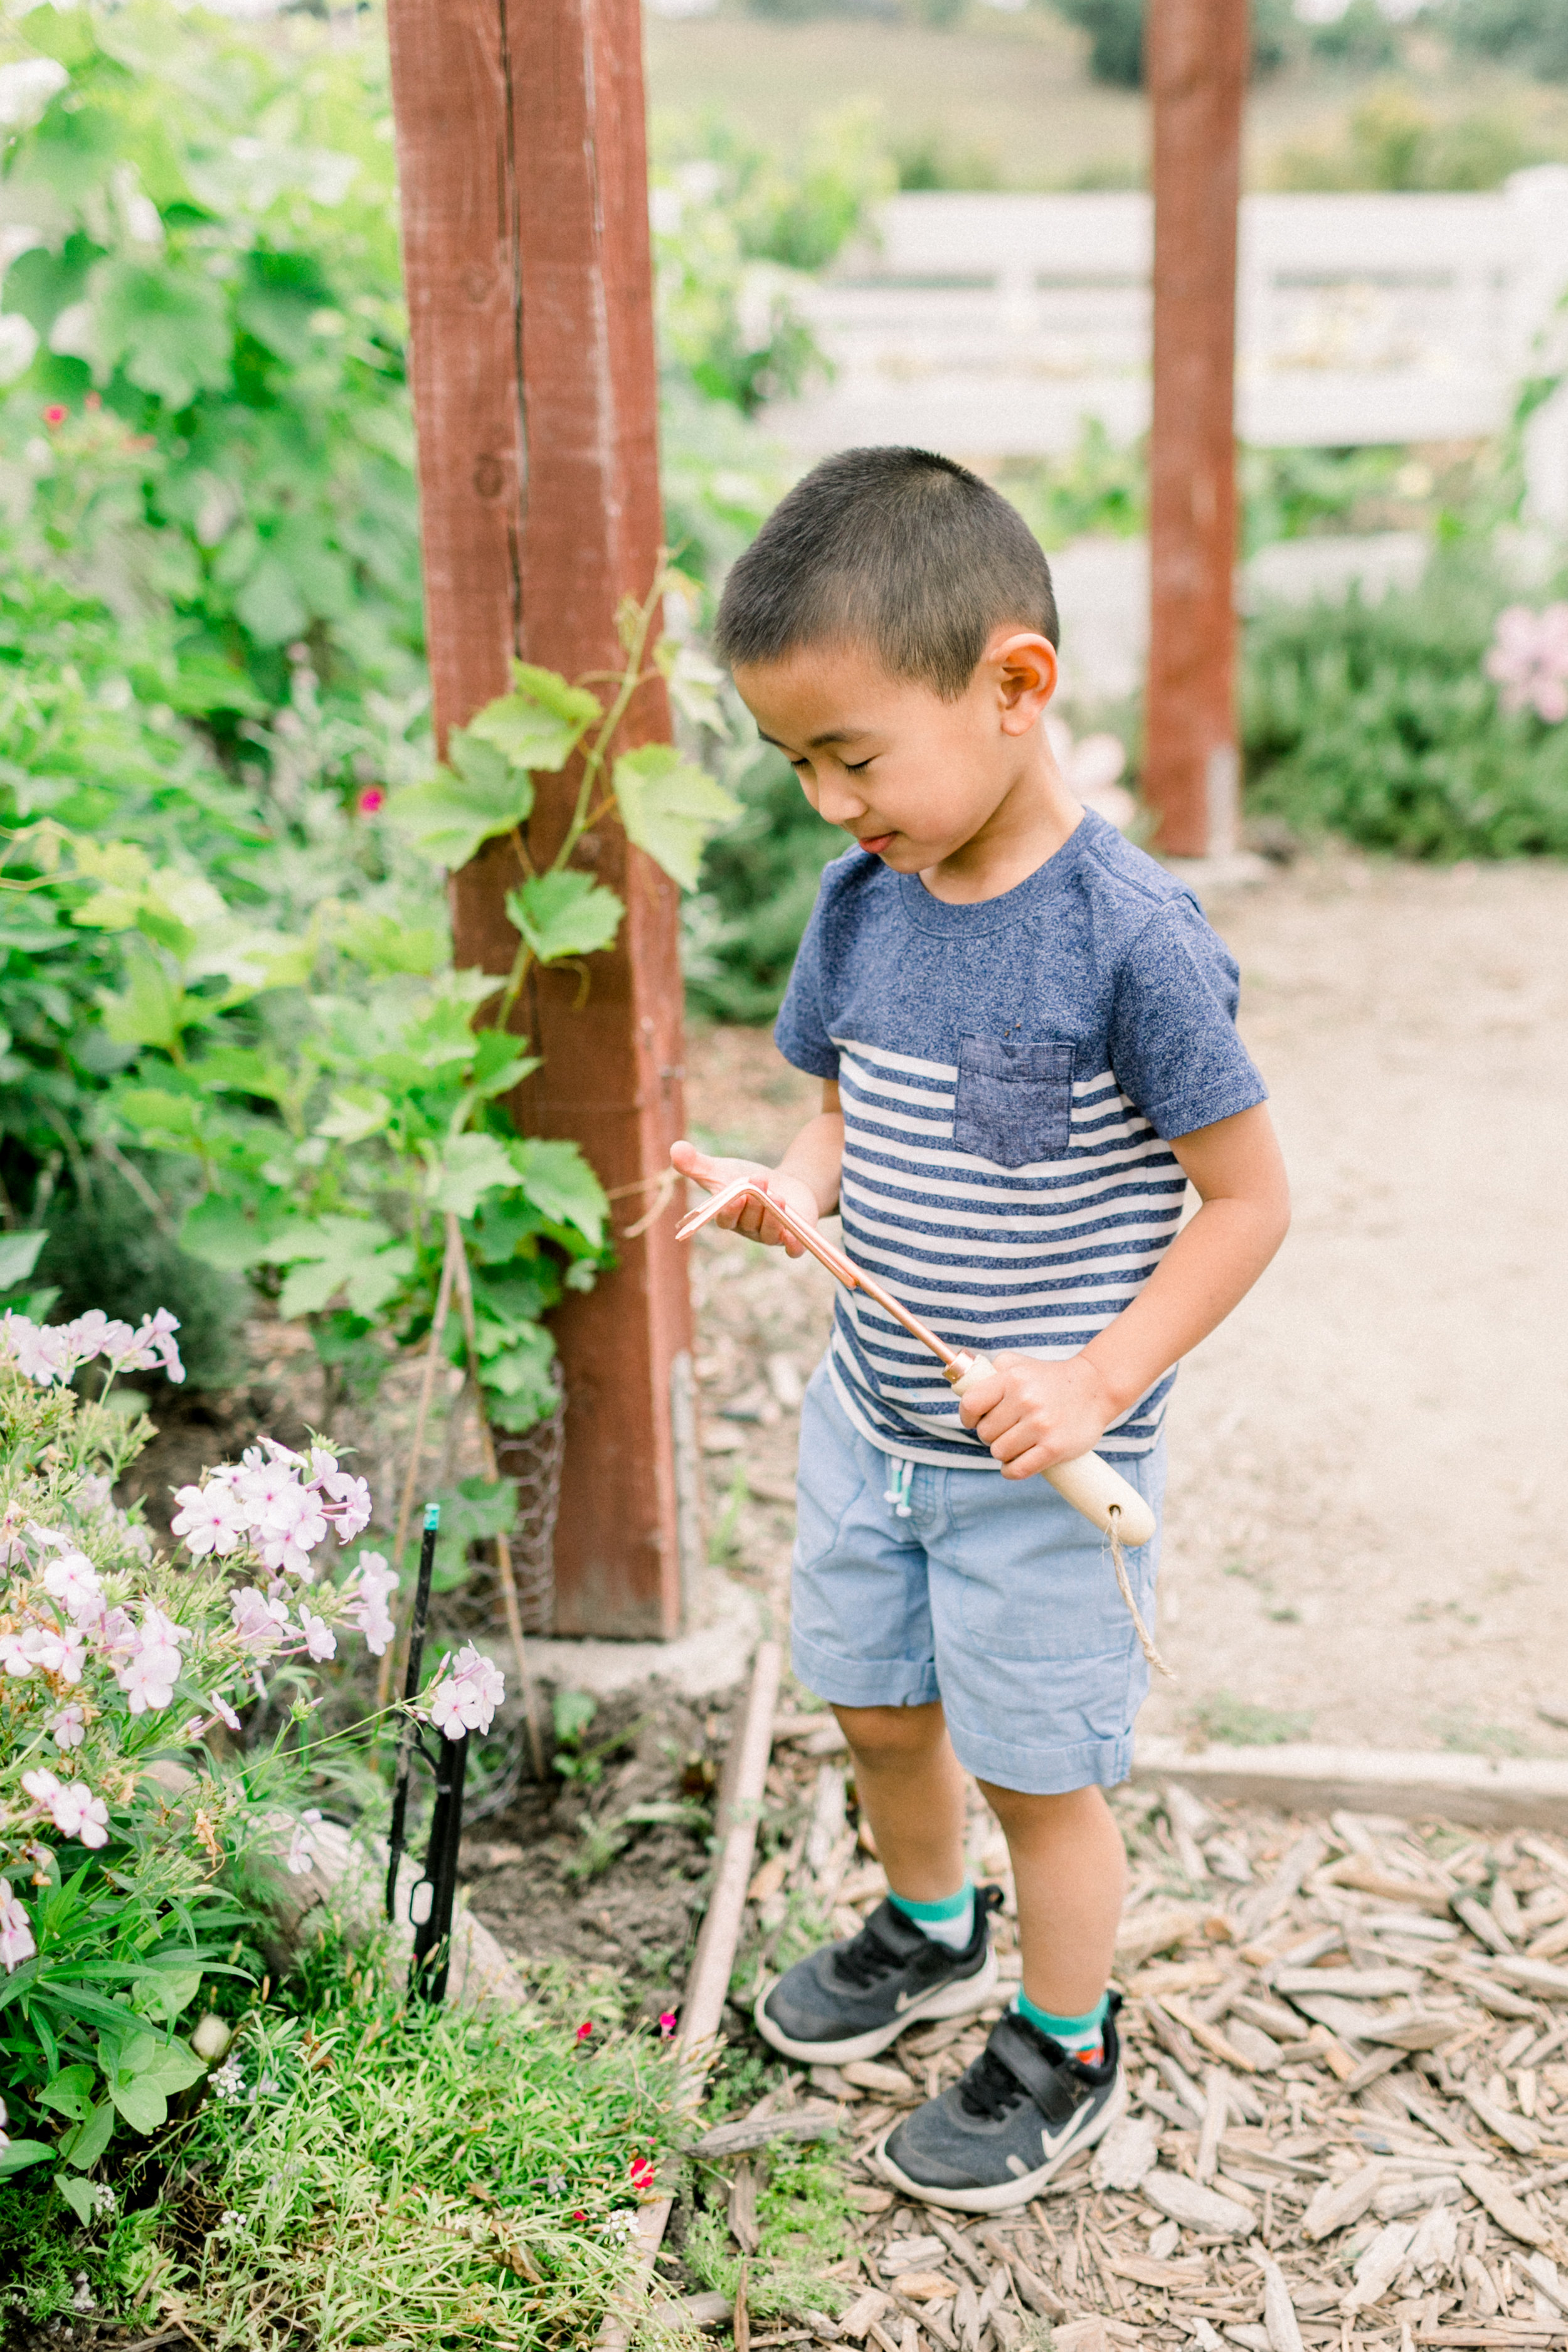
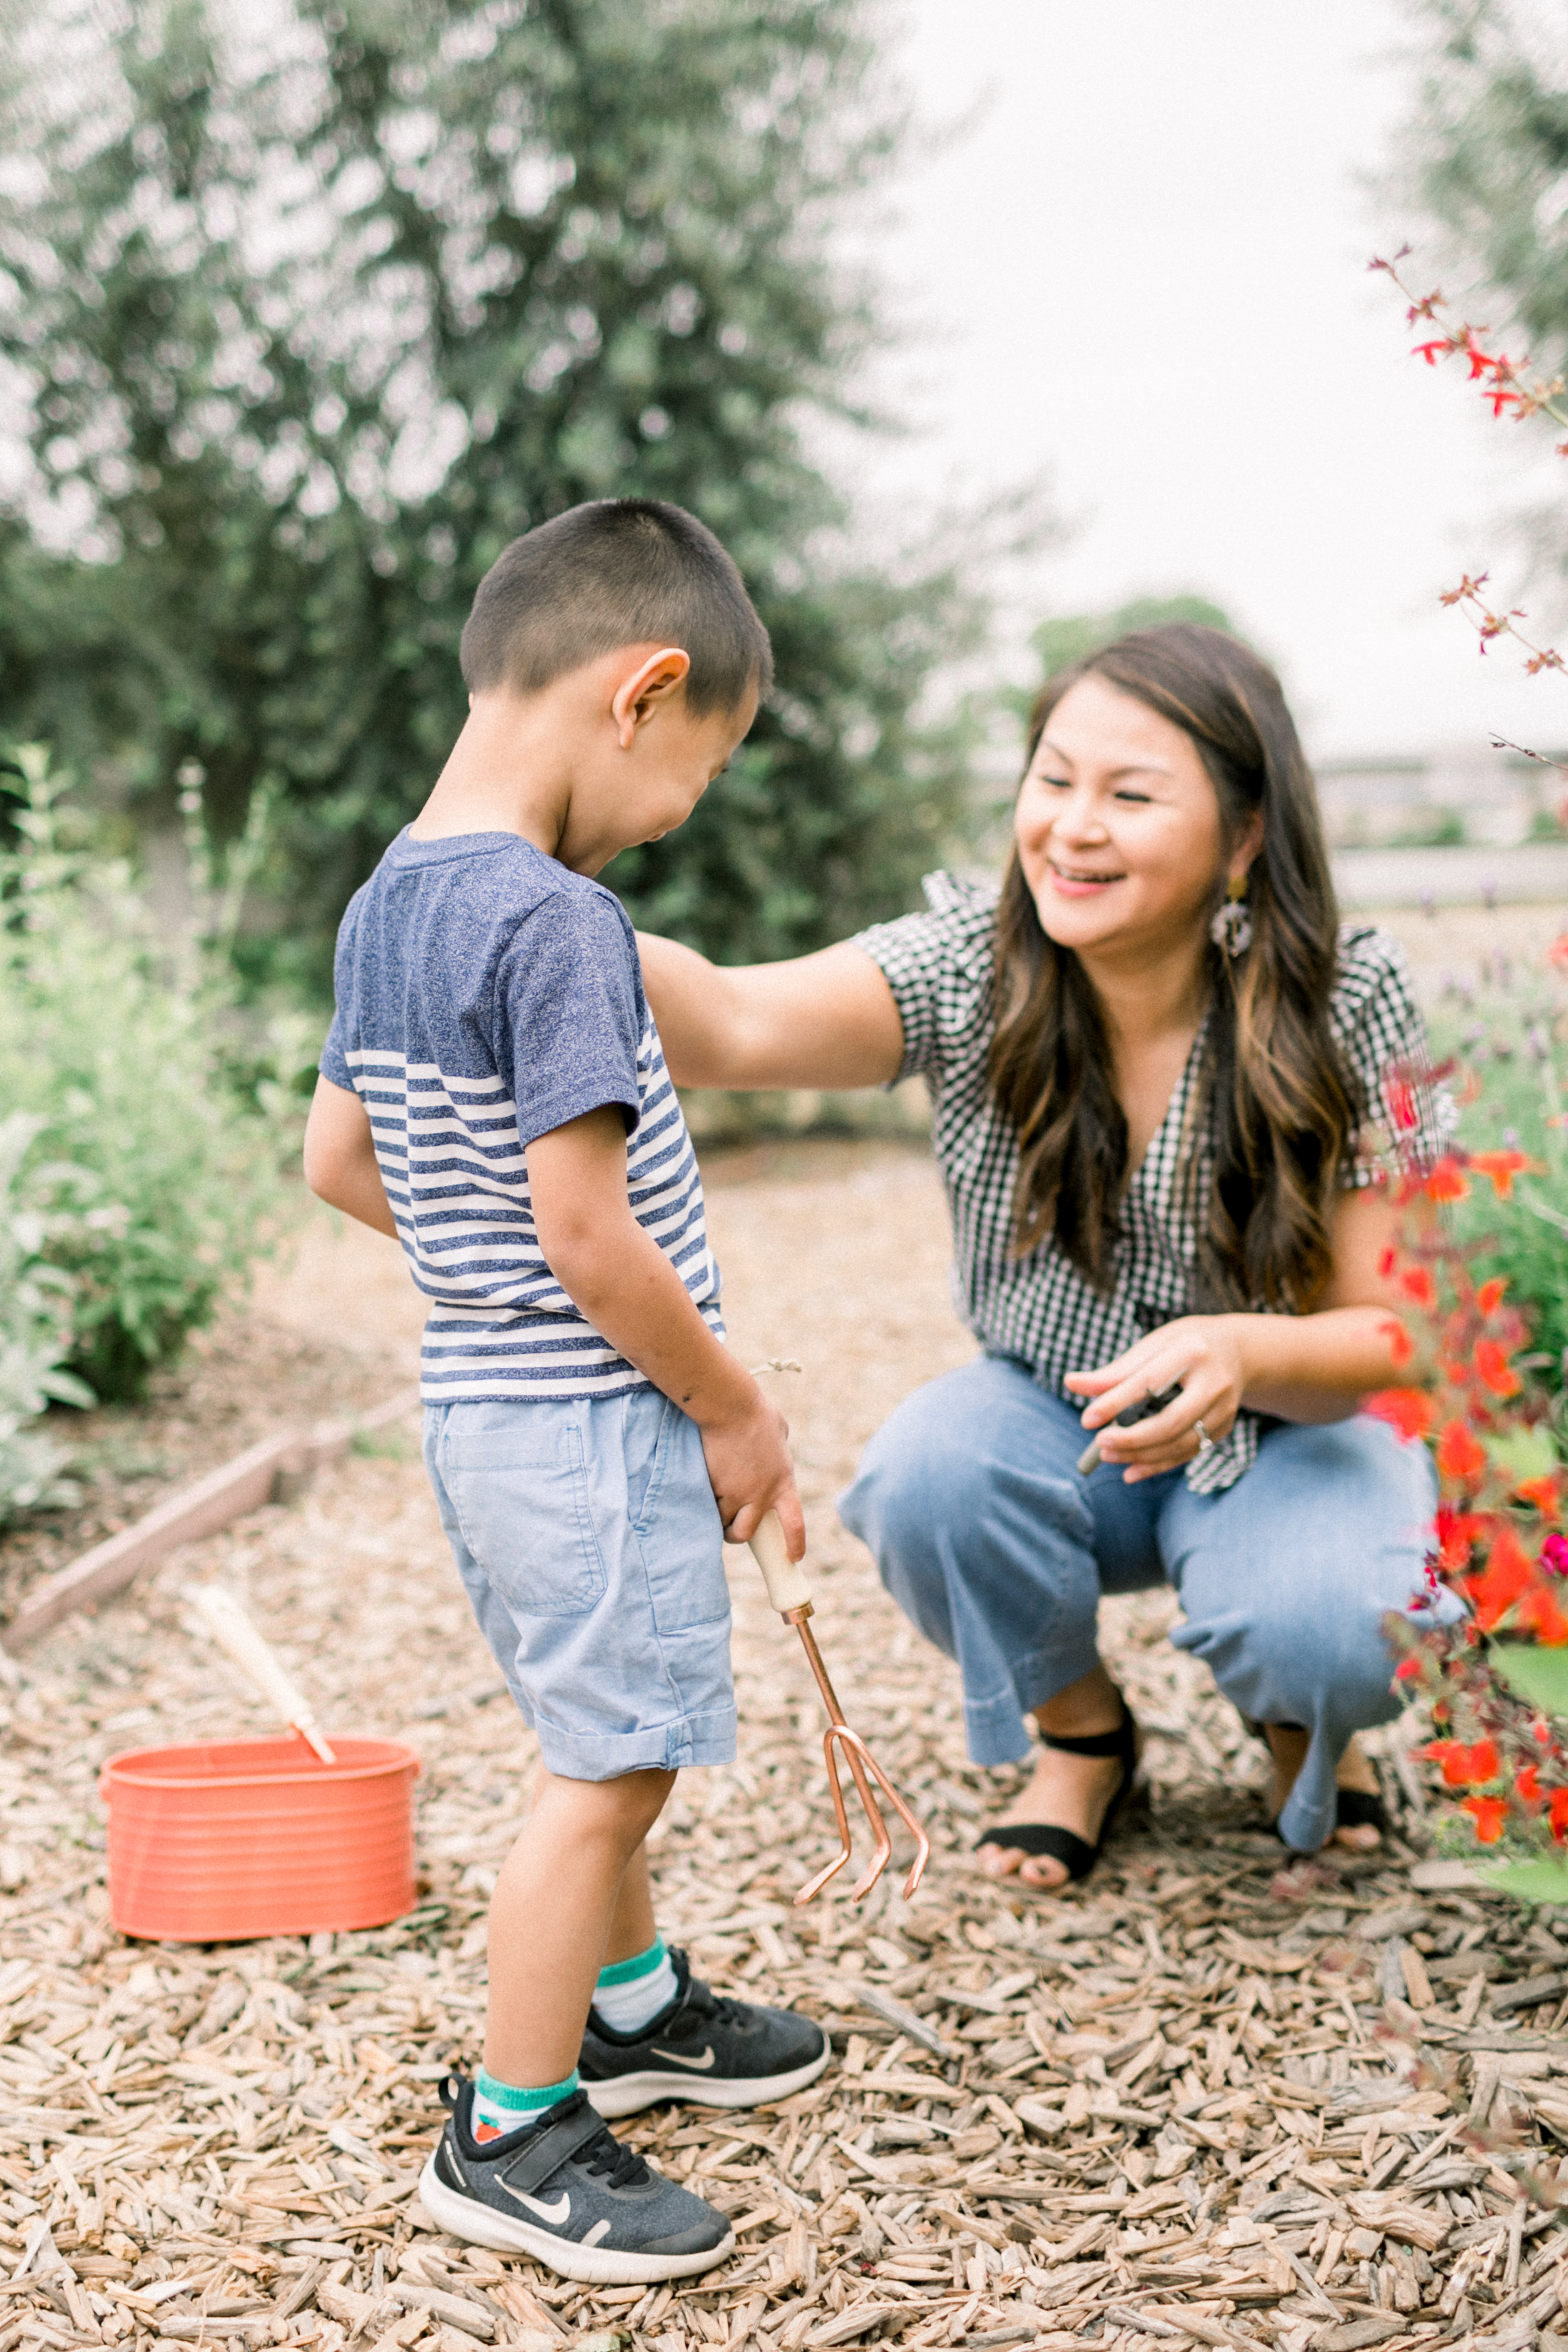
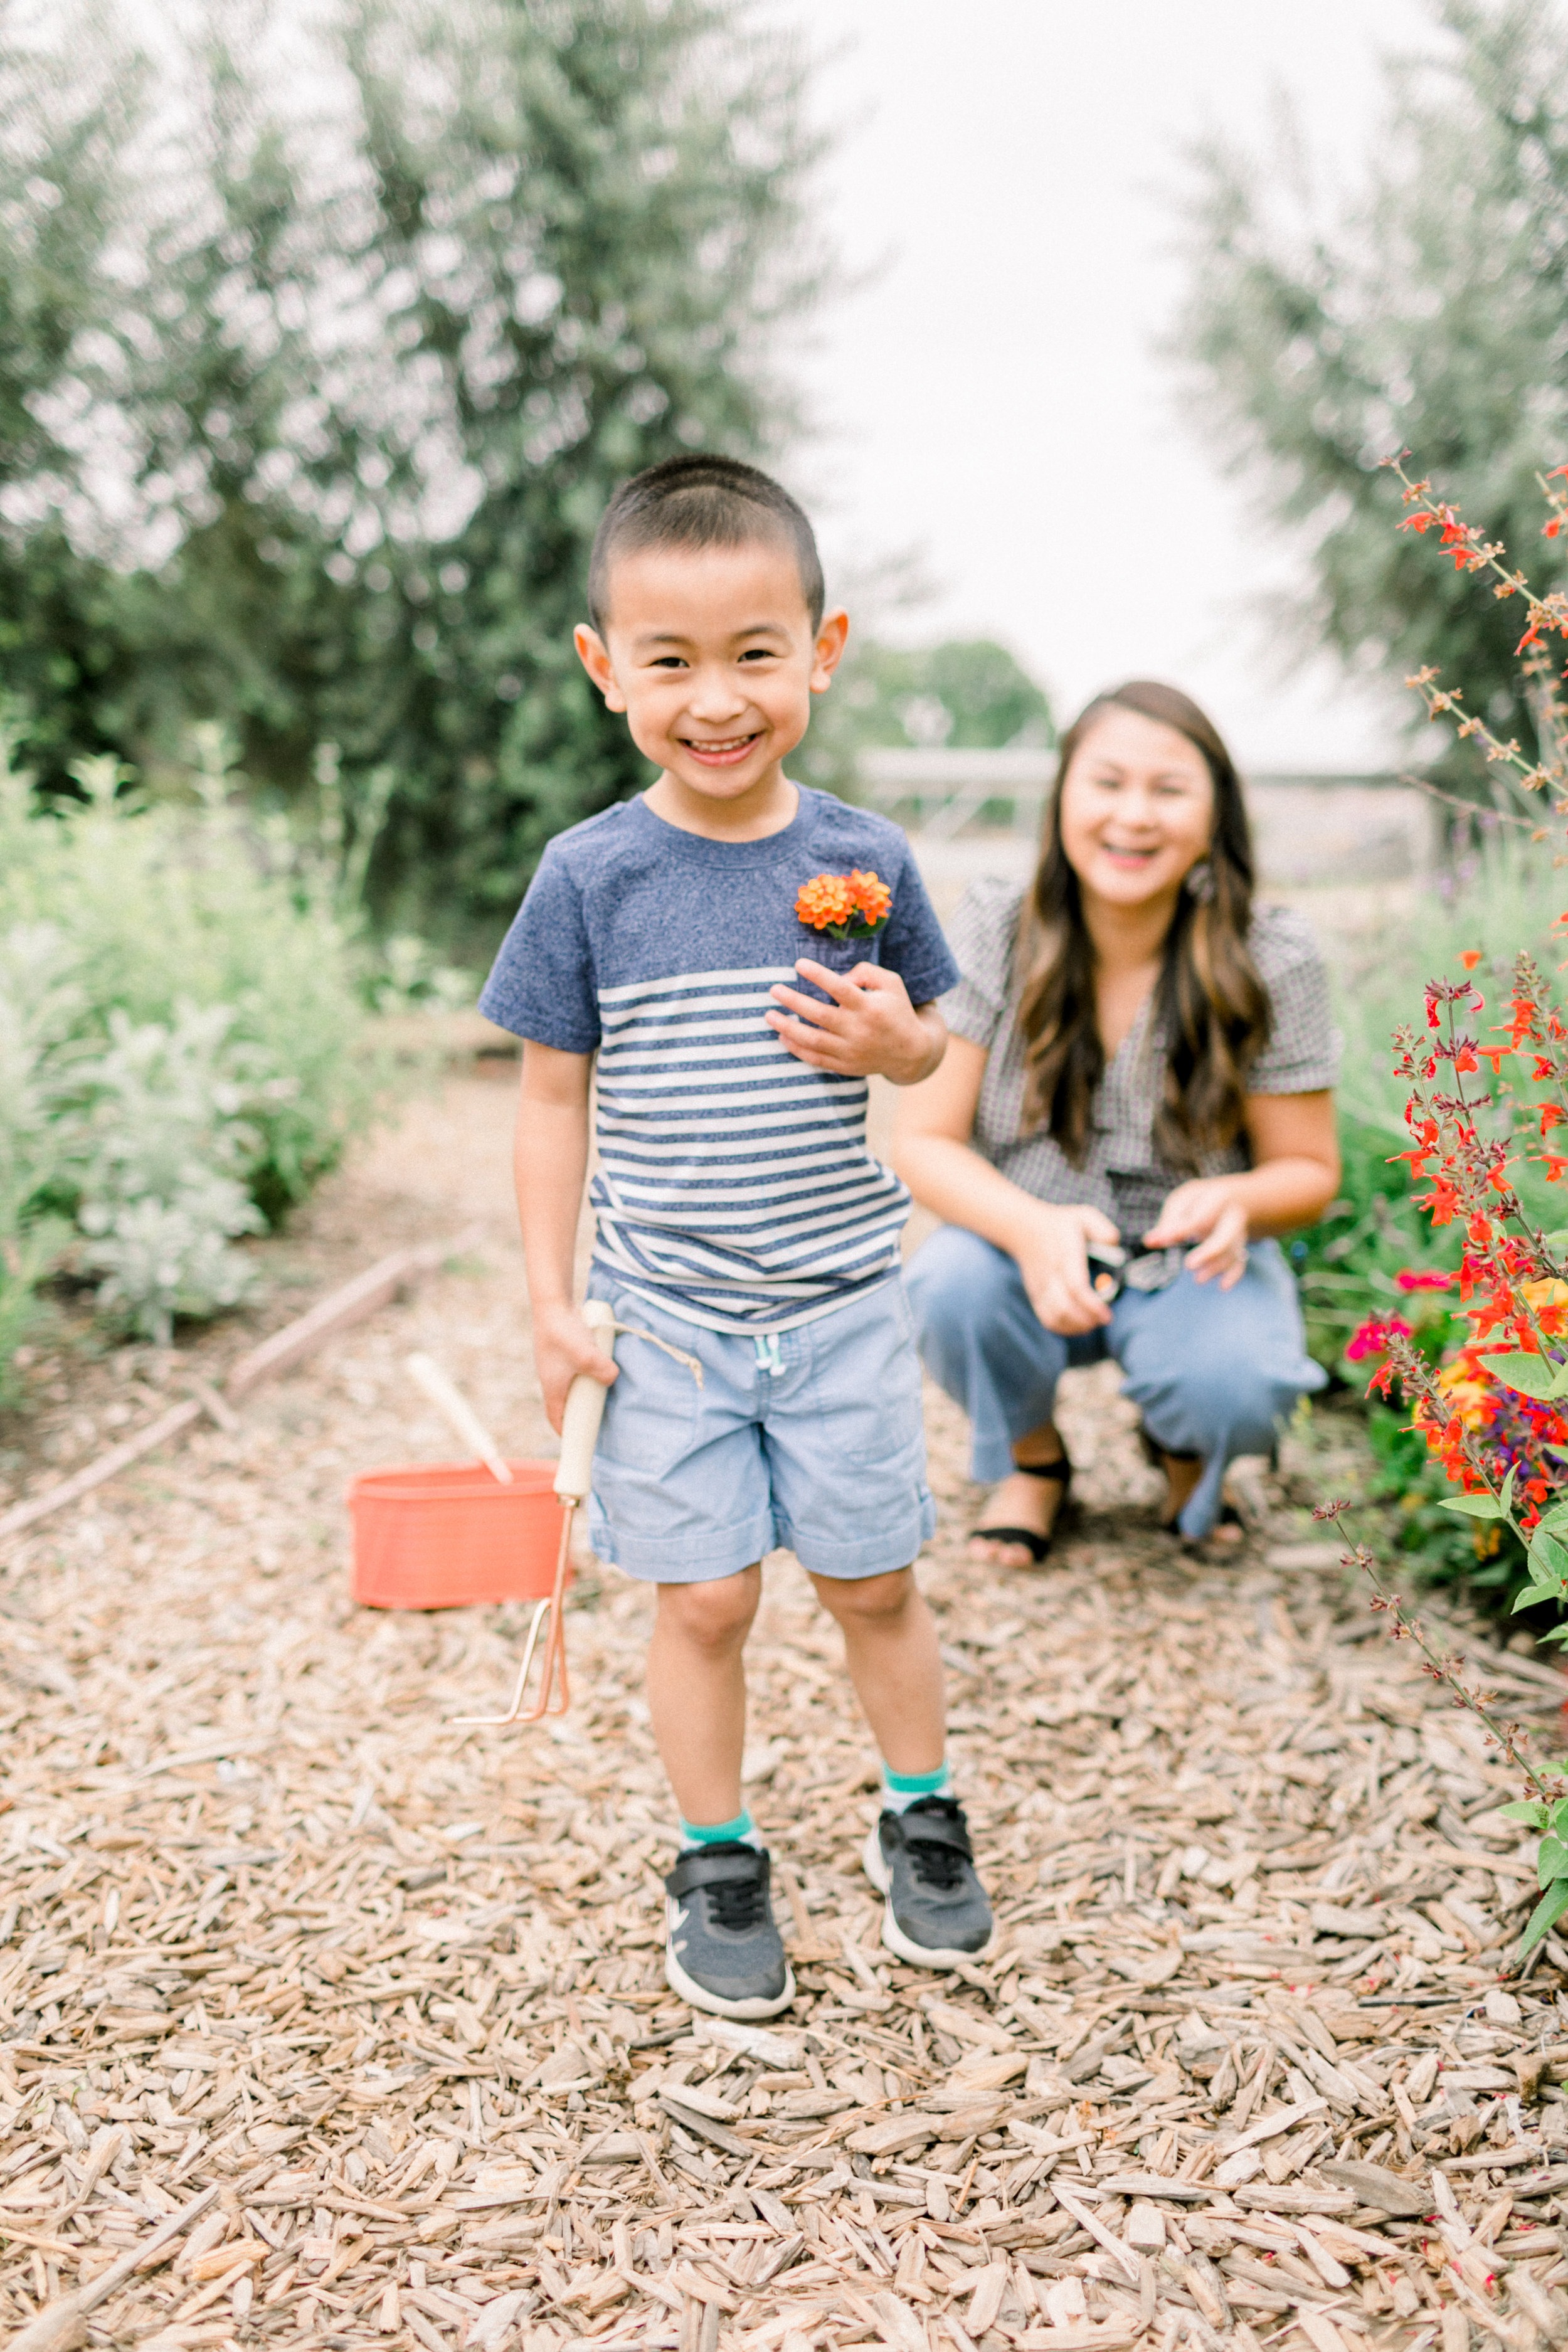
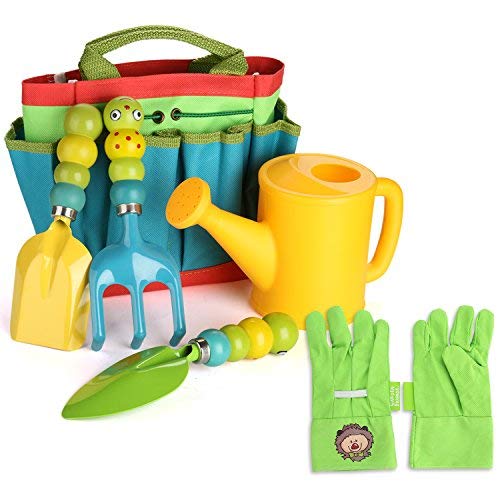
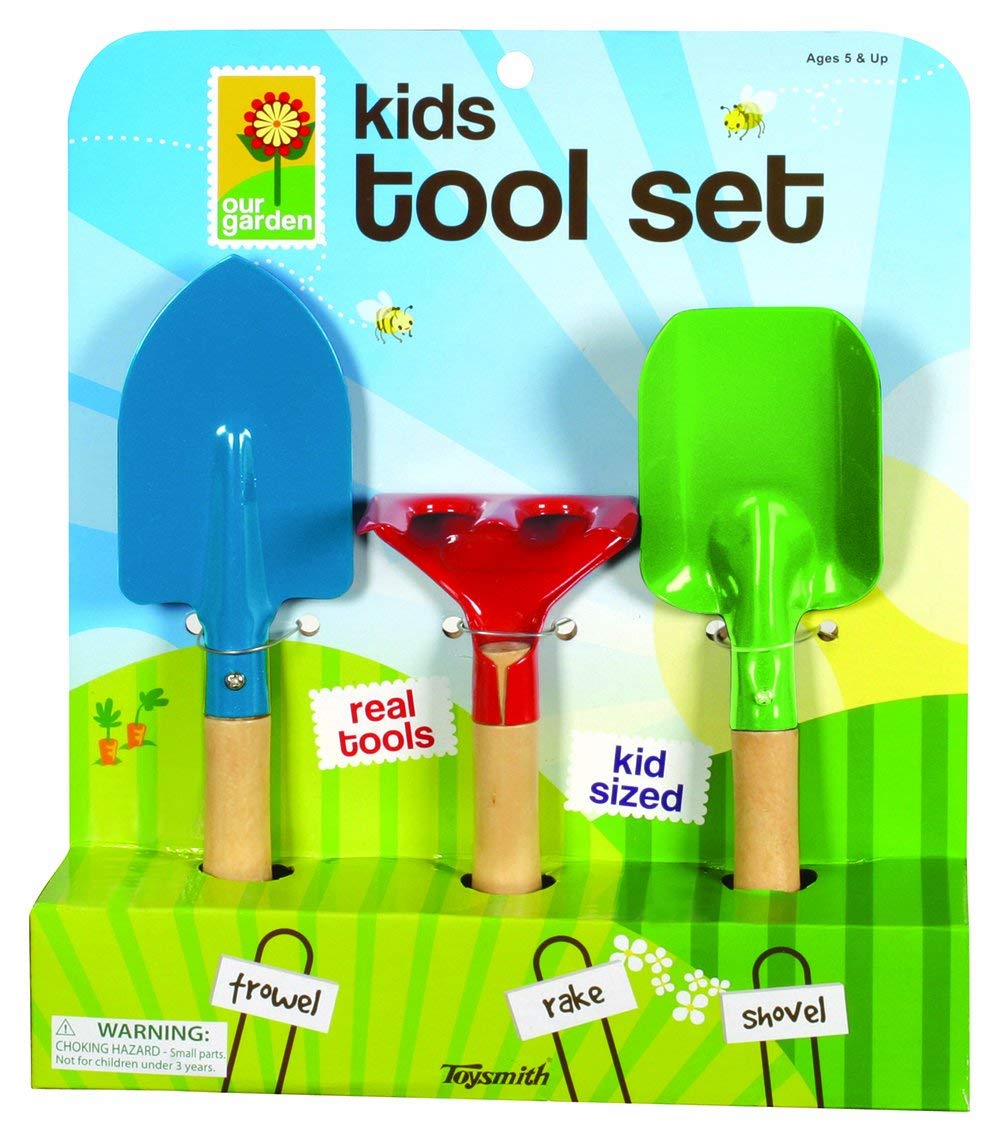
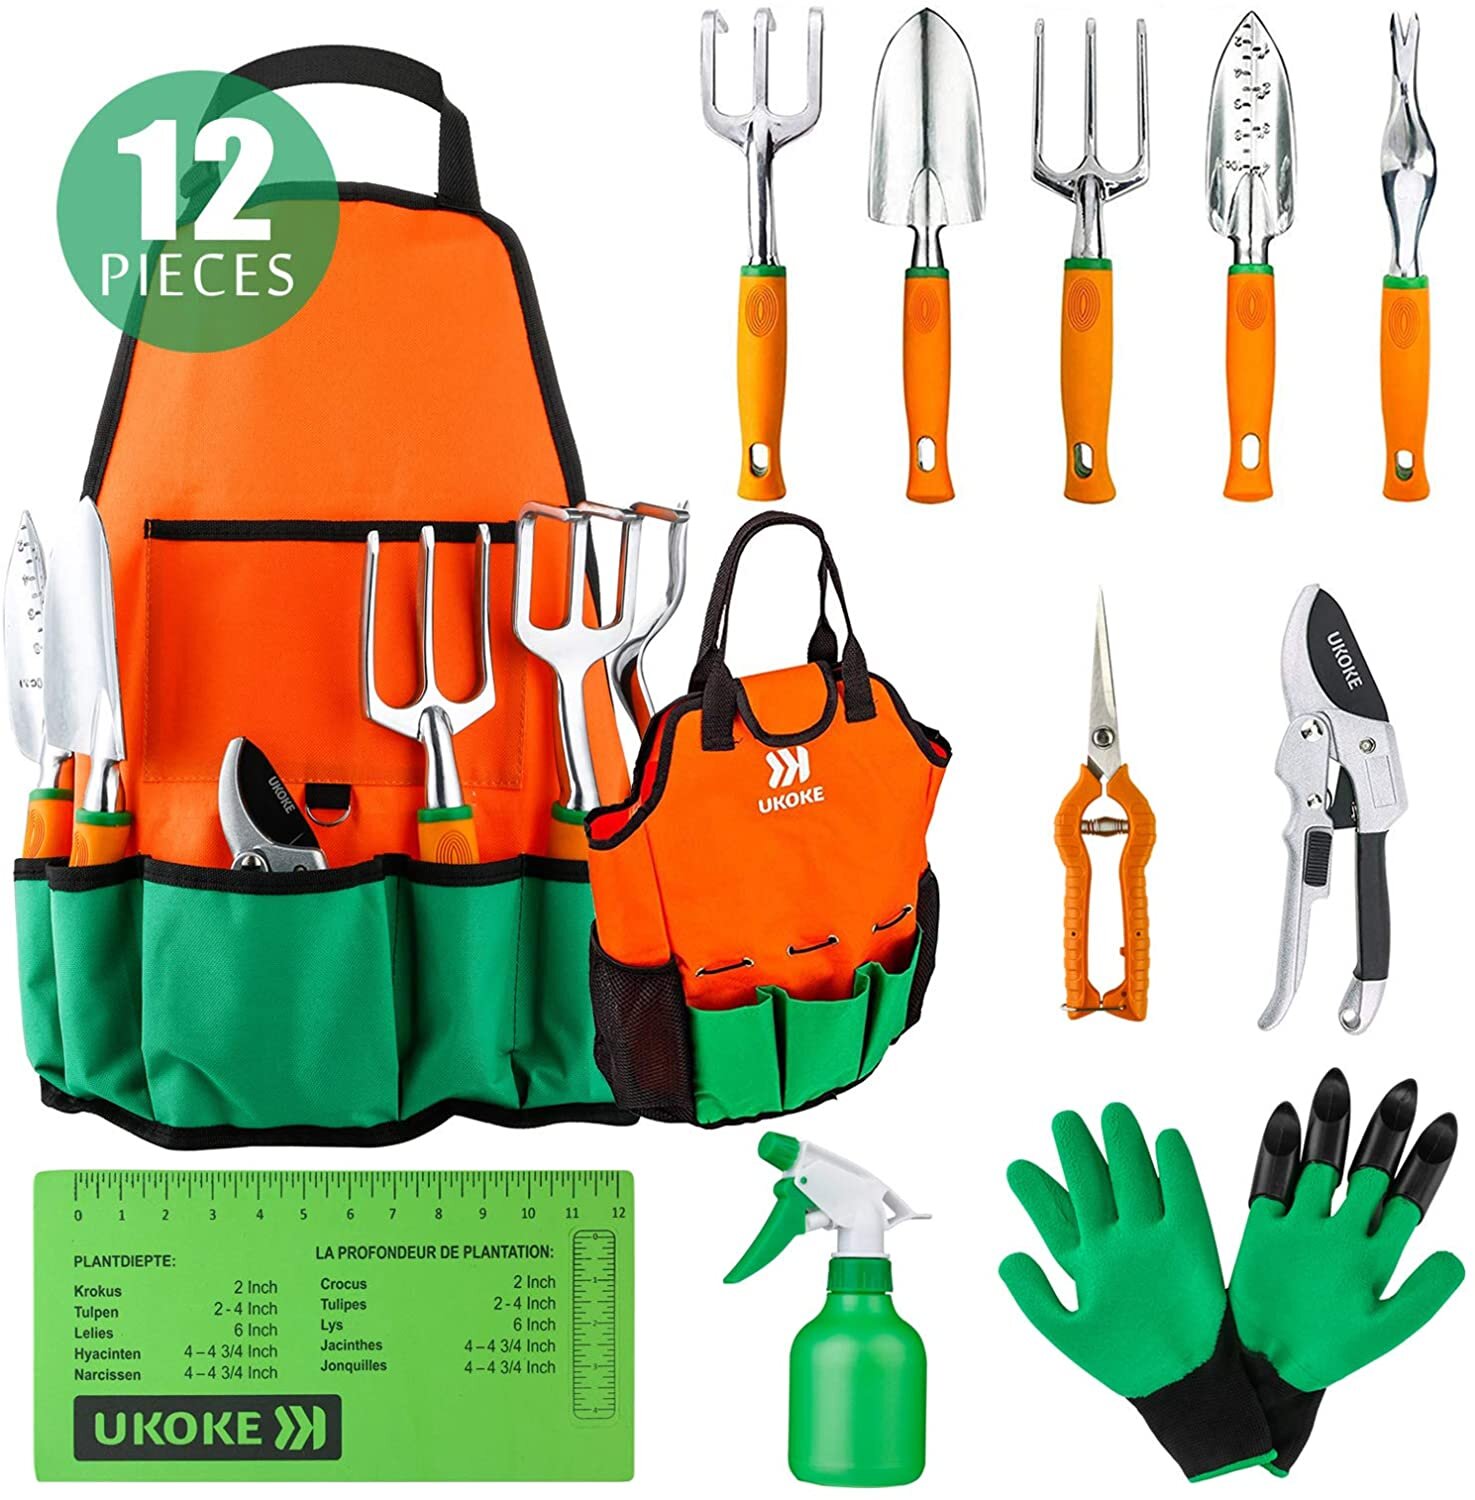
Instead of doing all the work on my own, I asked my kids to join me in the process. In preparation, I bought them each two simple supplies: a pair of gardening gloves and a gardening bucket. I knew that they could get to work without these, but sometimes I find that a new “toy” helps them to find extended interest in a new activity.

The next time I needed to do work outside in the garden I asked them to come along.

public.jpeg

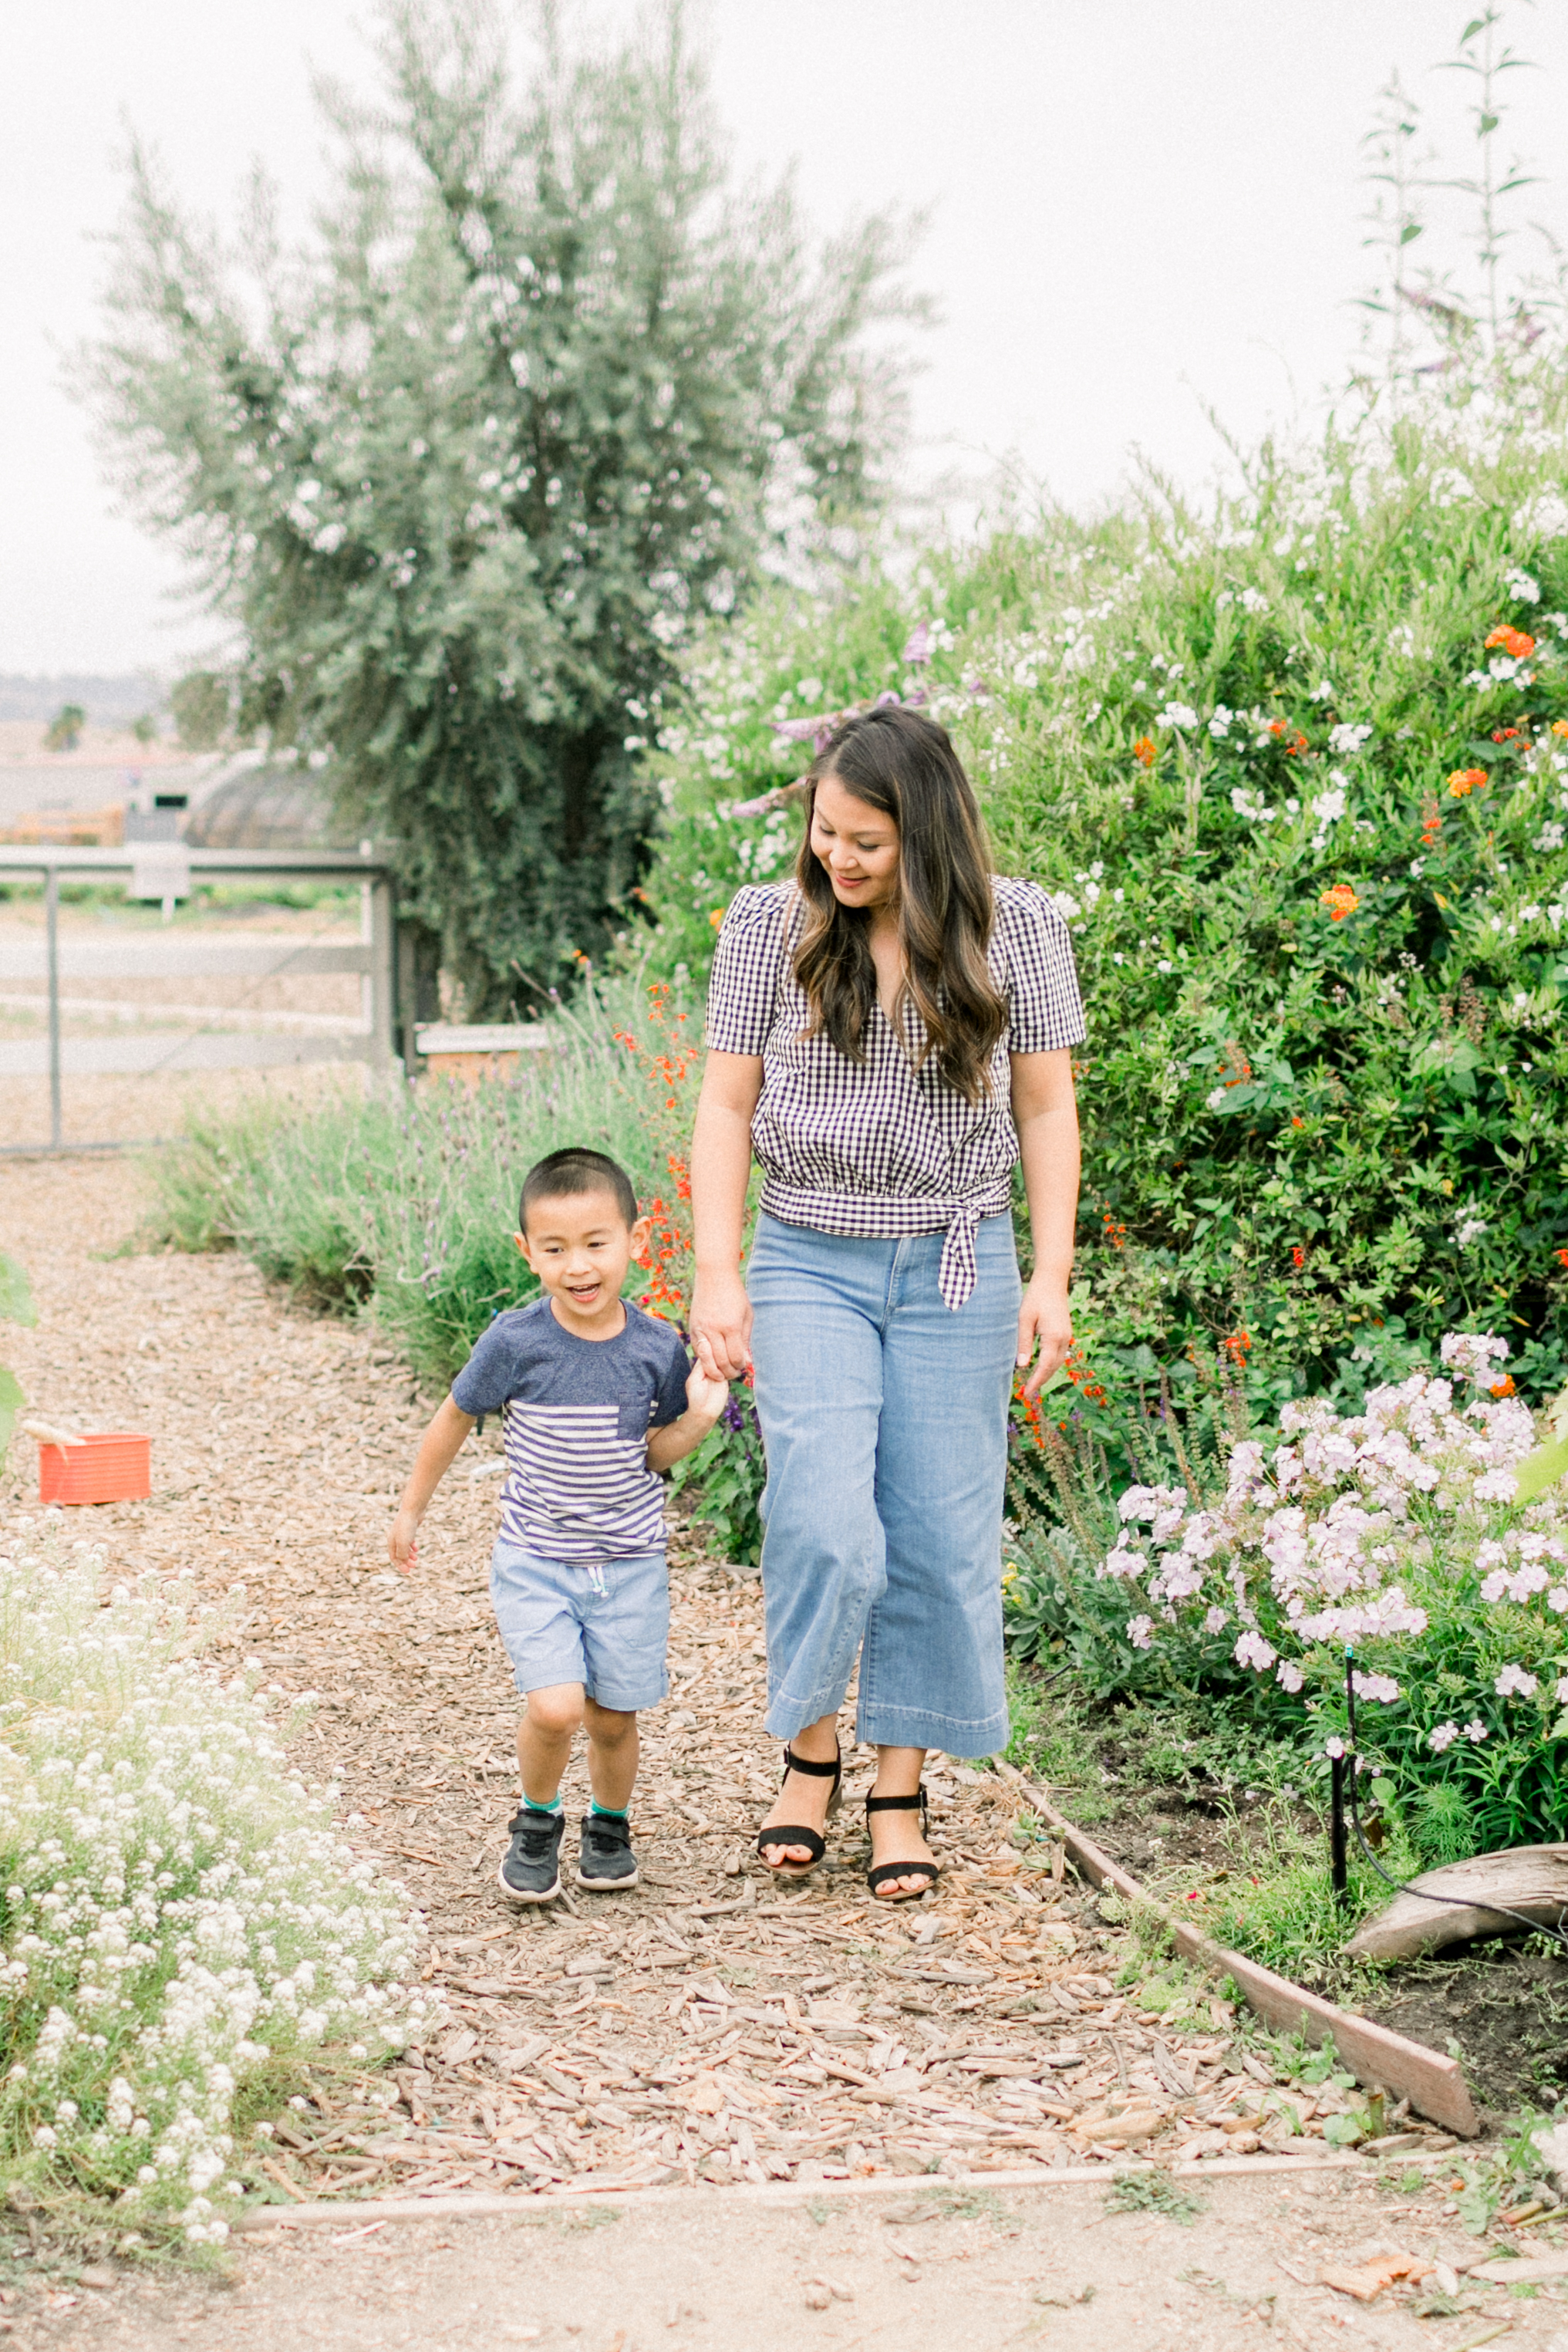
Each of my boys had a special task assigned to them, like digging a hole or pulling some weeds, while I worked on something else. They enjoyed using the water hose, sorting tiny rocks, and searching for rolly pollies. And I found a new joy of them of watching them use the water hose, sort tiny rocks, and search for rolly pollies. Most importantly, we enjoyed spending time outside- together.

It can sometimes be tricky to invite your kids into activities that you enjoy, especially when they’re task oriented. Having your rascals join you can be fun, but they can also slow you down or cause you to change your expectations for the outcome of your task or hobby. There are lots of ways that you can tackle this, and I’d like to share some tips and tricks that I used while working with my kids in the garden.

  1. Give your rascals a specific task- that way they have a simple thing to focus on

  2. Allow them to get dirty- you are outside, after all

  3. Explain what you’re doing as you work with your kids- letting them know not just what you are doing, but why, will make a bigger impact and create more enjoyment

  4. Get them their own tools- preparing them is the best way to encourage them to enjoy new tasks

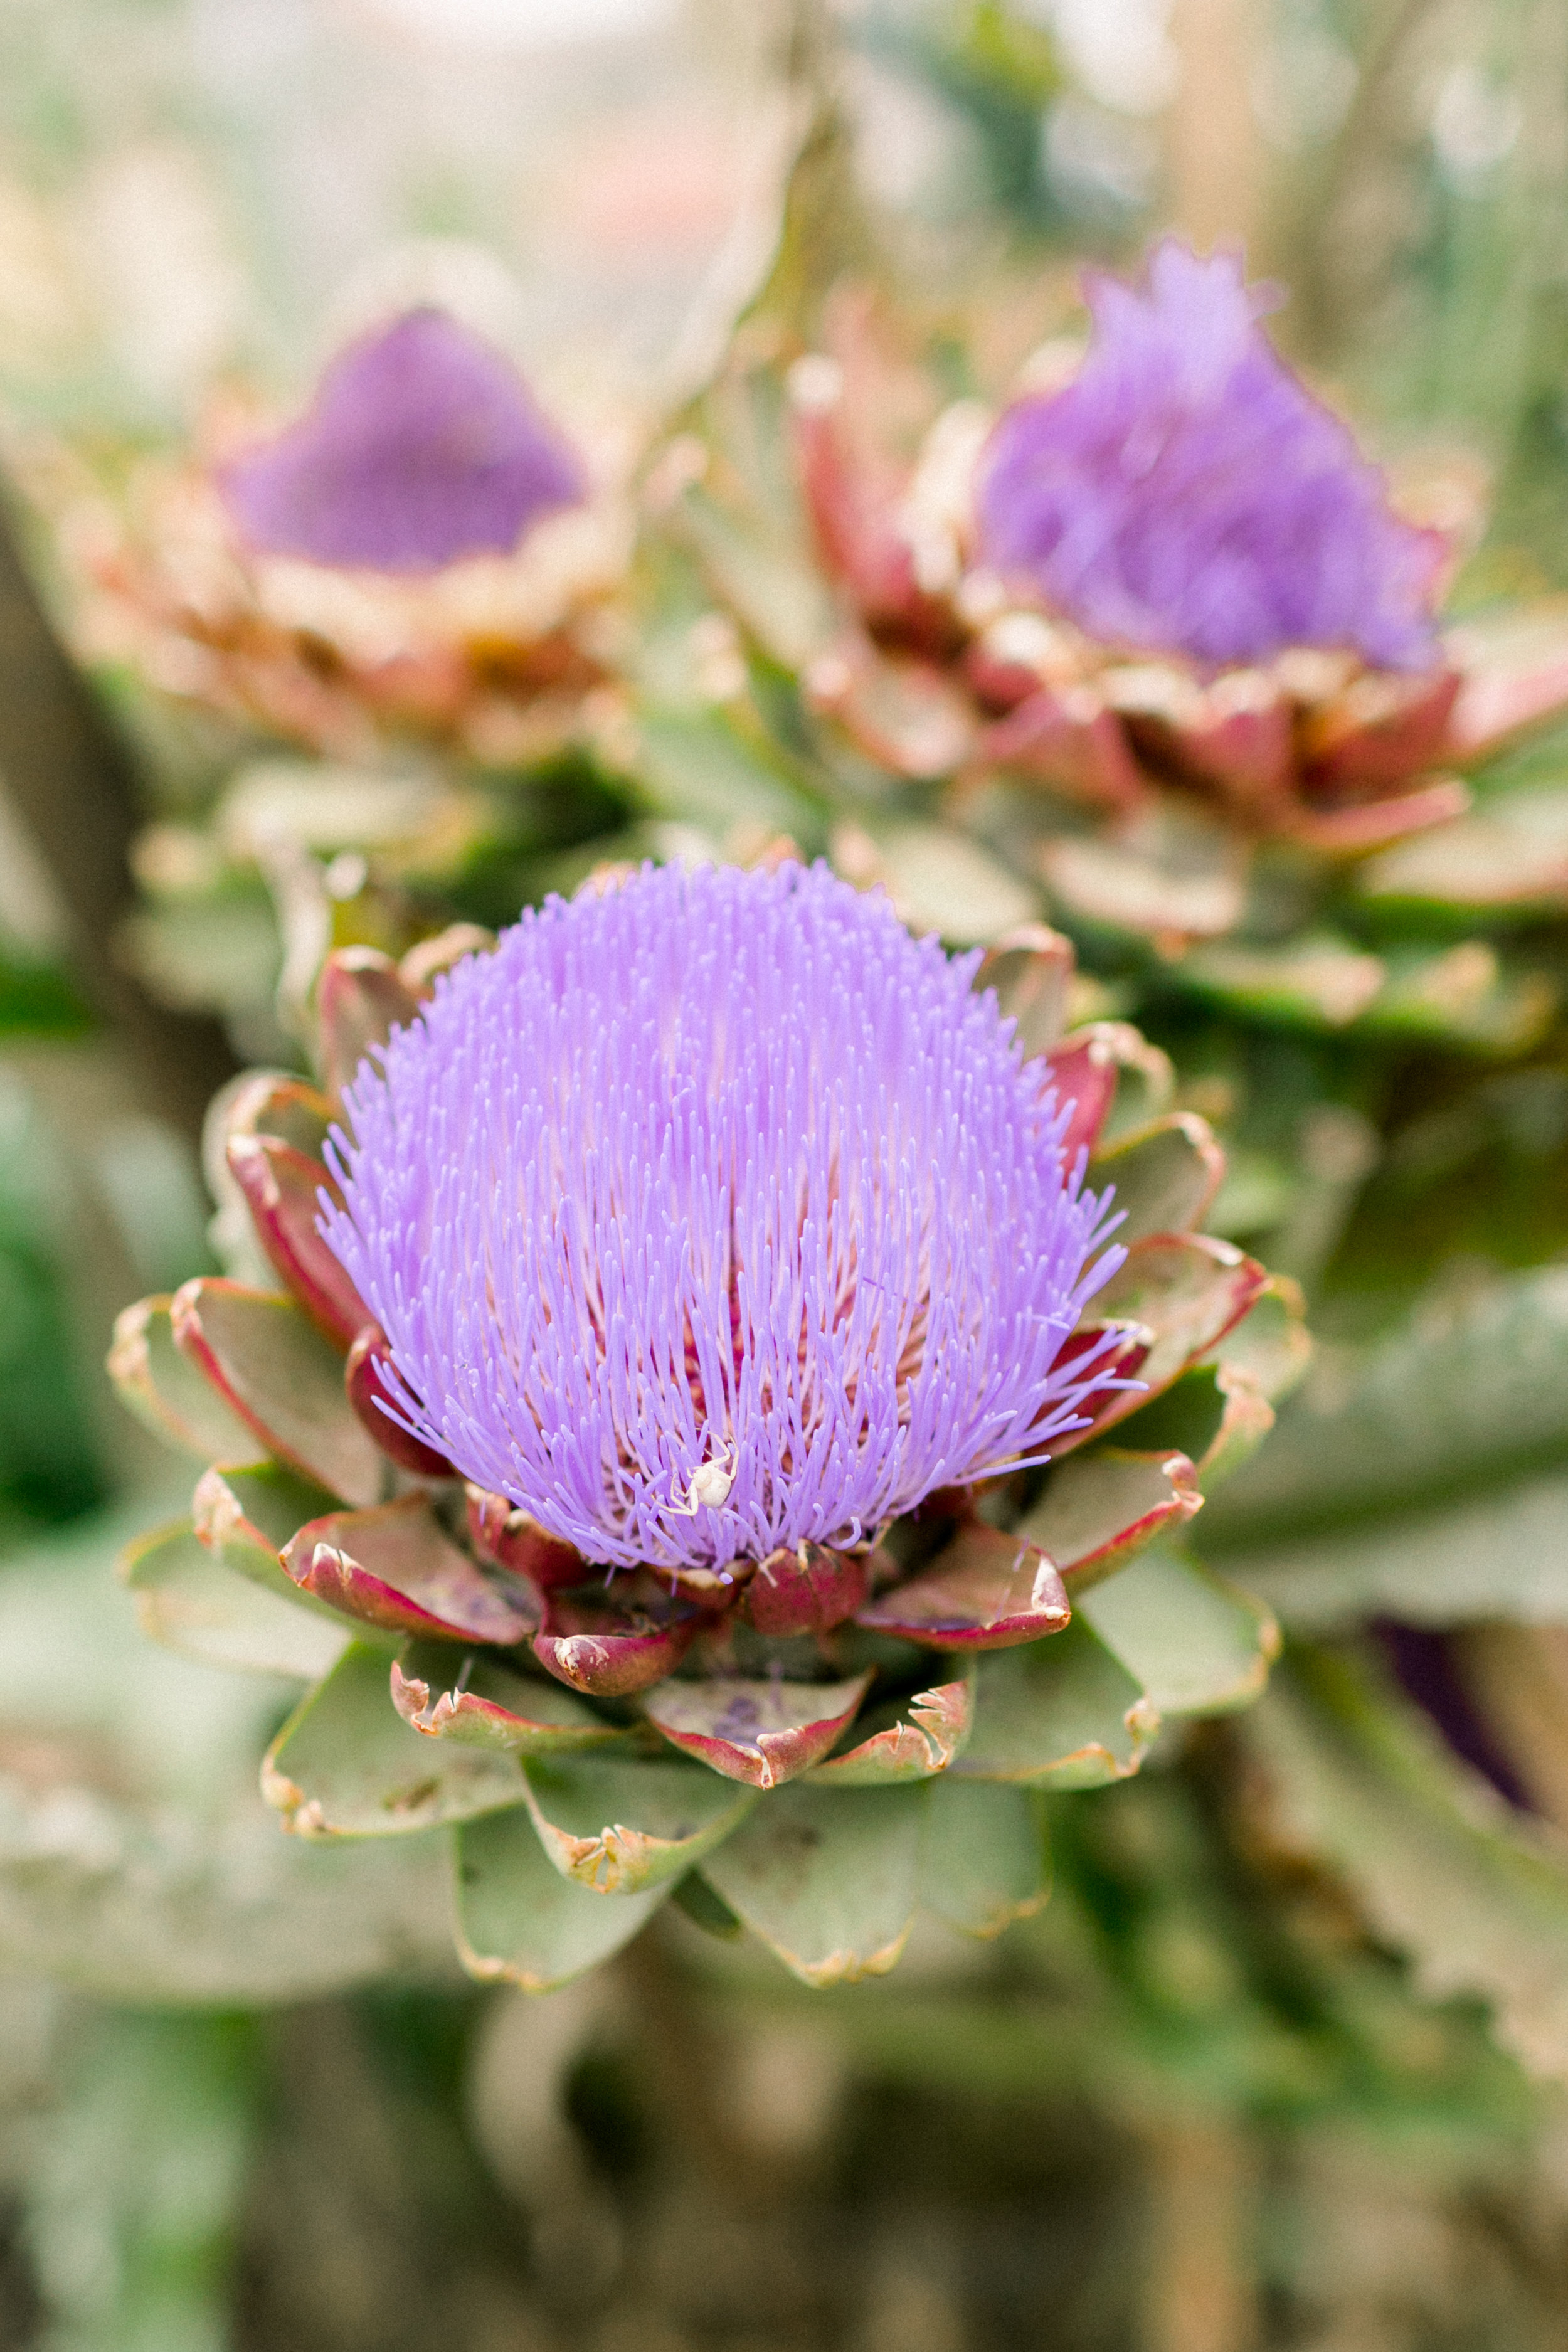
  5. As your flowers bloom or fruit grows in, make sure to let your kids enjoy the progress

Let’s be honest, half the time my rascals were just enjoying shenanigans in the sunshine, rather than remembering their tasks. I was okay with that. By letting them have space to explore their creativity outside, I’m finding that their own enjoyment in joining me has increased over time. They’re slowly starting to enjoy the actual gardening as a way to see things grow, feel accomplished, and get their hands dirty.

It’s pretty magical to work together with my kids towards a common goal, especially one that we can literally watch grow.

Photos by Simply Adri Photography. Written by Head Rascal (Ngoc Nguyen Lay), mother of two rascals, ages 4 and 6.

Shop the Post

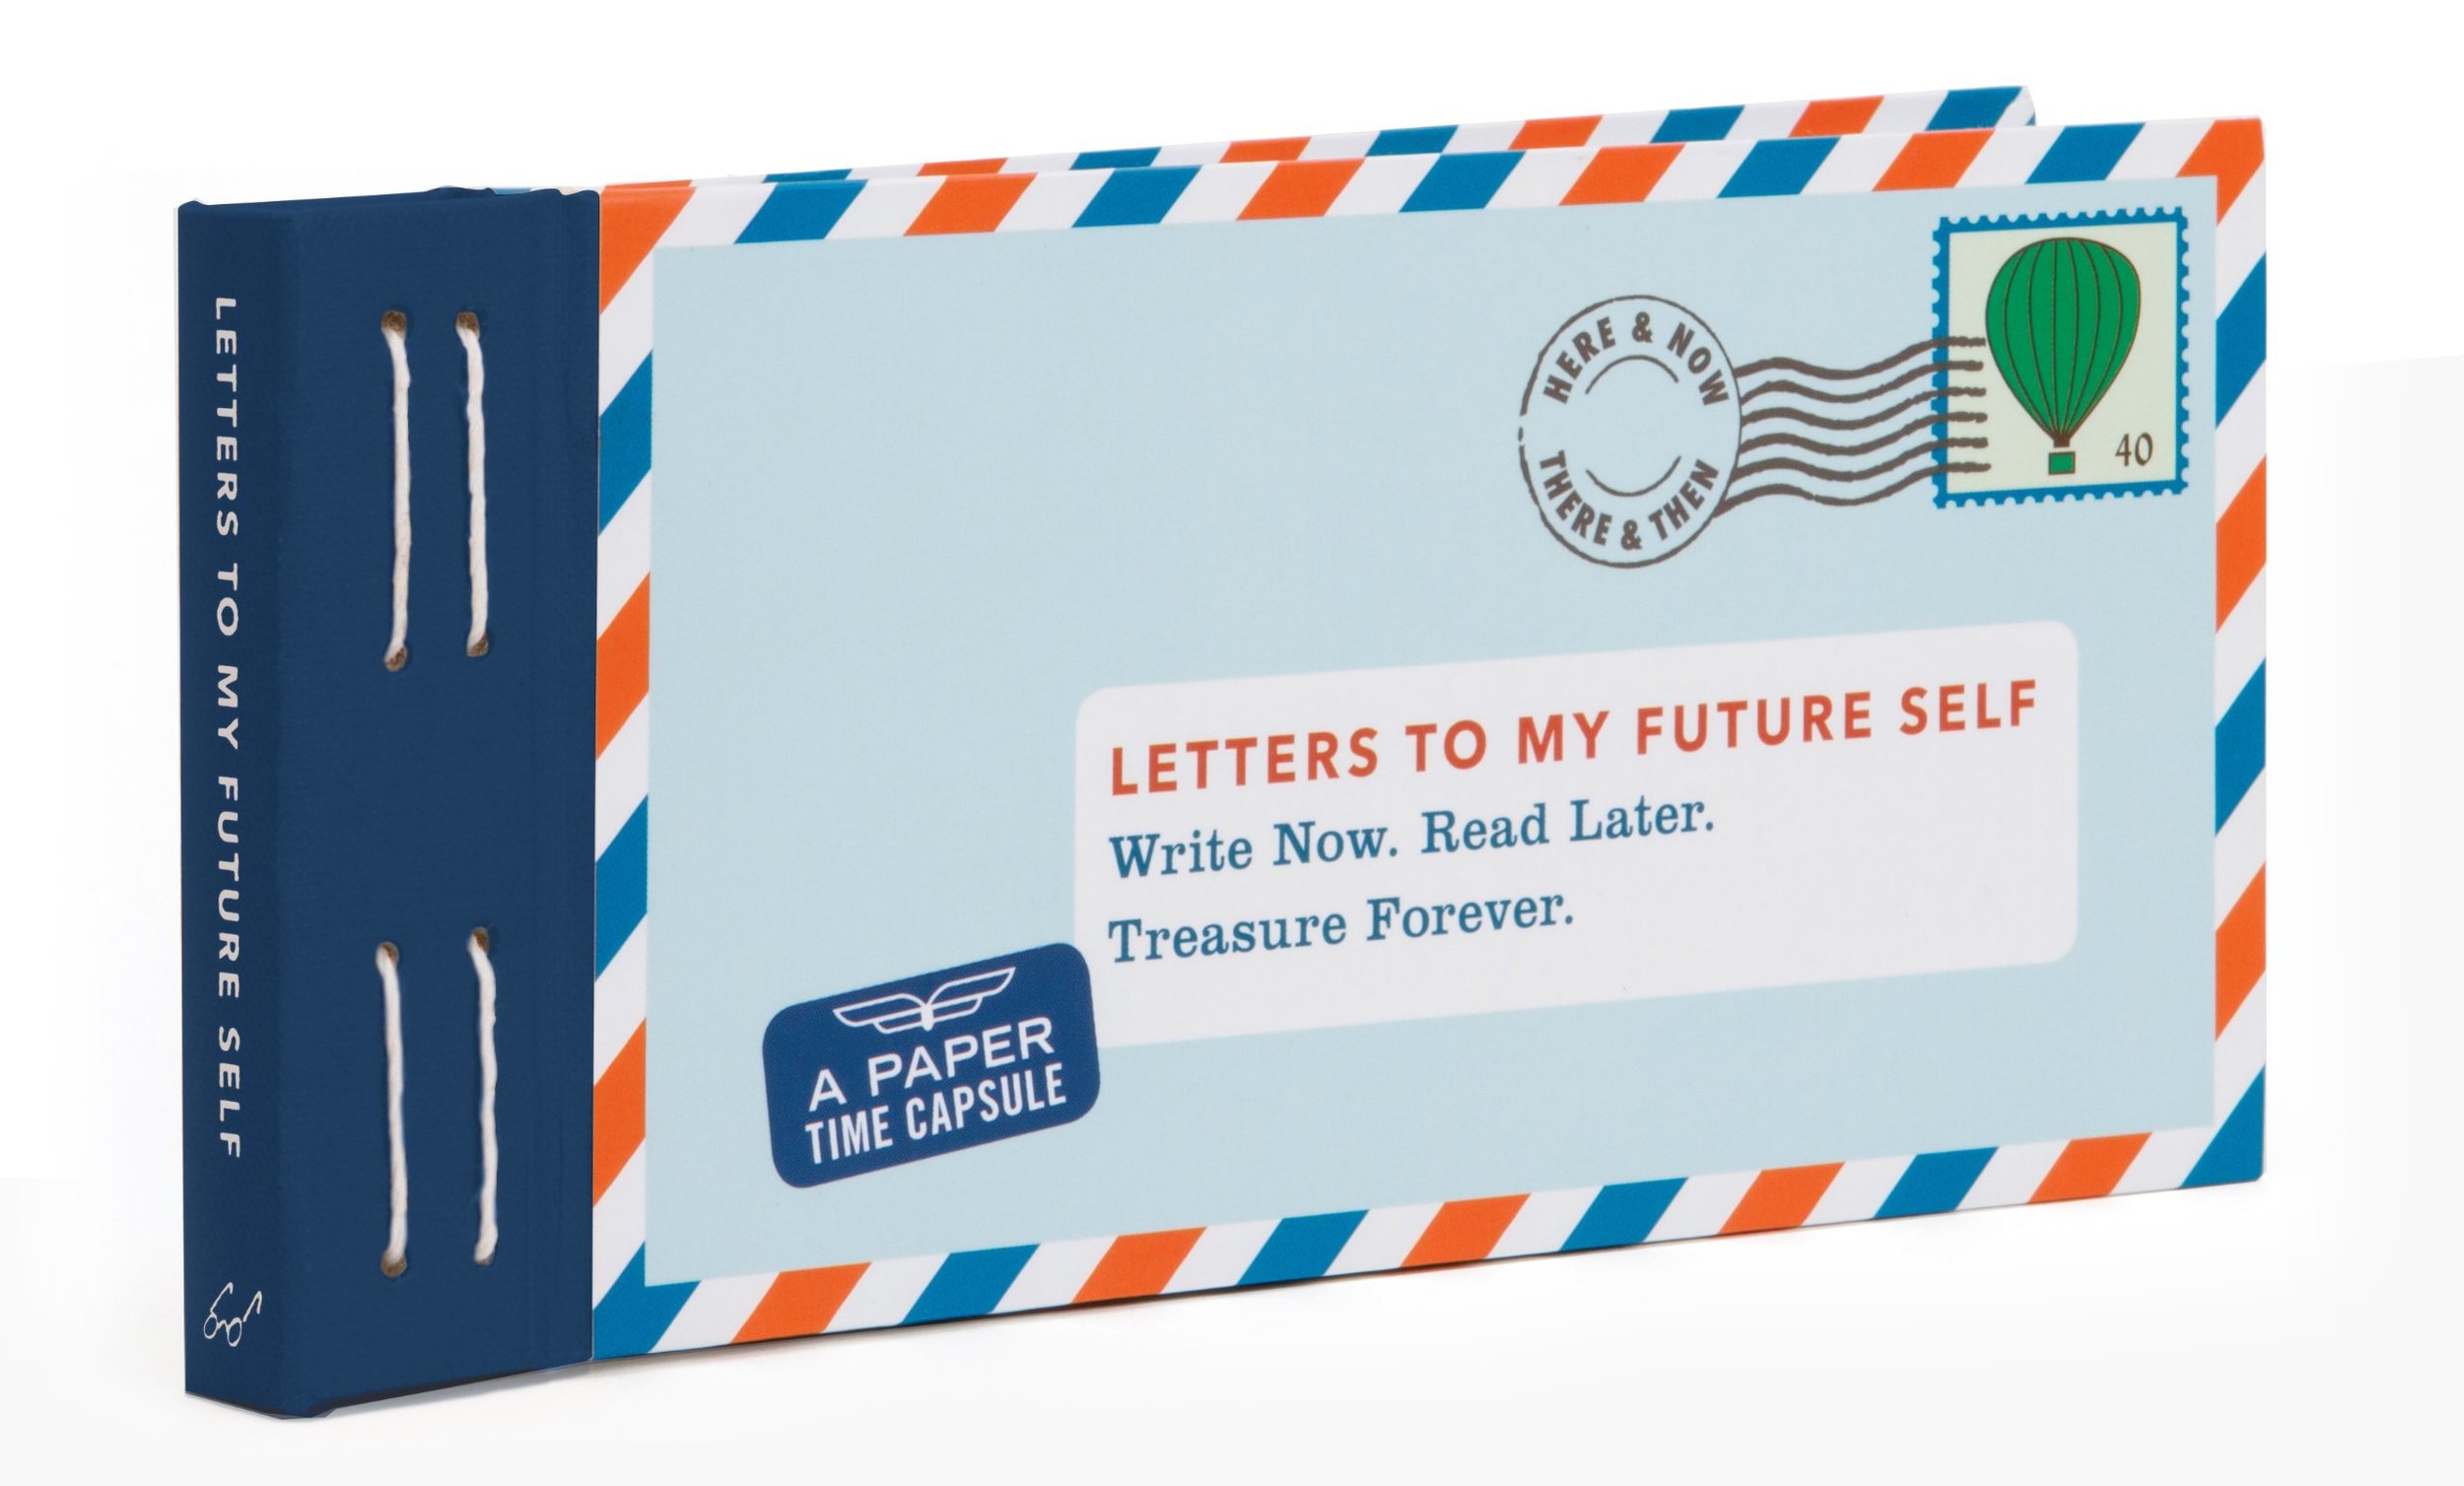
Letters to My Future Self

The start of the school year has once again arrived, which means first day of school photos, backpacks, school supplies, and an opportunity to think about new traditions. For kids, their years do not start on January 1, but on the first day of school, and I take this chance to talk to my rascals about their new goals and dreams. This year, we’re starting a new tradition of writing “Letters to My Future Self.”

public.jpeg

Every year I see “My First Day of…” pictures cross social media streams and I am excited about what that year could mean for each child. It’s a fresh start and an opportunity for them to dream big and cling to the hope that come with something “new.”

Personally, I’ve always loved the start of the academic year: fresh school supplies, connections with old friends, and, as someone who works in higher education, an opportunity to reset my own goals and dreams as well.

This year, I wanted my son to be able to experience the excitement of a fresh start and decided we would introduce a new tradition. I asked him to write a letter to his future self in hopes it would help him:

  1. Create a goal

  2. Practice self-reflection

  3. Express his thoughts in writing

  4. Have a tangible reminder at the end of the year

  5. And because it’s darn cute to save as a keepsake

I prompted him to write the answers to two questions:

  • What is one new thing you want to do in this upcoming school year?

  • What is something you want to remember about yourself?

AJ is 6, so if you have younger kids, you can also have them draw their ideas, explain their drawing(s), and then you can help them fill in the words.

My rascal wrote, “love mom” and “have fun” in his letter. He also drew a picture of us together.

This was such a sweet moment, and it didn’t take very long at all. Now, AJ and I have not only a written memory, but a moment that we can share and relive all year long.

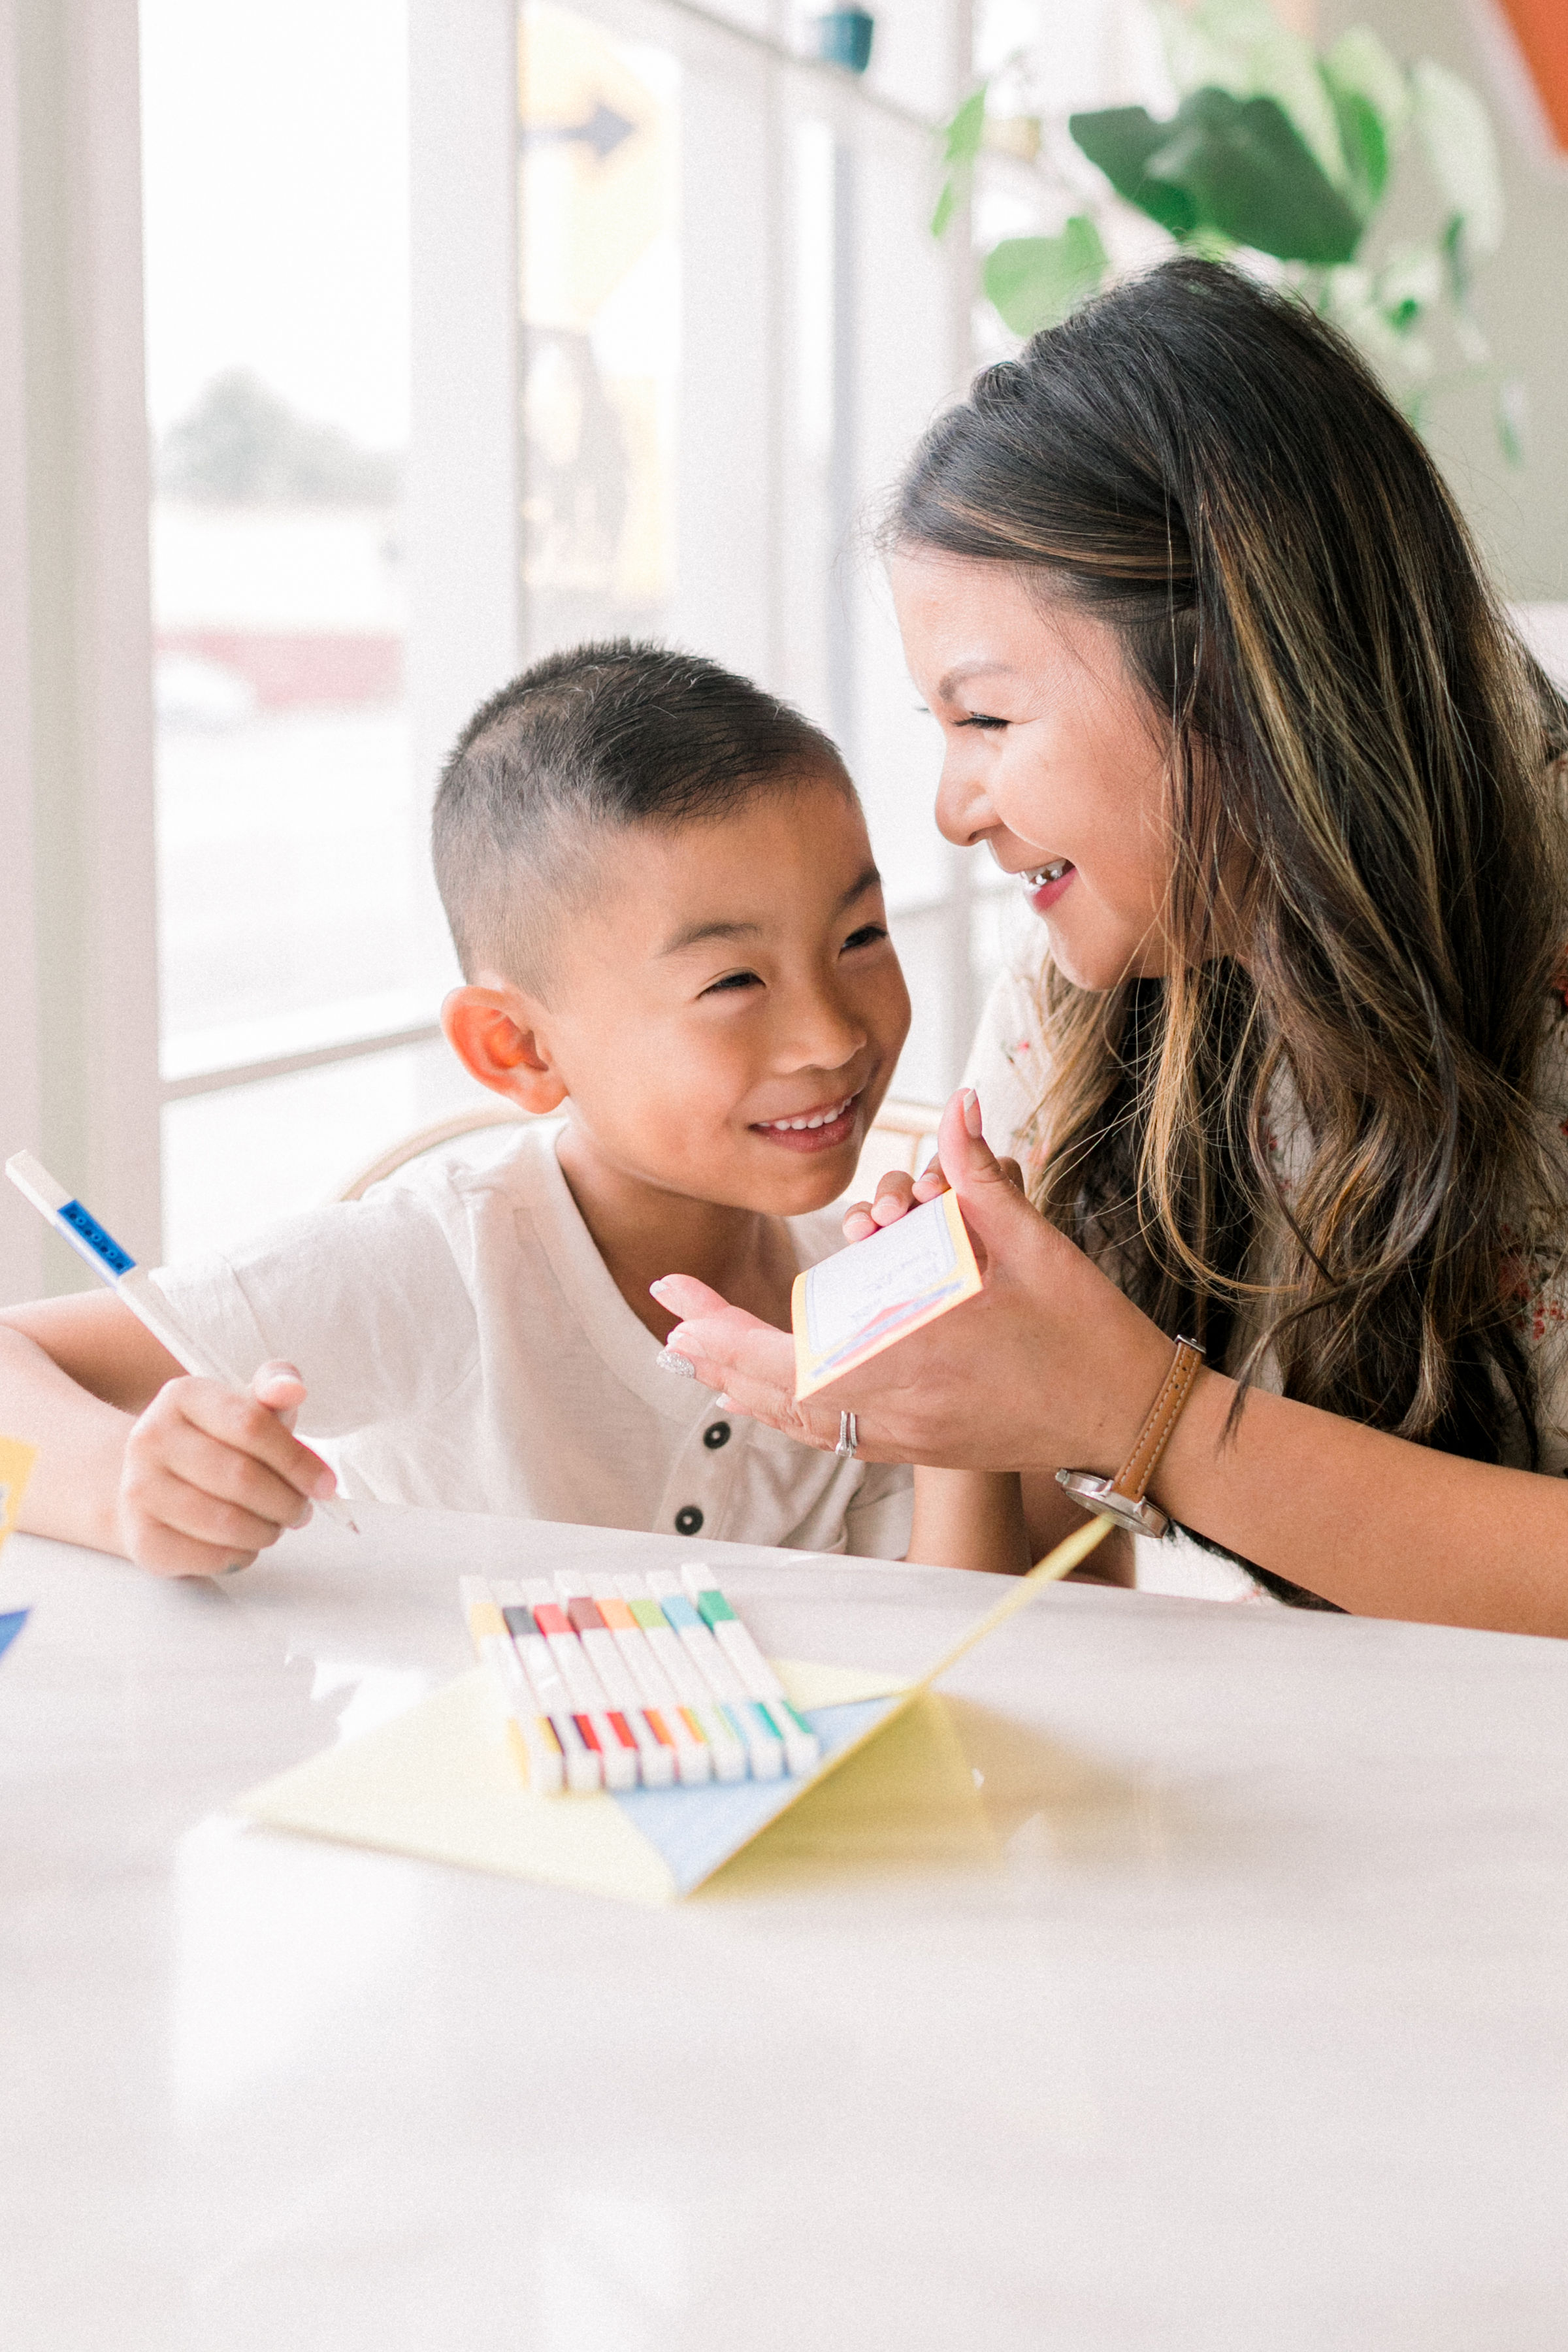
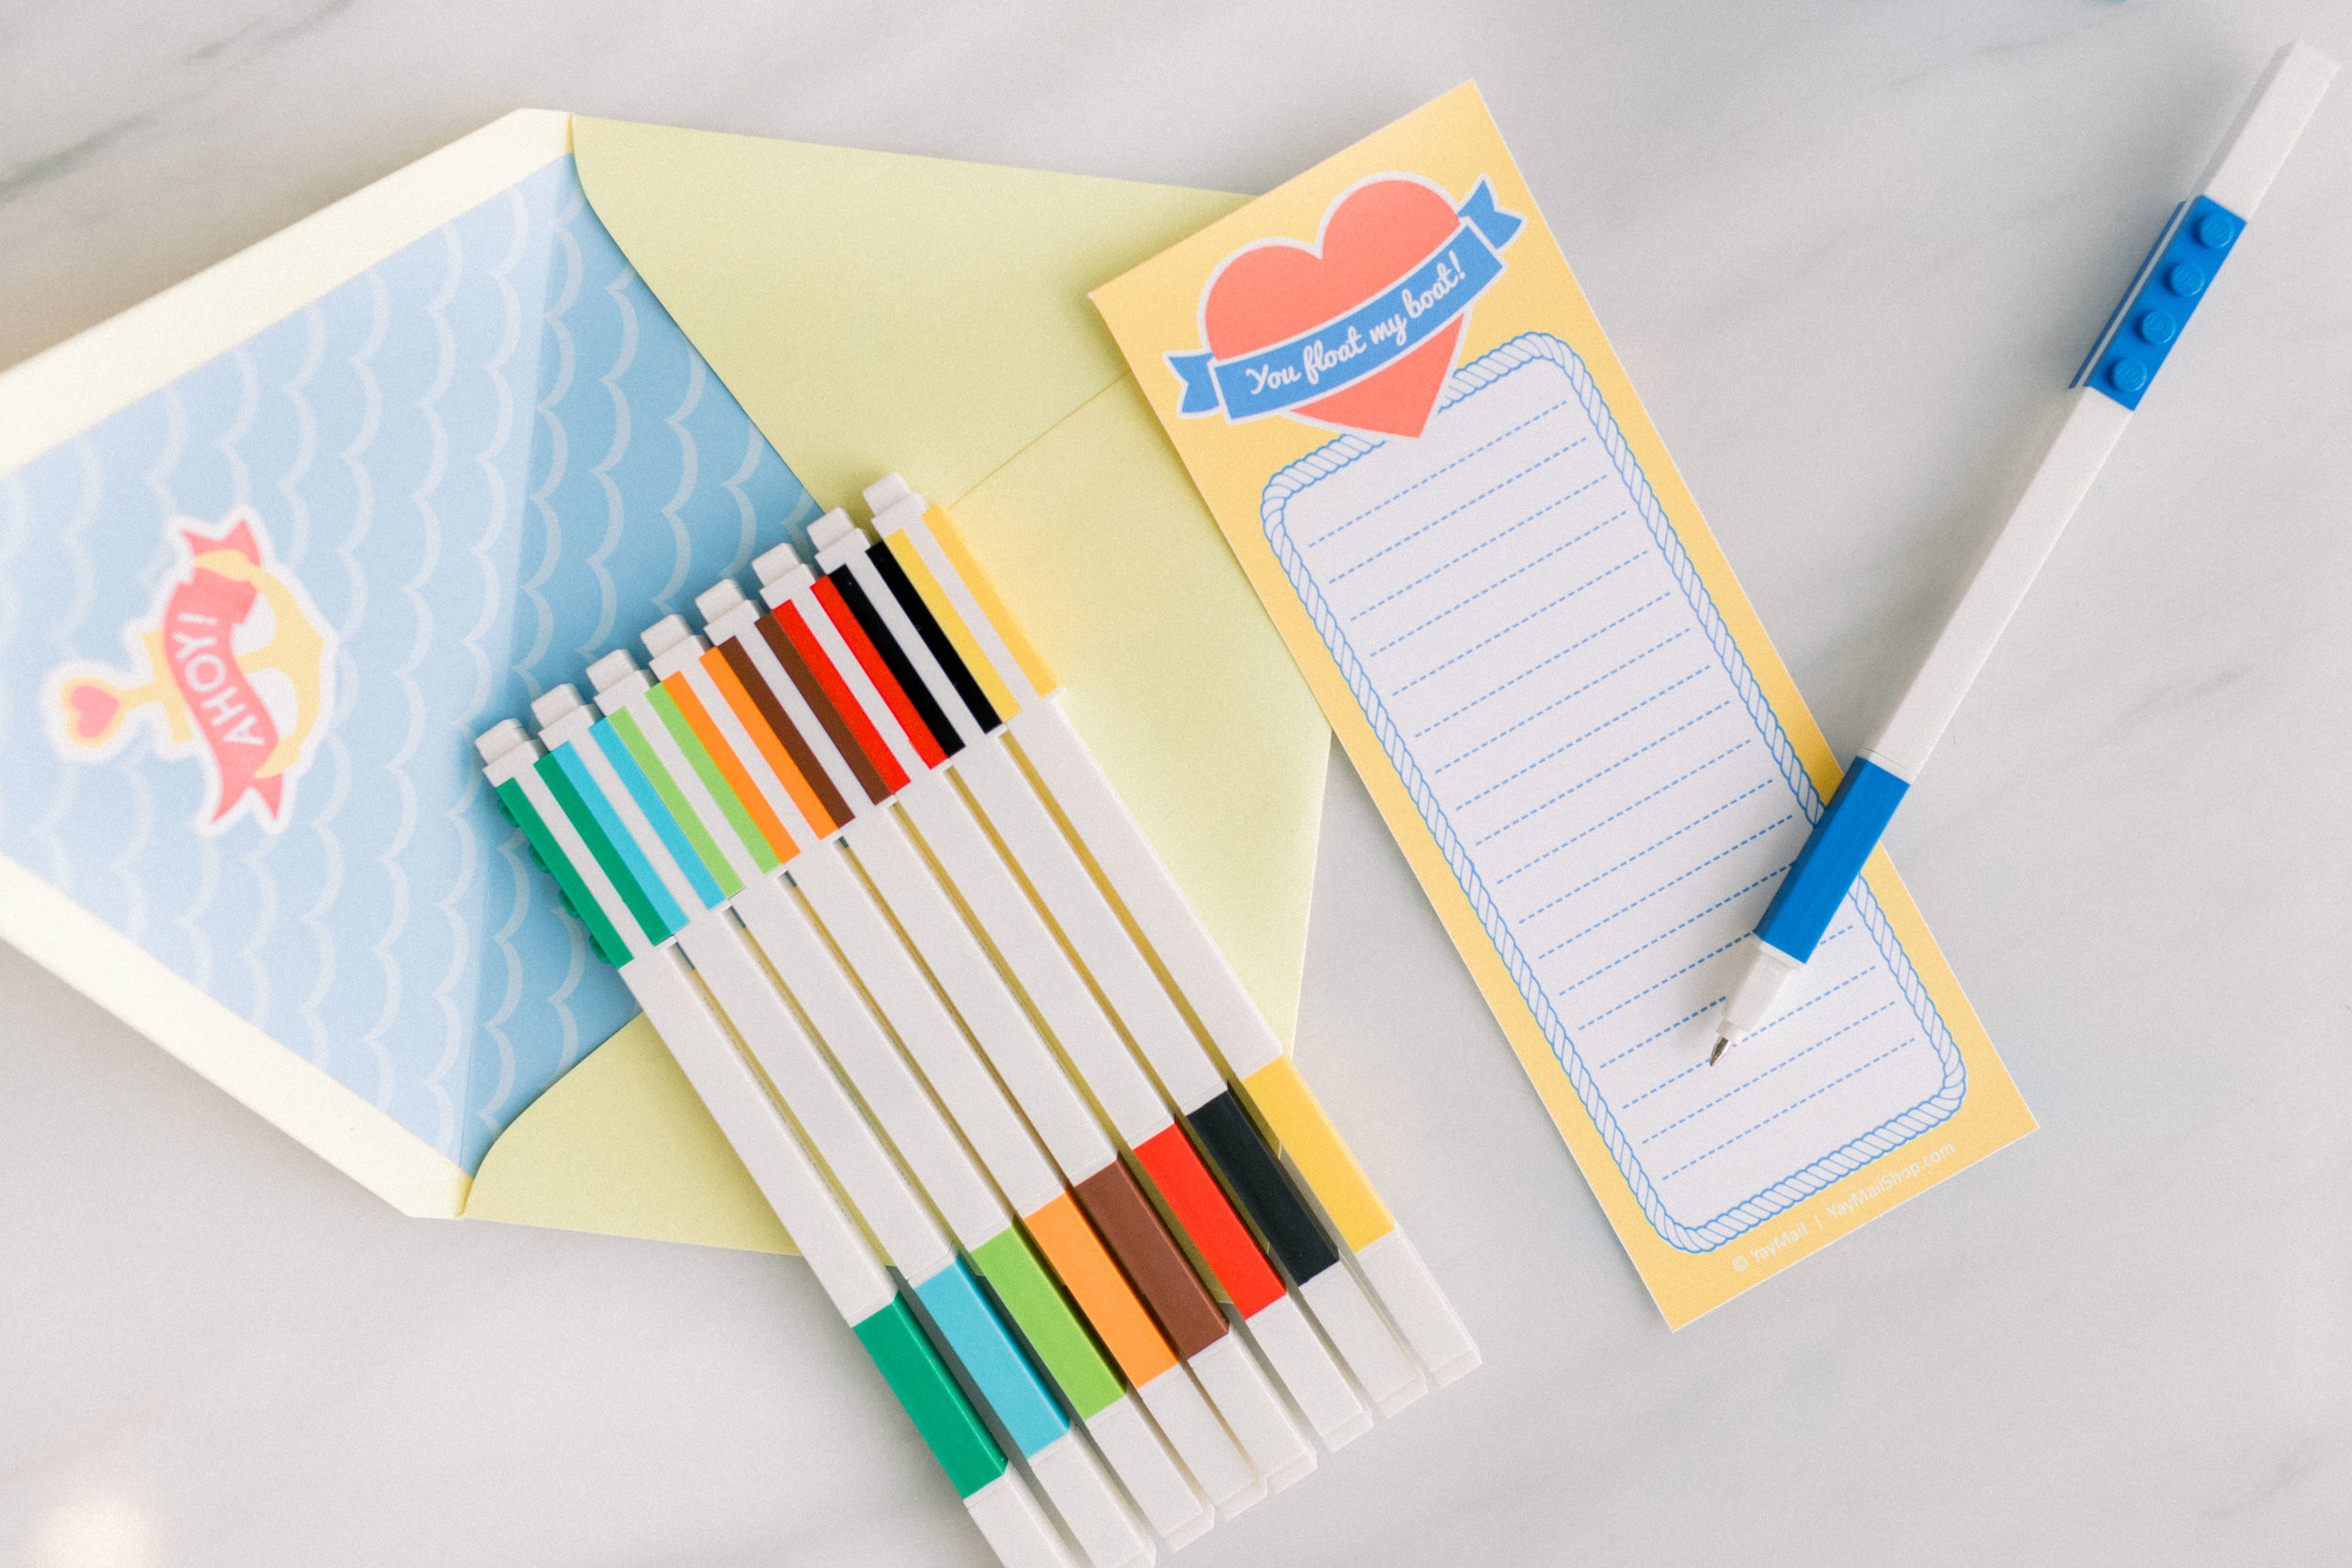
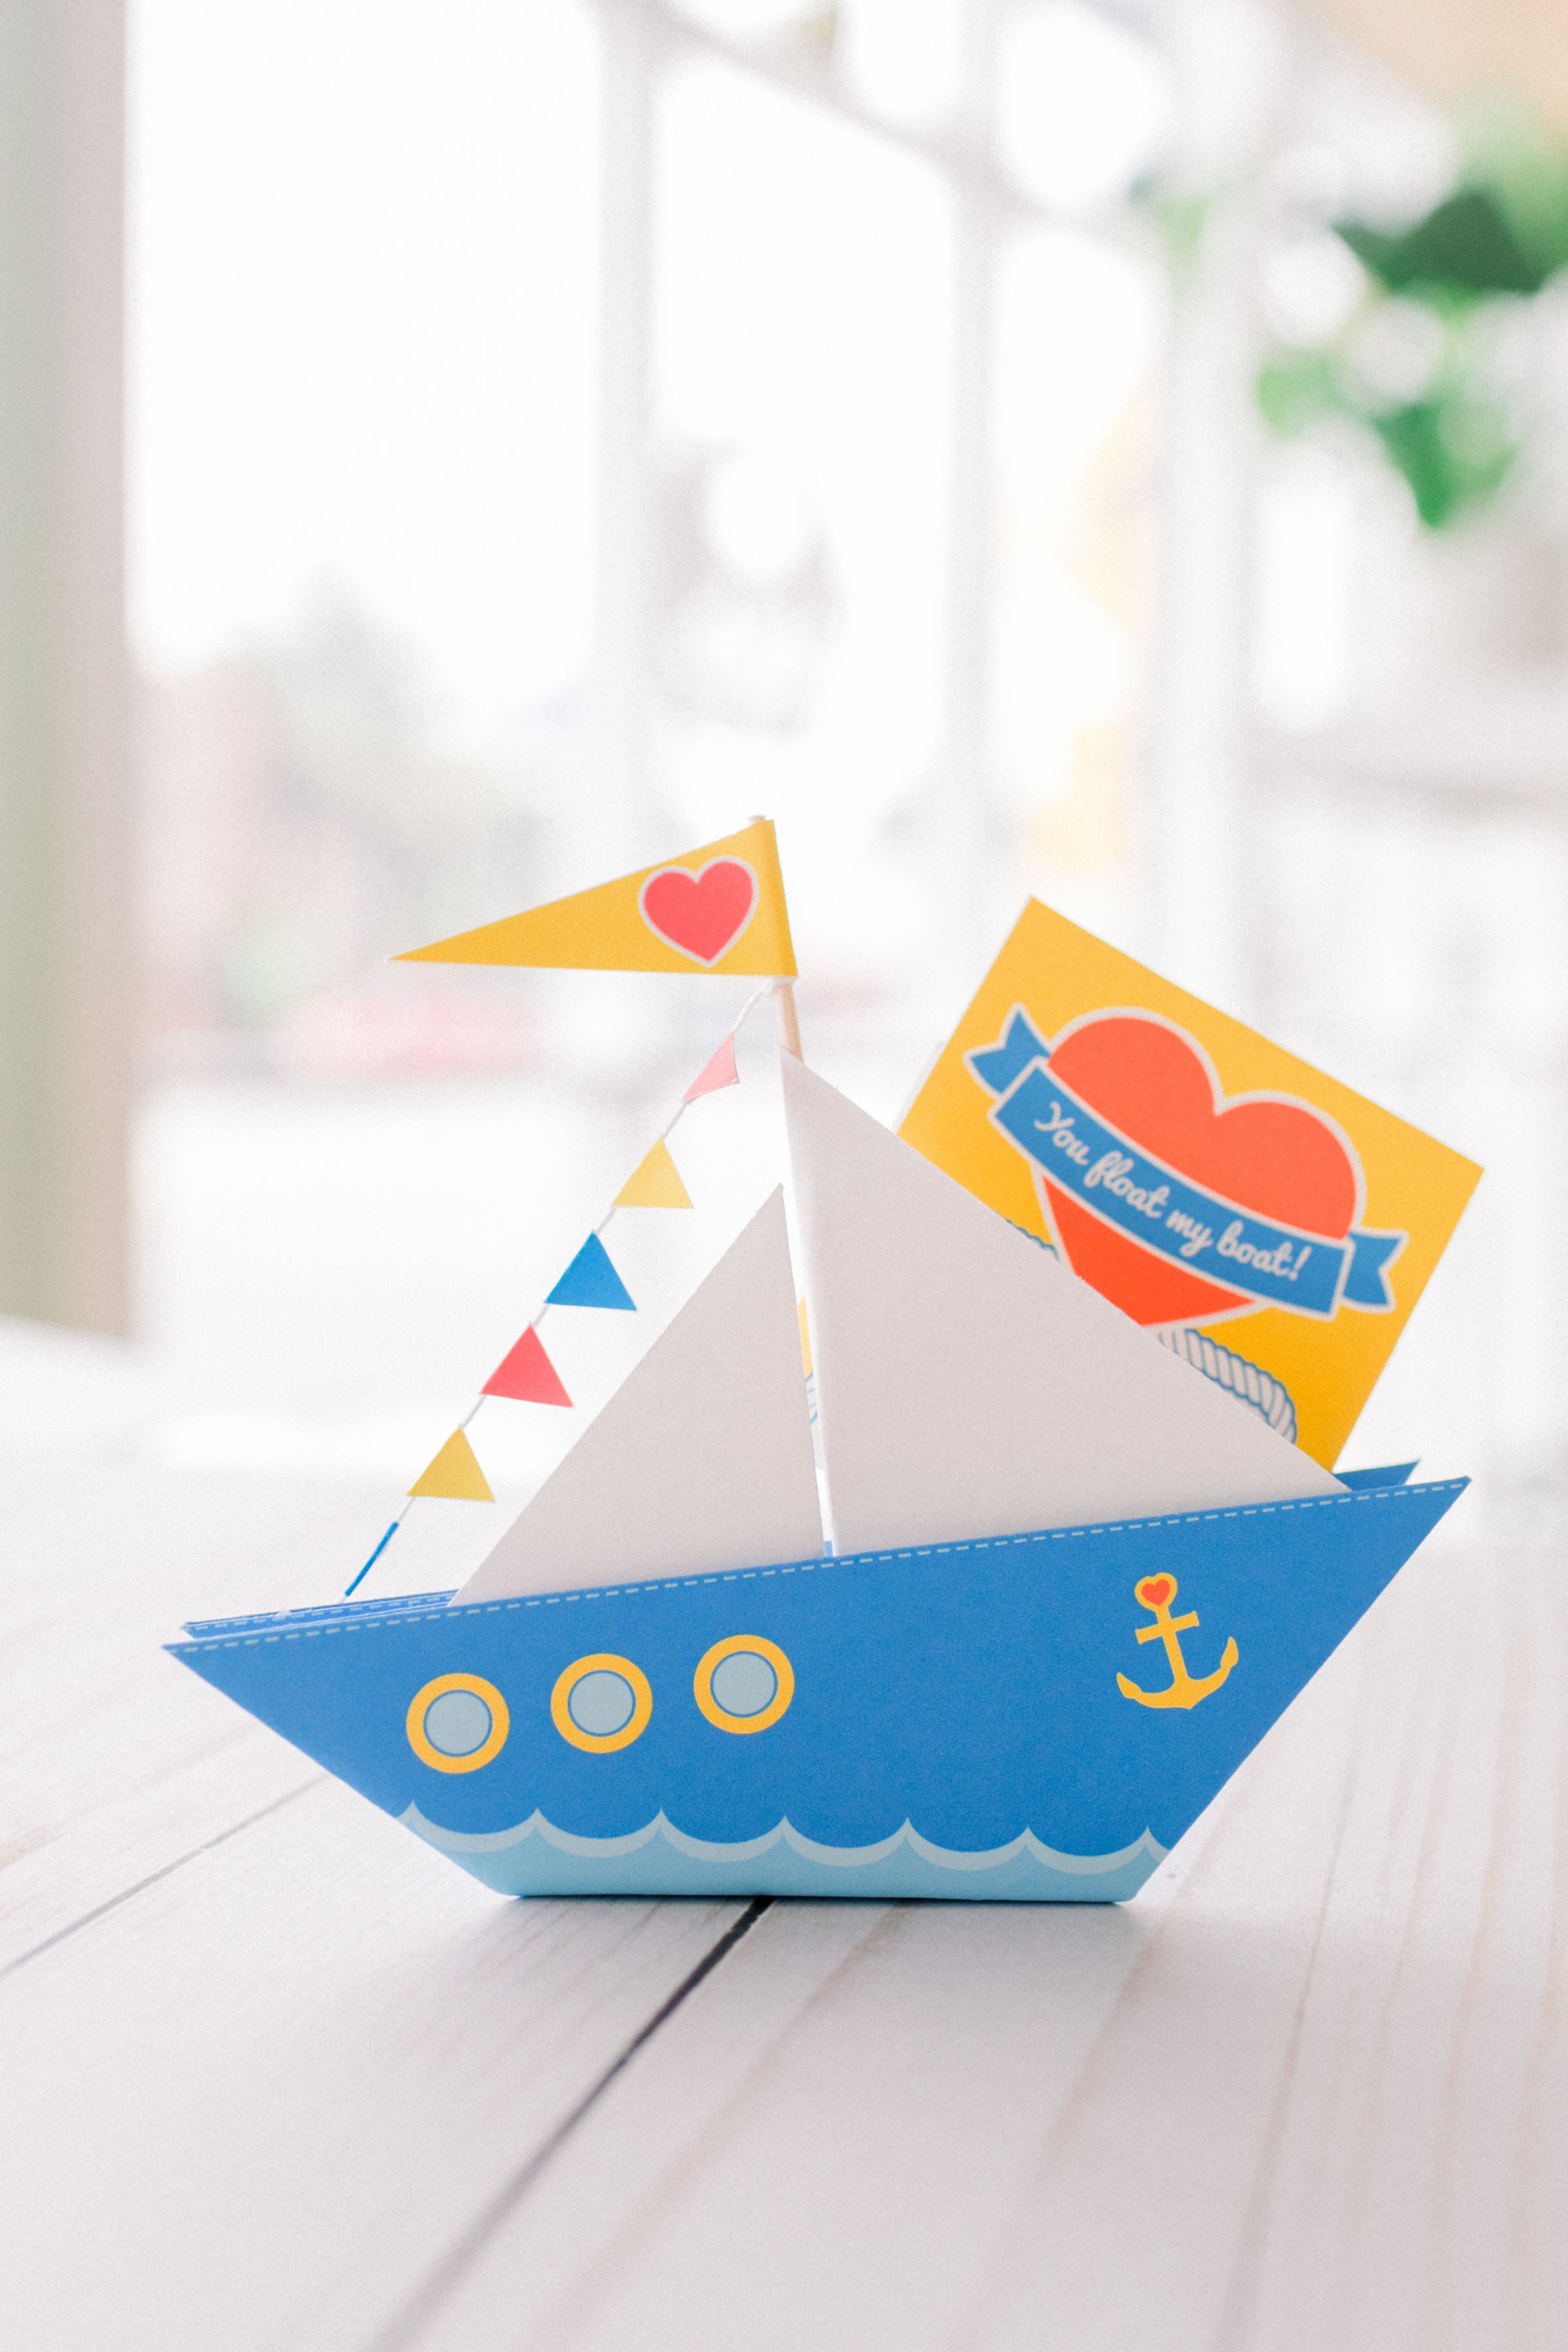
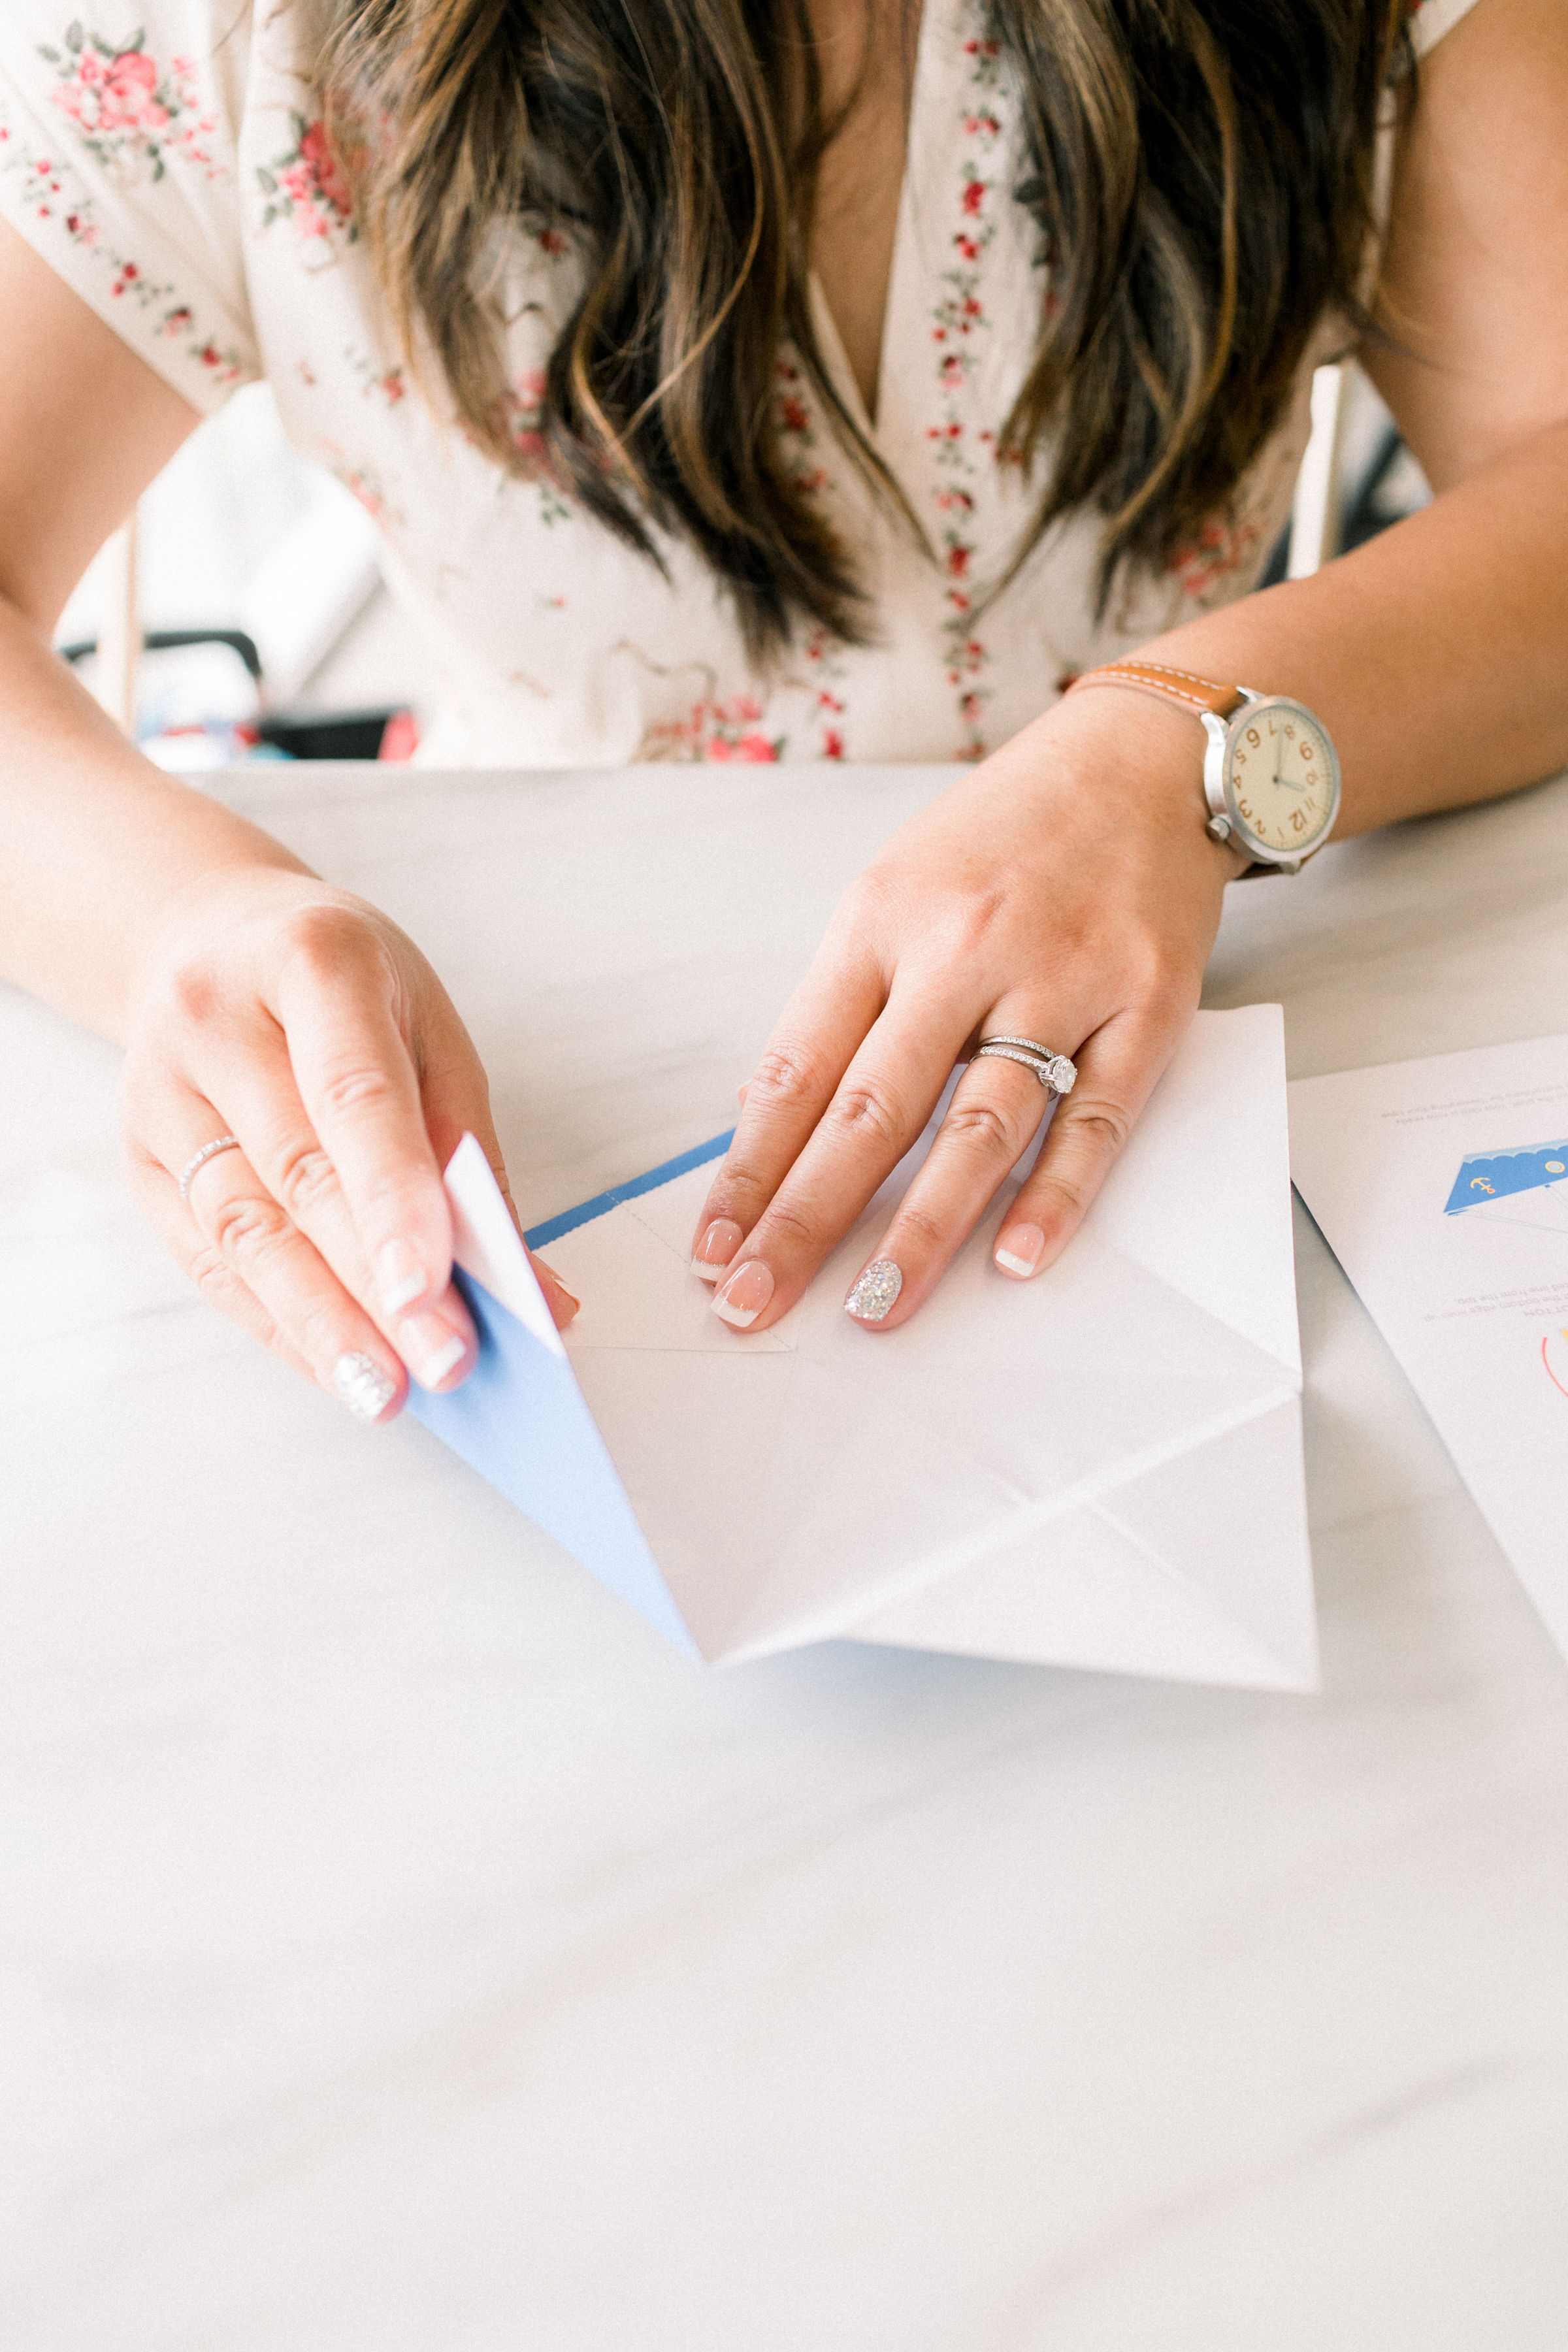
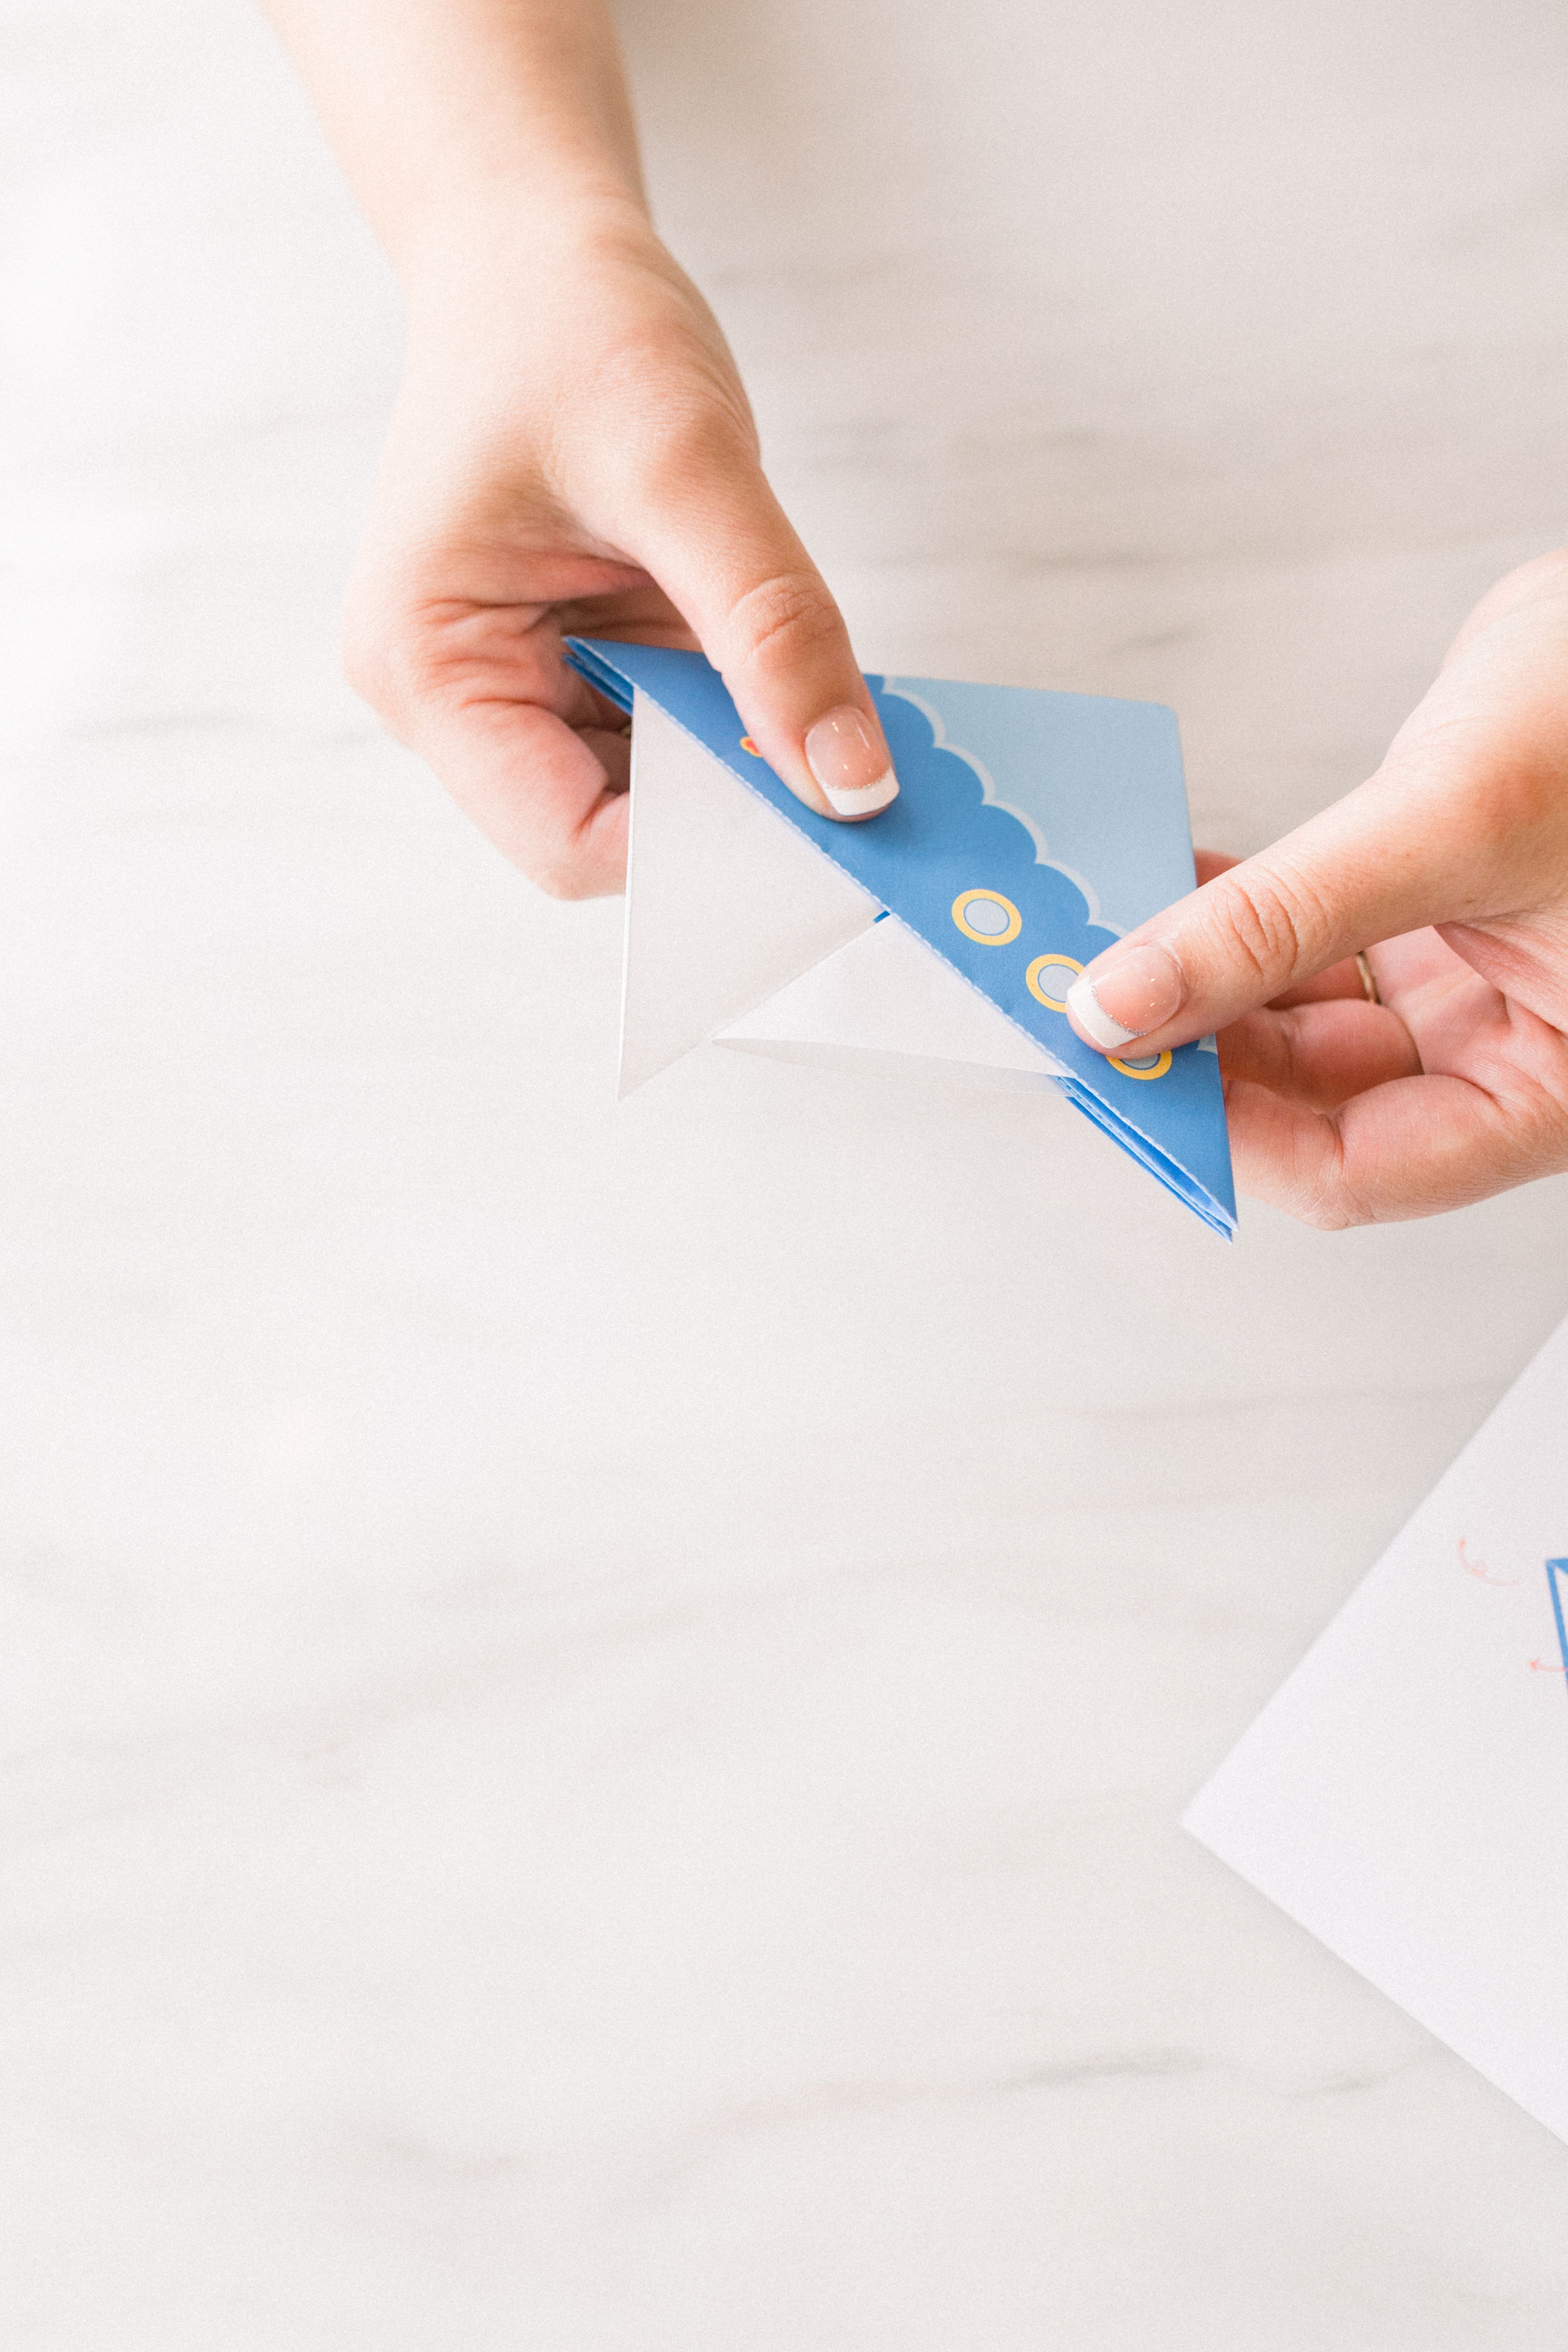
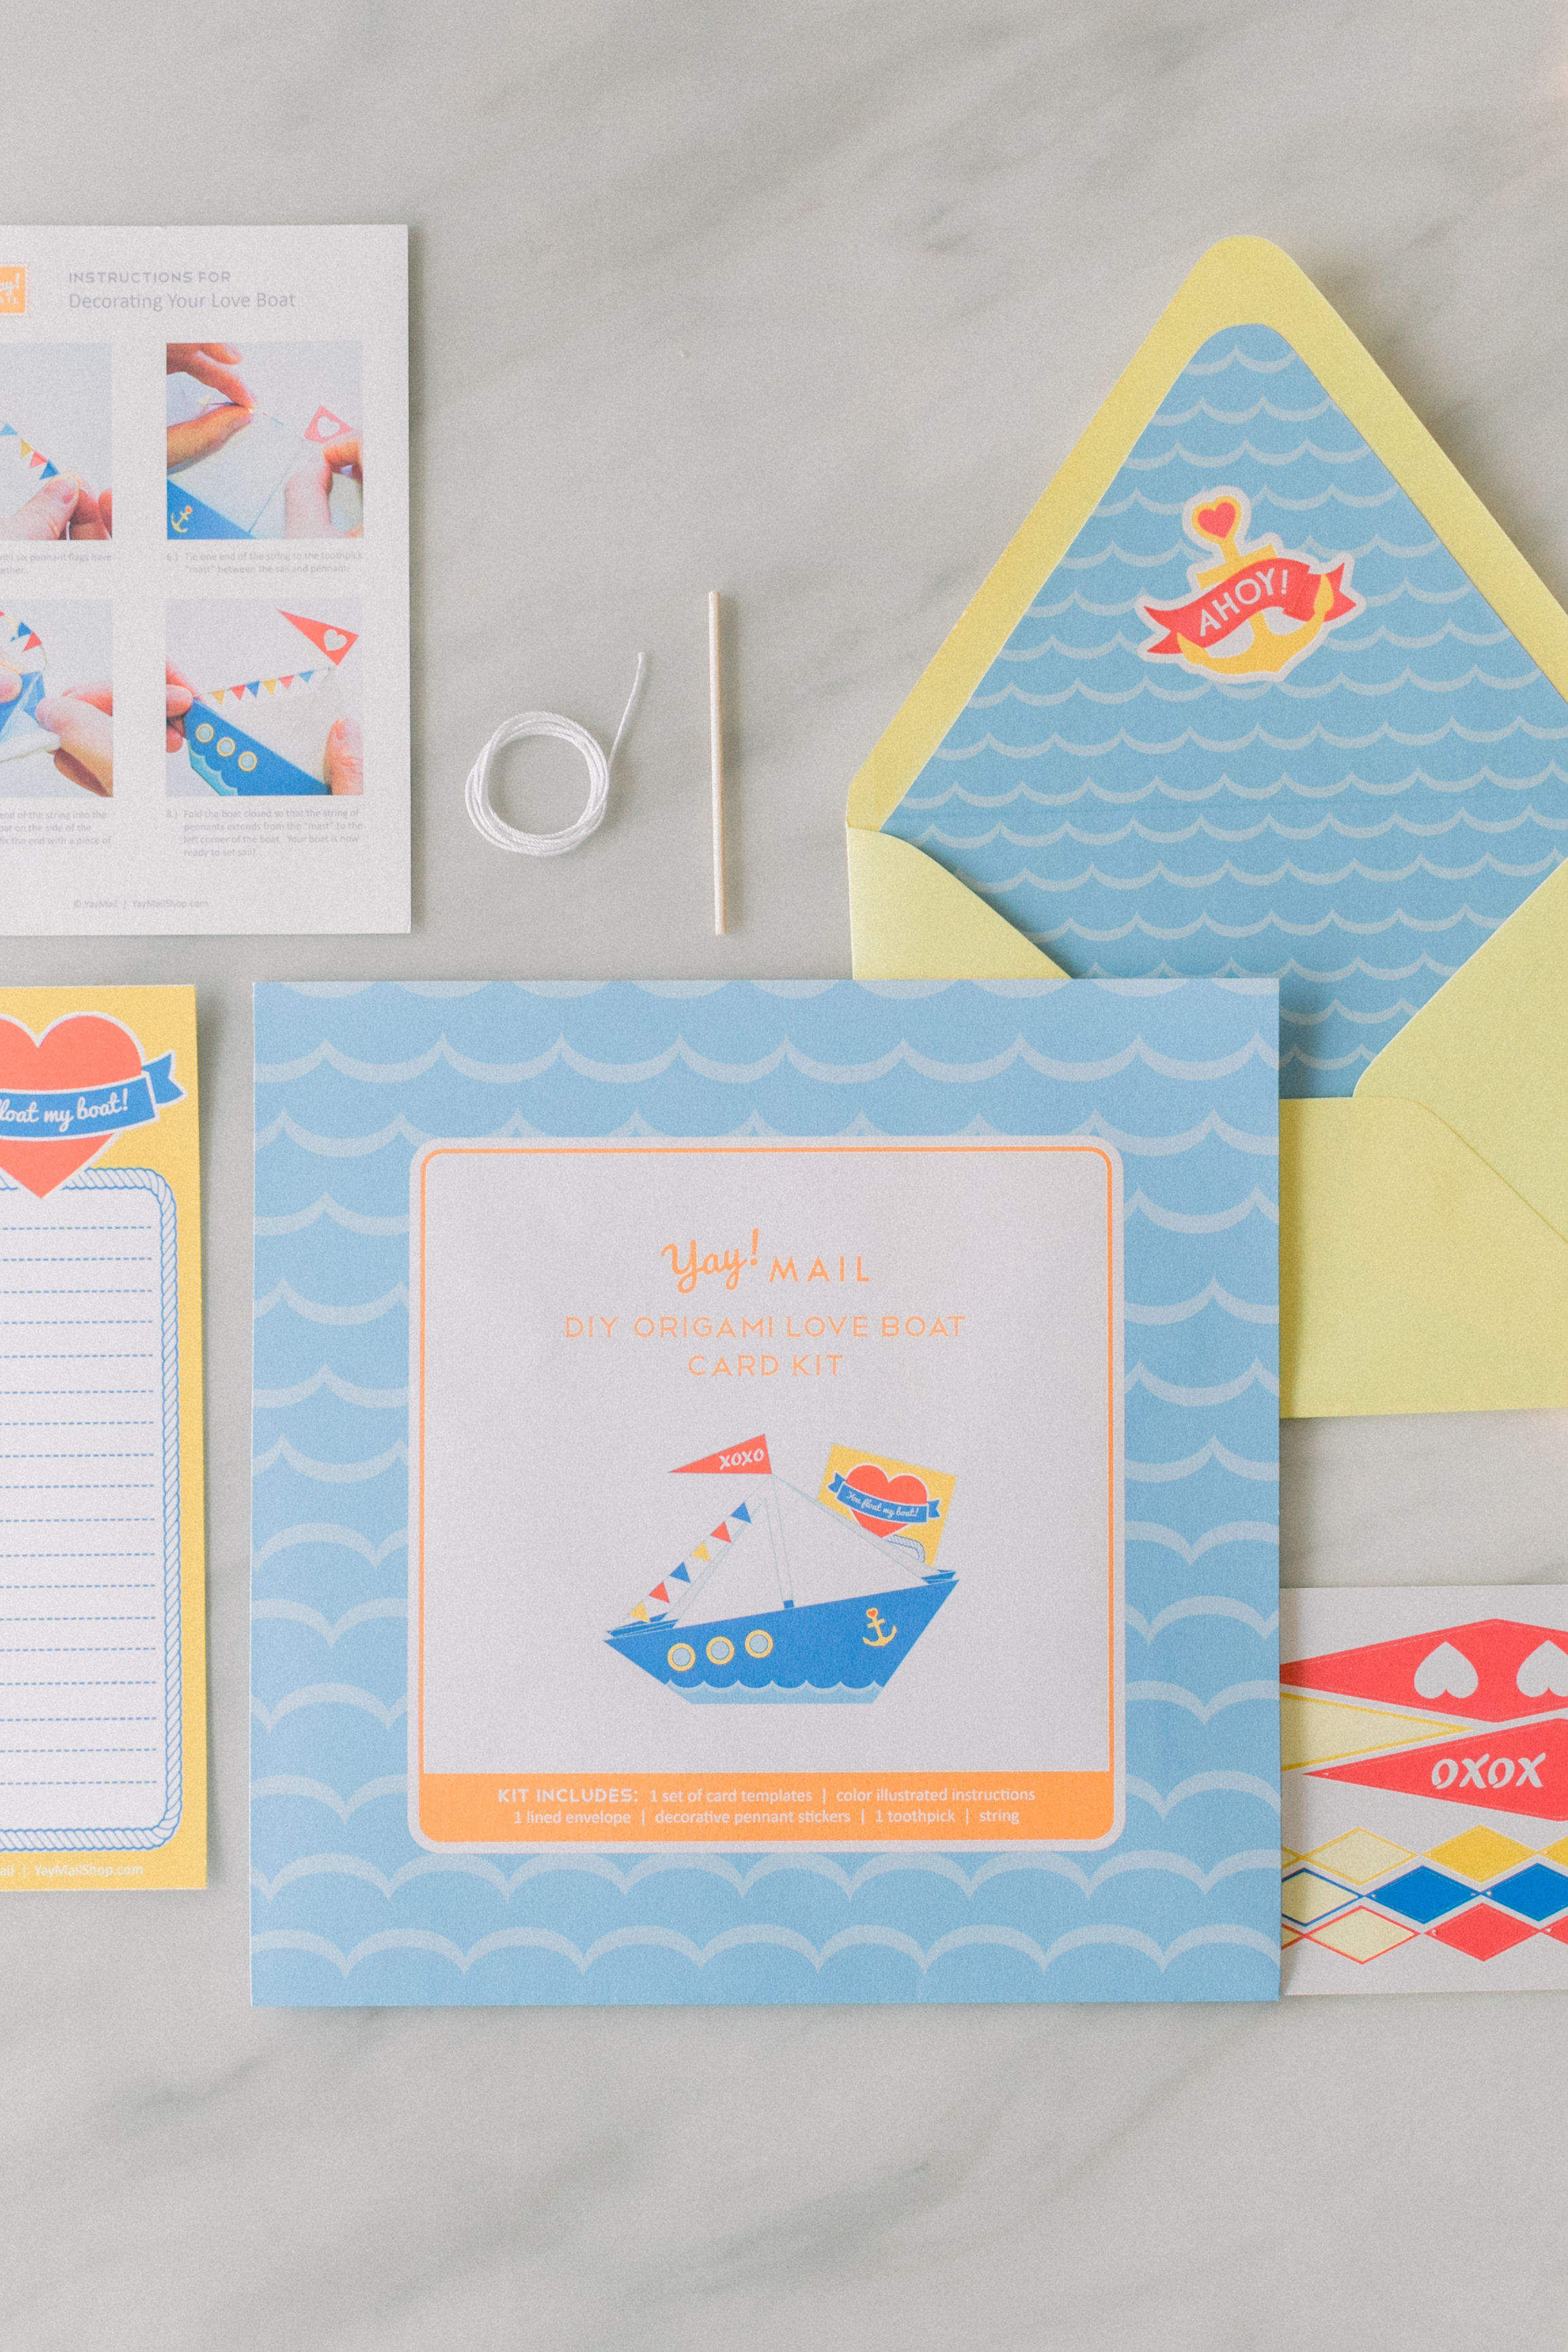
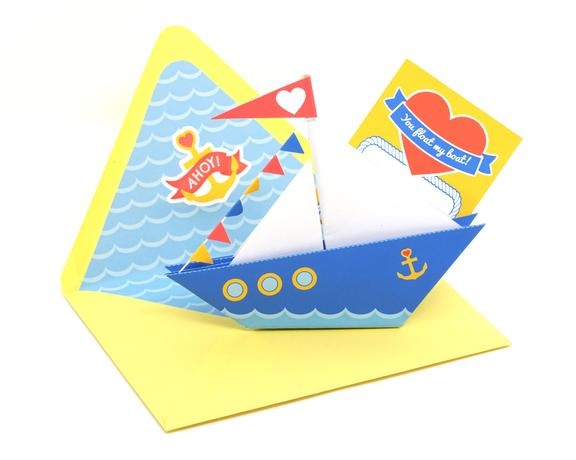
We love YayMail’s DIY stationery kits (below). It comes with everything you need and clear step-by-step instructions. Bonus fun: you can fold these with your little rascals. We folded ours into little ships.

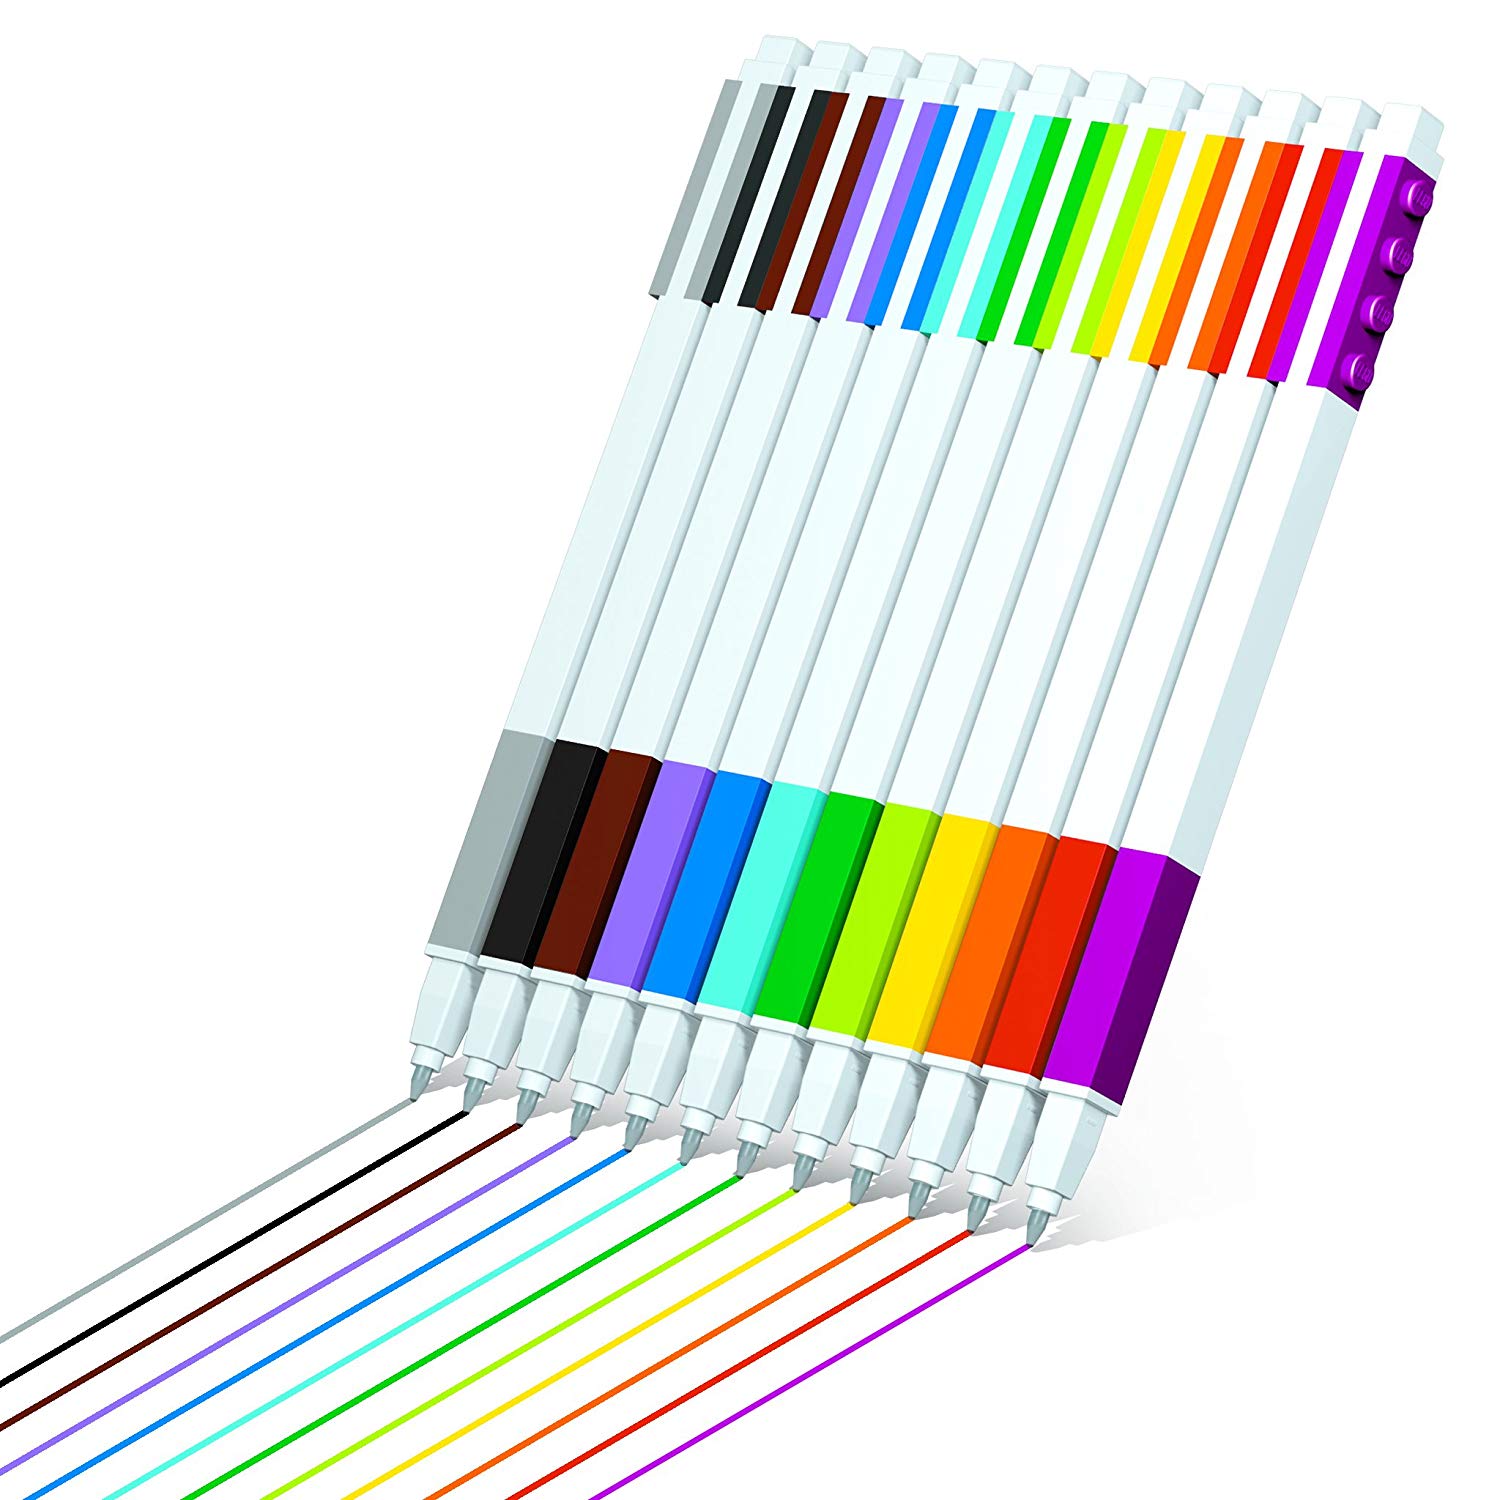
You can also purchase these lego pens and letter set to begin your own school year tradition.

I can’t wait to put this letter in our mailbox on the last day of school for my son to read, not just this year, but every year to come.

Photo by Simply Adri Photography. Written by Head Rascal (Ngoc Nguyen Lay), mother of two rascals, ages 4 and 6. This post was sponsored by YayMail.


Shop the Post

DIY Felt Donuts

We love DONUTS! But this mom likes the felt ones; they have less calories! I have made these felt donuts for my friend’s daughter and wanted to share my DIY step by step instruction so you can create your very own set at home for your rascals.

Supplies Needed:

  • 4-5 Felt Sheets (any colors you want for the donuts and icing)

  • Embroidery Floss

  • Embroidery Needles

  • Hot Glue Gun

  • Scissors

  • Pen or Pencil

  • Polyester filling

Instructions:

1.Have your rascals search for two round, donut shapes in the house— one that you can use for the approximate width of your donut and one that will be the inner circle. Often bowls and cups are a great choice.

2. Choose a piece of felt for the top of the donut and using your pen or pencil, trace a circle around the largest round item you’ve collected, creating the overall size of the donut. Then, trace the smaller item in the center of the large circle. (Insert photos of the traced pieces here, along with their “label” or what you’ll refer to them as throughout the rest of this blog) Repeat this step once more for the bottom donut piece.

3. Choose a new piece of felt for the icing, and follow the same steps in #2. Once the tracing is done, ask your rascals to help you cut out the icing in a squiggly shape (not a perfect circle). There is no perfection in this step, and whatever shape they cut in will work beautifully.

4. Cut the rest of the circles you’ve made on the other pieces of felt, following your tracing lines much more carefully, as these will become the donuts.

5. Thread your embroidery needle with two strands of floss. Sew the outside curved edge of the icing to the donut shape using a fine running stitch. For beginners, replace the blanket stitching with a running stitch to make this project a little easier.

6. Place the donut top and bottom together and use pins or quilting clips to hold them in place. Blanket stitch around the inside circle ring of the donut, stitching the top and bottom together.

7. Blanket stitch the outside edge of the donut, stopping when you’re halfway around (but keeping the floss intact). Roll small balls of polyester filling and stuff them into the donut using a pen or pencil or similar tool.

8. Continue to sew and stuff the donut until it is firmly filled and completely stitched.

You are done! Create a number of different colored donuts for some pretend play with your little ones.

By: Ngoc Nguyen Lay, Mother of two rascals. Age 4 and 6. Donuts from Made By Claire Louise.


Shop the Post

Create on Hello Rascals

Create on Hello Rascal Kids

Creativity is the expression of imagination! Hello Rascal Kids Create is the place you can find fun new projects that you can create with your kids, including DIY arts & crafts, playful products, and everyday fun. Families shouldn’t have to spend their limited time together looking for things to do that will make lasting memories. Here, we gather the simple ideas for you in one place and let you execute on the fun.
You will find in CREATE:

  1. DIY projects

  2. School project ideas

  3. Creative play

  4. Kids’ crafts

  5. Resources for parents to foster creativity within their kids

We hope these ideas allow you to use your imagination to create in new ways.

Welcome to Hello Rascal Kids

At Hello Rascal Kids, we know every member of the family is unique and that no two families are alike. With this in mind, we have created our core beliefs that drive everything you will see on this site.
  1. We believe in encouraging kids to be kids. Our focus is on ways to play, create, travel, eat, read, and celebrate.

  2. We are an online community built to inspire kids and parents of all ages. We strive to provide activities, projects, conversations, and more that are as diverse and unique as the families who visit us.

  3. We embrace the rascal in each child, knowing that what makes families unique is the diversity within each member. Not every item on our site will be for every person, but every person will be able to find some items that they can love together.

  4. We will share our family’s journey but also share others’ as well. Our mission is to curate stories and ideas from many viewpoints, and the best way to do that is to encourage other voices to contribute to our community here.

  5. We are an uplifting space, led first by our own attitudes. We will conduct this site and those who speak here with the same expectation. We know life and parenthood is not always happy, simple, or fun, but we want you to rely on us to help you remember, create, and celebrate uplifting moments with your own family.

  6. We know you’re raising little humans - we are too! You’re working hard on life, your career, your family - and we want you to succeed. To help, we will surround you with a community of creative, interesting, thoughtful, and fun loving people who appreciate daily reminders that you (and everyone around you) are doing their best. There are all sorts of ways to parent your children, and that’s why you visit Hello Rascal Kids.
You’re doing better than you think. No, really, you are. Hello Rascals is here to help you remember that. So read on friends!

See below for a glimpse of what you can discover in each carefully curated section of Hello Rascal Kids

You will find in CELEBRATE:

  1. Parties featuring real kids and families

  2. Creative ideas for your next celebration

  3. New trends in parties

  4. Party entertainment for kids

  5. Holiday and seasonal party ideas (Halloween, Valentines, etc)
You will find in PLAY:

  1. Places to explore as a family

  2. Products that promotes learn and play

  3. Playrooms

  4. Toy reviews

  5. Kid-based events that you can participate in together

You will find in CREATE:

  1. DIY projects

  2. School project ideas

  3. Creative play

  4. Kids’ crafts

  5. Resources for parents to foster creativity within their kids

You will find on EAT:

  1. Recipes

  2. Places to Eat

  3. Snack Options

  4. Food product review

  5. Food festivals and events

You will find on TRAVEL:

  1. Travel tips with kids

  2. Travel guide for different cities

  3. Places to stay

  4. Things to do

  5. Best vacation spots with kids

You will find in READ:

  1. Latest children’s book news

  2. Book reviews from kids and parents

  3. Bookstore tours and lists

  4. Reading list roundups

  5. Public library tours and tips