Kids & Pizza

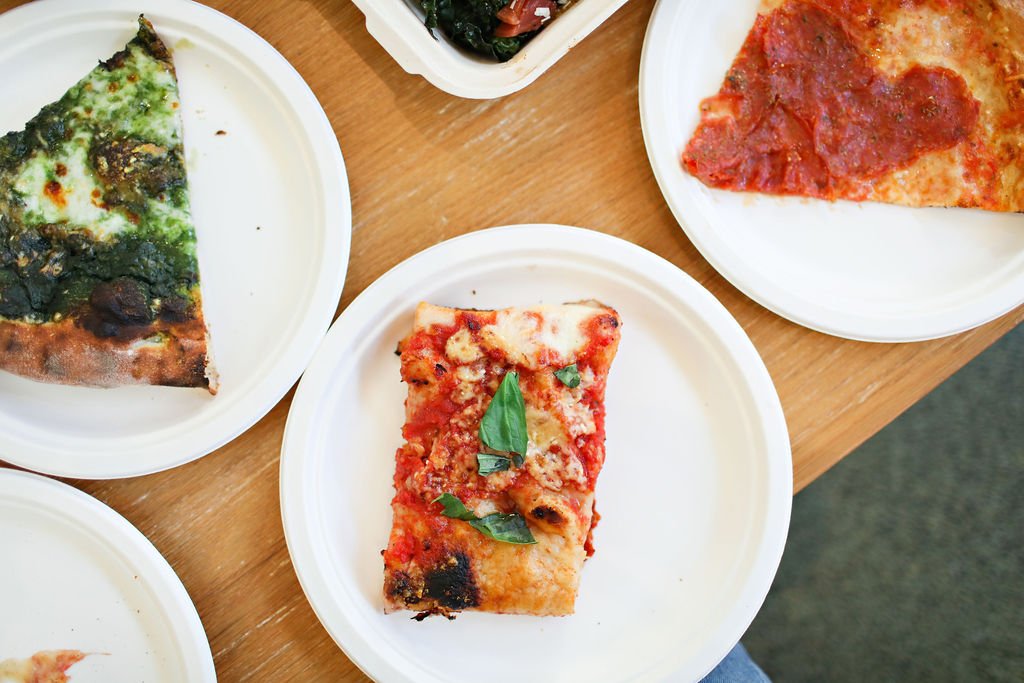
My husband and I always jokingly say that our boys have a expensive taste when it comes to pizza. They are major foodies in this area. We’ve been watching Netflix Chef’s Table Pizza in hopes to find a new spot to take the kids.

After watching Pizzeria Bianco’s episode, I was dying to try it out. They were based in Arizona, but, luckily, they had recently opened a location in Los Angeles. I took my family on an adventure to check it out.

On the day we went, Chef Bianco happened to be there. I introduced him to the boys and they chatted with him for a bit and they got to learn more about each other.

The lunch was great and really a worthwhile experience for Ben and AJ. My kids were able to connect the story they saw on television with the pizza they were sitting there enjoying. Seeing the hard work put into the restaurant and the actual person behind the food made them see their meal as more than just a pizza that ended up on their plate.

I’m always looking for new ways to teach my boys to value the hard work and the people behind everything we do so they learn to appreciate things a little deeper. I’m happy this lesson basically landed on my tv screen and turned out to be a delicious meal, too.

Written by Head Rascal (Ngoc Nguyen Lay), mother of two rascals, ages 8 and 10. Photos by Adrienne Gunde Photography.

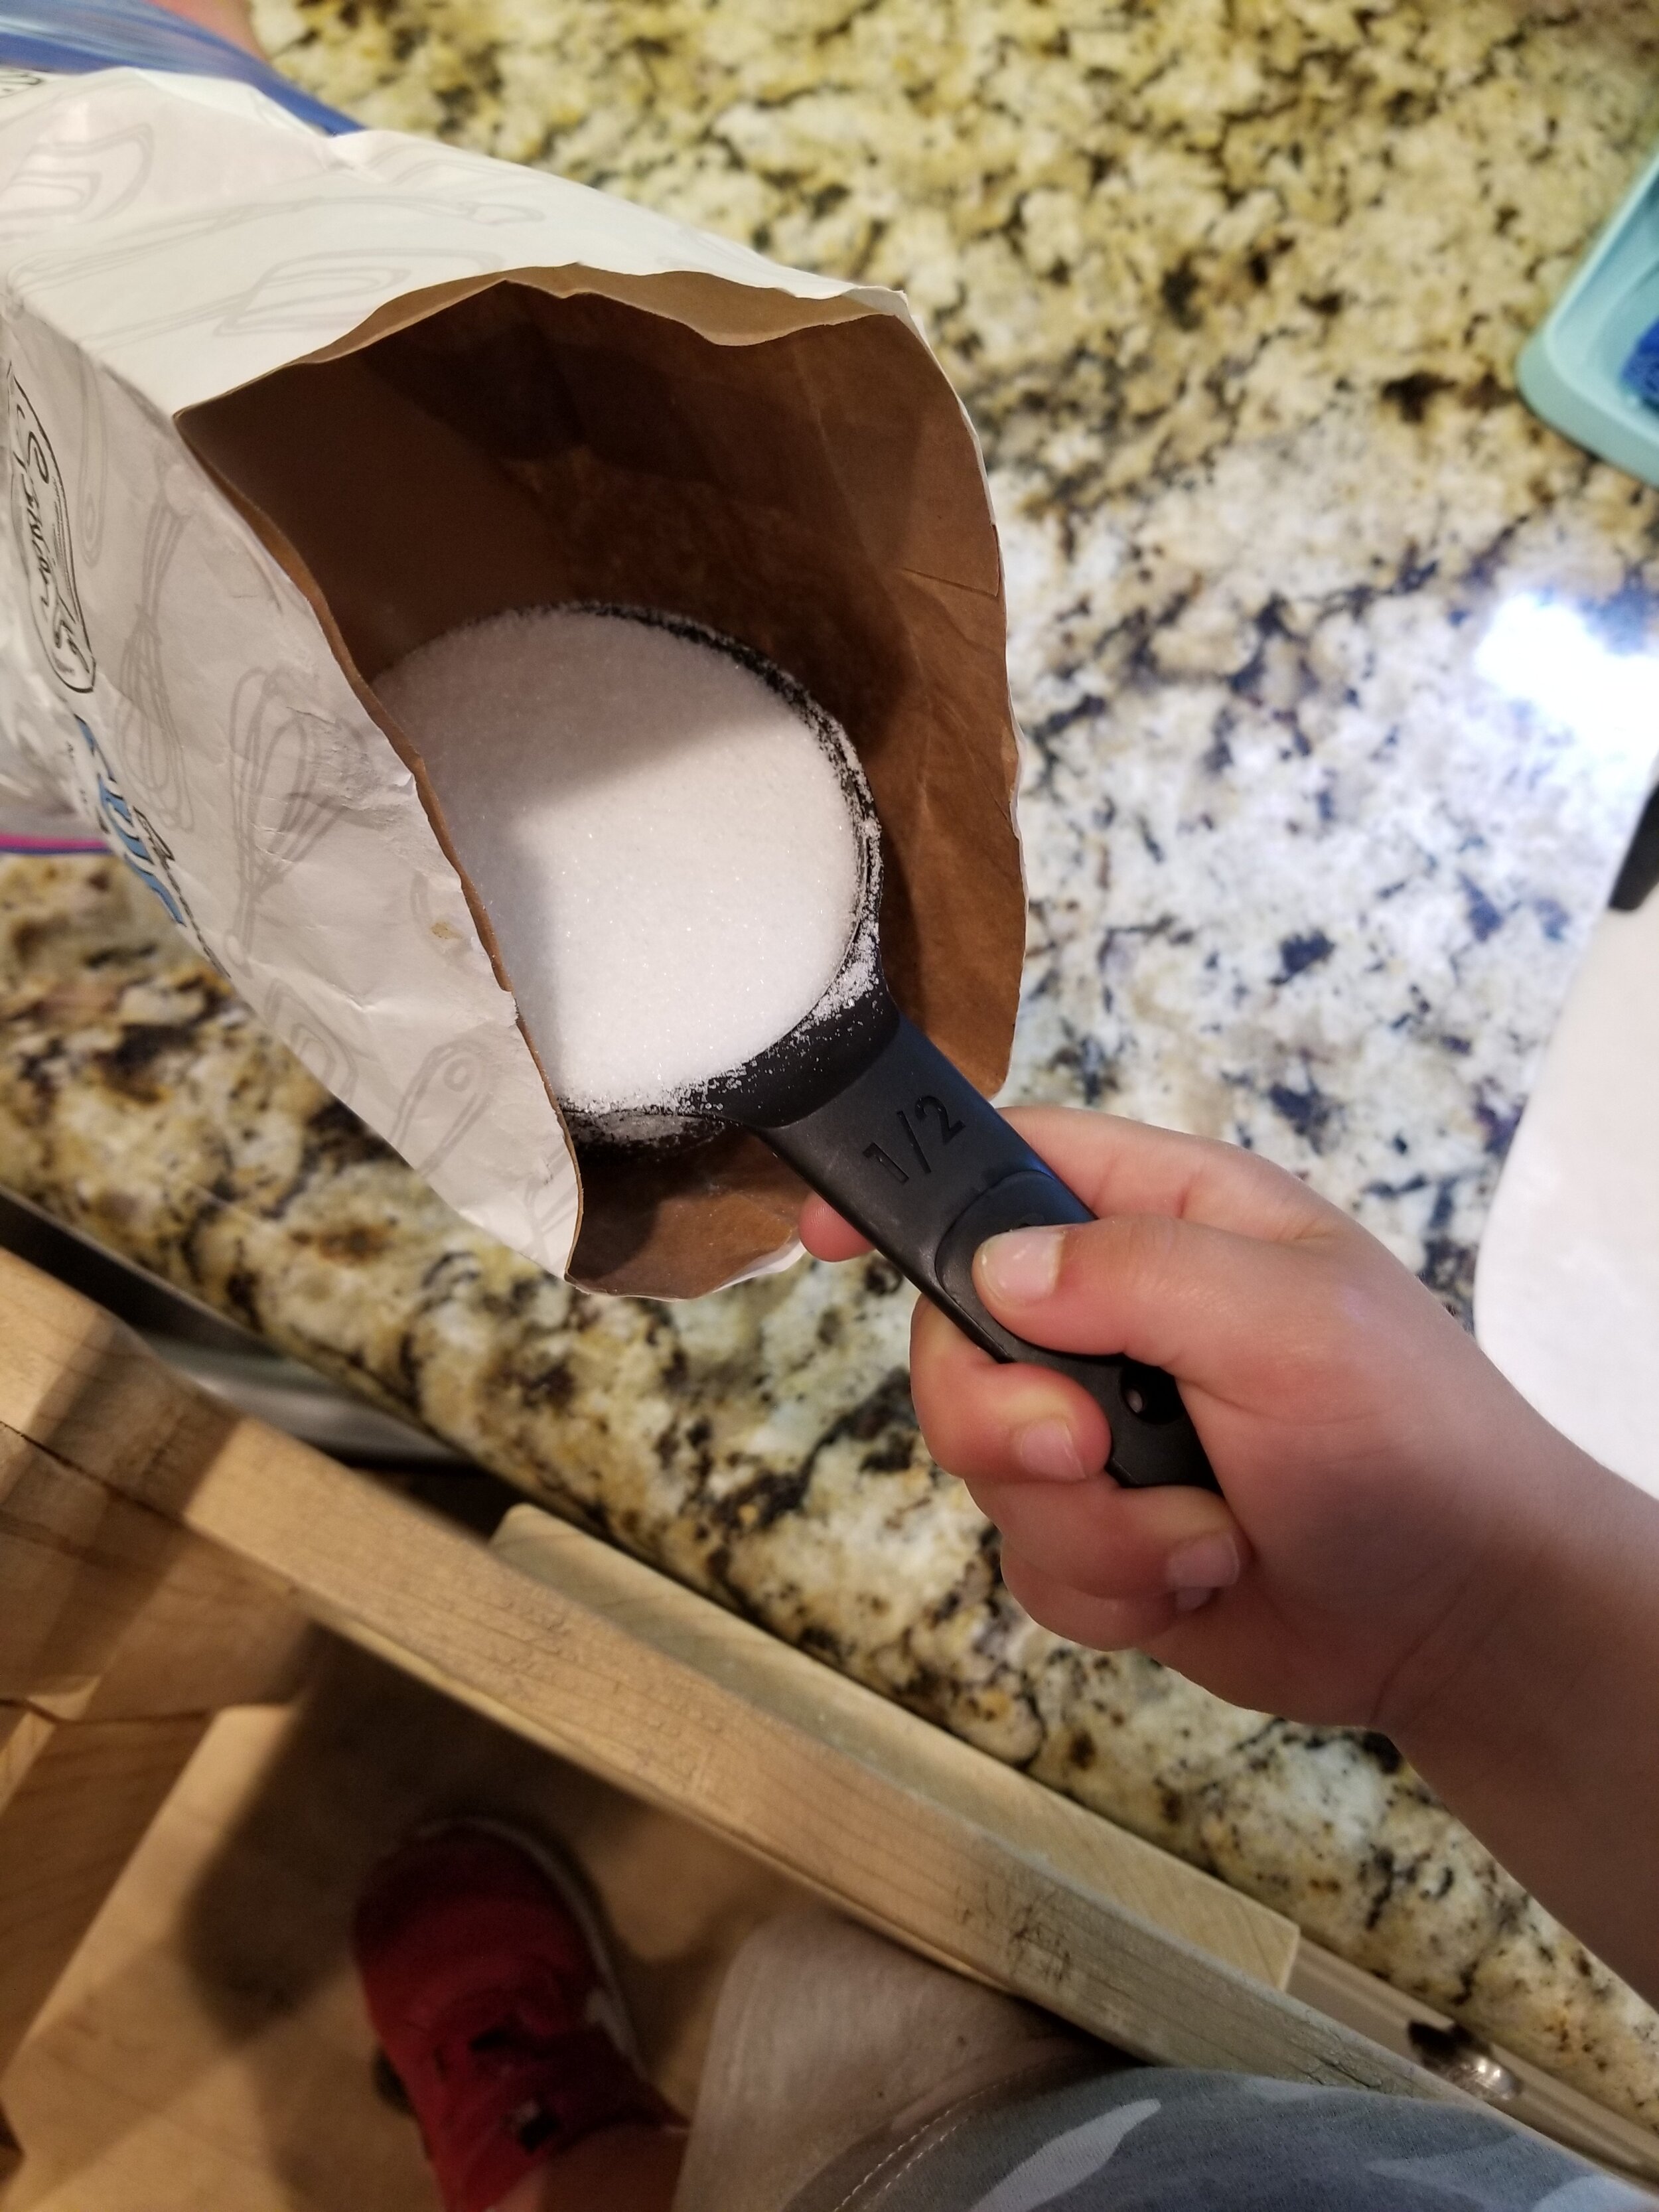
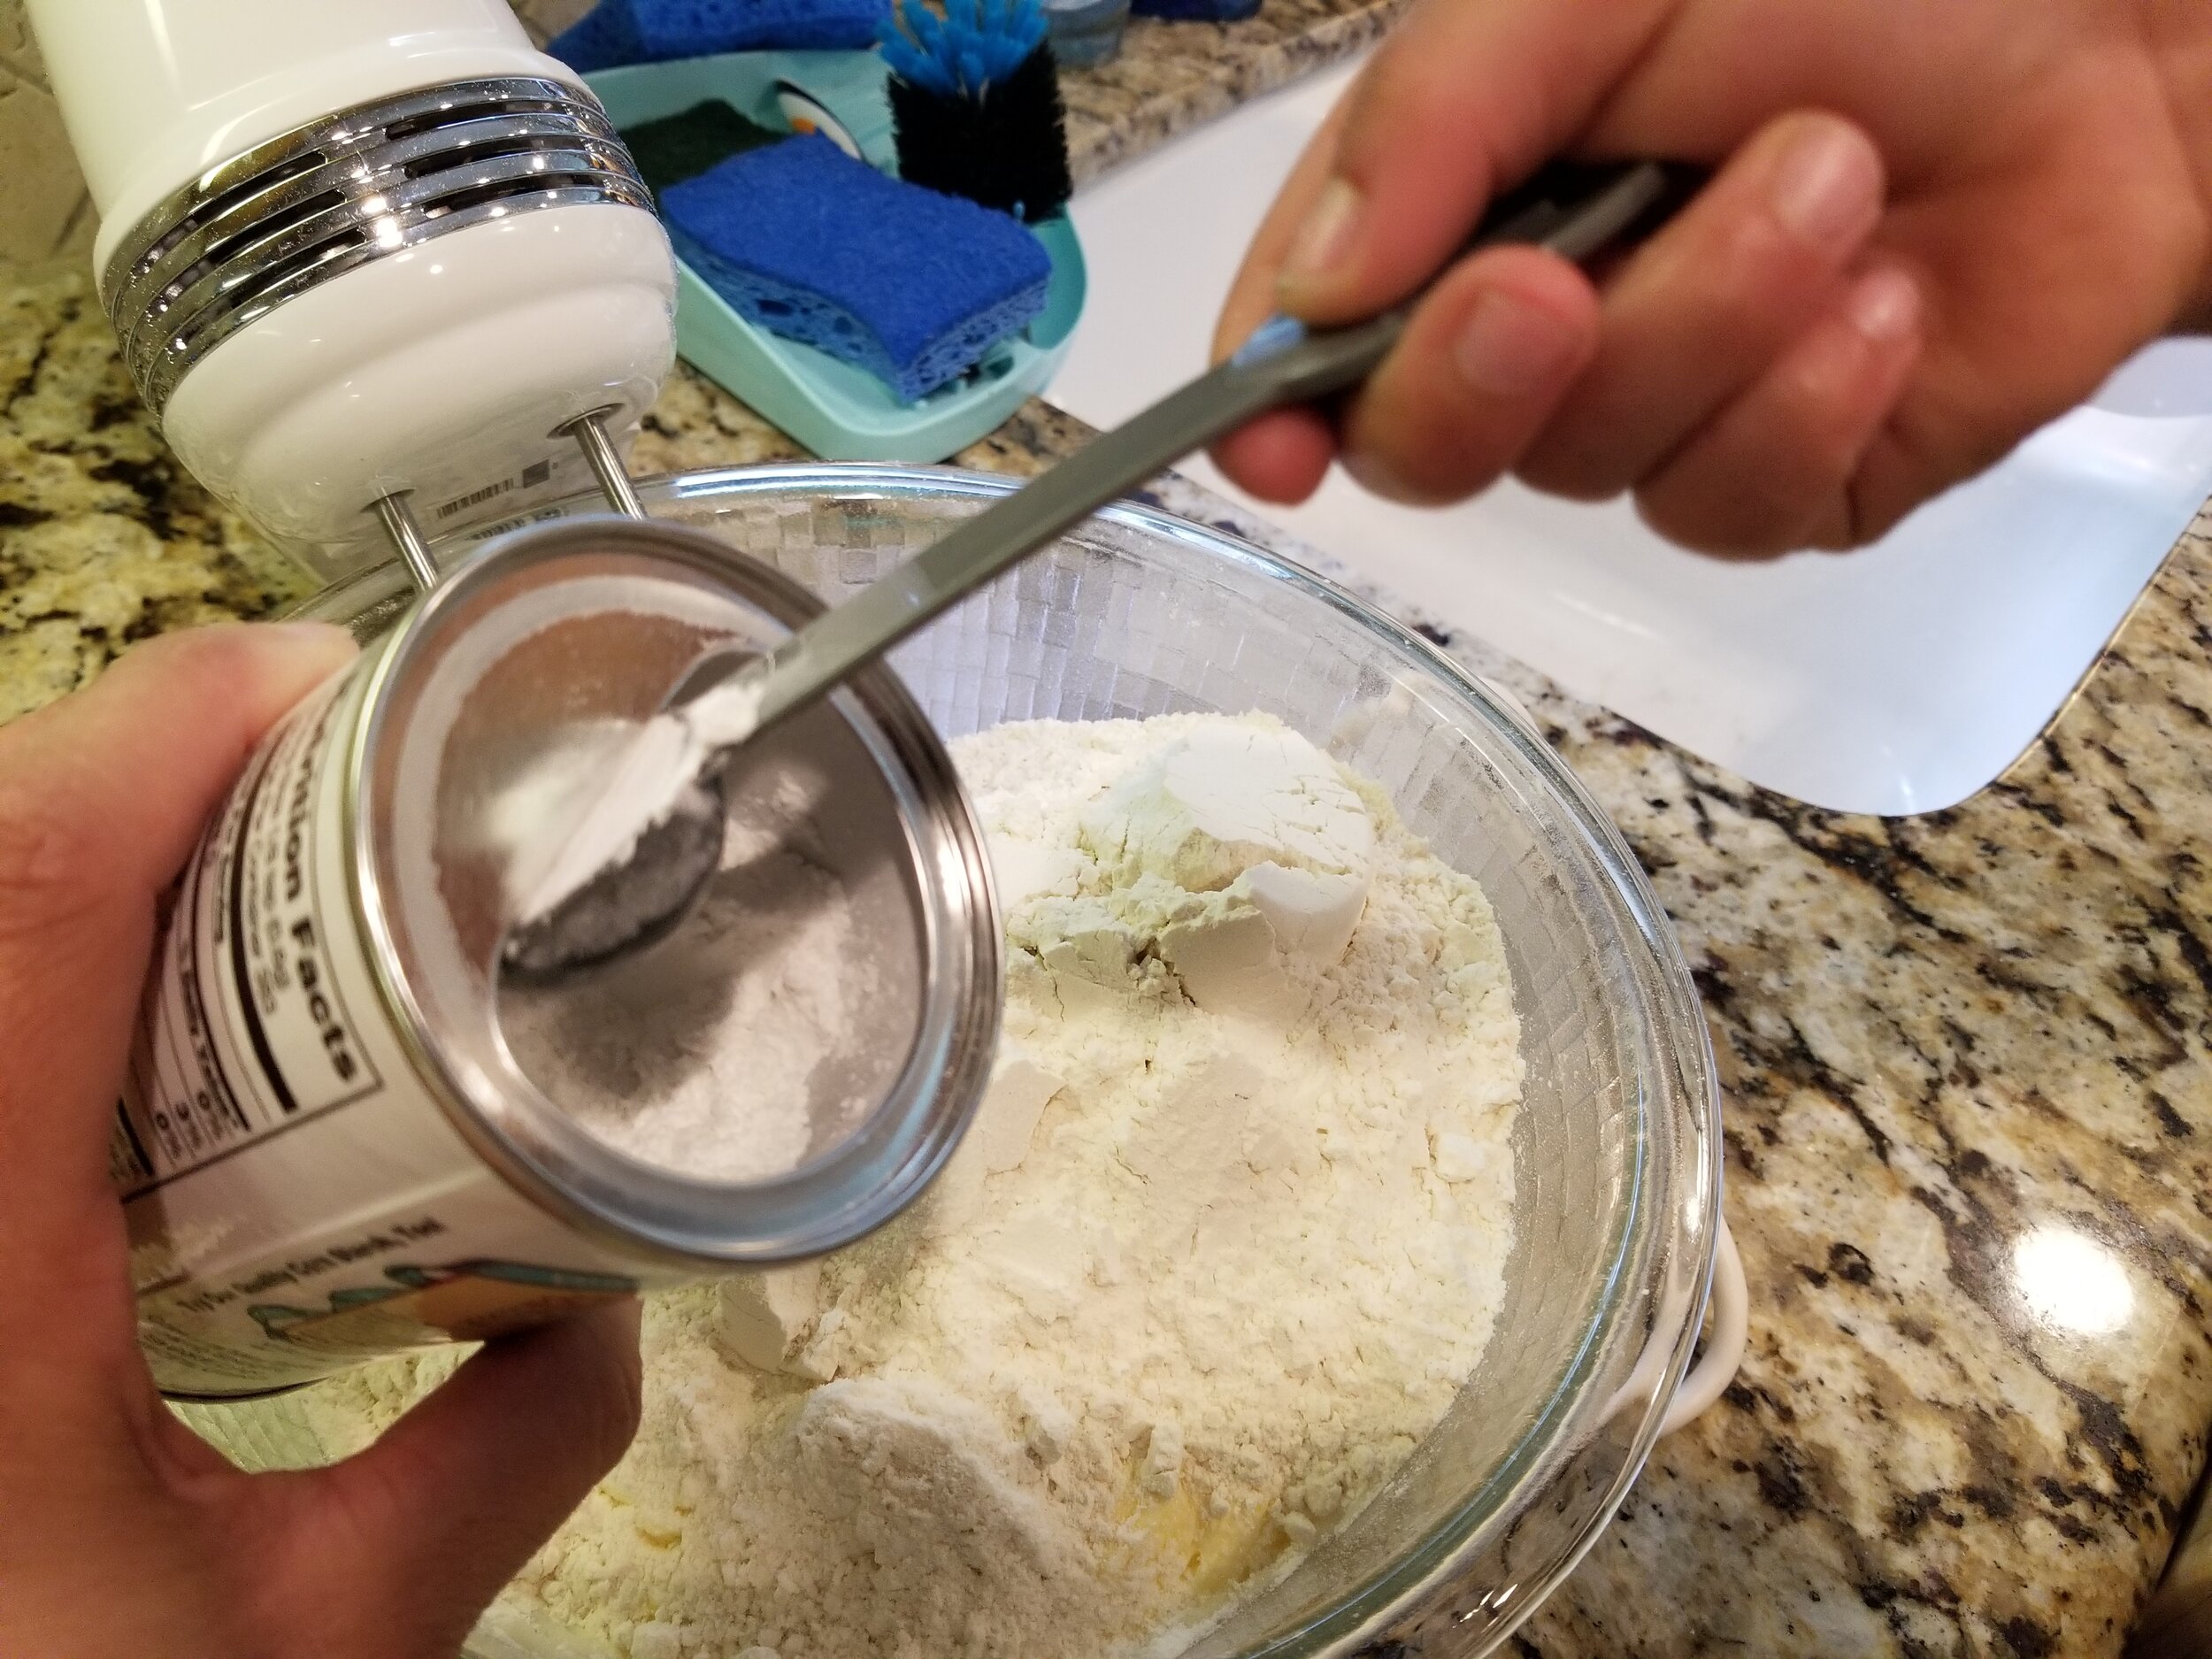
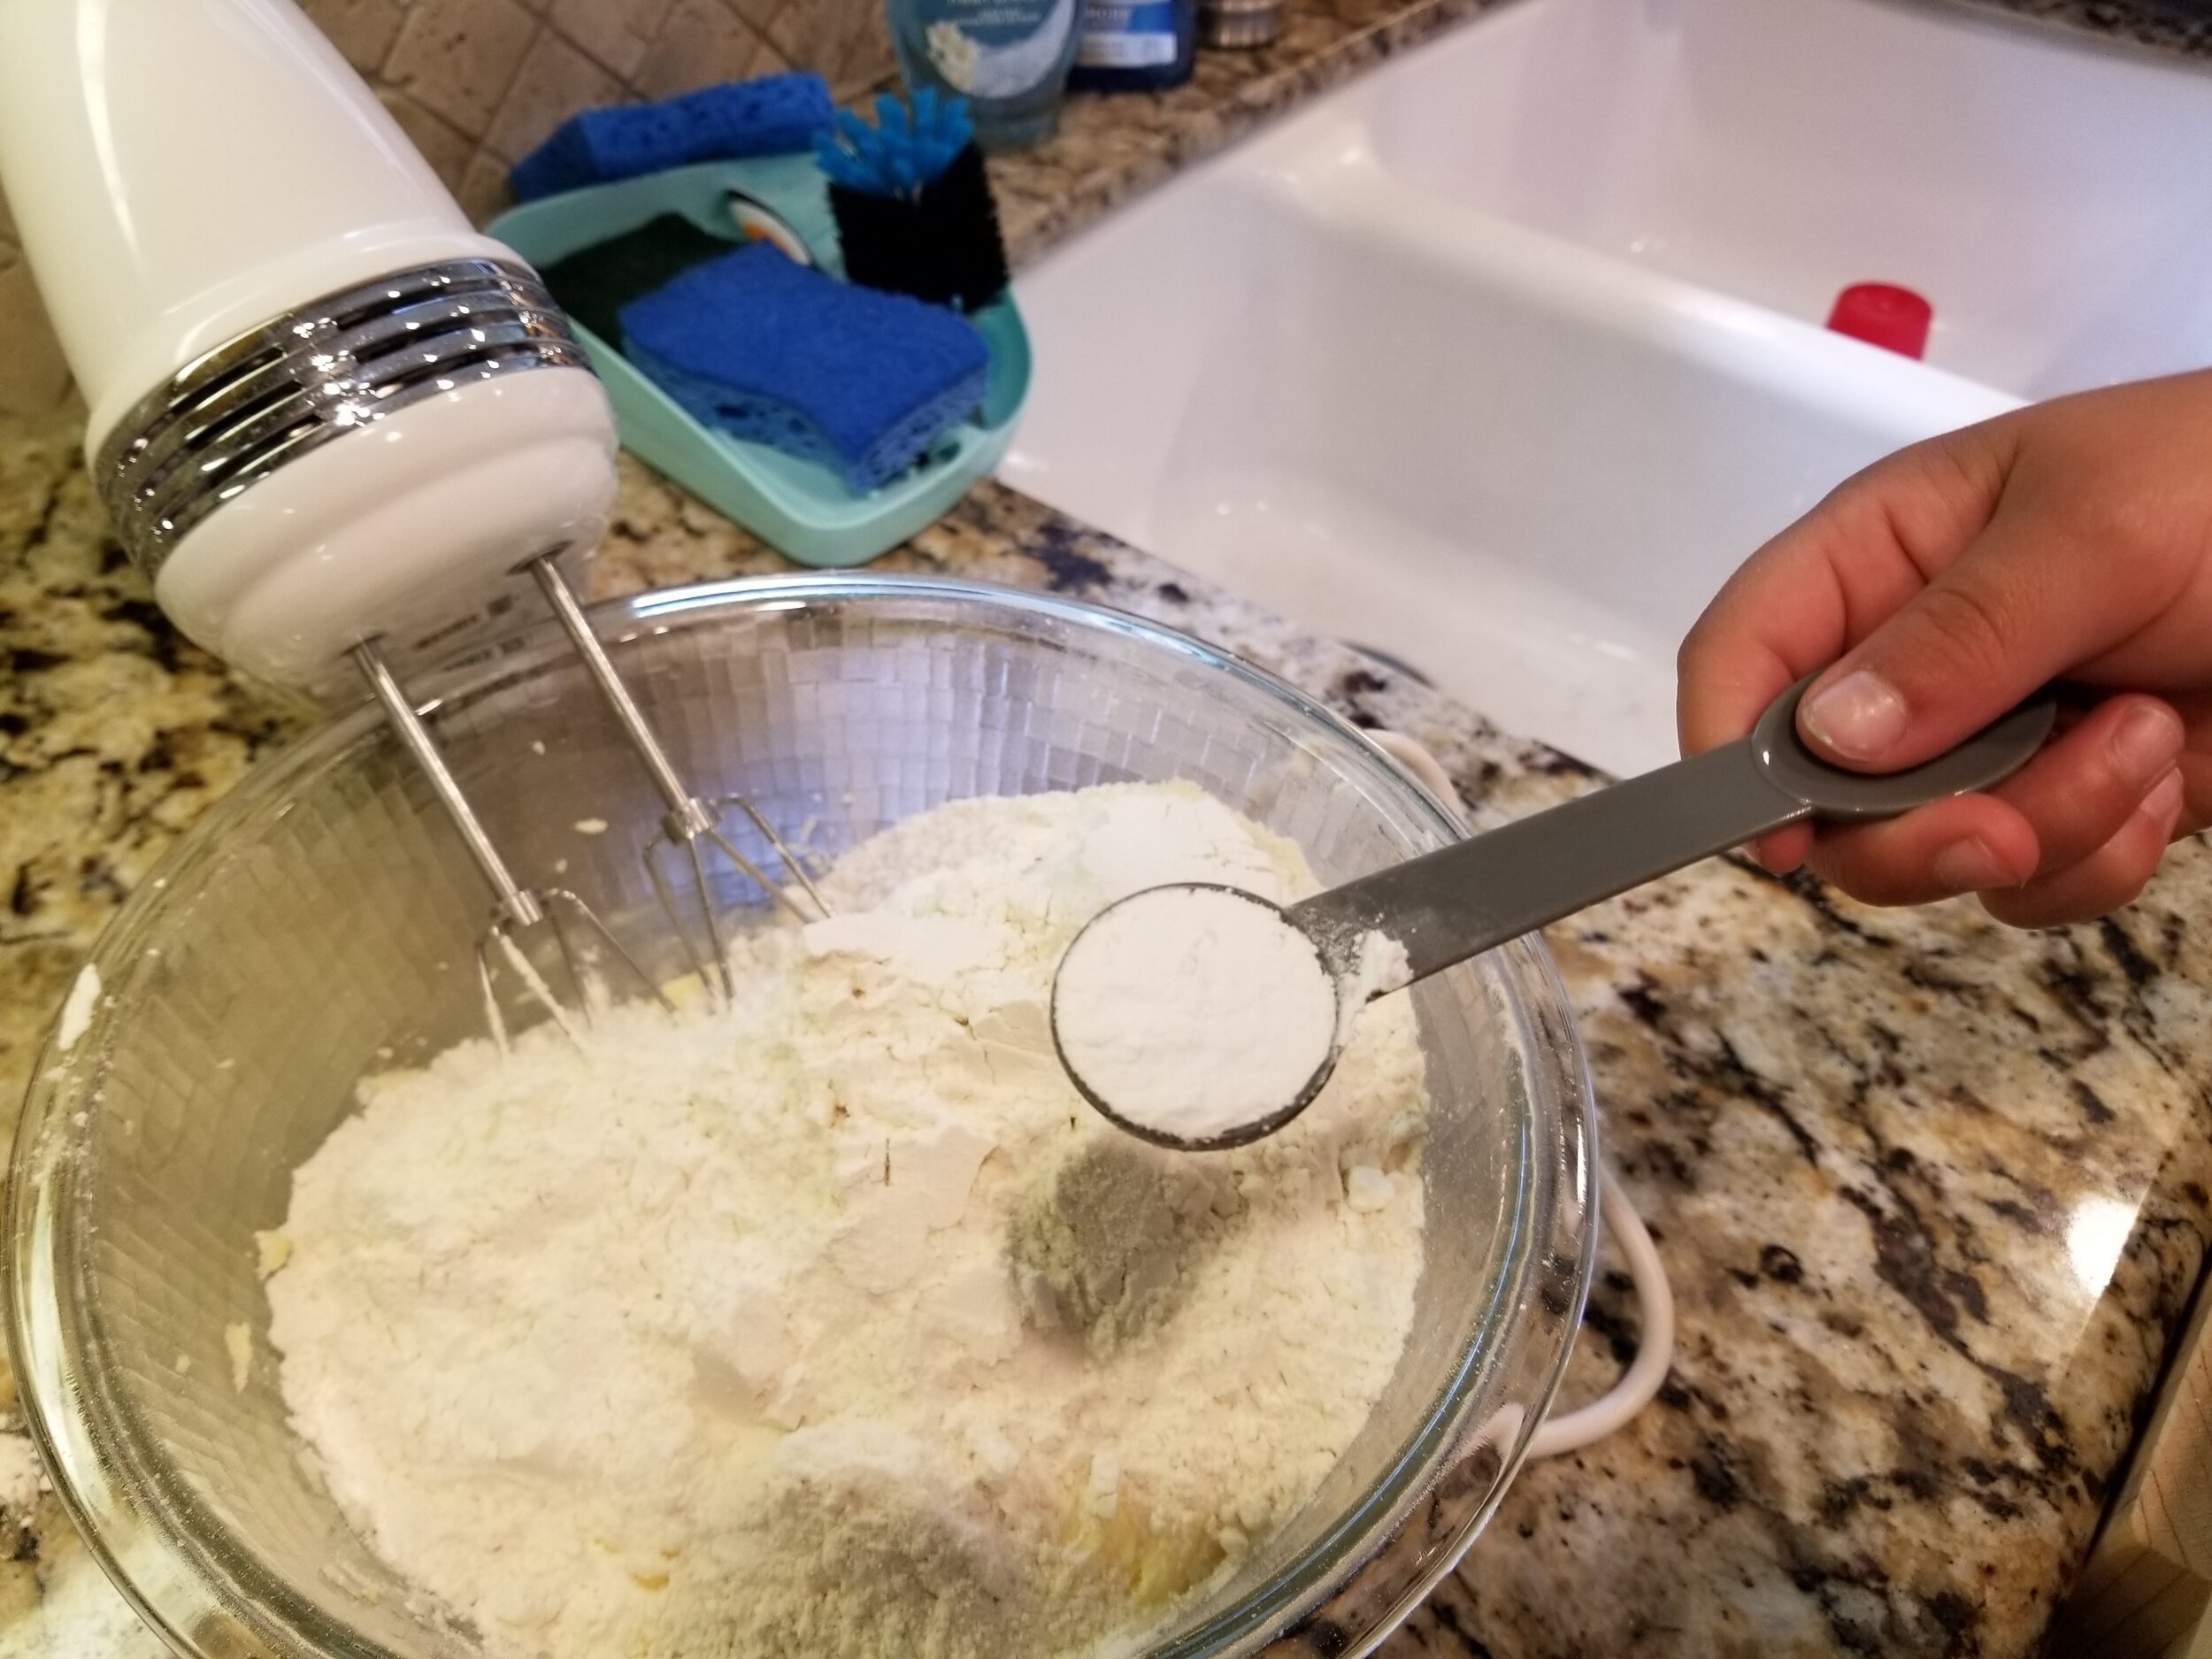
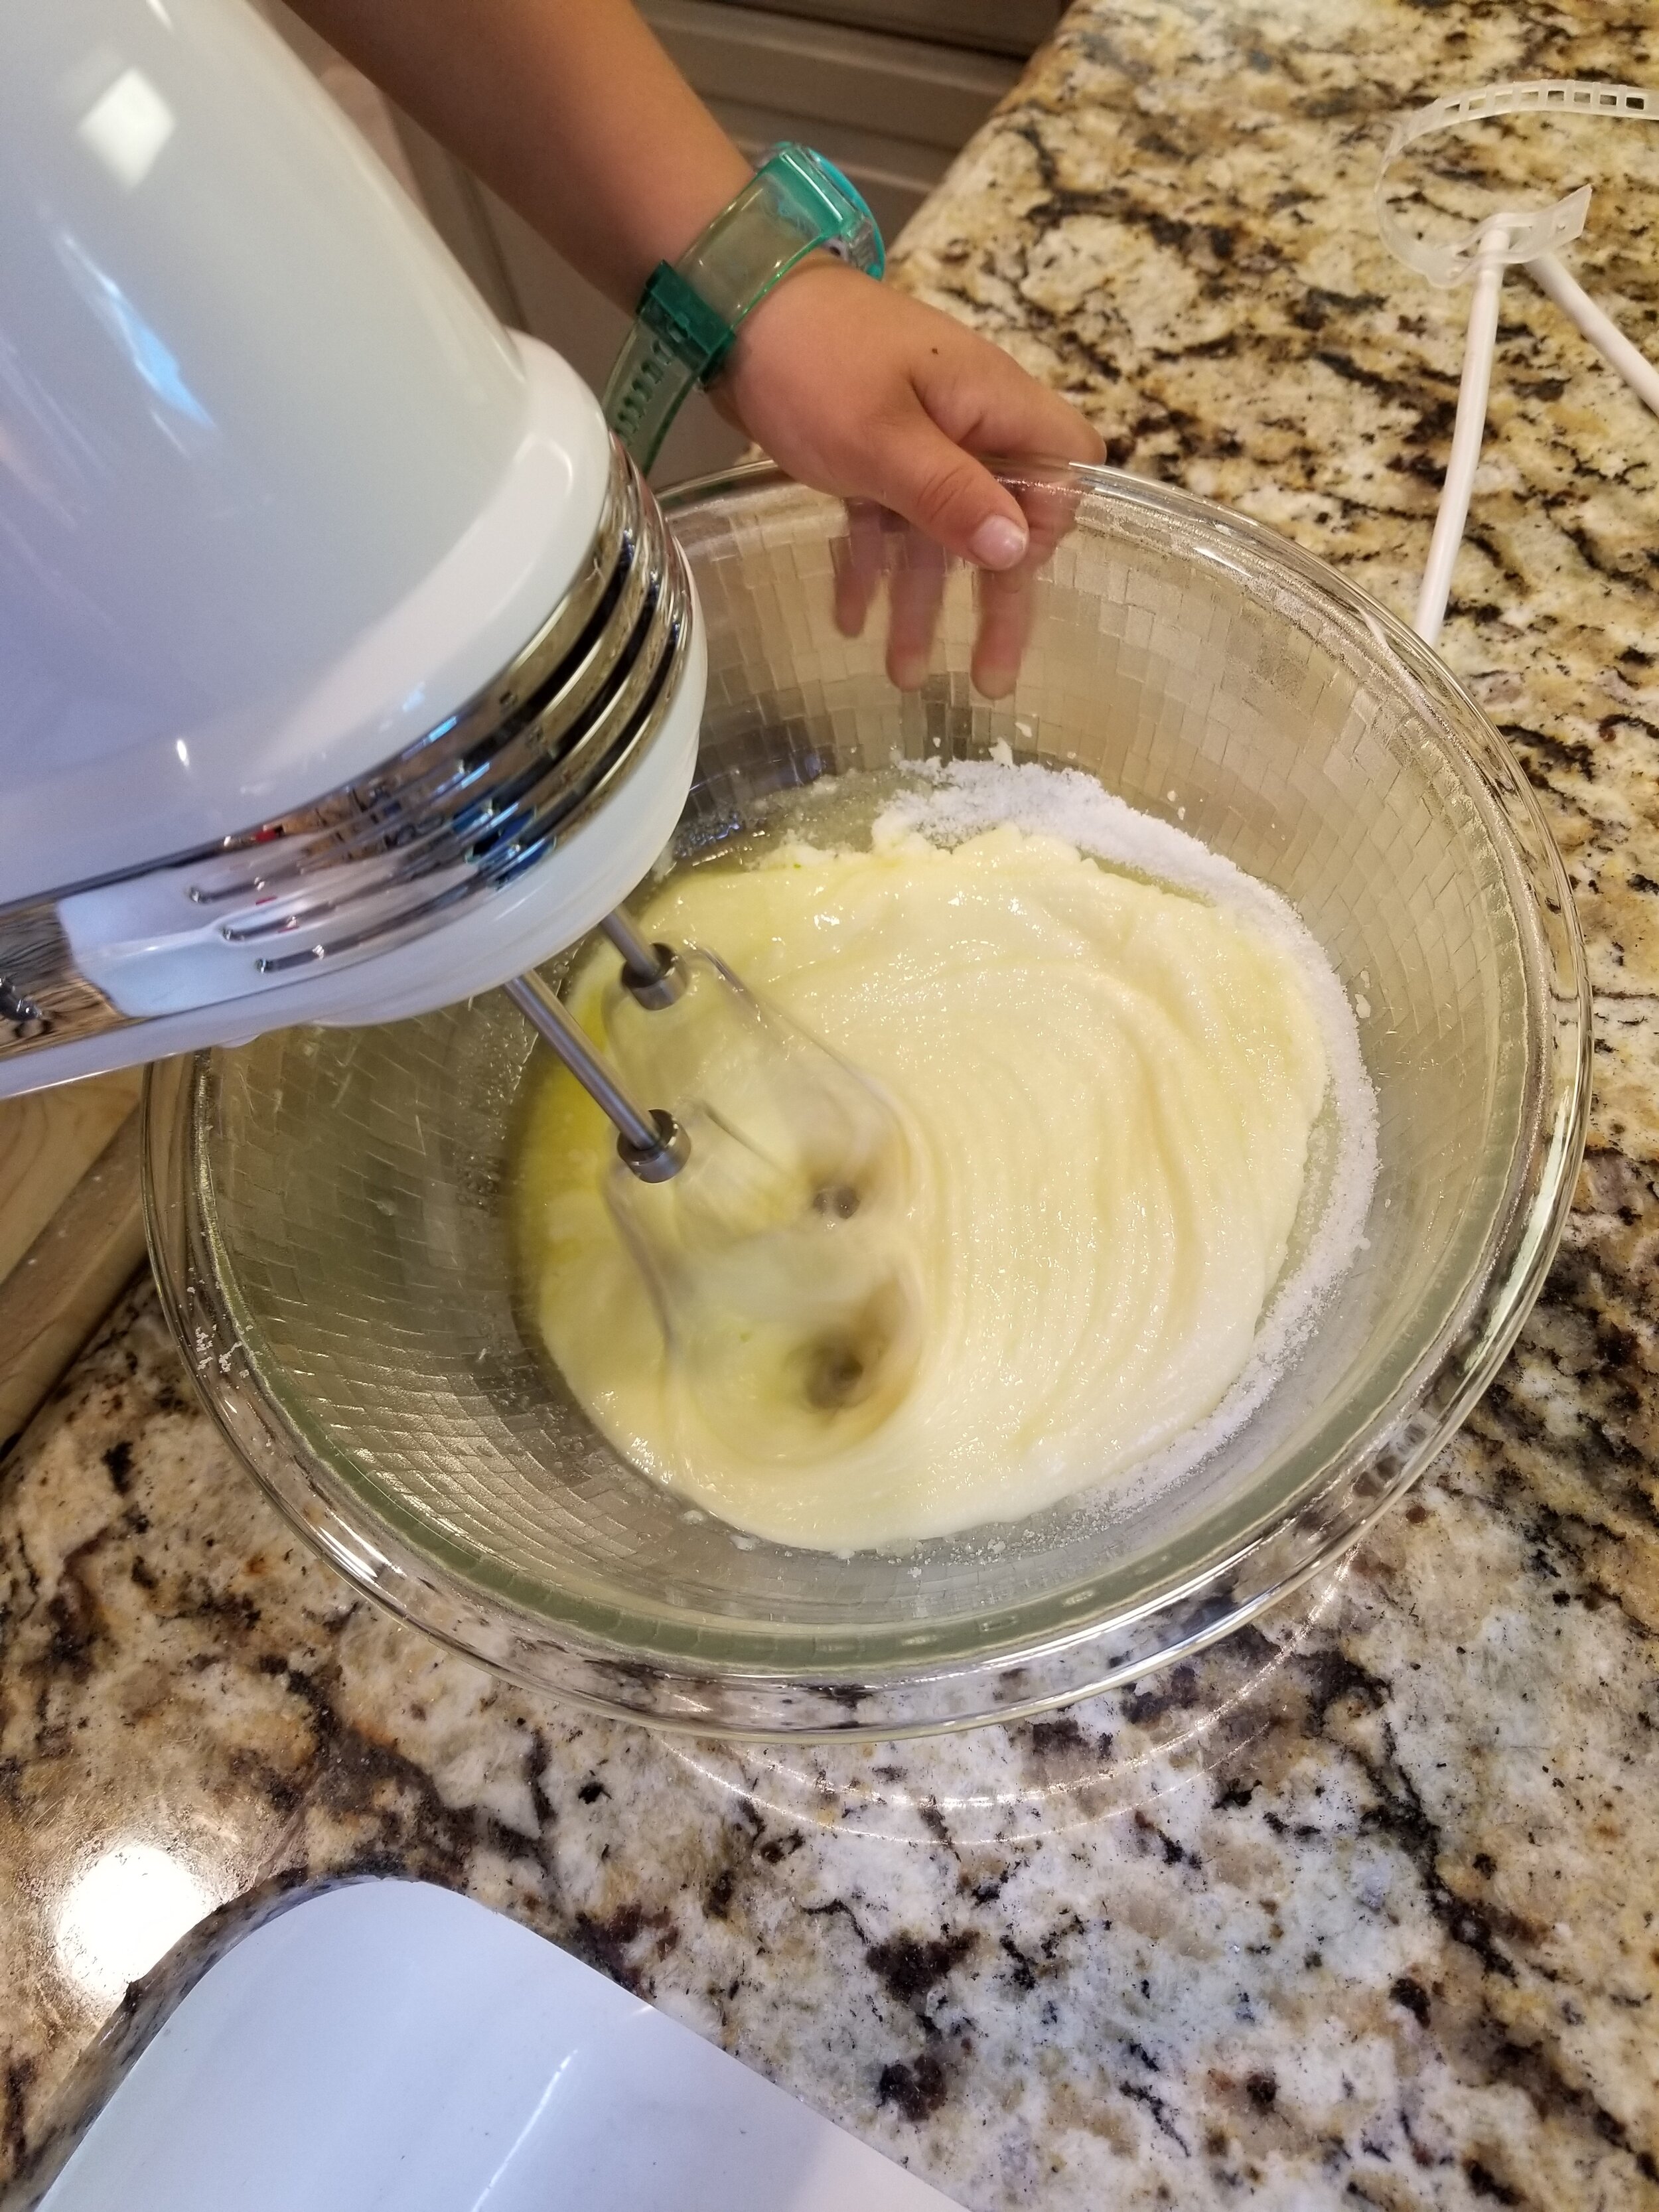
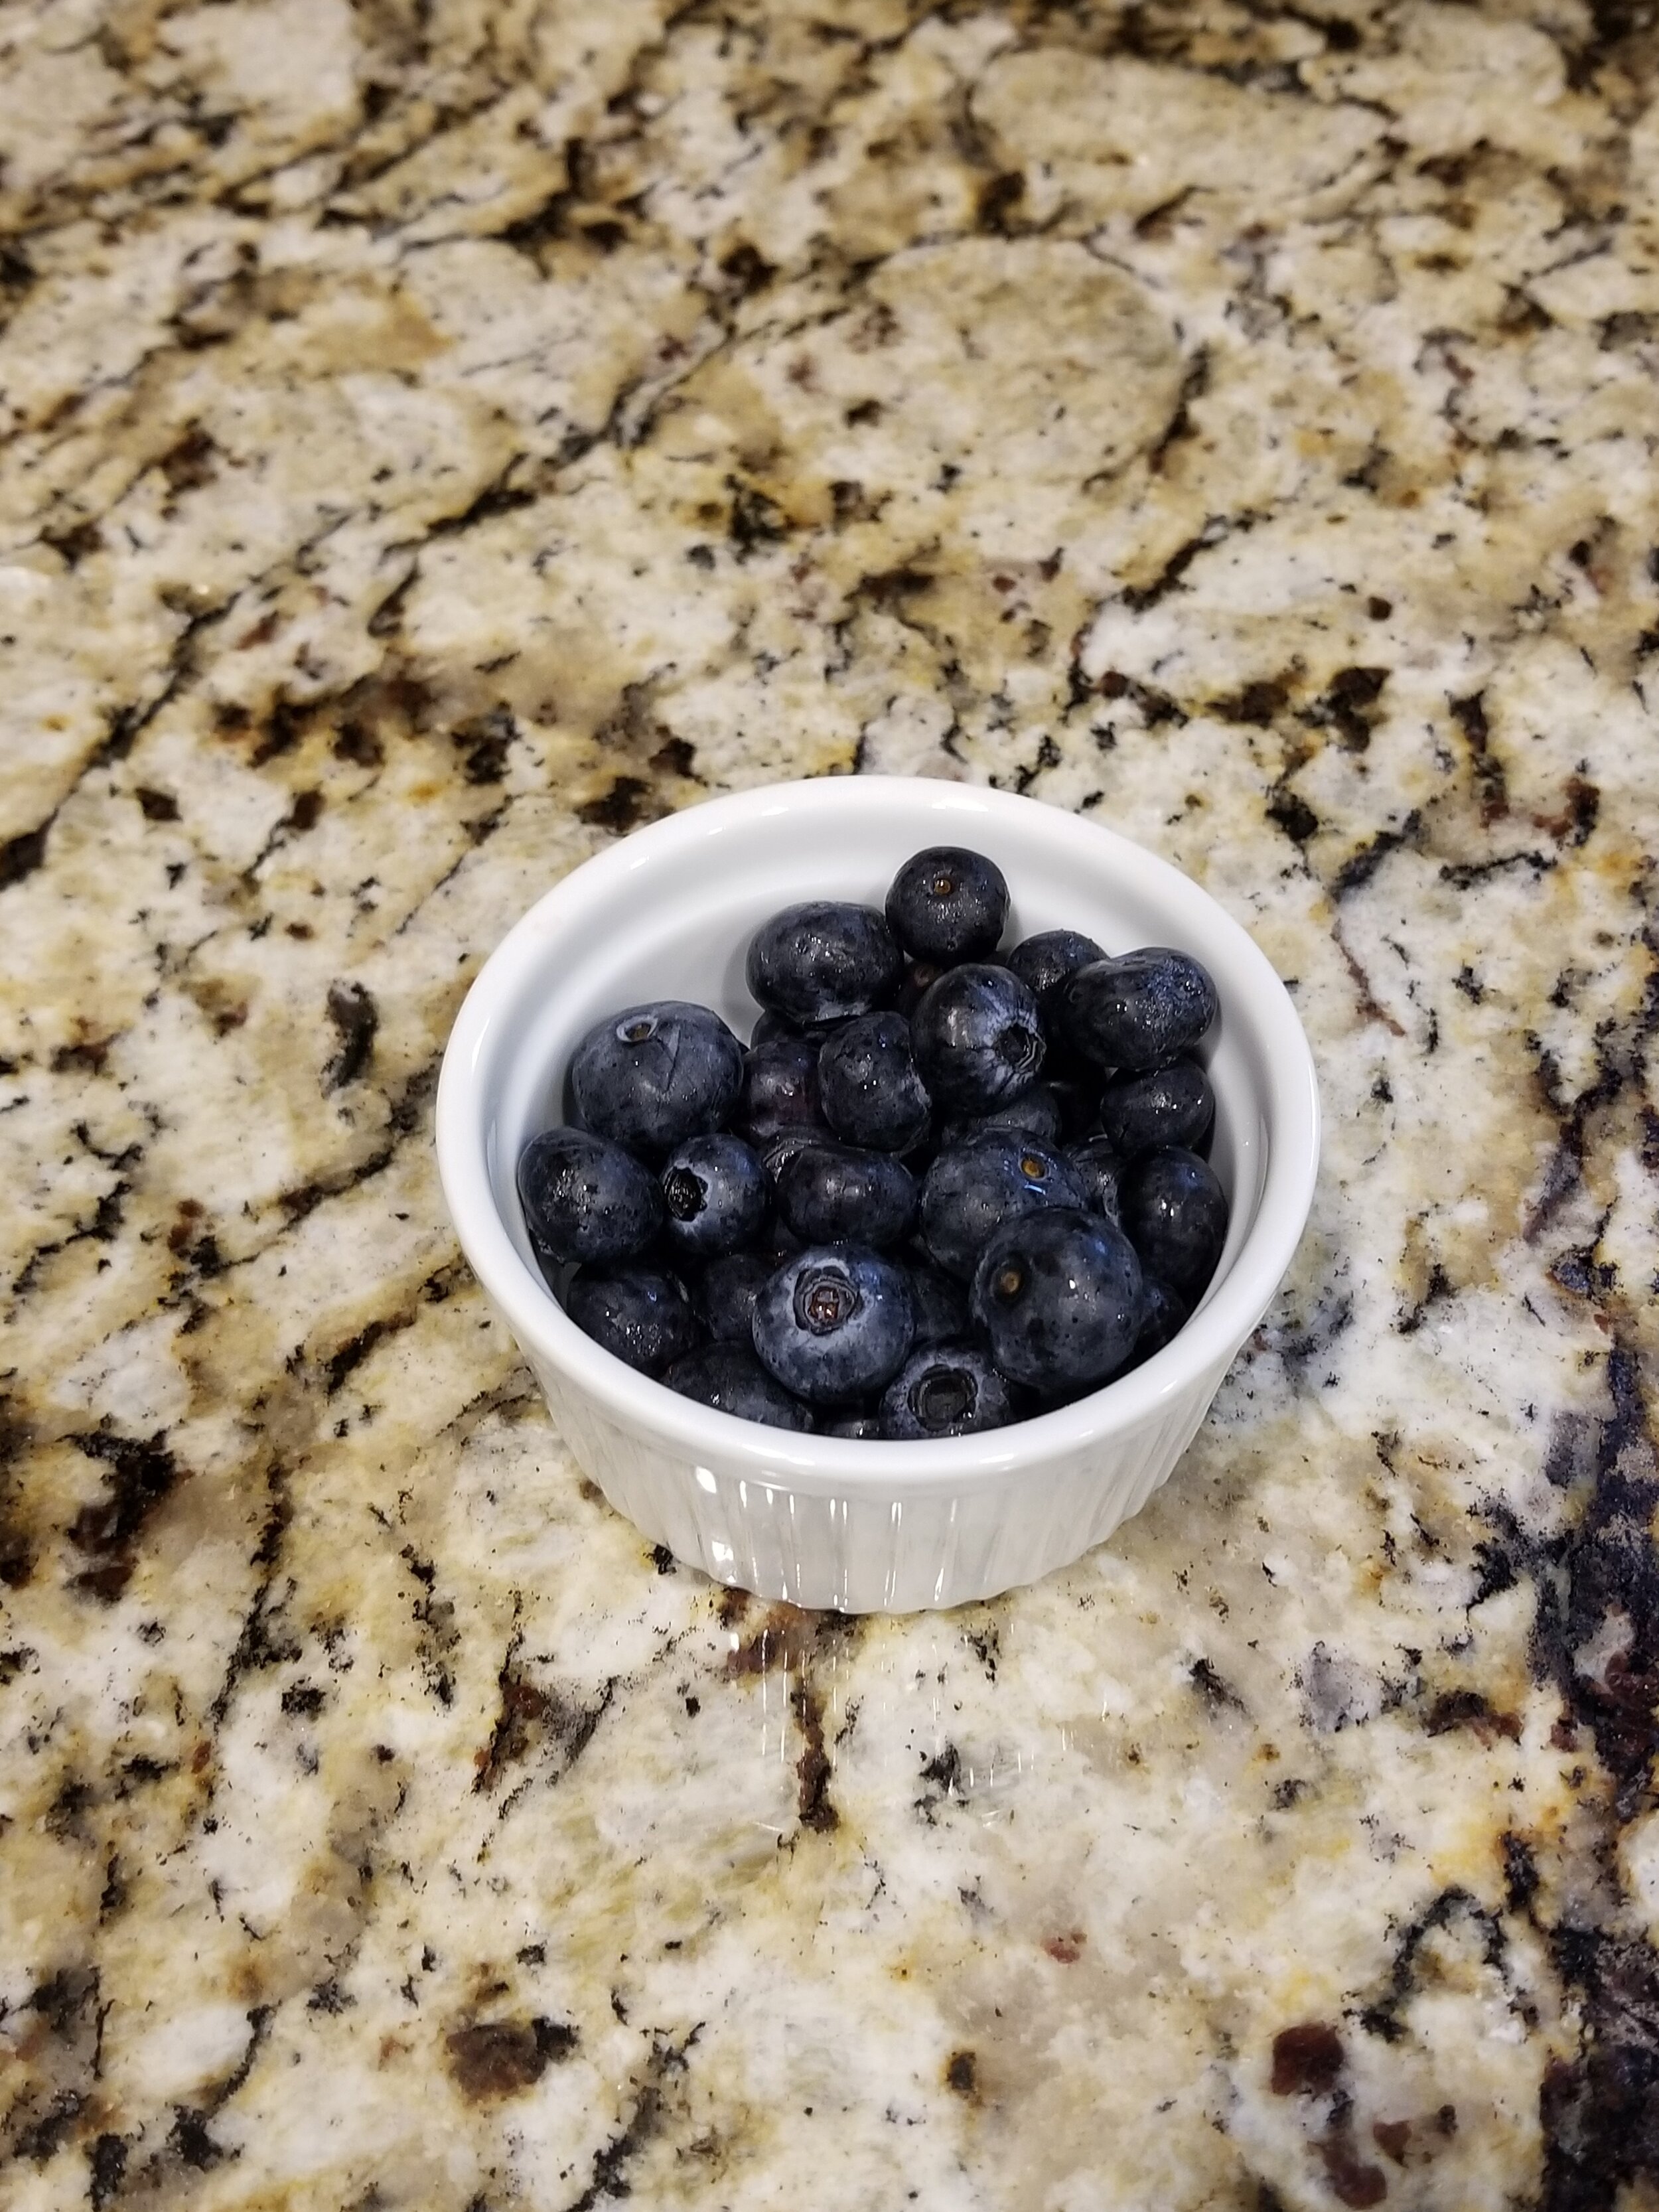
Recipe for Blueberry Muffins

There is nothing more comforting than the smell of freshly baked goods drifting throughout my house in the morning. I wanted to share a simple blueberry muffin recipe that you can make with your rascals.

When the blueberries have gotten too soft to eat fresh but are still full of fruity flavor, they are perfect for baking.

Ingredients

  • 1 cup of blueberries

  • 1 ¾ cups of flour

  • ½ cup of milk

  • ¼ cup of vegetable oil

  • 1 egg

  • 1 teaspoon of vanilla extract

  • ¼ cup of sugar

  • 2 teaspoon of baking powder

  • ½ teaspoon of salt

  • powered sugar

Instructions

  1. Preheat over to 375F. Grease or line muffin tins

  2. Lightly beat together milk, oil, egg and vanilla in a small bow.

  3. In a large bowl, mix together flour, sugar, the baking powder, and salt. Add blueberries.

  4. Mix together the wet & dry ingredients with a spatula, carefully folding the mixture together without mashing the blueberries.

  5. Bake until a toothpick inserted into the centers comes out clean, about 25 minutes.

  6. Cool 10 minutes in pan then transfer muffins to a wire rack to cool completely. Dust with powered sugar if desired.

The unmistakable scent of a freshly baked muffin will bring your rascals out of bed. These fast, simple, and not too sweet muffins are perfect for weekend mornings.

Written by Head Rascal (Ngoc Nguyen Lay), mother of two rascals, ages 8 and 10.


Shop the Post

Favorite Ice Cream Shops in LA

My boys love their ice cream. Little treats and mid-day outings are what brings us the most joy. With summer right around the corner, I can’t wait to start going out for ice cream and other treats to beat the heat. I wanted to share LA’s Top Ice Cream shops, via MomsLA. Check out their list for the best sweet treats and great spots to cool down.

Recommendations are from Moms LA:

Afters Ice Cream
Multiple locations around SoCal

Afters Ice Cream is known as the home of the Milky Bun — a singular creation involving ice cream and a glazed bun (something like a donut but without the hole) that’s apparently not to be missed. The brand is also super popular on Instagram, and they’ve got a ton of very creative flavors.

Carmela Ice Cream
2495 East Washington Blvd., Pasadena, CA 91104

Established in 2007, Carmela offers artisan ice cream and sorbets with seasonally inspired flavors such as basil and lavender honey from locally grown and organic herbs, spices, and flowers. Everyday flavors include Brown Sugar Vanilla Bean, Lemon Basil Sorbet, and Strawberry Buttermilk, while seasonal flavors can include Brown Butter Sage and Pear Champagne Sorbet.

Coolhaus
8588 Washington Blvd., Culver City, CA 90232

Coolhaus began as a food truck and became so popular that they opened shops in Culver City and Pasadena (the Pasadena site has since been closed). Their ice cream parlors are known for selling gourmet, handmade, and unique flavors such as Guinness Chip, Chicken and Waffles, and Lucky Charms.

Creamistry
6150 Laurel Canyon Rd., Ste. 135, North Hollywood, CA 91606

Creamistry serves made-to-order Liquid Nitrogen Ice Cream, which means it’s about as fresh as possible! Choose your base, flavors, and toppings — it’s all customizable there! They have multiple locations around SoCal.

Fosselman’s
1824 West Main Street, Alhambra, CA 91801
(626) 282-6533

A family-owned and operated business, Fosselman’s has been scooping the most delicious ice cream to customers for over 100 years. Completely family-friendly, the kids will love the candy selection and you’ll love the 48 ice cream flavors to choose from.

Ginger’s Divine Ice Cream and Pops
Two locations:
12550 W. Washington Blvd., Los Angeles, CA 90066
8430 W. 3rd St., Los Angeles, CA 90048

Ginger is the person behind Ginger’s Divine Ice Cream and Pops. She shops at local farmers’ markets for fresh ingredients and makes all of the ice cream, cookies, and brownies the stores sell. The company is known for its amazing flavor combinations, vegan ice cream, and seasonal flavors.

Handel’s Homemade Ice Cream
Multiple locations around SoCal including:
8850 Corbin Ave., Los Angeles, CA 91324

Launched in 1945 in Youngstown, Ohio by Alice Handel, Handel’s has grown to now include locations all across the U.S. All of the ice cream flavors are made fresh daily in each location. Look for more stores opening in SoCal soon.

HONEYMEE
3377 Wilshire Blvd., Ste. 116, Los Angeles, CA 90010

HONEYMEE has a select menu offering, but don’t let the small menu fool you: It offers sweet, smooth, all-natural ice cream. The subtle floral honey and not-at-all-icy soft serve is sure to be the subject of your summer food fantasies.

Jeni’s Splendid Ice Cream
Multiple locations in Los Angeles including:
4751 Commons Way, Ste. A, Calabasas, CA 91302
540 Rose Ave., Venice, CA 90291

Jeni’s makes ice cream with a uniquely smooth texture and buttercream body, with flavors like Gooey Butter Cake, Caramel Pecan Sticky Buns, and Brambleberry Crisp, among many others. Jeni’s is also a Certified B Corporation, which means they meet rigorous standards of social and environmental performance, accountability, and transparency. 

McConnell’s Fine Ice Cream
Grand Central Market, 317 S. Broadway, Los Angeles, CA 90013

For almost 70 years, McConnell’s has been making their impeccable ice cream the same way — from scratch and in small batches. Ingredients include Central Coast grass-grazed milk and cream, pasteurized at their creamery at The Old Dairy, and the finest local, sustainable, and organic raw ingredients sourced from partner farms, artisans, and purveyors.

Dear Bella Creamery
1253 Vine St. #12, Los Angeles, CA 90038

What if you crave ice cream but are staying away from dairy products? Head over to Dear Bella to get a couple of scoops of vegan ice cream right away! They’ve got flavors like Taiwanese Pineapple Cake, Mango Chamoy, Rocky Road, Birthday Cake, and so many more. They also have treats to go with their ice cream, like cakes, cookies, and even gluten-free waffle cones. It all looks so good!

Magpie’s Softserve
Three locations:
Silver Lake — 2660 Griffith Park Blvd., Los Angeles, CA 90039
Tarzana — 18971 Ventura Blvd., Tarzana, CA 91356
Highland Park — 5049 York Blvd., Los Angeles, CA 90042

We were reluctant to add soft serve to a list of scoop shops, but this is not ordinary soft serve ice cream. Made from scratch by avowed ice cream lovers, Magpie’s boasts flavors like Malted Milk Chocolate, Corn Almond, Hazelnut Coffee, Fresh Banana, and more. Vegan options and daily flavors are listed on their website. Bonus: Soft Serve Pies.

Mateo’s Ice Cream & Fruit Bars
Four locations including:
1250 S. Vermont Ave., Los Angeles, CA 90006

Mateo’s opened in 1982 and now has more than 25 different flavors of ice cream and 26 different kinds of ice pops. They also have paletas made with 100 percent real fruit. Everyone in the family will find something they love at Mateo’s.

Rori’s Artisinal Ice Cream
Multiple locations including:
910 Montana Ave., Santa Monica, CA 90403

Rori’s Artisinal Ice Cream is made in small batches using local California Central Coast milk products and local herbs and ingredients. Rori Trovato makes all of the delicious ice cream and cookie recipes for locations from Santa Monica to Carpenteria. Flavors include Malted Milk Ball, Lemon Curd, and Cinnamon Toast Cereal Crunch.

Salt & Straw
Multiple locations including:
Silver Lake — 3823 Sunset Blvd.
Larchmont — 240 N. Larchmont Blvd. 90004
Culver City — 9300 Culver Blvd. at the Culver Steps
Venice — 1357 Abbot Kinney Blvd.

Cousins Kim and Tyler Malek’s Portland-based creamery, Salt & Straw, has gained fast popularity with their handmade fresh small-batch seasonal scoops here in Los Angeles. When they launched in LA, they crafted a new flavor just for us: a Meyer Lemon Buttermilk Custard with ribbons of blueberry jam served alongside some of their classics like Sea Salt with Caramel Ribbon and Cinnamon Snickerdoodle. There’s a new set of flavors each month!

Sweet Rose Creamery
225 26th St. #51, Santa Monica, CA 90402

Sweet Rose is a small-batch ice cream shop that focuses on local, organic ingredients and farmer’s market fruits and produce — mainly from the Santa Monica Farmer’s Market. Sweet Rose pasteurizes on-site and makes all ice cream, sorbets, and dairy-free ice creams and cones on the premises from scratch. They feature at least 5 classic flavors daily and 10+ seasonal flavors daily.

Van Leeuwen
Multiple locations around SoCal, including:
The Point at El Segundo, 850 S. PCH, Store #1-F, El Segundo, CA 90245
Silver Lake, 2925 W. Sunset Blvd., Los Angeles, CA 90026

This company started as a food truck in New York City in 2008. Since then, it has grown to include locations spread all across the country. Van Leeuwen’s dairy ice cream uses extra egg yolks for extra goodness, which means it needs to be called, “French Ice Cream,” according to some authorities. But we think it’s fine for you to call it anything you want. Van Leeuwen is known for changing its flavors from season to season, so be on the lookout often for new products to try!

Satisfy your sweet cravings and indulge in any of these ice cream shops—you won't be disappointed.

Shared by Head Rascal (Ngoc Nguyen Lay), mother of two rascals, ages 8 and 10. Content written by MomsLA.

Furikake Chex Mix Recipe

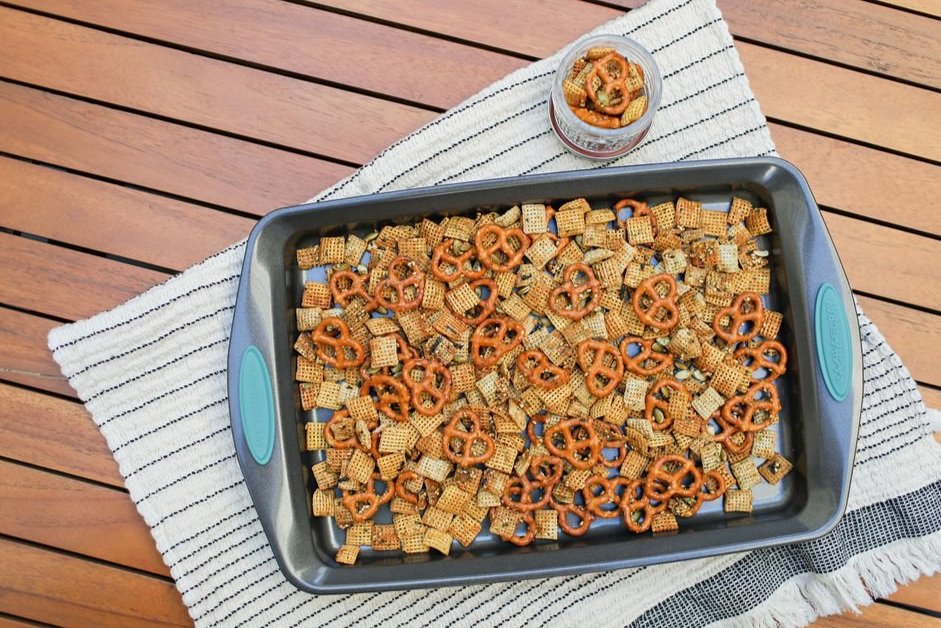
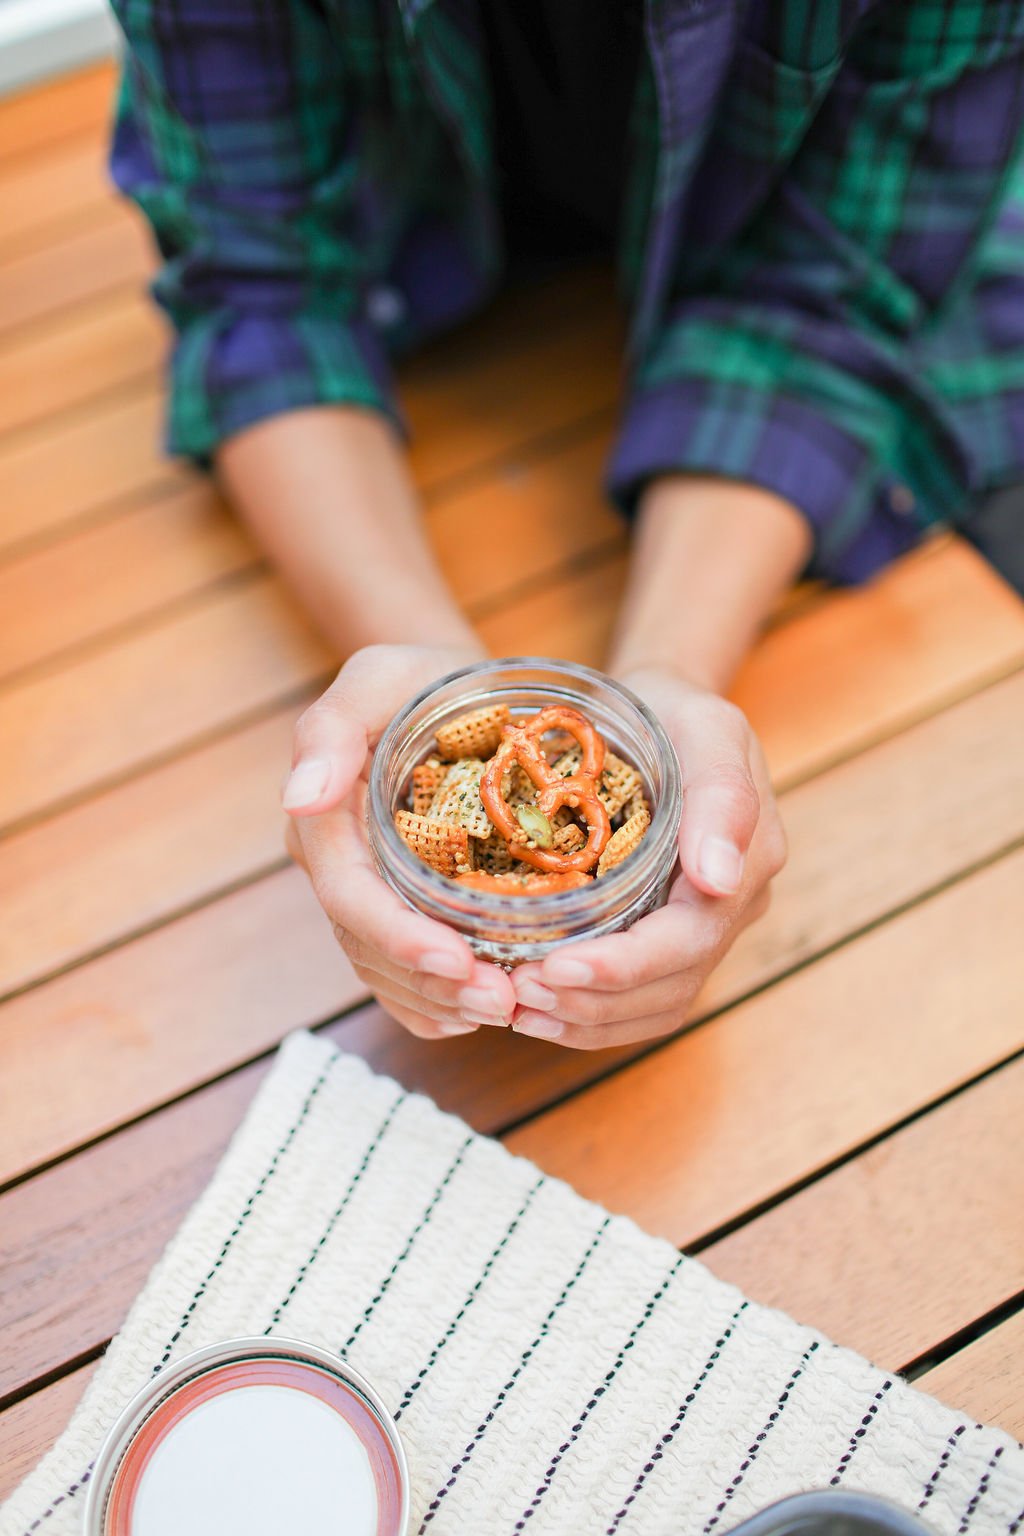
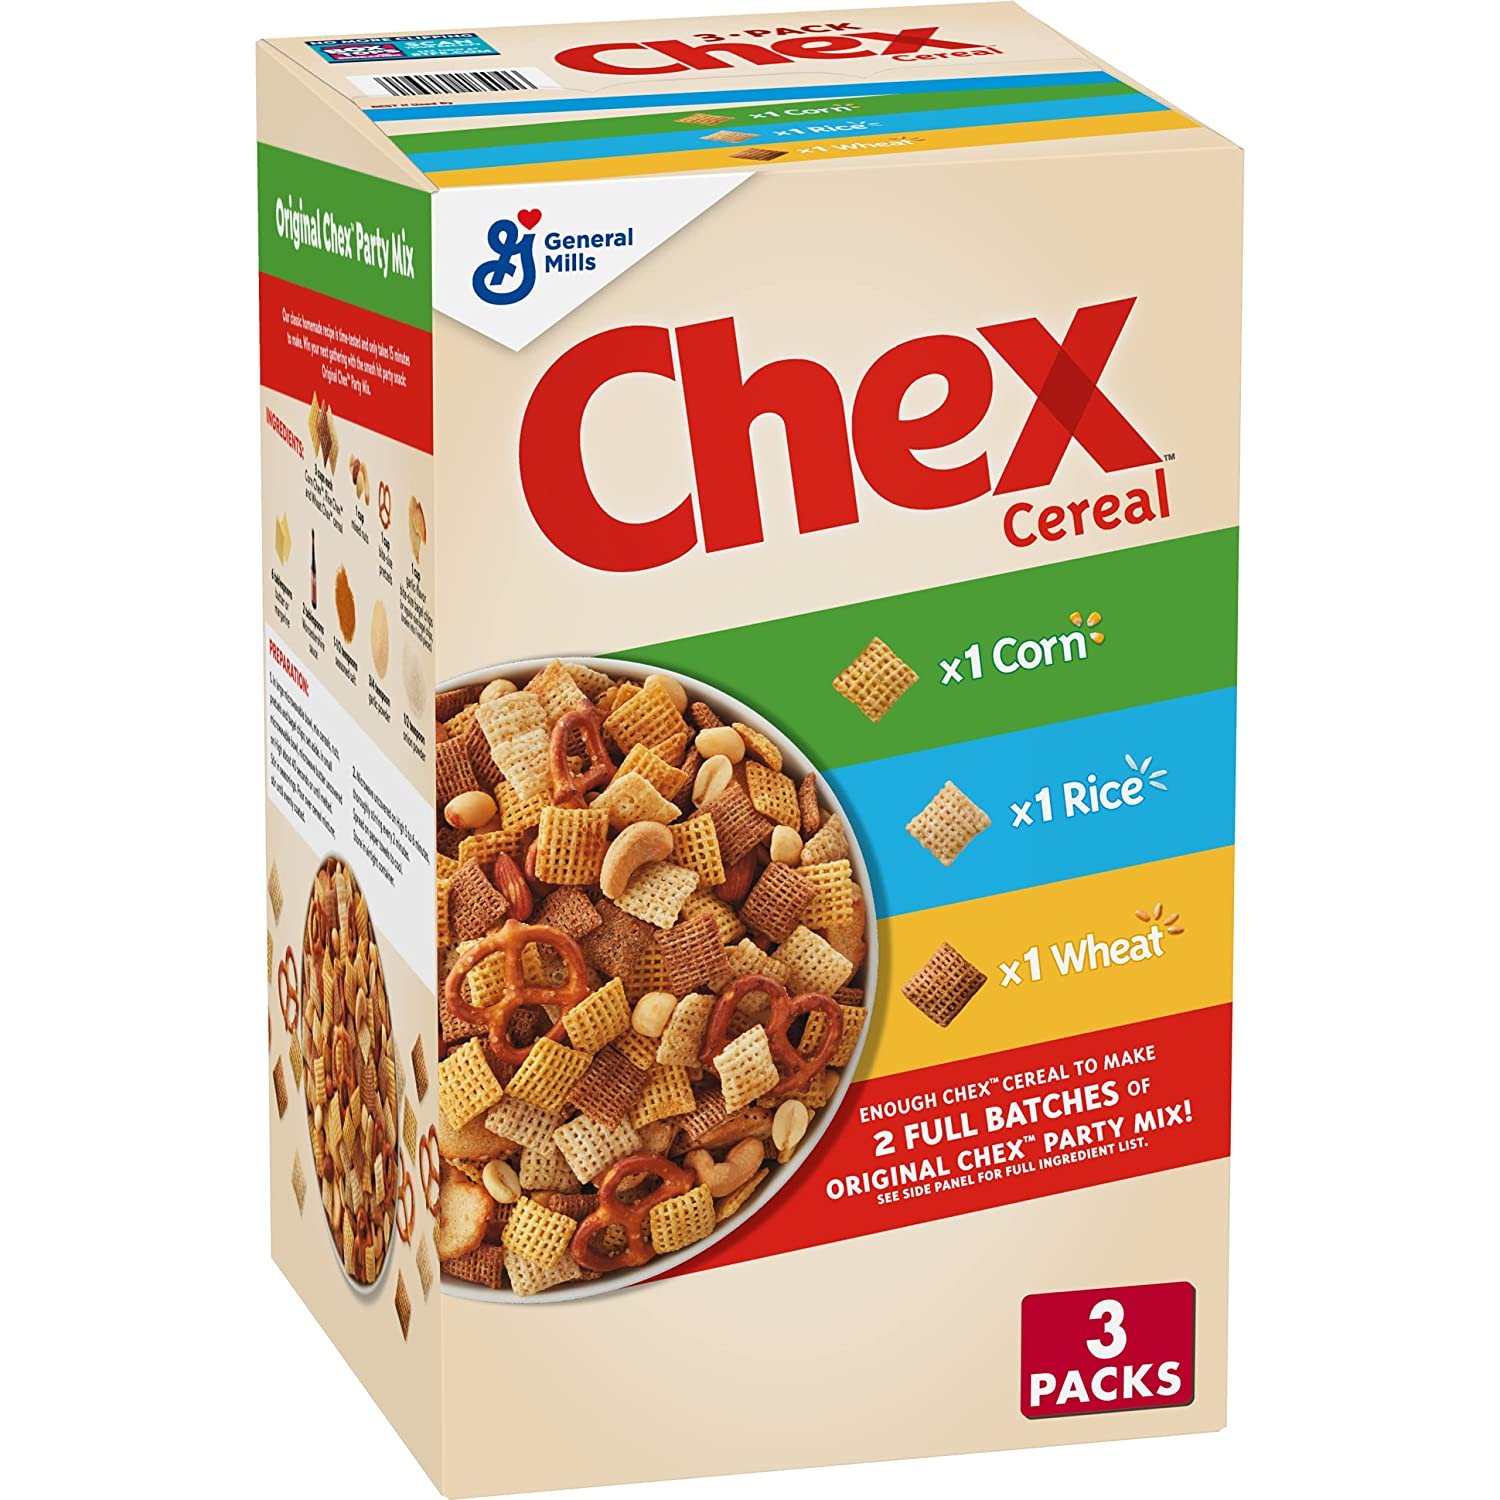
Furikake Chex Mix is my all time favorite snack and that is a FACT! My college roommate introduced this Furikake Chex Mix during our annual road trips to Las Vegas. I’ve loved this snack since my college days but have resisted the urge to make that for my boys because I knew the original recipe contains corn syrup and tons of butter. Recently, one of my friends brought me a homemade batch, and, when I finished it, I was sad to have it gone all over again. Then I figured, I’m always trying new recipes - why don’t I give this one a shot?

When I looked at the measurements each recipe called for, I realized that I had stopped myself from learning because I didn’t want my kids to eat that much sugar and butter. But my favorite part about making things yourself is that you can adjust any recipe to fit your needs. It took me a few tries, but I landed on something that I consider a healthy-ish version of Furikake Chex Mix for me and my family.

I do want to warn you that this isn’t a recipe that you throw in the oven and forget about. You need to watch it closely, which is also a big reason I held out for so long in making it myself. But now, I can confidently say, I’m a Chex Mix maker!

I was playing around with other options to create sweetness in this snack. I replaced the corn syrup with maple syrup and a hint of honey. The balance was better and also a healthier replacement. Once I made my perfect batch of Furikake Chex Mix and I got the seal of approval from my kids, I wanted to share my recipe with you. Feel free to adjust any of the measurements to fit your family’s preferences.

INGREDIENTS

  • 6 heaping cups Chex cereal (you could choose from the corn or rice chex options)

  • 2 cups mini pretzels

  • 1/2 cup of pumpkin seeds

  • 1/4 cup butter, melted

  • 1/3 cup pure maple syrup

  • 1 tablespoon of honey

  • 1 tablespoon soy sauce

  • 1/4 teaspoon of salt

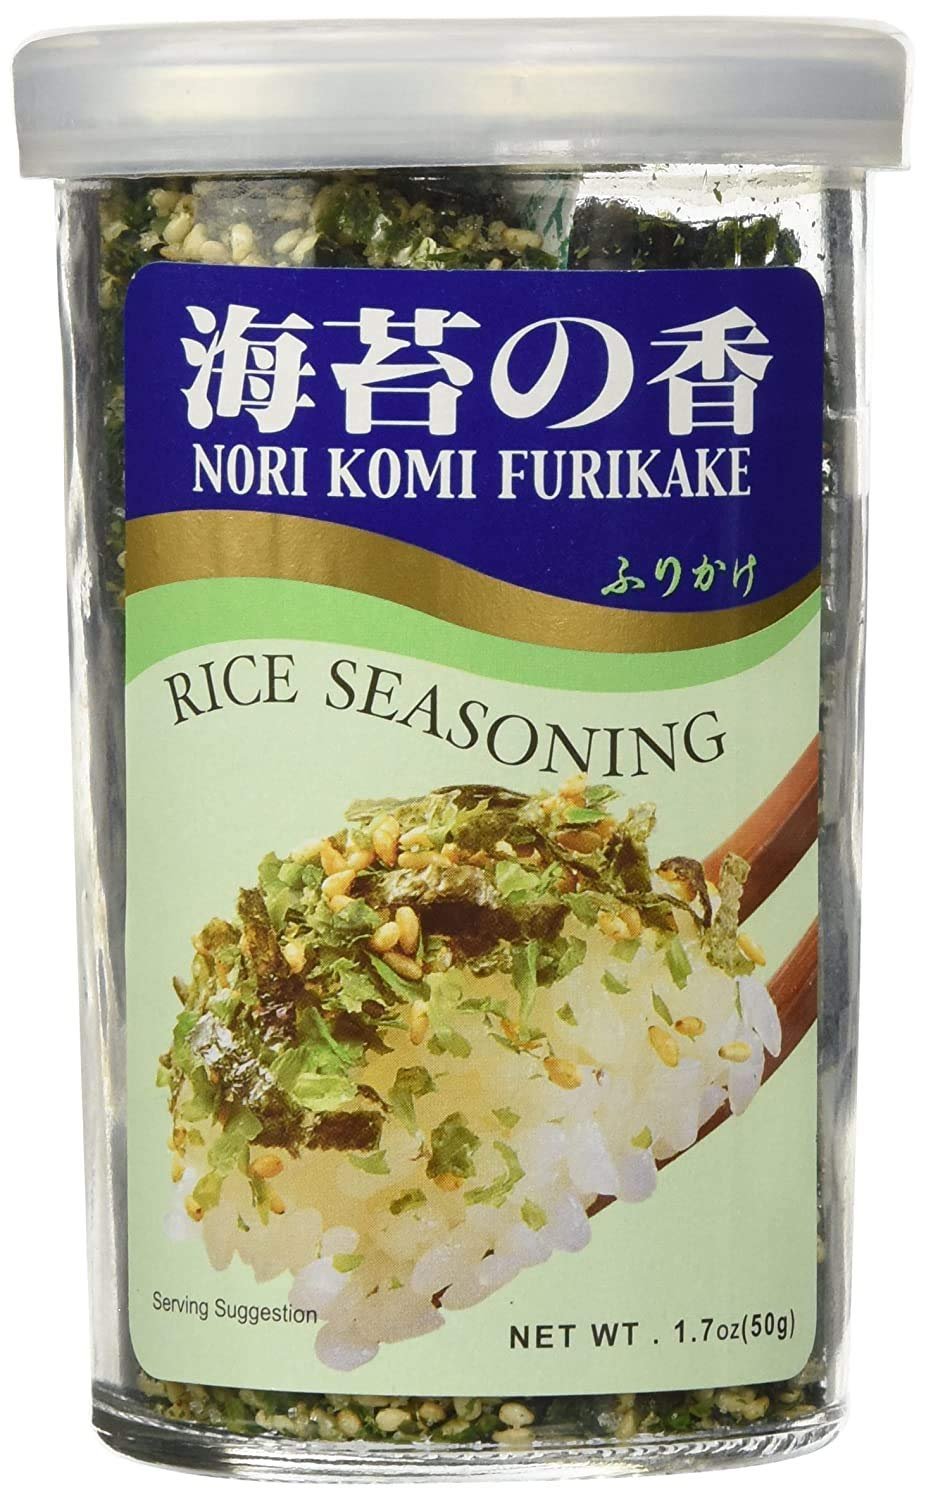
  • 1/3 cup furikake

INSTRUCTIONS

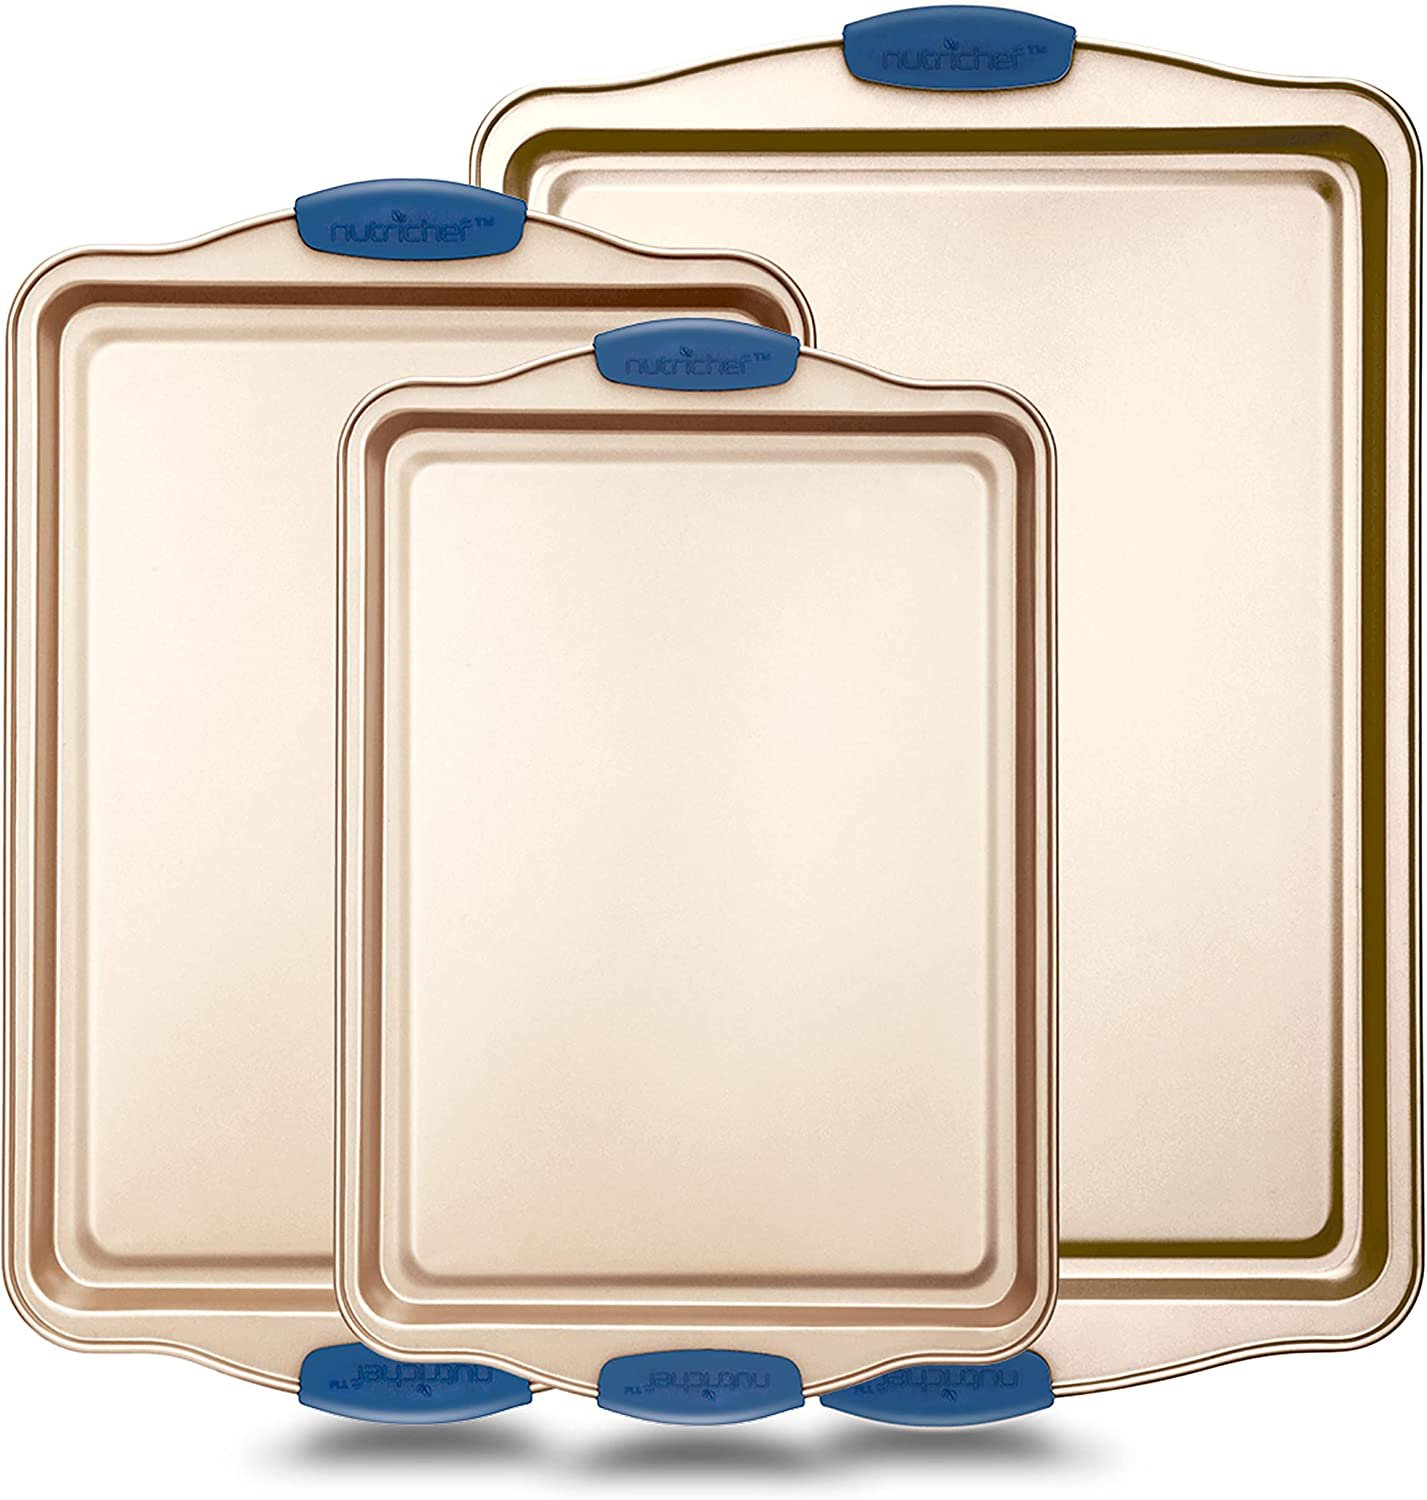
  • Preheat oven to 250 degrees F. Line a baking sheet with a silicone mat or parchment paper.

  • In a very large bowl, add the Chex, pretzels, and pumpkin seeds. Stir until well combined.

  • In a small bowl, add the melted butter, maple syrup, soy sauce, and salt. Stir until well combined. Pour over Chex mixture. Stir with a spatula until everything is evenly coated.

  • Then sprinkle the furikake over the mixture. Drizzle the honey on top. Stir until well combined.

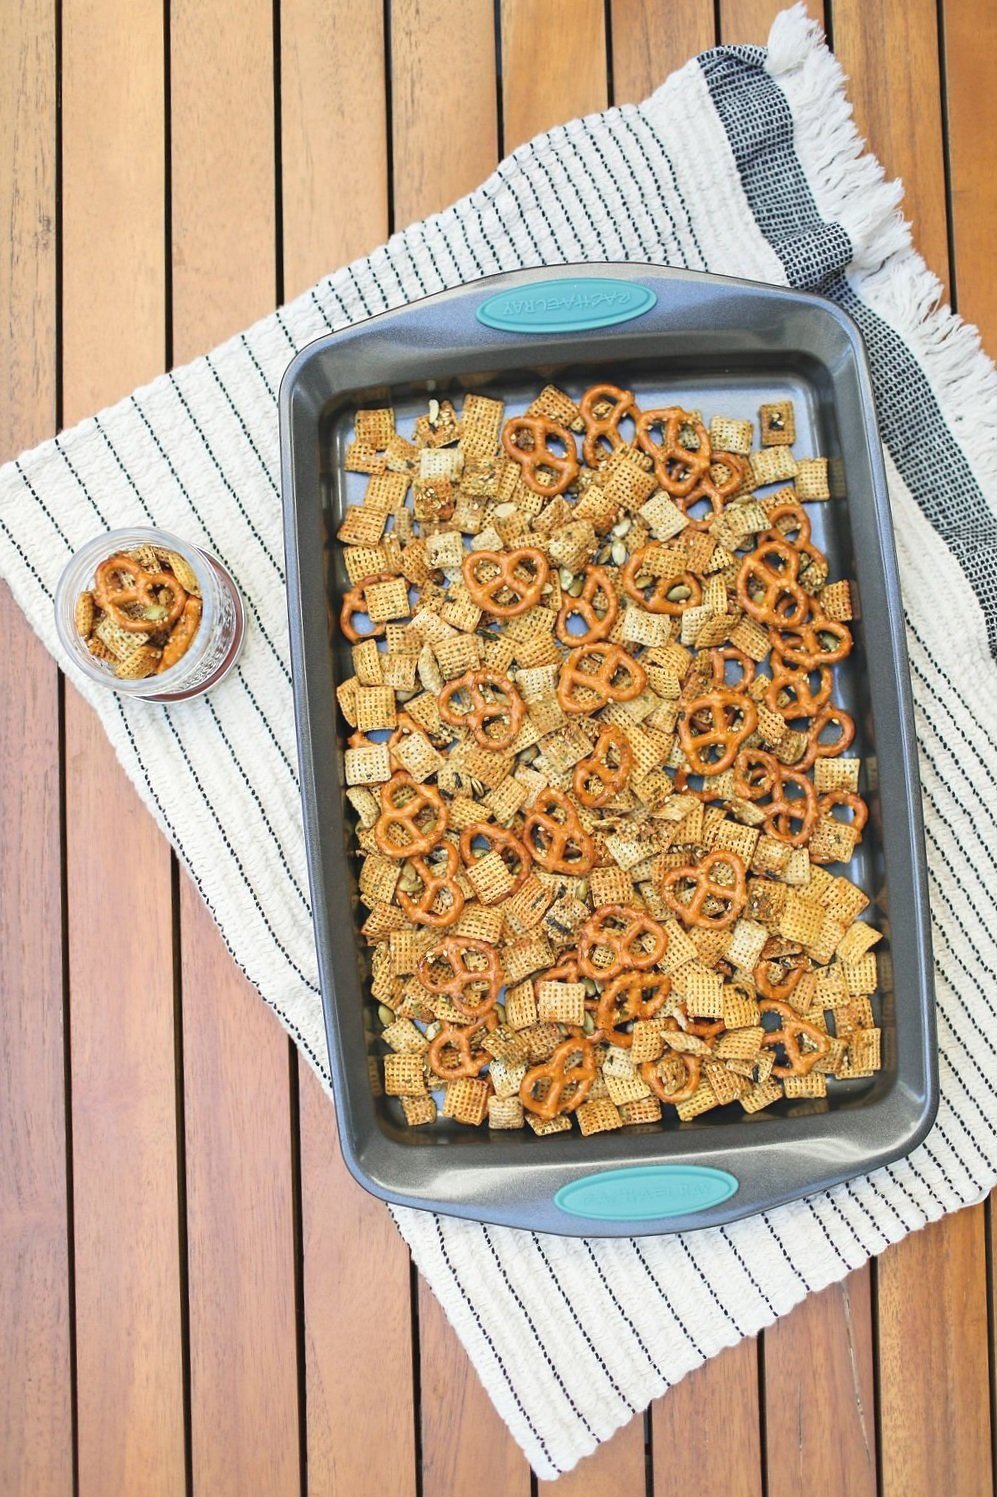
  • Spread Chex Mix over the lined pan. Bake for 70-75 minutes, stirring every 15 minutes. Let it cool on the pan completely. It will crisp up more as it cools. Enjoy! Store in an airtight container.
We have some suggestions to customize your Chex Mix. While this recipe is pretty basic, you can use any type of cereal, chips, crackers, or nuts that you’d like! Here are some suggestions:
  • Peanuts

  • Honeycombs

  • Kix

  • Goldfish

  • Bugles

  • Cheez-Its

  • Fritos

This healthier furikake chex mix is addicting, delicious, and the perfect combo of sweet and salty. It's easy to make and the best snack!

Written by Head Rascal (Ngoc Nguyen Lay), mother of two rascals, ages 7 and 10. Photos by Adrienne Gunde Photography.


Shop the Post

Eggs Three Easy Way

As a mom, I love when my boys develop a taste for foods that are easy, versatile, and can be made ahead of time. Right now, our kids are really into eggs, so I wanted to share our family’s top three ways to make them. These egg dishes are easy, quick, and delicious, so they’re perfect for any parent to try out with their kids.

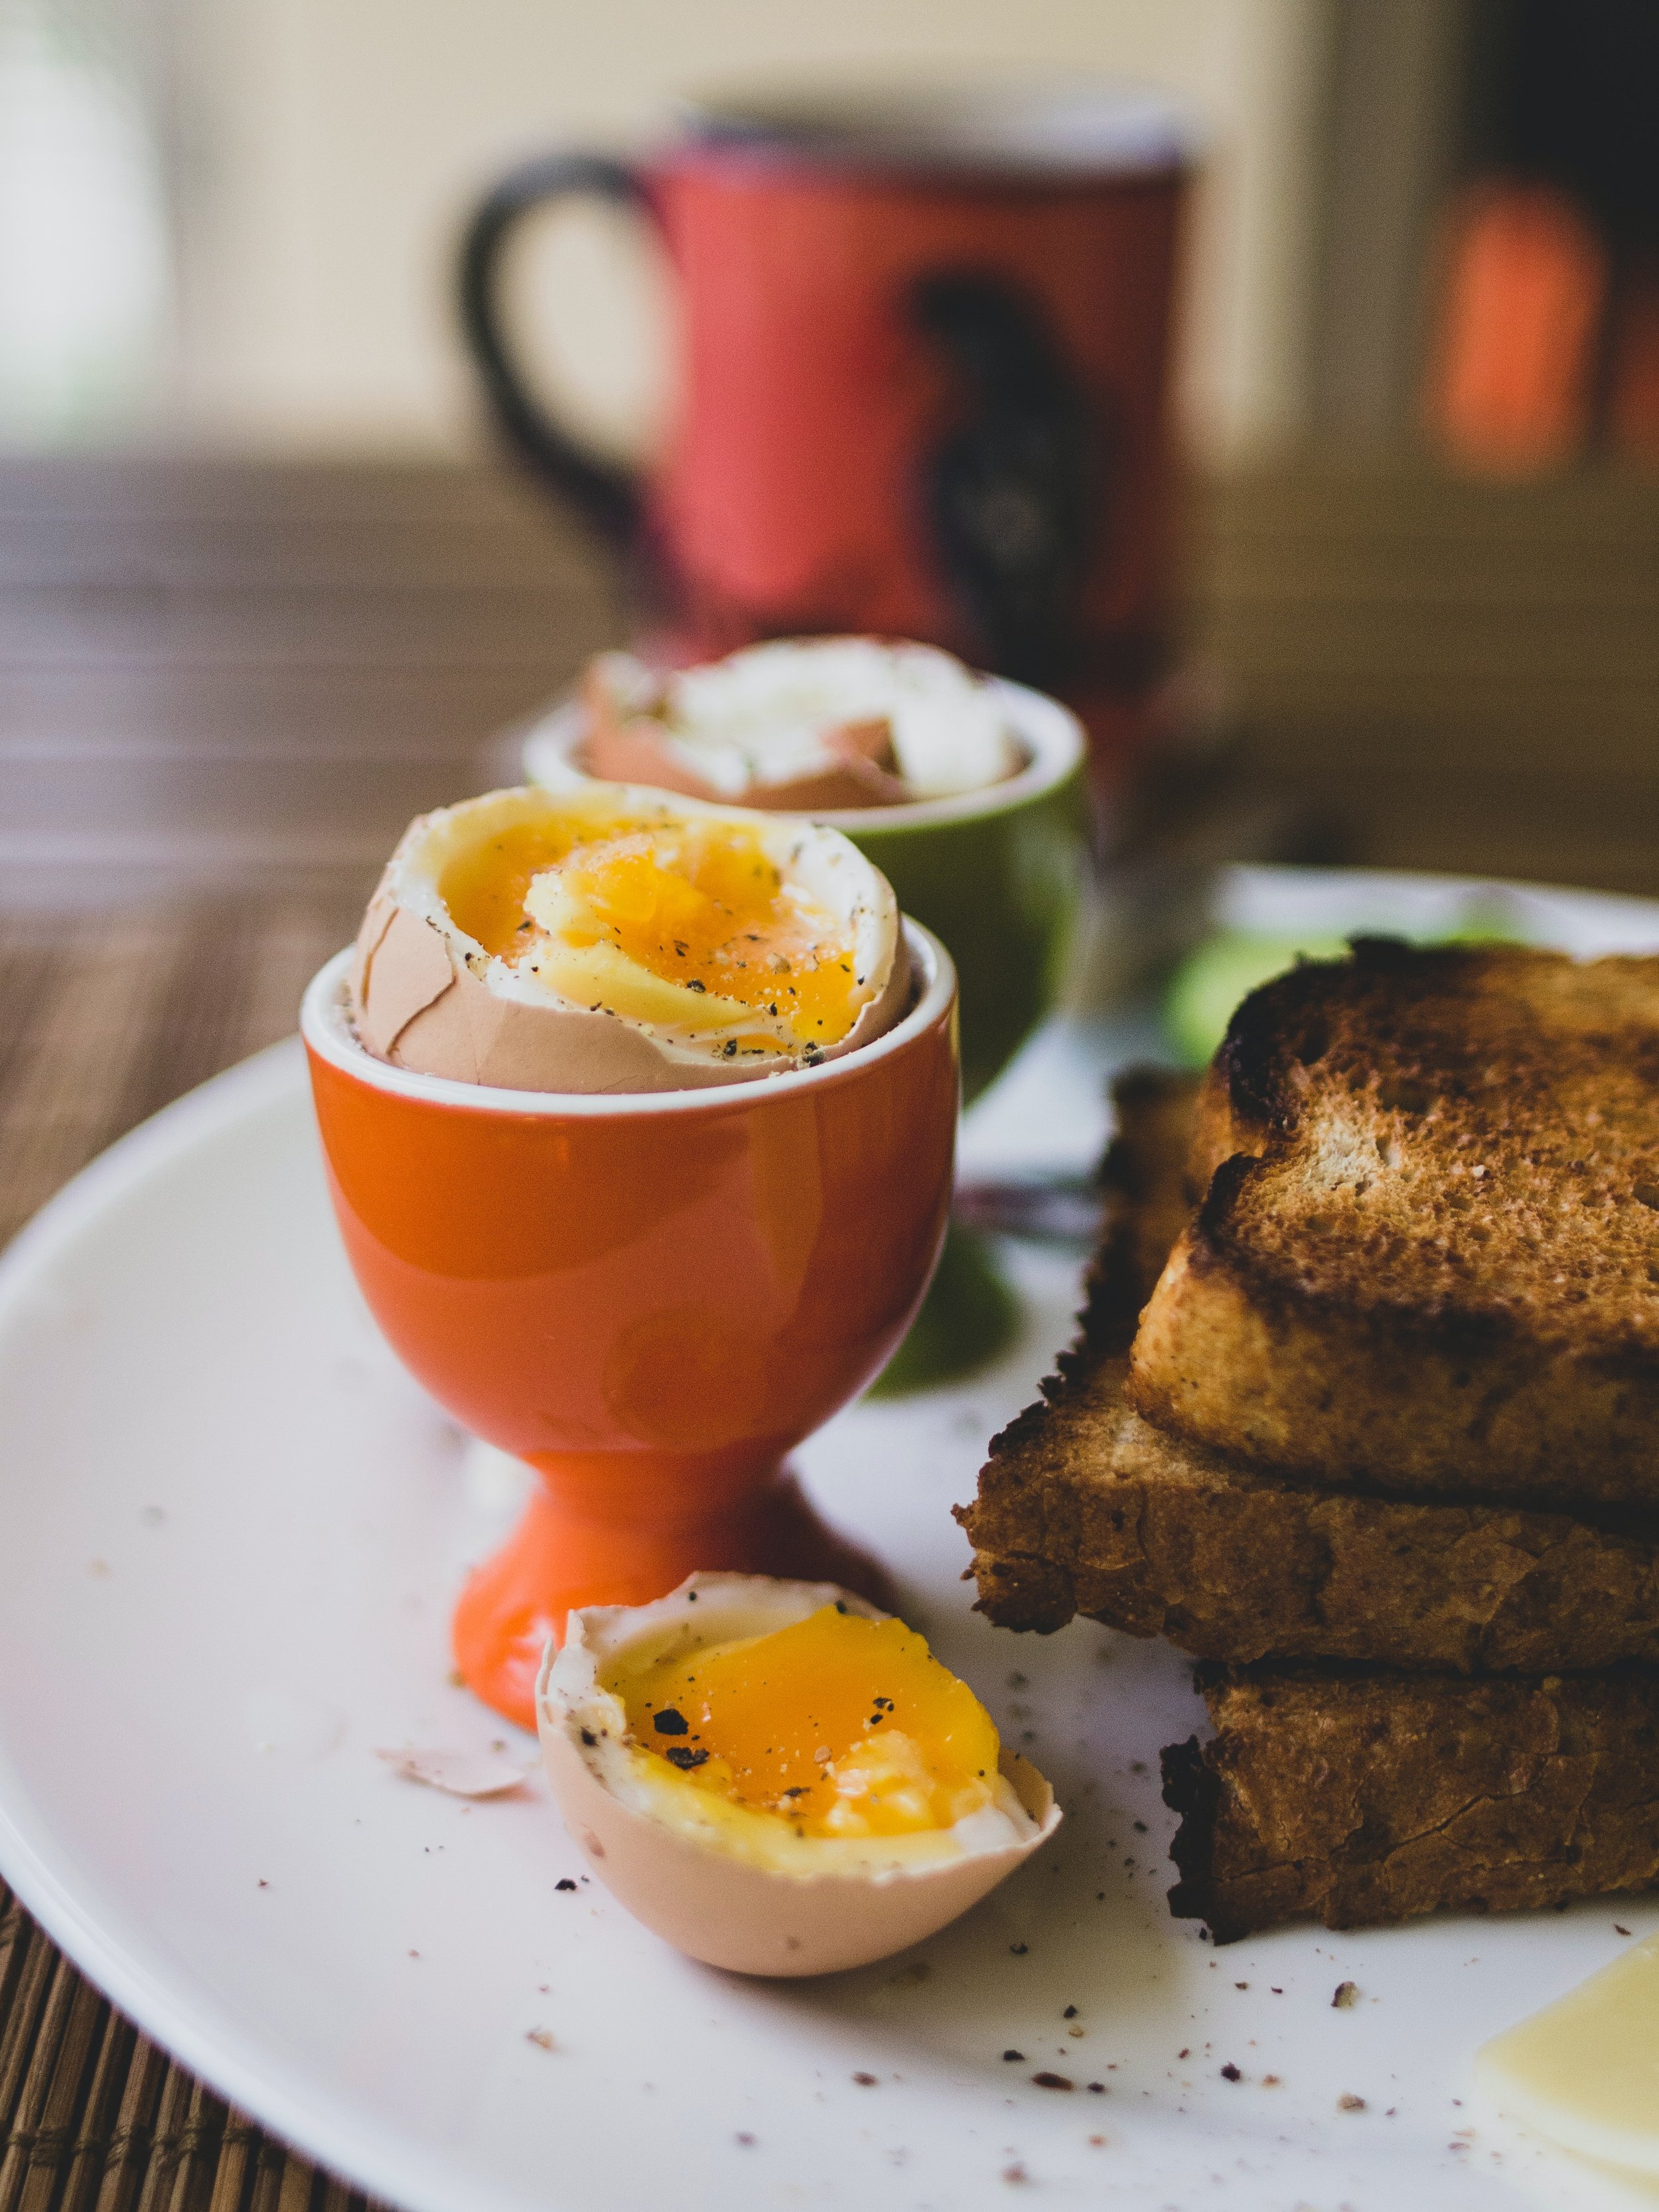
Soft Boiled Eggs

For us, 6 minutes creates the perfect soft boiled eggs.

  • 5 minutes: liquid yolk with soft, whites not fully set

  • 6 minutes: liquid yolk with fully set whites

  • 7 minutes: jammy yolk with outer edges set

  • 8 minutes: half set yolk

I love soft boiled eggs because you can prepare a big batch over the weekend and have them as a quick breakfast throughout the week.

Muffin Tin Baked Eggs

My favorite recipes are the ones that don’t require me to stand over the stove the entire time. I can just pop these into the oven and wait for them to be ready. Add bread, crack over an egg, then bake for 10-15 minutes at 350°F, until set.

Skillet Egg Casserole

This is definitely one of my favorites because it can be switched up depending on what you’re craving that day or what you have on hand. Feel free to utilize your own go-to ingredients in this one. I like using any leftover deli meat or veggies from the week. Mix all your favorite ingredients and put into a cast-iron skillet. Depending on items you add to your casserole, bake at 350°F for about 25-30 minutes. Make sure your eggs are not runny in the center before removing your skillet from the oven. Let your casserole sit for 10 minutes and then enjoy with your favorite piece of toast or side salad.

If you try any of these recipes with your rascals, we’d love to see it! Tag us on Instagram at @hellorascalkids or #hellorascalkids

Written by Head Rascal (Ngoc Nguyen Lay), mother of two rascals, ages 7 and 10.


Shop the Post

For the Love of Chocolate

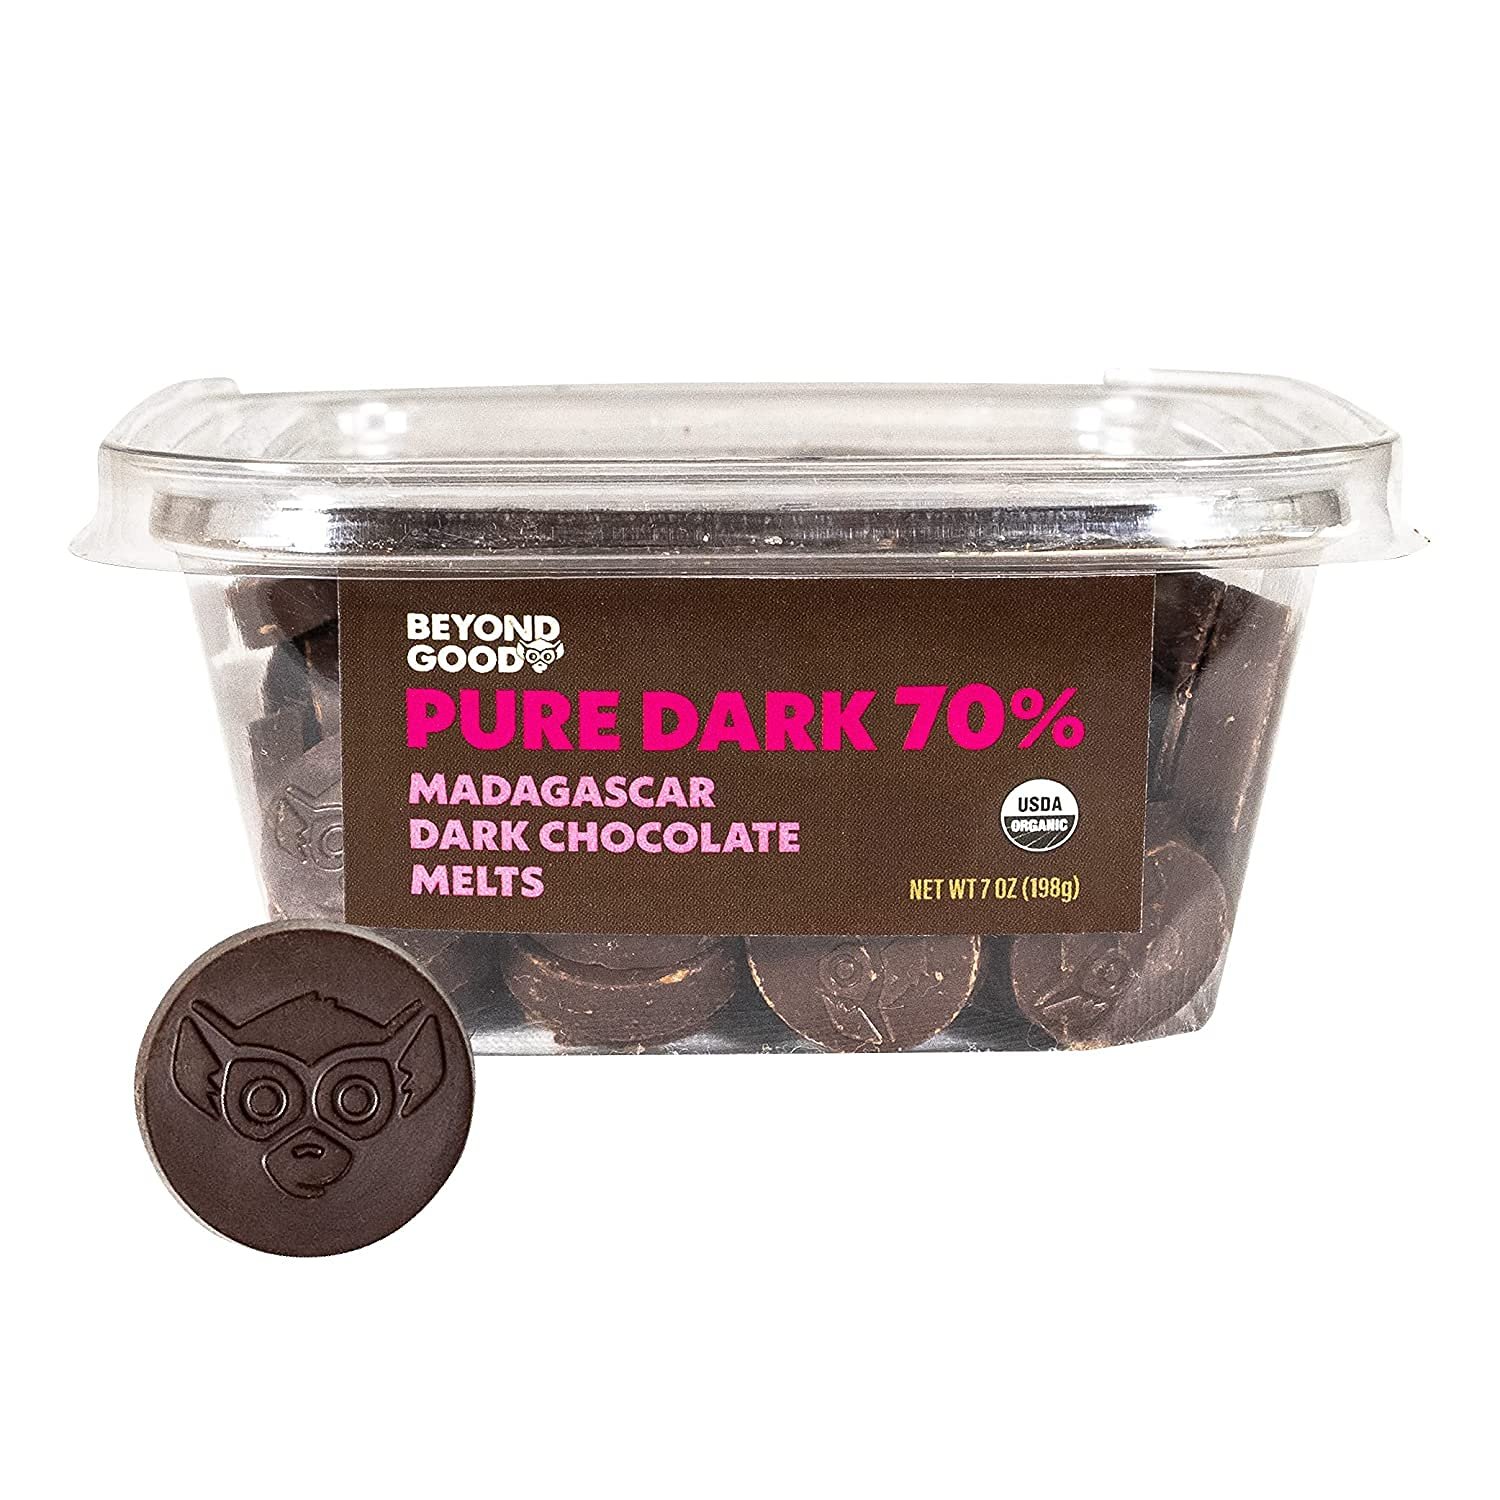
My son AJ loves his chocolate, but not your average Hershey milk chocolate bar. This kid loves dark chocolate - 70-75% dark to be exact. We wanted to share a few easy tips to create some treats you could make and customize for your own chocolate lover.

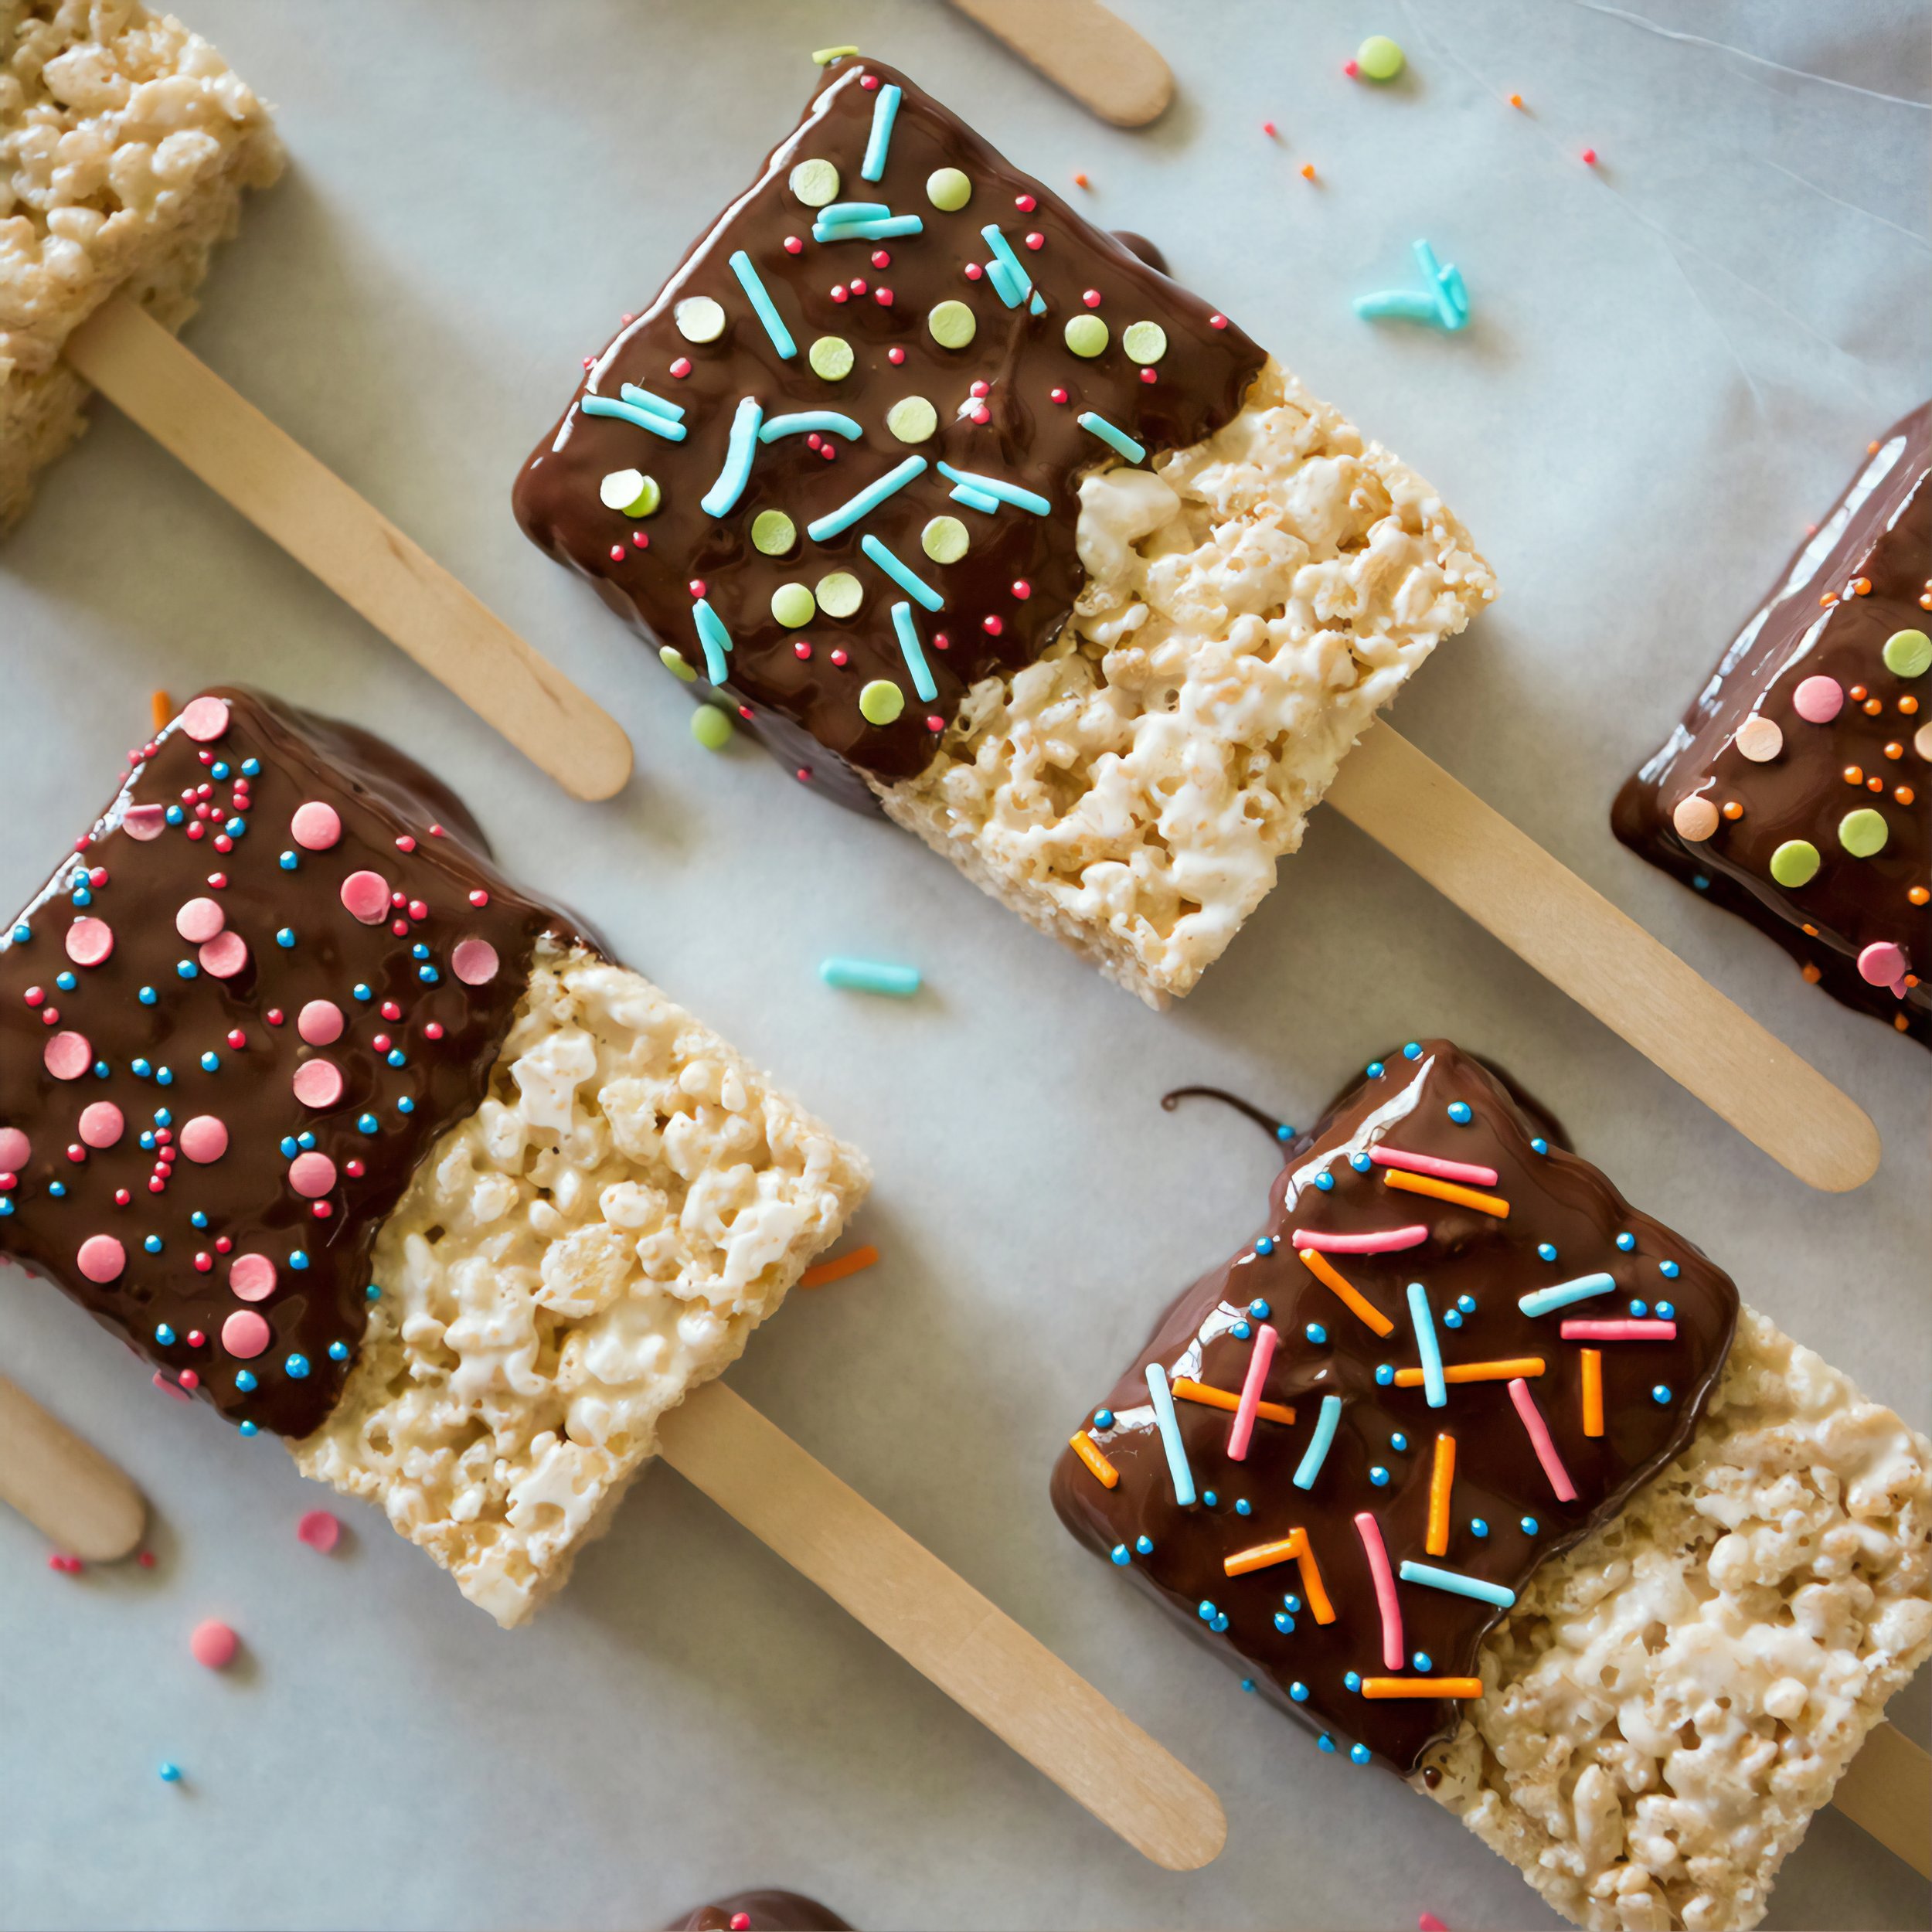
Chocolate Dipped Rice Krispie Treats

TIPS: Use fresh marshmallows because they melt easier and are soft and gooey, which is ideal for Rice Krispies squares. Old marshmallows get dry and melt into a big glob which also makes them hard to mix into the cereal. Melt the butter and marshmallows over low heat to avoid burning the mixture. It will take a few more minutes, but it will also prevent the Rice Krispies squares from getting hard and you’ll end up with soft and chewy treats.

Chocolate Strawberries

TIPS: Pick good strawberries. Choose firm, ripe strawberries without bruises and if possible, strawberries that are red all the way up to the stem. Take the strawberries out of the fridge 15-30 minutes before dipping them. Wash them and gently dry them all over with a paper towel. You want to make sure they’re very dry, otherwise the chocolate won’t set on them properly. Tempering the chocolate will help prevent the chocolate covered strawberries from looking streaky, gray or dull after the chocolate sets.

Chocolate Pretzel Sticks

TIPS: Pretzels sticks may be dipped and drizzled in any variety of melted morsels for different looks. For example, dip them in semi-sweet chocolate and drizzle them with melted white morsels. Or dip them in milk chocolate and drizzle them with melted semi-sweet chocolate. Dip, dunk, drizzle, and sprinkle as you please. These delicious sweet and salty snacks will have your rascals running back for more.

Written by Head Rascal (Ngoc Nguyen Lay), mother of two rascals, ages 6 and 9.


Shop This Post

Baked Brie

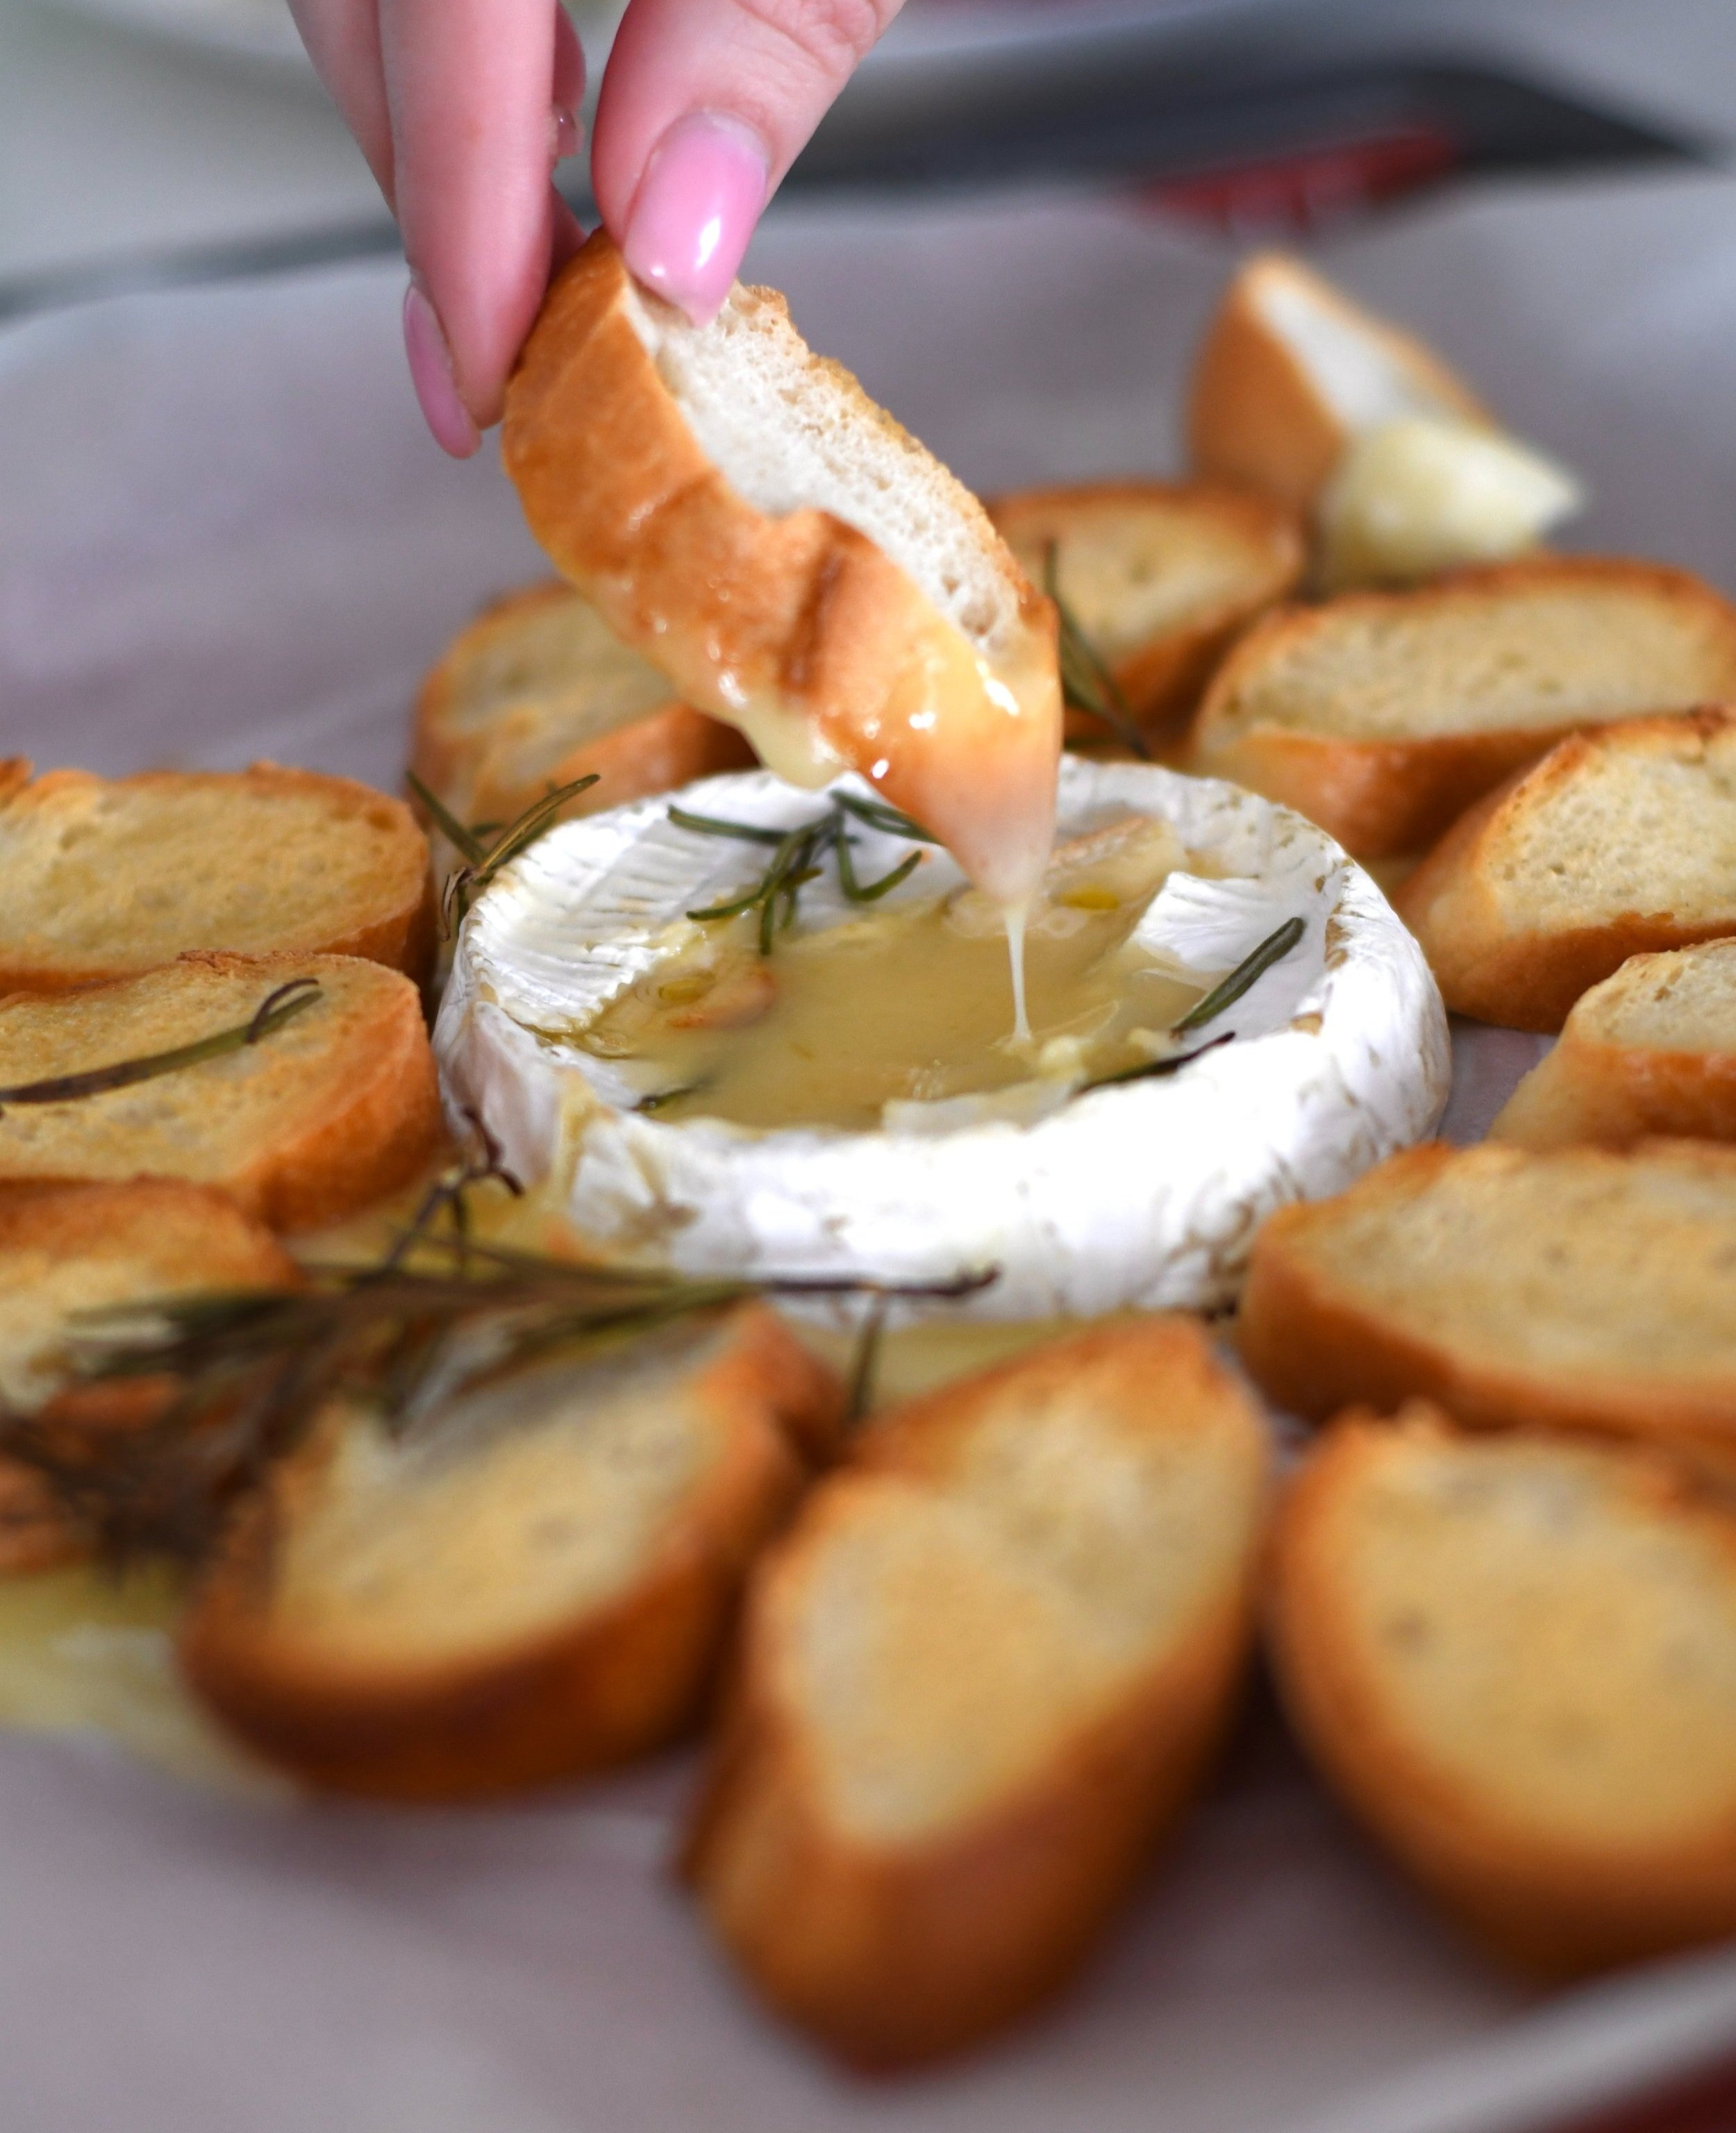
I never grew up eating much cheese. In my traditional Asian household, there was no cheese on our weekly shopping list. But I did develop a fond taste for it in my adulthood and I’ve passed this love to my rascals. Their favorite cheese is brie and we recently transformed their favorite by simply baking it. Baked brie is, quite simply, the best melted cheese. When you cut through the rind and the inside comes pouring out like lava, you’ll forget there are any other cheeses out there. Just bake in the oven for 15 minutes, place it on a platter, add a mound of crispy baguette, and watch their hands dive into THIS:

How to make Baked Brie

What to bake it in? I use a baking pan with parchment paper. I add on the sliced French baguette with a bit of olive oil around the brie as well.

Ingredients

  • 8 - 16 oz round brie

  • 1 French baguette

  • 2-4 rosemary sprig

  • 2 garlic clove, sliced

  • 2 tablespoon olive oil

  • 2 tablespoon honey (optional)

Instructions

  • Preheat oven to 350°F (all oven types)

  • Unwrap brie and place in baking pan with parchment paper

  • Drizzle on olive oil on top of the sliced French baguette

  • Place the garlic and sprig rosemary on the brie and bread

  • Bake for 15 to 20 minutes, or until melted through. To check, gently touch the center of the brie - it should feel very soft

  • Carefully transfer to serving plate / board - it's delicate!

  • Drizzle with honey, if desired

  • Serve immediately! It is better when it is hot/warm

Baked Brie Practical Tips

  • Best brie – I recommend using an economical brie for this. This recipe works just as well with budget brie as it does with top end. If I splurge on expensive brie, I serve it as-is because I think it’s a waste to alter it!

  • How long it stays gooey – in a ceramic dish, it will stay scoop-able for a good 15 minutes or so. On paper, it will be gooey for about 10 minutes, then for another 10 minutes or so you can smear it on your bread with a knife.

  • How to reheat – seconds in the microwave! A whole brie takes 2 minutes in the microwave, so use that as a baseline for any leftover brie.

  • Leftovers – AMAZING! The honey will be mixed through when the cheese hardens and it just makes it all the more delicious. You can also pile it onto toast and grill!

What goes with baked brie

Brie is rich and flavorful enough that even a plain baked brie is amazing. However, a simple (generous!) drizzle of honey certainly wouldn’t go astray. Sweet honey and the rich, savory, brie go together brilliantly. Add a a simple bunch of grapes to the serving platter (fruit + cheese is classic, plus just looks beautiful), and your impressive easy snack is complete and ready to wow your rascals.

Written by Head Rascal (Ngoc Nguyen Lay), mother of two rascals, ages 6 and 8.

2 Ingredient Cake to Bake with Kids

Sometimes I want to bake with my kids, but I don’t have all the ingredients nor do I really want clean up the mess. But this special cake is only two ingredients - Nutella and eggs. It is so very easy; you must try it yourself!

Ingredients

  • 4 eggs (large, room temperature)

  • 1 cup Nutella chocolate hazelnut spread

Instructions

  1. Preheat oven to 350 degrees. Line a spring-form cake pan with baking paper and set aside.

  2. Place eggs into mixing bowl and beat on high speed until the mixture triples in volume. This will take 5-7 minutes.

  3. Spoon Nutella into a medium glass bowl and microwave for 15-20 seconds until it is soft.

  4. Spoon one third of the egg mixture and fold using a spatula or metal spoon to mix in the Nutella until entirely combined. Continue with another third of egg mixture and then again until all the egg and Nutella is combined.

  5. Spoon mixture into cake pan and bake for 25-30 minutes or until a skewer placed into the center comes out clean.

  6. Cool cake in pan entirely before removing from pan. Slice and serve.

Tips and Tricks

  • You REALLY need to make sure those eggs triple in volume or this recipe will not work. You can save yourself a cake fail by completing this step correctly. If you don’t beat them well you will find that you end up with an egg-y tasting mess.

  • Folding the eggs into the Nutella needs to be done with a light hand so you avoid the eggs losing all their volume. I used a spatula for this job.

Written by Head Rascal (Ngoc Nguyen Lay), mother of two rascals, ages 6 and 8.

Kid Friendly Pumpkin Lattes

We all know that fall is PSL season. My kids asked “What's a PSL?,” so I had to explain the tradition of the Pumpkin Spice Latte for my SoCal little rascals. We then created a special drink with a twist on the classic PSL. For my boys, I removed the coffee and added in marshmallow with the classic pumpkin flavor. Toasted marshmallow and pumpkin spice create a creamy autumn beverage that kids of all ages can enjoy.

Ingredients

  • 1 cup milk

  • 1 tbsp. pure pumpkin purée

  • ¼ tsp. pumpkin pie spice

  • 1 tbsp. sugar - or to taste

  • 1 tsp. vanilla extract

  • ¼ cup marshmallow fluff

Instructions

  1. In a small saucepan, add the milk, pumpkin purée, pumpkin pie spice and sugar.

  2. Heat over medium heat until hot, whisking frequently. Do not let it come to a boil. Remove from heat.

  3. Add the vanilla.

  4. Spoon the marshmallow fluff on top.

  5. Sprinkle with a little more pumpkin pie spice. Serve immediately!

Written by Head Rascal (Ngoc Nguyen Lay), mother of two rascals, ages 6 and 8.

Easy One Pan Chicken Pasta

This one pan creamy chicken pasta is perfect for a quick dinner. It’s so easy to make, and only takes about 30 minutes! It’s packed full of yummy flavors and with a cheesy sauce, our rascals love it!

Easy One Pan Chicken Pasta on Hello Rascal Kids

Our one pan cheesy chicken pasta is just the answer for your busy weeknight. Not only does using one pan make for an easy cooking process, but an even easier cleaning process. Our ingredients are listed below but feel free replace veggie and protein options to fit your liking.

Ingredients

  • 2 Tbsp olive oil

  • 1/2 cup diced yellow onion

  • 1 red or green bell pepper (diced)

  • 3 cloves garlic (minced)

  • 2 boneless skinless chicken (cut into bite size)

  • 1 1/2 cups chicken broth

  • 2 cups penne noodles

  • 3/4 tsp dried basil

  • 3/4 tsp dried oregano

  • 1 1/2 tsp salt (to taste)

  • 1/2 tsp pepper (to taste)

  • 4 oz light cream cheese (room temperature)

  • 1/2 cup plain Greek nonfat yogurt

  • 1 cups shredded cheese

Instructions

  1. In a large saucepan over medium heat add 2 Tbsp olive oil.

  2. Add the onion and saute for a few minutes until transparent, stirring occasionally.

  3. Add the red pepper and saute for a minute or two, stirring 1 or 2 times.

  4. Add the minced garlic and saute until lightly golden.

  5. Add the chicken pieces, turning to brown on each side (but don't cook the chicken thoroughly - that will happen while cooking the penne).

  6. Add the chicken broth and then the penne noodles.

  7. Add all the spices and stir.

  8. Bring to a boil and cook until penne is al dente (follow the instructions on the packaging). Stir occasionally and put the lid on if necessary to not let it dry out.

  9. Once the penne is al dente, lower the temperature and add the Greek yogurt and cream cheese. Stir until all is mixed in and it makes a creamy sauce.

  10. Add in shredded cheese, stir, and let melt.

  11. Serve warm, sprinkling the remaining 1/4 cup of cheese on top of your individual plates.

One pan brings together all the flavors from start to finish. The pasta soaks in all the yummy flavors of the chicken broth and herbs while becoming soft enough to eat. Making this pasta dish is extra easy, and extra flavorful too.

Written by Head Rascal (Ngoc Nguyen Lay), mother of two rascals, ages 6 and 8.

Yummy Frozen Treats

In typical kid fashion, my 2 rascals really enjoy indulging in popsicles on a hot summer afternoon. I mean - what kid doesn’t? When my kids were younger, I froze the generic brand of electrolyte solution (think Pedialyte) in popsicle molds and let them go to town. I assumed this was the easiest way to make “healthy” popsicles for my kids. Recently, we’ve transitioned to store bought fruit popsicles because it is just easier as my rascals get older and more active.

Since we’ve been home so much more these past few months, the request for an afternoon popsicle has turned into a tantrum-and-tears demand for popsicles in the morning. I always say no because I have to draw the line somewhere, you know? I began experimenting with frozen yogurt, and not the kind from the dispensers with serious sugar toppings that you pay for by the ounce. Instead, I got the idea to make a sheet of frozen yogurt with fruit toppings.

I bought a quart of my favorite organic vanilla flavored yogurt (thanks Stonyfield) from the grocery store, a pint of blueberries, and a pint of strawberries. I washed and dried 5 strawberries and about a 1/2 cup of blueberries, and then diced the strawberries into a similar size to match the blueberries. I measured out 2 cups of the vanilla yogurt.

It was at this time that my mini-me sweet-tooth 3 year old walked in to the kitchen and asked for chocolate chips and marshmallows. Hmmm… chocolate chips could be a good addition to this, I thought. After pouring about 1/4 cup of chocolate chips for the frozen yogurt, I also handed my rascal a few for nibbling.

In a large bowl, I gently mixed all the ingredients together and then smoothed it out onto a parchment paper lined baking sheet. I popped that into the freezer for 2 to 3 hours, and presto! A delicious homemade frozen yogurt treat.

Yummy Frozen Treats on Hello Rascal Kids

Using a sharp knife, I cut this up into smaller snack size pieces and placed them into freezer storage bags so we could enjoy all week long.

Yummy Frozen Treats on Hello Rascal Kids

You can’t go wrong here. Experiment with your favorite flavor of yogurt and your choice in toppings and there are no limits as to what you can make!

Written by Brandi Stanton, mom of 2 rascals, ages 3 and 5.

The Dirty Penguin Coffee

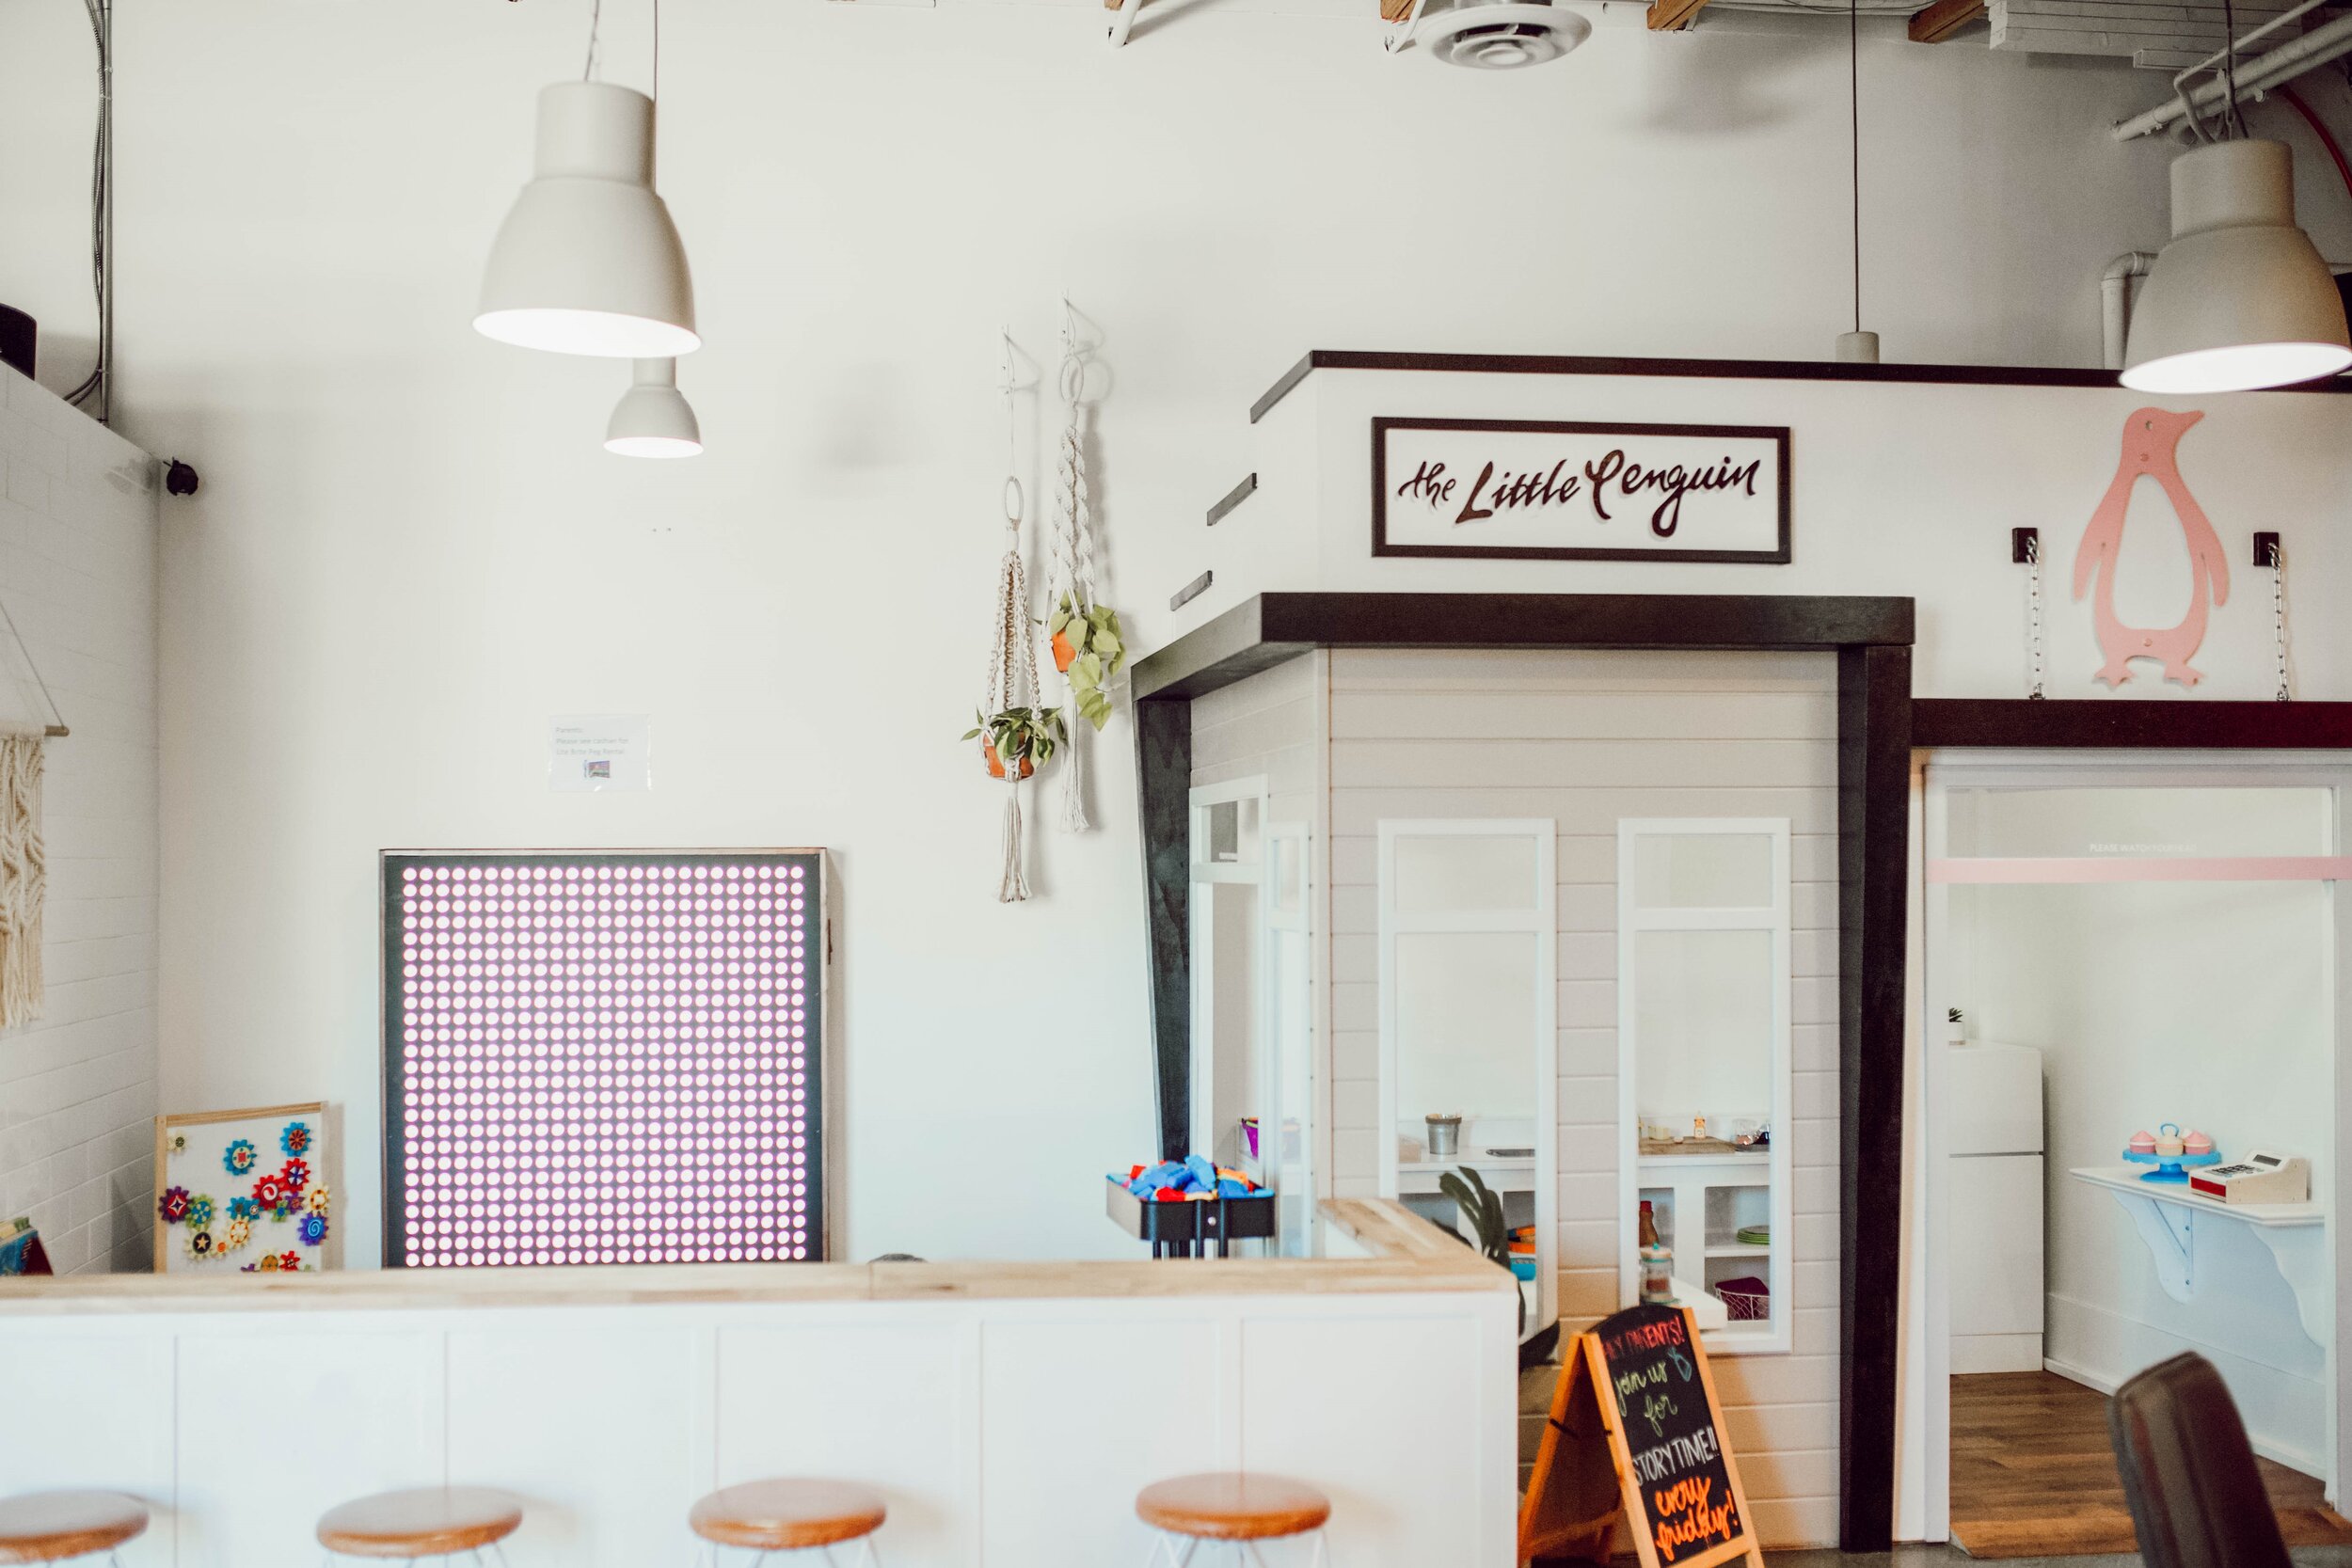
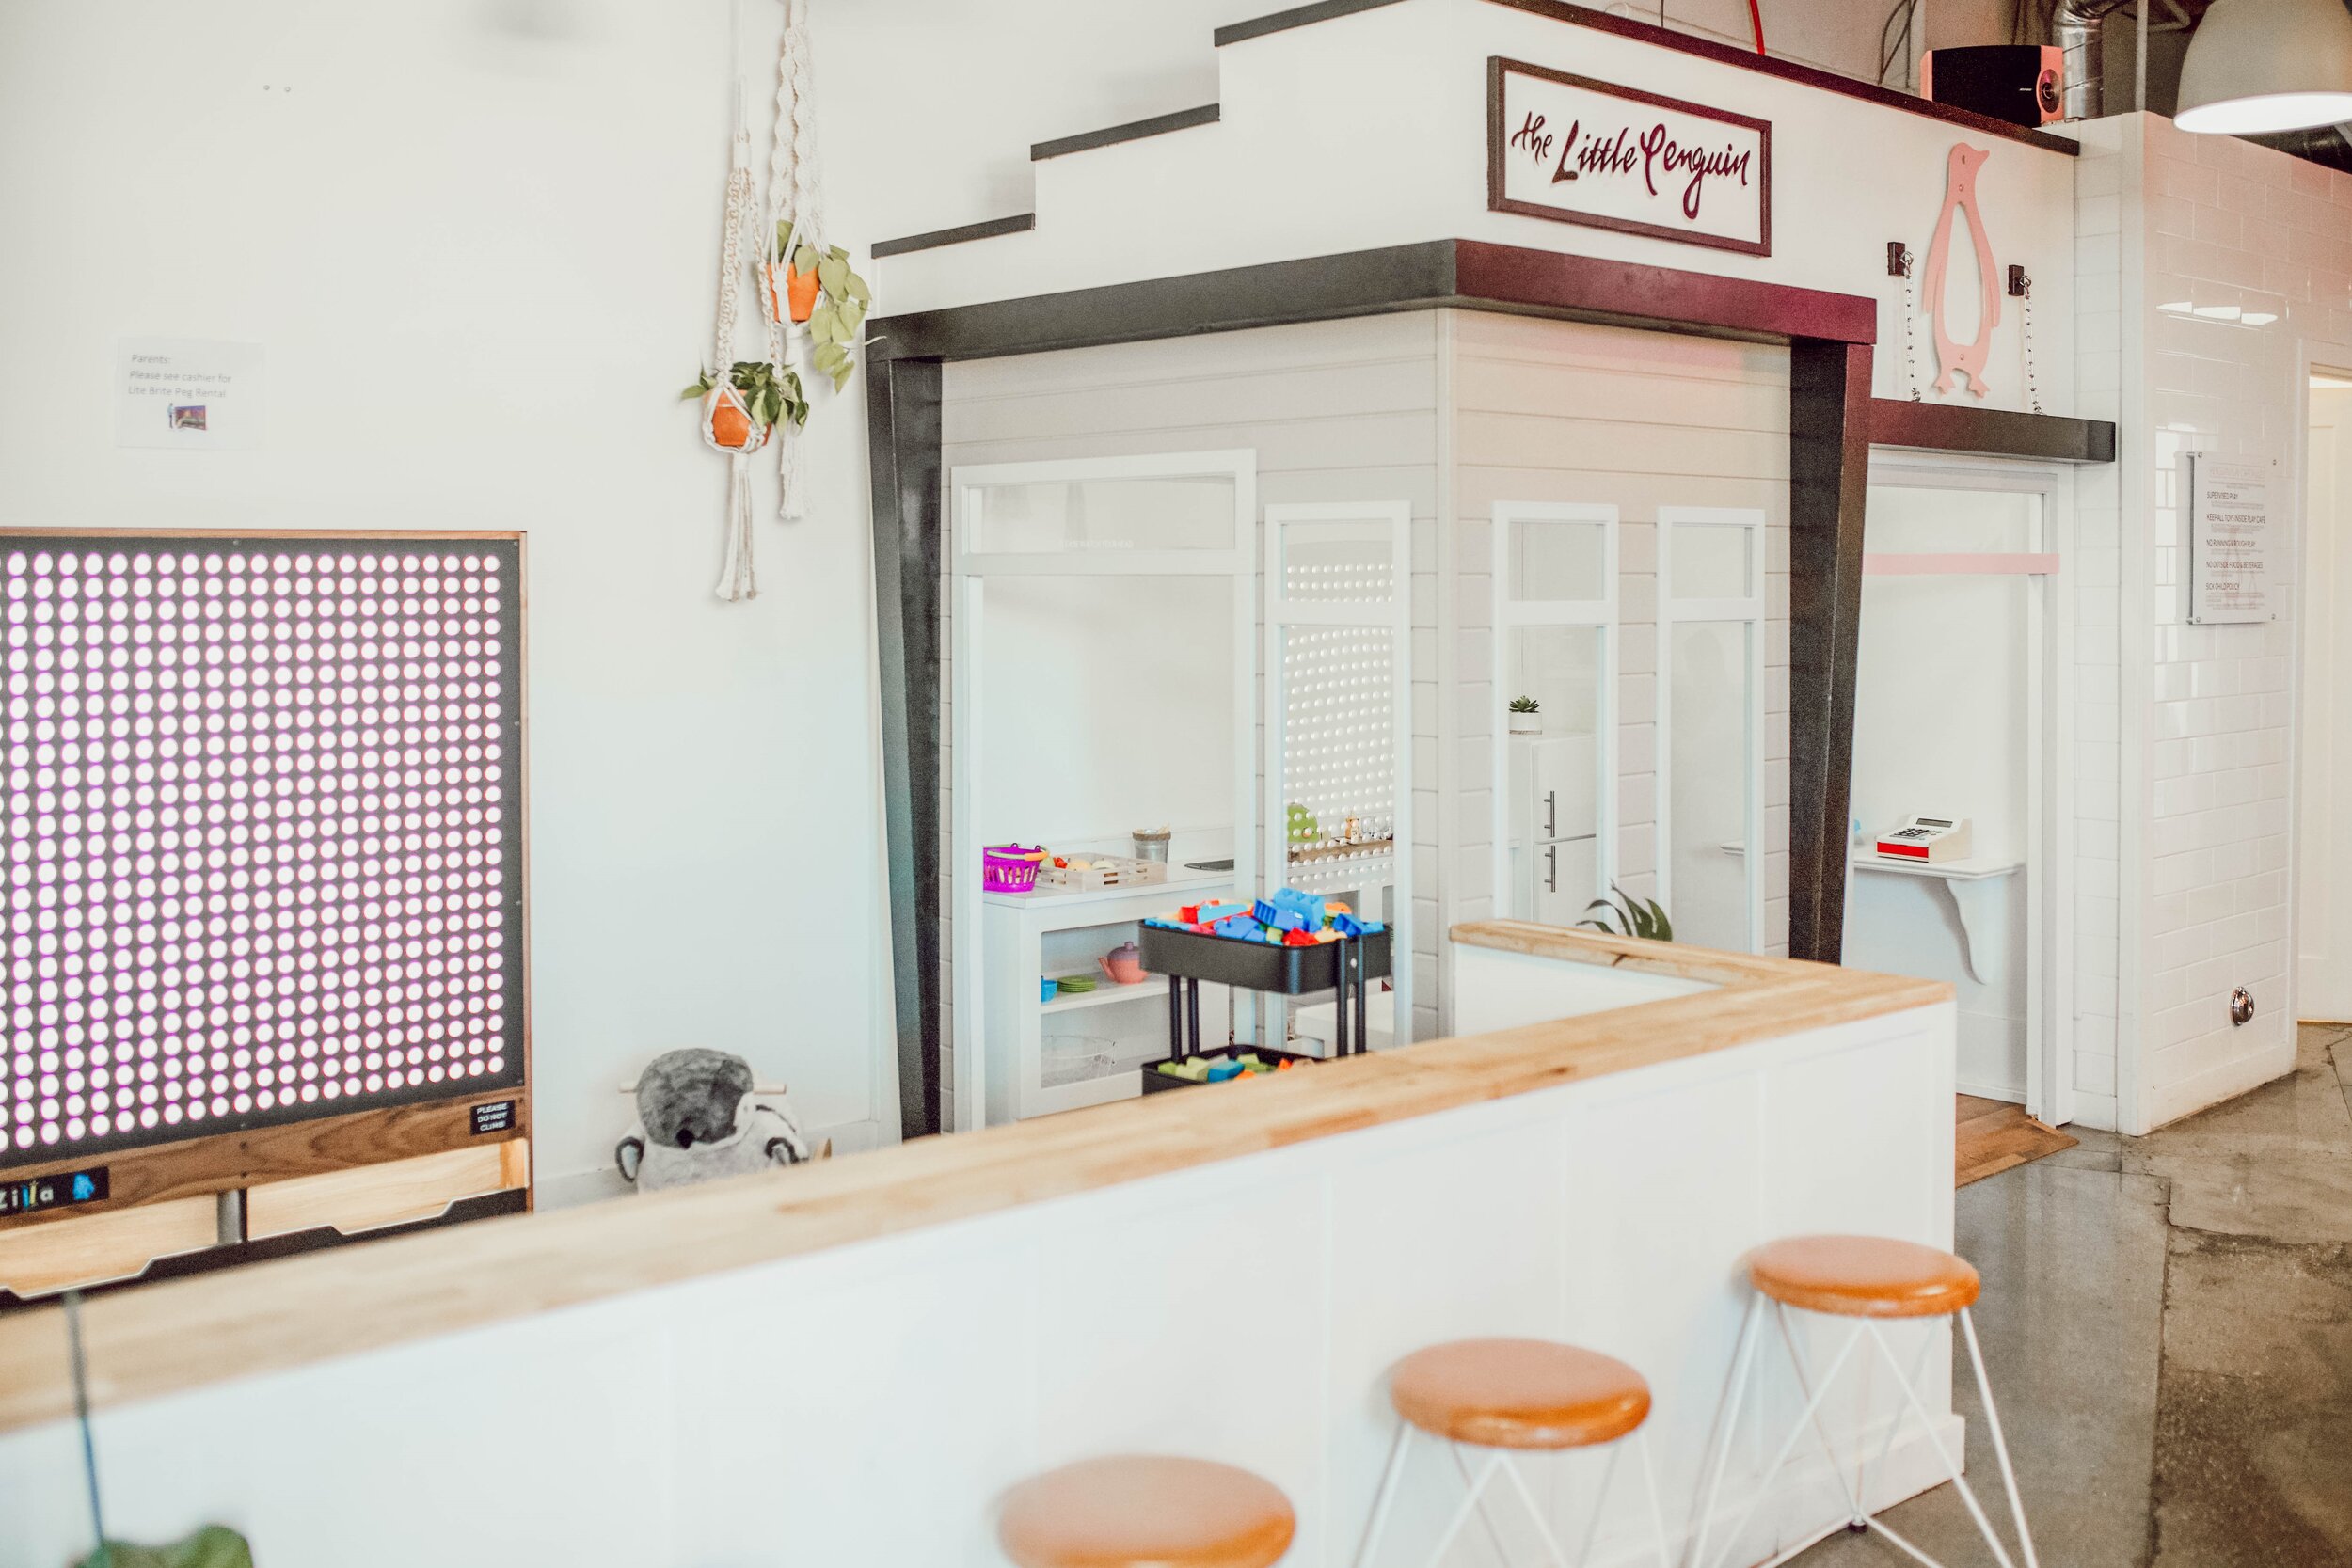
Last year we discovered a little gem near us, The Dirty Penguin Coffee. This was a great spot for parents to energize with a coffee break while little ones burn off some energy in this open play area. They also hosted story time on Friday mornings. But with the pandemic, they are needing our support to stay open.

This place is all about community. Their mission focuses on it and states: “We are so passionate about community! We are thankful that coffee creates opportunities for our community to gather. Our space is one of inclusion, where each of our customers are valued and welcomed, including children. Our fun and funky atmosphere inspires creativity and play. We are thankful for our local business community and the support we receive from other small businesses. The Dirty Penguin will always encourage collaboration and creativity by using our space to fuel our customers brilliant ideas and hosting events and workshops of our own.”

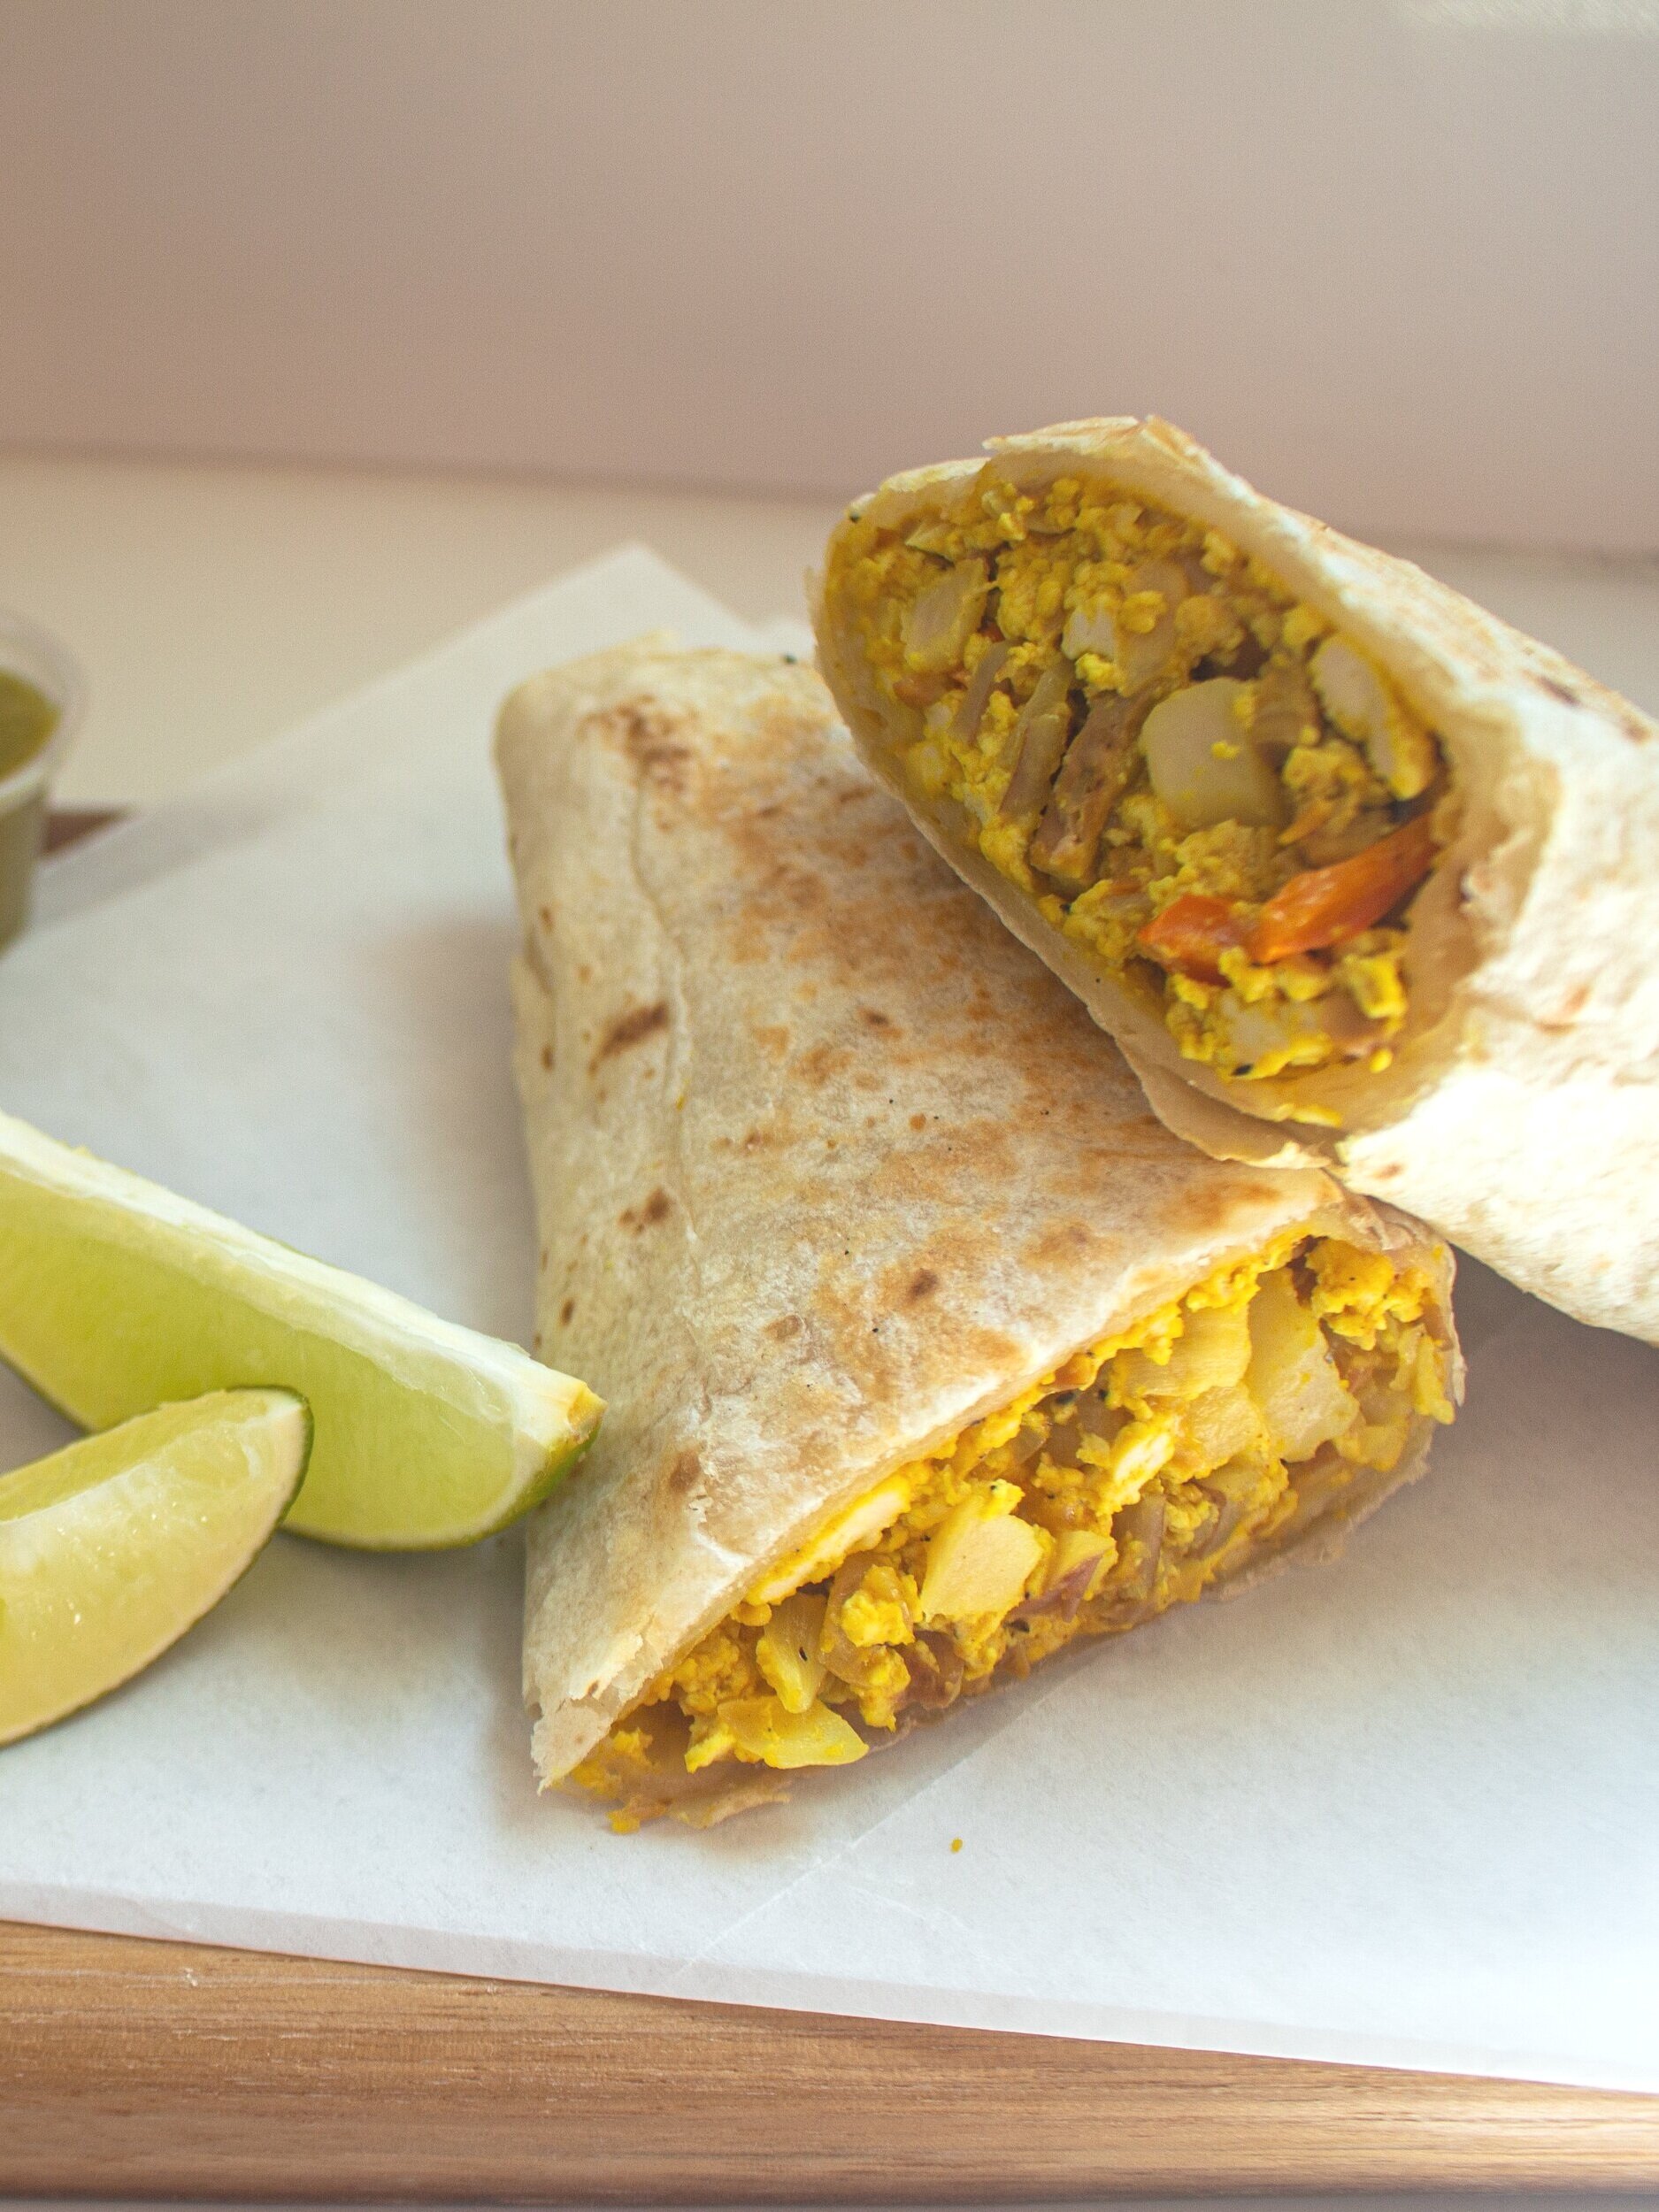
Whether you are craving a specialty latte, one of their brunch items, or a delicious pastry, we think you deserve to have a treat.

From The Dirty Penguin: “Parents NEED community (and often coffee!) Kids need a safe place to play. Our vision is to create a place for parents to relax AND have quality coffee while their children purposefully play within eye glance. The Little Penguin Play Café provides a fun and engaging environment for children to learn, explore, and play.”

We hope that they will be open for inside dining when it is safe, but for now, visit and support small business.

Reviewed by Head Rascal (Ngoc Nguyen Lay), mother of two rascals, ages 5 and 8.

Zucchini Cakes

What goes together as well as water and oil? Toddlers and vegetables. As a toddler mom, getting my little one to eat anything besides mac & cheese and fries is a win.

Zucchini+Cake+Recipe+on+Hello+Rascal+Kids.jpg

After a friend brought over some fresh zucchini from her garden, I wanted to make something that the whole family would love! With a big thank you to Mr. Google, I came across the idea for pan-fried zucchini cakes. It’s got all the veggies that I love and the crunch that my toddler loves!

These cakes are crispy and crunchy and are served with an herb-y sour cream dip that will have your kids say “ranch who?!”

Zucchini+Cake+Recipe+on+Hello+Rascal+Kids.jpg

Herb Sour Cream Dip (a new take on ranch!):

  • 2 cups sour cream or plain Greek yogurt

  • 1 tablespoon minced fresh chives

  • 1 tablespoon chopped fresh dill

Zucchini Cakes:

  • 3 cups shredded zucchini (from 1-2 large zucchinis)

  • 2 cups panko breadcrumbs

  • 1/4 cup grated parmesan cheese

  • 2 tablespoons Italian herb blend (or whatever is in the back of your pantry)

  • 2 teaspoons minced garlic

  • Kosher salt and freshly ground pepper

  • 4 large eggs

  • 1/2 cup heavy cream

  • 1/4 cup vegetable oil

Directions

  1. For the Herb Sour Cream dip – combine sour cream, chives, and dill in a small bowl. Refrigerate until ready to use.  I usually make this the morning so that it has time to sit and get happy!

  2. For the Zucchini Cakes – mix the shredded zucchini, panko, parmesan, herbs, garlic, salt/pepper in a large bowl.  Set aside. In a small bowl, whisk together eggs and heavy cream.  Combine the zucchini and egg mixture until well mixed.  Let sit for 5-10 minutes.

  3. In a flat-bottomed skillet, place enough oil to cover the bottom of the pan and turn on medium-high heat.  When the oil is hot, place a scoop of zucchini mixture into your hands and roll into a ball, then flatten down into a hockey puck (I also make mini versions that are more little-fingers friendly).  Place in hot oil.  Cook until golden (about 2 minutes) and flip.  Cook for another 2 minutes, or until golden brown.  Place on a paper towel-lined plate and sprinkle with a pinch of salt.  Continue with the rest of the zucchini mix.

  4. Serve with herb sour cream dip!

Bon Appétit! Resources: Zucchini Photo - Paduret Dan-Cristian and Recipe Adapted from: Trisha Yearwood. Written by Crystal Zeyen, mother of one rascal, 2 years old.

Veggie Tots for Toddlers

Veggie Tots for Toddlers on Hello Rascal Kids. Lifestyle blog for the modern families, parents and kids.

Getting kids - and many adults - to eat the daily recommended amount of vegetables is no easy feat. When my kids were between the ages of one and two-and-a-half, I tried all sorts of creative ways to sneak veggies into their meals.

  • I shredded carrots into spaghetti sauce

  • I minced broccoli into meatballs

  • I treated them to zucchini bread and carrot muffins

  • I made veggie noodles

  • I added corn, peppers, and onions to make Fiesta Mac and Cheese

My mom thought I was crazy, and I often felt she was right. Was I working too hard to get my kids to eat veggies? Maybe. But what parent doesn’t do something crazy all in the name of their kids?!

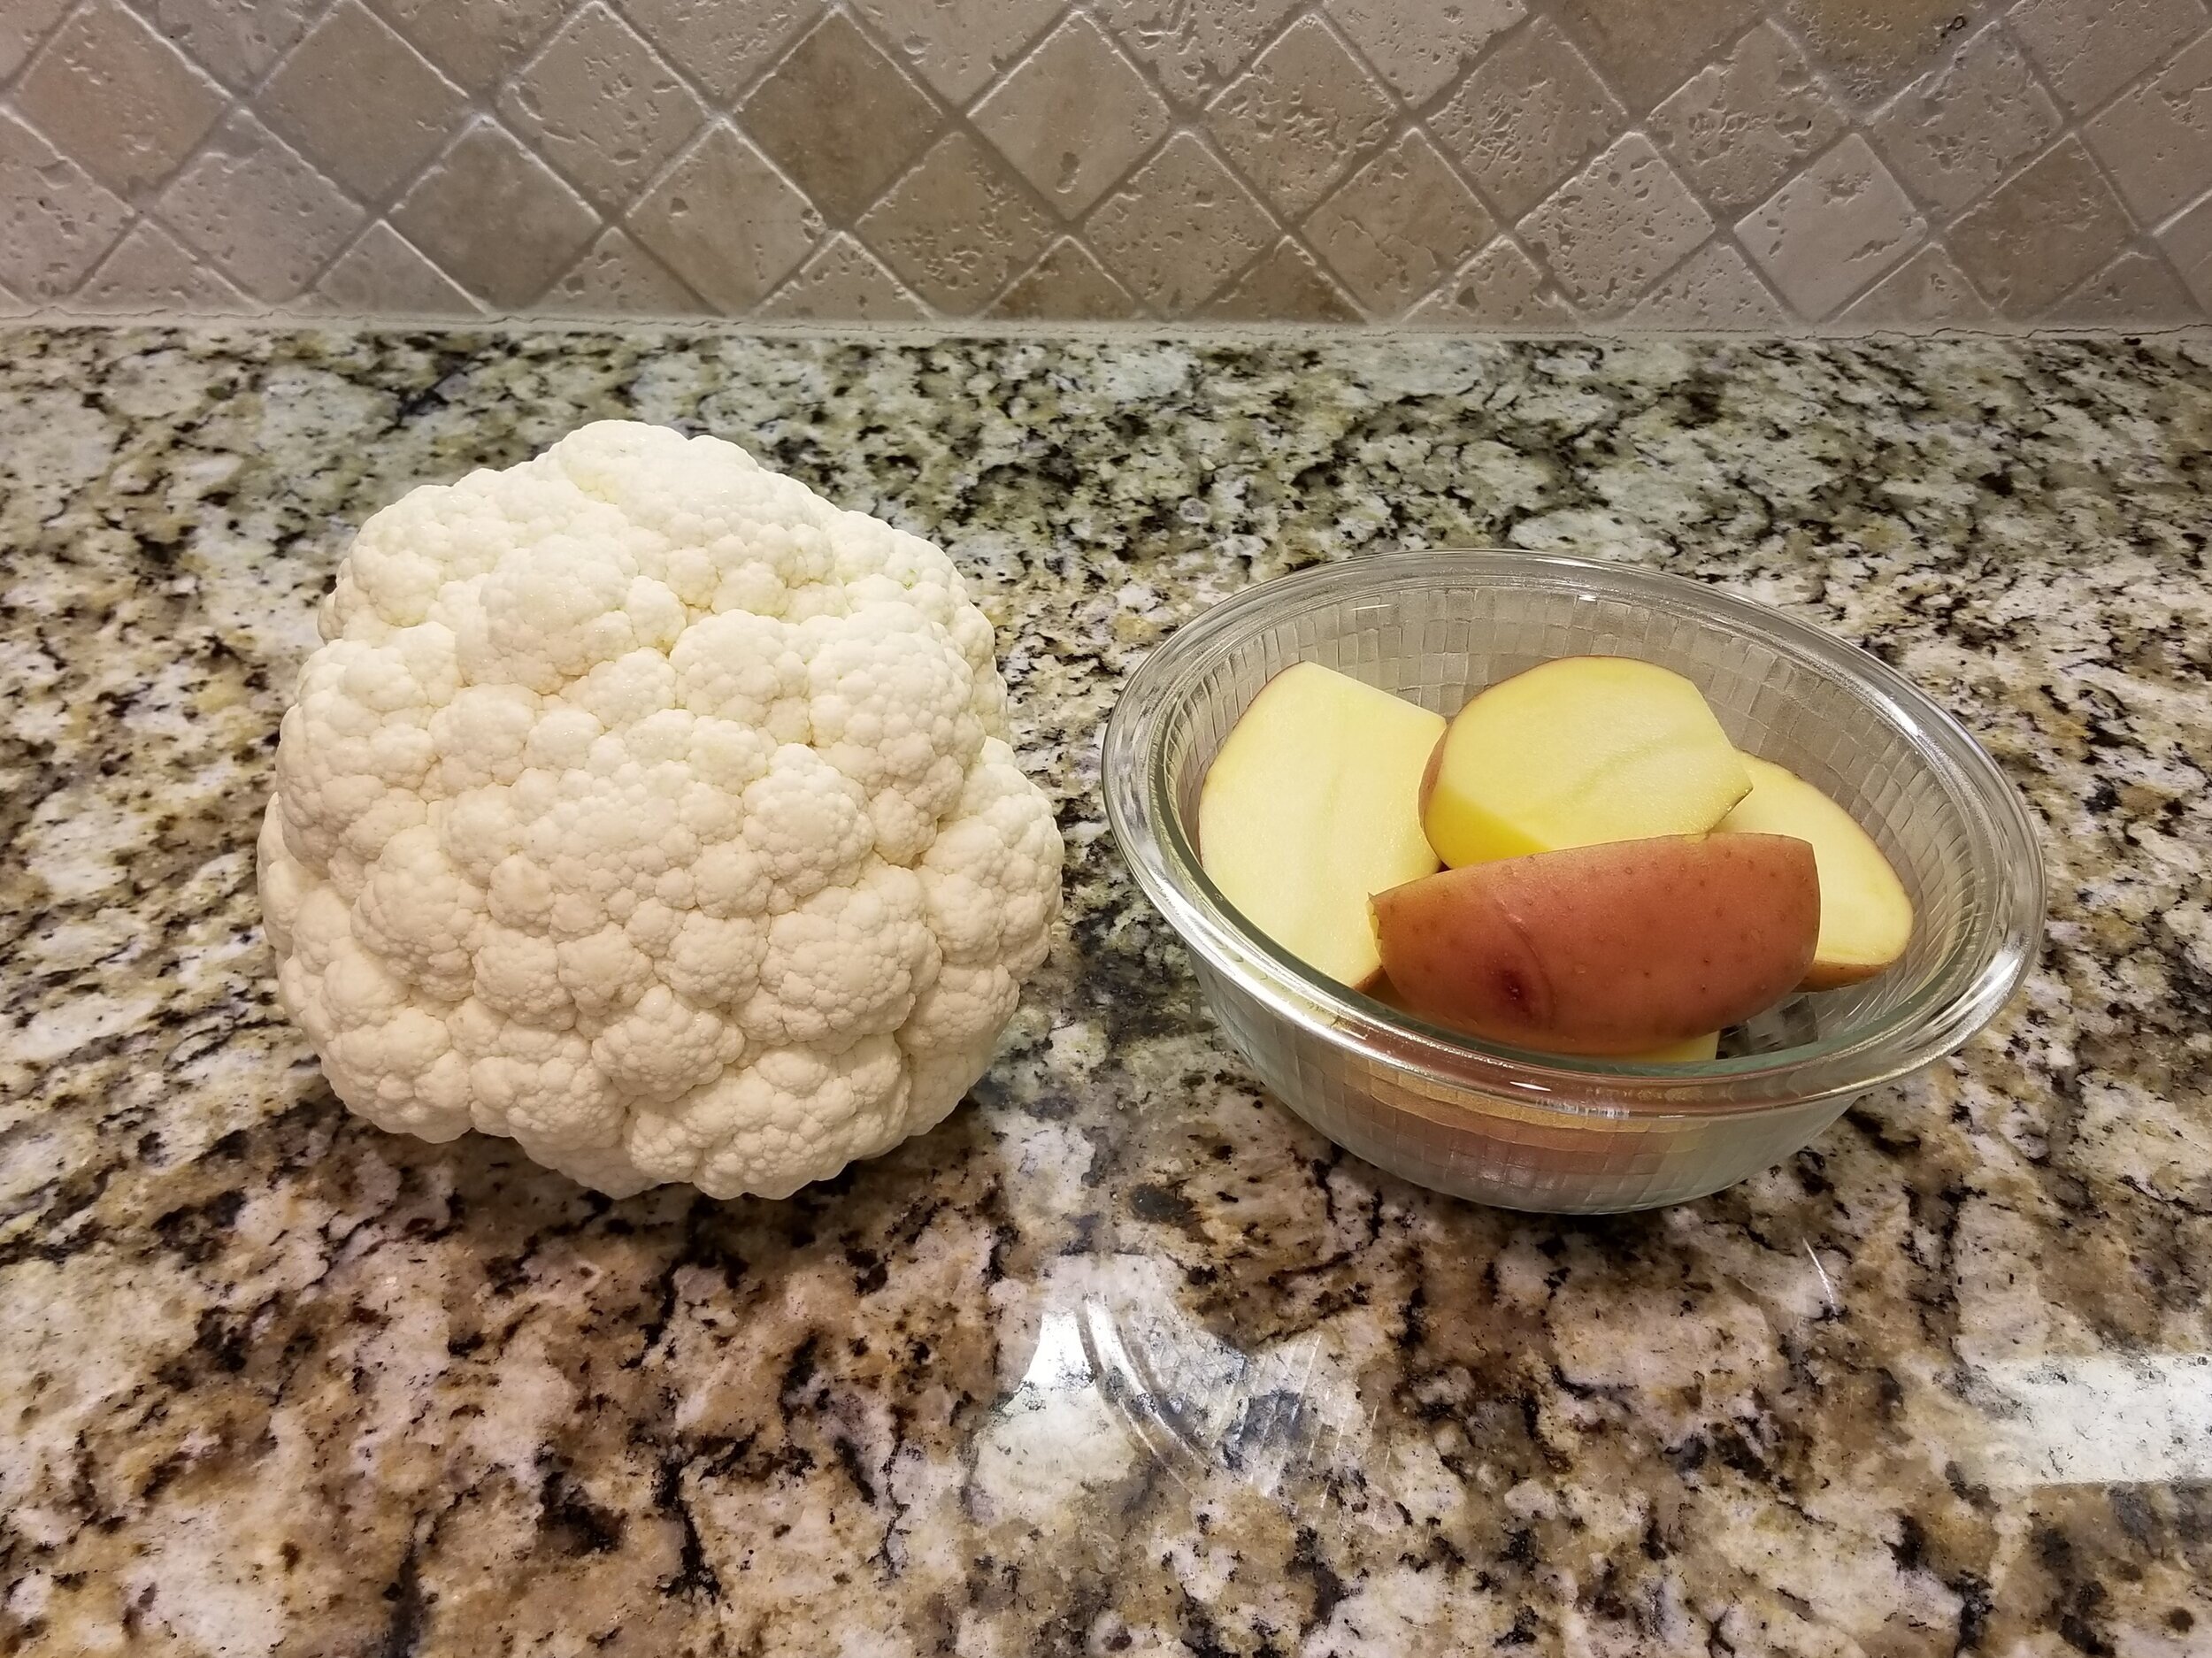
A friend of mine shared this recipe she modified and perfected for cauliflower tots. Think homemade tater tots, but with cauliflower mixed in with the potatoes. (Note: you can substitute broccoli for the cauliflower, but the flavor is a big stronger.)

Veggie Tots for Toddlers on Hello Rascal Kids. Lifestyle blog for the modern families, parents and kids.

Ingredients you’ll need:

  • 12 ounces of cauliflower florets

  • 3 small red potatoes (each about 2 inches in length)

  • 1 large egg

  • 1/4 cup breadcrumbs (store bought will suffice)

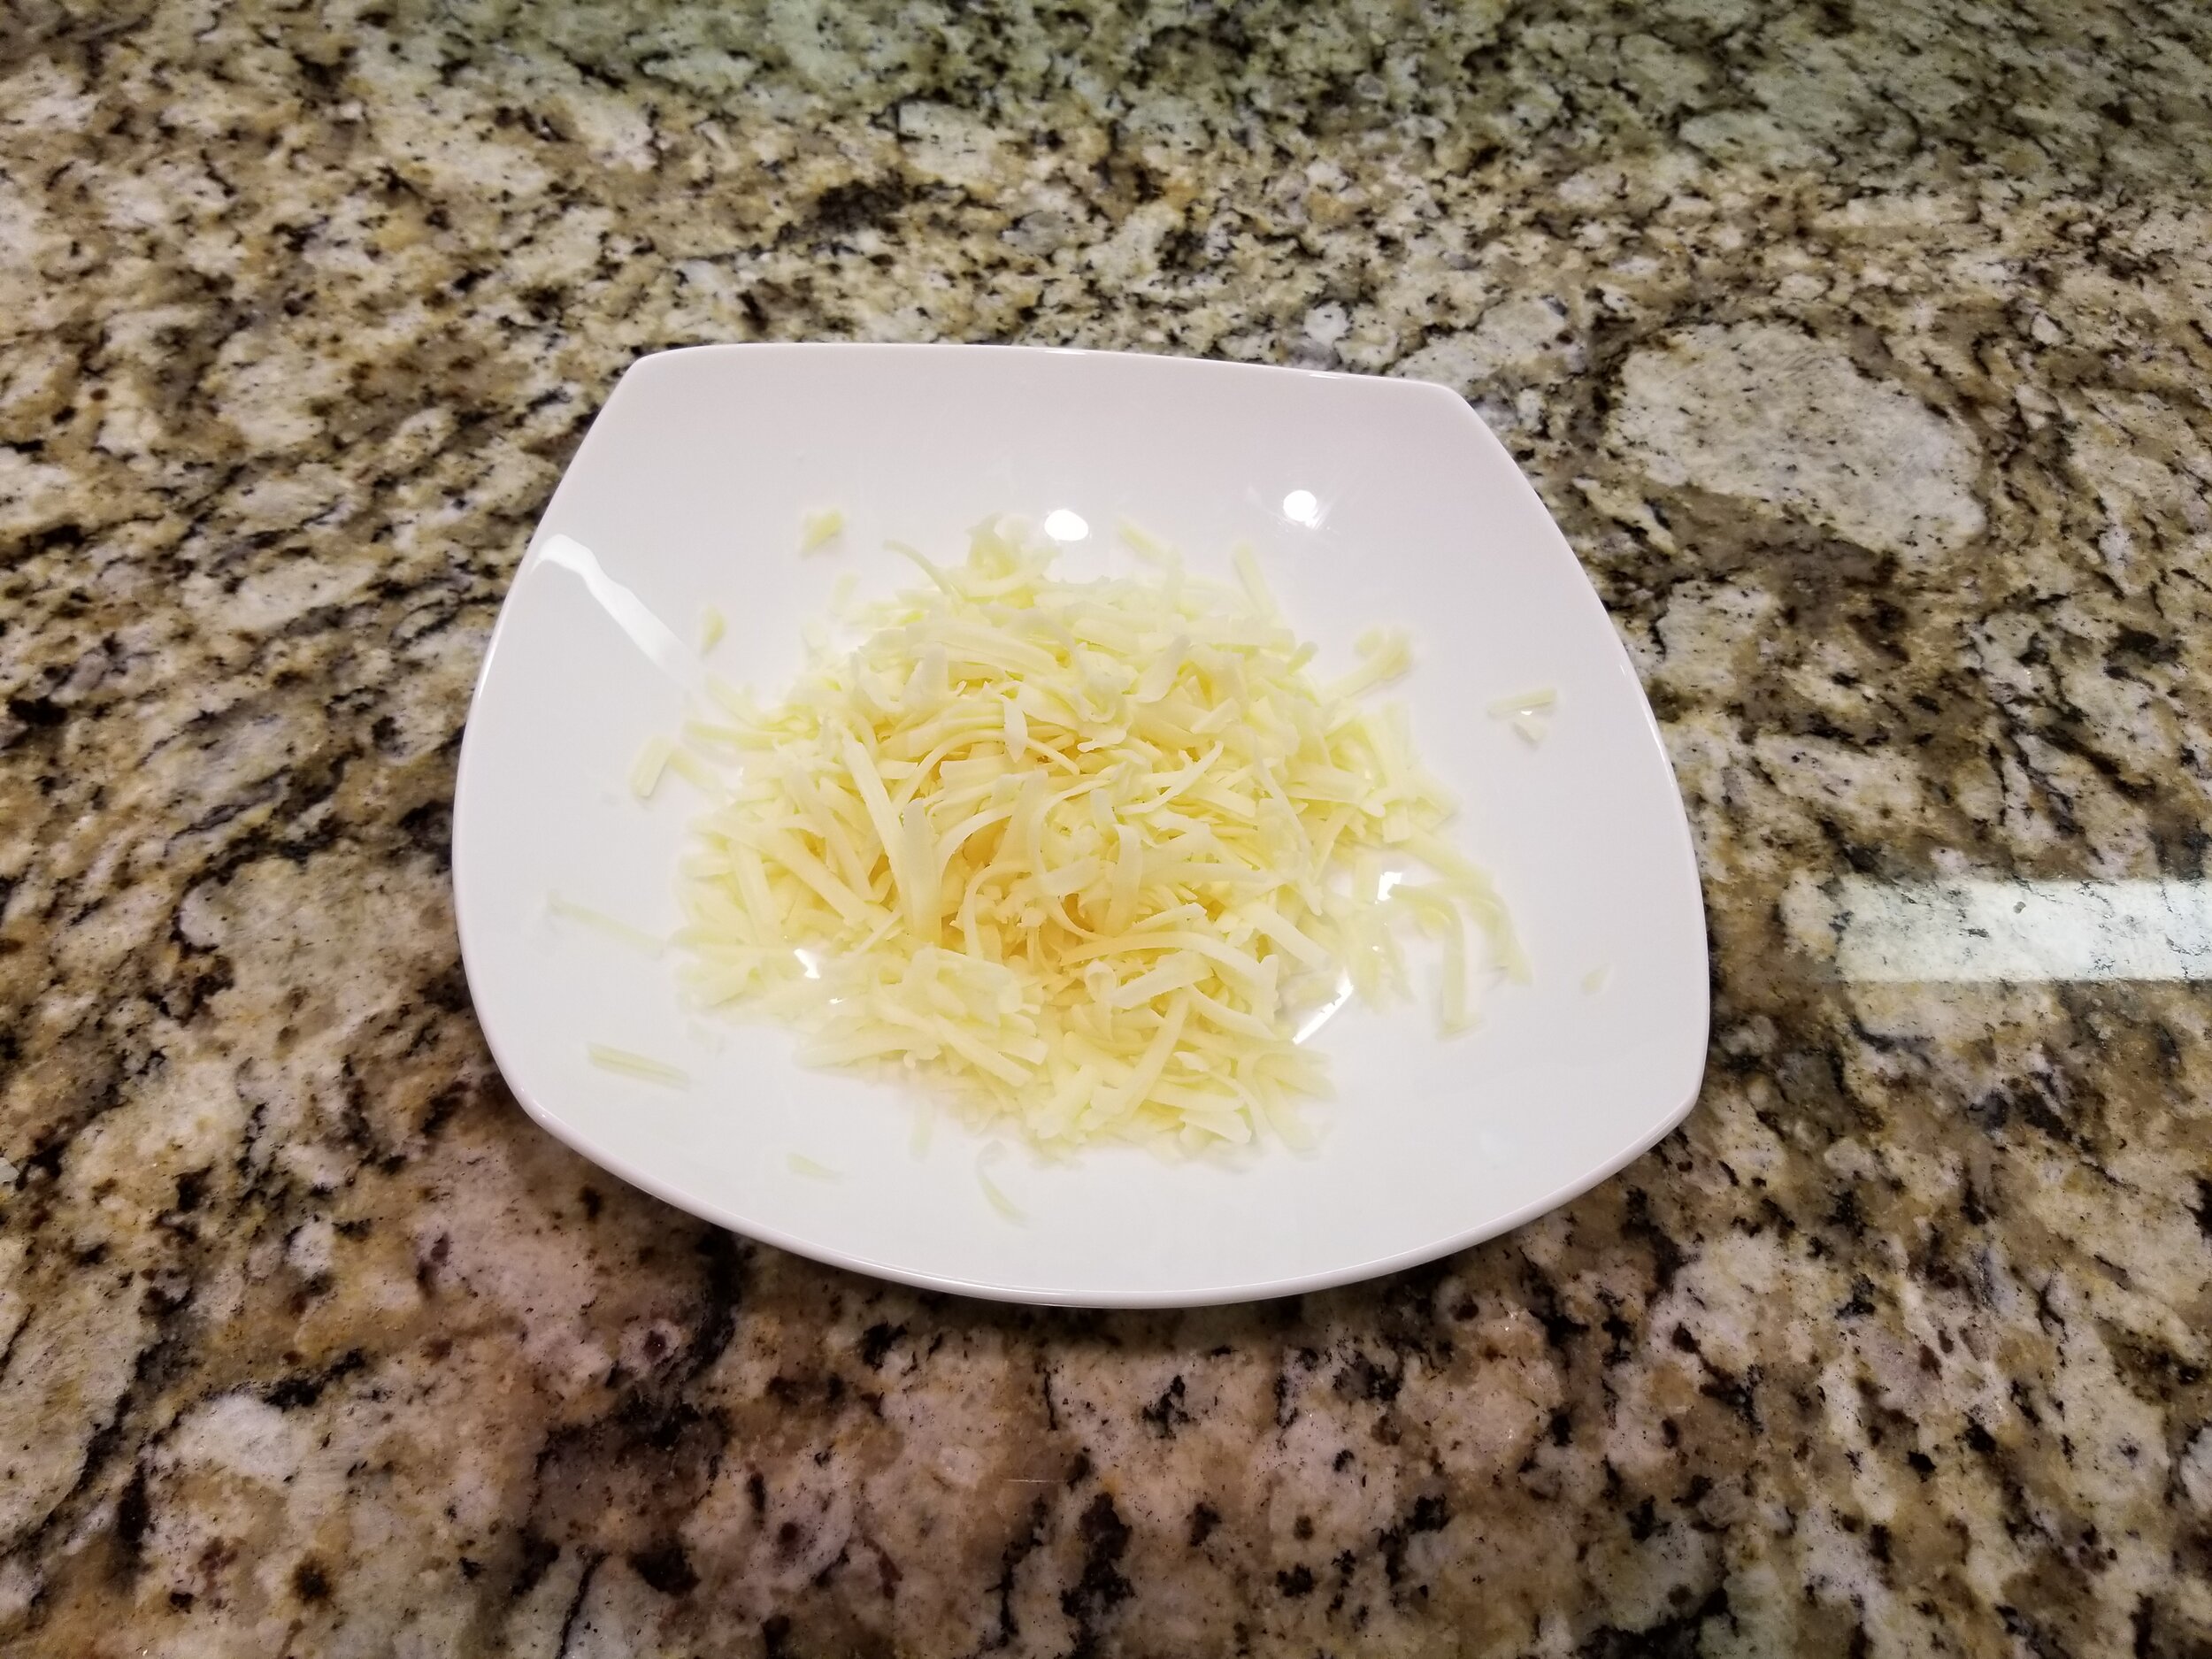
  • 1/2 - 1 cup shredded cheddar cheese

  • Salt and Pepper

The Process:

  1. Line a baking sheet with parchment paper. Preheat the oven to 375 degrees.

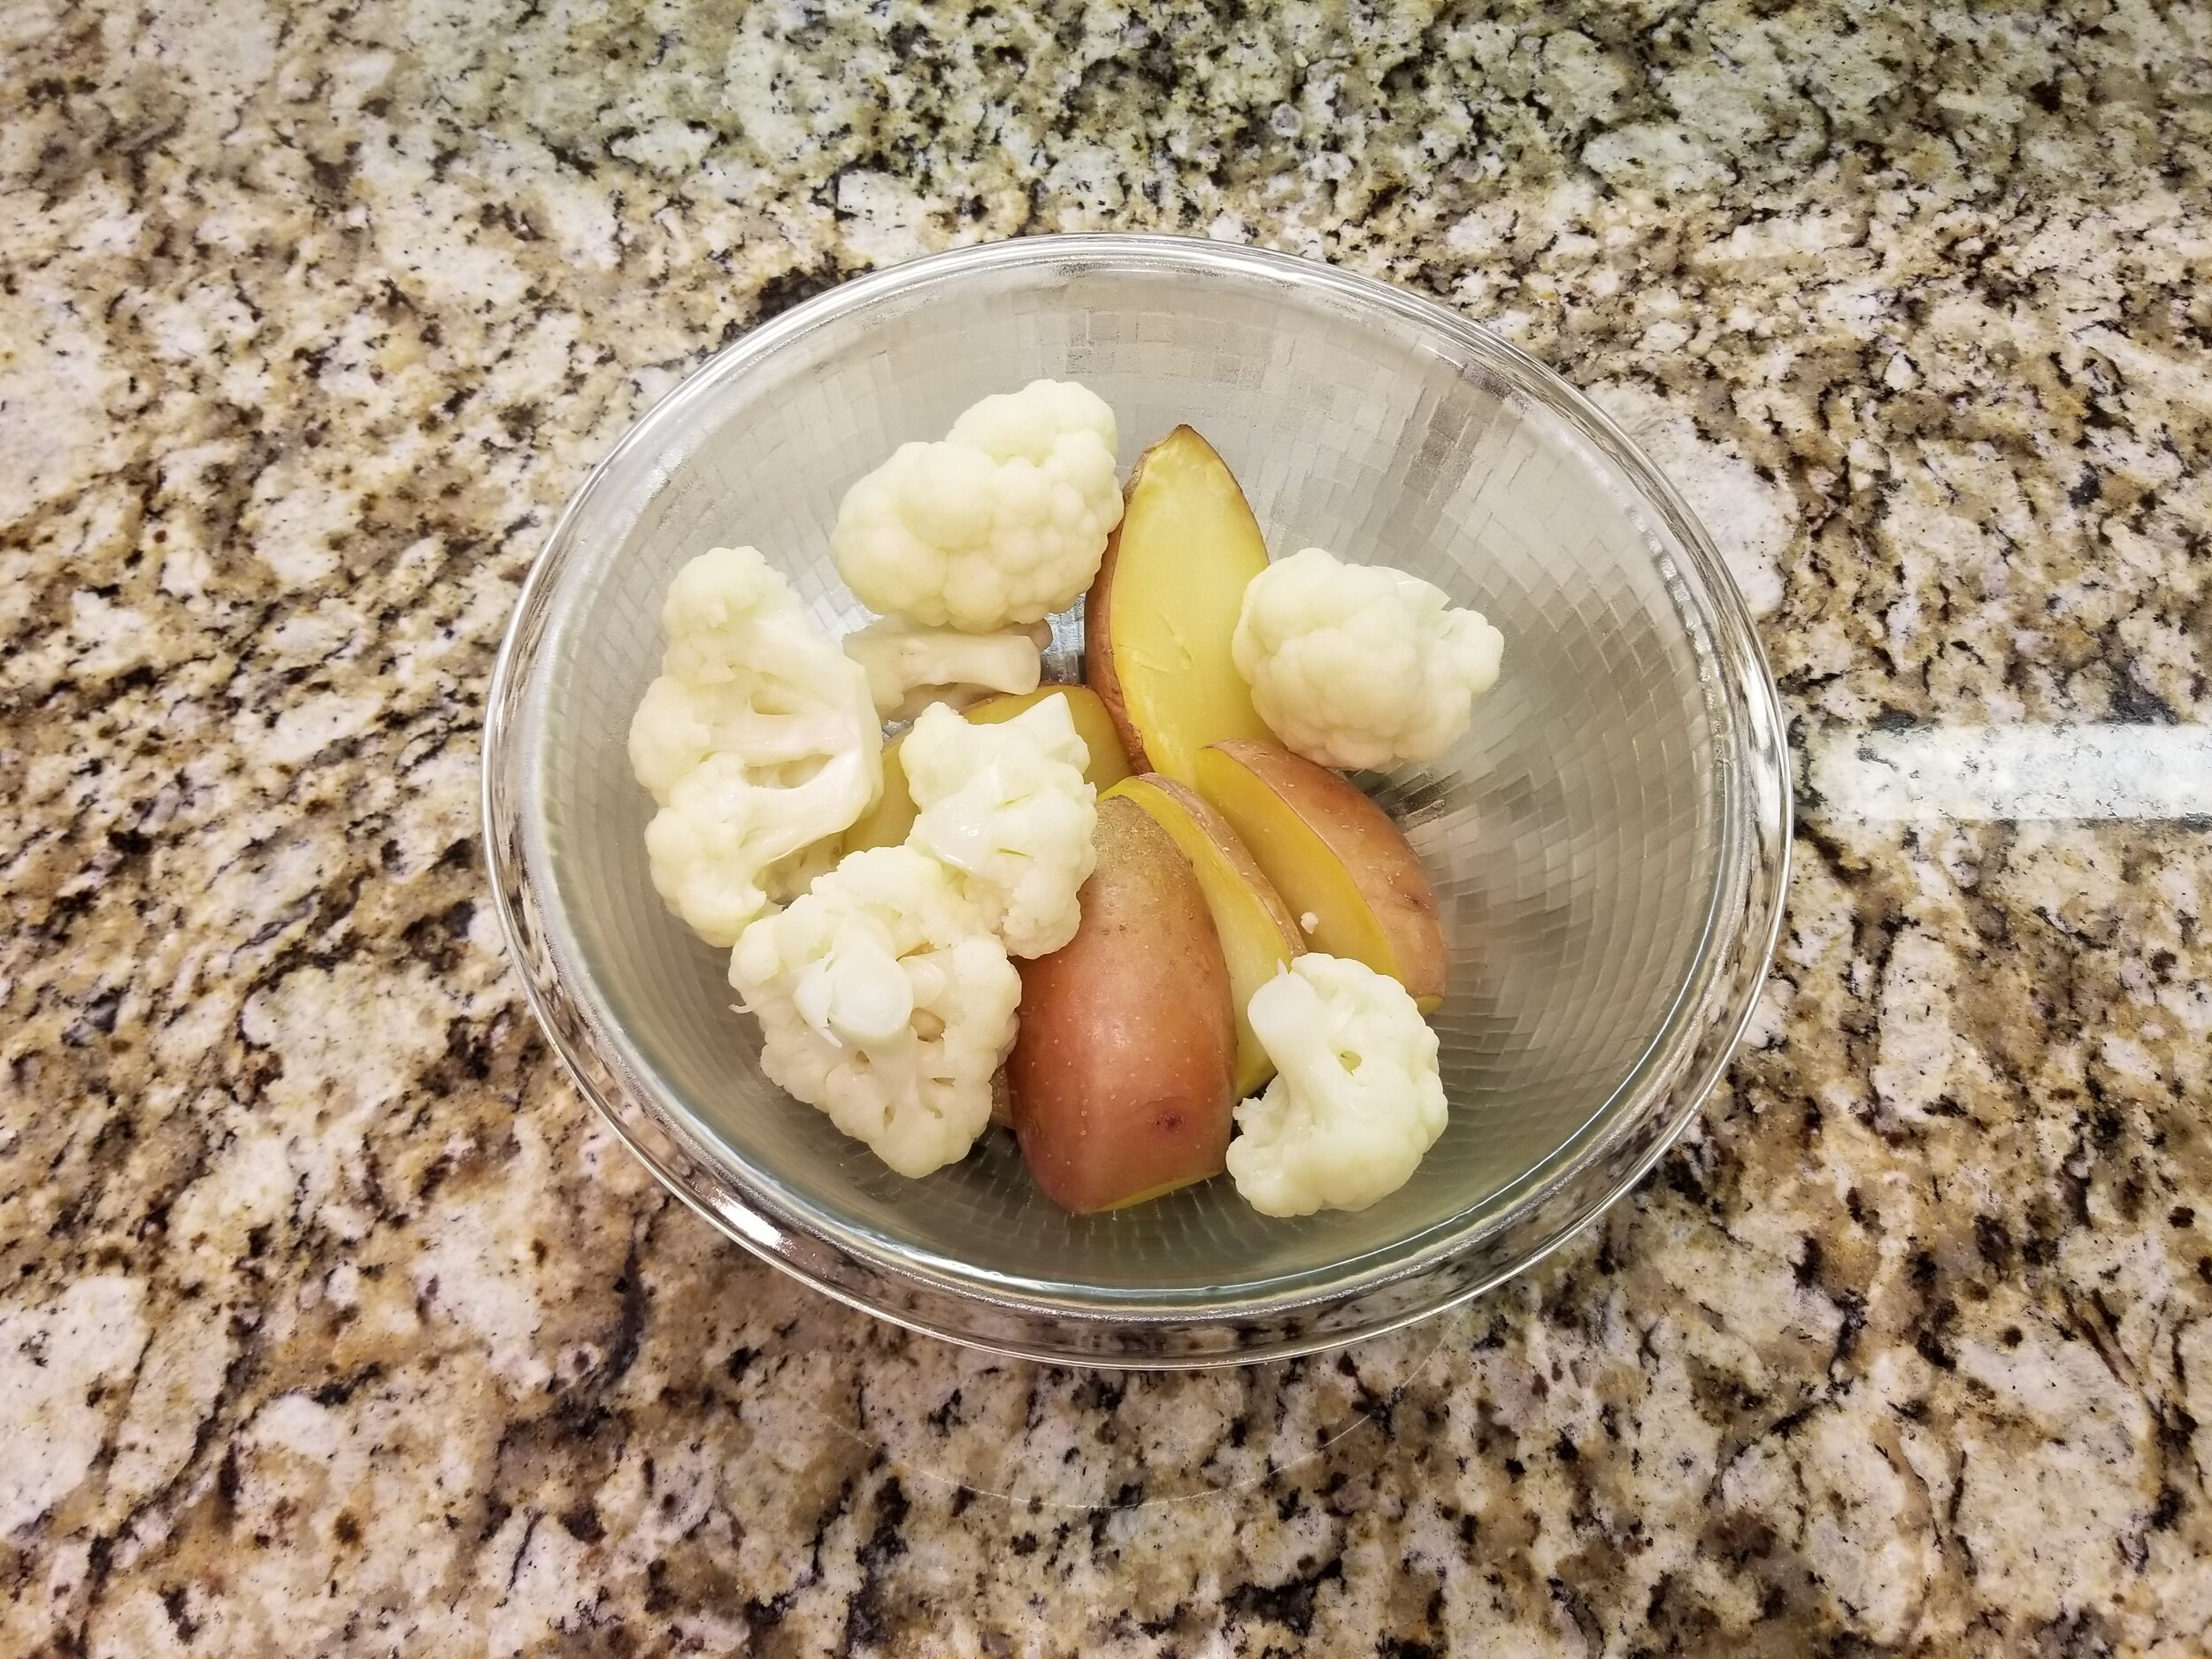
  2. Steam the cauliflower until a knife can pierce through easily.

  3. Peel the potatoes, and then cut them into 1/2 inch pieces. Steam the potatoes in a microwave safe container for 4 minutes, or until a knife can pierce through easily.

  4. Cut the cauliflower into pieces the same size as the potatoes.

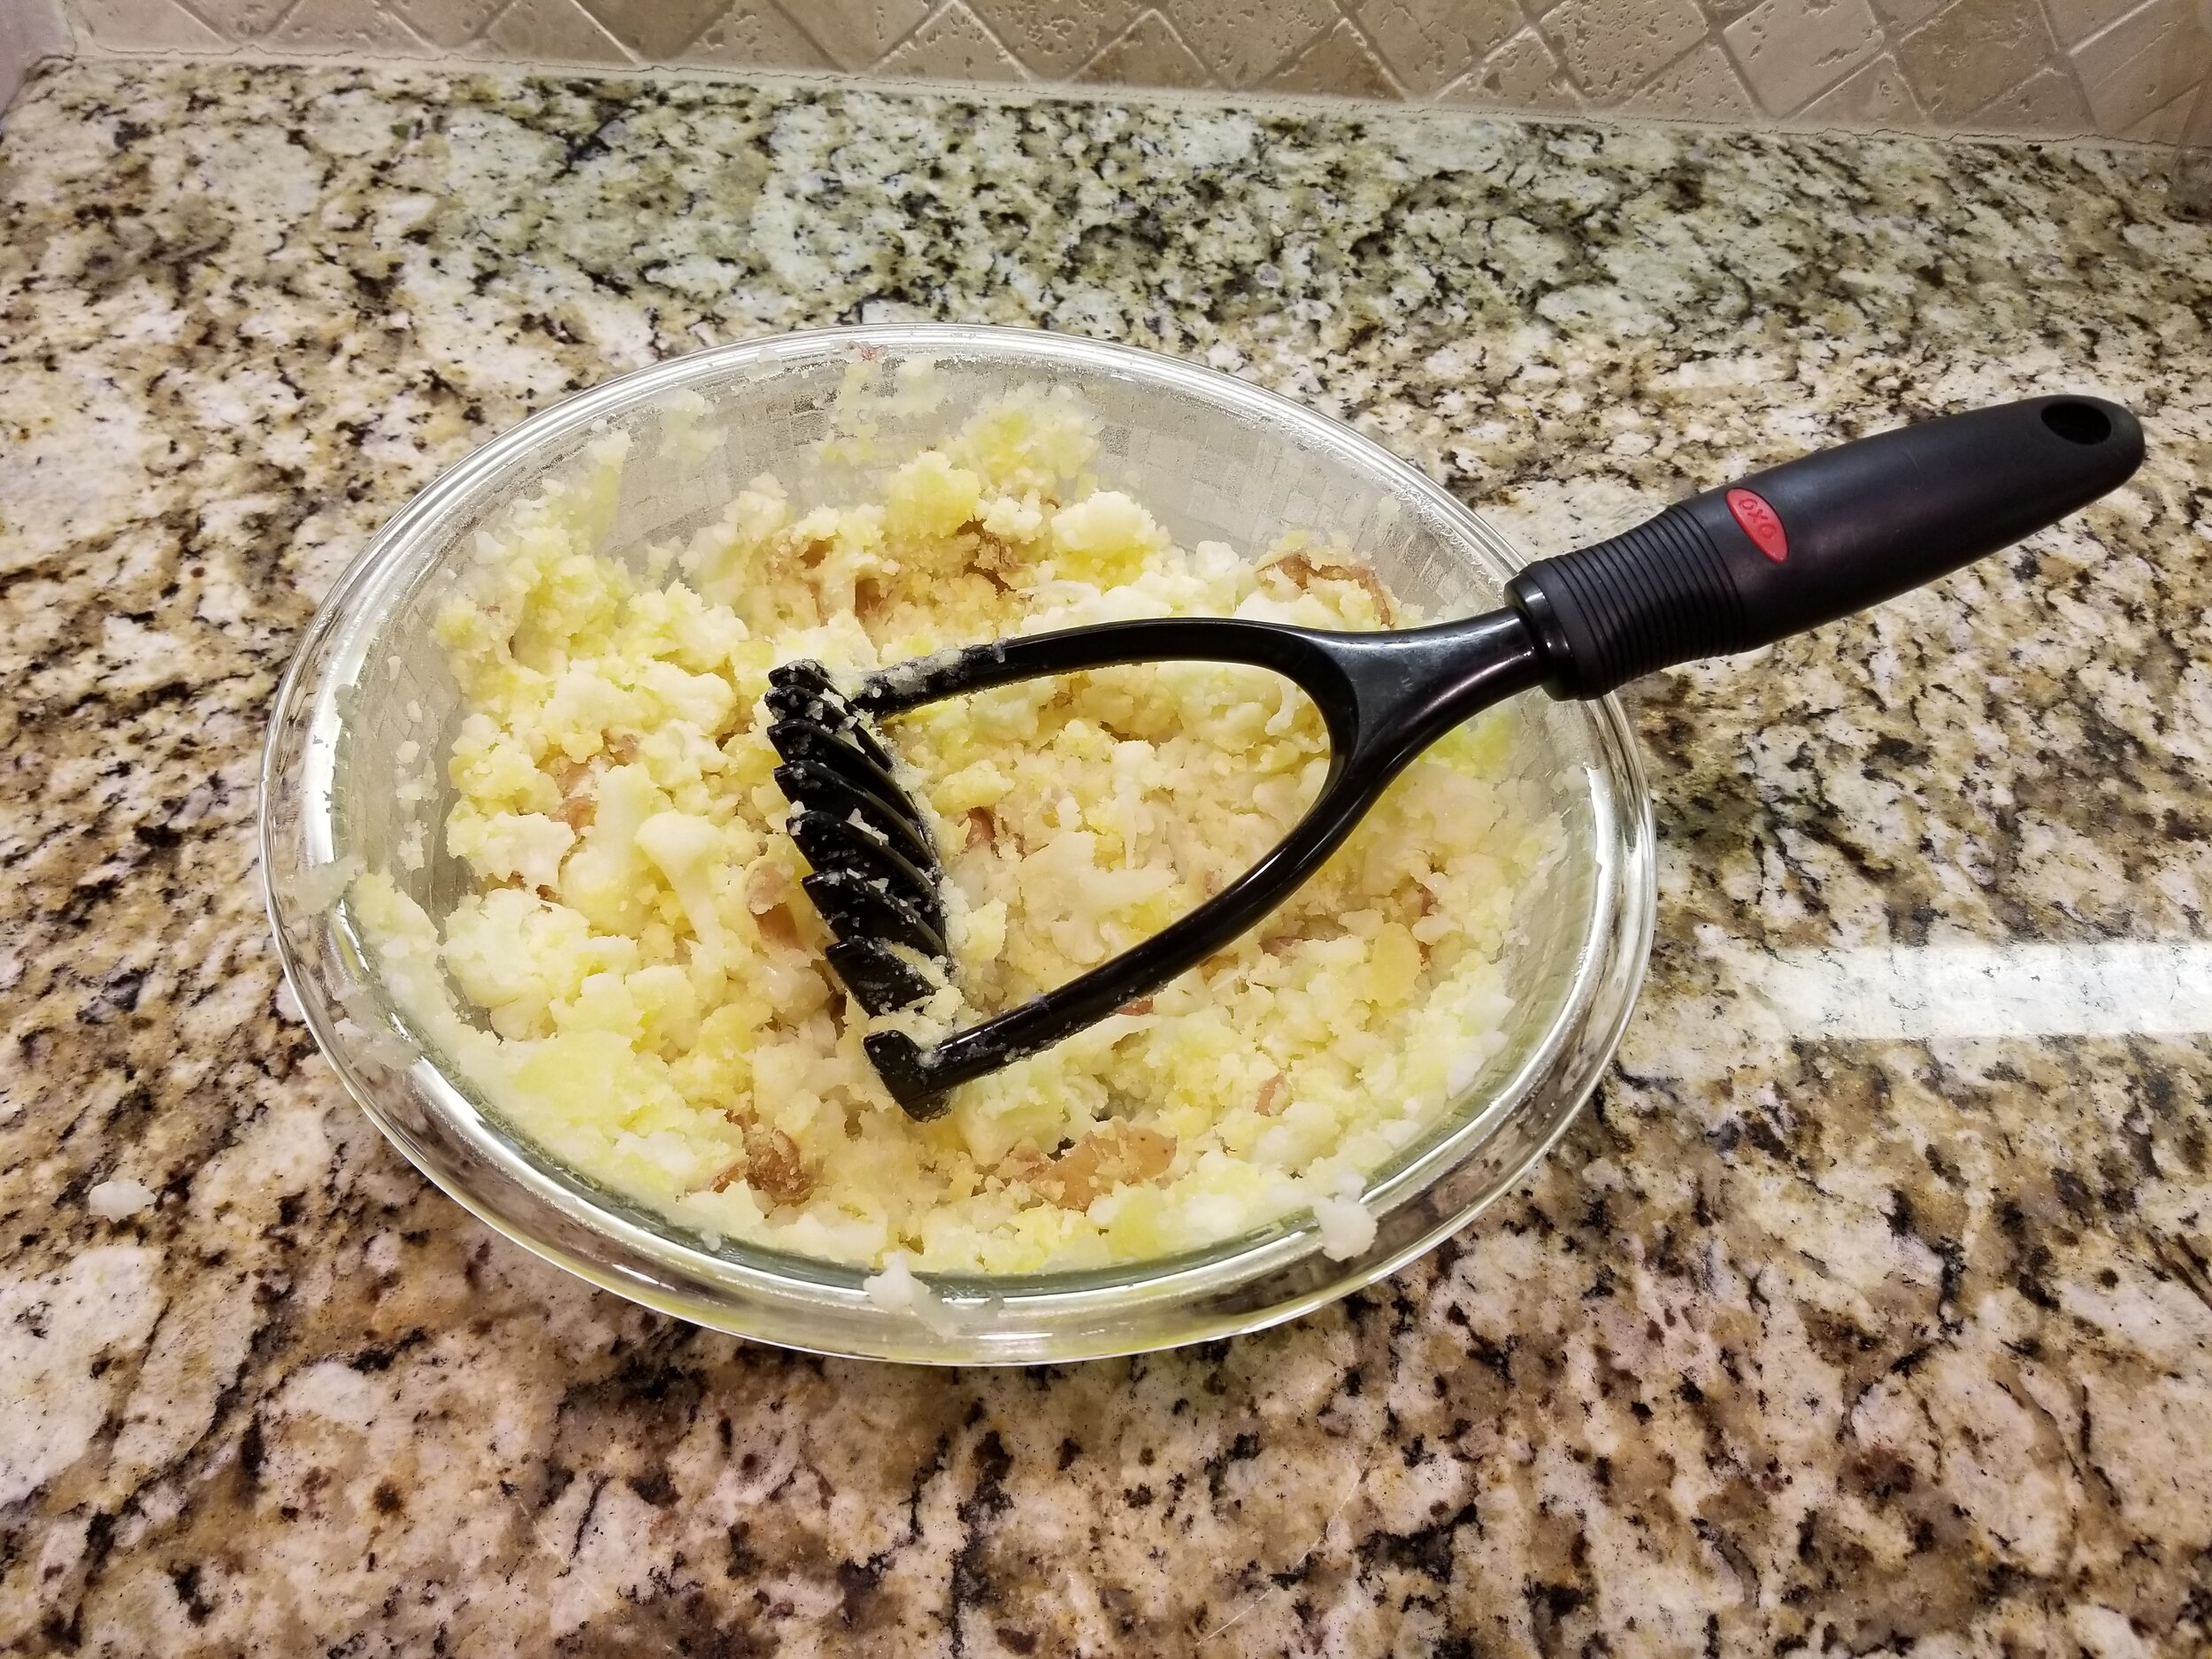
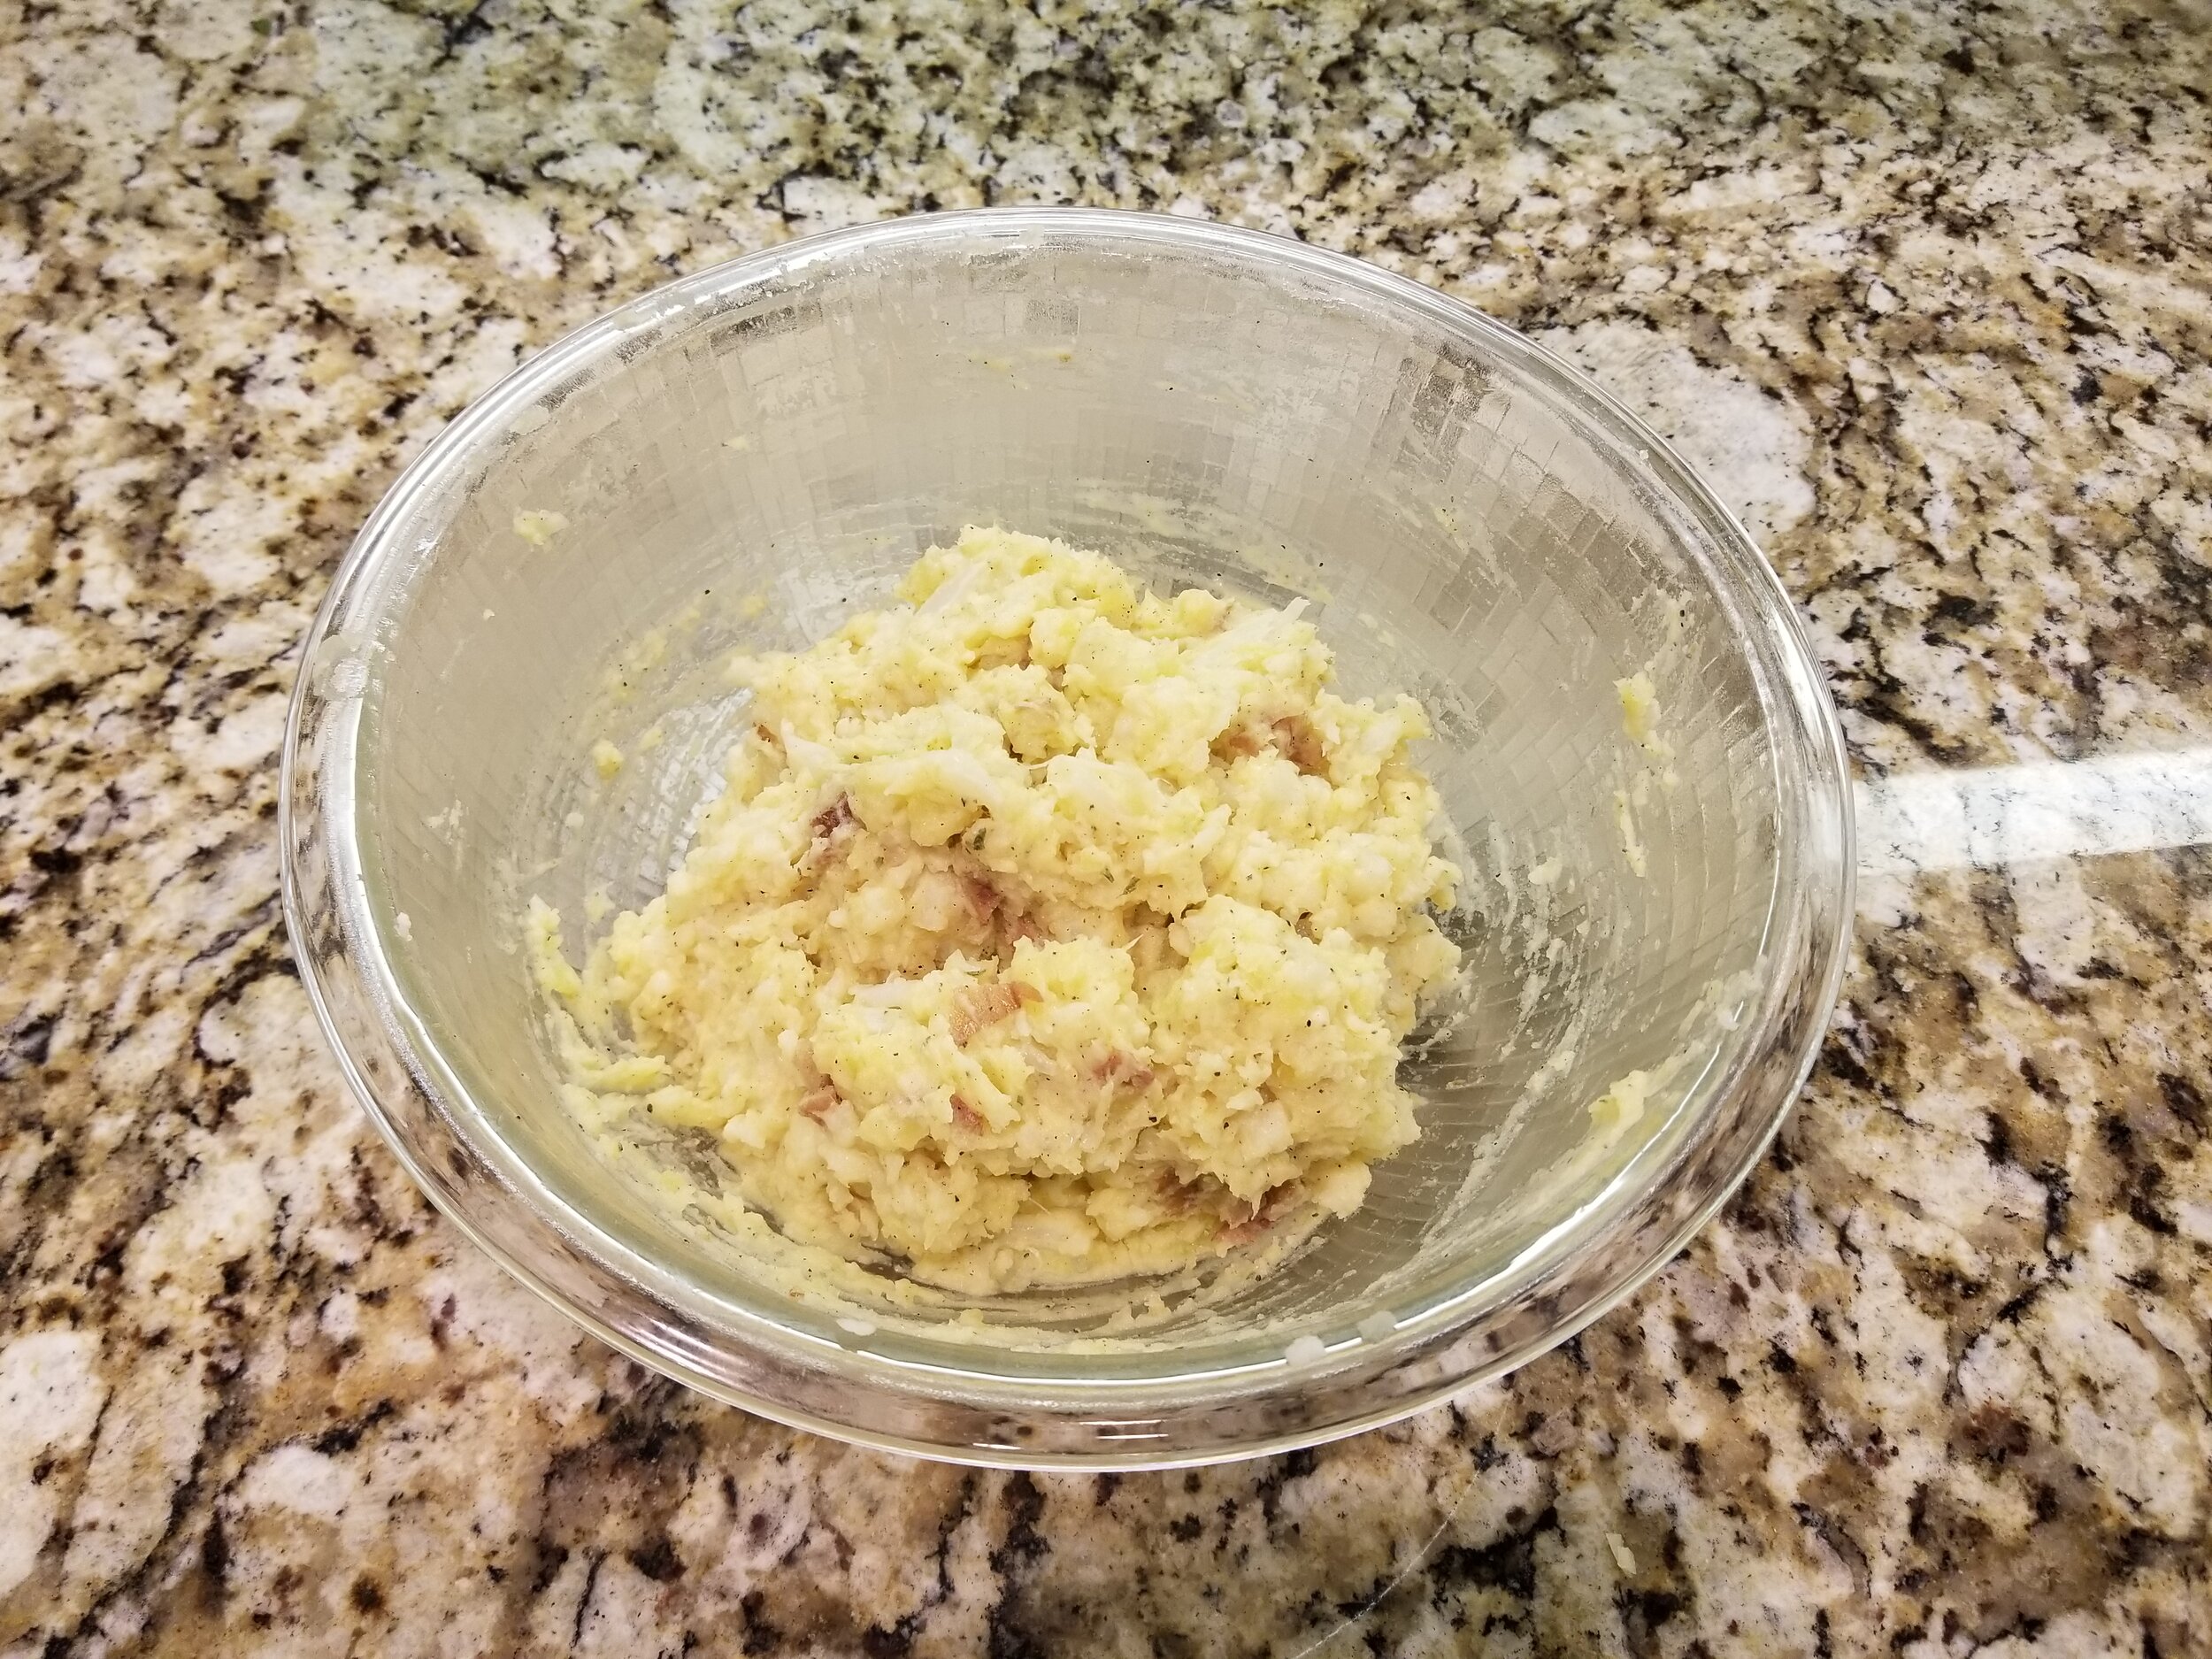
  5. In one bowl, combine the cauliflower and potatoes, and mash them until smooth.

  6. Add the shredded cheese, salt, and pepper to taste.

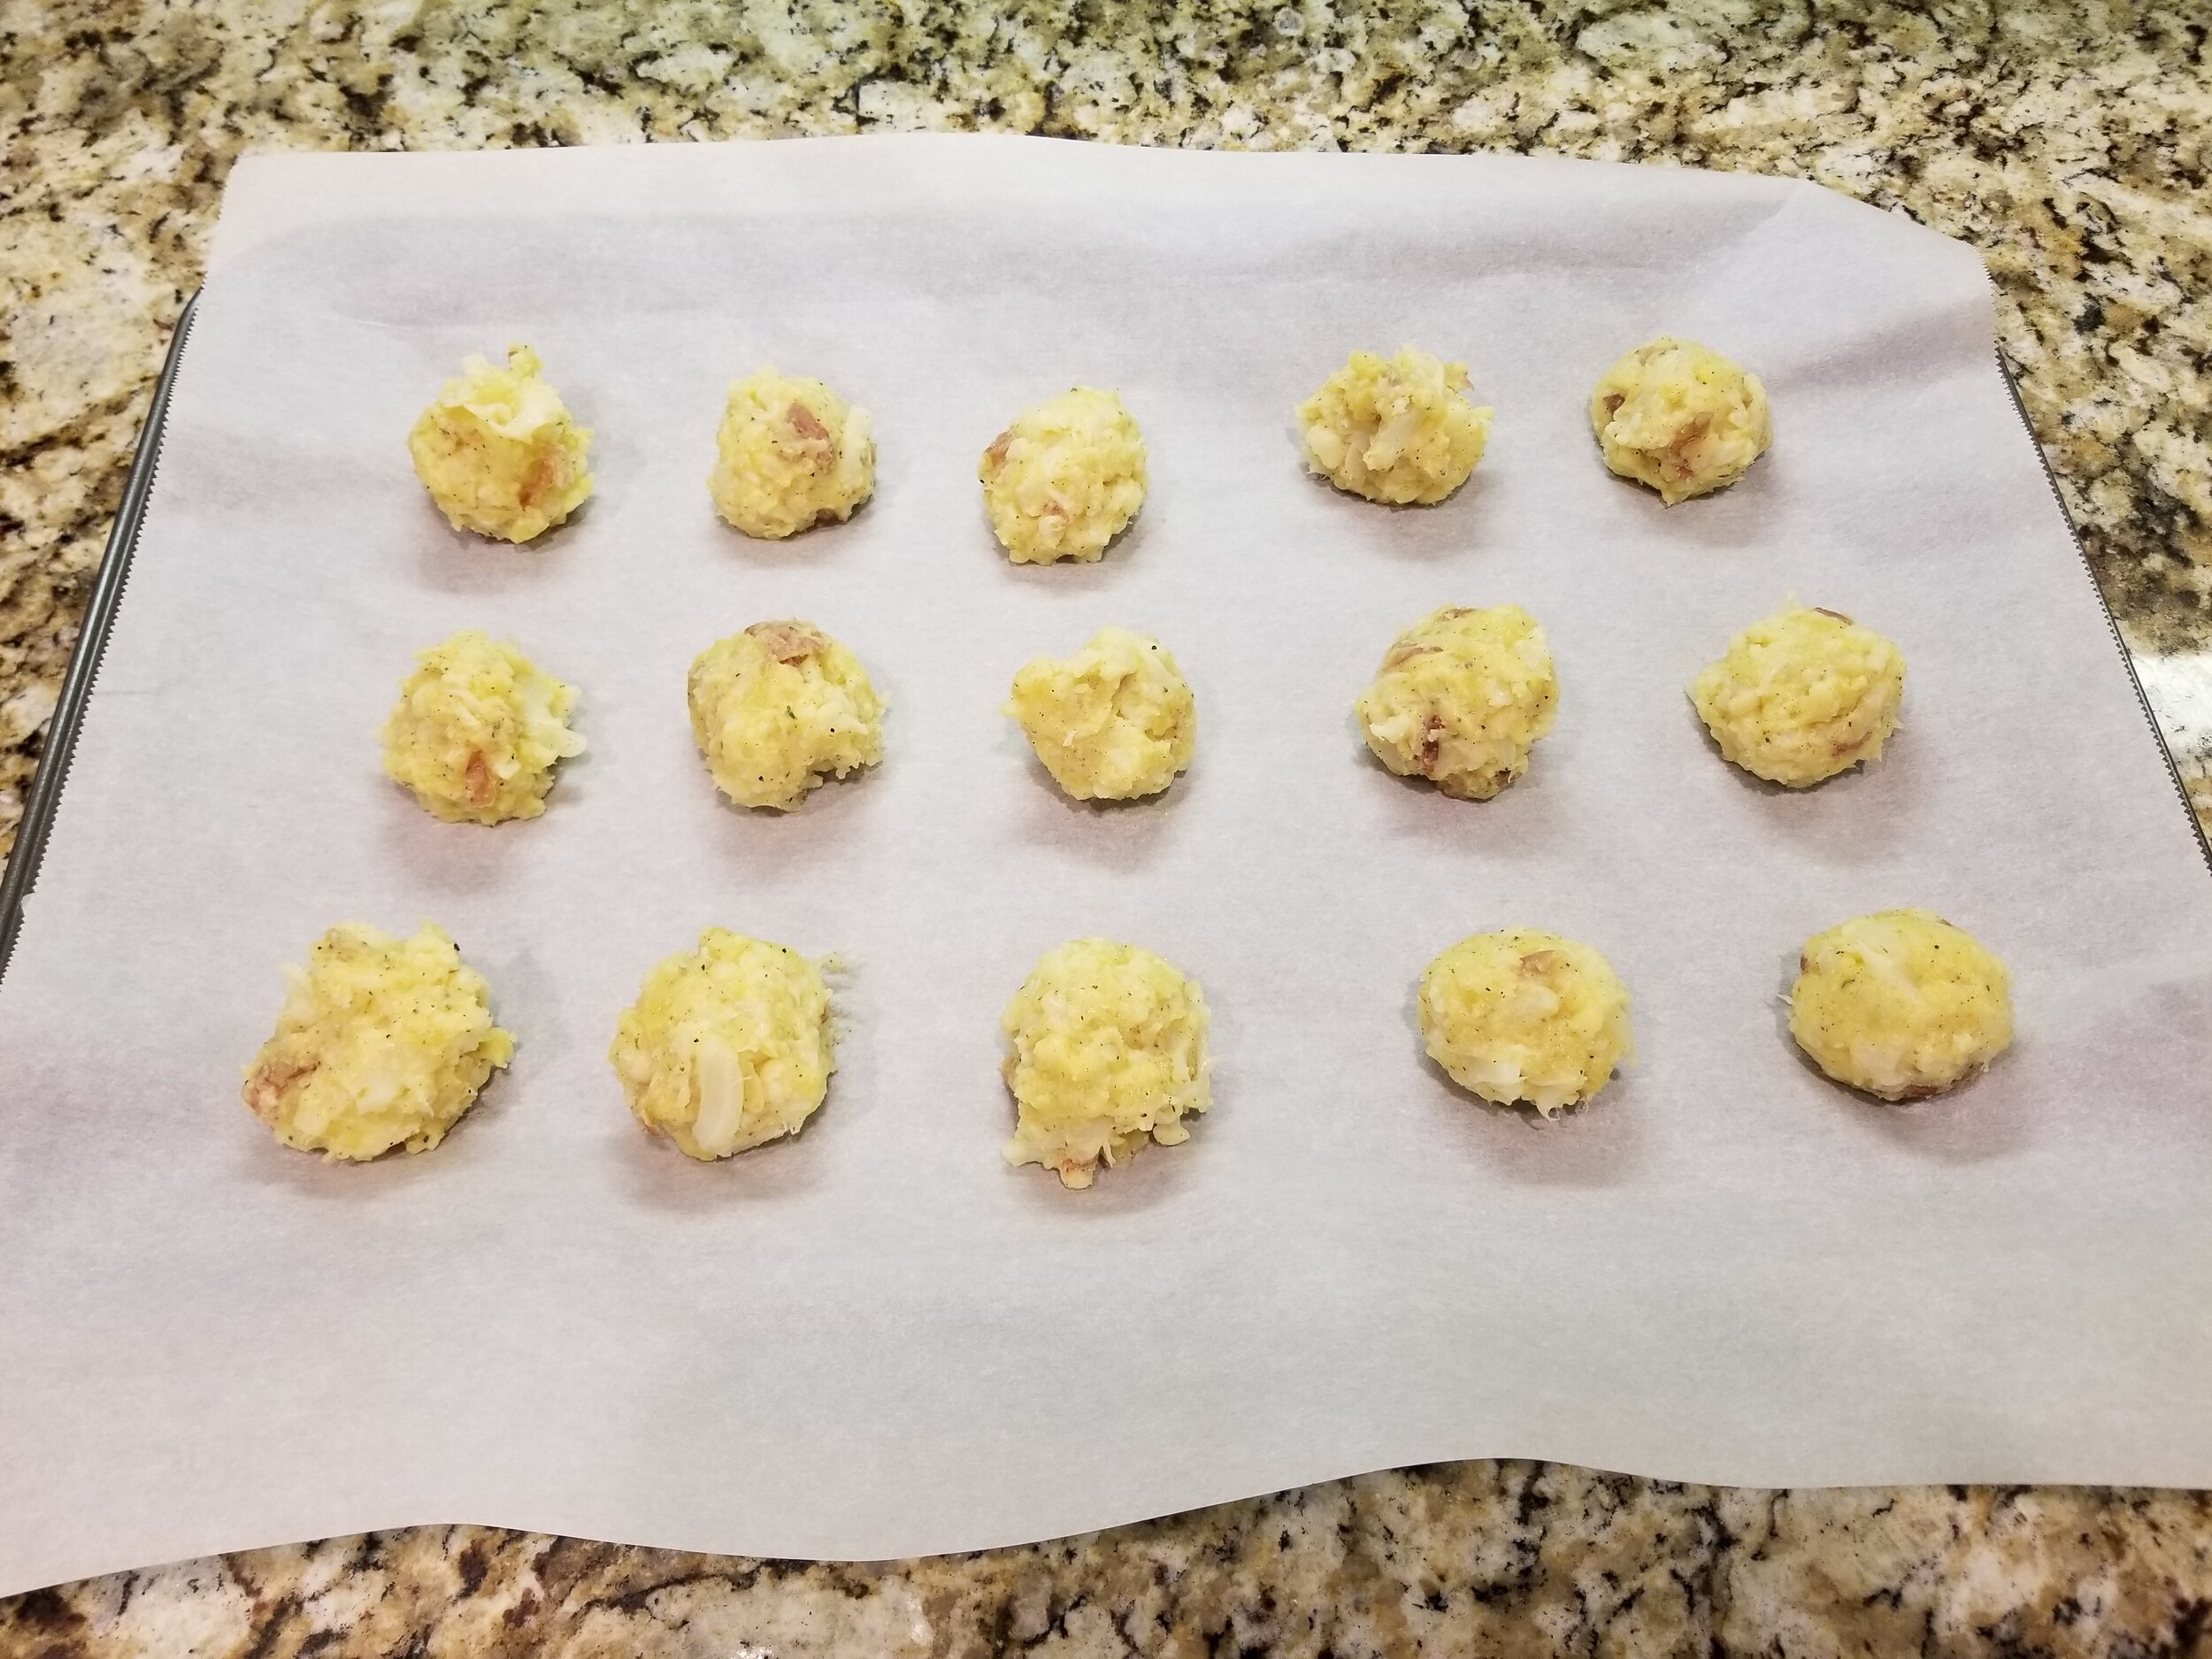
  7. Using a cookie scoop, form the tots and place them on the baking sheets.

  8. Bake in the oven for 20 - 25 minutes, depending on your preferred level of crispiness. Rotate 2 or 3 times during baking.

These are easy to make, and the kids love to help. I’ve experimented with different seasonings, keeping the potatoes more chopped rather than mashed, and swapping veggies, but the above list of ingredients is the one my kiddos prefer.

And hey, if your kids don’t go for these, you can at least say you tried (yet again!).

Written by Brandi Stanton, mama to 2 rascals, ages 2 and 4.

Halloween Fruit Pops

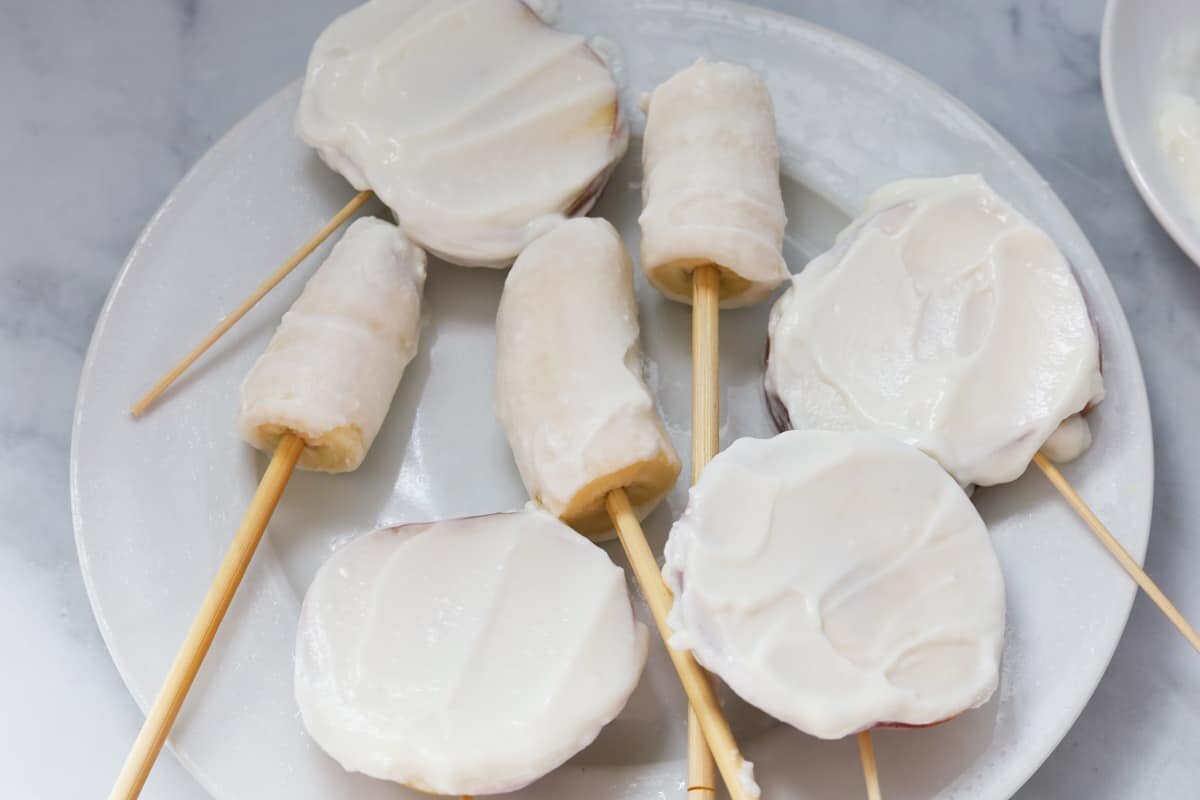
These delicious and healthy Halloween fruit pops are made with apples, bananas, and yogurt. As an added bonus, your kids can decorate banana ghosts and other spooky characters with a homemade chocolate sauce.

Halloween+Fruit+Pops+on+Hello+Rascal+Kids.+Lifestyle+blog+for+the+modern+parent%2C+kids+and+families.jpg

From Kaylie McLaughlin of A Peachy Plate: “My children inspire me in many aspects of my life; my 4-year-old is especially inspiring when it comes to crafts and the kitchen! I put together this recipe to give us the opportunity to create something fun, healthy, and festive for Halloween together. It became the perfect recipe to get in the Halloween spirit and start our unconventional 2020 celebration.  

My boys absolutely loved making these fruit pops! My 4-year-old’s favorite part was thinking up spooky faces and making his ideas come to life through his drawings. My 1-year-old is still a bit too young for the hands-on creating, but he’s always happy to enjoy a sweet treat, especially when it involves yogurt and chocolate covered bananas. He’s teething right now, so the cold fruit also helped with the pain. All in all, both my boys had a great time with this recipe!“

Read on to find out how to recreate this recipe with your own rascals.

EQUIPMENT

  • 1 quart size Ziploc bag

  • 1 rubber band

  • Pair of scissors

  • 4 skewers

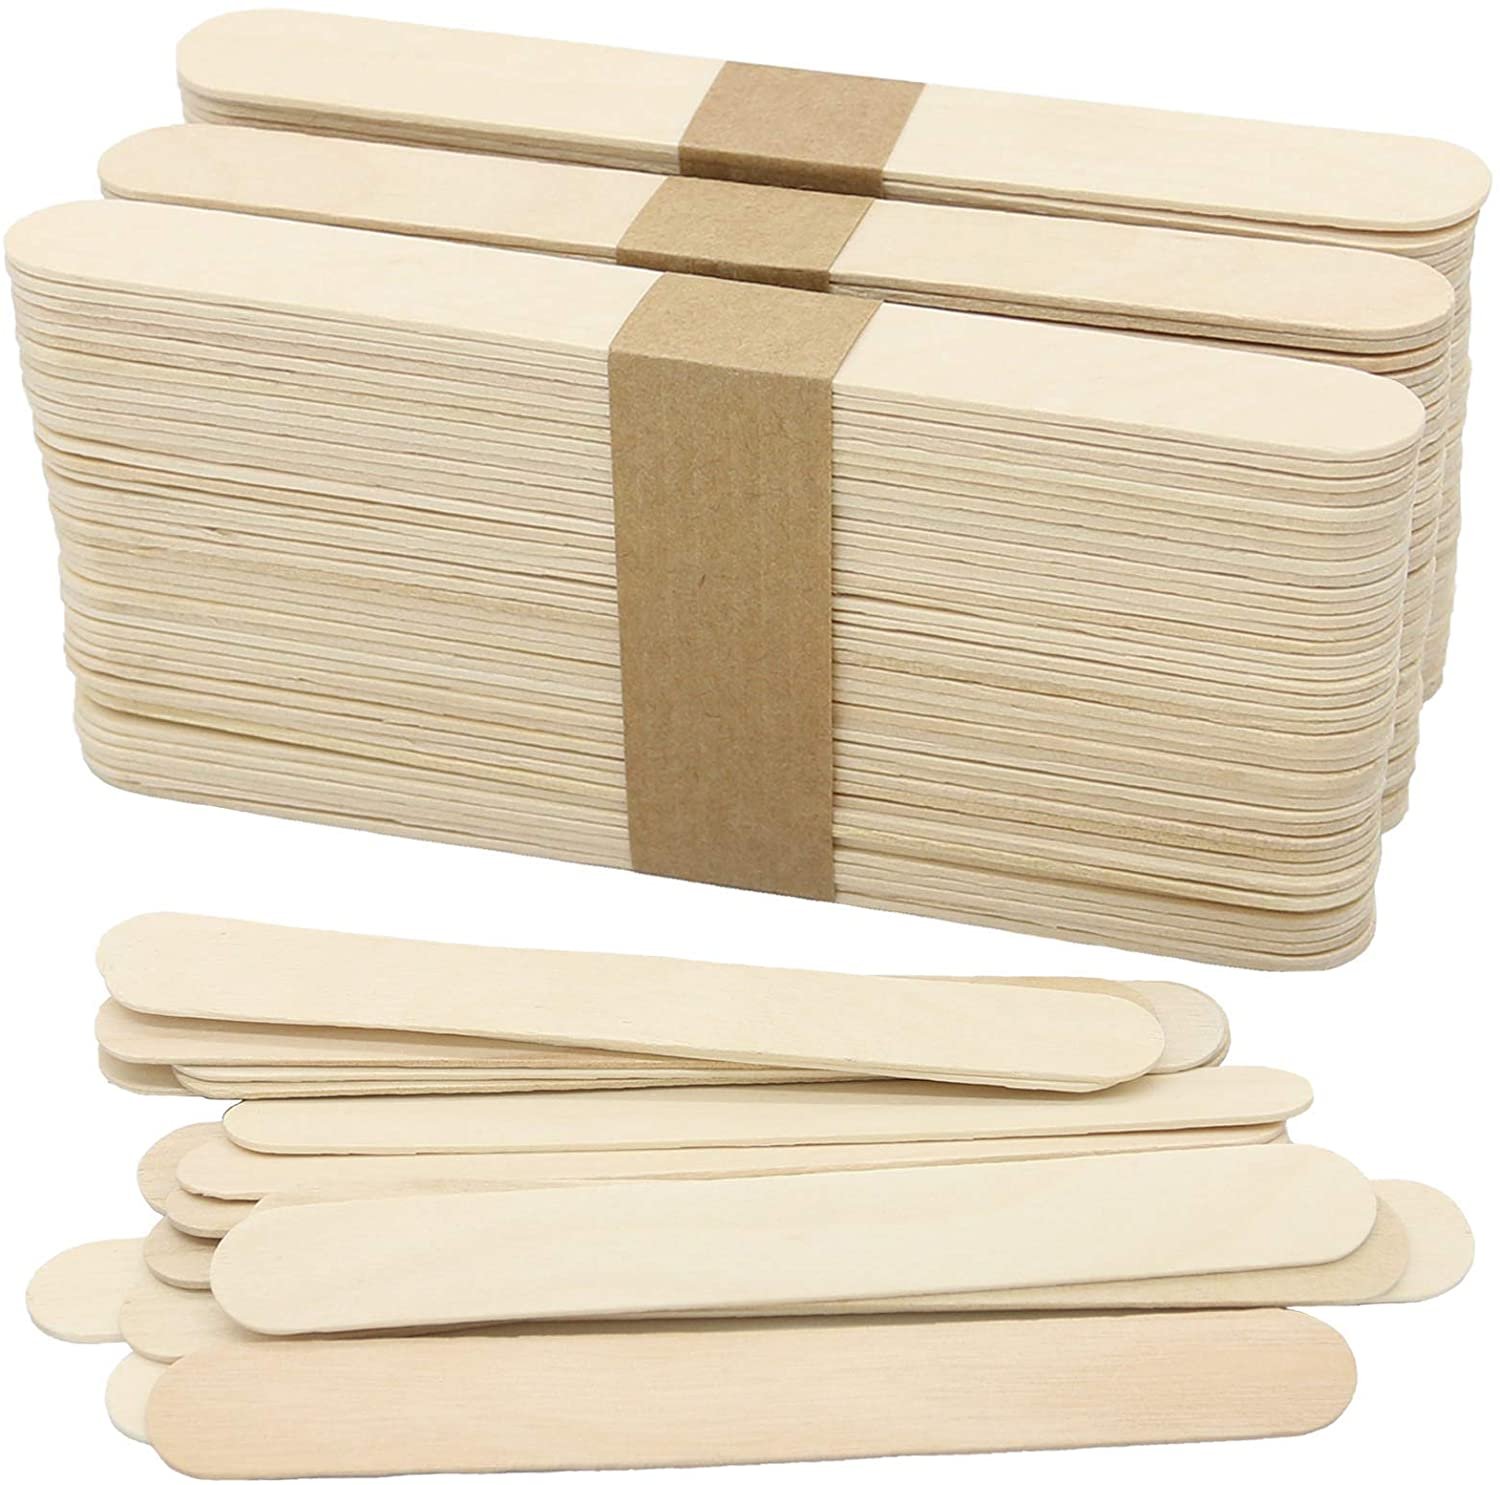
  • 3 popsicle sticks

INGREDIENTS

  • 1 banana

  • 1 apple

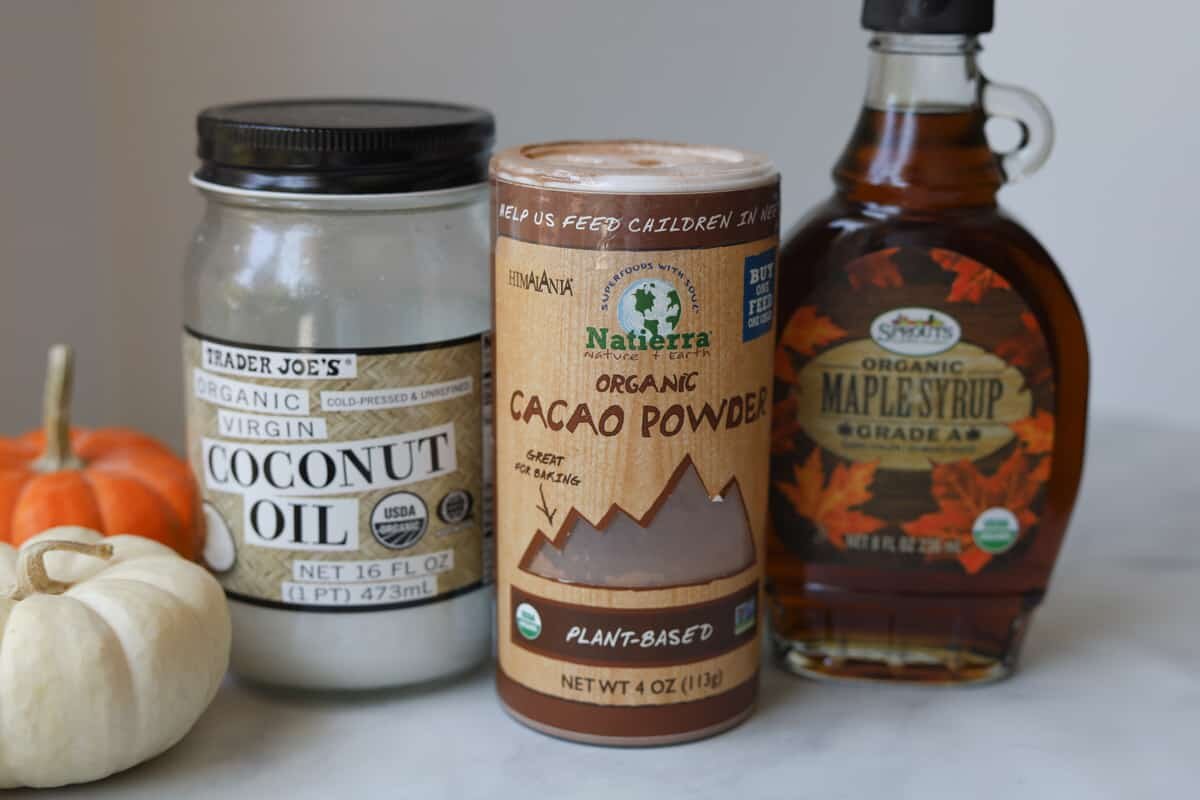
  • 1/4 cup cacao powder (If you do not have cacao powder, you can replace it with ½ cup of semisweet chocolate chips and 1 tablespoon of coconut oil) 

  • 2 tablespoons coconut oil

  • 2 teaspoons maple syrup

  • 2 cups vanilla yogurt (I use original Mountain High brand)

INSTRUCTIONS 

  • Cut the banana in thirds and gently push a popsicle stick halfway into each banana piece.

  • Cut apples in fours, lengthwise. You can choose to use or toss the piece with the core in it. Gently push the skewer stick through each apple.

  • Freeze fruit for 4 hours (or overnight).

  • Coat each frozen fruit pop with yogurt. Use a spoon or spatula to evenly coat the side you will be decorating on.

  • Freeze pops for 1 hour.

  • In a small bowl, add cacao powder, coconut oil, and maple syrup.  Microwave on high for 30 seconds. Mix well.

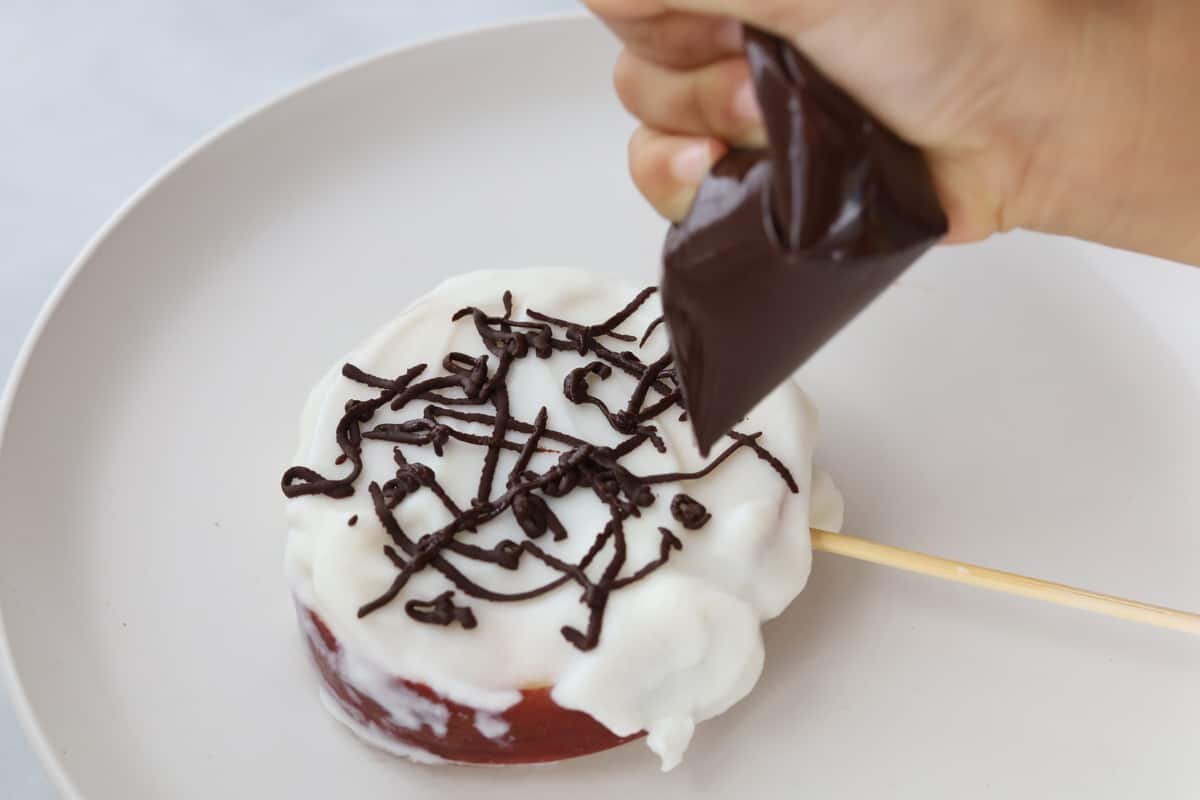
  • Scoop the chocolate sauce into the Ziploc bag, making sure to place the sauce all in one corner of the bag. This will be used as your piping bag. Secure the bag with a rubber band.

  • Cut a small hole in the corner of the Ziploc bag. The smaller the hole, the finer your piping will be.

  • Decorate each fruit pop with your favorite Halloween character.

  • Tip: If the yogurt begins to melt, put back in the freezer to chill.

  • Enjoy right away or chill the pops until ready to serve!

NOTES

* Make sure the banana is not overly ripe, as the popsicle stick will stay in place better if the banana is firmer. 

*If you don’t have any popsicles sticks, to-go chopsticks or wooded skewers work as well! Make sure to cut the pointy ends off the skewers. Young children should be supervised when handling the skewers or sticks and also while enjoying their treat.

We are so ready for Halloween and excited to be making these delicious fruit treats in the kitchen! My rascals love helping out, especially when they get to enjoy the yummy snacks.  These easy frozen fruit pops with a homemade chocolate shell sauce is a great way to get artsy and creative with food. We hope you and your loved ones try these fun Halloween treats. Wishing you a happy and tasty Halloween!

Halloween Fruit Pops on Hello Rascal Kids. Lifestyle blog for the modern parent, kids and families.

Food suggestion by Kaylie McLaughlin of A Peachy Plate and consumed by two rascals, ages 1 and 4.

Taco Tuesdays

Taco Tuesday on Hello Rascal Kids. Food ideas for families.

Finding kid-friendly family meals can be a challenge because rascals’ little tastebuds are still developing, growing, and changing (and may have a strong affinity for chicken nuggets and fries). To minimize the onset of a food battle in our home, I have a list of go-to meals that both the adults & kids love.

(My personal cooking preference is to make one meal that everyone will eat. The less time I spend in the kitchen - the better!)

In college, we frequented the local El Torito for tacos every Friday; you can’t beat their happy hour prices. Since then, I’ve loved making tacos (see the variations below) because they are easy and healthy and everyone can pick what they want to put inside. Take that, picky eaters!

Taco Tuesday on Hello Rascal Kids. Food ideas for families.

Before the age of 2, I created "de-constructed” tacos for my kids. In essence, instead of building the taco, I put all the ingredients and toppings on the plate and just let them dig in. As they got older and increased their dexterity and coordination, they started to eat “constructed” tacos . Now, at the ripe old age of 4, my eldest demands to build his own taco.

It is important to note that in my household, “taco” is interchangeable with tostada, soft taco, burrito, taco bowls, and nachos. We use the same ingredients presented in different ways.

Taco Tuesday on Hello Rascal Kids. Food ideas for families.

Suggested ingredients can include:

  • A protein or two: ground beef with McCormick Taco Seasoning, Texas pulled pork, rotisserie chicken from the grocery store, salsa chicken, tofu, black or refried beans

  • Veggies: shredded spinach, grape tomatoes, sautéed zucchini, avocado, sautéed onion, roasted peppers

  • Toppings: cheese, your favorite salsa, jalapeños, black olives

To accompany the main dish, I usually roast some additional veggies (broccoli, carrots, cauliflower, butternut squash). Sometimes, I’ll make a box of Rice-A-Roni Spanish Rice, although I know my mom would prefer I make it from scratch!

Hands down, everyone loves Taco Tuesday in our house. Yes, we call it Taco Tuesday even when we don’t eat it as a taco and even when it is a Thursday. Create your own “Taco Tuesday” and enjoy dinnertime with the whole family!

Taco Tuesday on Hello Rascal Kids. Food ideas for families.

Food suggestion by Brandi Stanton and consumed by two rascals, ages 2 and 4.

Working in the Kitchen with Kids

Bringing kids into the kitchen can be extra work and take more time, but the payoffs are great!

Bringing kids into the kitchen can be extra work and take more time, but the payoffs are great!

Little rascals are often very eager to join you in the kitchen! Despite my hesitation at times, I know that including my kids in the kitchen can do wonders for their development.

  • They build up their self-esteem by having independent tasks to complete.

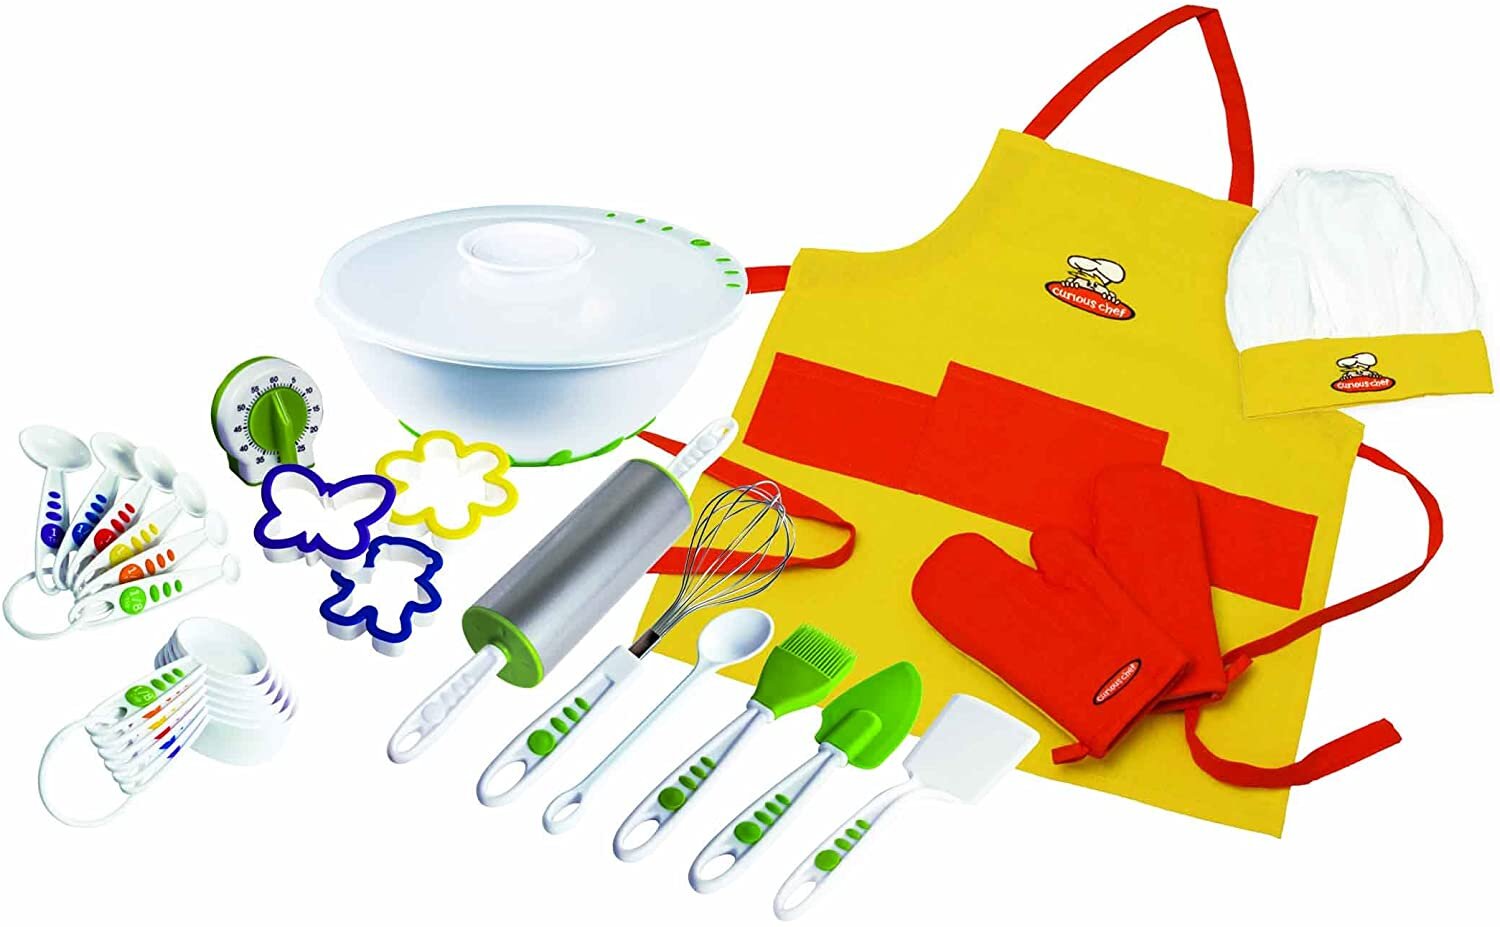
  • They enhance their fine and gross motor skills as they handle kitchen equipment and tools.

  • They are more likely to eat the food they helped prepare and cook.

  • They learn about nutrition and healthy eating.

  • They practice their measurement math skills.

  • They (hopefully) develop a lifelong love of preparing their own food.

When I invite my rascals into the kitchen, we bake cookies, season veggies to be roasted, roll meatballs, cut veggies, and cook on the stovetop. We talk about how to safely handle and use the kitchen tools and equipment, discuss how to maneuver around a hot stovetop, and practice cleaning our hands before handling any food and after handling raw meat. As the icing on the cake, I always include my kids in the clean up of the kitchen, too!

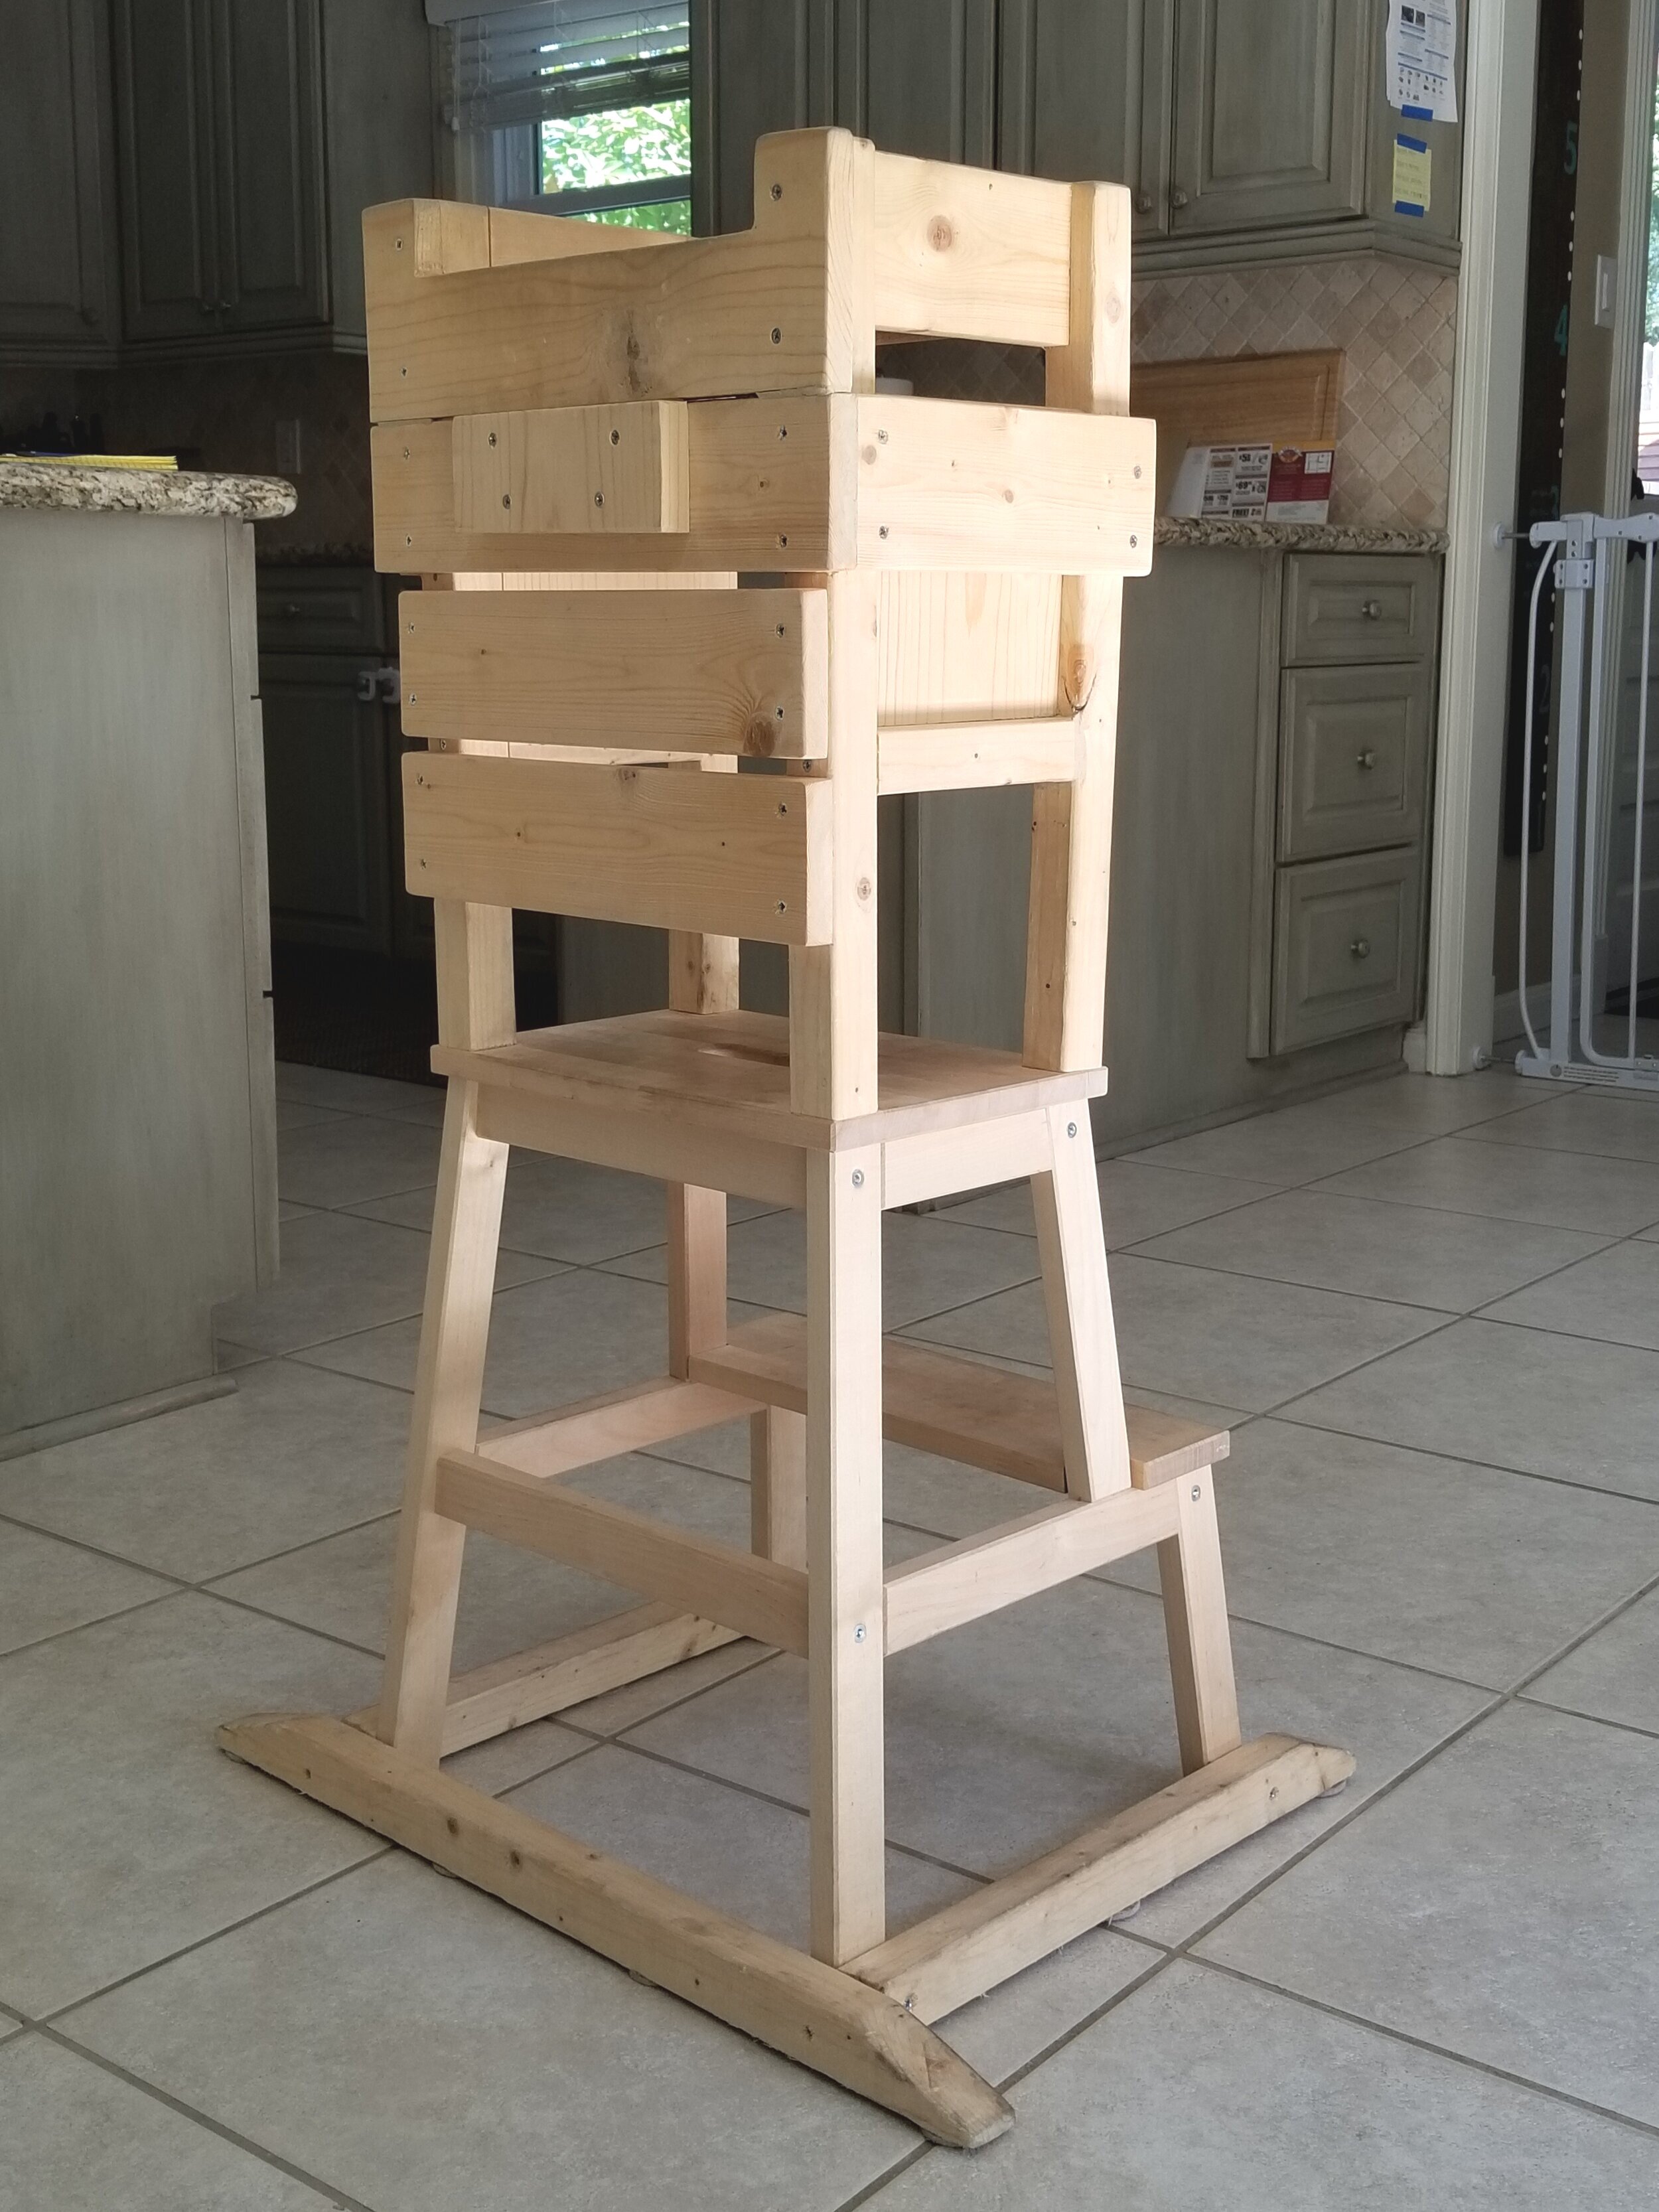
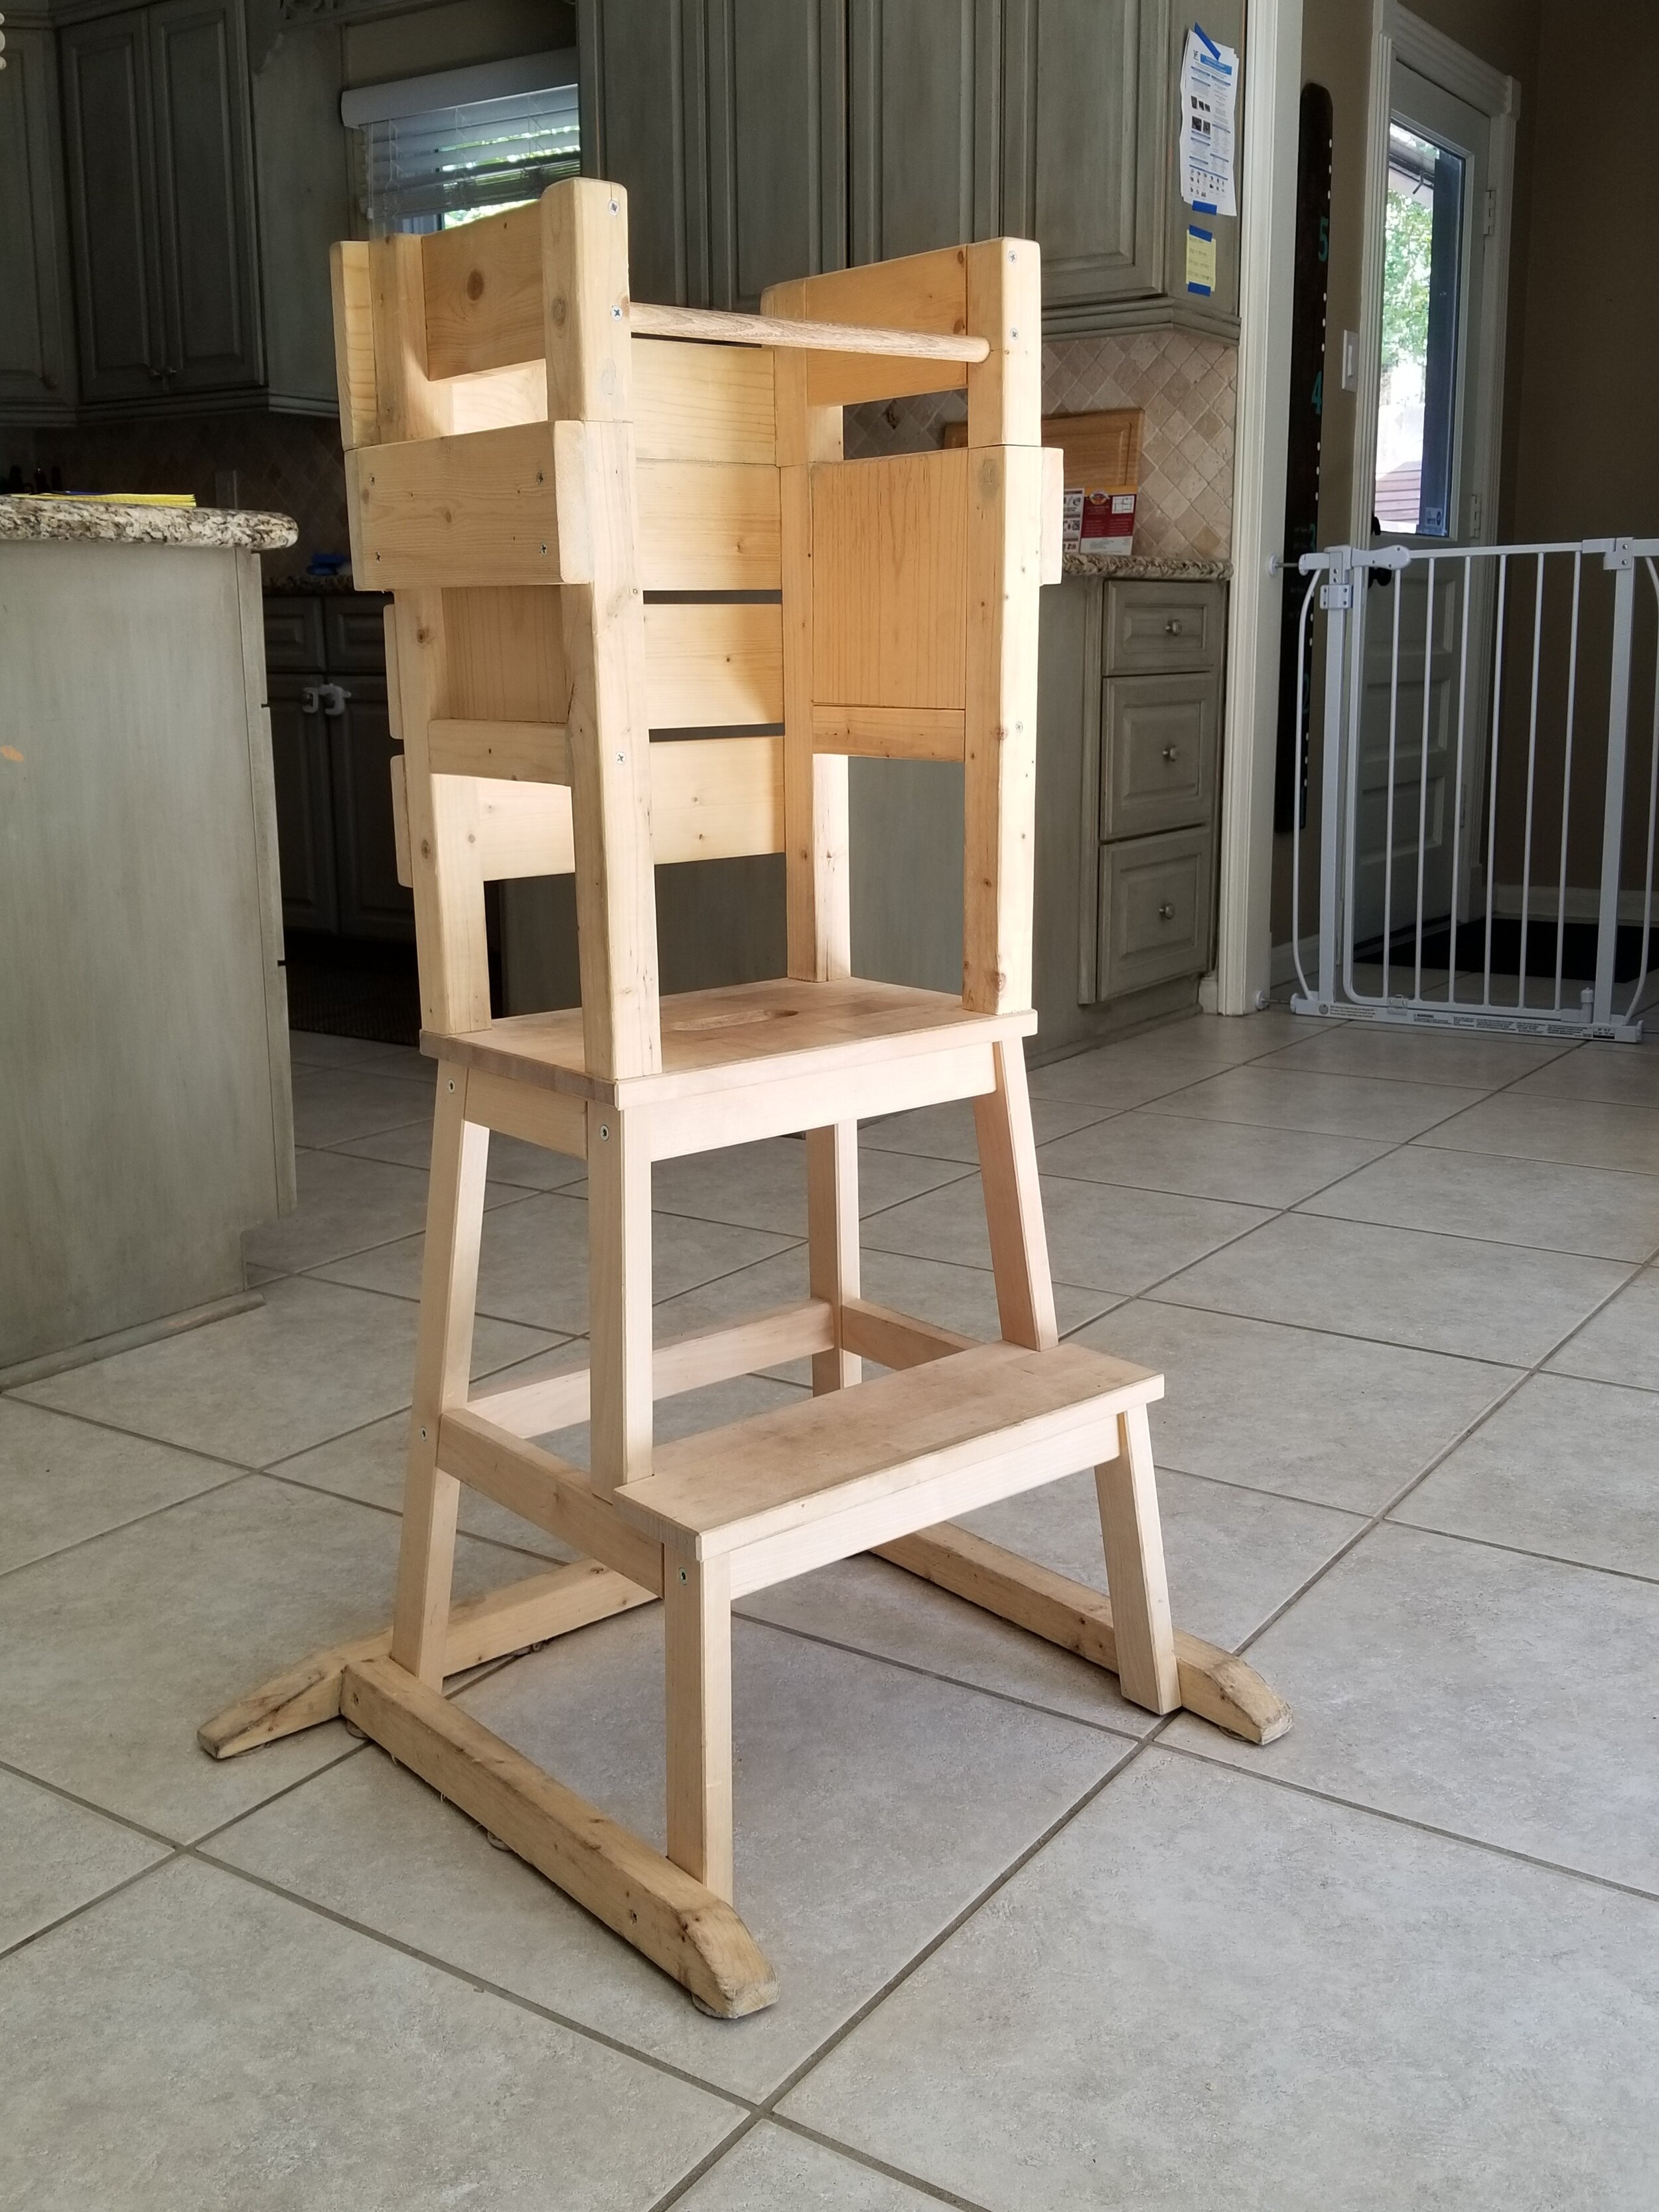
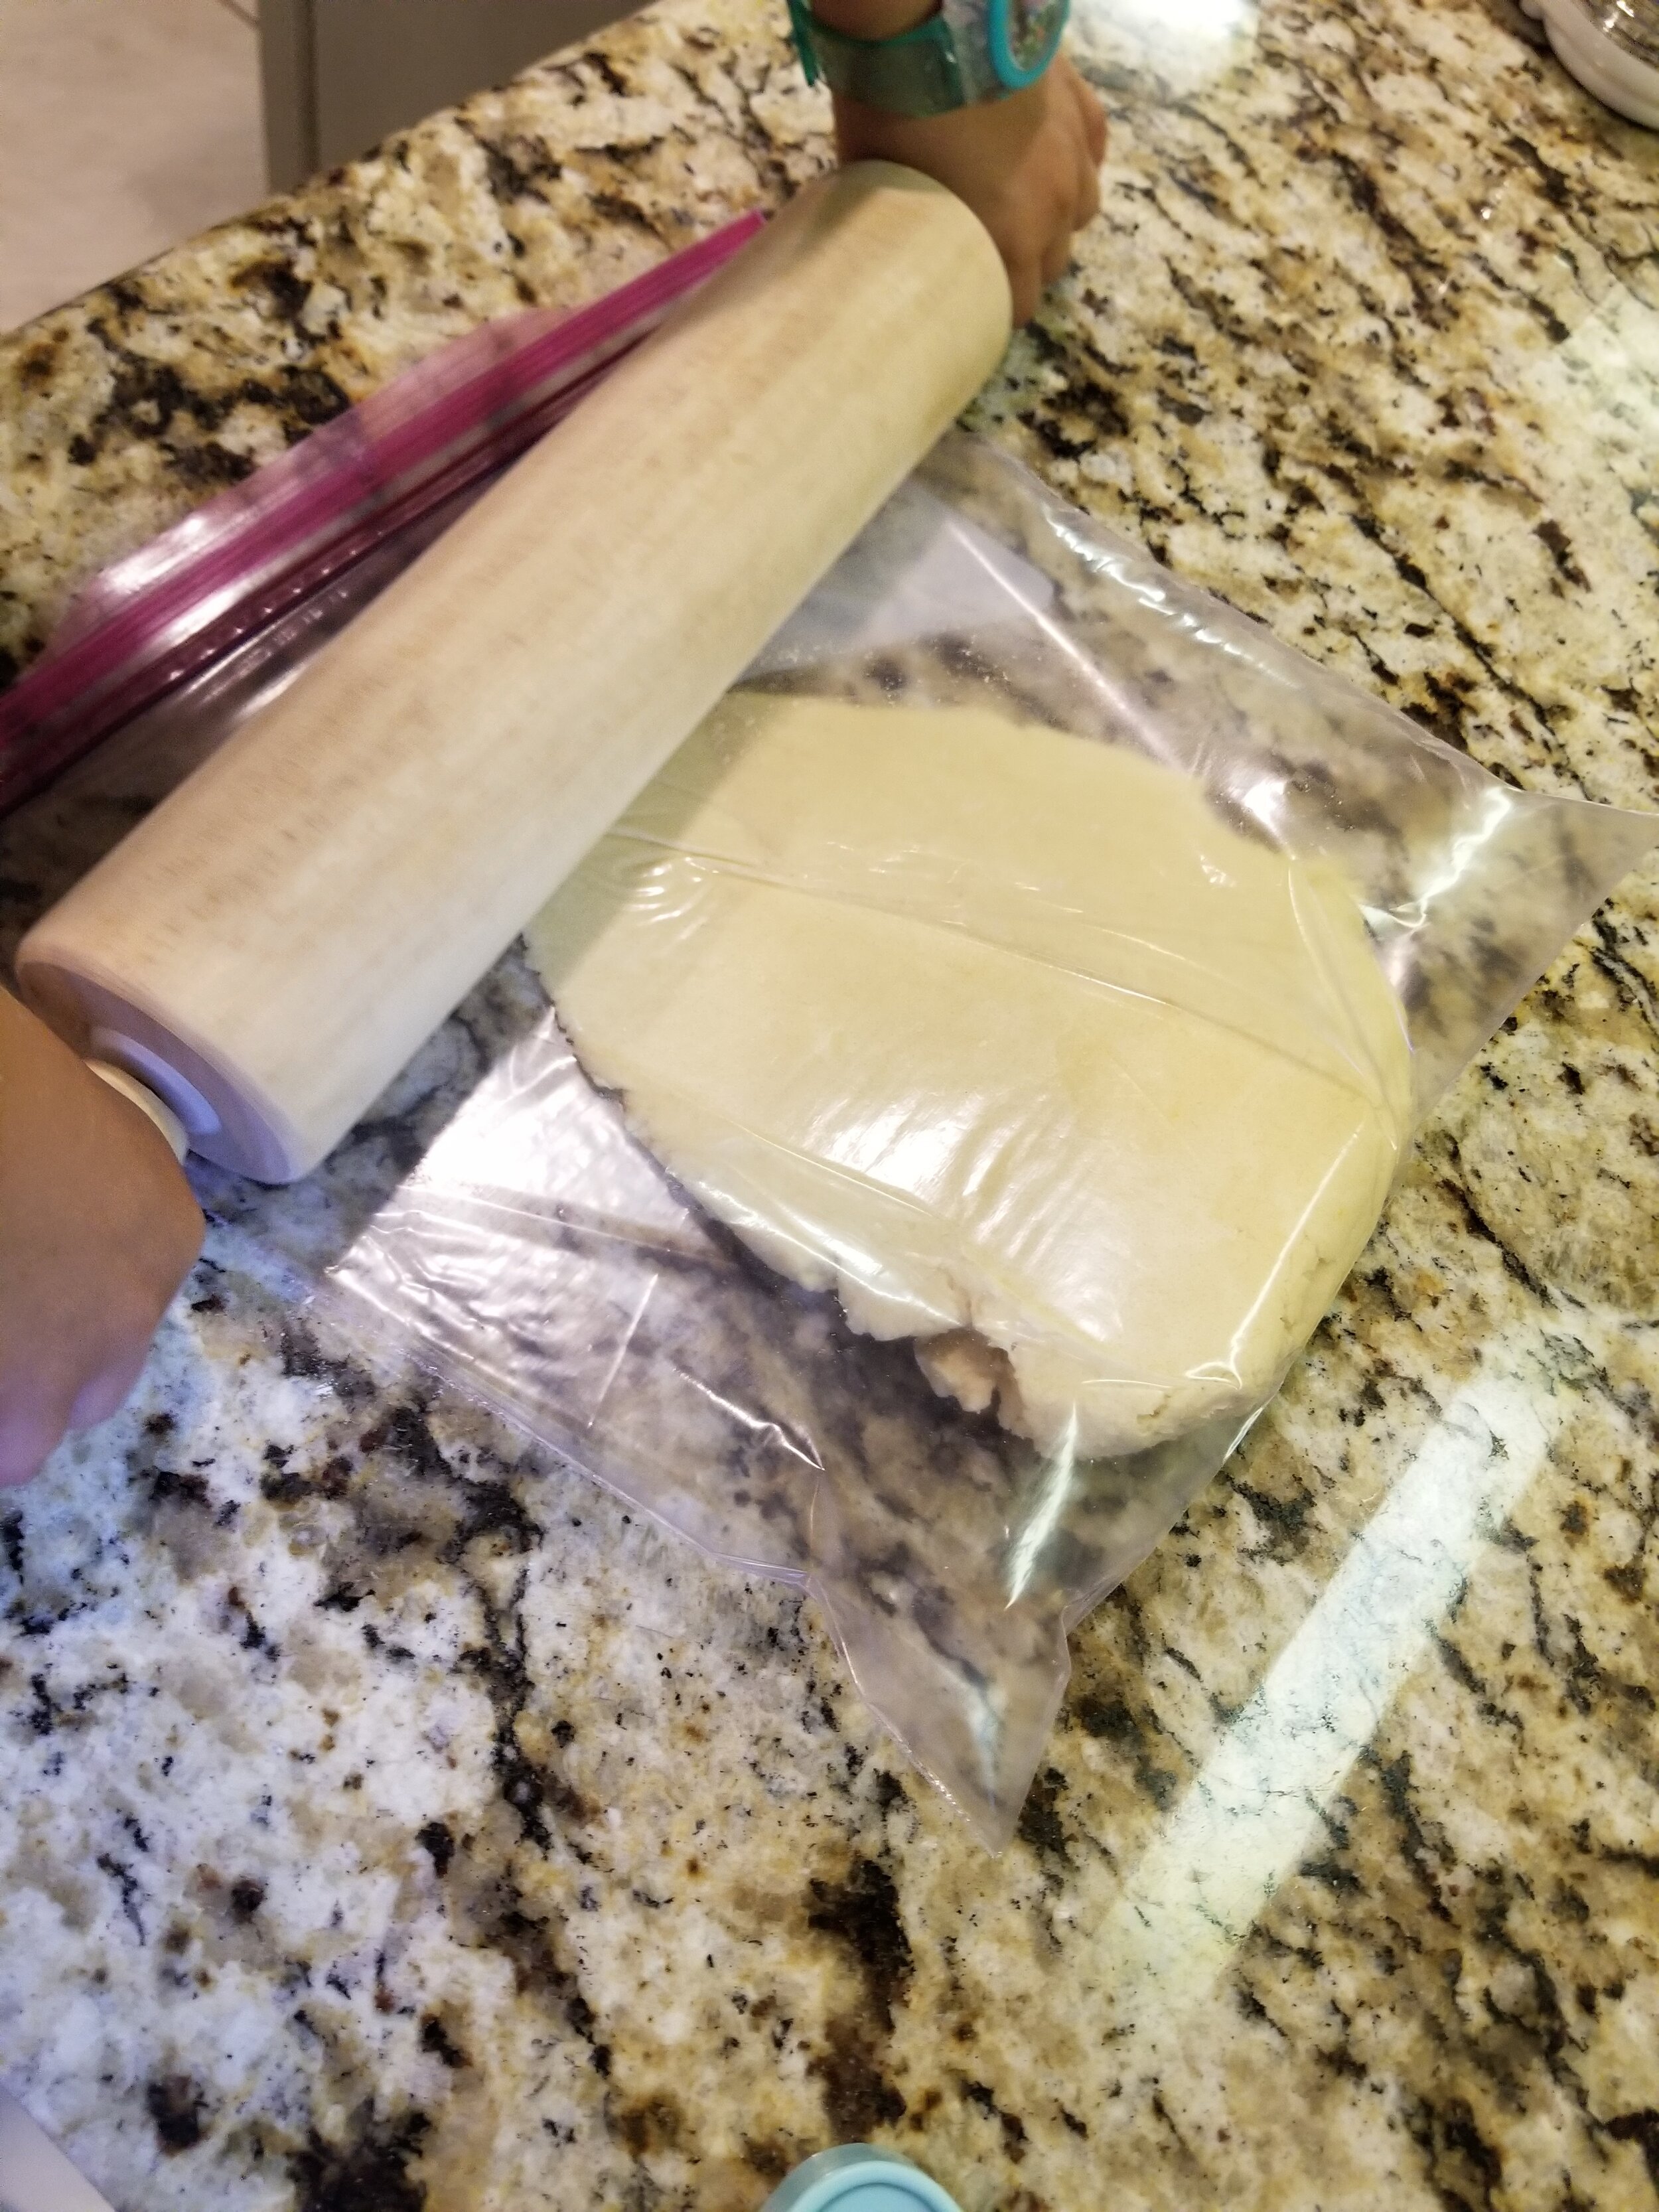
Our favorite kitchen tool is this DIY stool, which is very similar to a learning tower. This allows the rascals to reach counter heights safely and without any concern of falling off. It allows them to work alongside the grownups and perform capably in the kitchen. My dad built this stool for my rascals using this hack.

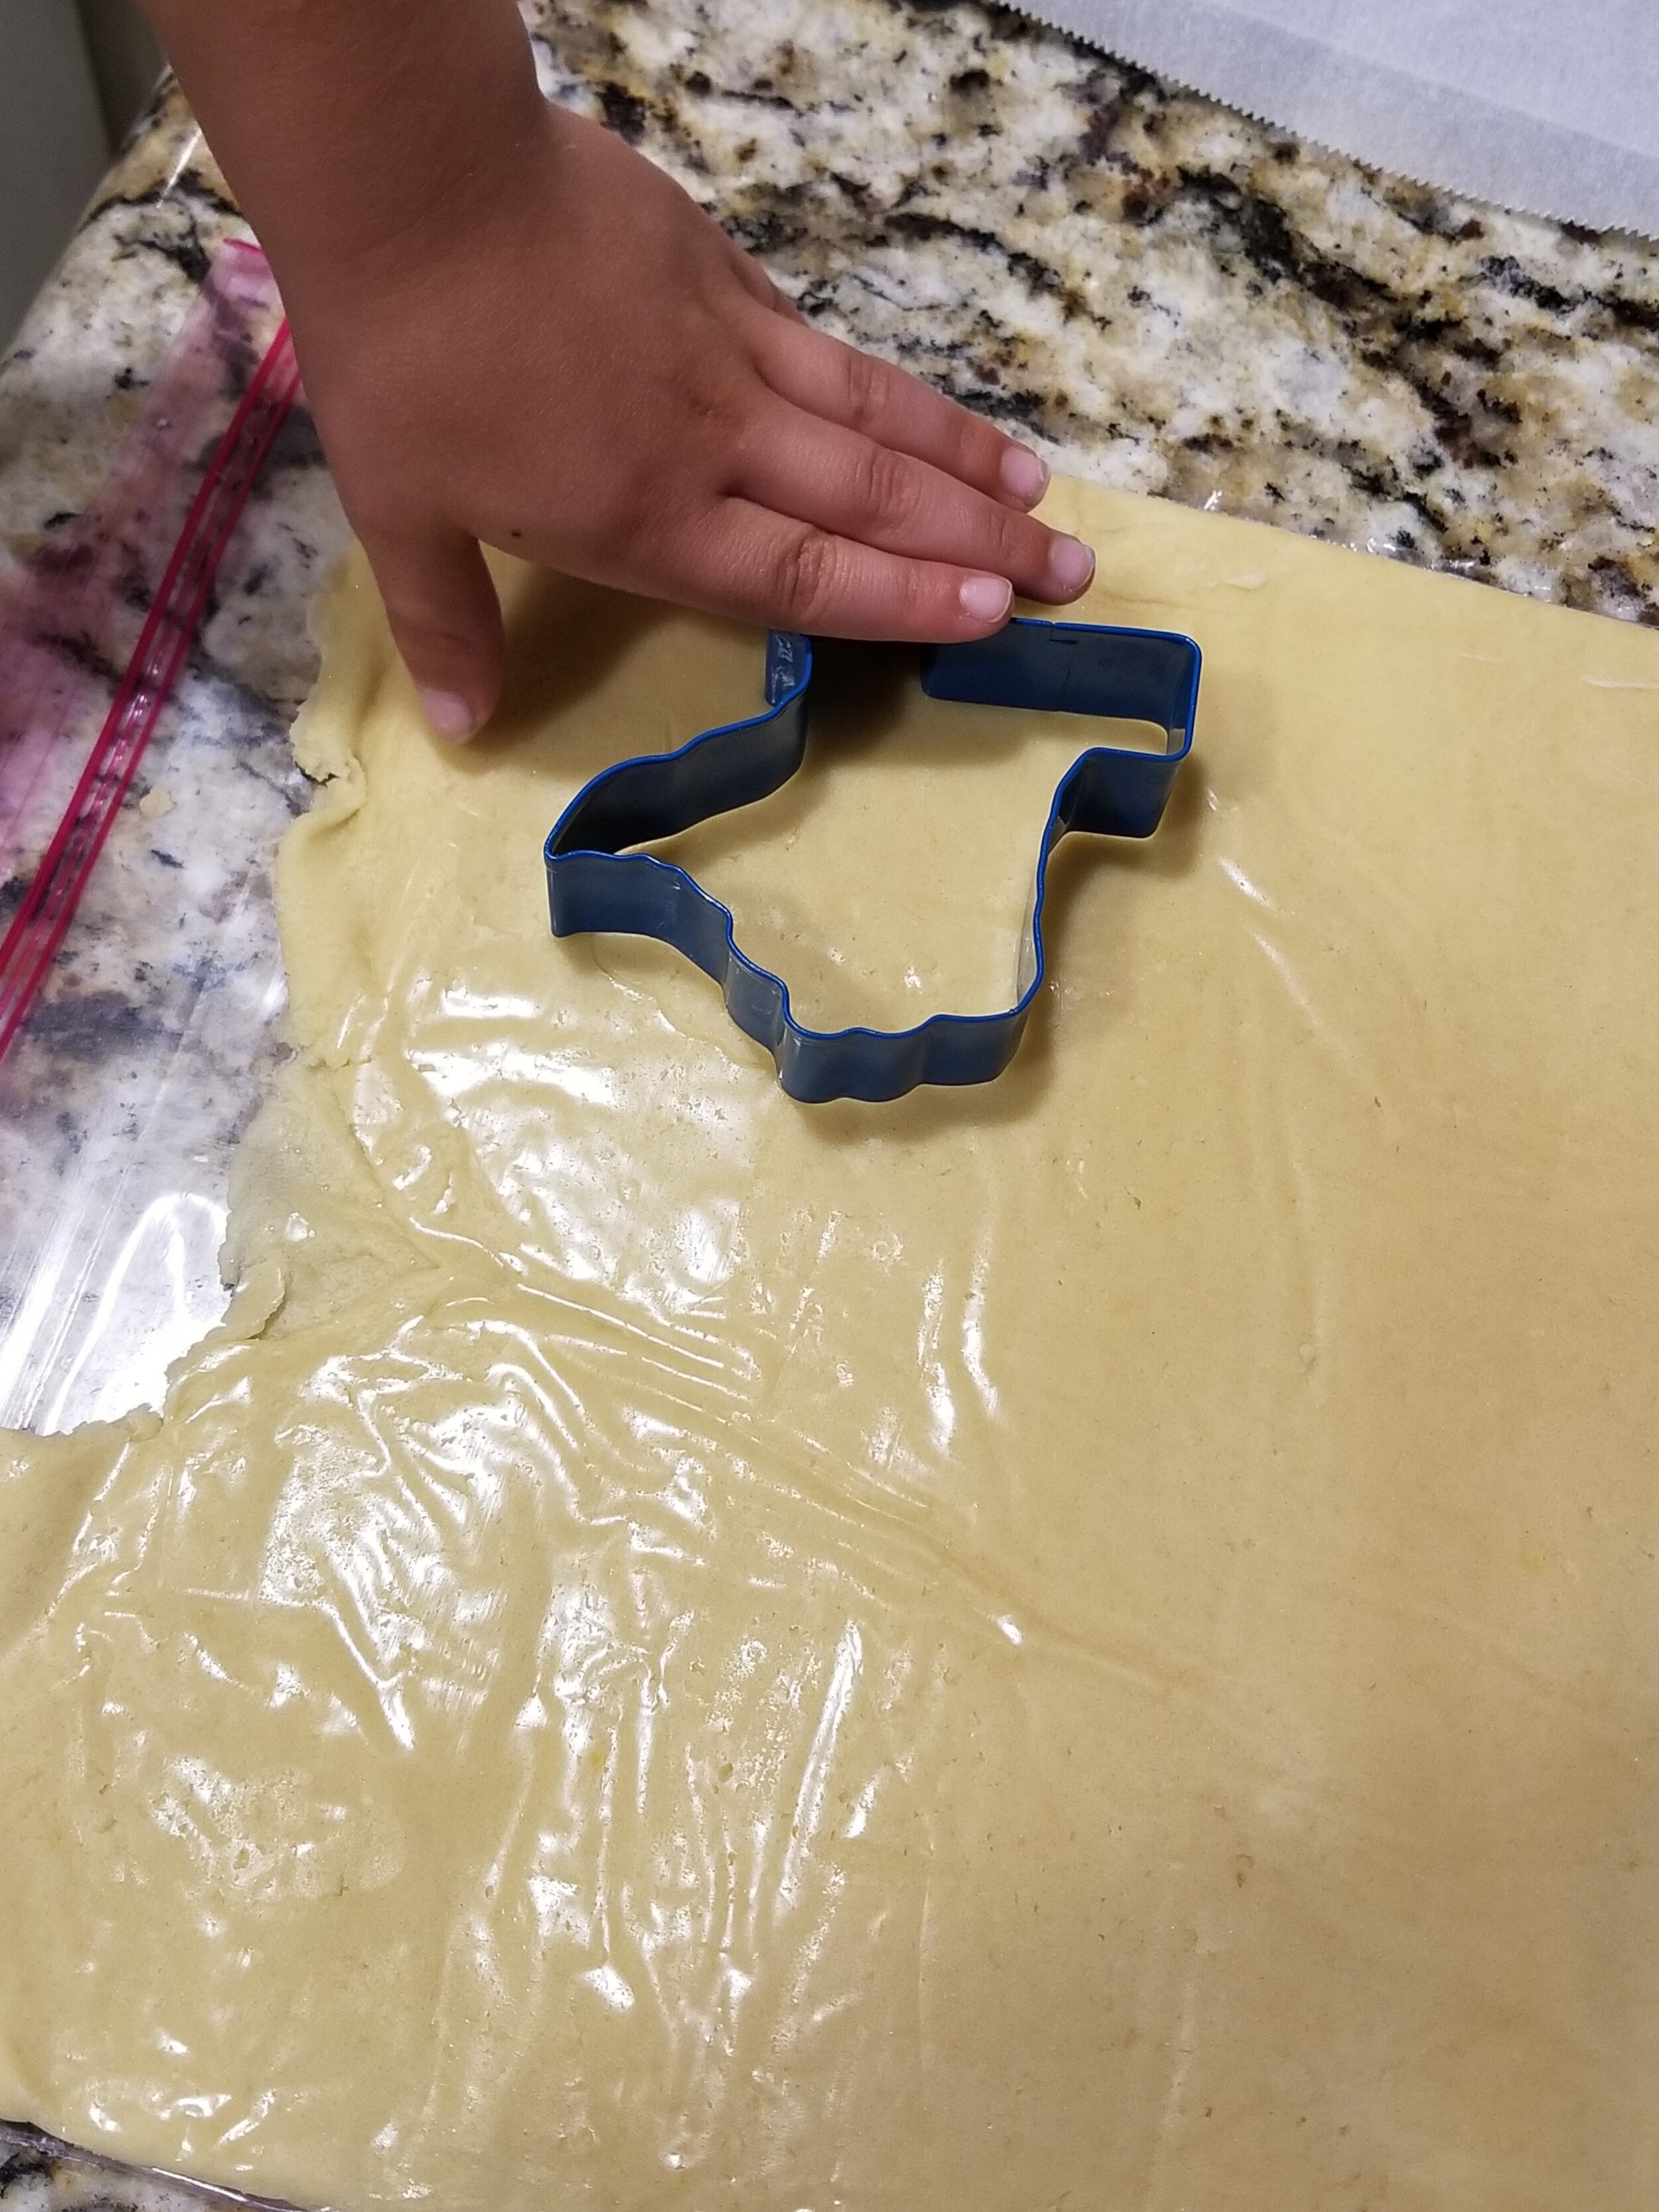
One of the easiest ways to introduce your rascals to the kitchen is through baking. Baking cookies, brownies, and blondie bars are my go-to favorites when I am baking with my boys. These dessert recipes are simple, straightforward, and very forgiving. As they get older, I hope my rascals can join me in experimenting with more difficult recipes.

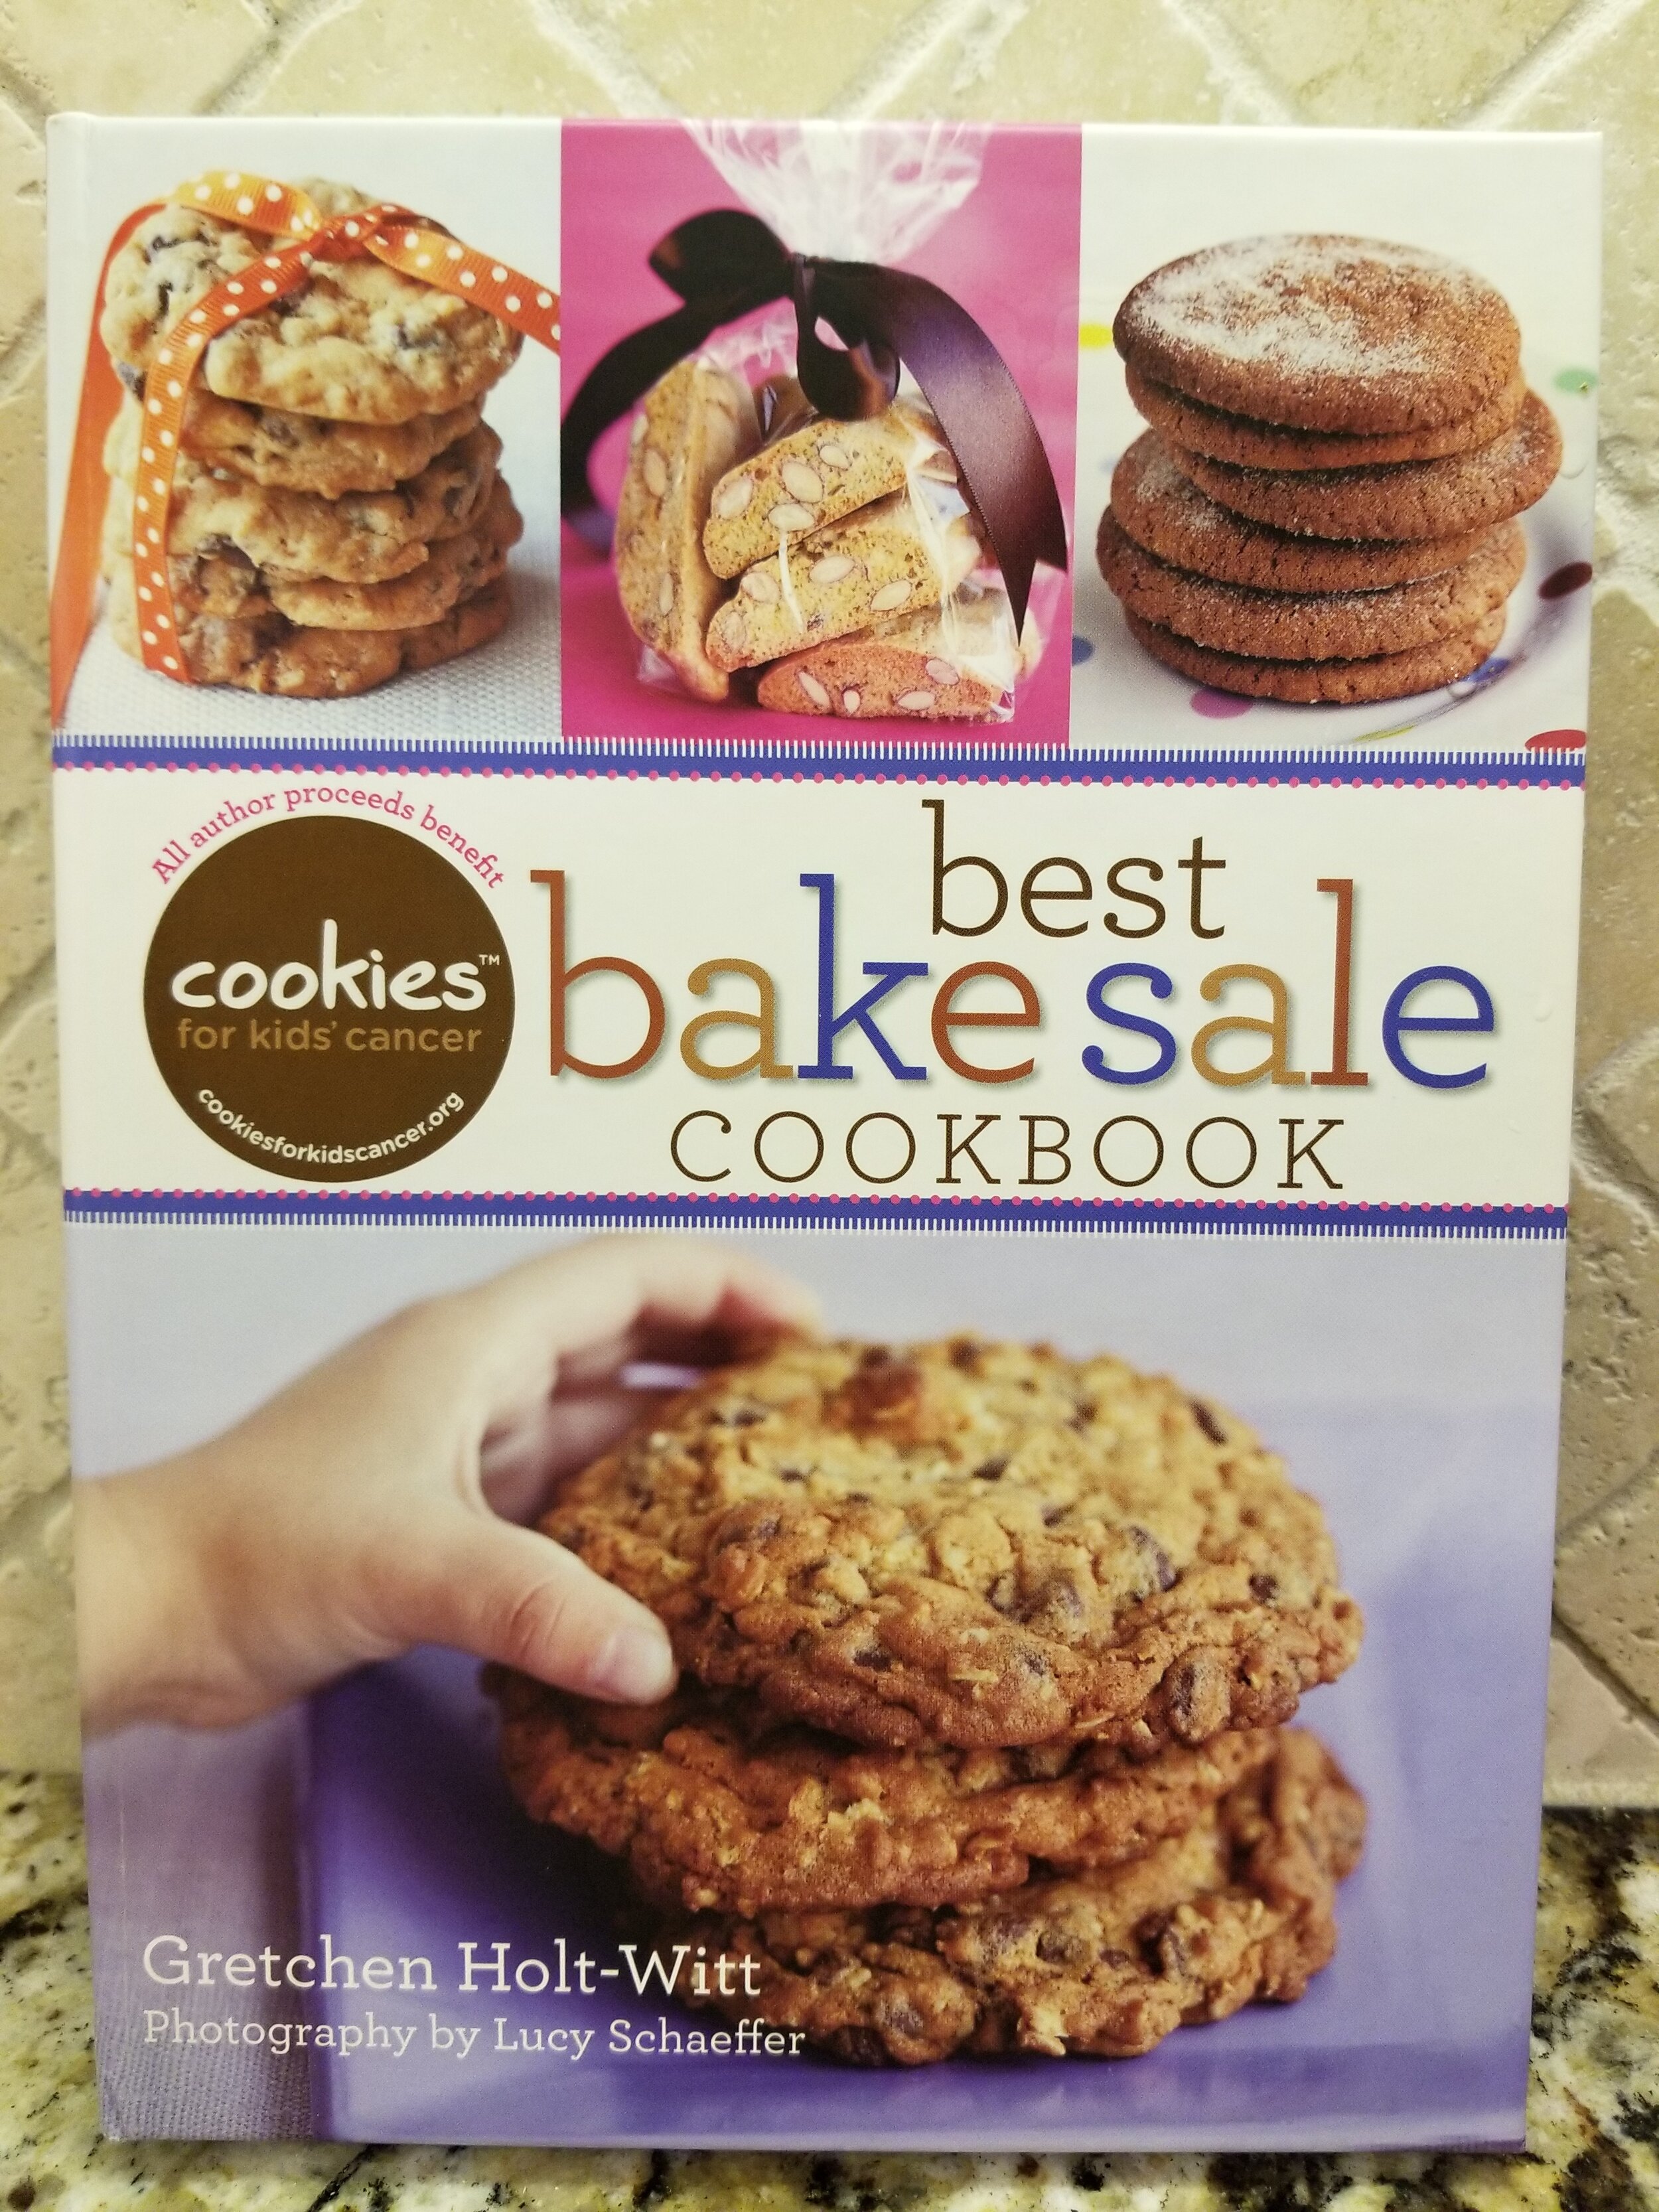
This cookie recipe book has brought us hours of baking (and eating). Funds raised by the sale of this book go to the Cookies for Kids’ Cancer organization for pediatric cancer research. One of my favorite parts of baking with my rascals is teaching them measurement using measuring cups and spoons.

A few pieces of advice as you begin:

  • Including your rascals in the kitchen will take extra time.

  • Plan ahead as much as possible to make the process run more smoothly.

  • Increase the activities and tasks you present to your rascals as they grow older and more competent.

  • Praise them for learning and practicing new skills.

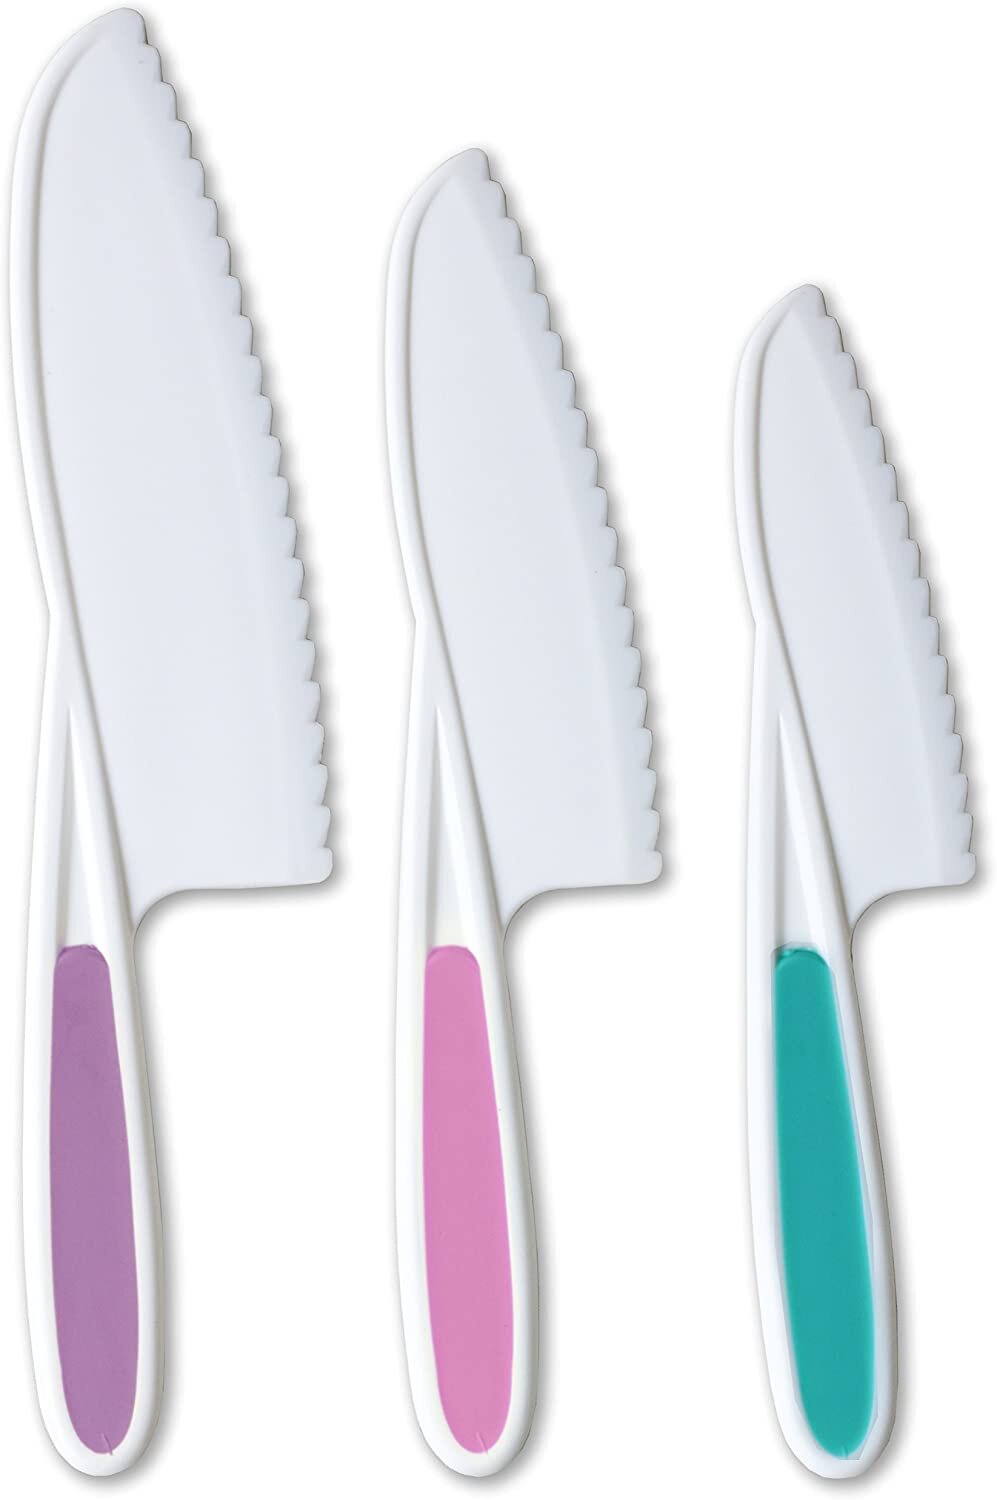
  • There are many special knives designed for kid safety, and we like these.

Happy baking and cooking in the kitchen!

Written by Brandi Stanton, mama to two rascals, ages 2 and 4.


Shop The Post

Learn Math with Cookies

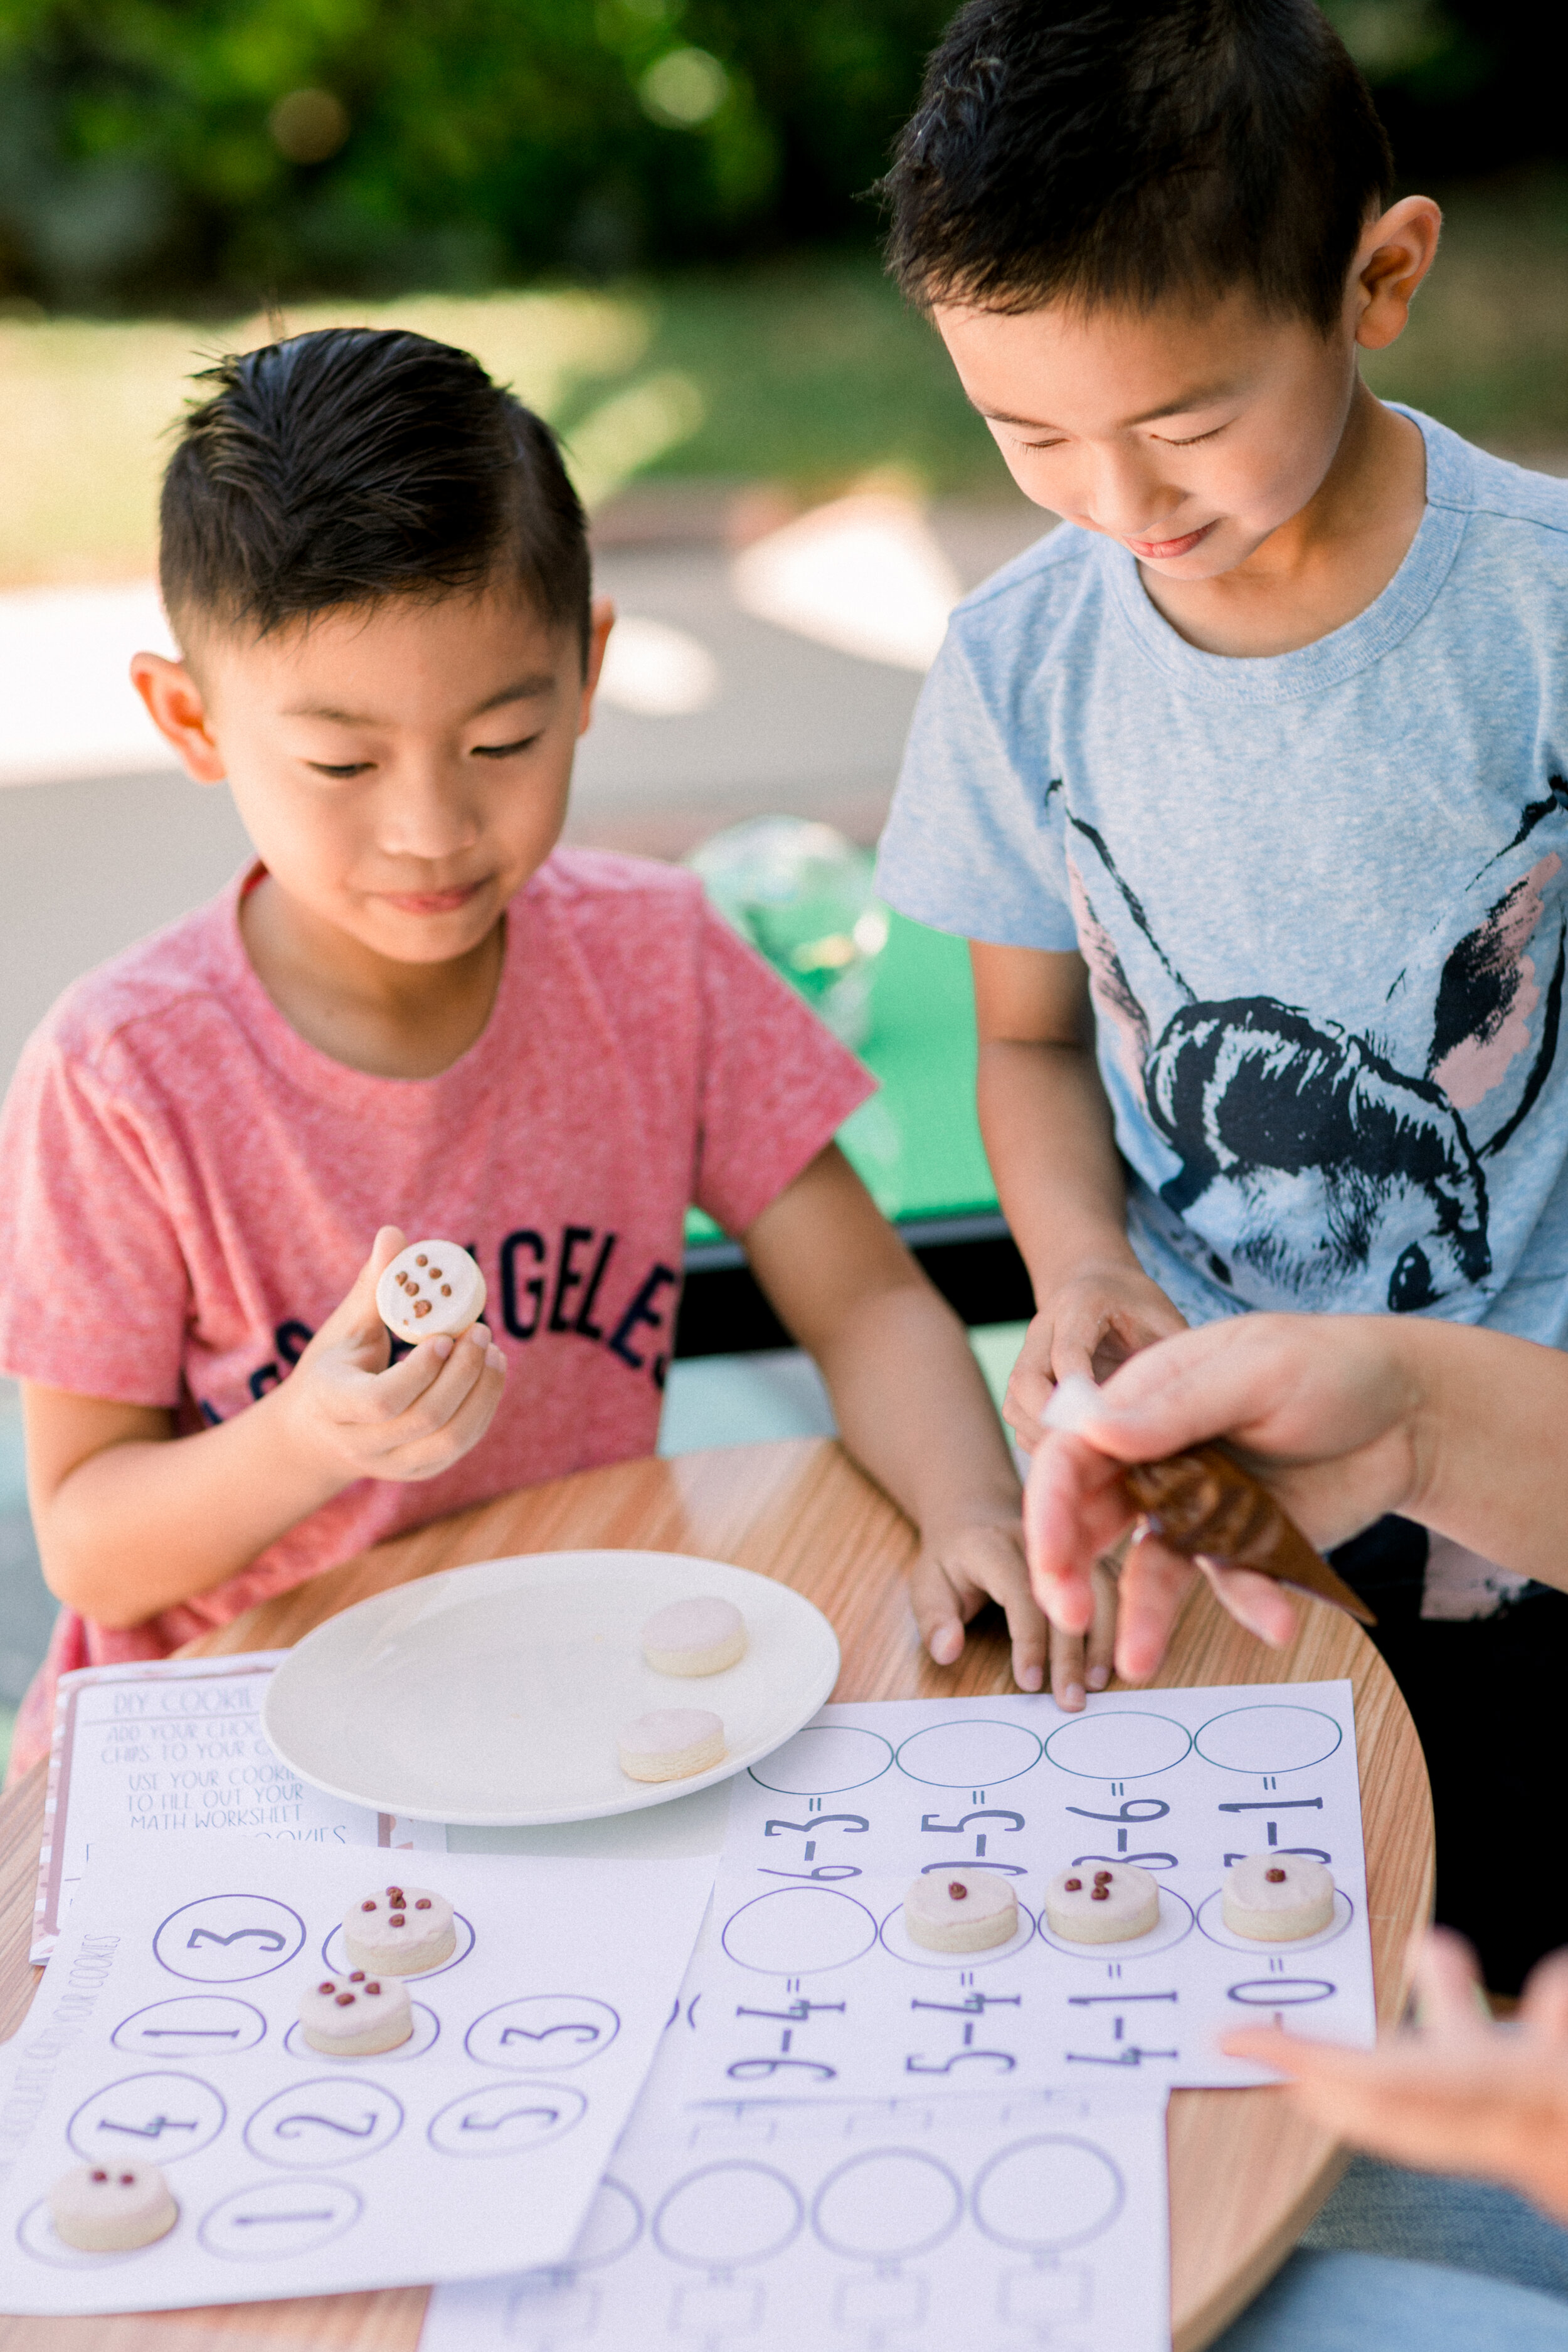
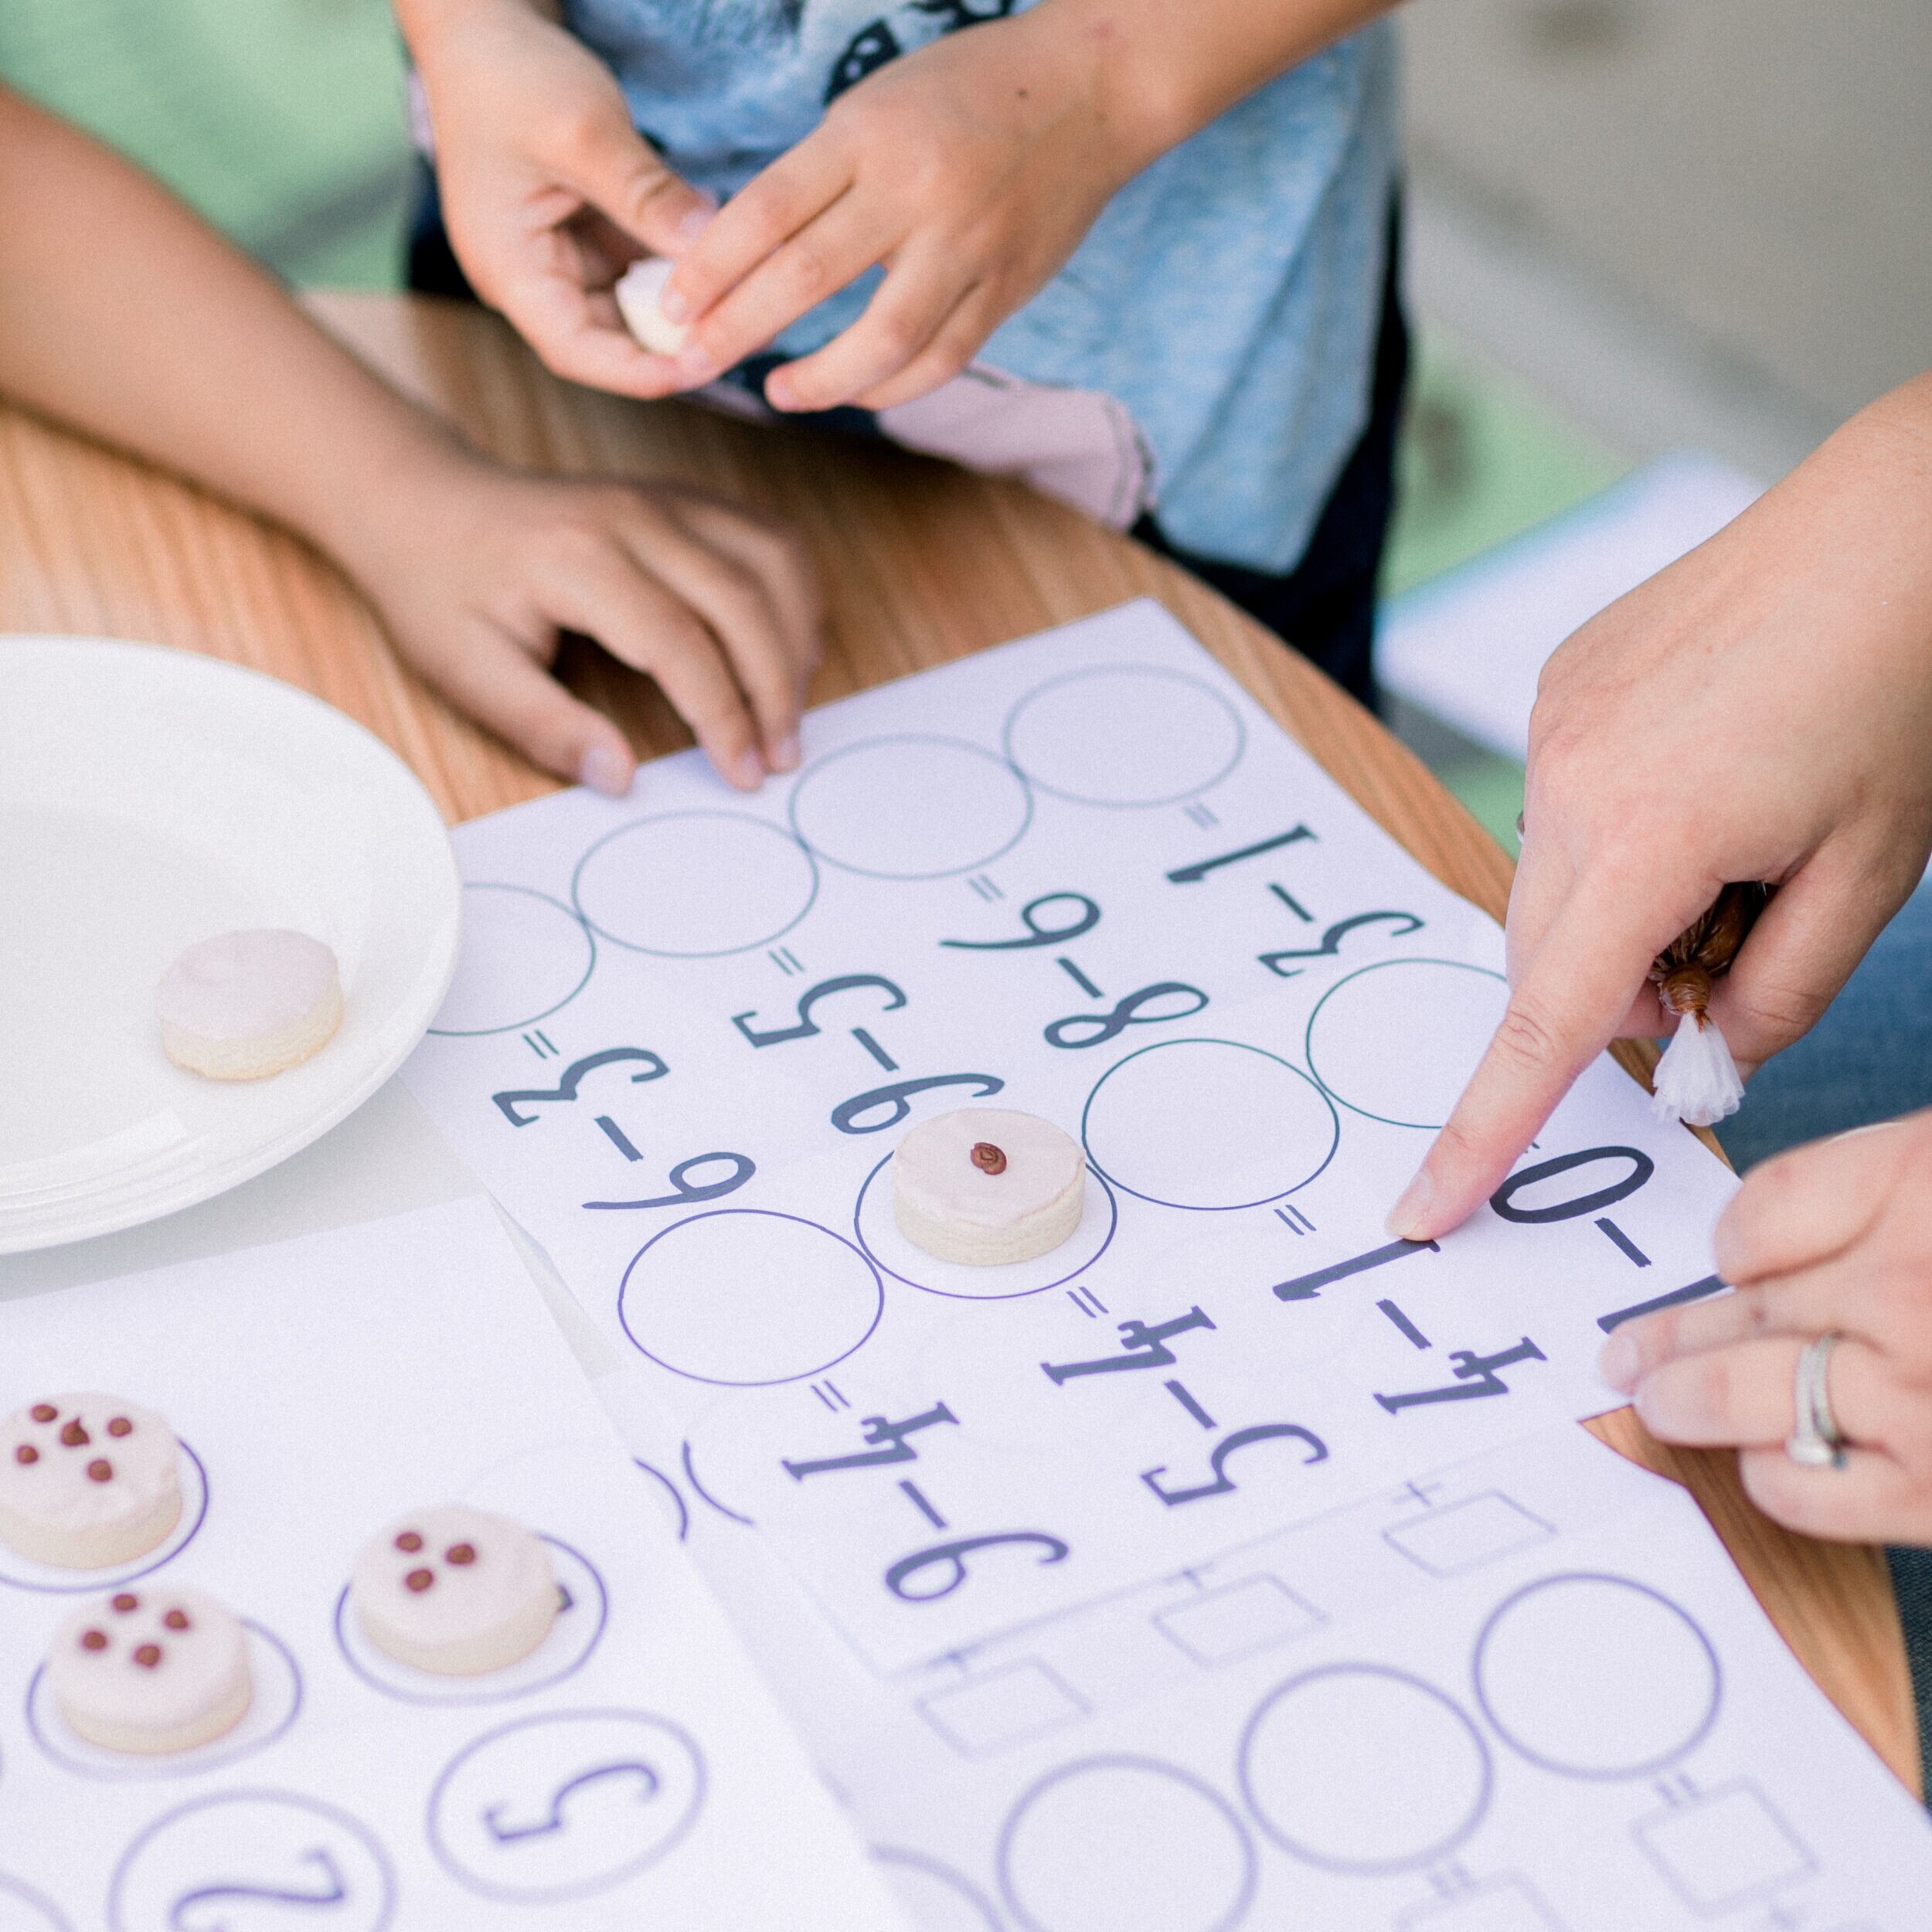
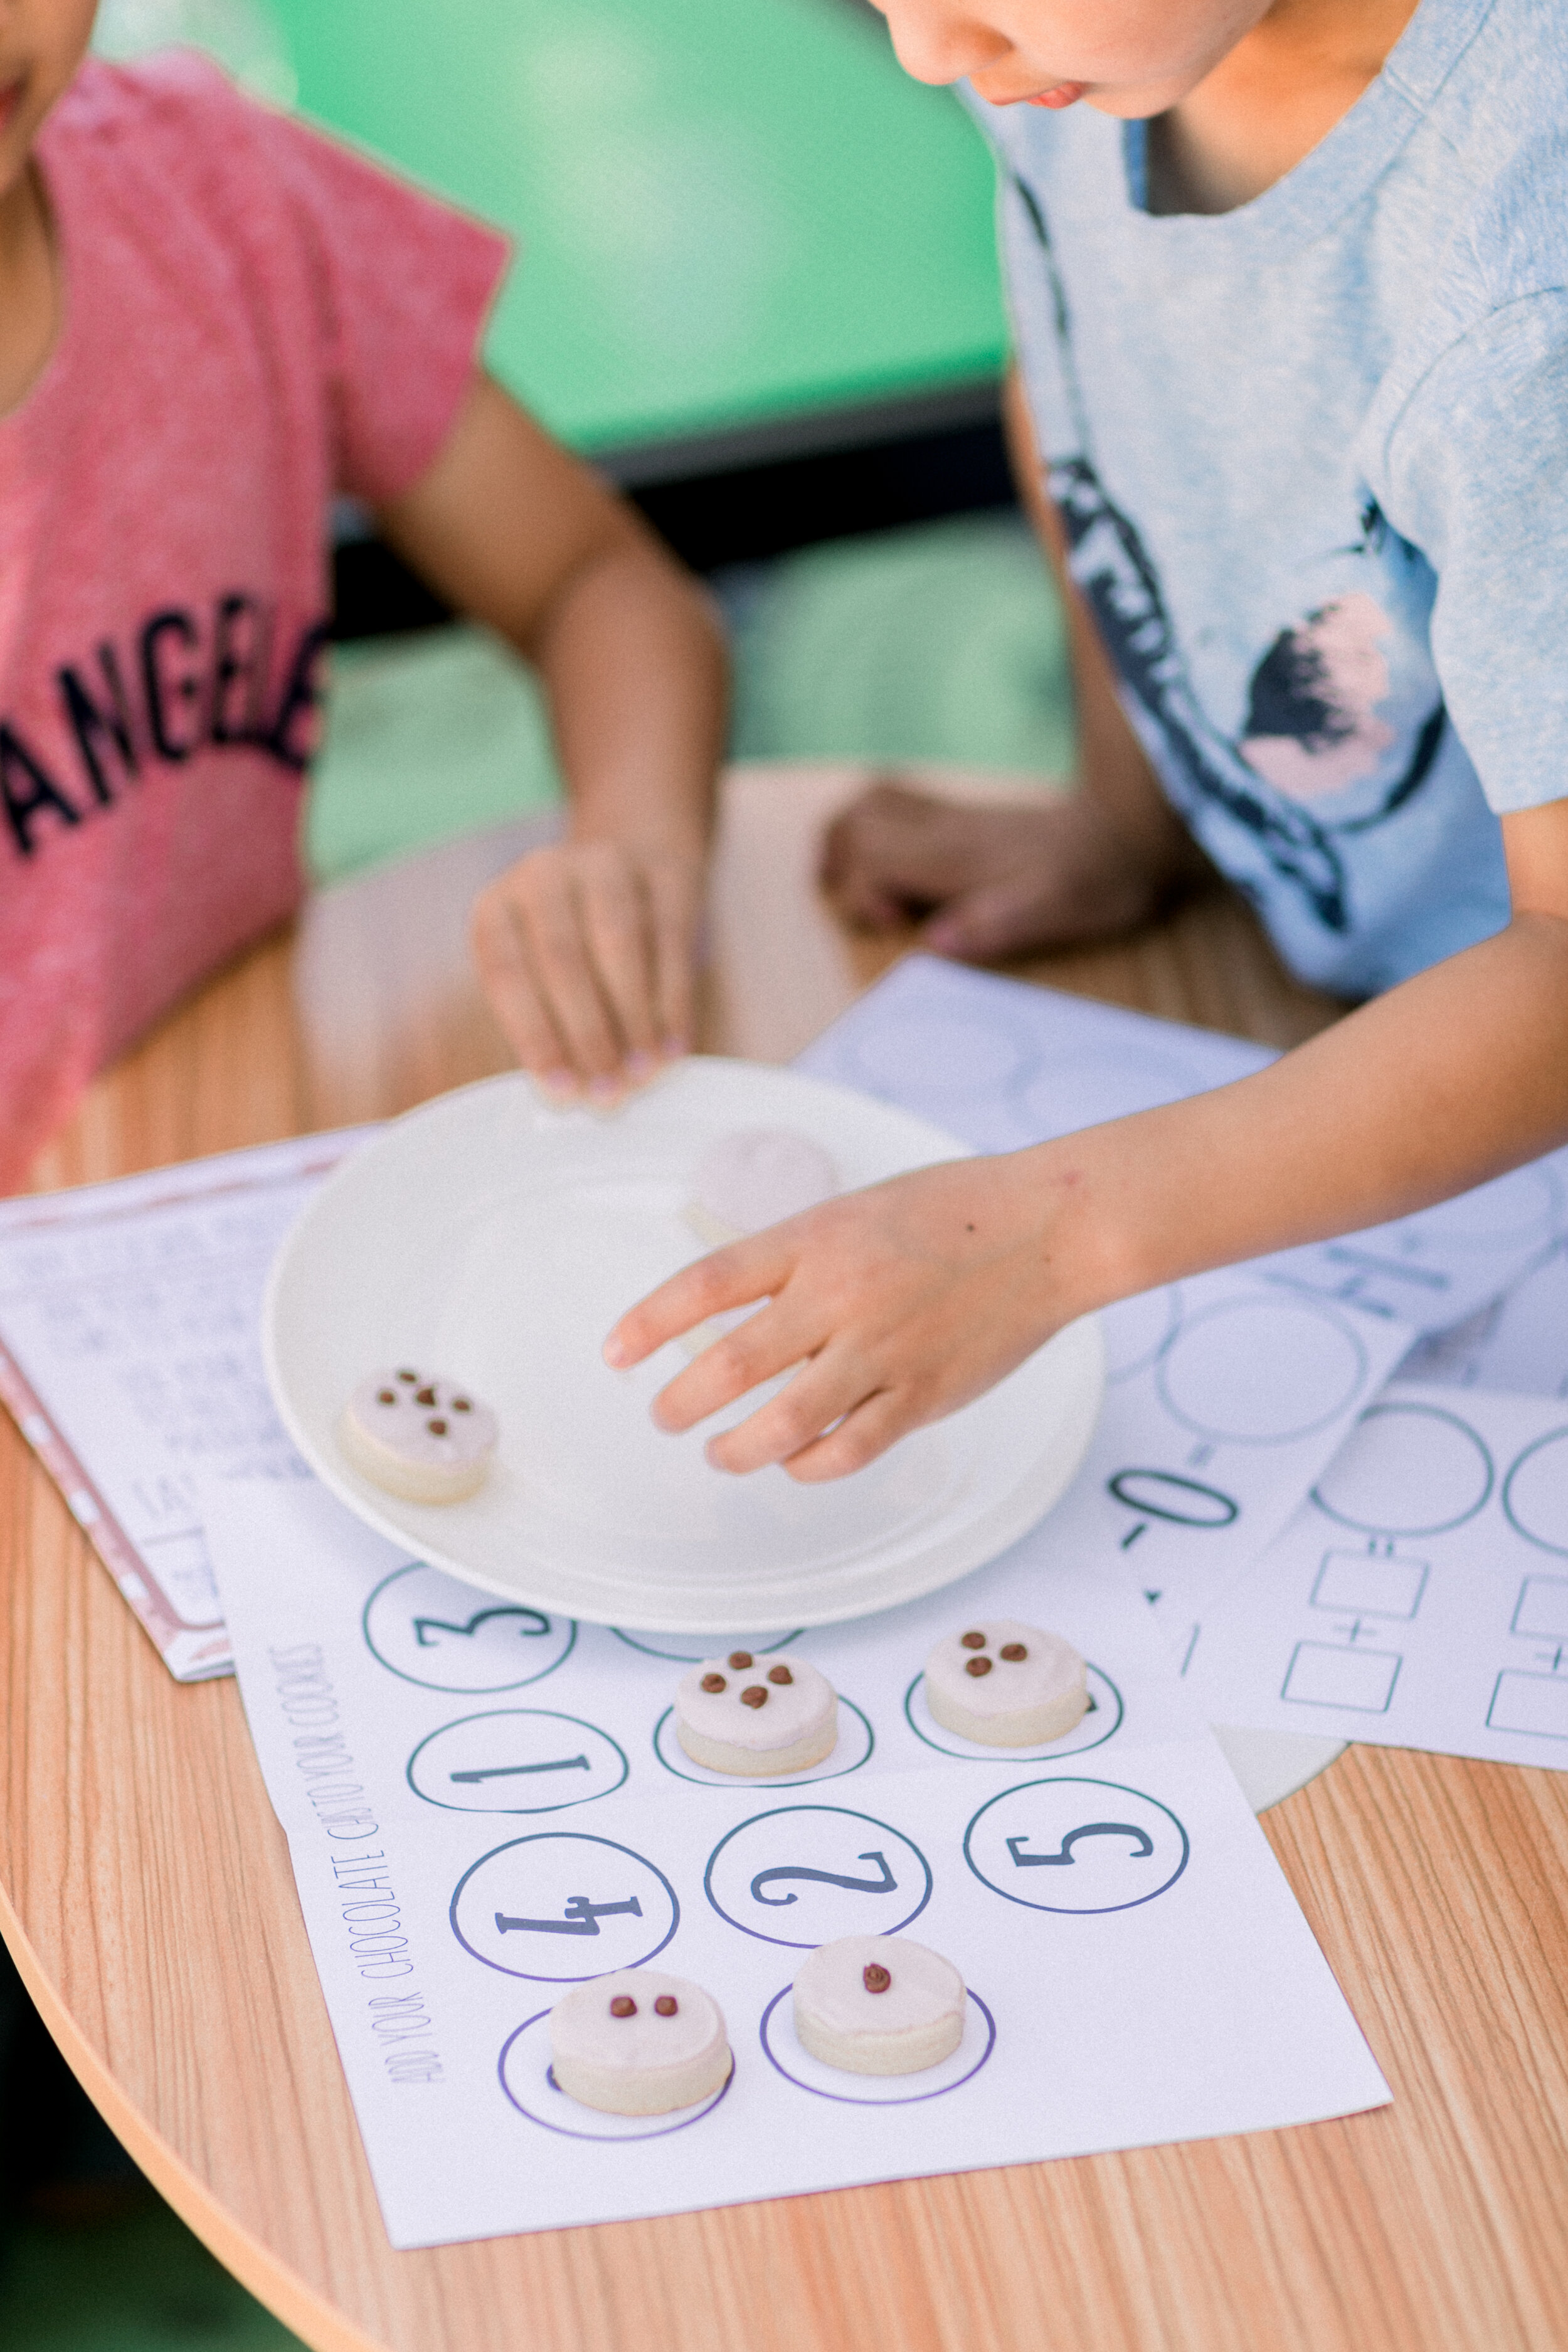
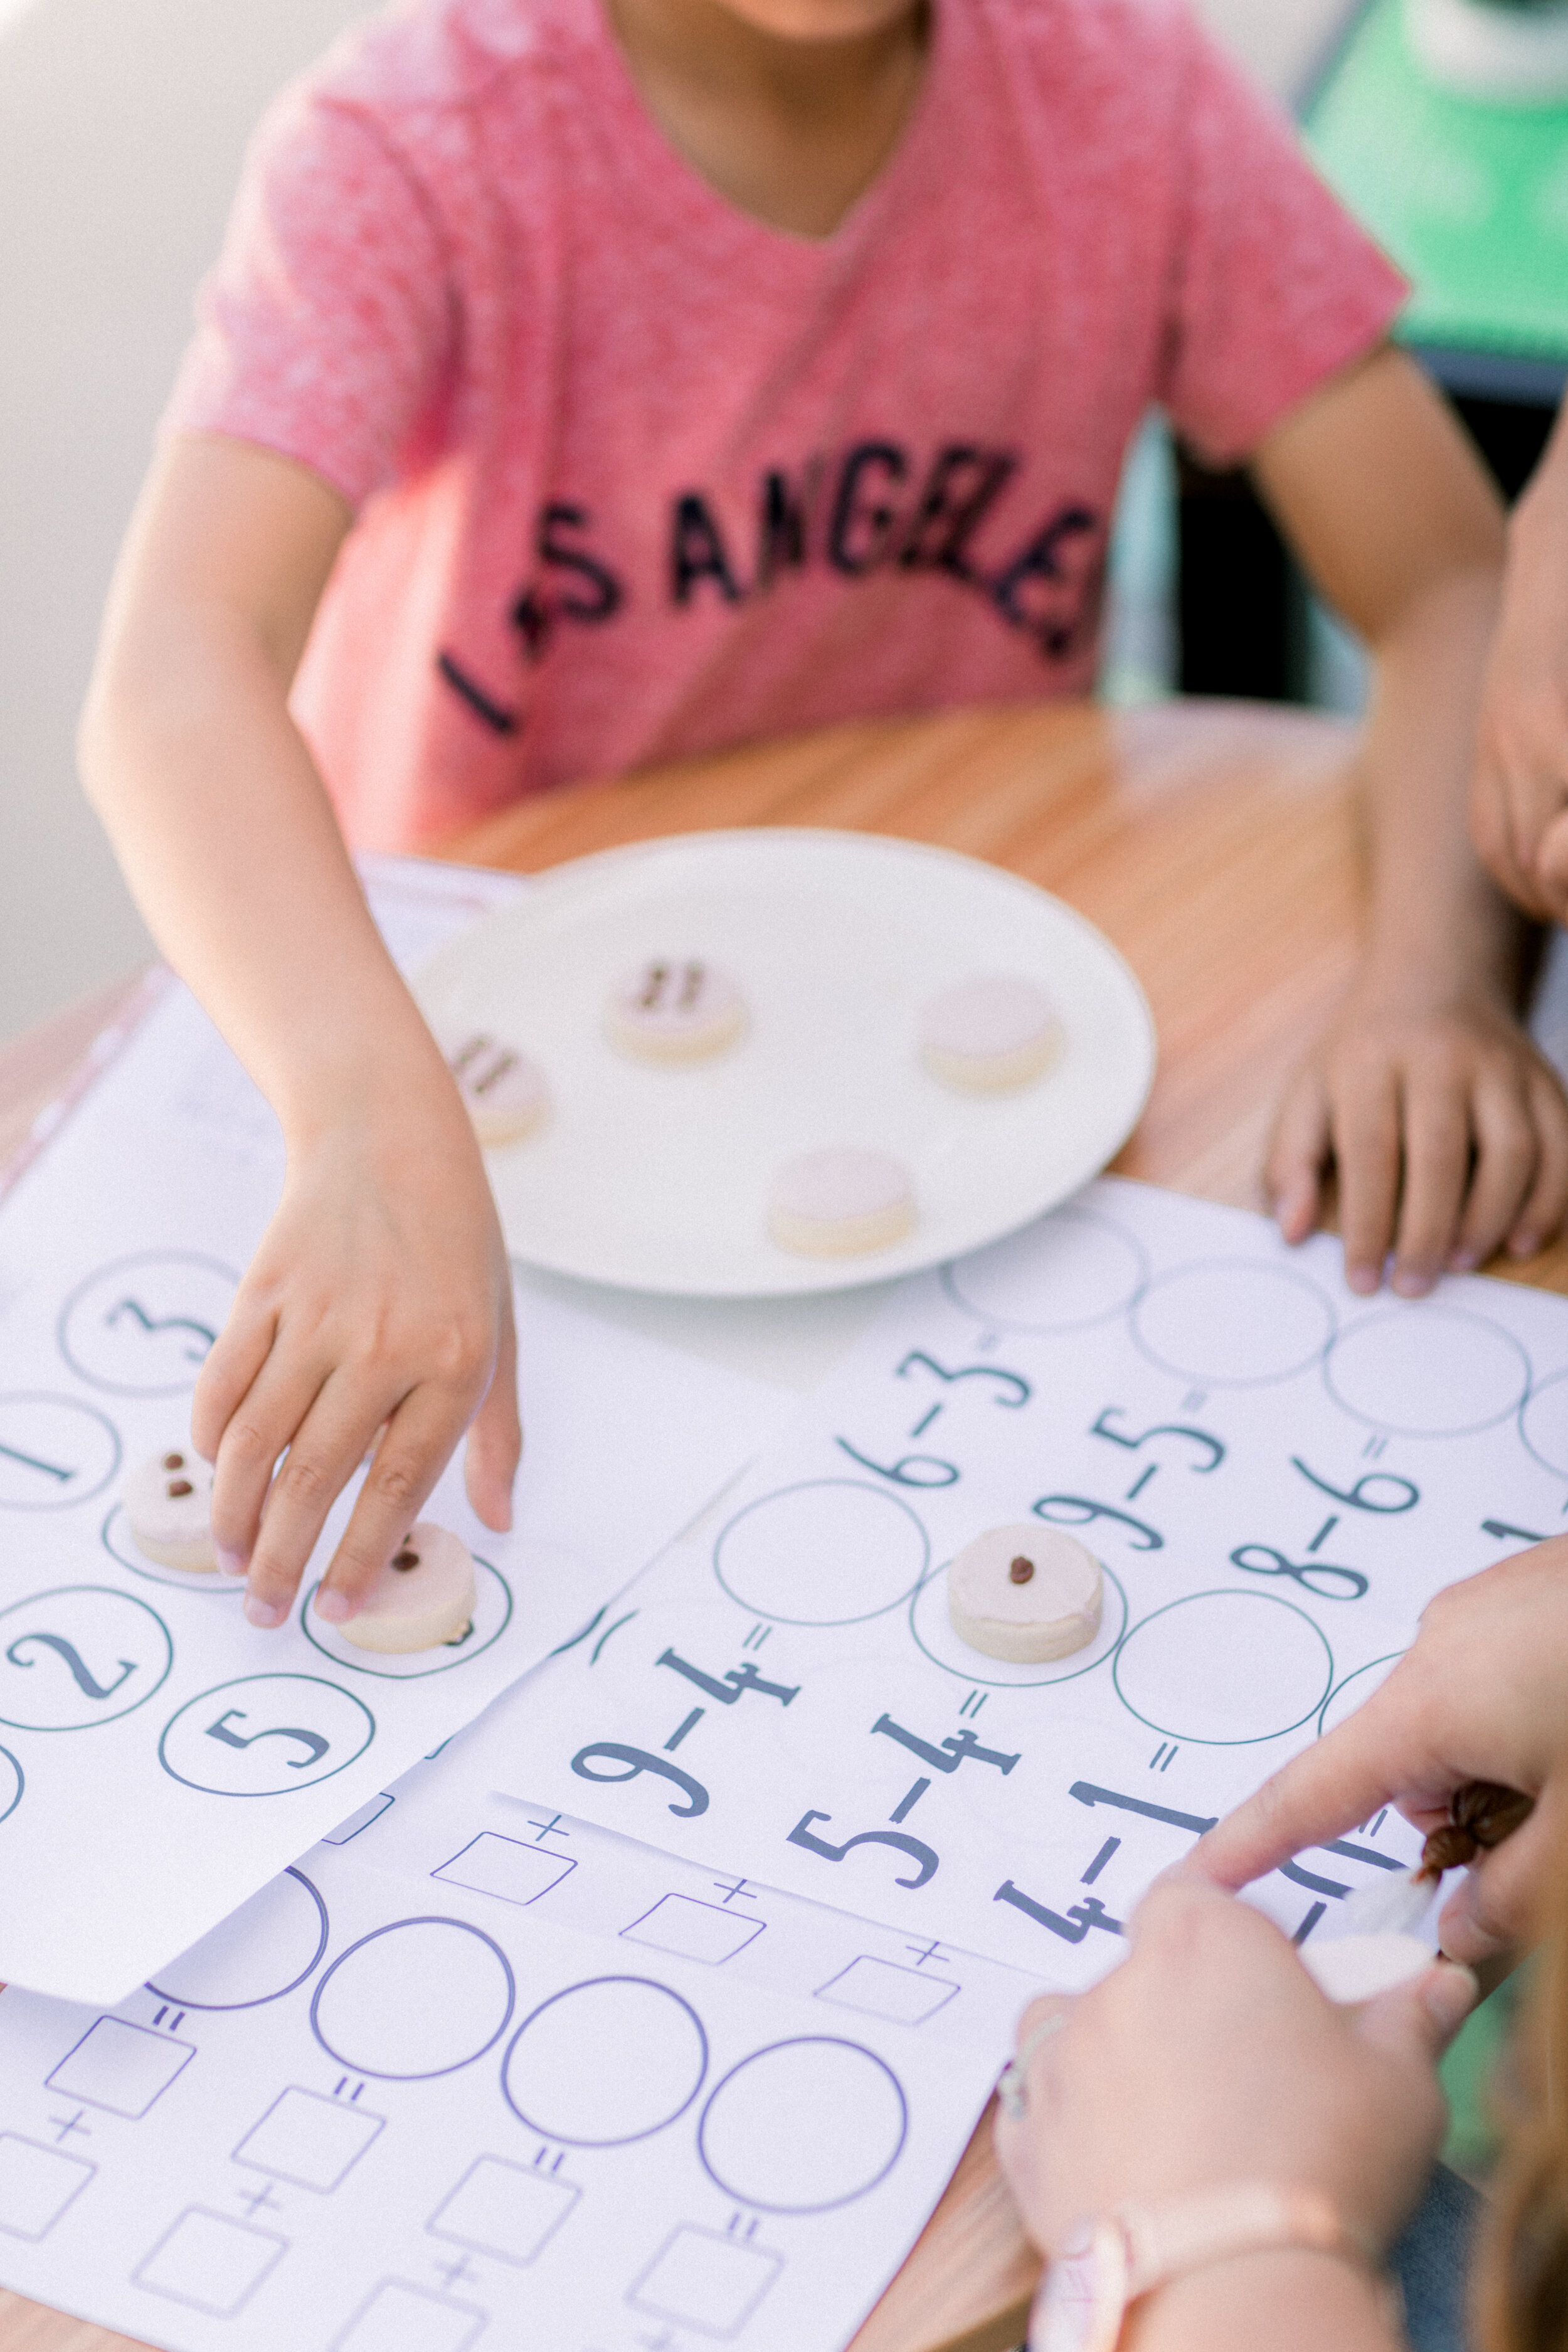
Summer is here and although this year may look different, the basics are still there: sunshine, long days and the freedom of the season. Both of our boys are home this summer since most camps and summer schools are remote. I am still working from home and trying to keep them busy seems like an impossible task most days. Our new lifestyle has me settling into the transition from working mother to WFH (work-from-home) parent/teacher and now summer camp director. Sharing ideas with my fellow WFH parents has been my saving grace for finding new ideas to keep my boys interested and motivated. That’s how I stumbled upon SoEn Cookie Gram.

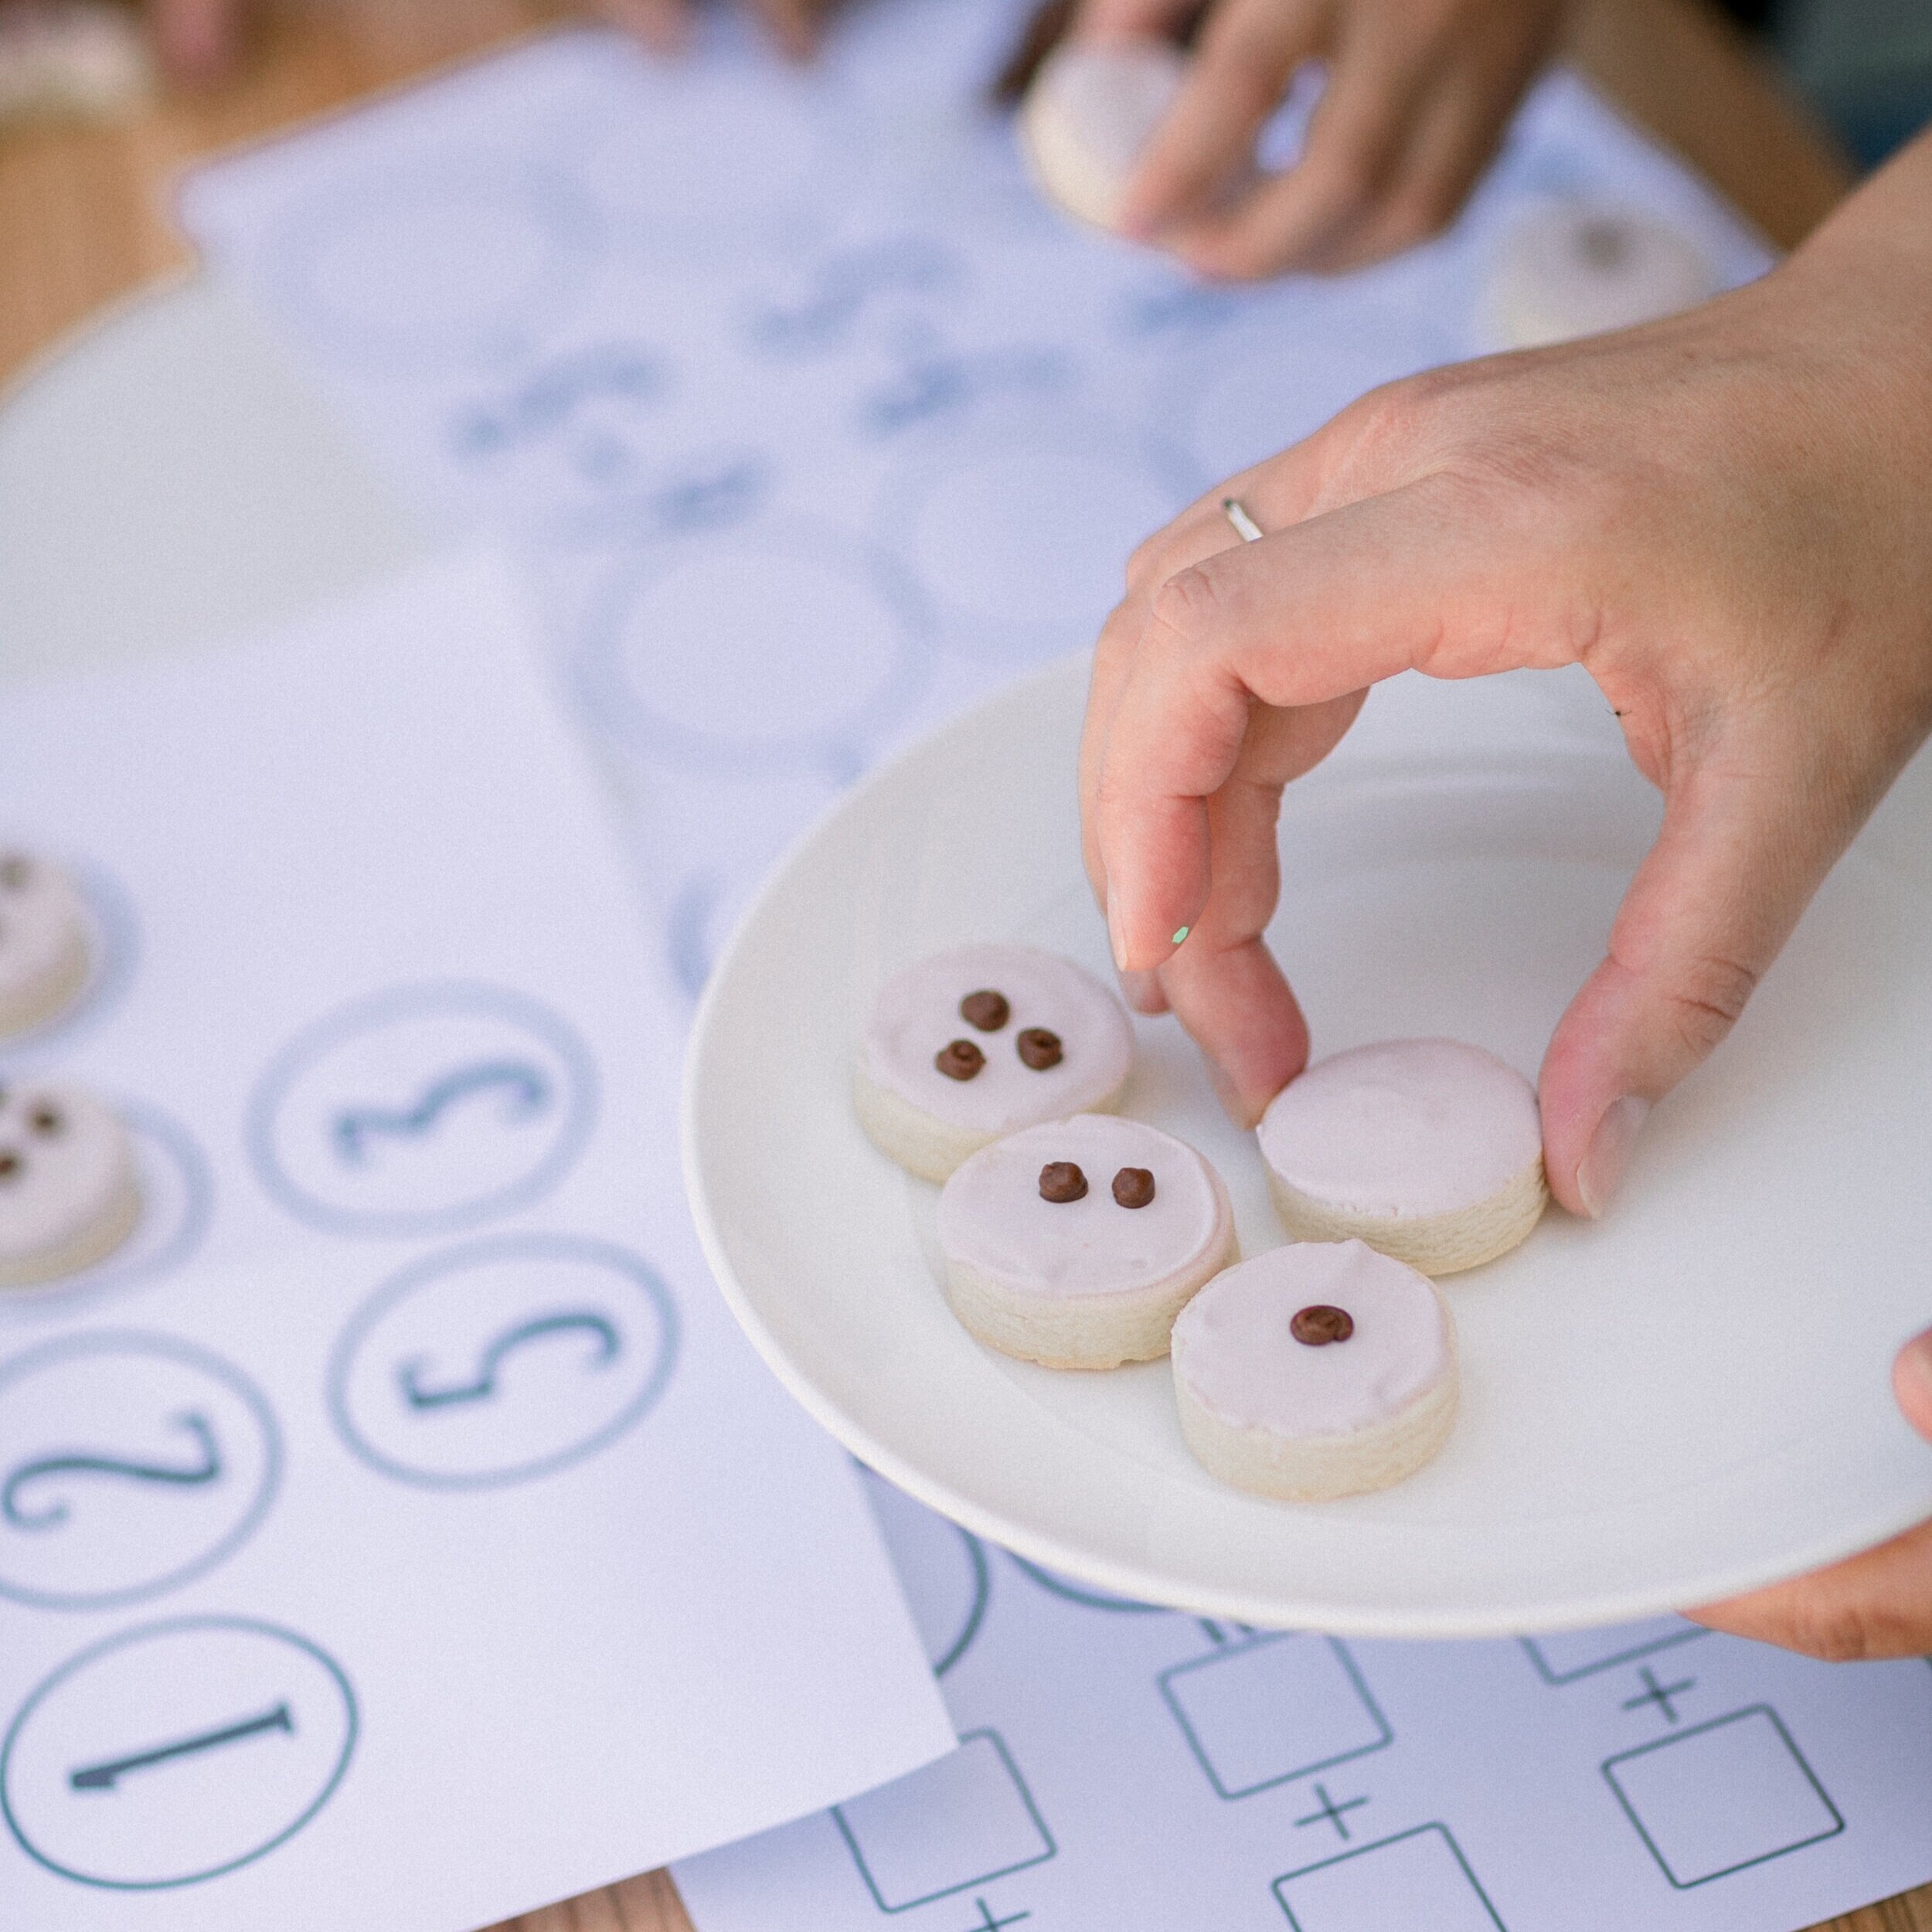
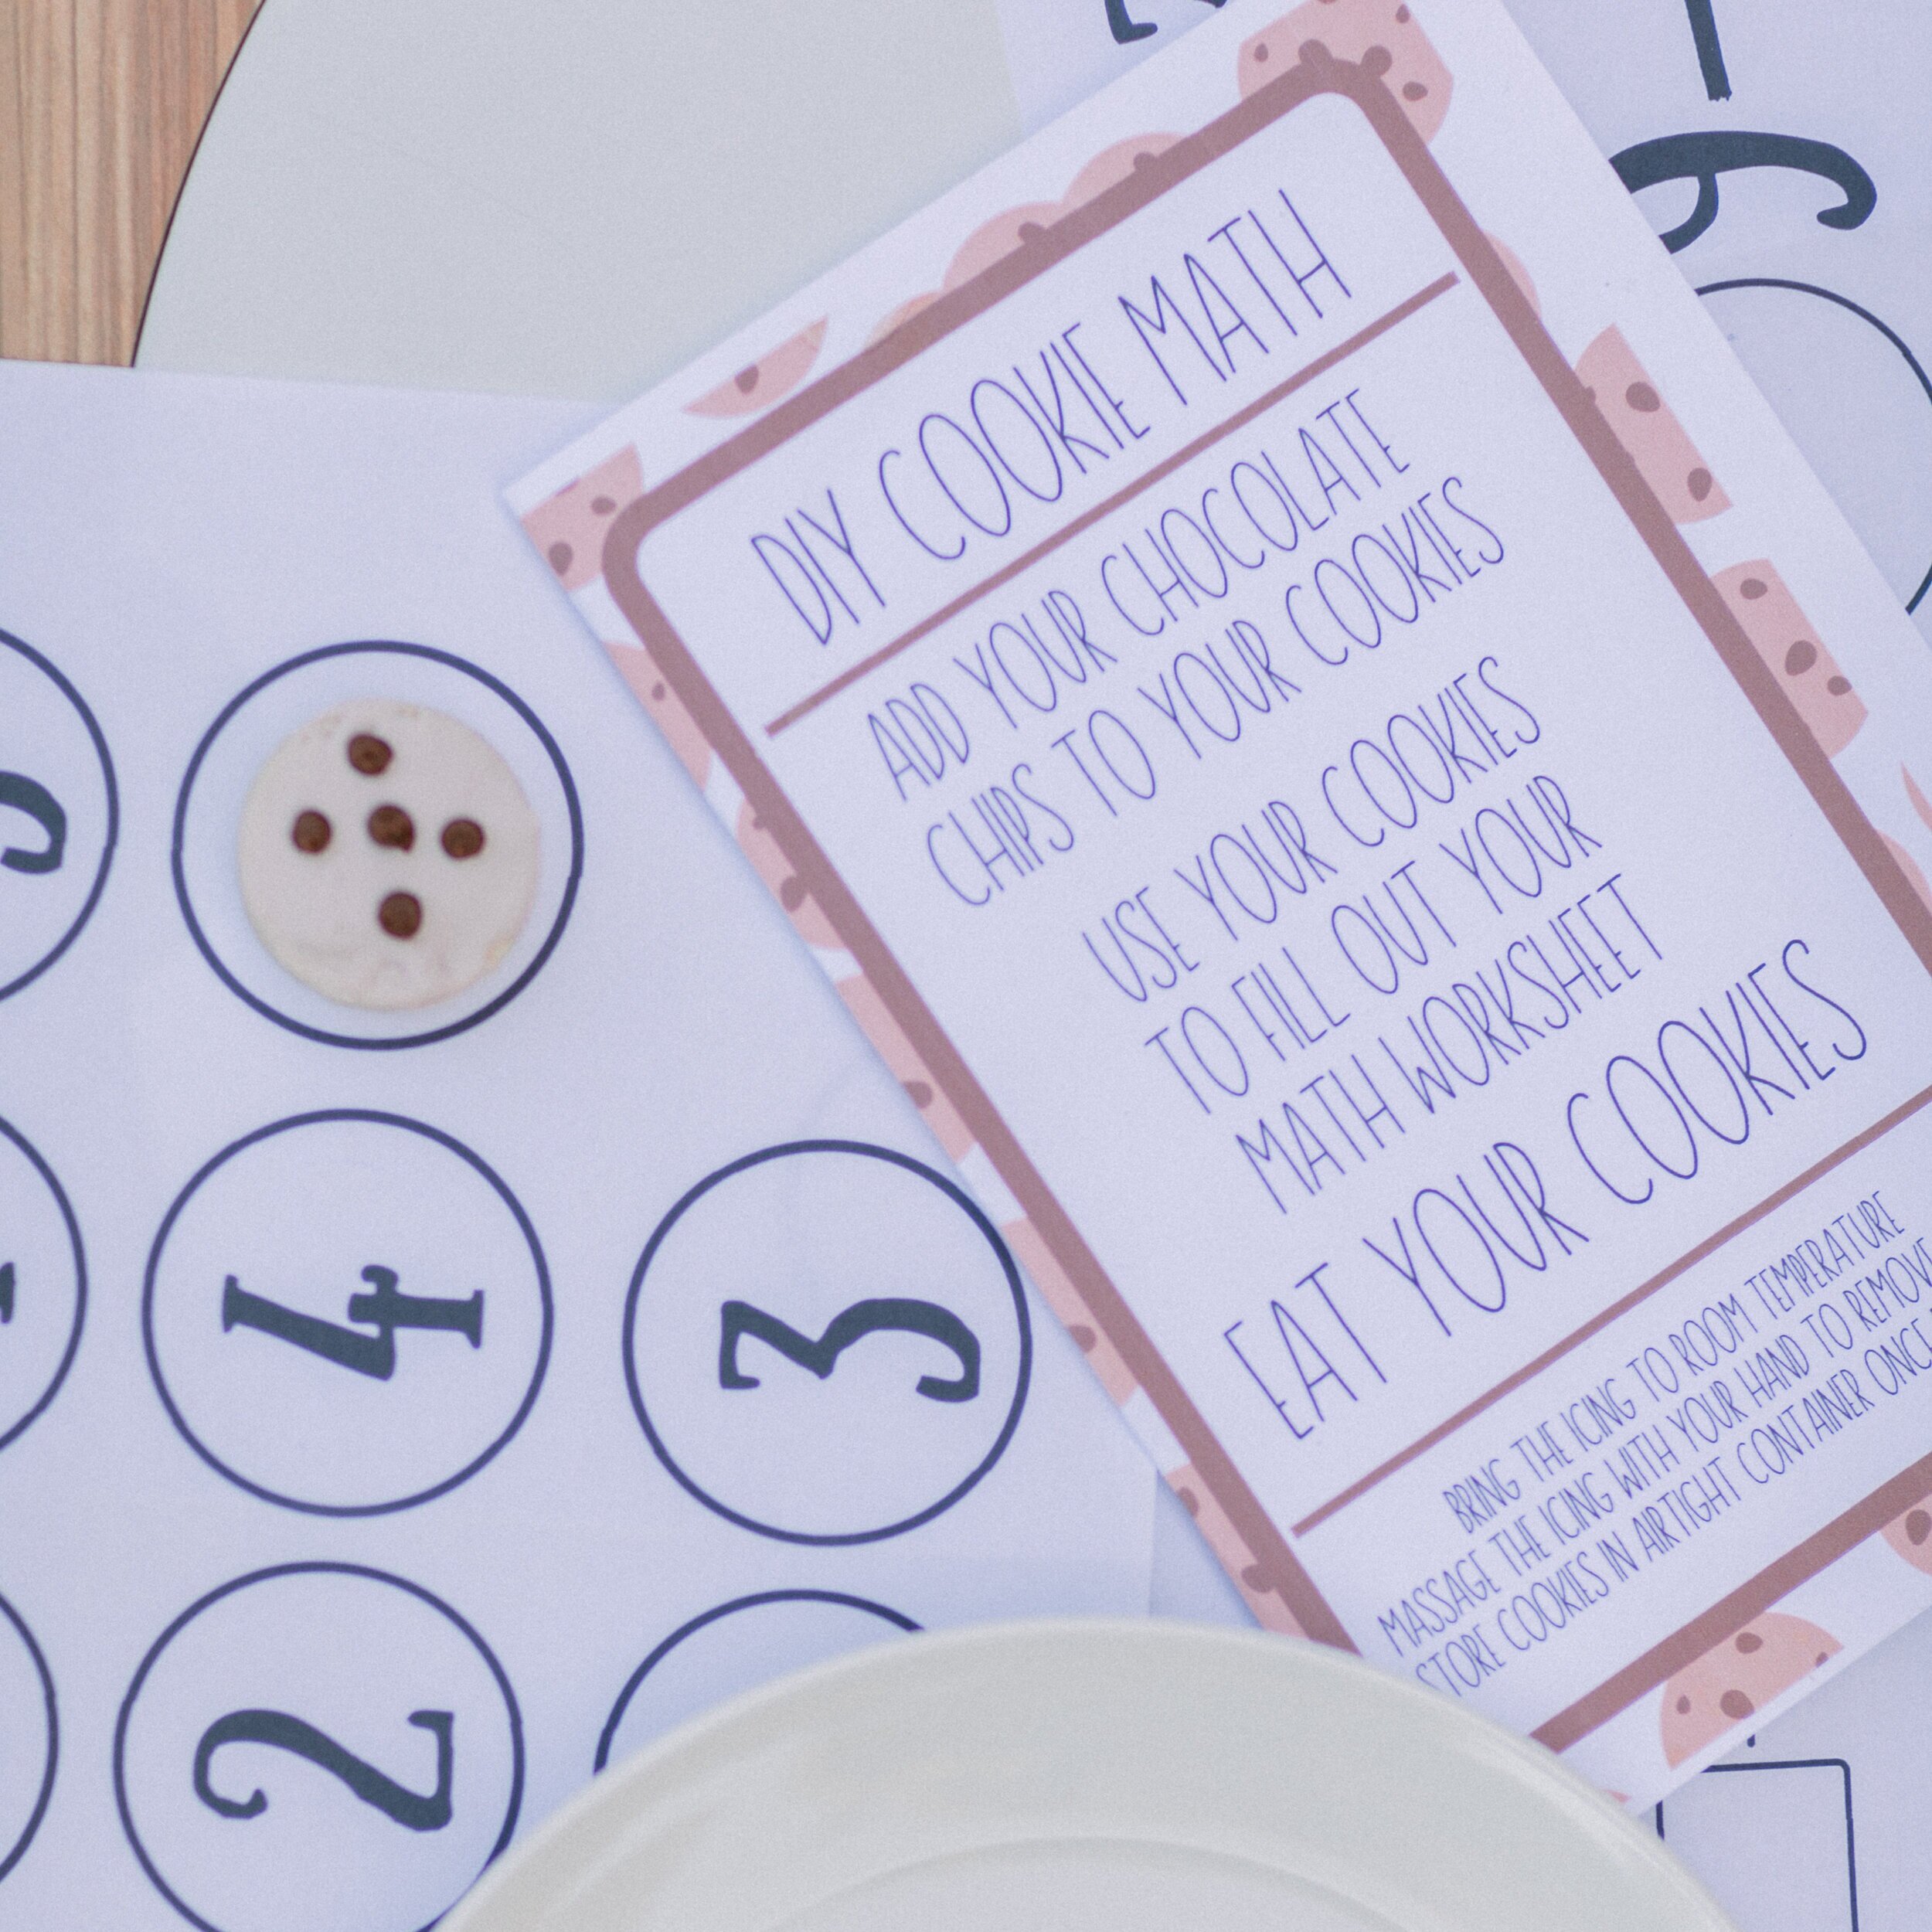
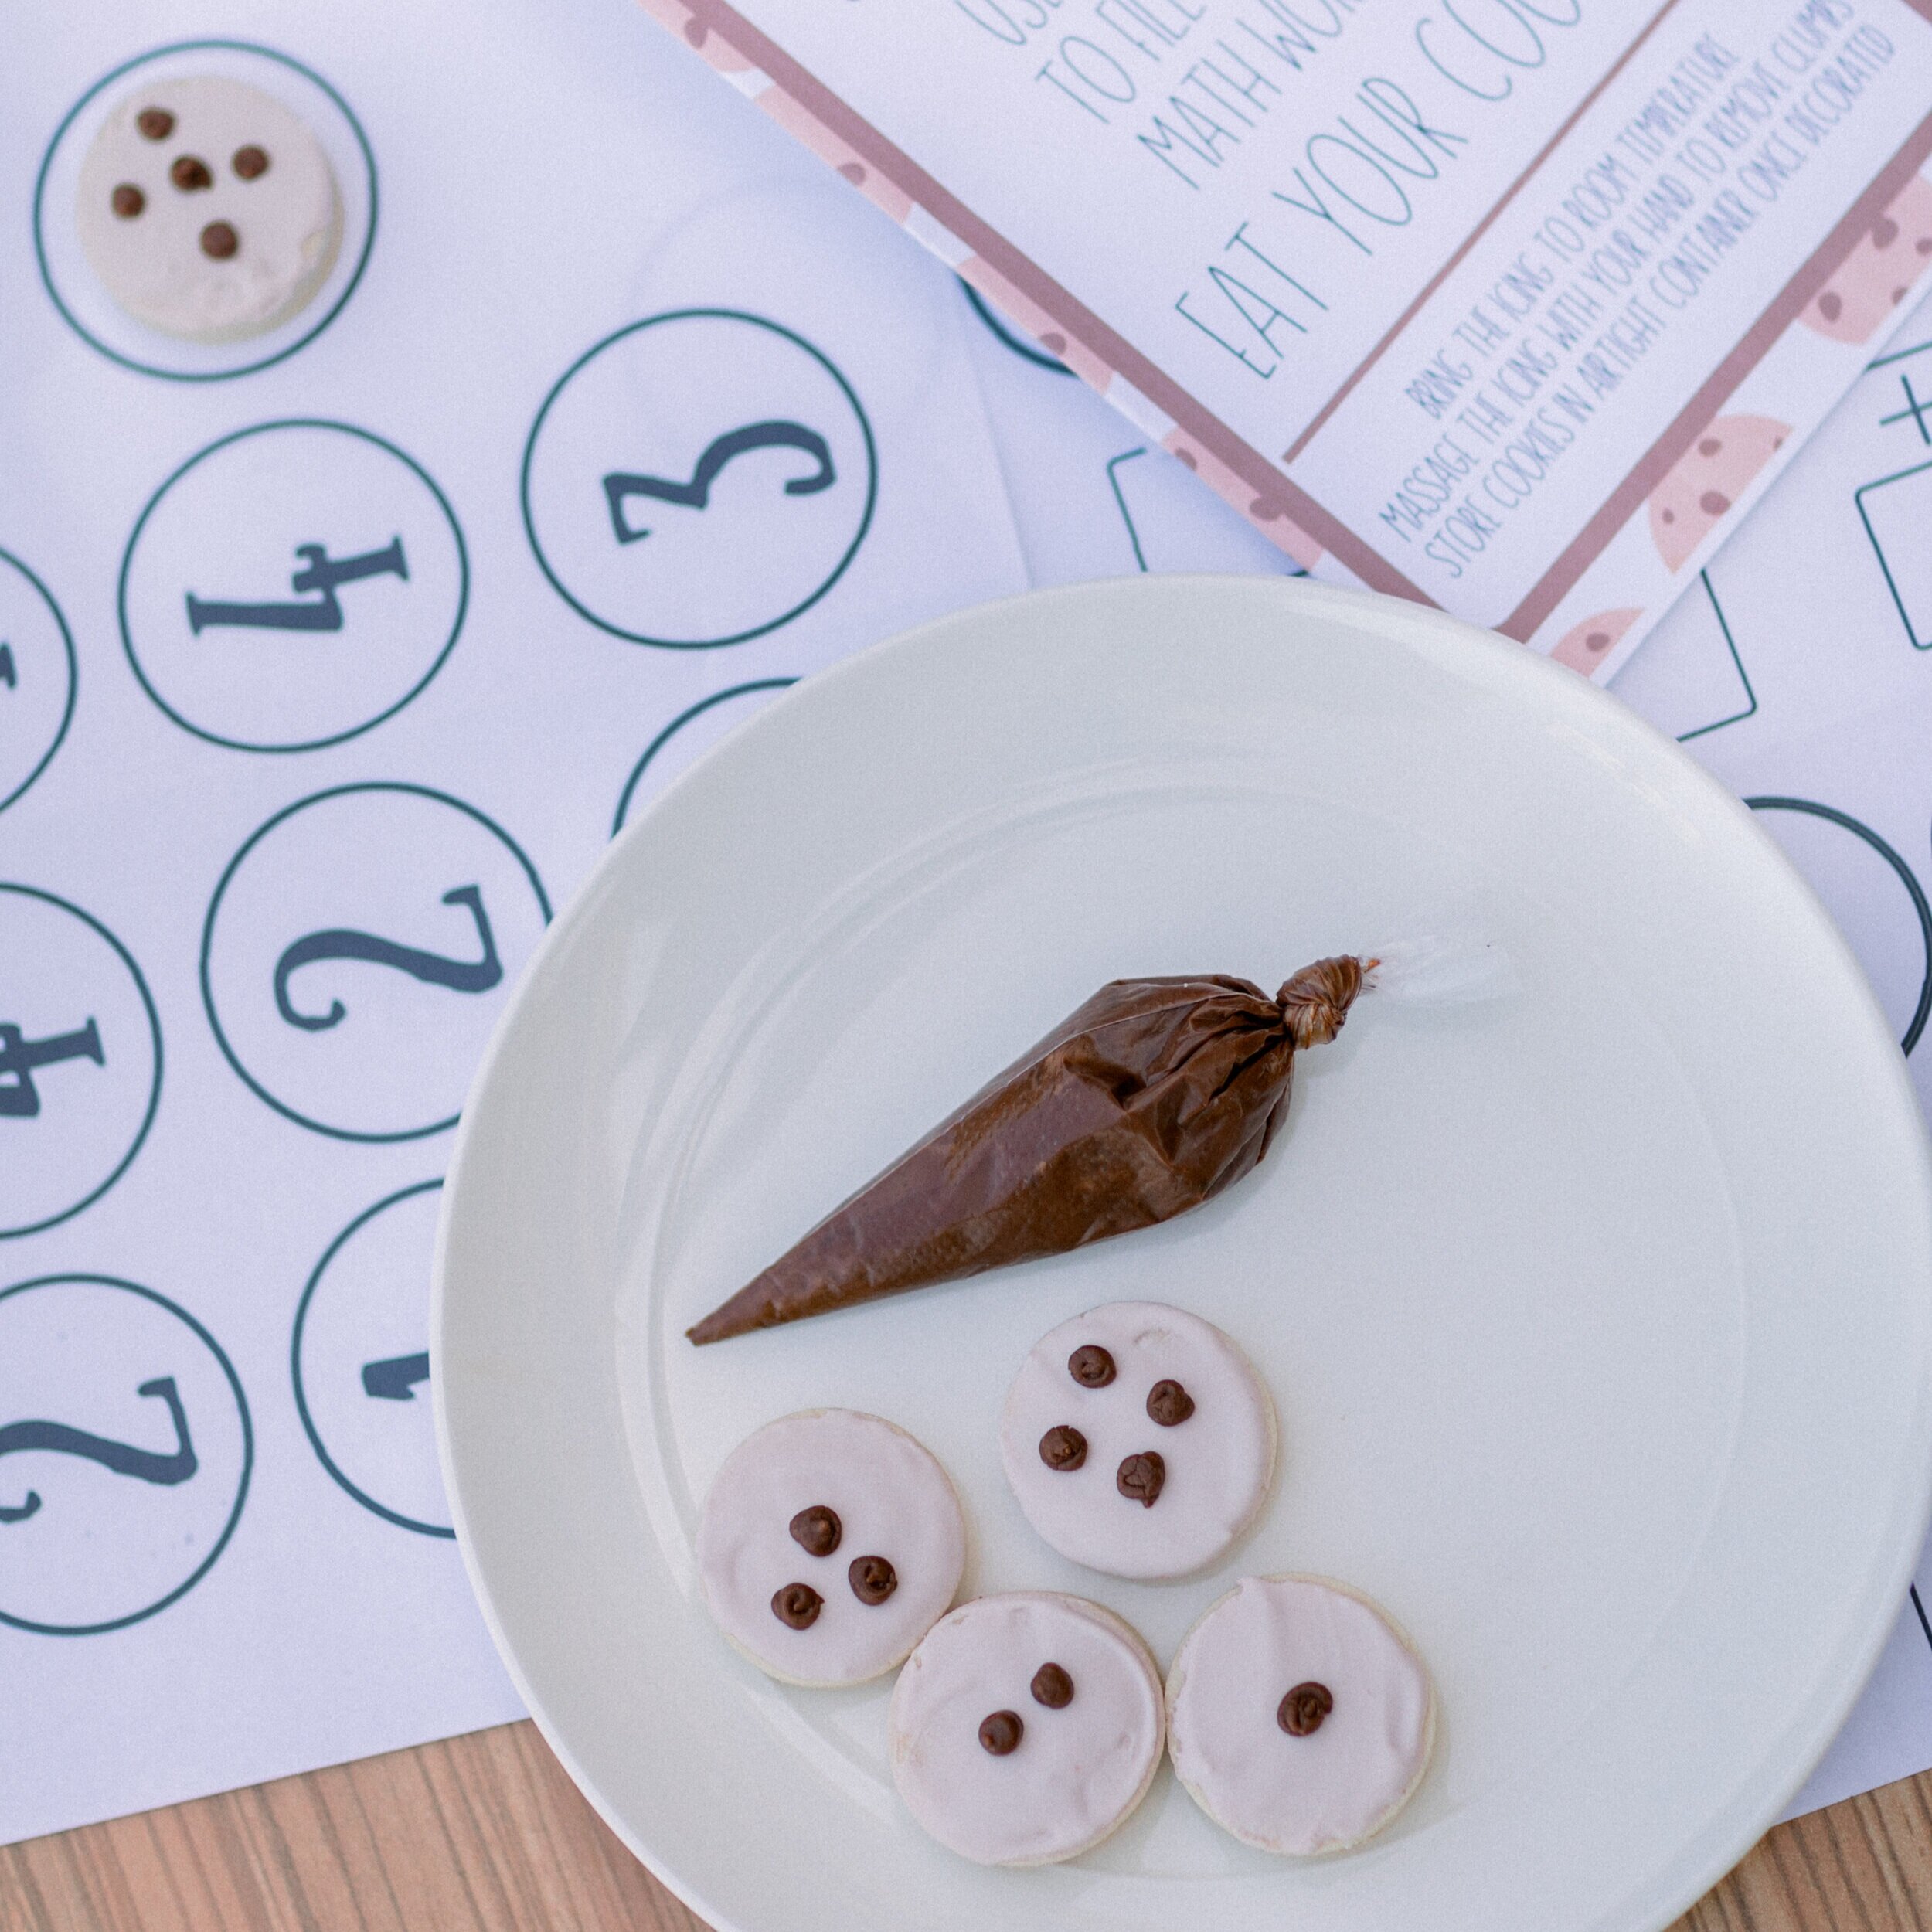
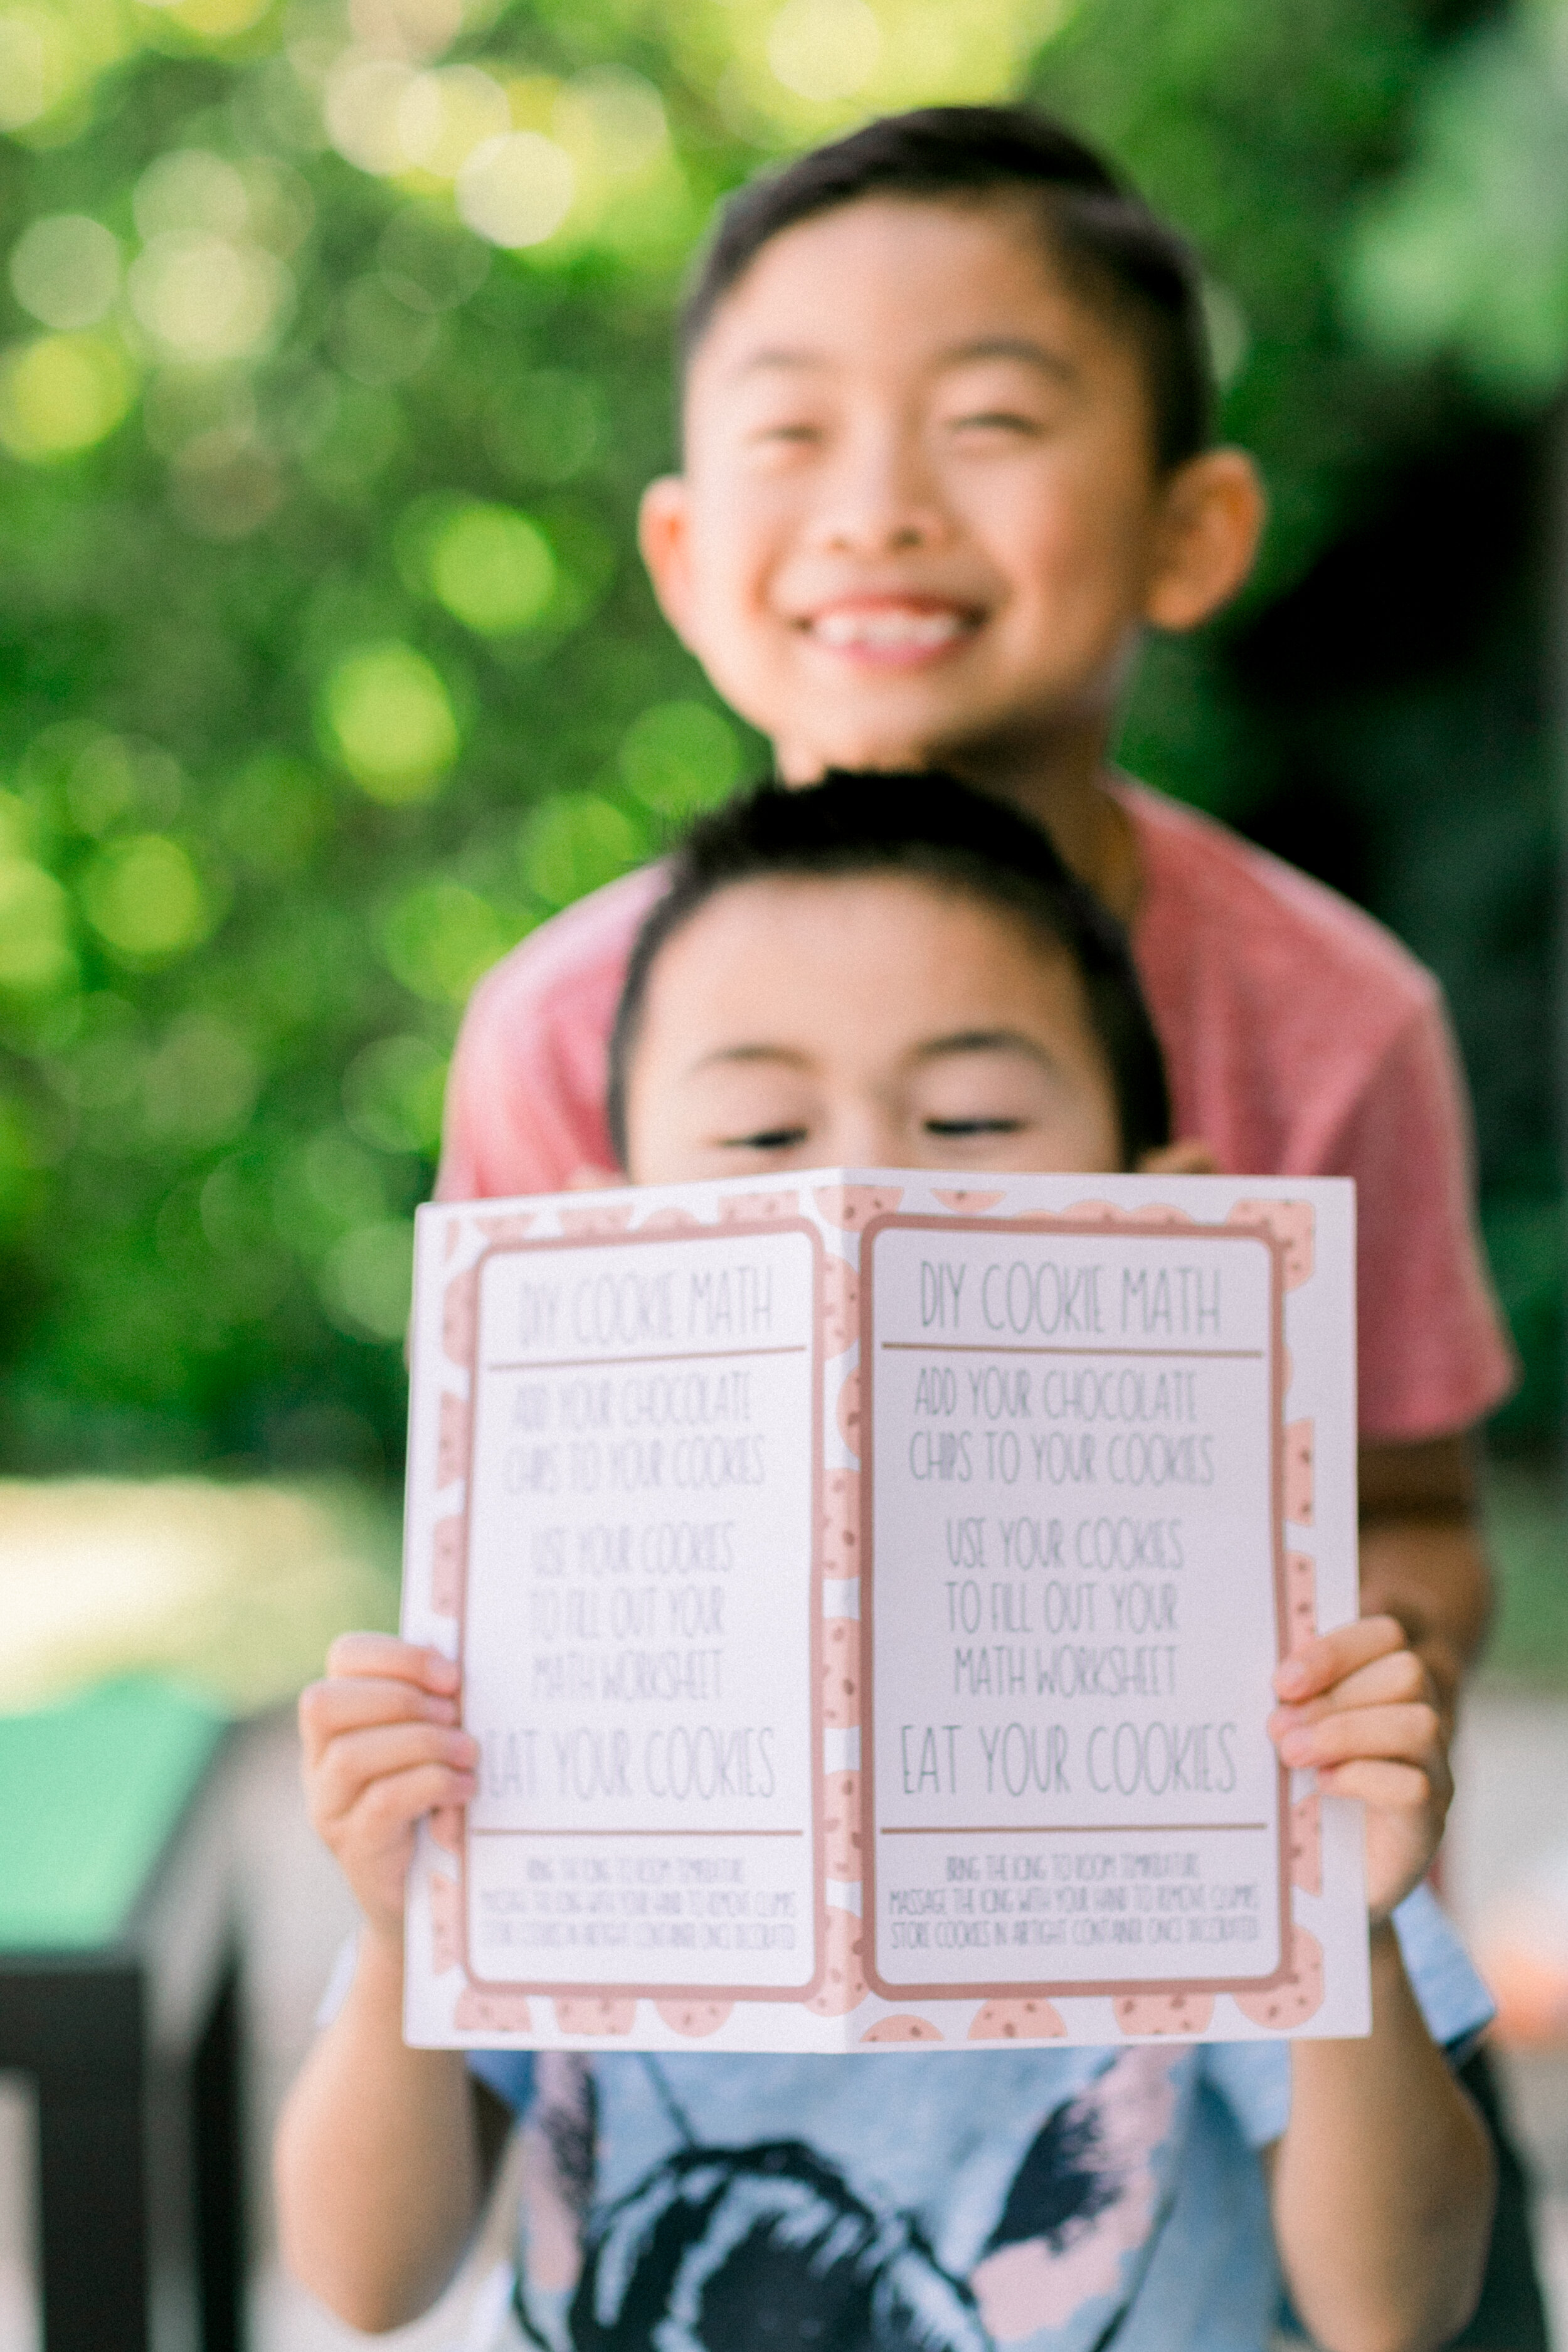
I was browsing through all the different cookie choices when I saw the Cookie Math option – a set of 10 cookies, brown icing for “chips,” math worksheets, and instructions. Immediately, I was intrigued. They were affordable, available to ship, and seemed like such a fun way to mix up Ben and AJ’s lesson plans. I added them to the cart and, along with my boys, eagerly waited for them to make their way to the Lay household.

My boys absolutely loved them, and, as a mom, it felt good to be able to offer them some variety in their schooling. Most of their schoolwork has been done on the computer, so it was fun for them to be able to get away from the screen and learn in a more creative, hands-on way – even if they were trying to eat the cookies the entire time. It felt like more of a treat than schoolwork, which allowed the Cookie Math set to fit seamlessly into their home lesson plan while also being a “sweet” experience. It was super easy to have both boys involved, even at their different age levels of 5 and 7 years old. For Ben, we used this set to teach him numbers and introduce counting. For AJ, he already knew his numbers, so we used the set to teach him addition, subtraction, and more advanced math.

With the positive experience my rascals had with this set, and with how perfectly it fit into our current at-home teaching situation, I wanted to learn more about the story behind these cookies and SoEn Cookie Gram. Nicki is the brains behind SoEn Cookie Gram. She is a mother of two, wife to a Frenchman-recently-turned-U.S. citizen, and, surprisingly, is relatively new to cookie decorating.

Her cookie decorating obsession started from what she considered a “failure” in her eyes. When Nicki’s daughter turned 1, she wanted to bake and decorate fancy cookies for her birthday but failed miserably. For so long after, she was afraid to try again and shied away from the idea. One day, for a Christmas program for her daughter, Nicki decided to try again. They didn’t come out great, but, this time, she kept trying. As she improved, she built up enough courage to apply for a Cottage Food Operator permit and started her cookie business. My favorite part about SoEn Cookie Gram, besides how much my rascals loved it, is that it all started from this story of resilience, of falling, getting back up, and pushing away her fears to try again.

Turning her newfound cookie decorating hobby into a business was a way for Nicki to share her creative outlet with others. Cookie decorating was therapeutic, and she hoped that, through her cookies, others would be able to cope and destress at home and on their own in the same way. She also wanted to be able to share the most rewarding aspect of the process with others, her feeling of, “Wow. I did that!” 

Now, Nicki says she finds her inspiration in everything. “I see cookies everywhere,” Nicki told us, “I honestly want to ‘cookiefy’ everything.” Find Nicki’s Cookie Math set (and more) at SoEn Cookie Gram.

Written by Head Rascal (Ngoc Nguyen Lay), mother of two rascals, ages 5 and 7. Photos by Simply Adri Photography.

Homemade Frozen Fruit Pop Recipe

Fourth of July Fruit Popsicles on Hello Rascal Kids.

Beat the heat with some cool, sweet treats! Did we mention these are actually healthy?! These delicious fruit pops are made from real fruit and sweetened with a touch of agave nectar. They are a breeze to make for your rascals.

Fourth of July Fruit Popsicles on Hello Rascal Kids.

Ingredients
•    1 pint box ripe strawberries (10-12 medium sized strawberries)
•    1 half pint box blueberries (15-20 blueberries)
•    1 cup of vanilla yogurt
•    1 tbsp agave nectar or honey (use agave nectar to keep it vegan)

Instructions
1.    Chop strawberries and blueberries until everything is bite sized.
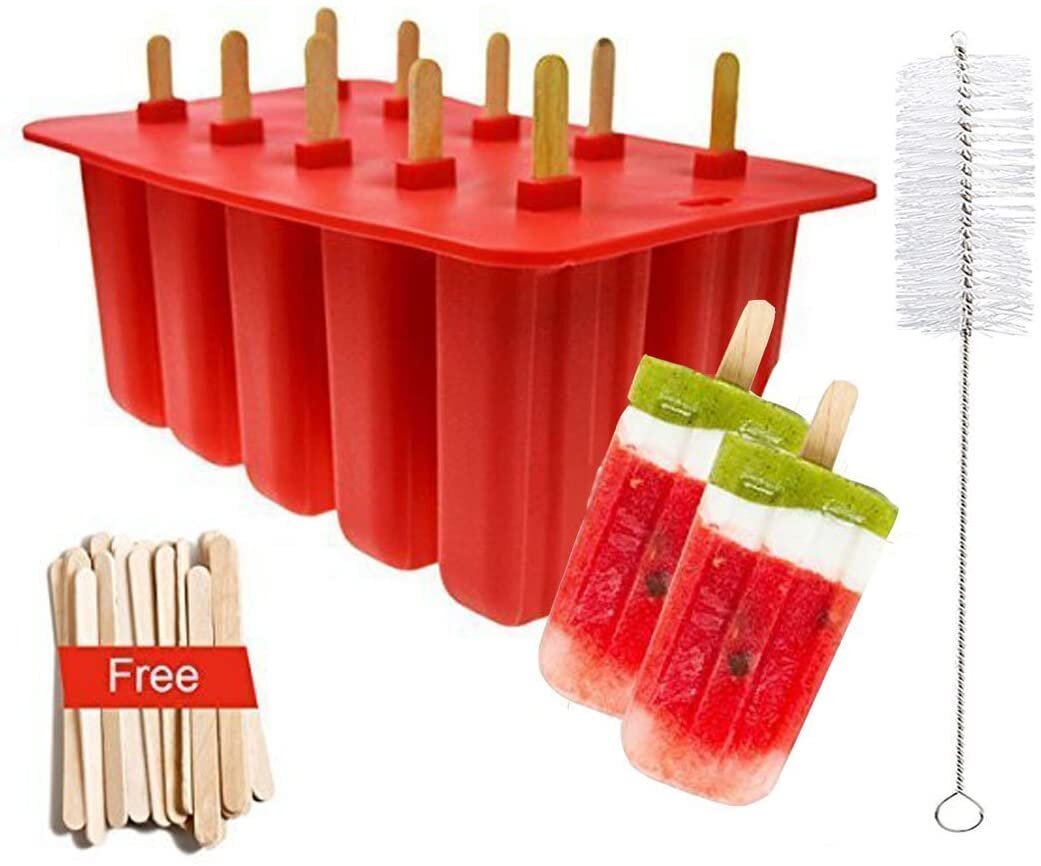
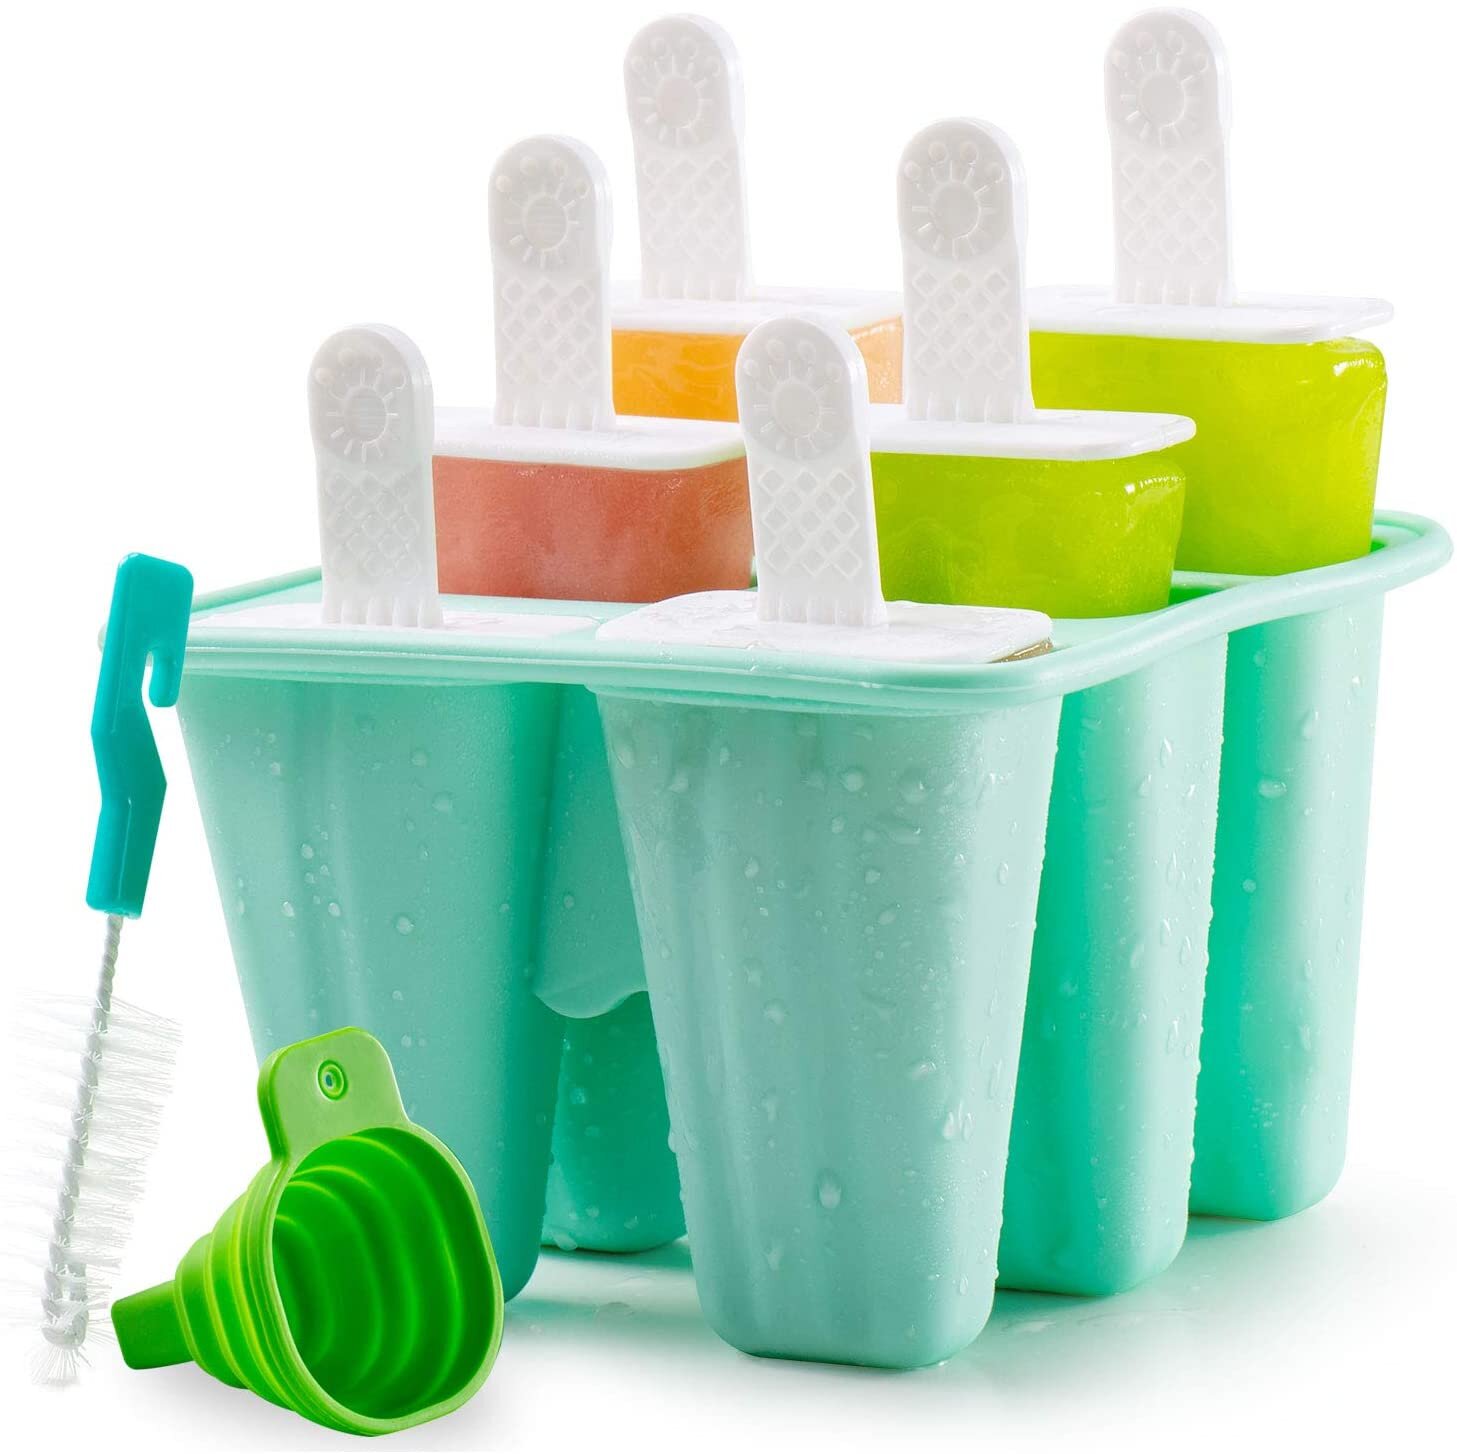
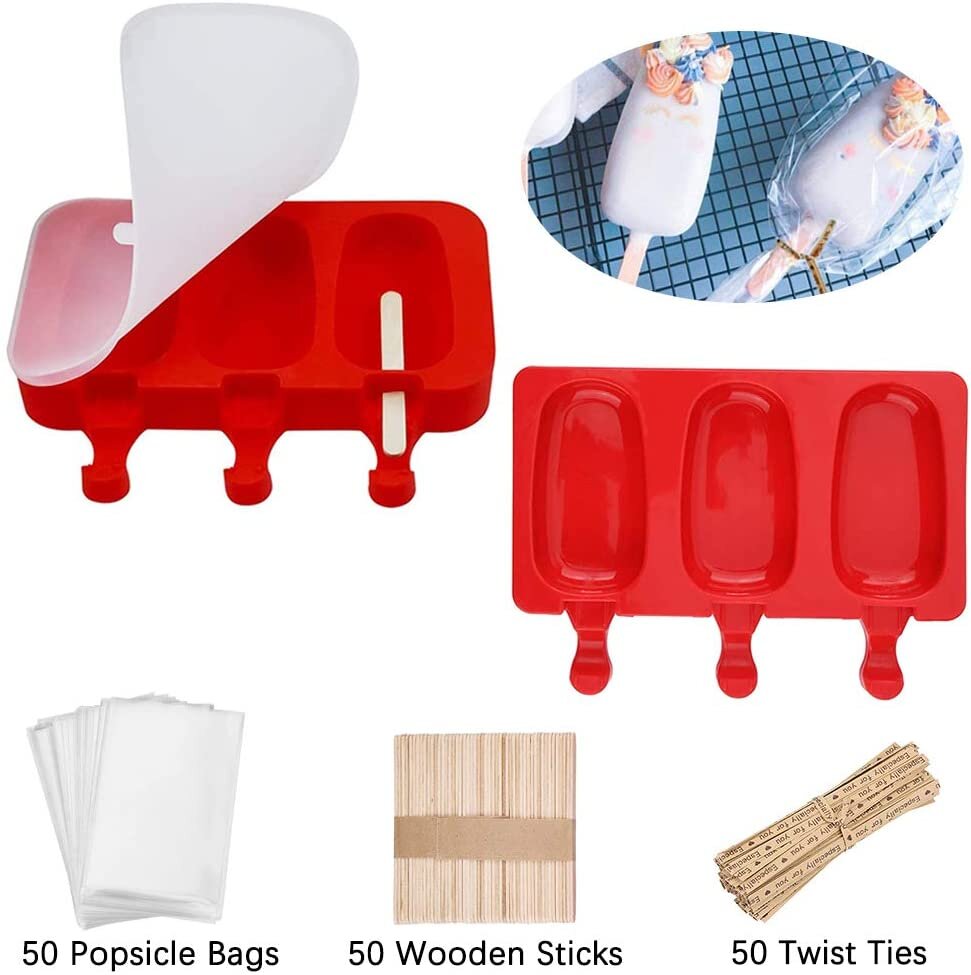
2.    Mix yogurt and agave/honey and divide among pop molds. Add popsicle sticks and freeze. 
3.    To remove, run warm water on the outside of the molds. Enjoy!

Written by Head Rascal (Ngoc Nguyen Lay), mother of two rascals, ages 5 and 7.


Shop the Post

Strawberries and Cream Recipe

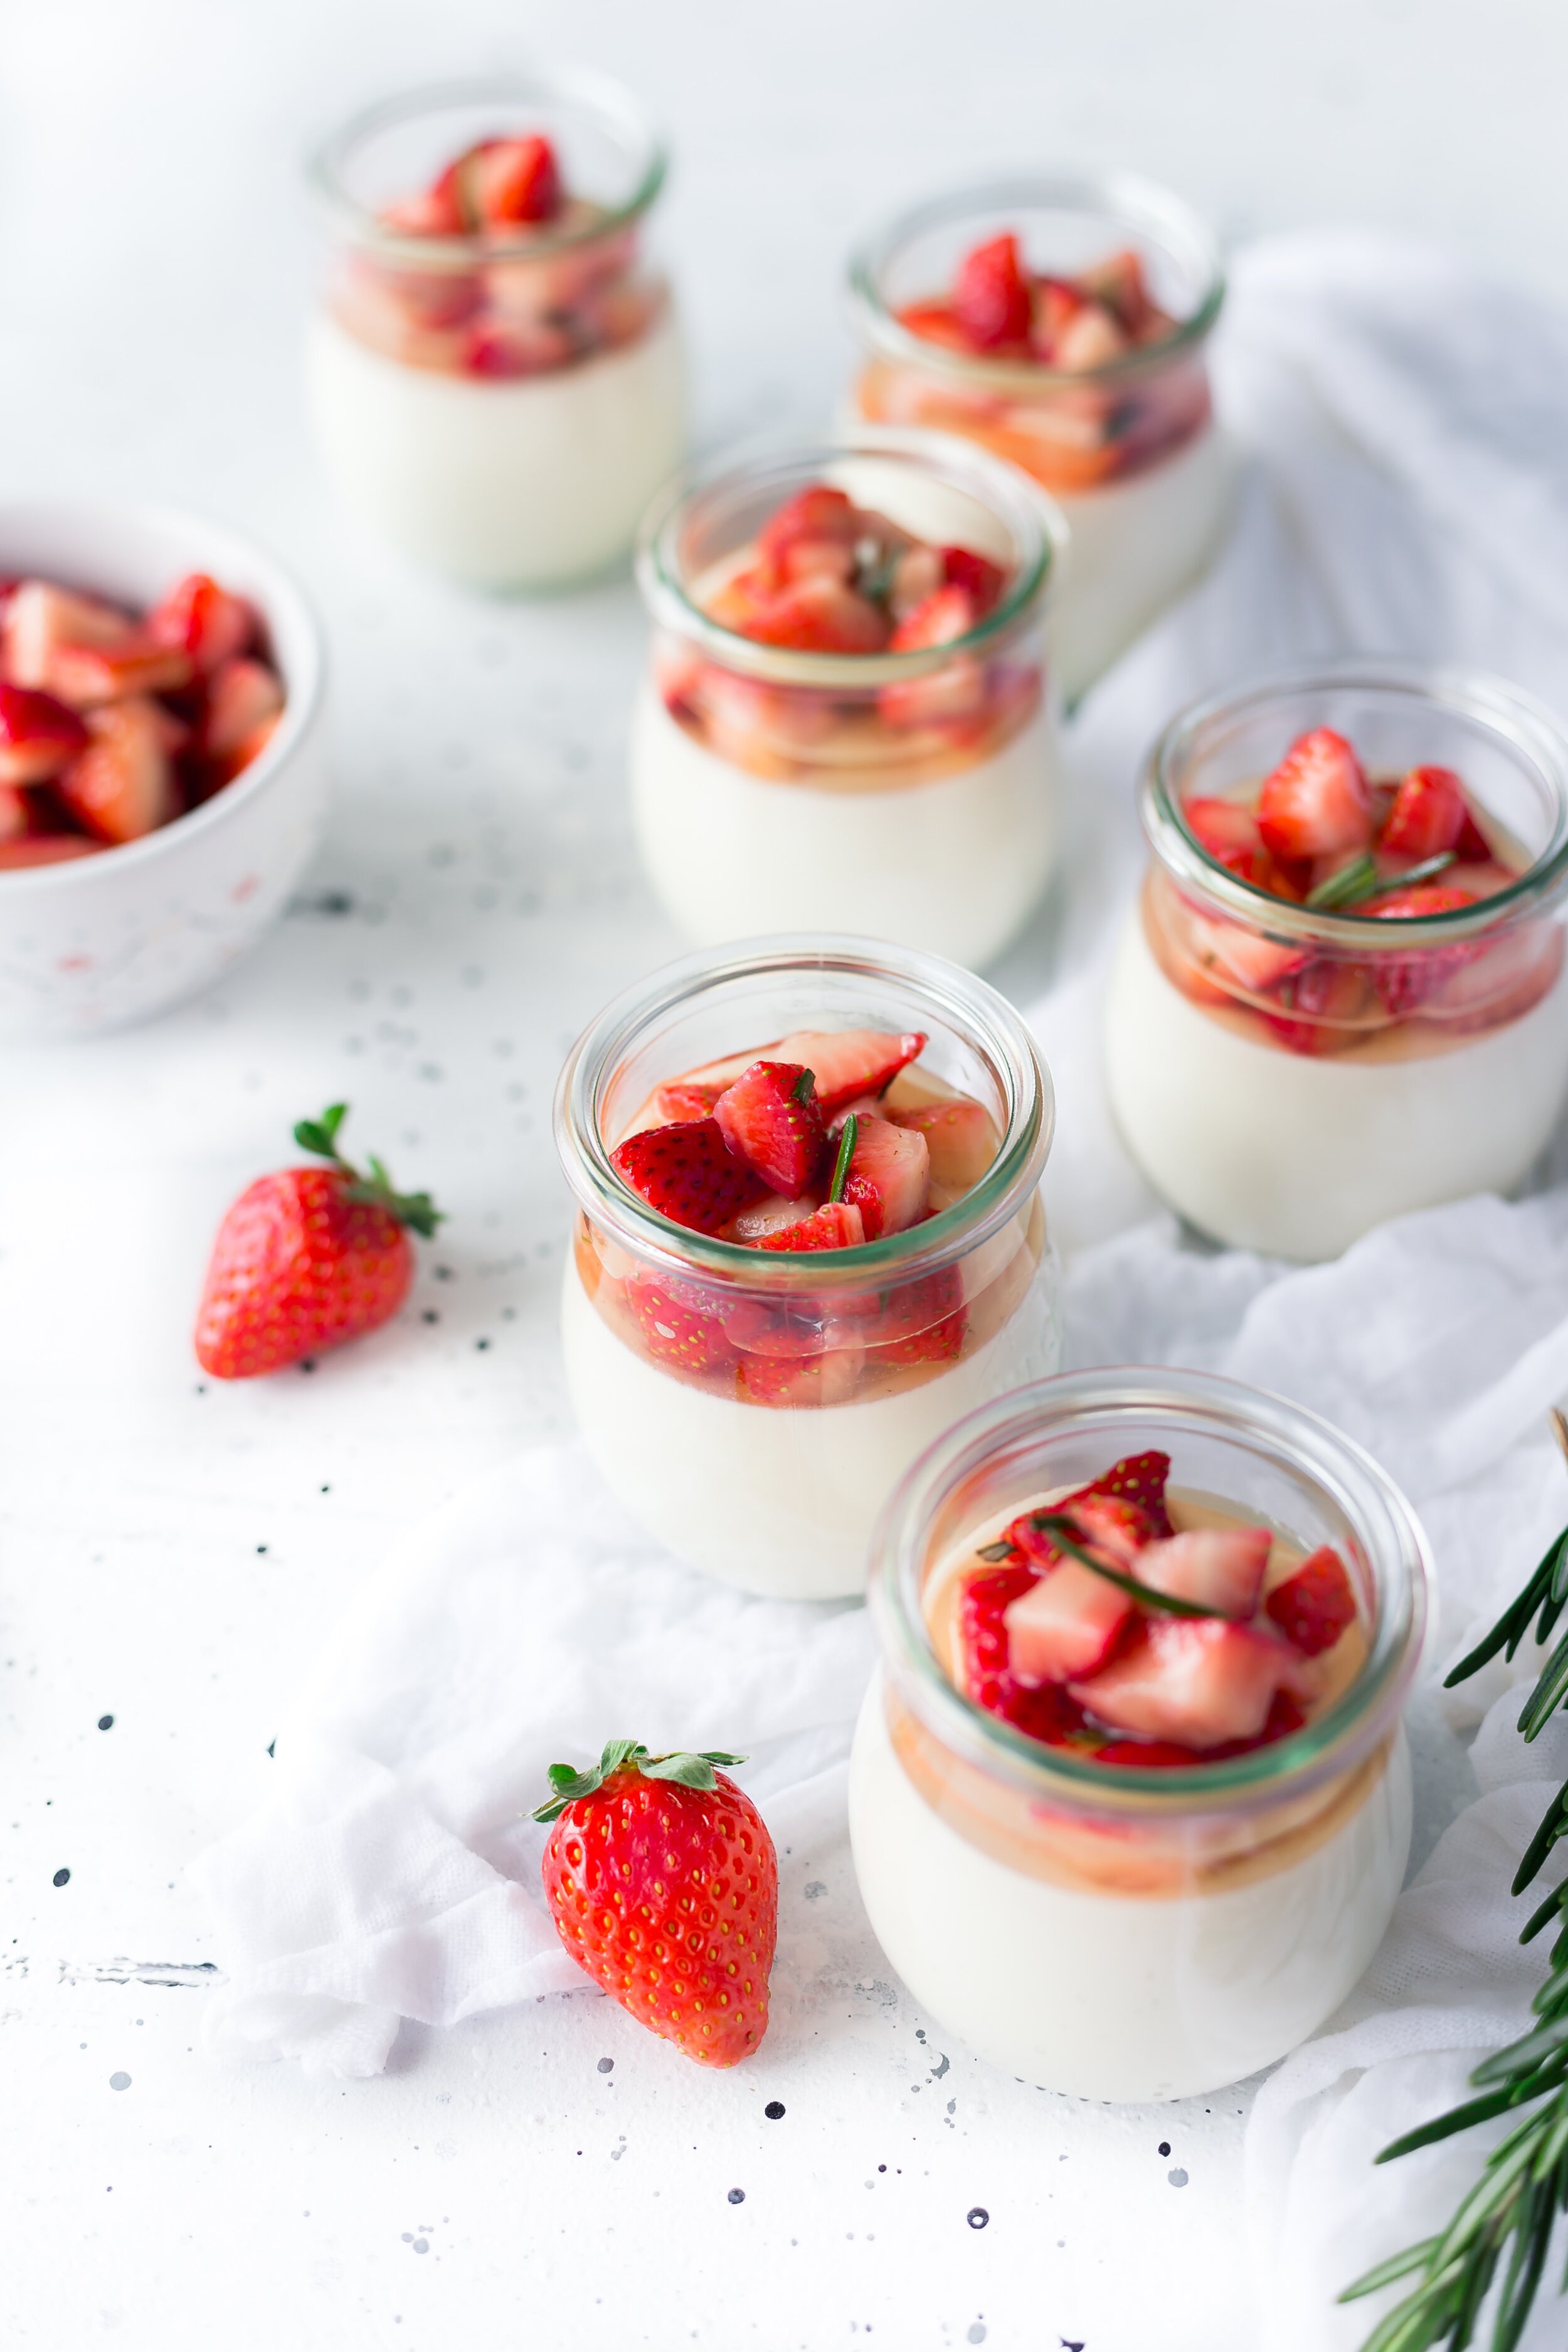
Strawberries and Cream is a sweet, simple timeless combination and a sure winner for our kids!

This is a rich dessert that doesn’t taste overwhelmingly rich. Nevertheless, it’s served in super small portions, so indulge a little! This is a simple recipe that you can have fun making with your rascals. The strawberries and cream jars need time in the refrigerator to firm up, so you can make them the day before, and all you have to do is garnish them right before serving.

Strawberries are the first berries of the season and perfect for any of your summer gatherings. The fresh strawberry flavor comes through nice and clear in this dessert because the strawberry puree never gets cooked. You get to taste the bright, ripe strawberry in all its glory.

Ingredients

  • 1 cup strawberries, washed and hulled

  • 2 tsp lemon juice

  • 1 cup heavy cream

  • 1/4 cup sugar

  • 3 large egg yolks

Instructions

  1. Puree the strawberries in a small food processor or good blender until smooth. Strain and discard any seeds or solids. Stir in the lemon juice and set aside.

  2. Put the egg yolks in a medium bowl and lightly beat them.

  3. In a small heavy bottomed saucepan heat the cream and sugar, stirring to dissolve the sugar, until it comes to a simmer. Slowly drizzle half of the hot cream into the egg yolks, while whisking. Then pour the mixture back into the pan, stirring constantly, and bring back up to a gentle boil. Cook for about a minute, stirring constantly, as the mixture thickens.

  4. Remove from the heat and pour through a (rinsed out) strainer to remove any lumps. Pour into 4 small jars or cups.

  5. Chill the jars for at least 4 hours or overnight. Served topped with the reserved strawberry puree and fresh mint.

  6. Notes: This recipe makes 4 small pots. If you'd like more, feel free to double the recipe.

Simple recipes like this make celebrating the arrival of the season breeze. Gather your little rascals, sit down to a home cooked dinner, and enjoy that extra hour of daylight.

Written by Head Rascal (Ngoc Nguyen Lay), mother of two rascals, ages 5 and 7.


Shop The Post