DIY Jammie Quilt
/My favorite piece of baby clothing is hands down pajamas. Warm jammies and summer jammies. Themed jammies and holiday jammies. I just can’t get enough! But, what do you do when your rascal has outgrown their jammies? Well, you could save it for the next baby, or put them in a box in the basement, or you can relive each precious night by creating a Jammie Quilt! Supplies are minimal and make for a great keepsake for any rascal, big or small!
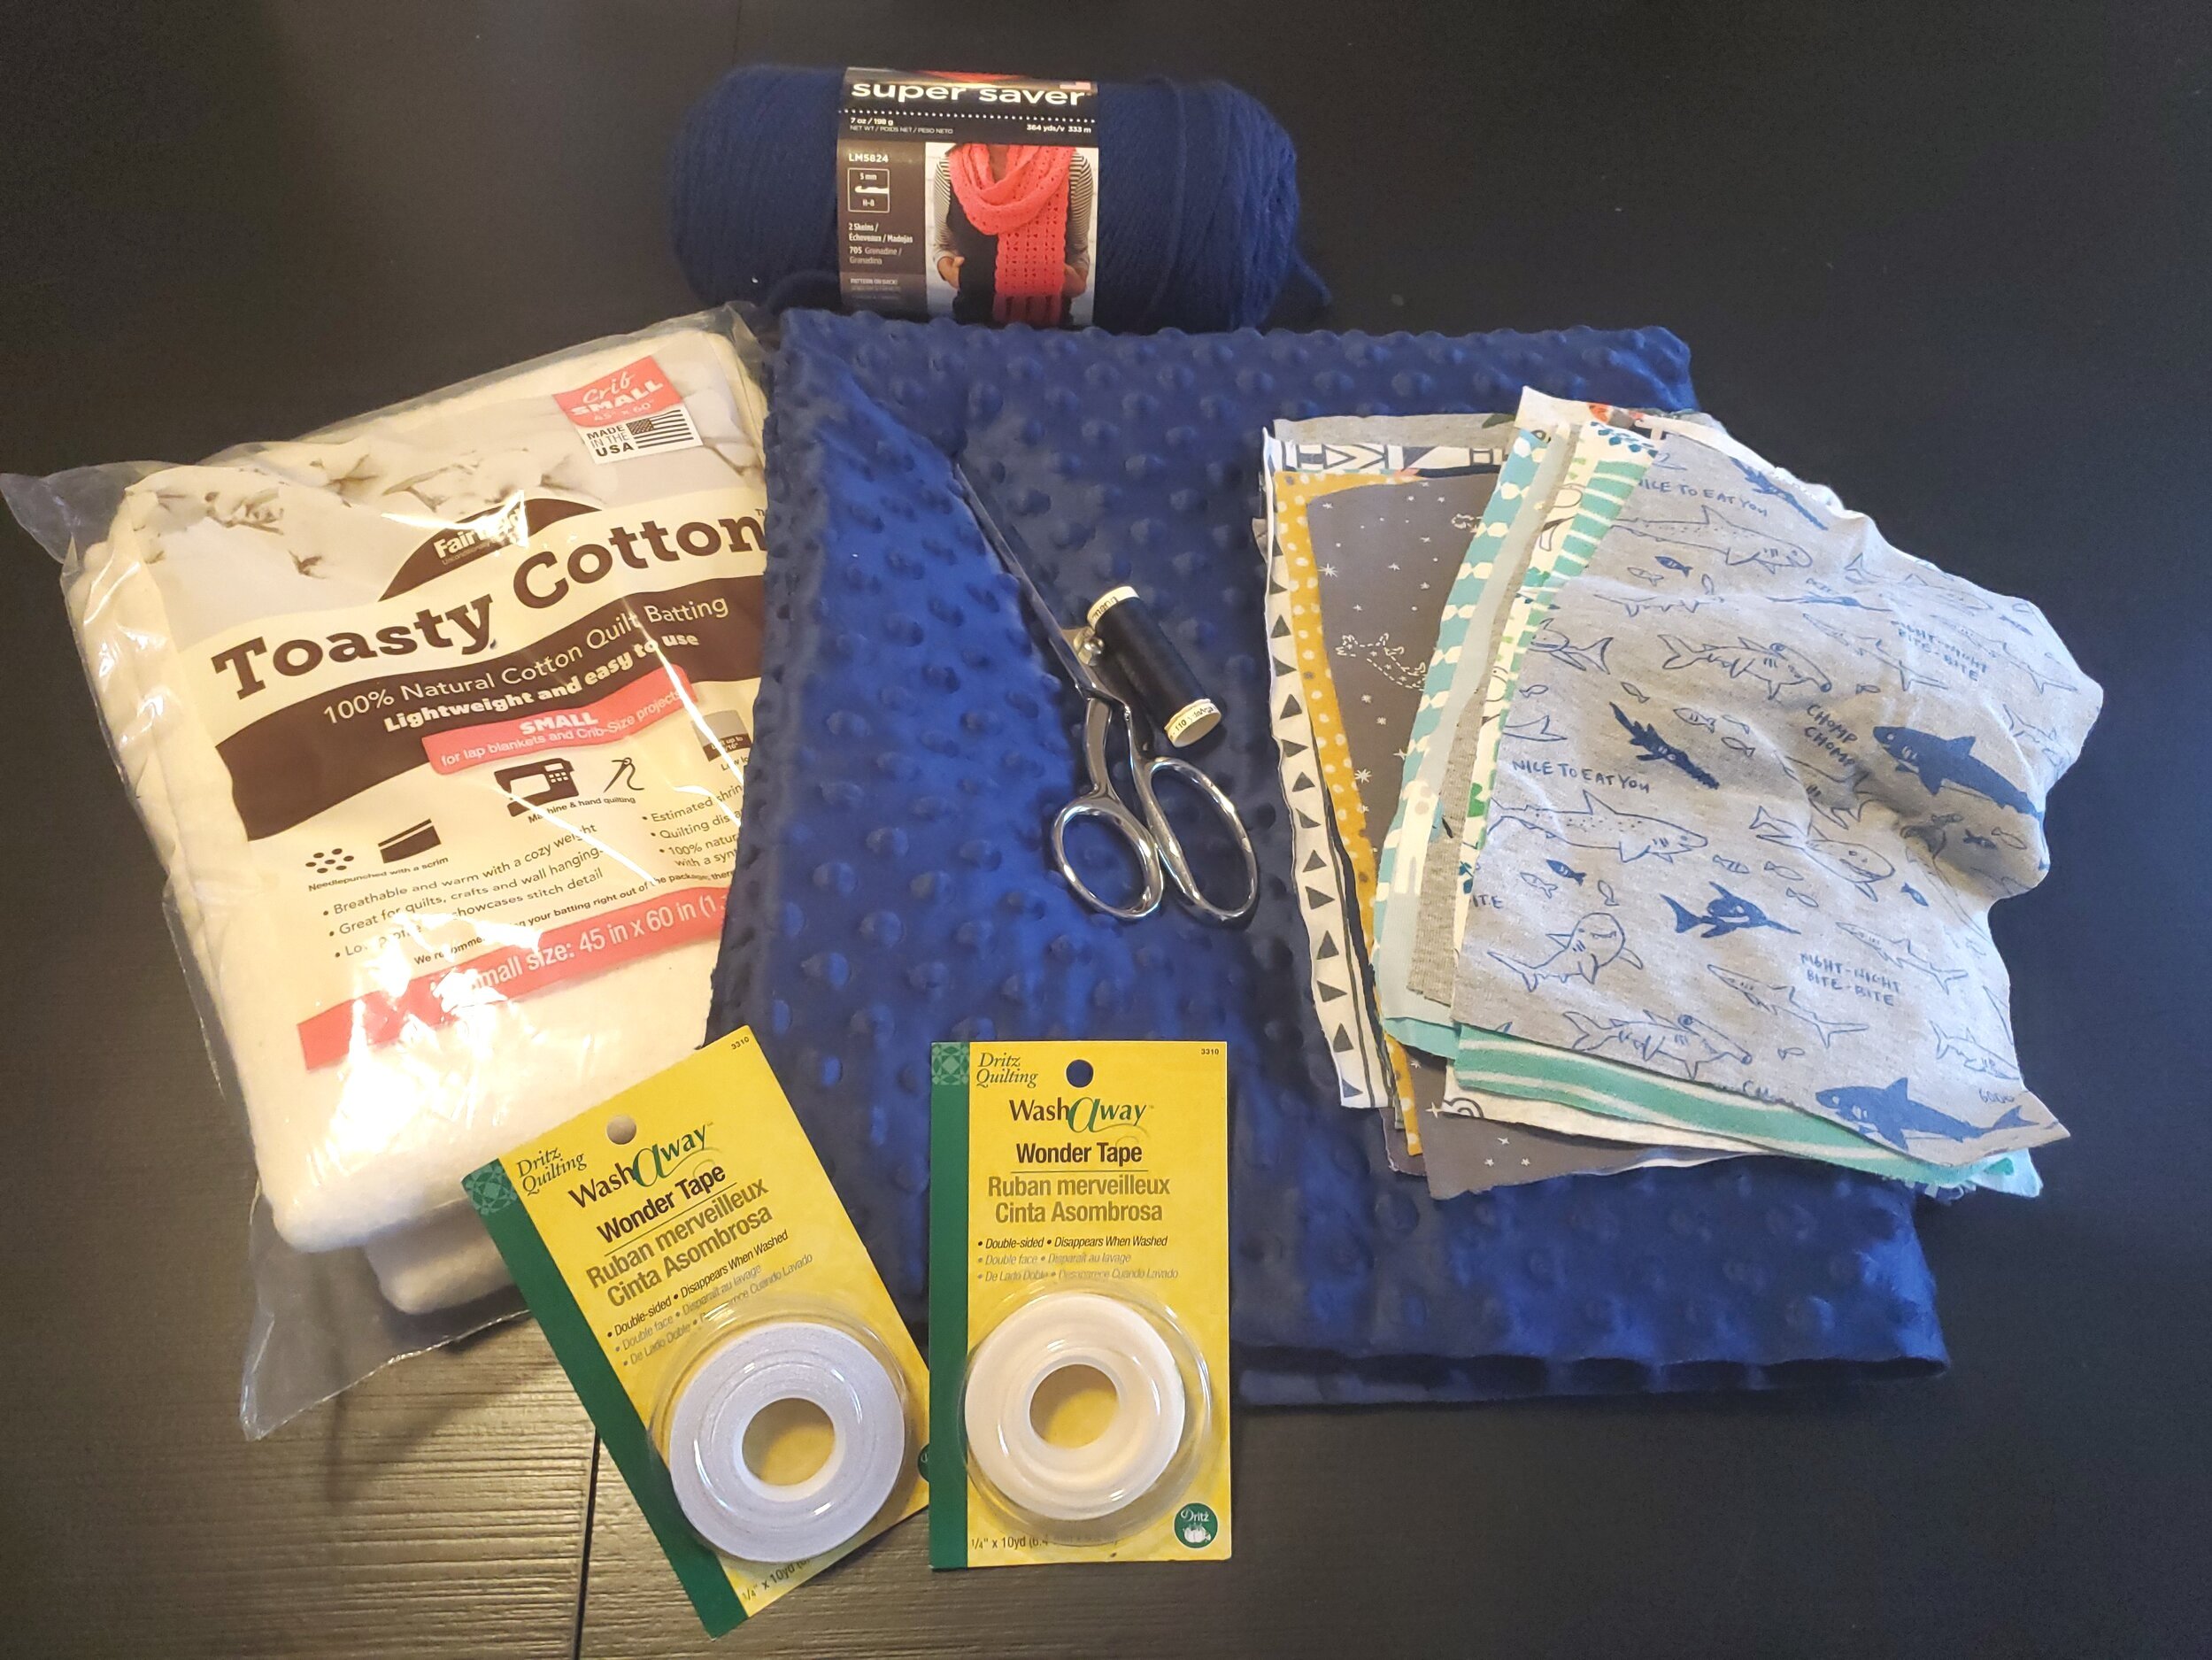
What you’ll need:
25 Jammies/Onesies/etc.
1.5 yards of soft backing fabric, like Minky!
Batting (crib size)
Double-stick sewing tape (the kind that washes away is amazing!)
Thread
Yarn
Sewing Machine
Scissors
Step 1.
Wash, dry, and iron all fabric.
Step 2.
Cut the jammies/onesies into 10”h x 7.5” wide rectangles. The more precise and accurate your cuts, the easier time you’ll have when stitching everything together!

Step 3.
Lay out the 25 rectangles in a pattern that you like! They should be in a 5x5 pattern (5 rows of 5).

Step 4.
Starting with the first row, stitch pieces together using a 1/4” seam allowance to create strips that run horizontally. Do this with all 5 rows.


Step 5.
Pin the top row to the second row, making sure all seams are aligned. Stitch rows 1 and 2 together using a 1/4” seam allowance. Continue by pinning and stitching together rows 3, 4, & 5 until all the rows are stitched together, making one big sheet of jammies! Turn the sheet over and iron flat all seams.
Step 6.
On a flat surface, lay down your cotton batting, making sure to smooth out any wrinkles/bunching. On top of the batting, you will need to lay your backing fabric (i.e. Minky) FACE UP. On top of the backing fabric. you will lay the jammie fabric FACE DOWN.
By this point you should have a fabric sandwich: batting, backing, and jammies.
Use the double-sided tape to tape the batting to the back piece, and the back piece to the Jammie piece. Running the tape around the edges works best. You can also pin the pieces together, but with little ones running (or crawling!) around, I wouldn’t want to risk a stray pin falling out!
Step 7.
Once your fabric is taped (or pinned!) together, stitch all the way around the blanket using a 1/4” seam allowance. Be sure to leave a 6-7 inch gap, so that you can turn the blanket inside out.
Step 8.
After all edges have been sewn down, leaving the gap, go around the edges and trim off any excess. This will make a tight edge.
Step 9.
Turn the blanket inside out. Use an iron to iron down all the edges so they are as flat and neat as possible.
Step 10.
Run the blanket edges through the sewing machine one more time, using a 1/4” top stitch. This will give the blanket a finished edge.
Step 11.
Use knitting yarn and thick needle to insert “ties” in a few spaces in the blanket. This will insure that the batting doesn’t shift when being cuddled!
Step 12.
Throw into the wash to get rid of the double-sided tape.
Step 13.
Ta-da! You’re done! You have a jammie quilt that you and your rascal can cuddle under for many years to come!
Shared by Crystal Zeyen, mother of 1 rascal, age 3.