I Love Lucy Themed First Birthday Party

I Love Lucy Themed First Birthday on Hello Rascal Kids. Family lifestyle blog for parents and kids.

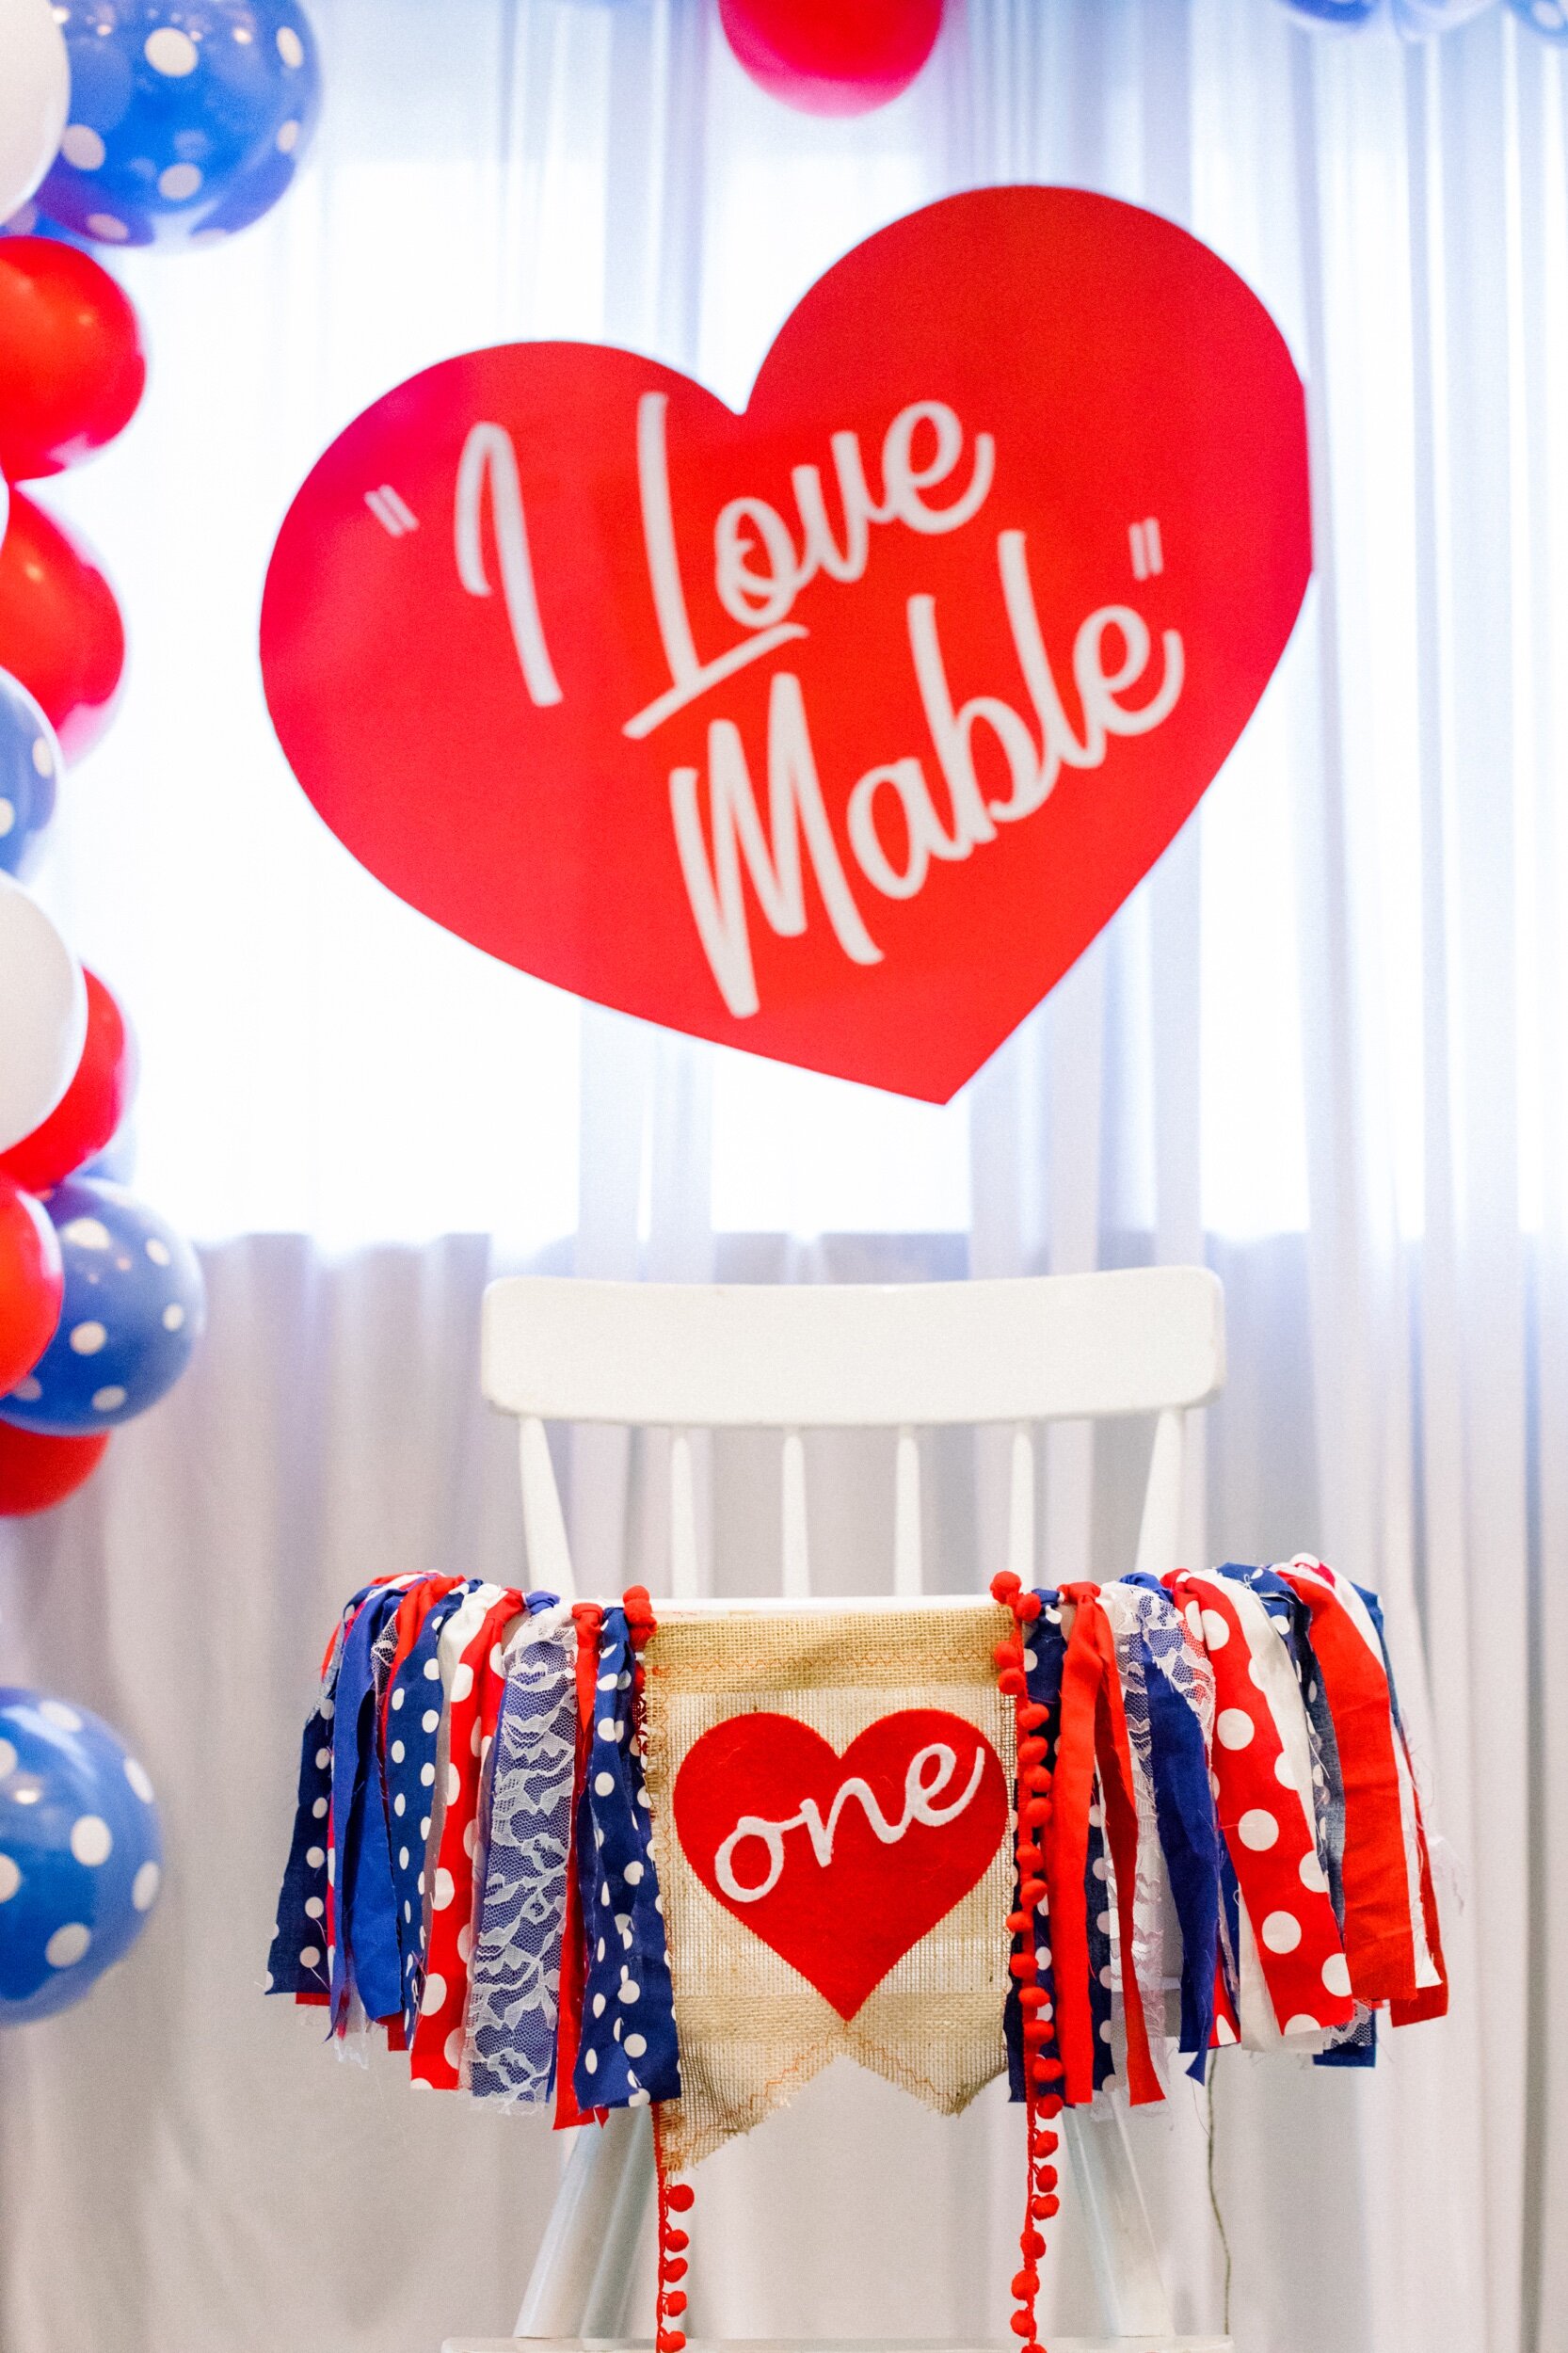
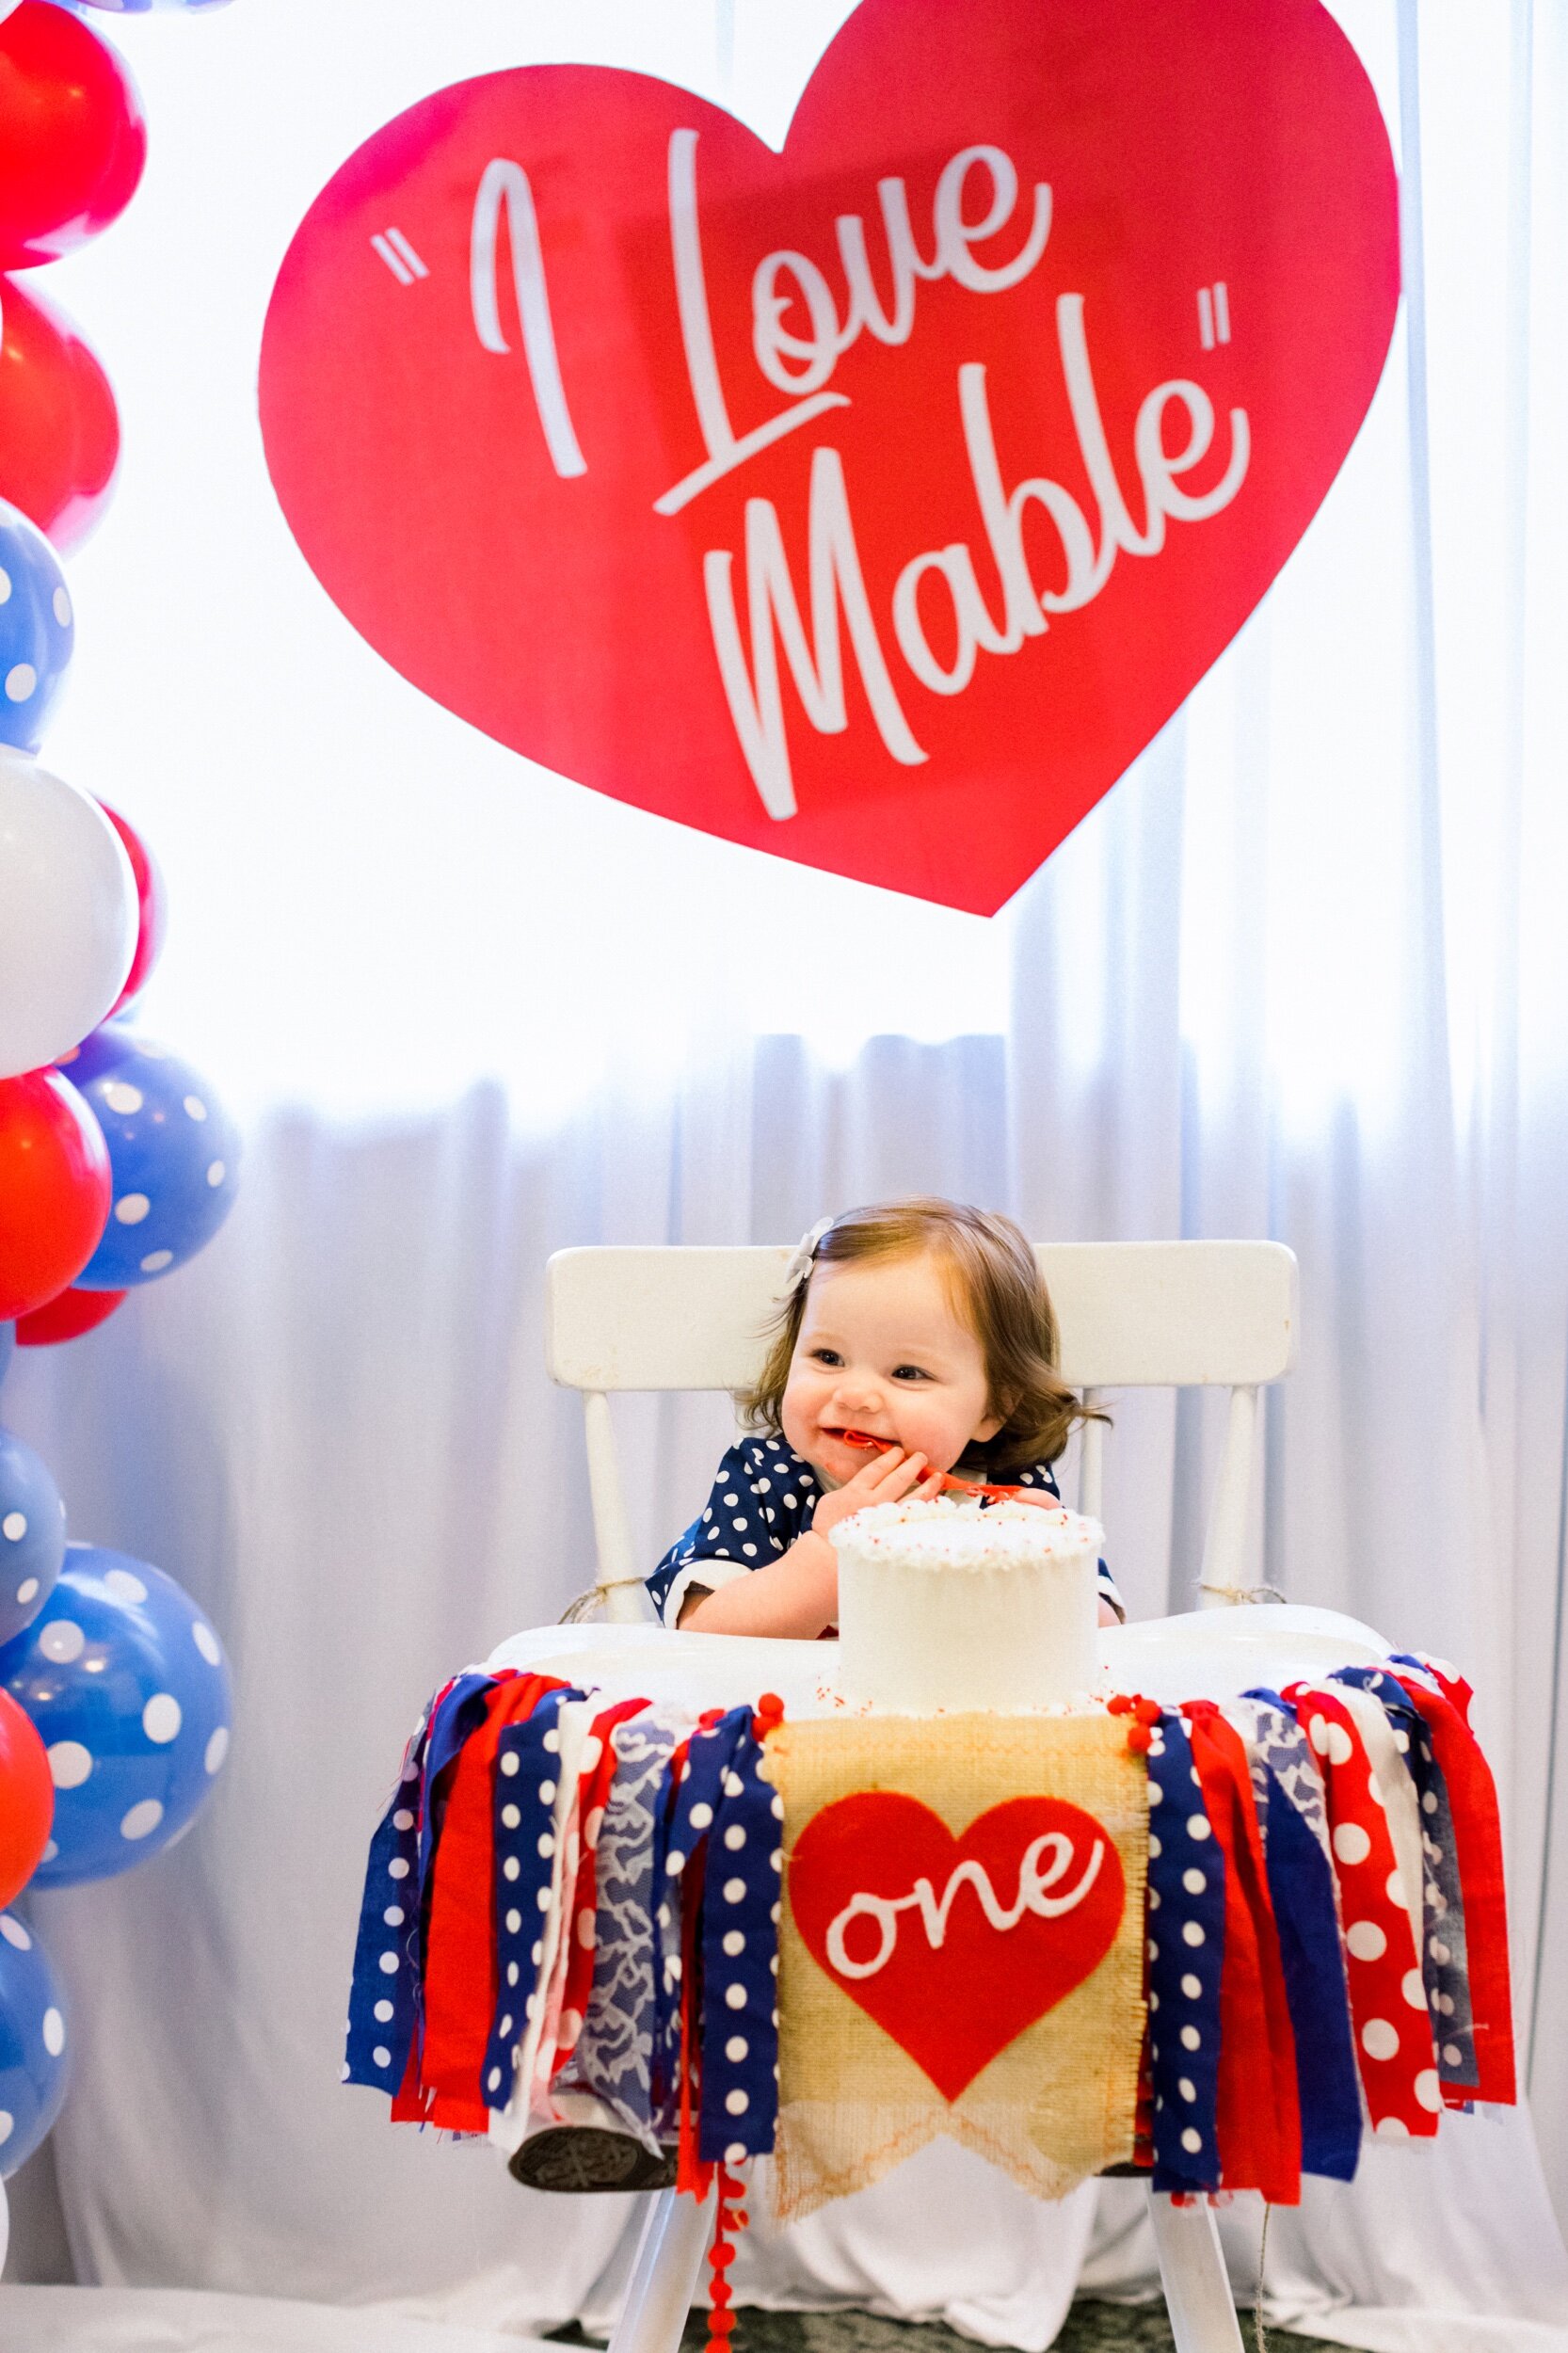
Grab your favorite box of chocolates or bottle of Vitameatavegamin – this I Love Lucy themed first birthday party will put you in the celebration mood!

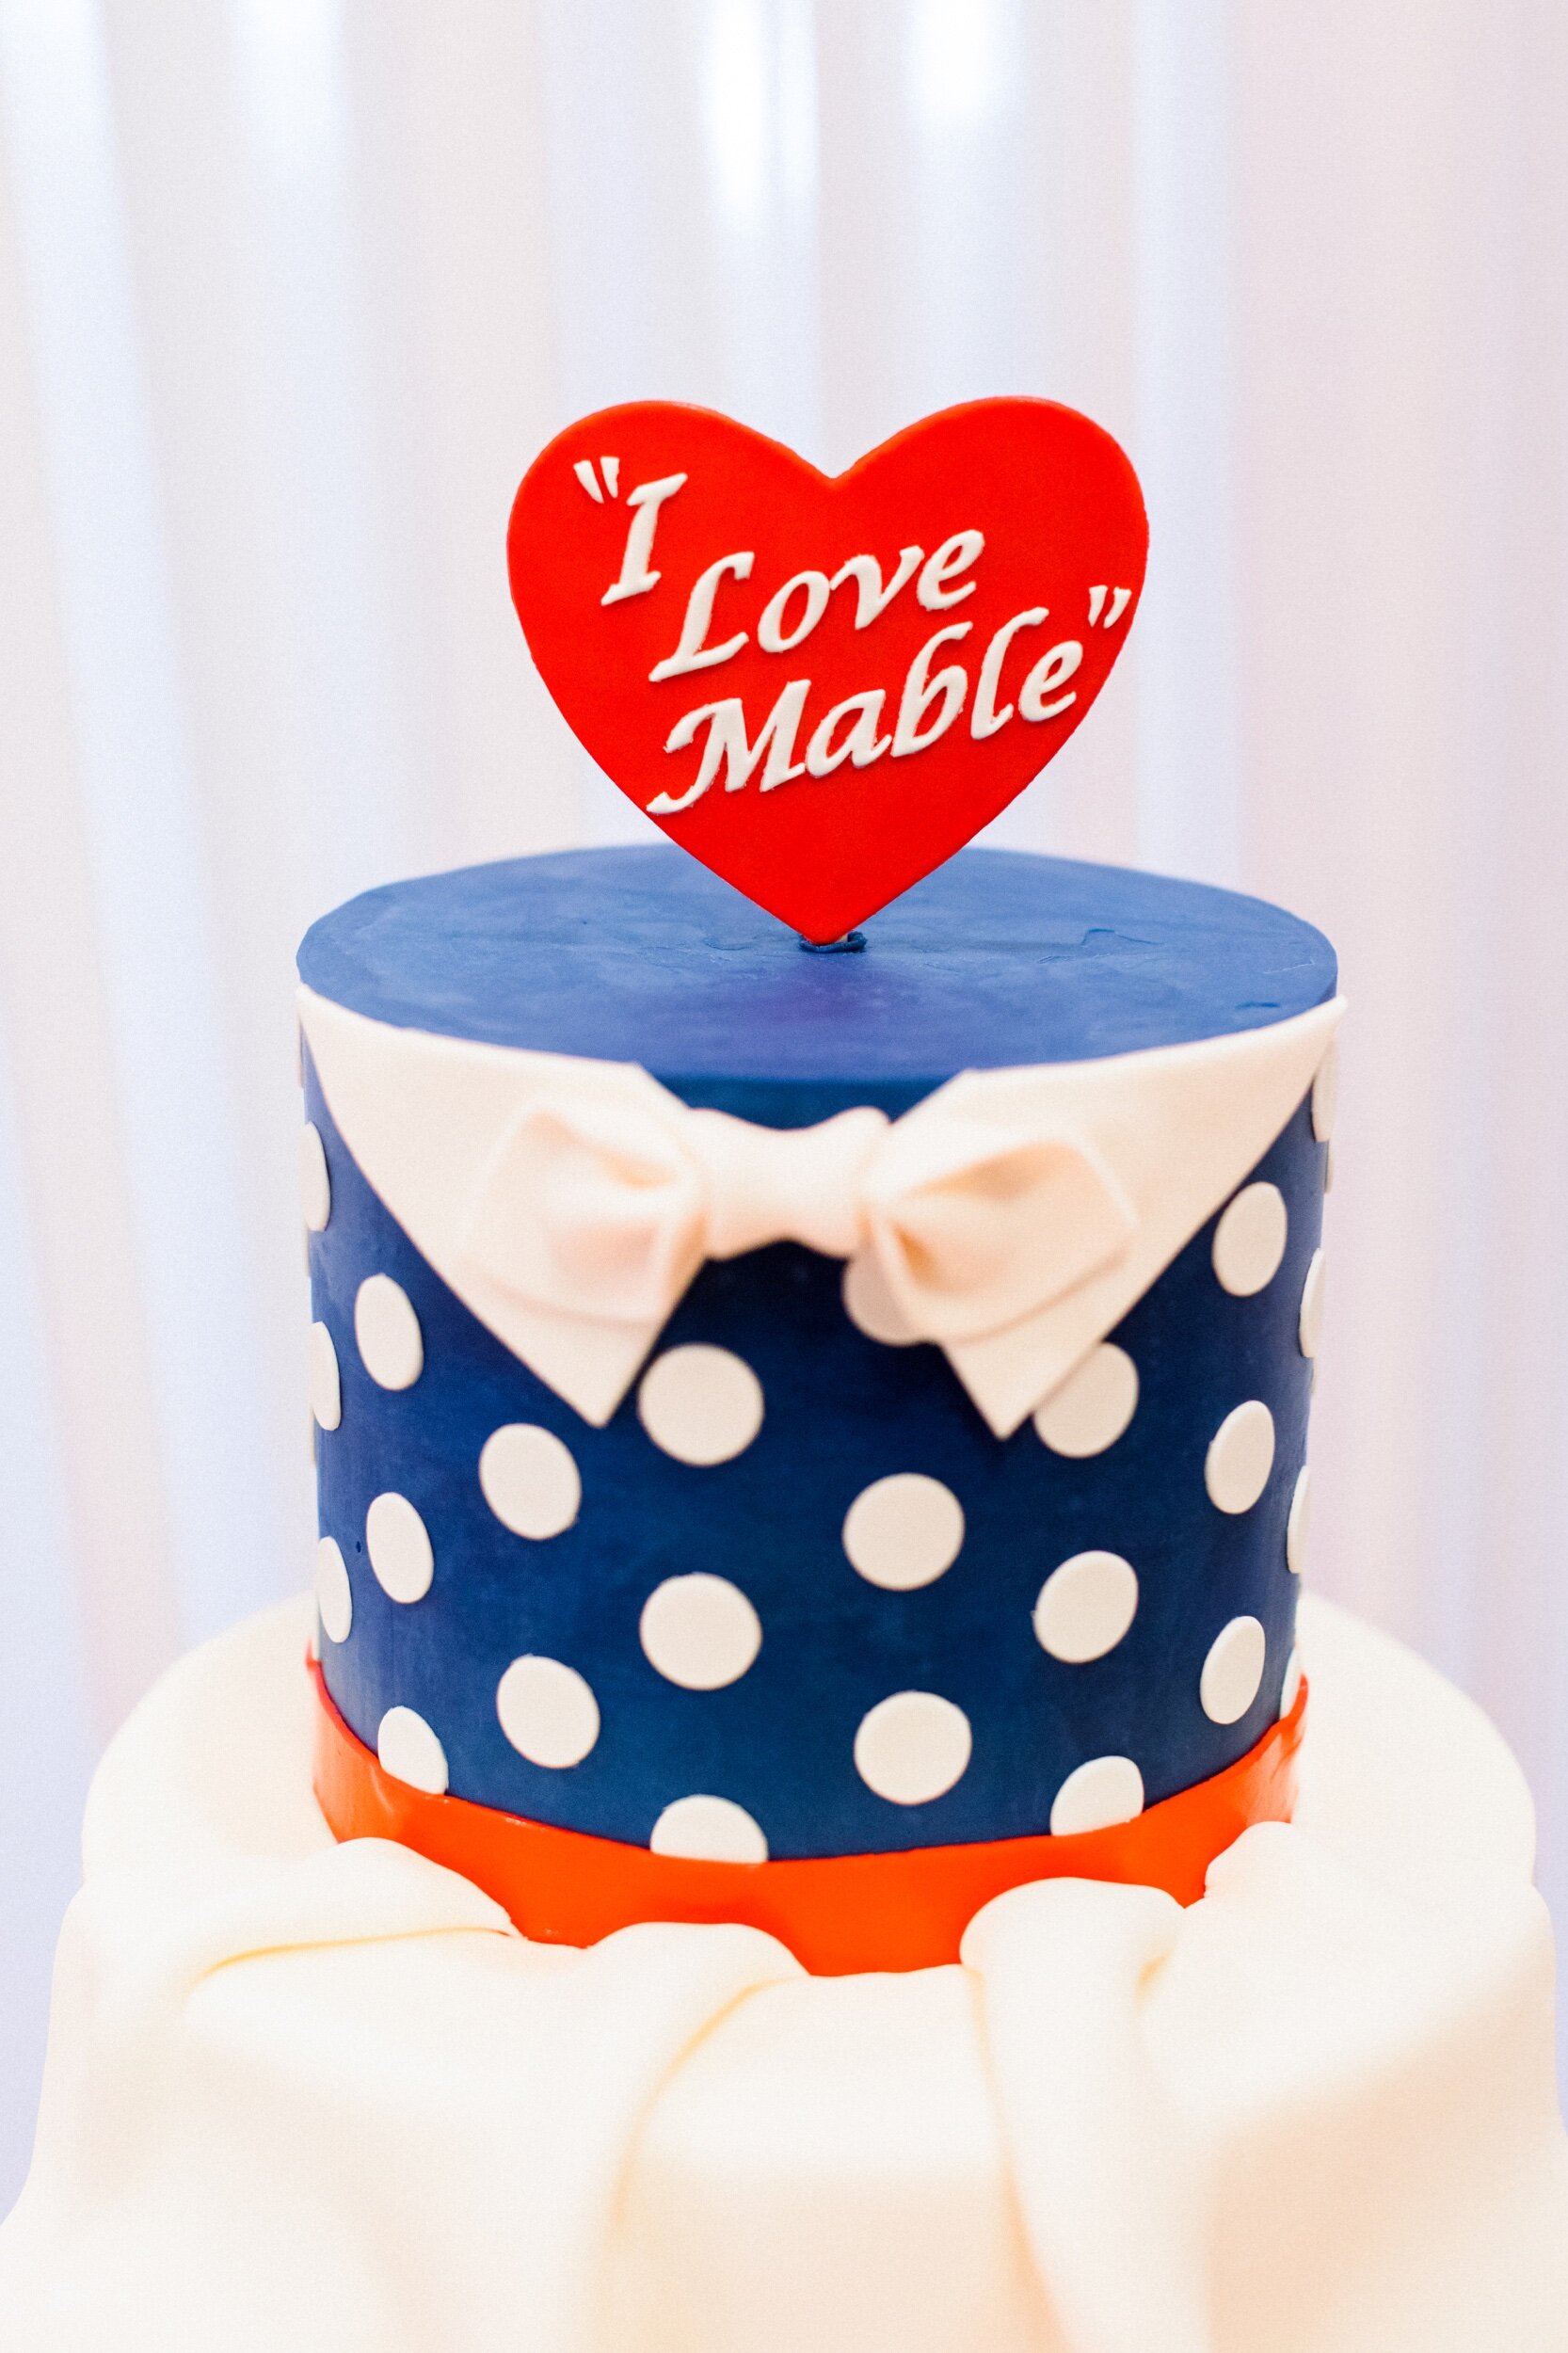
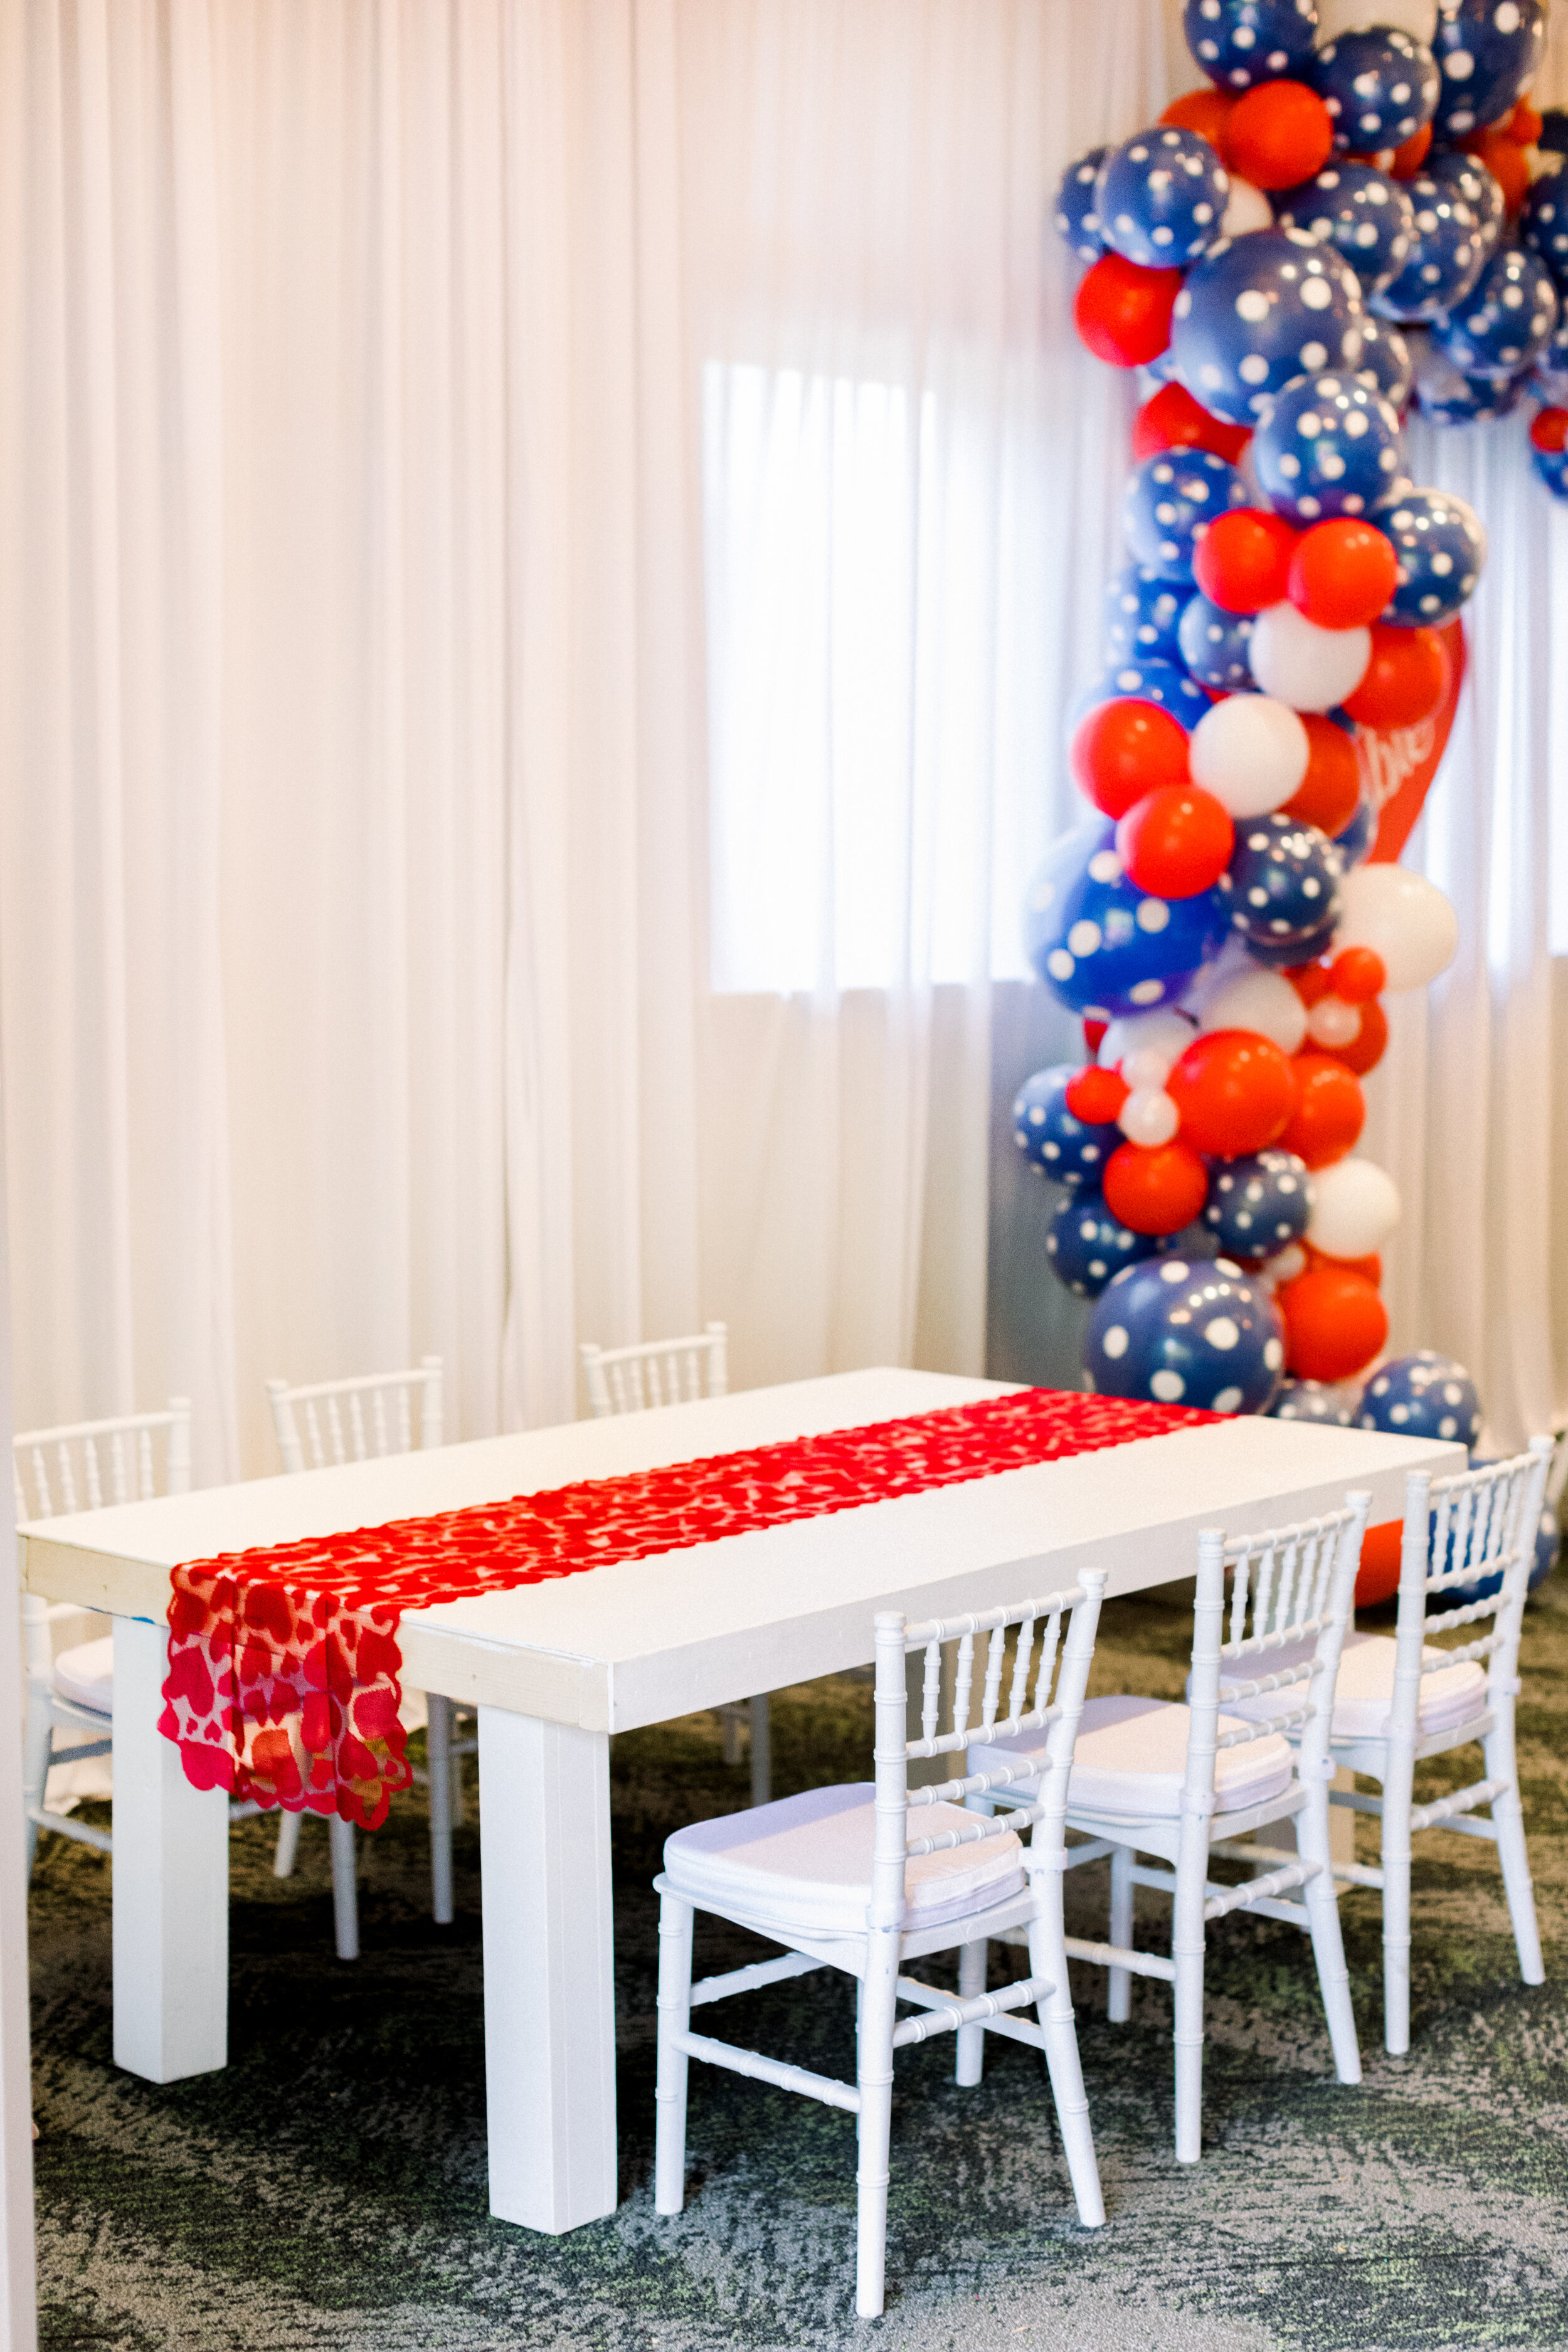
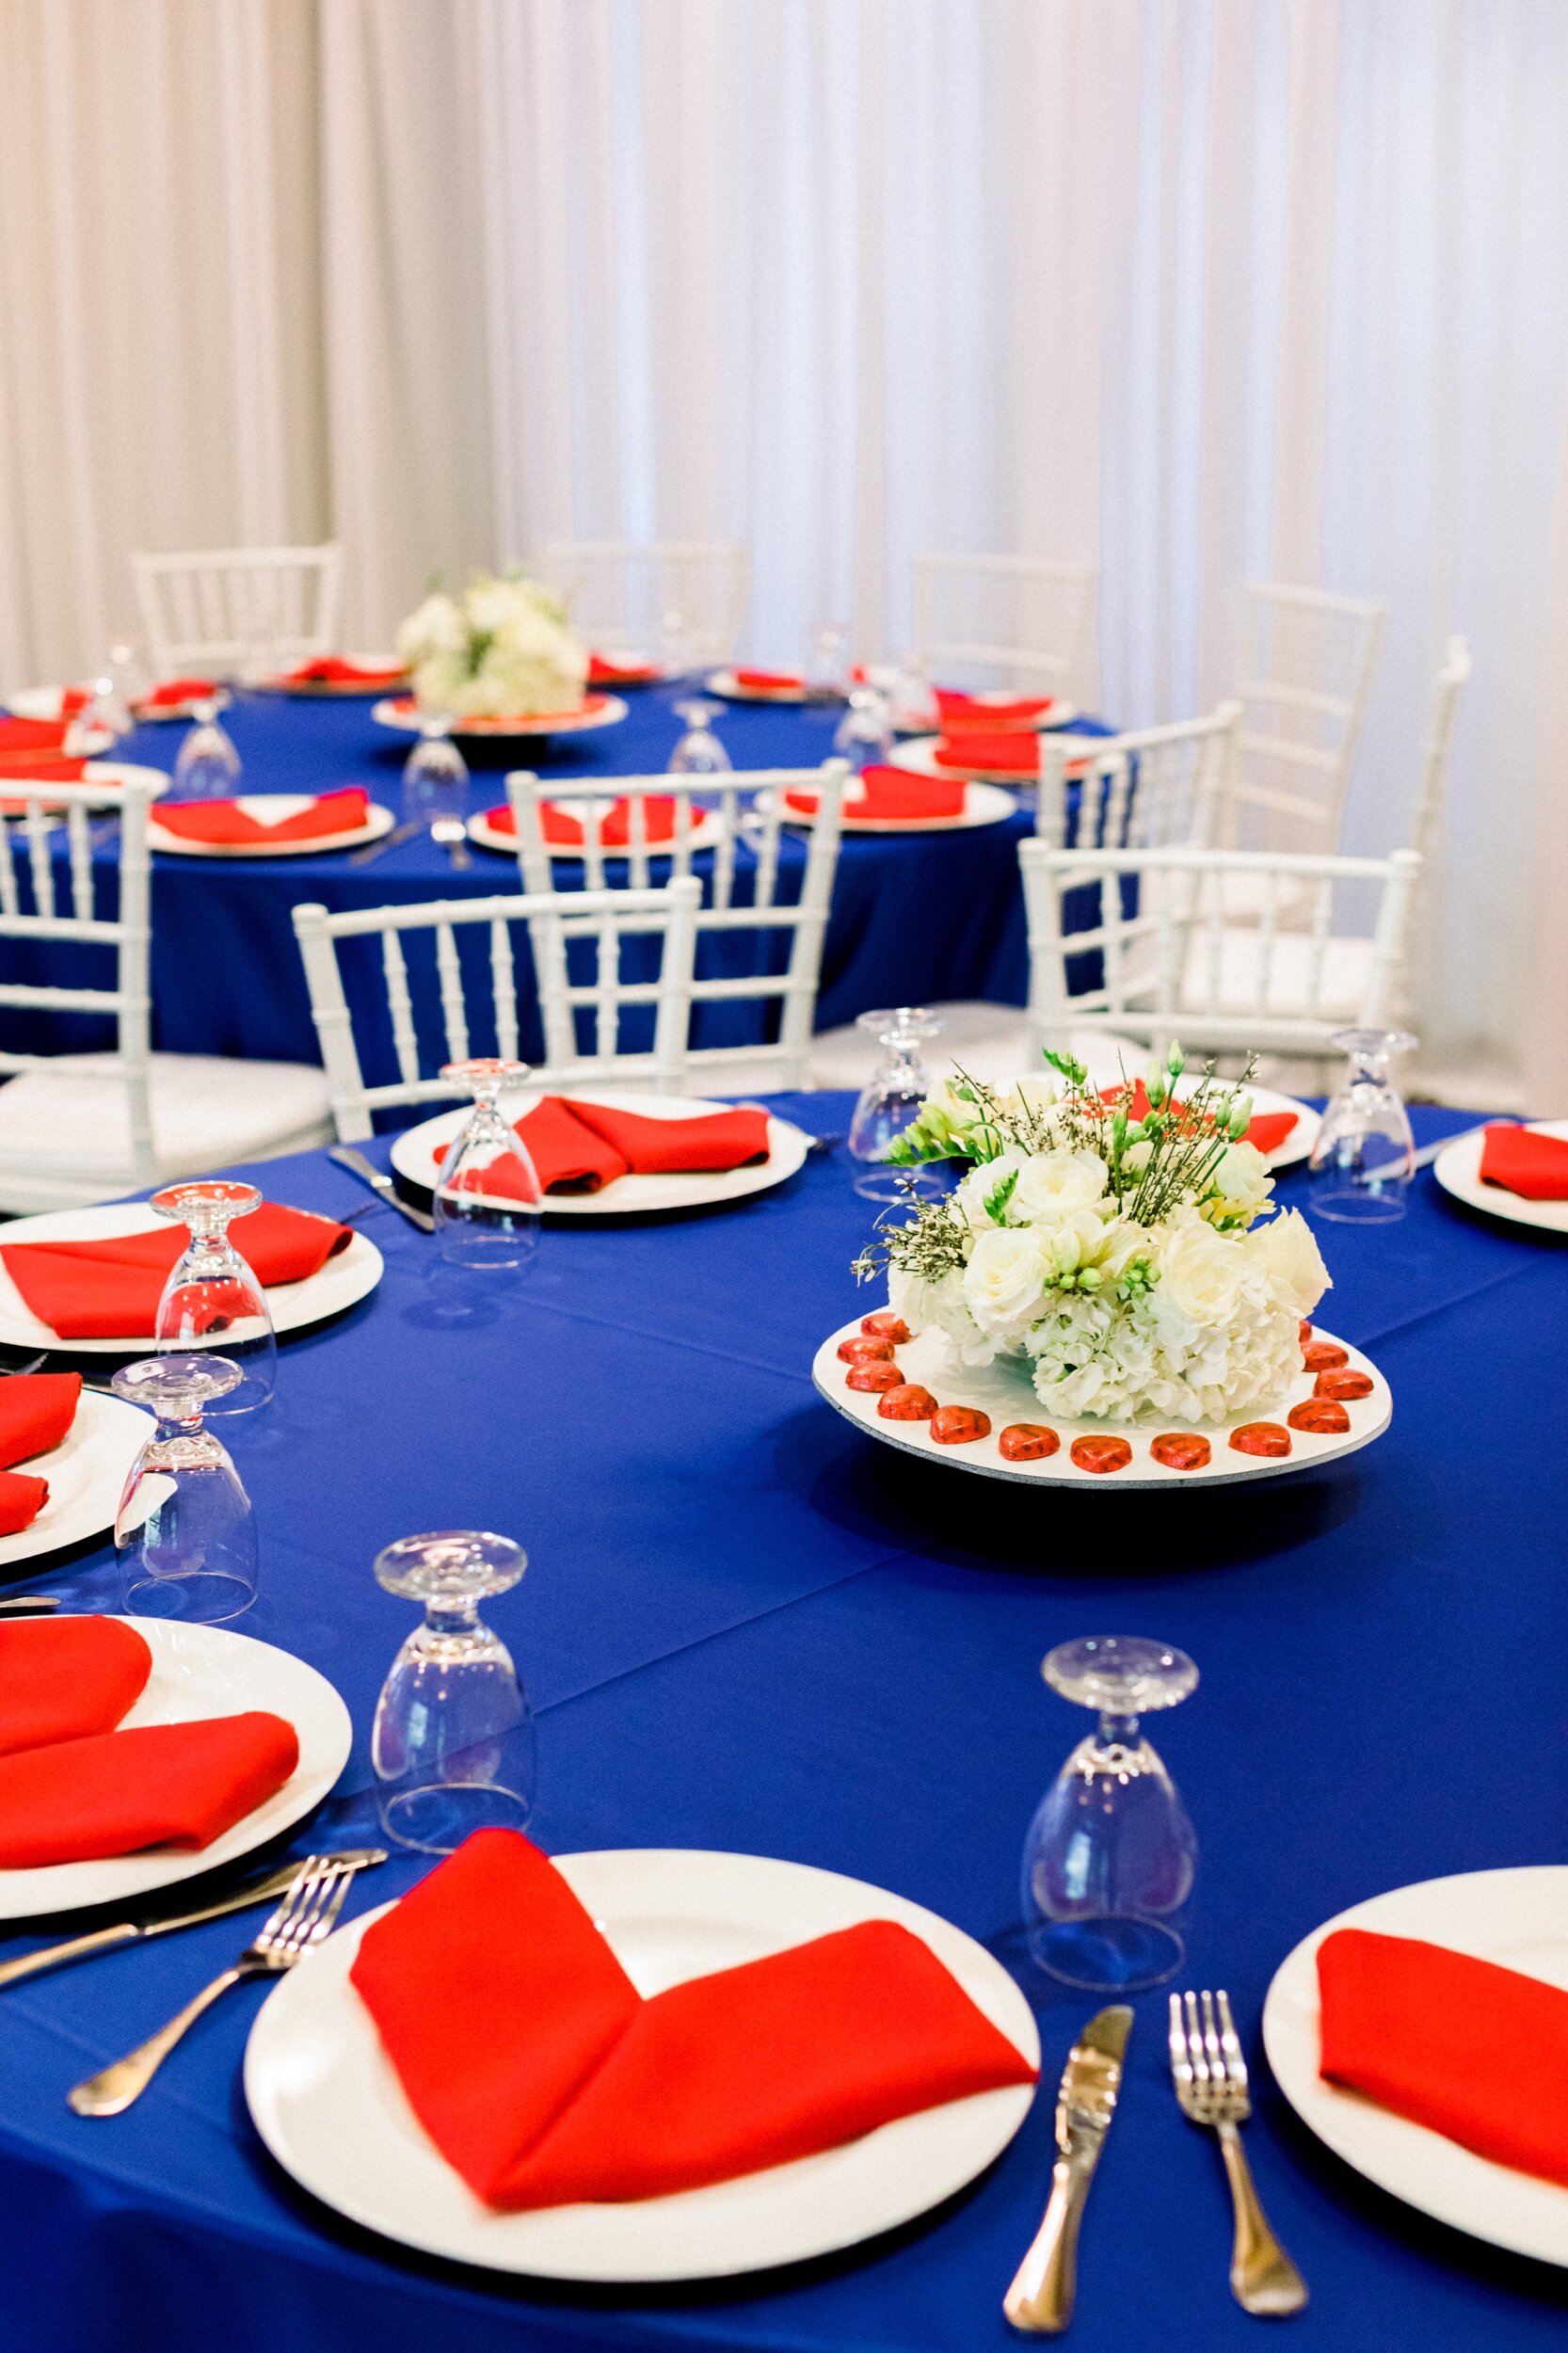
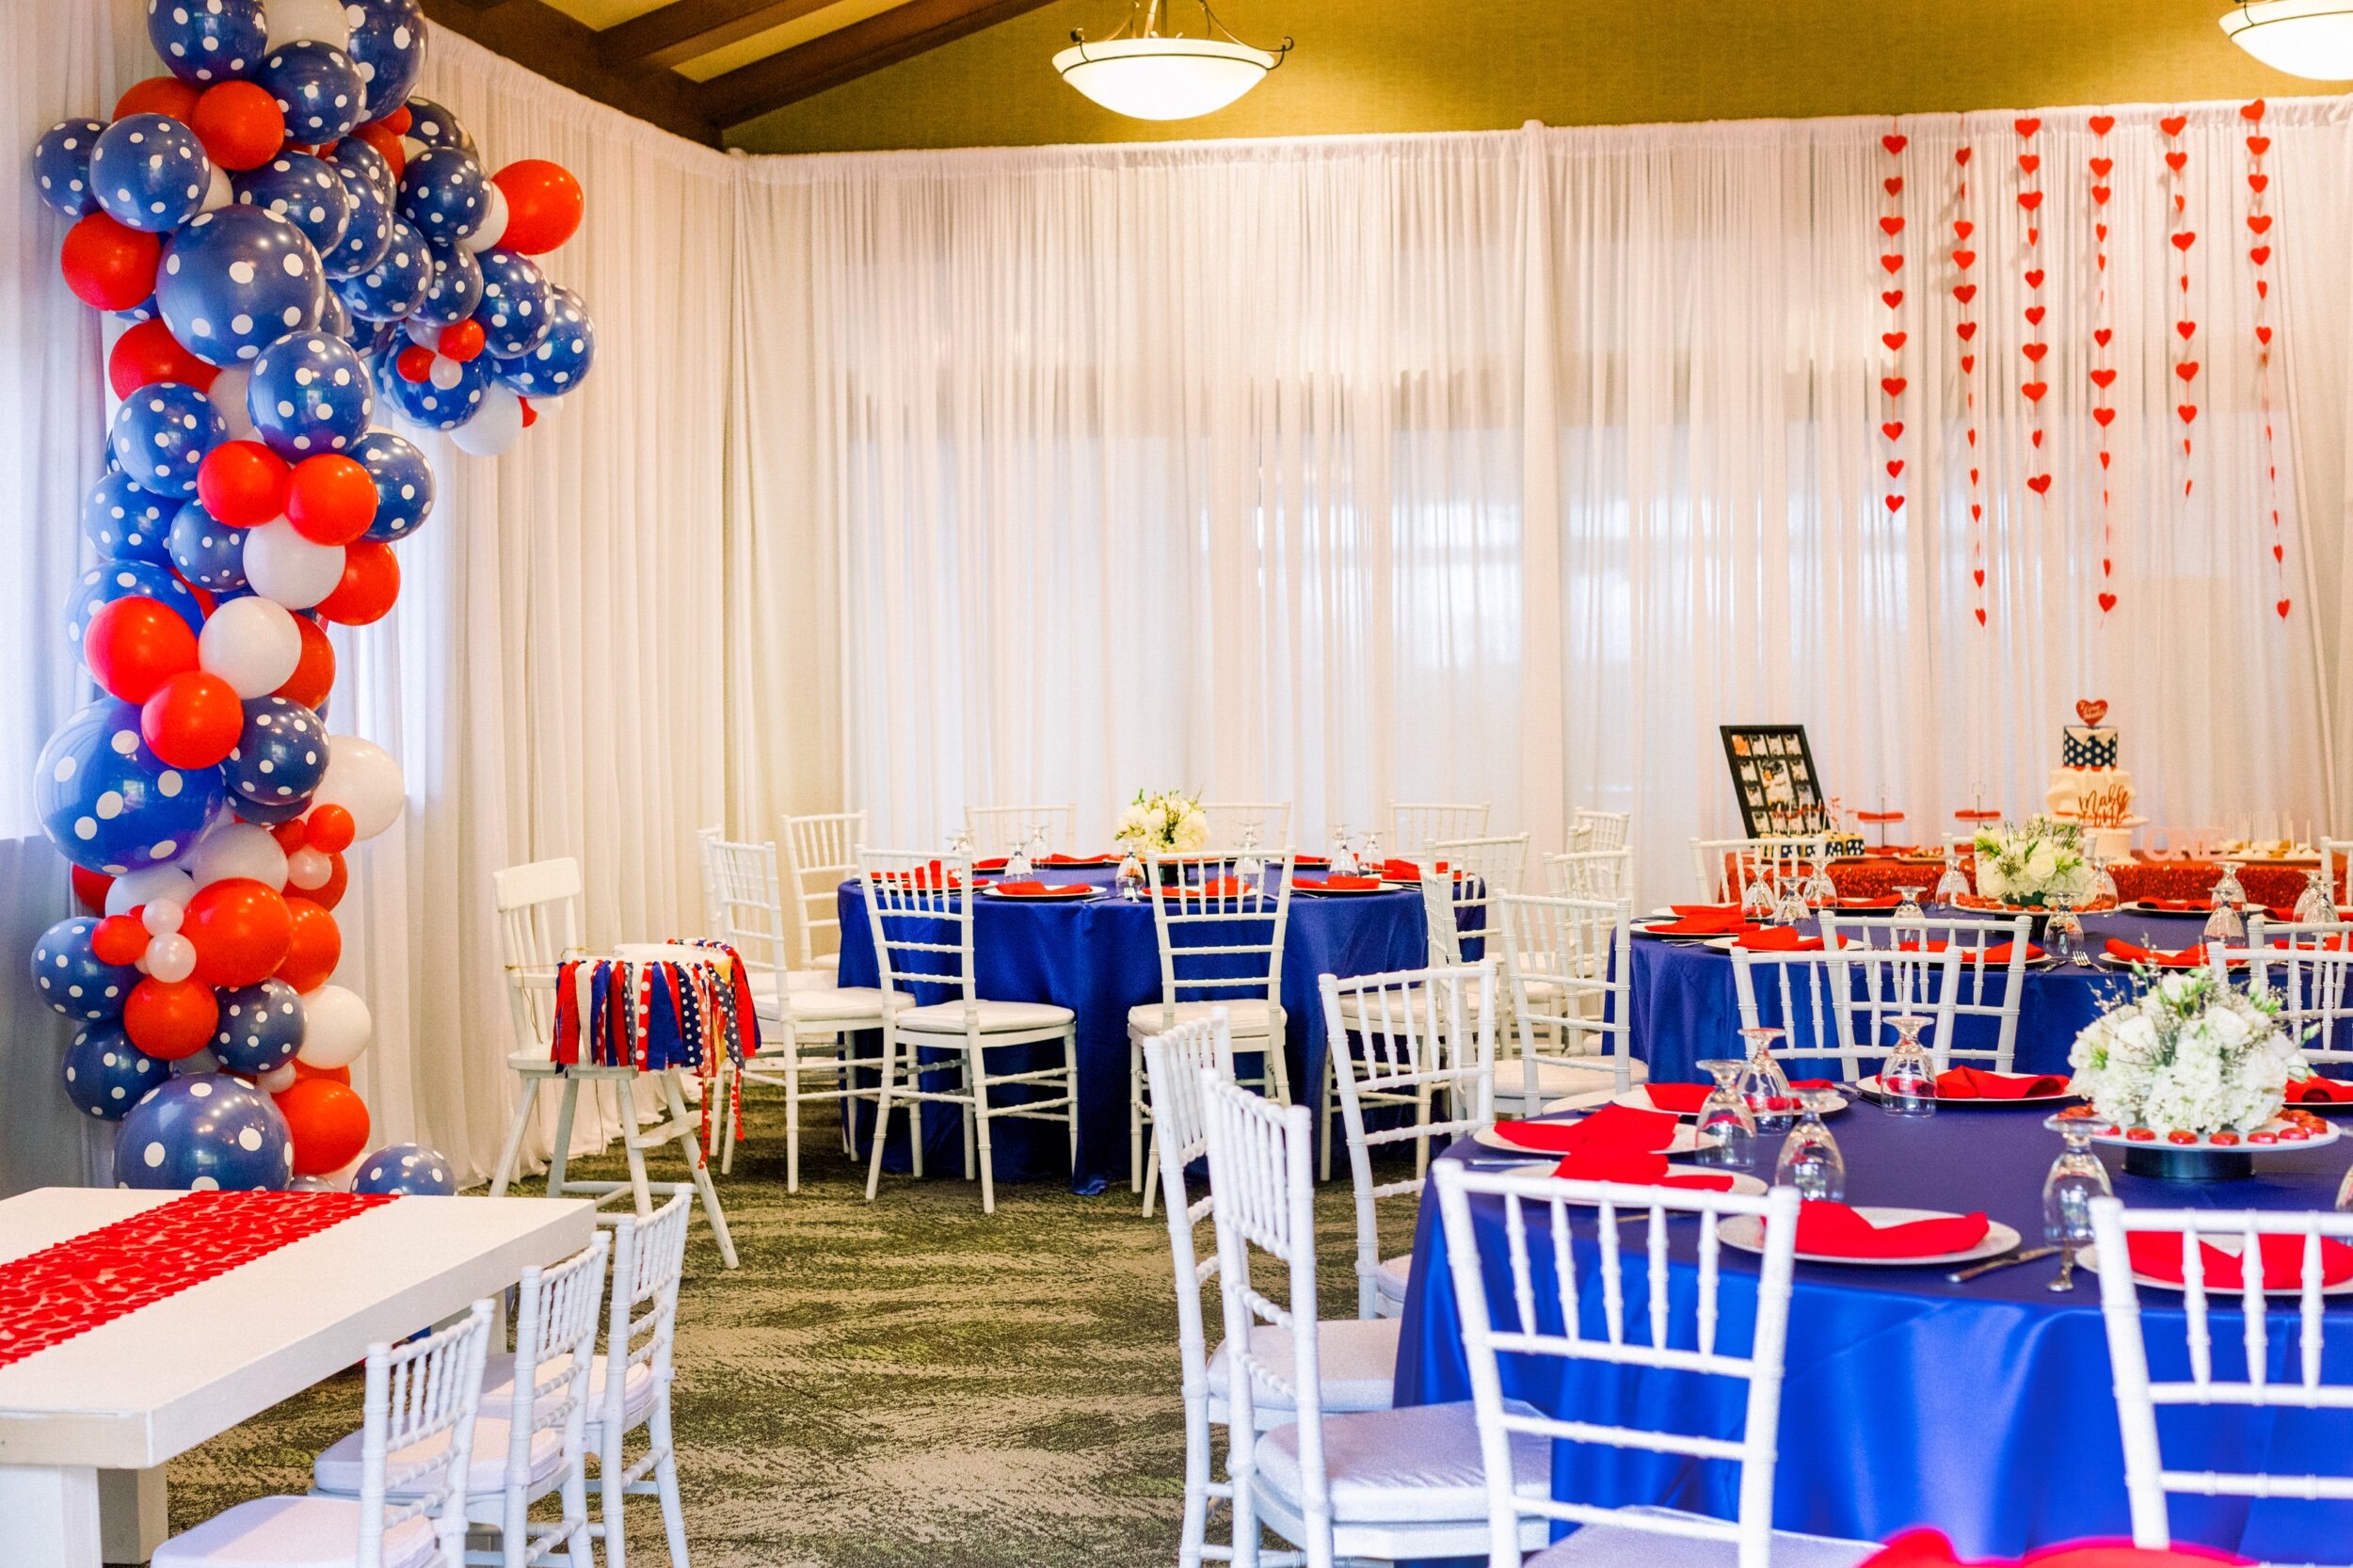
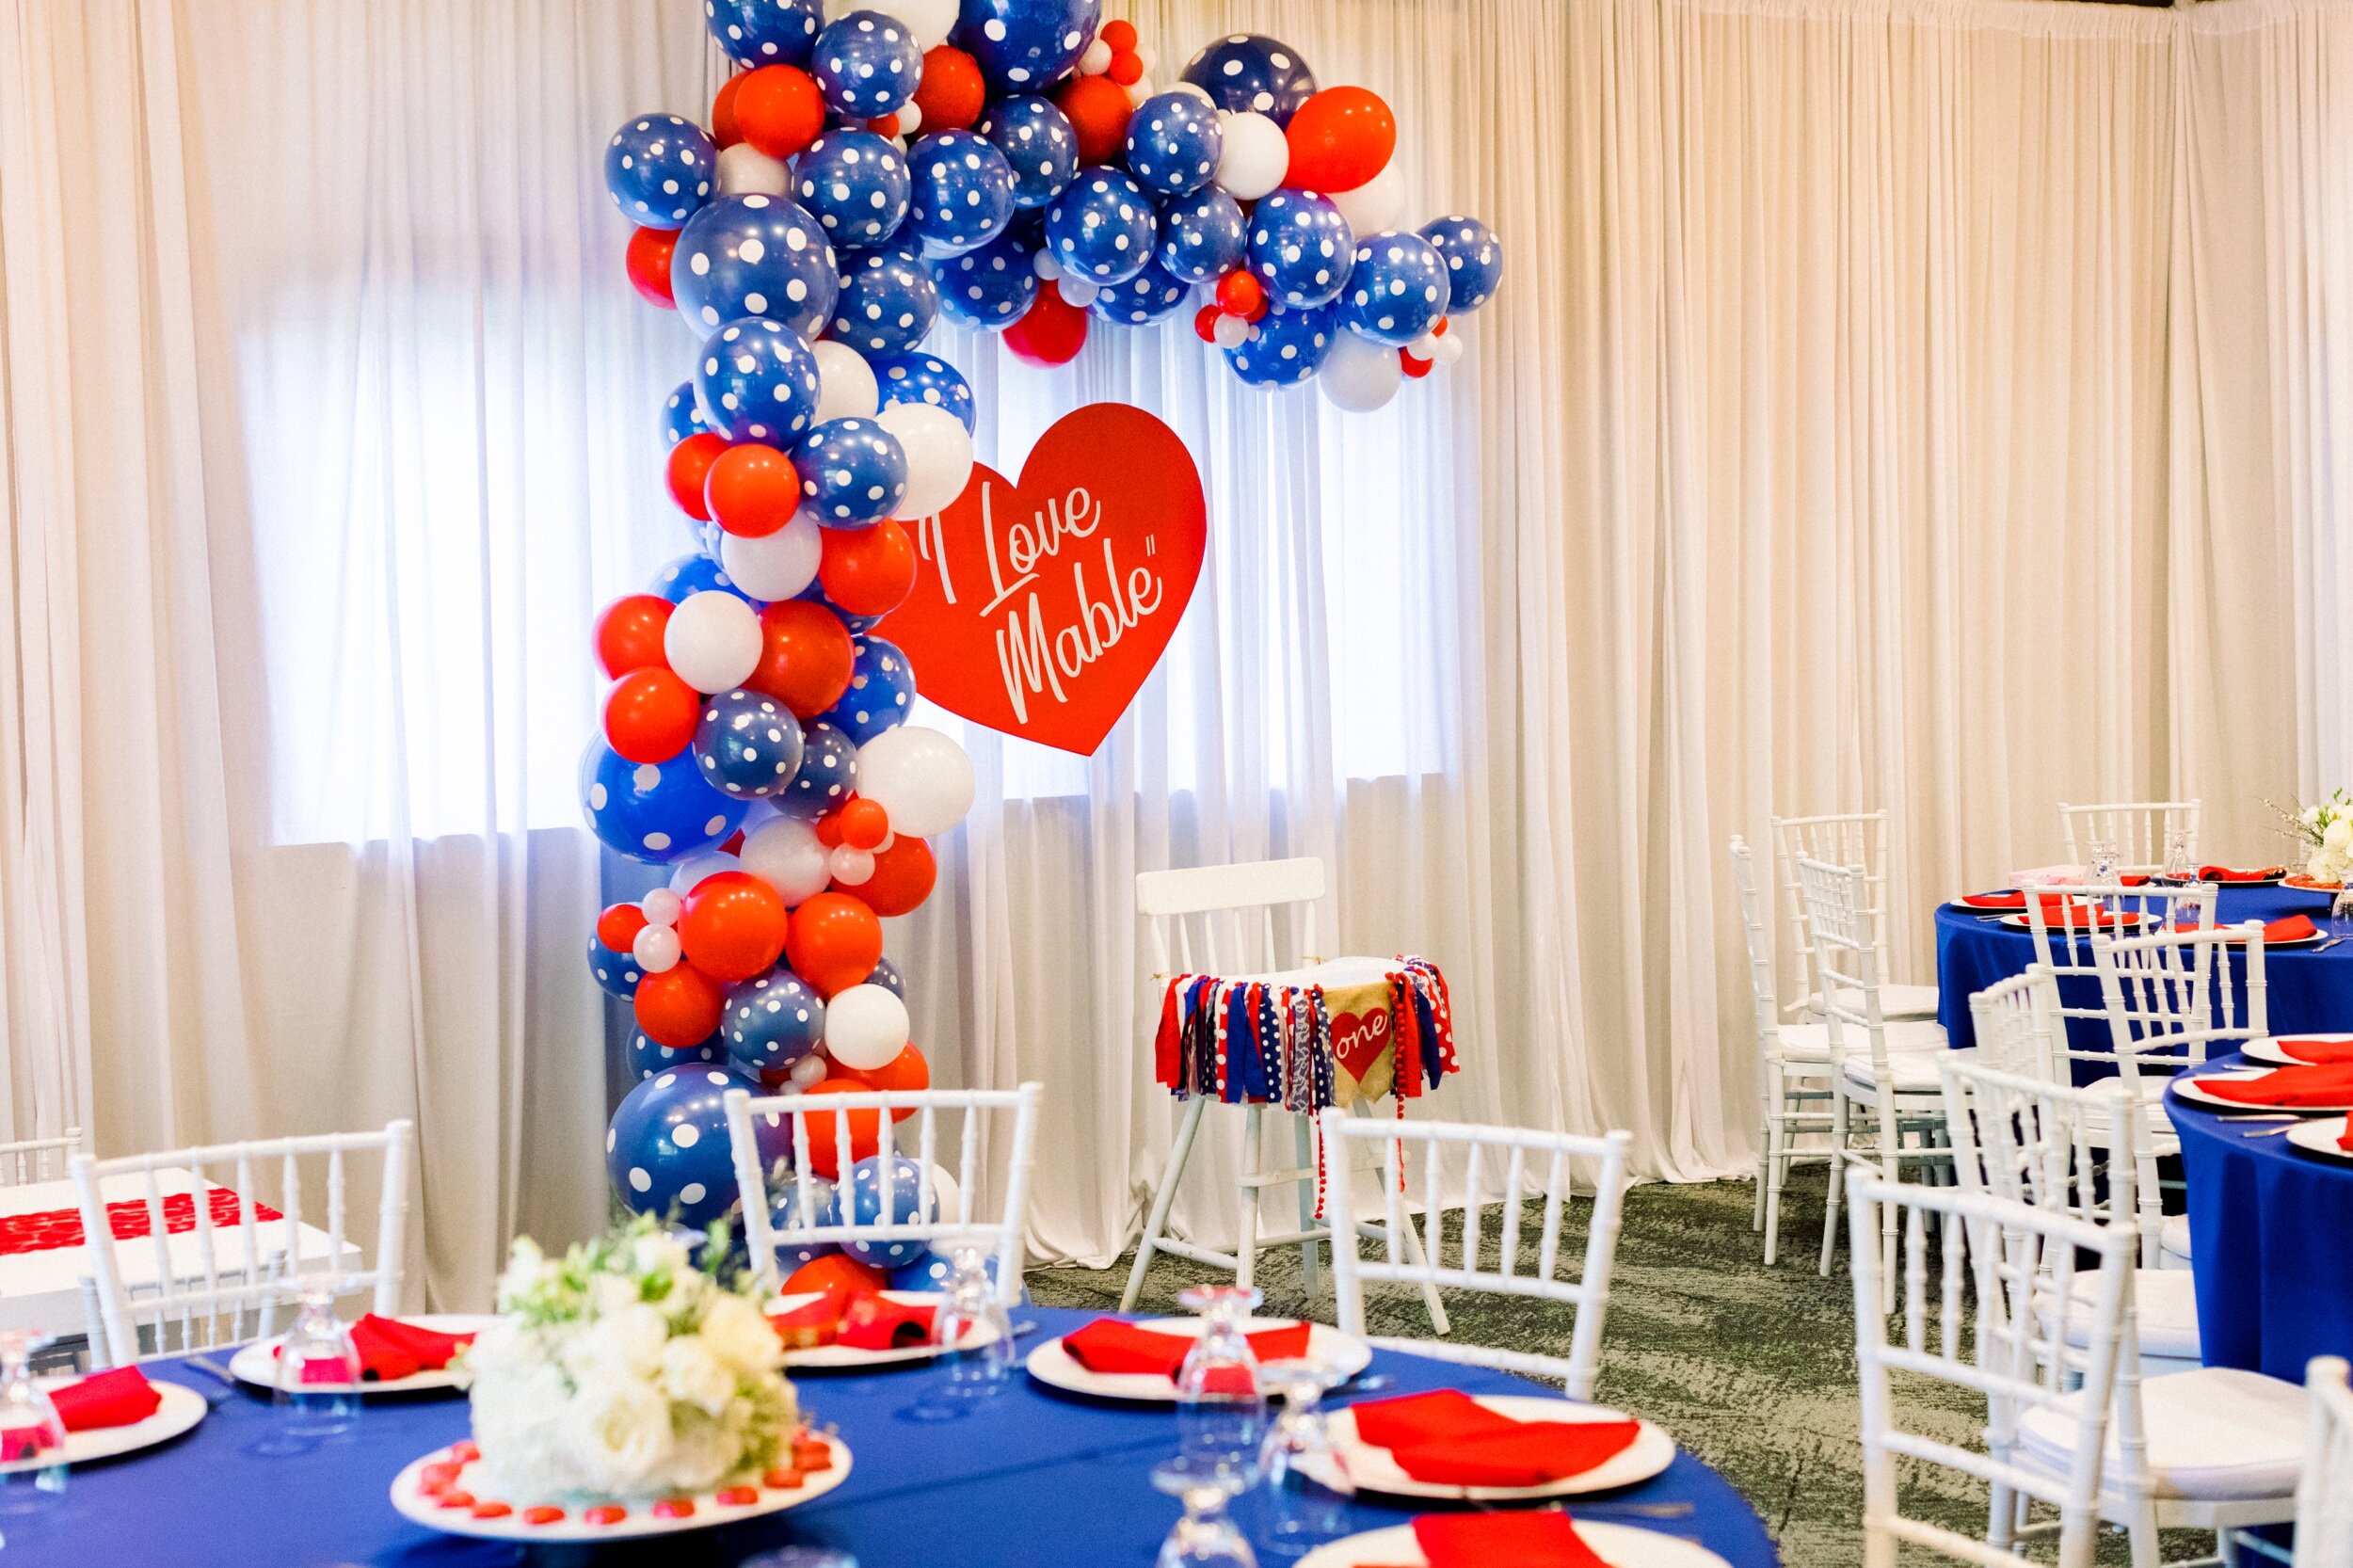
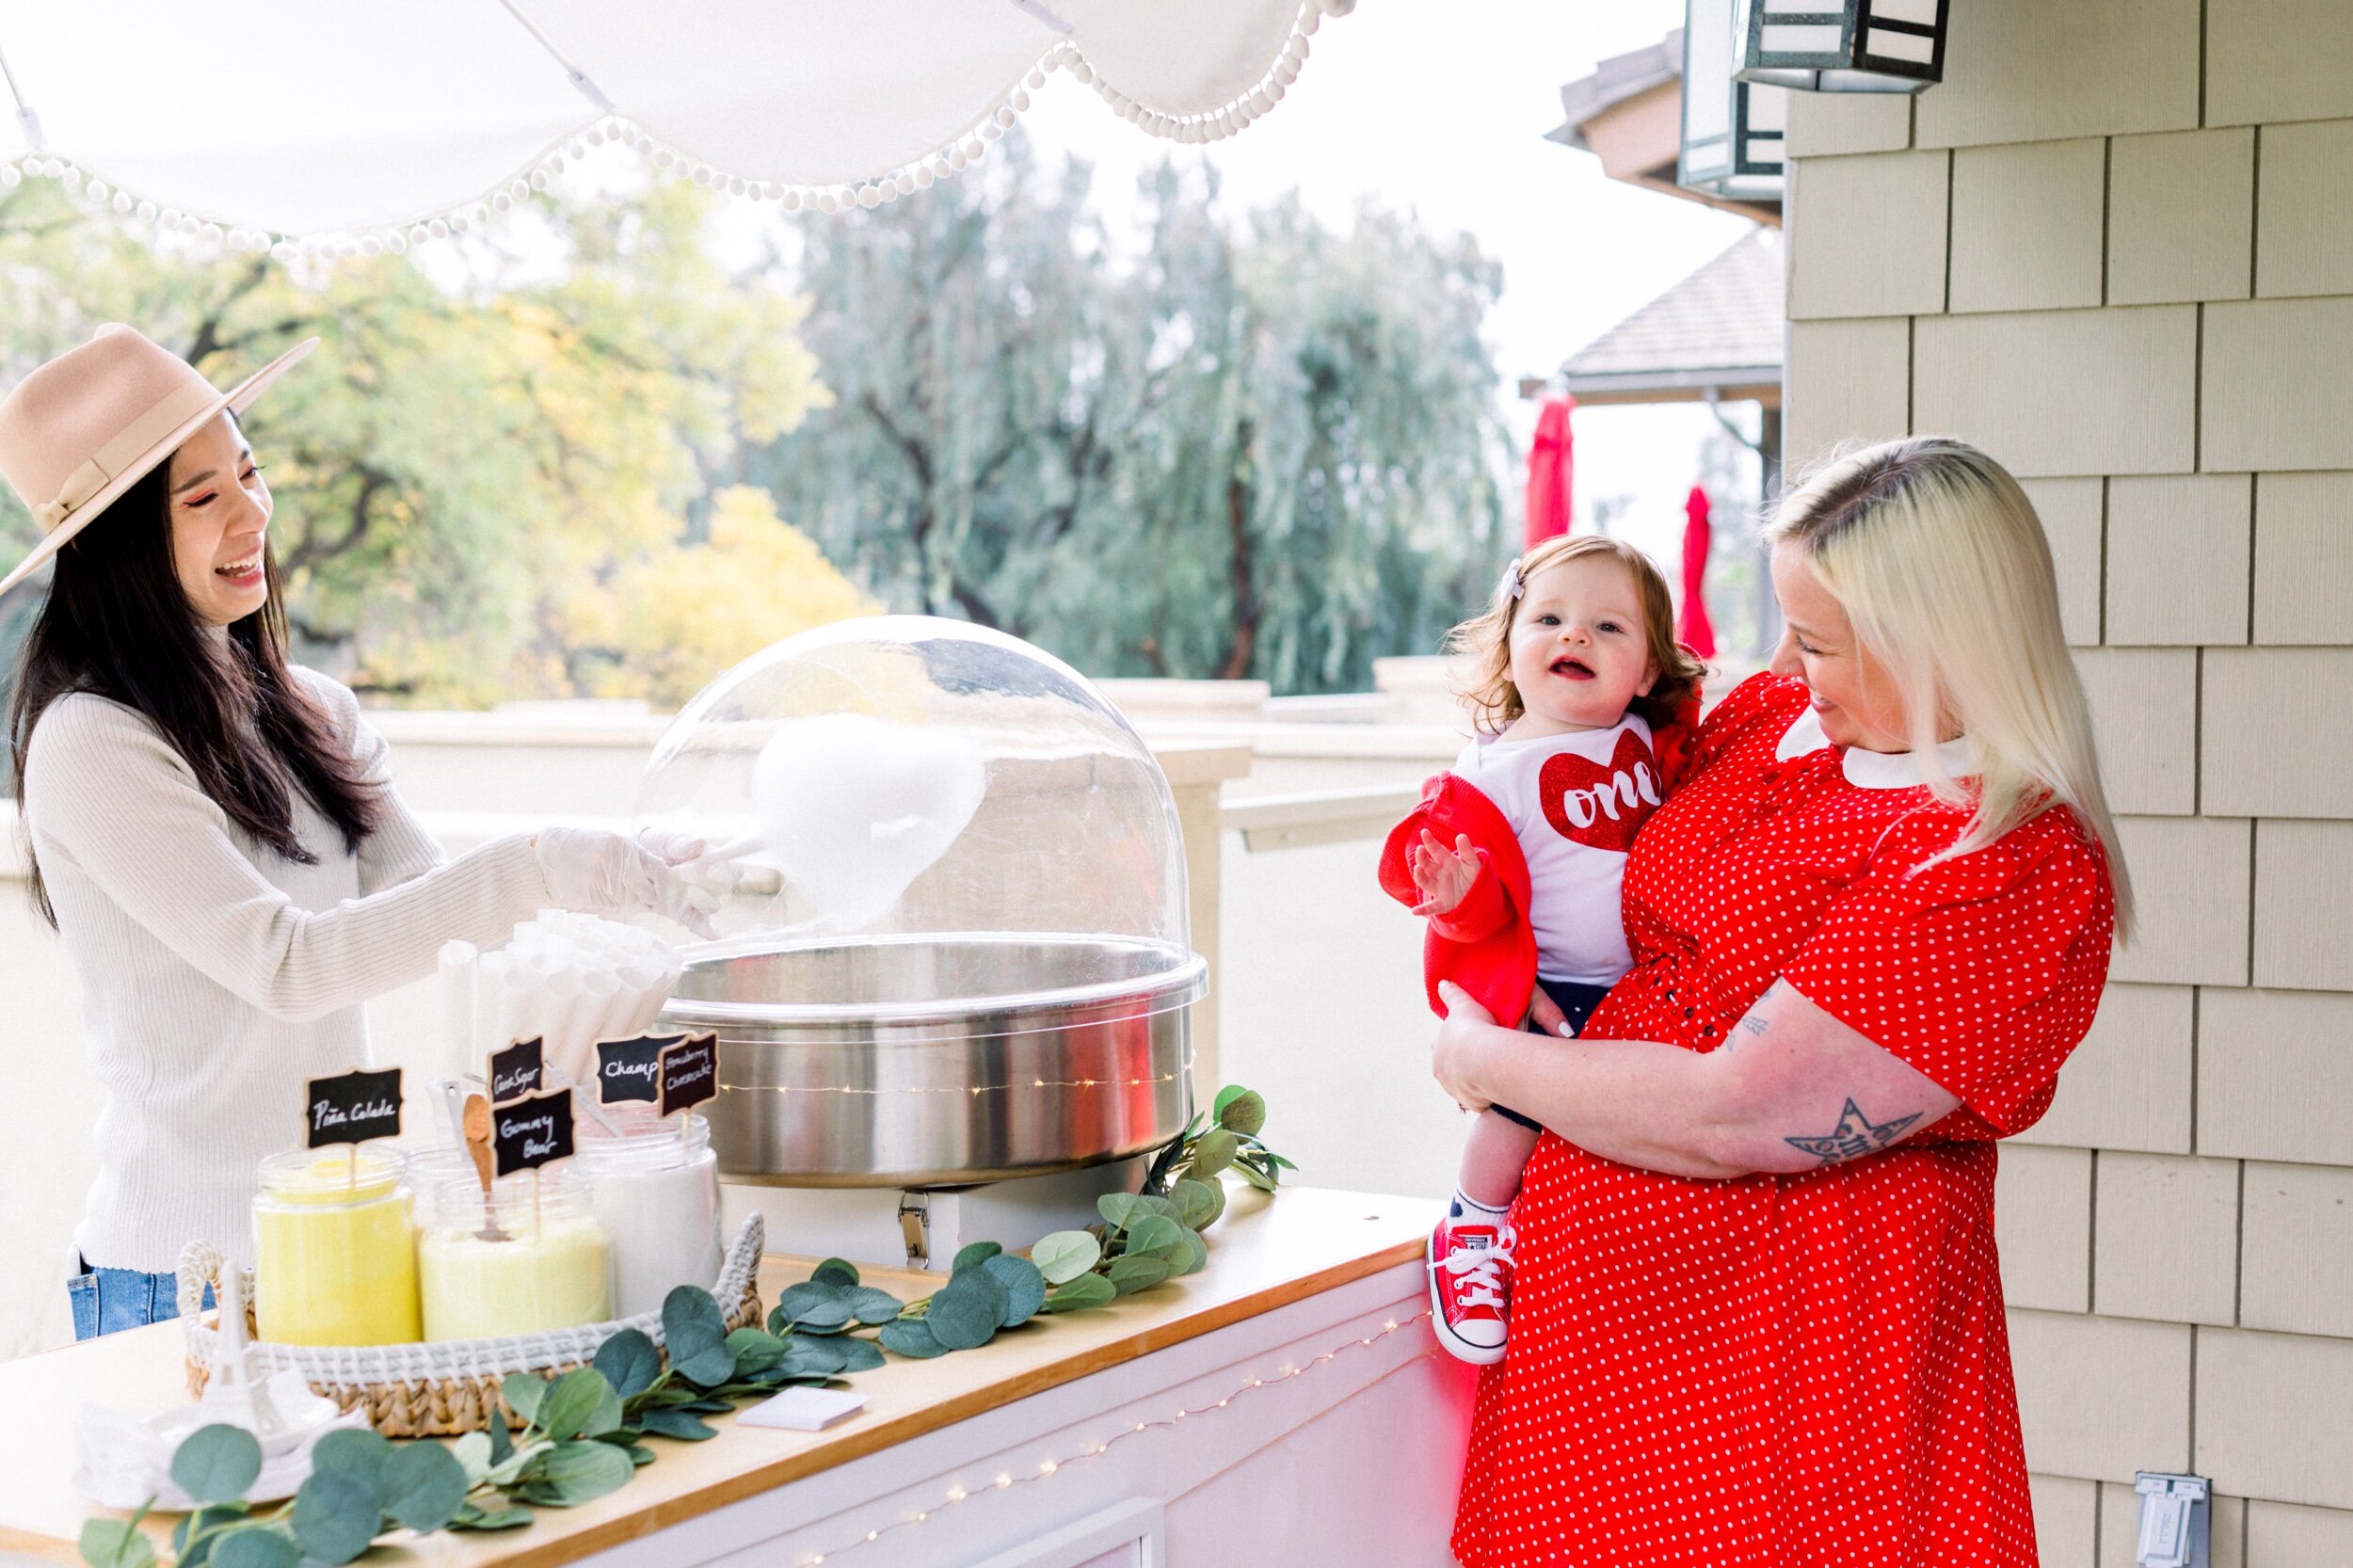
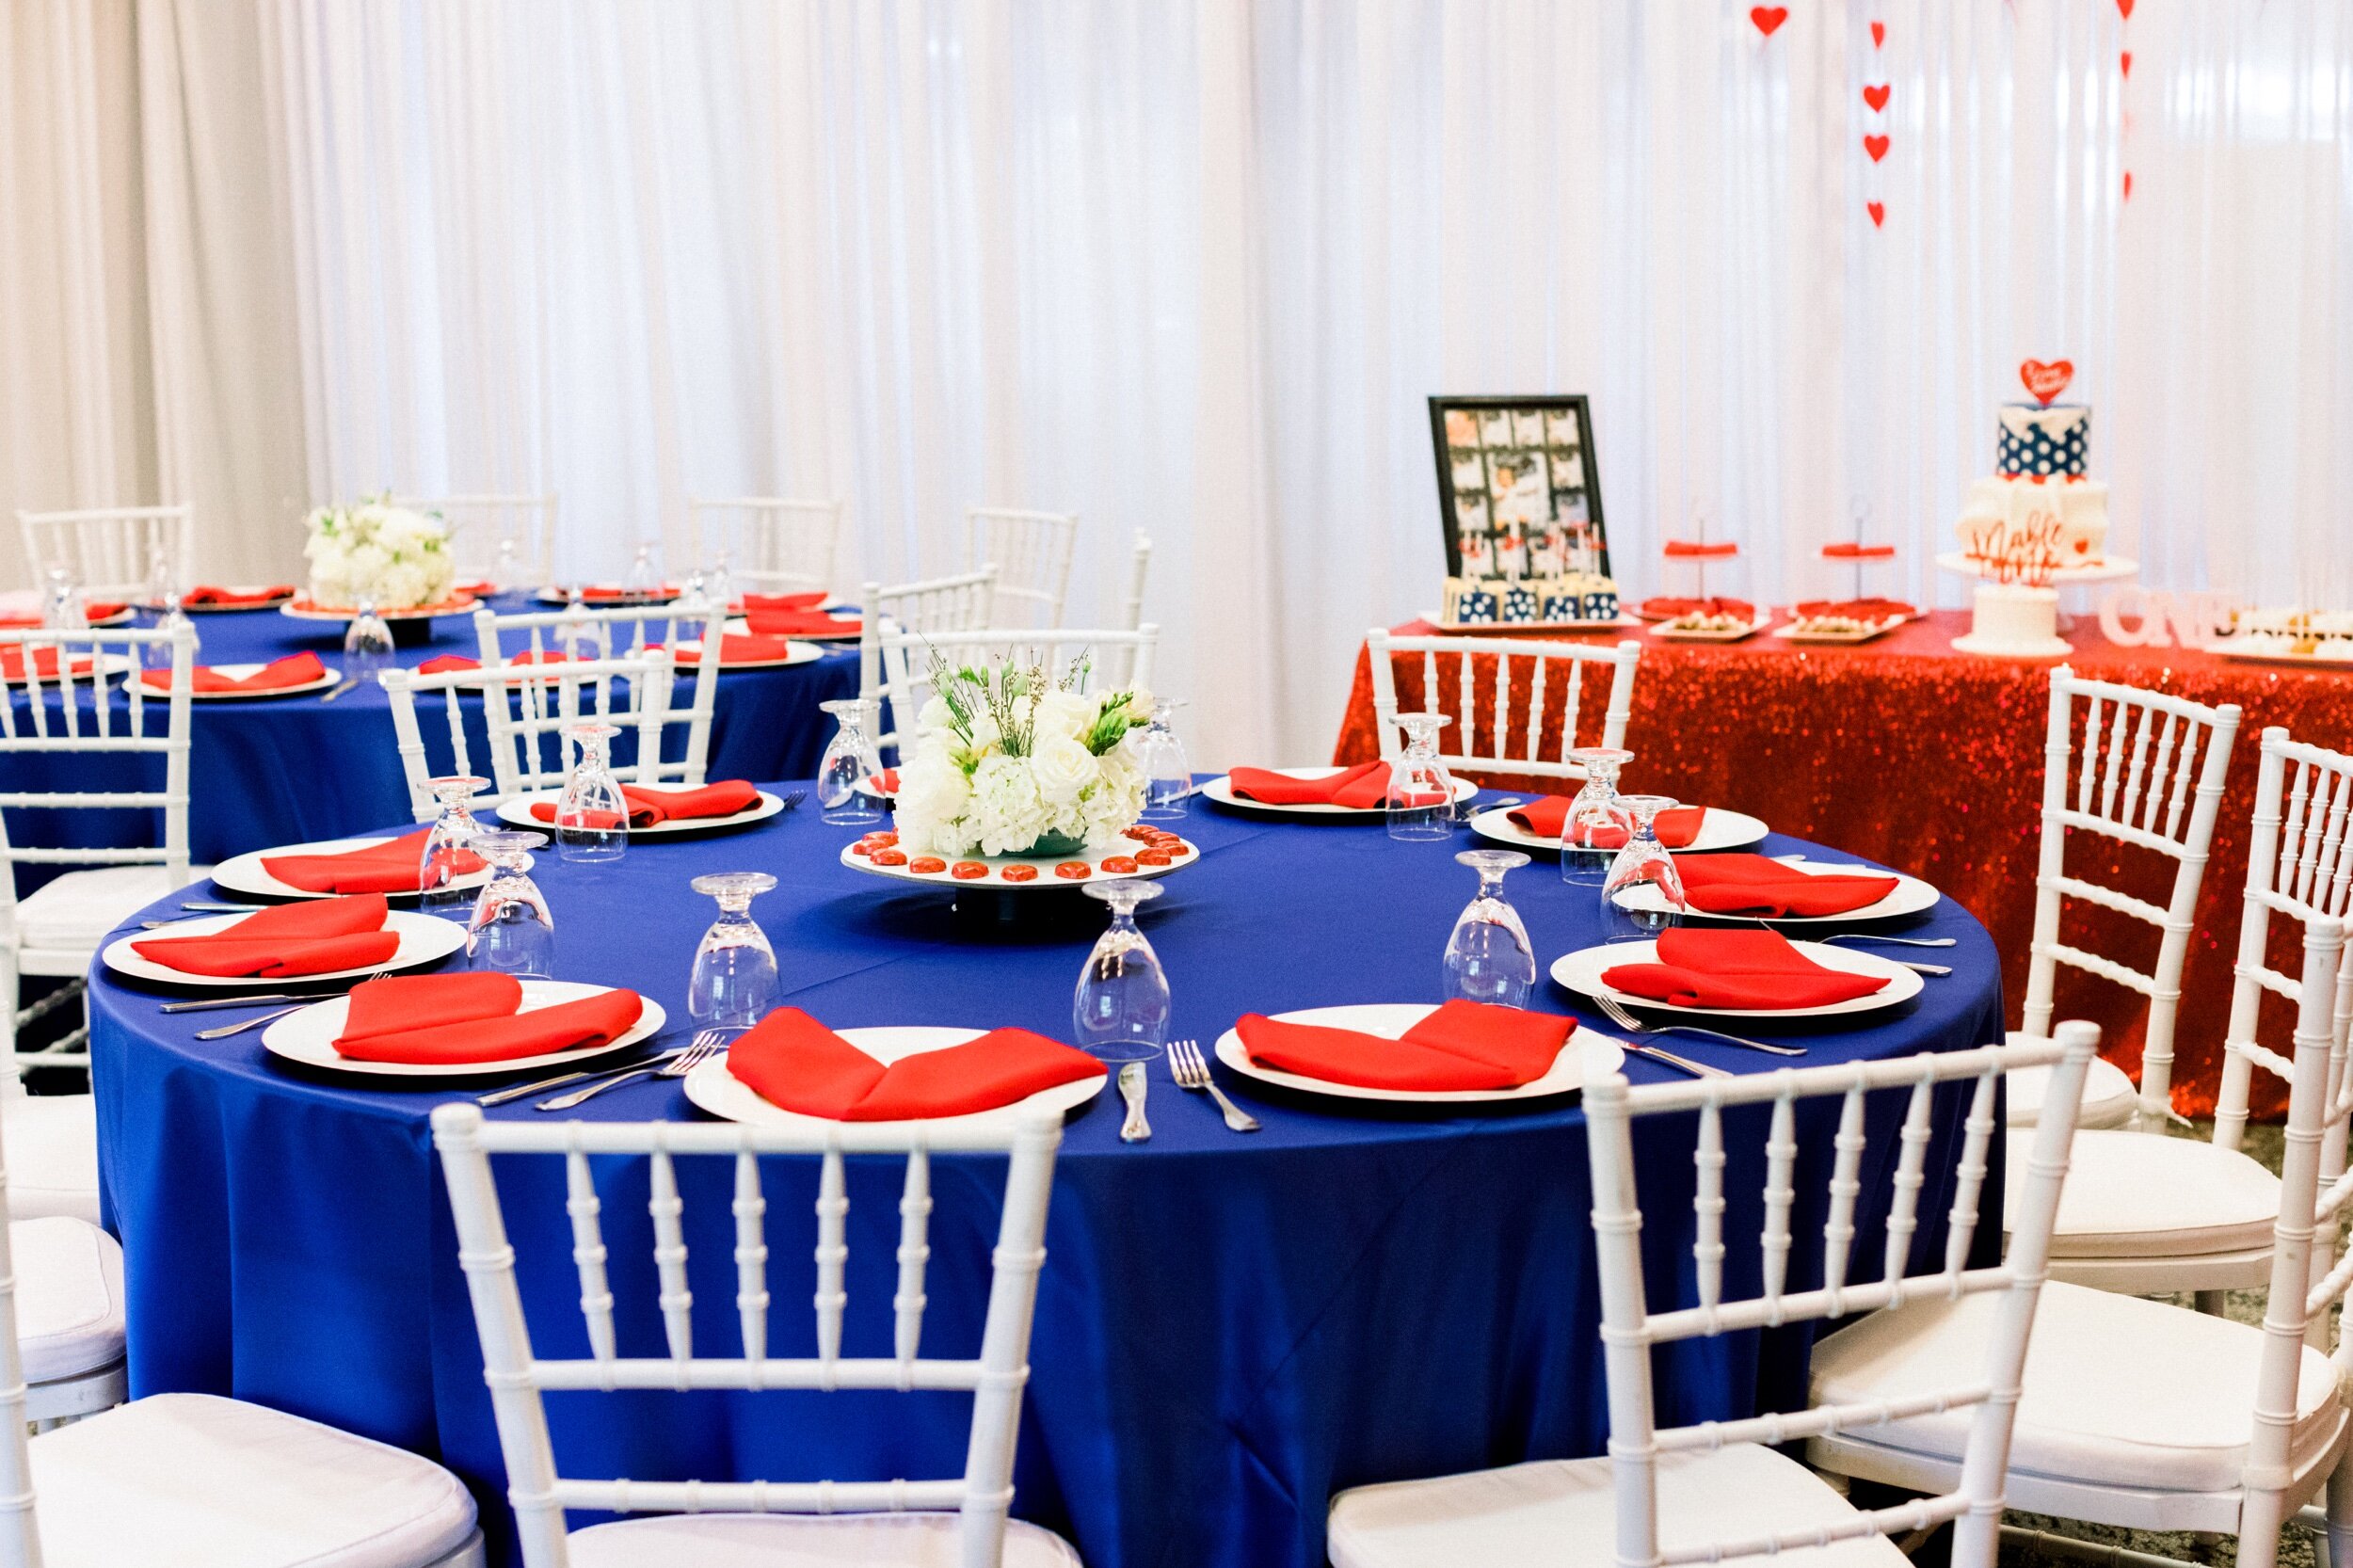
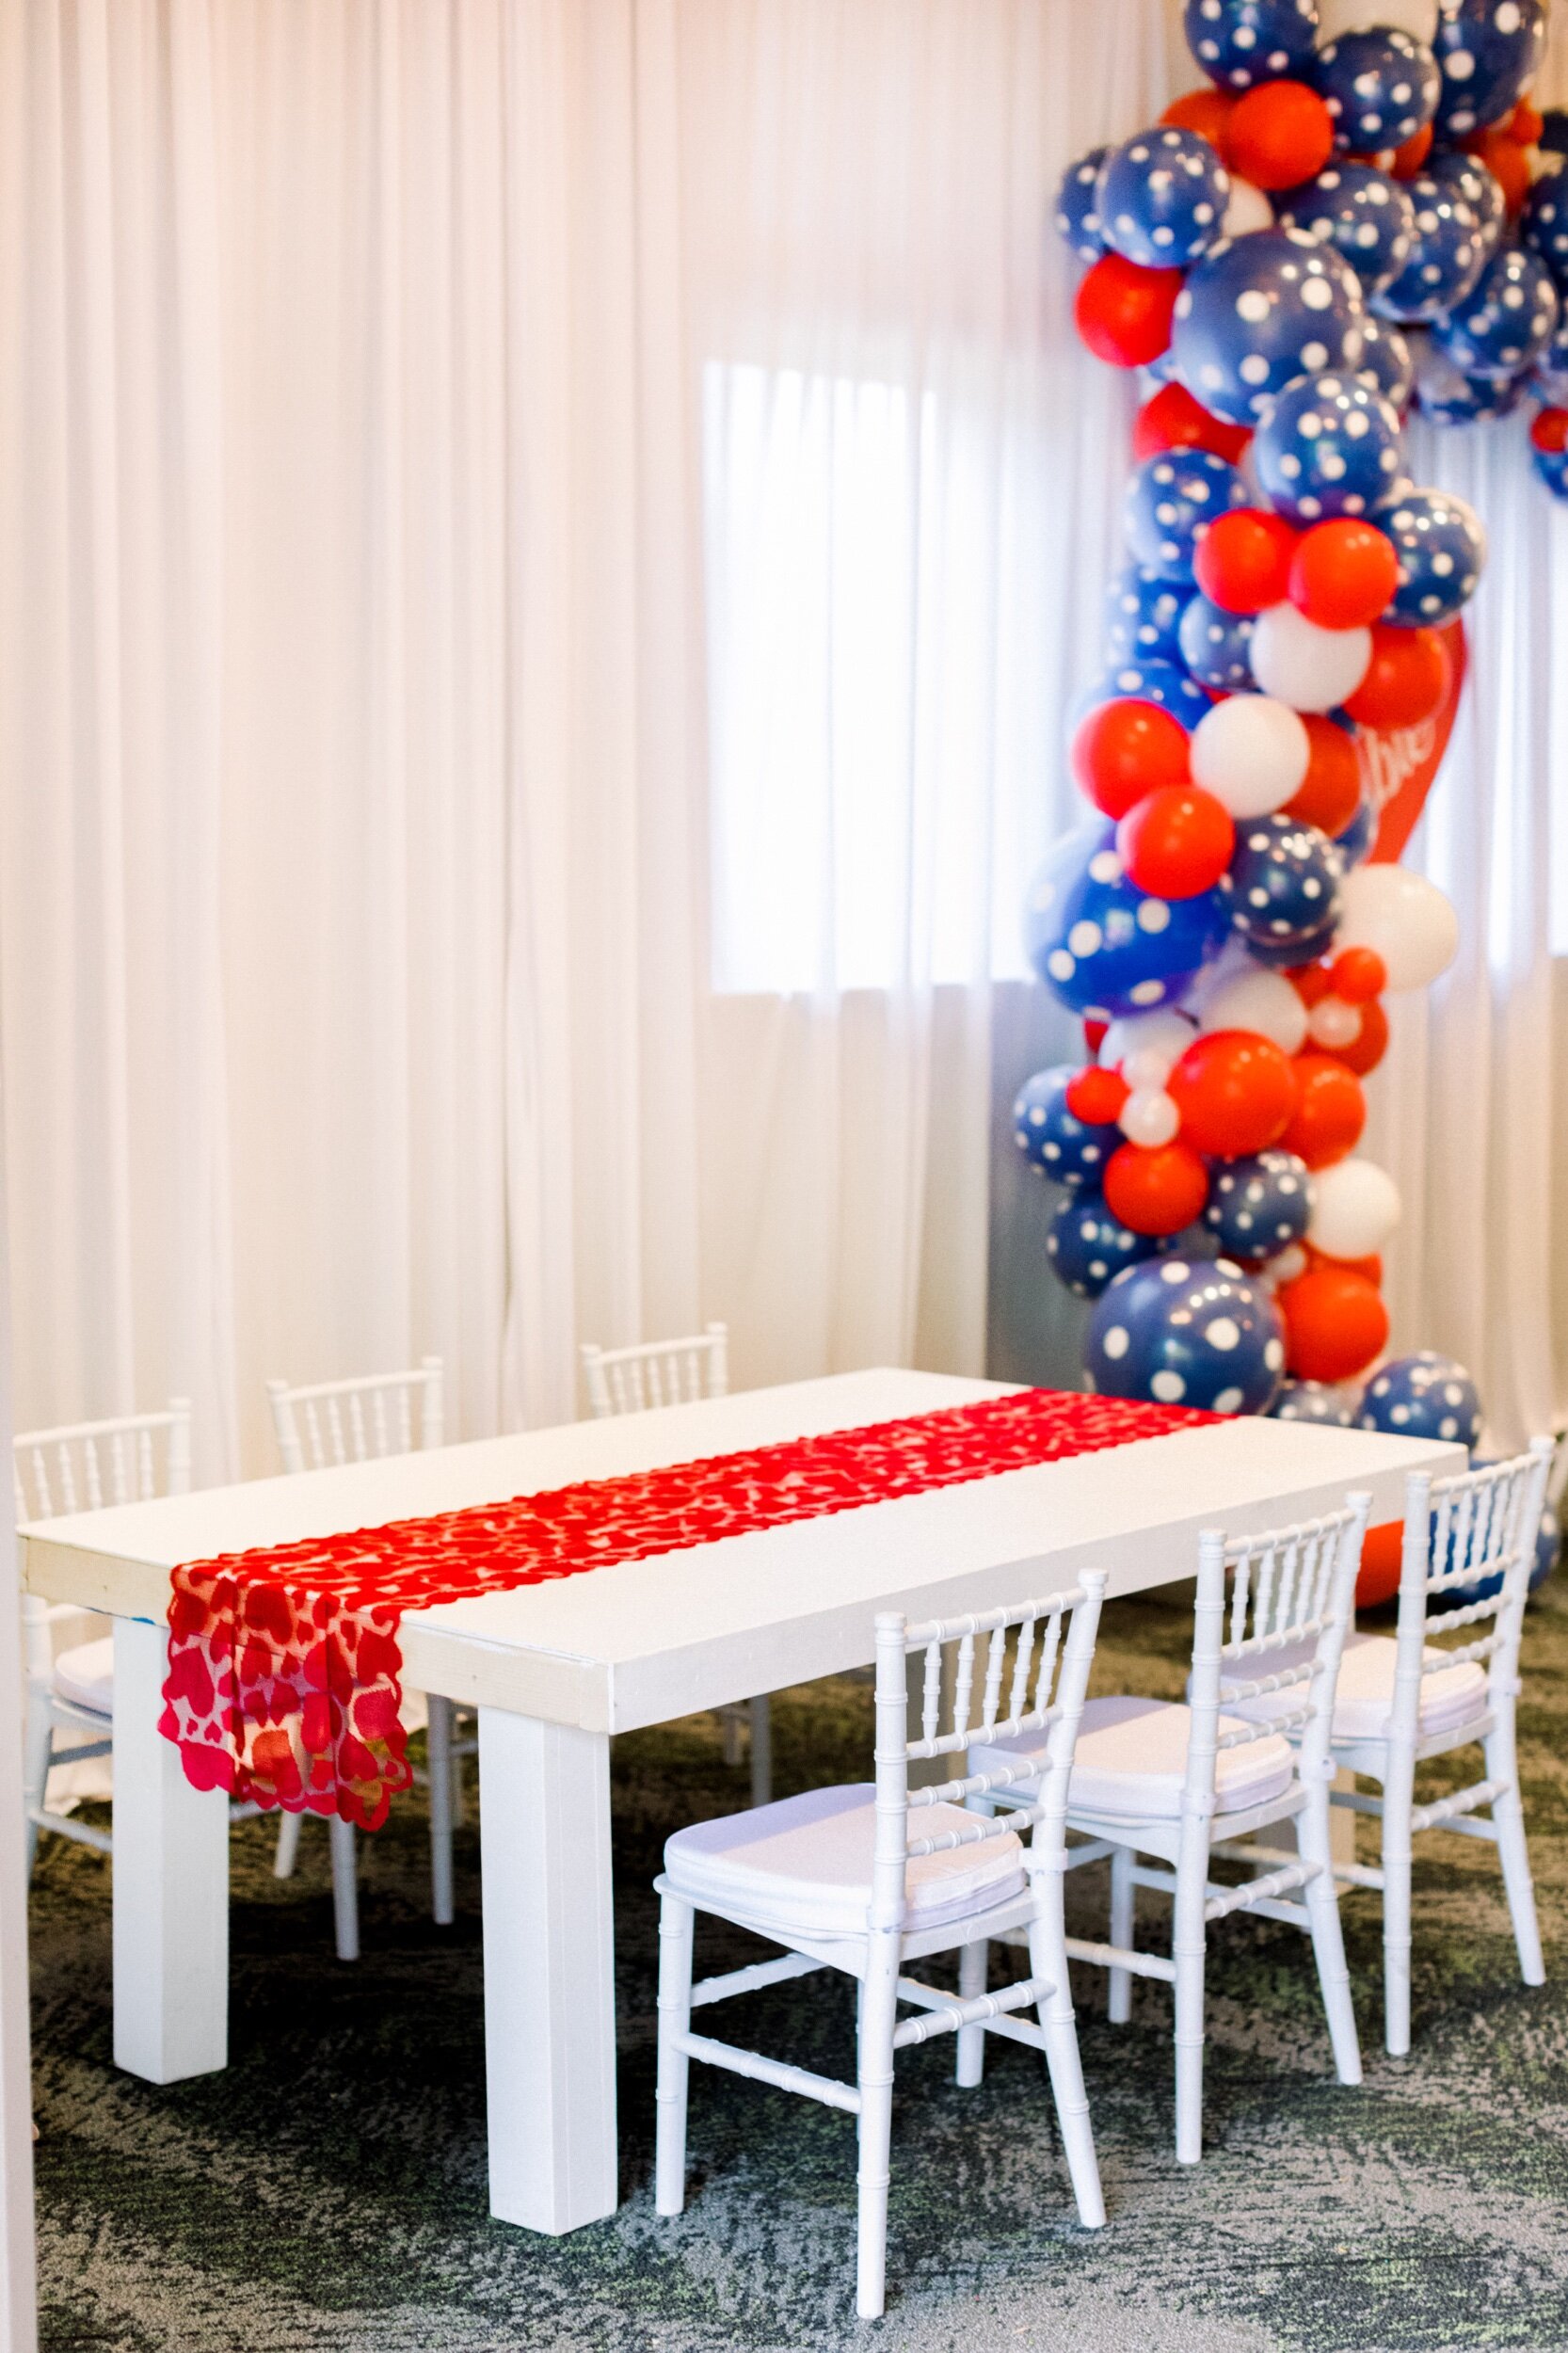
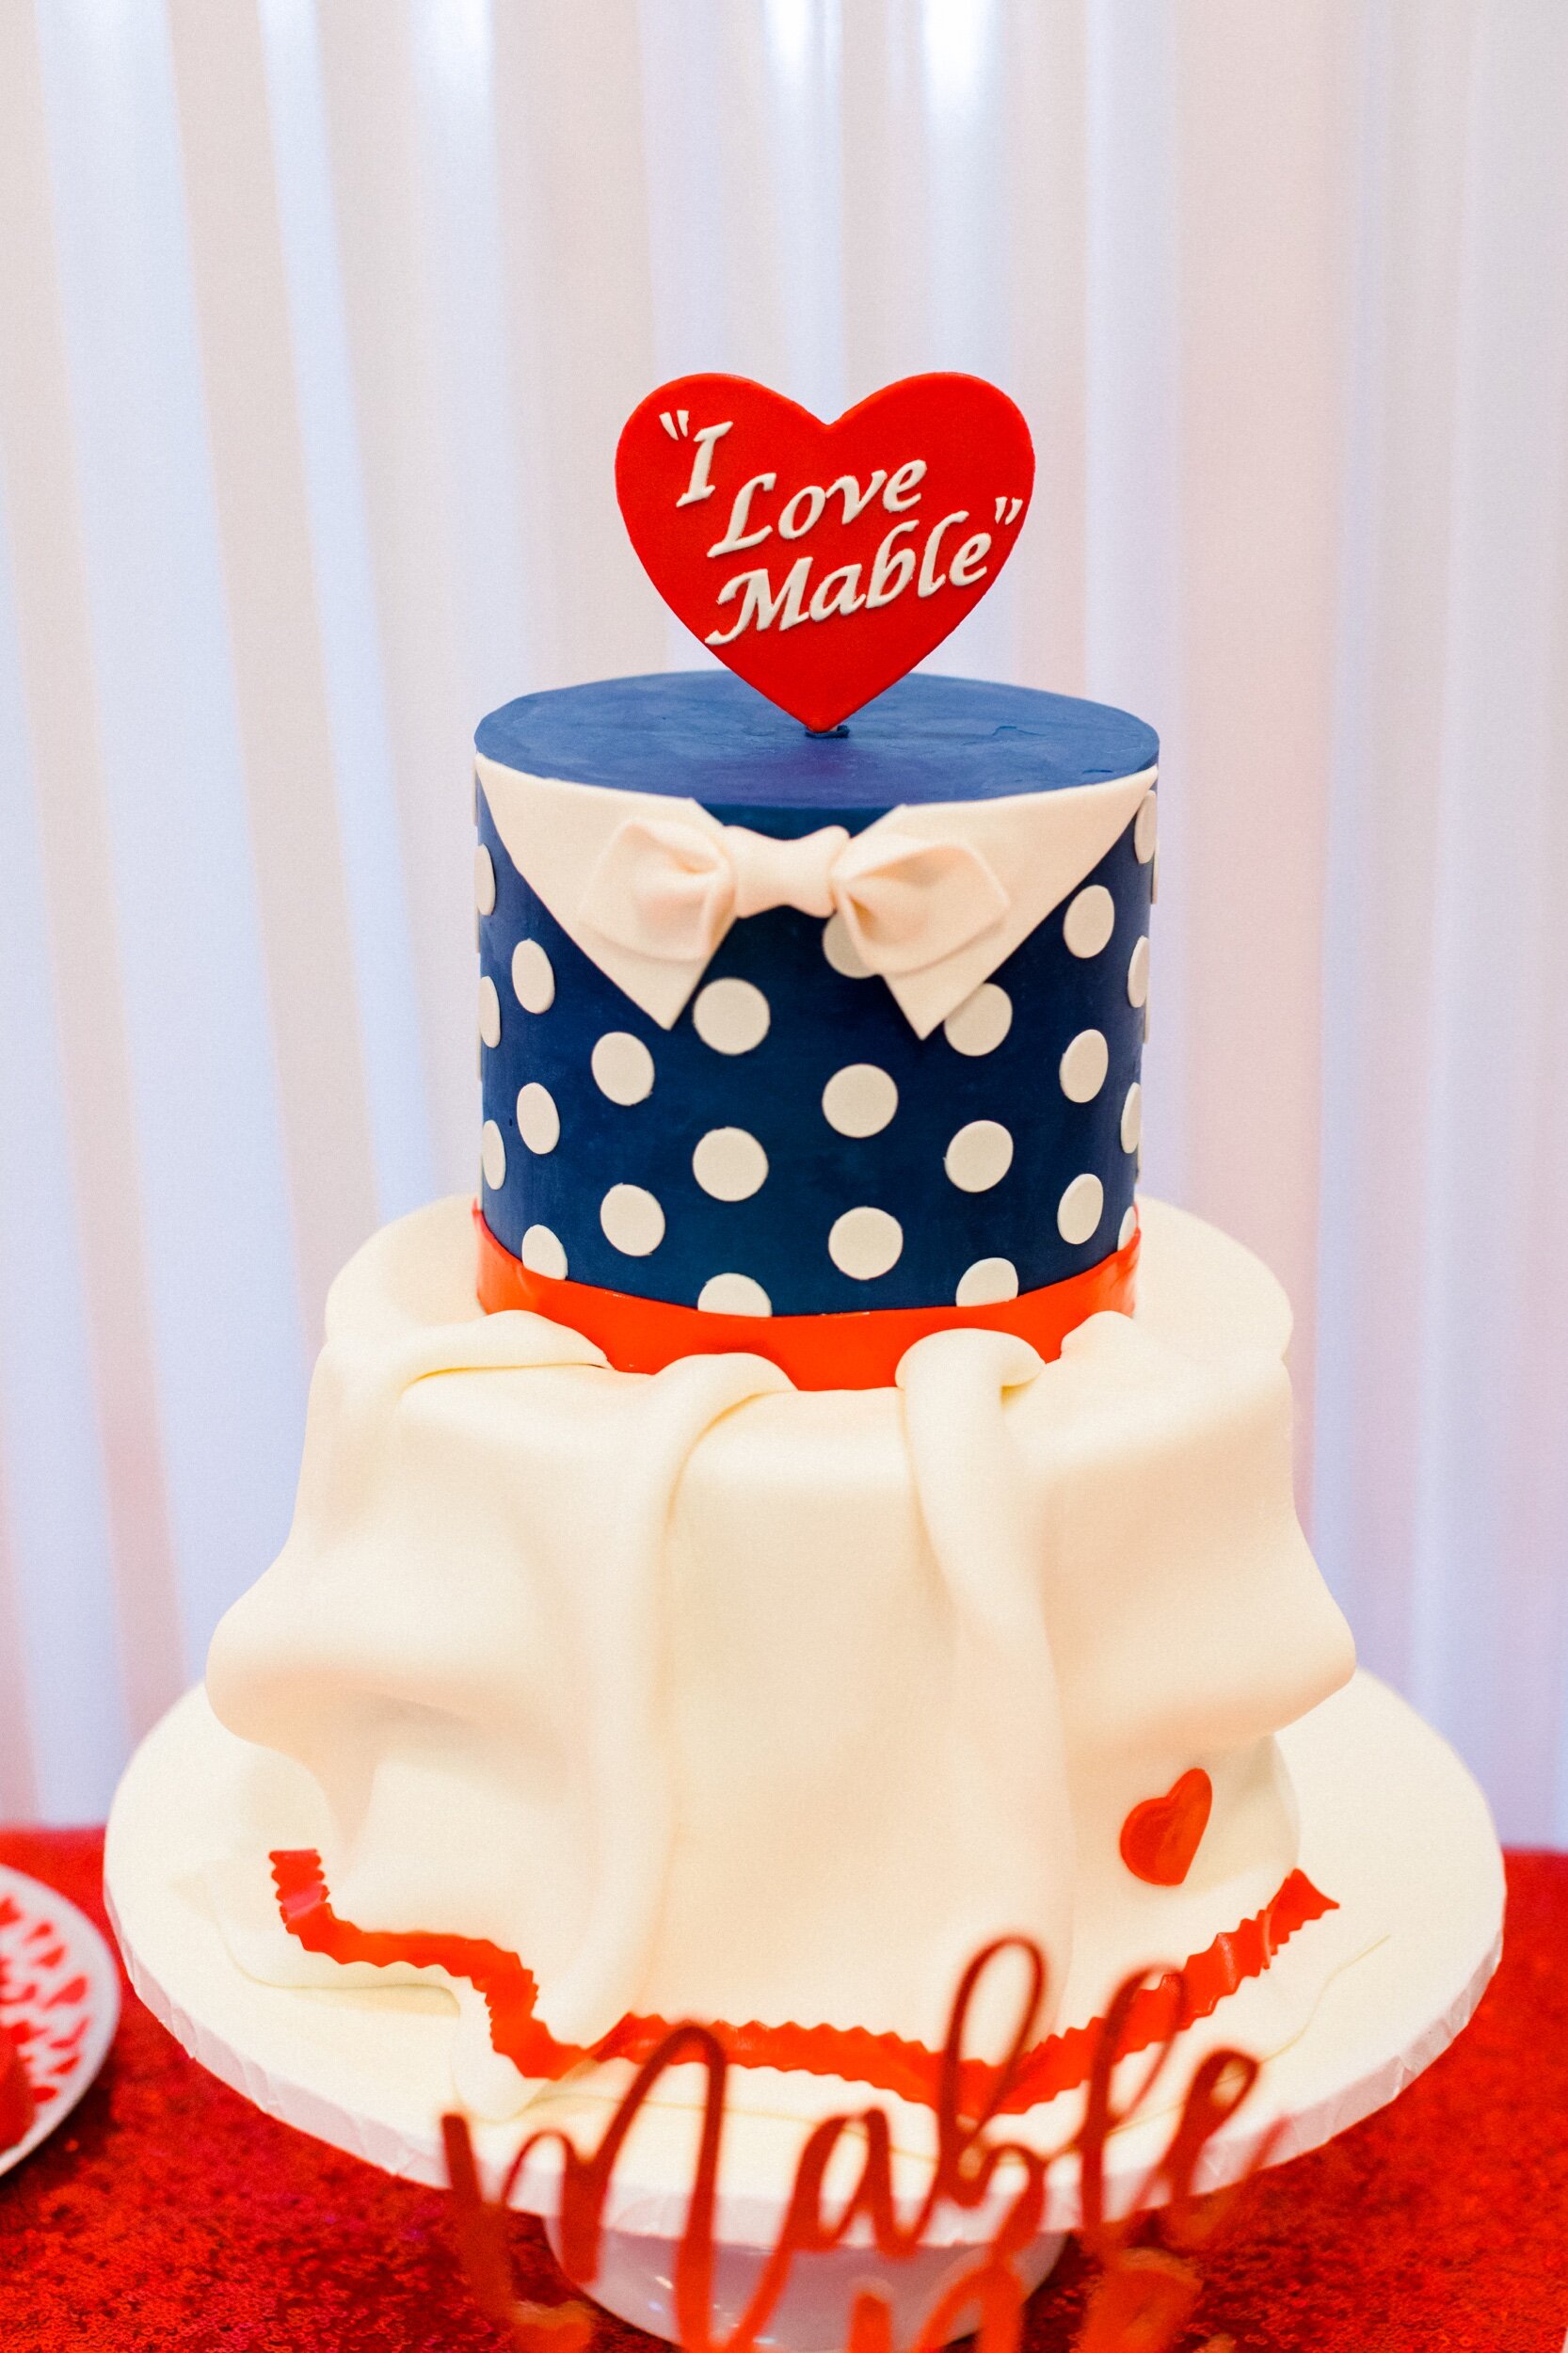
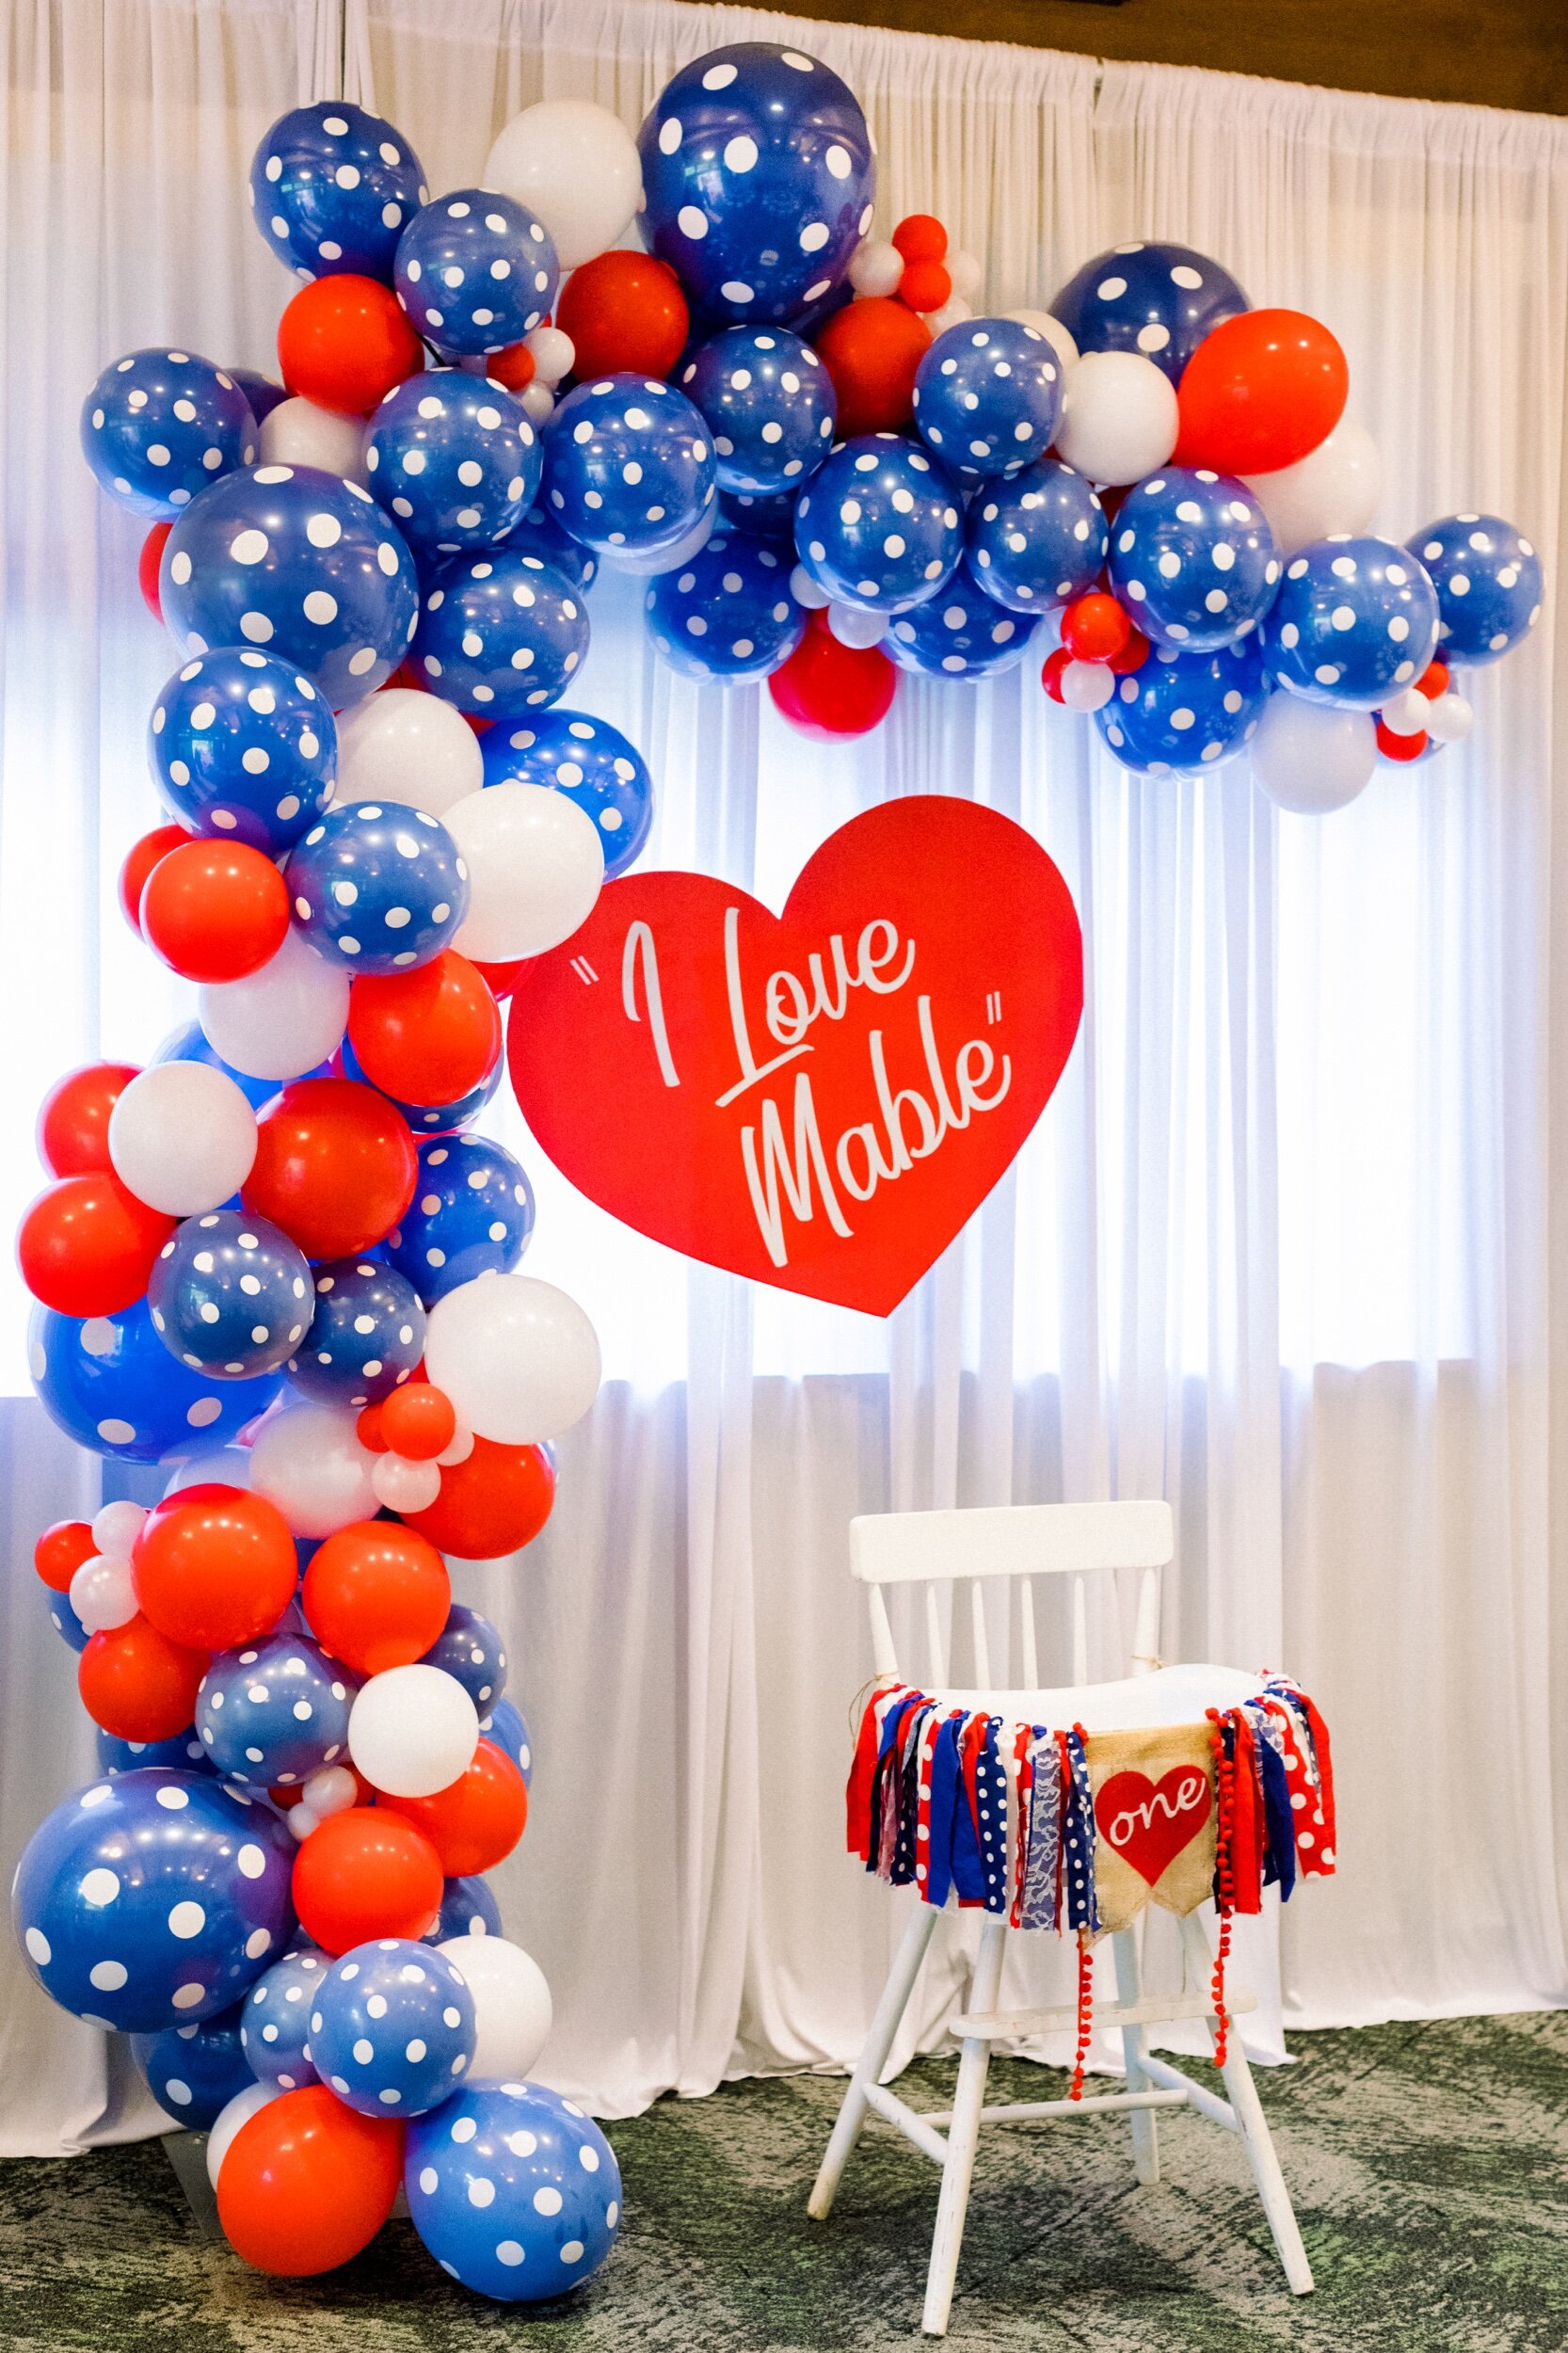
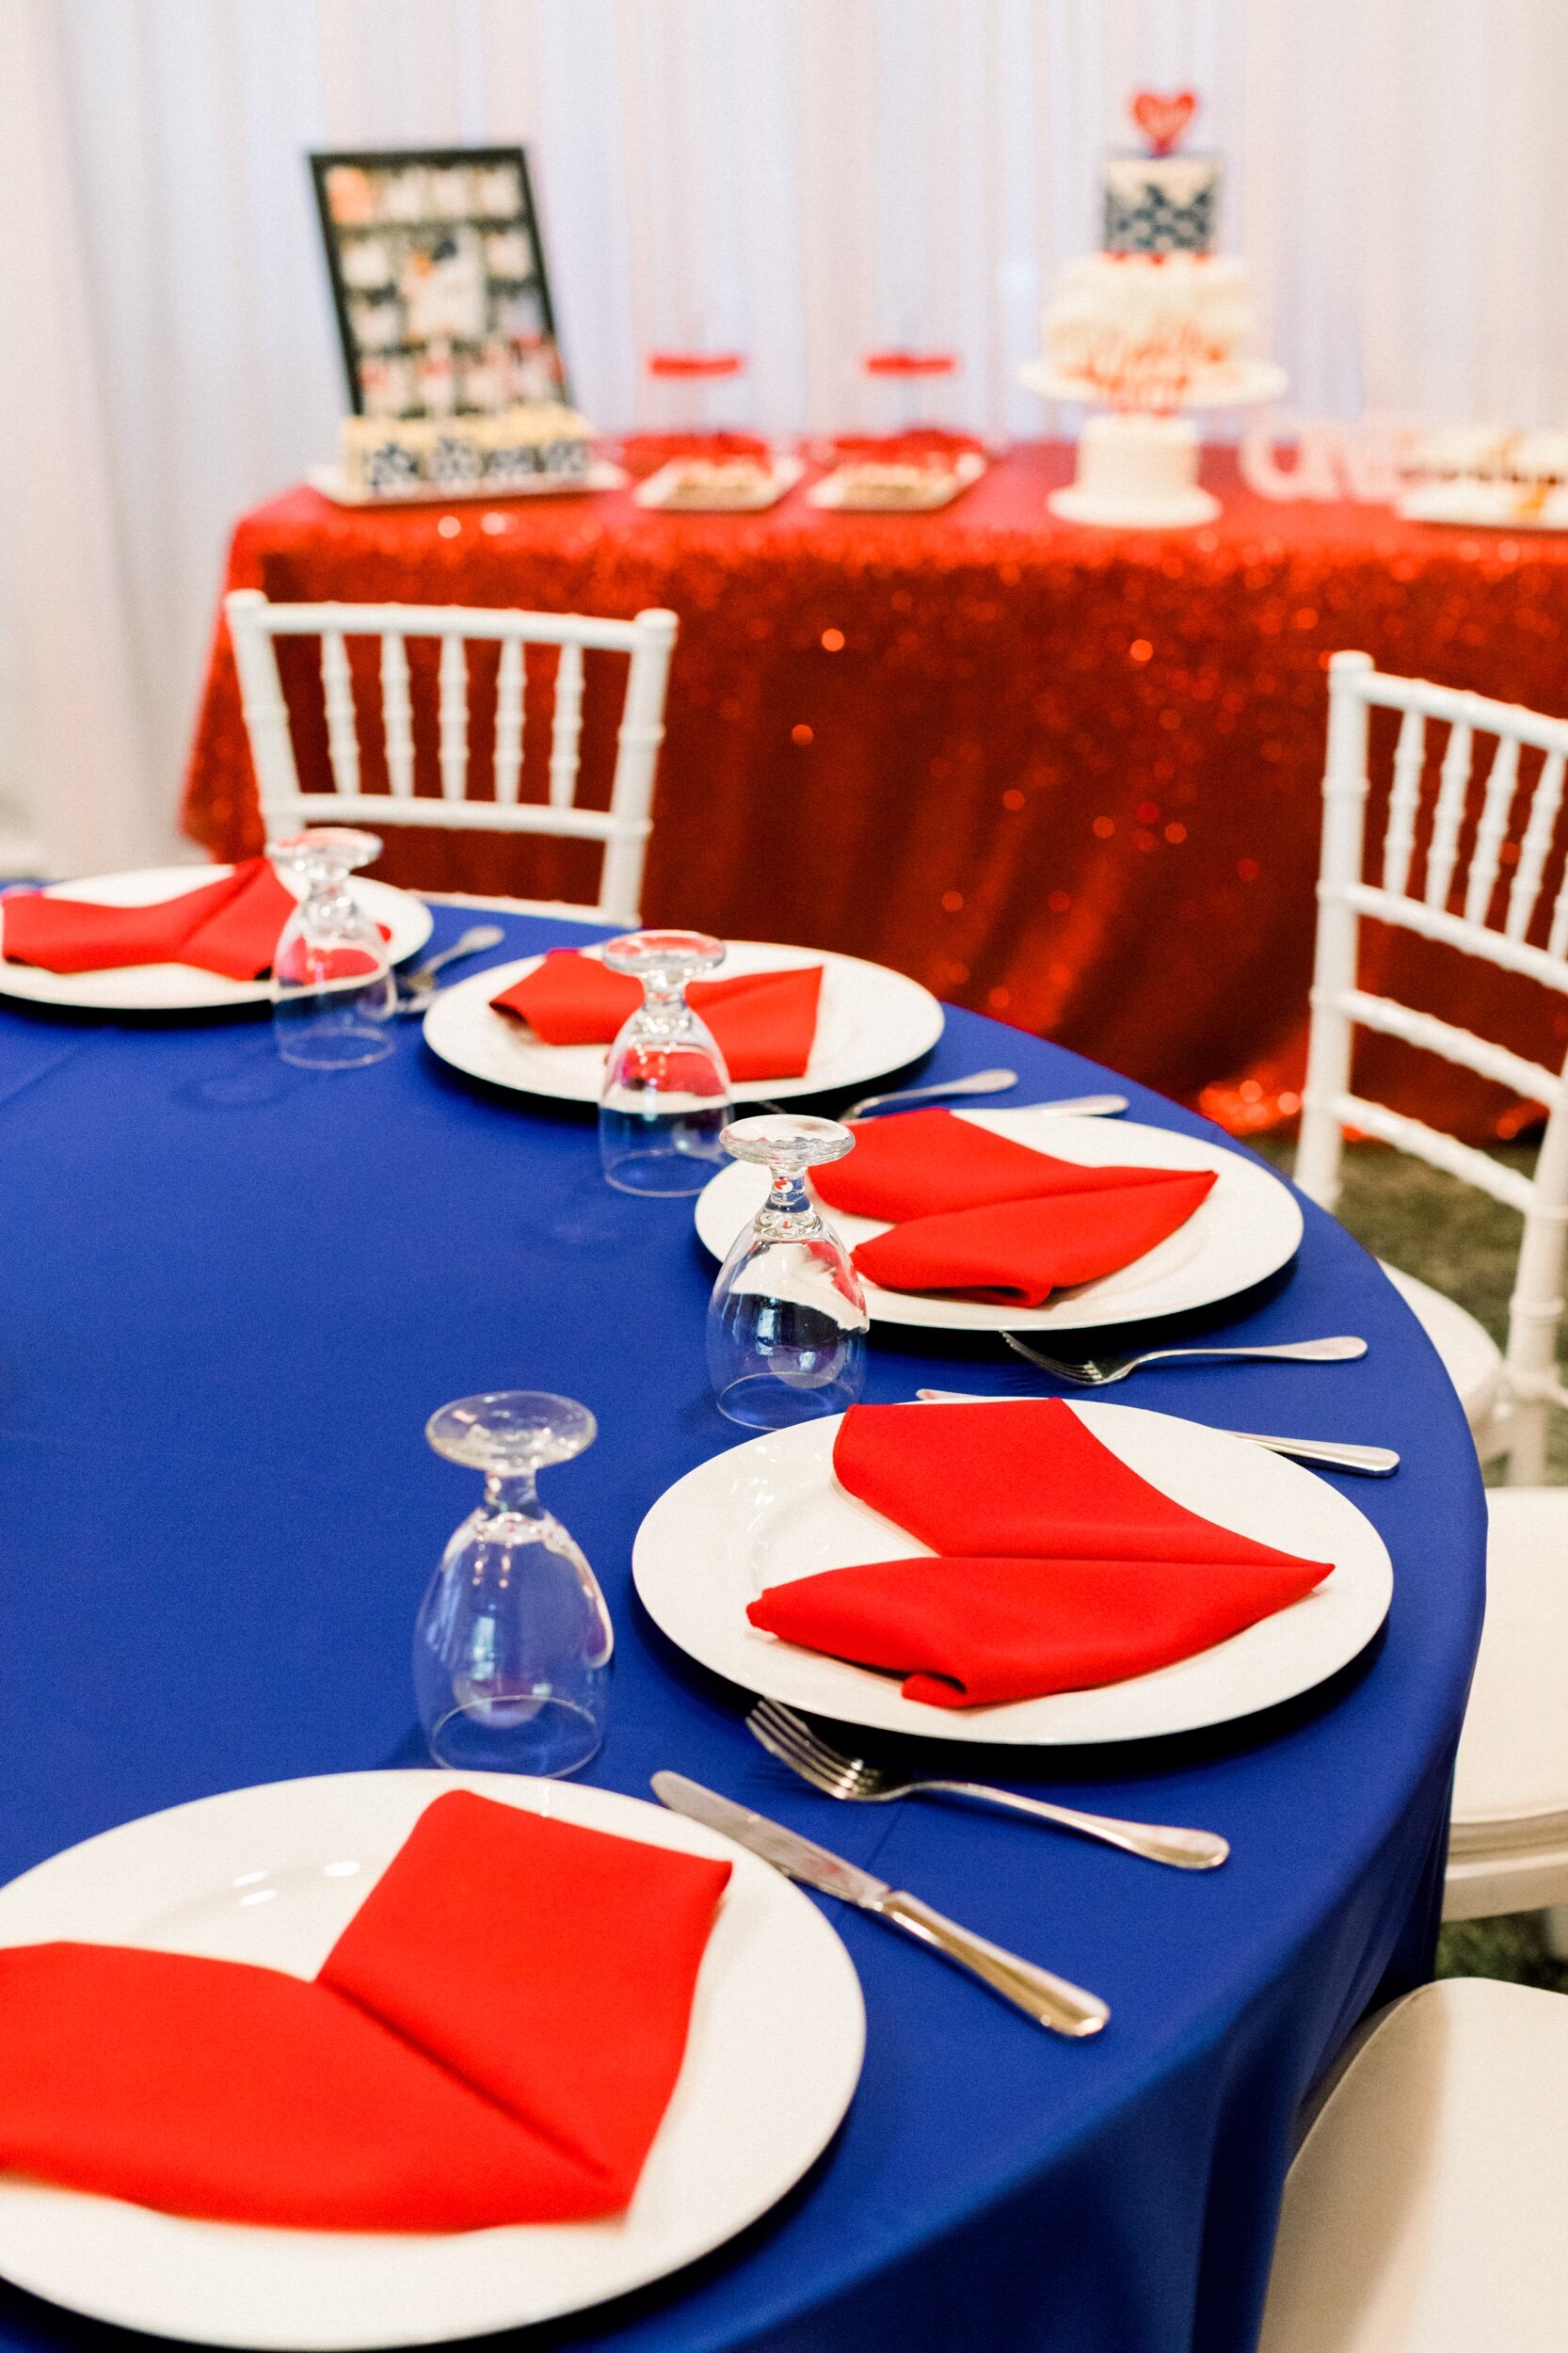
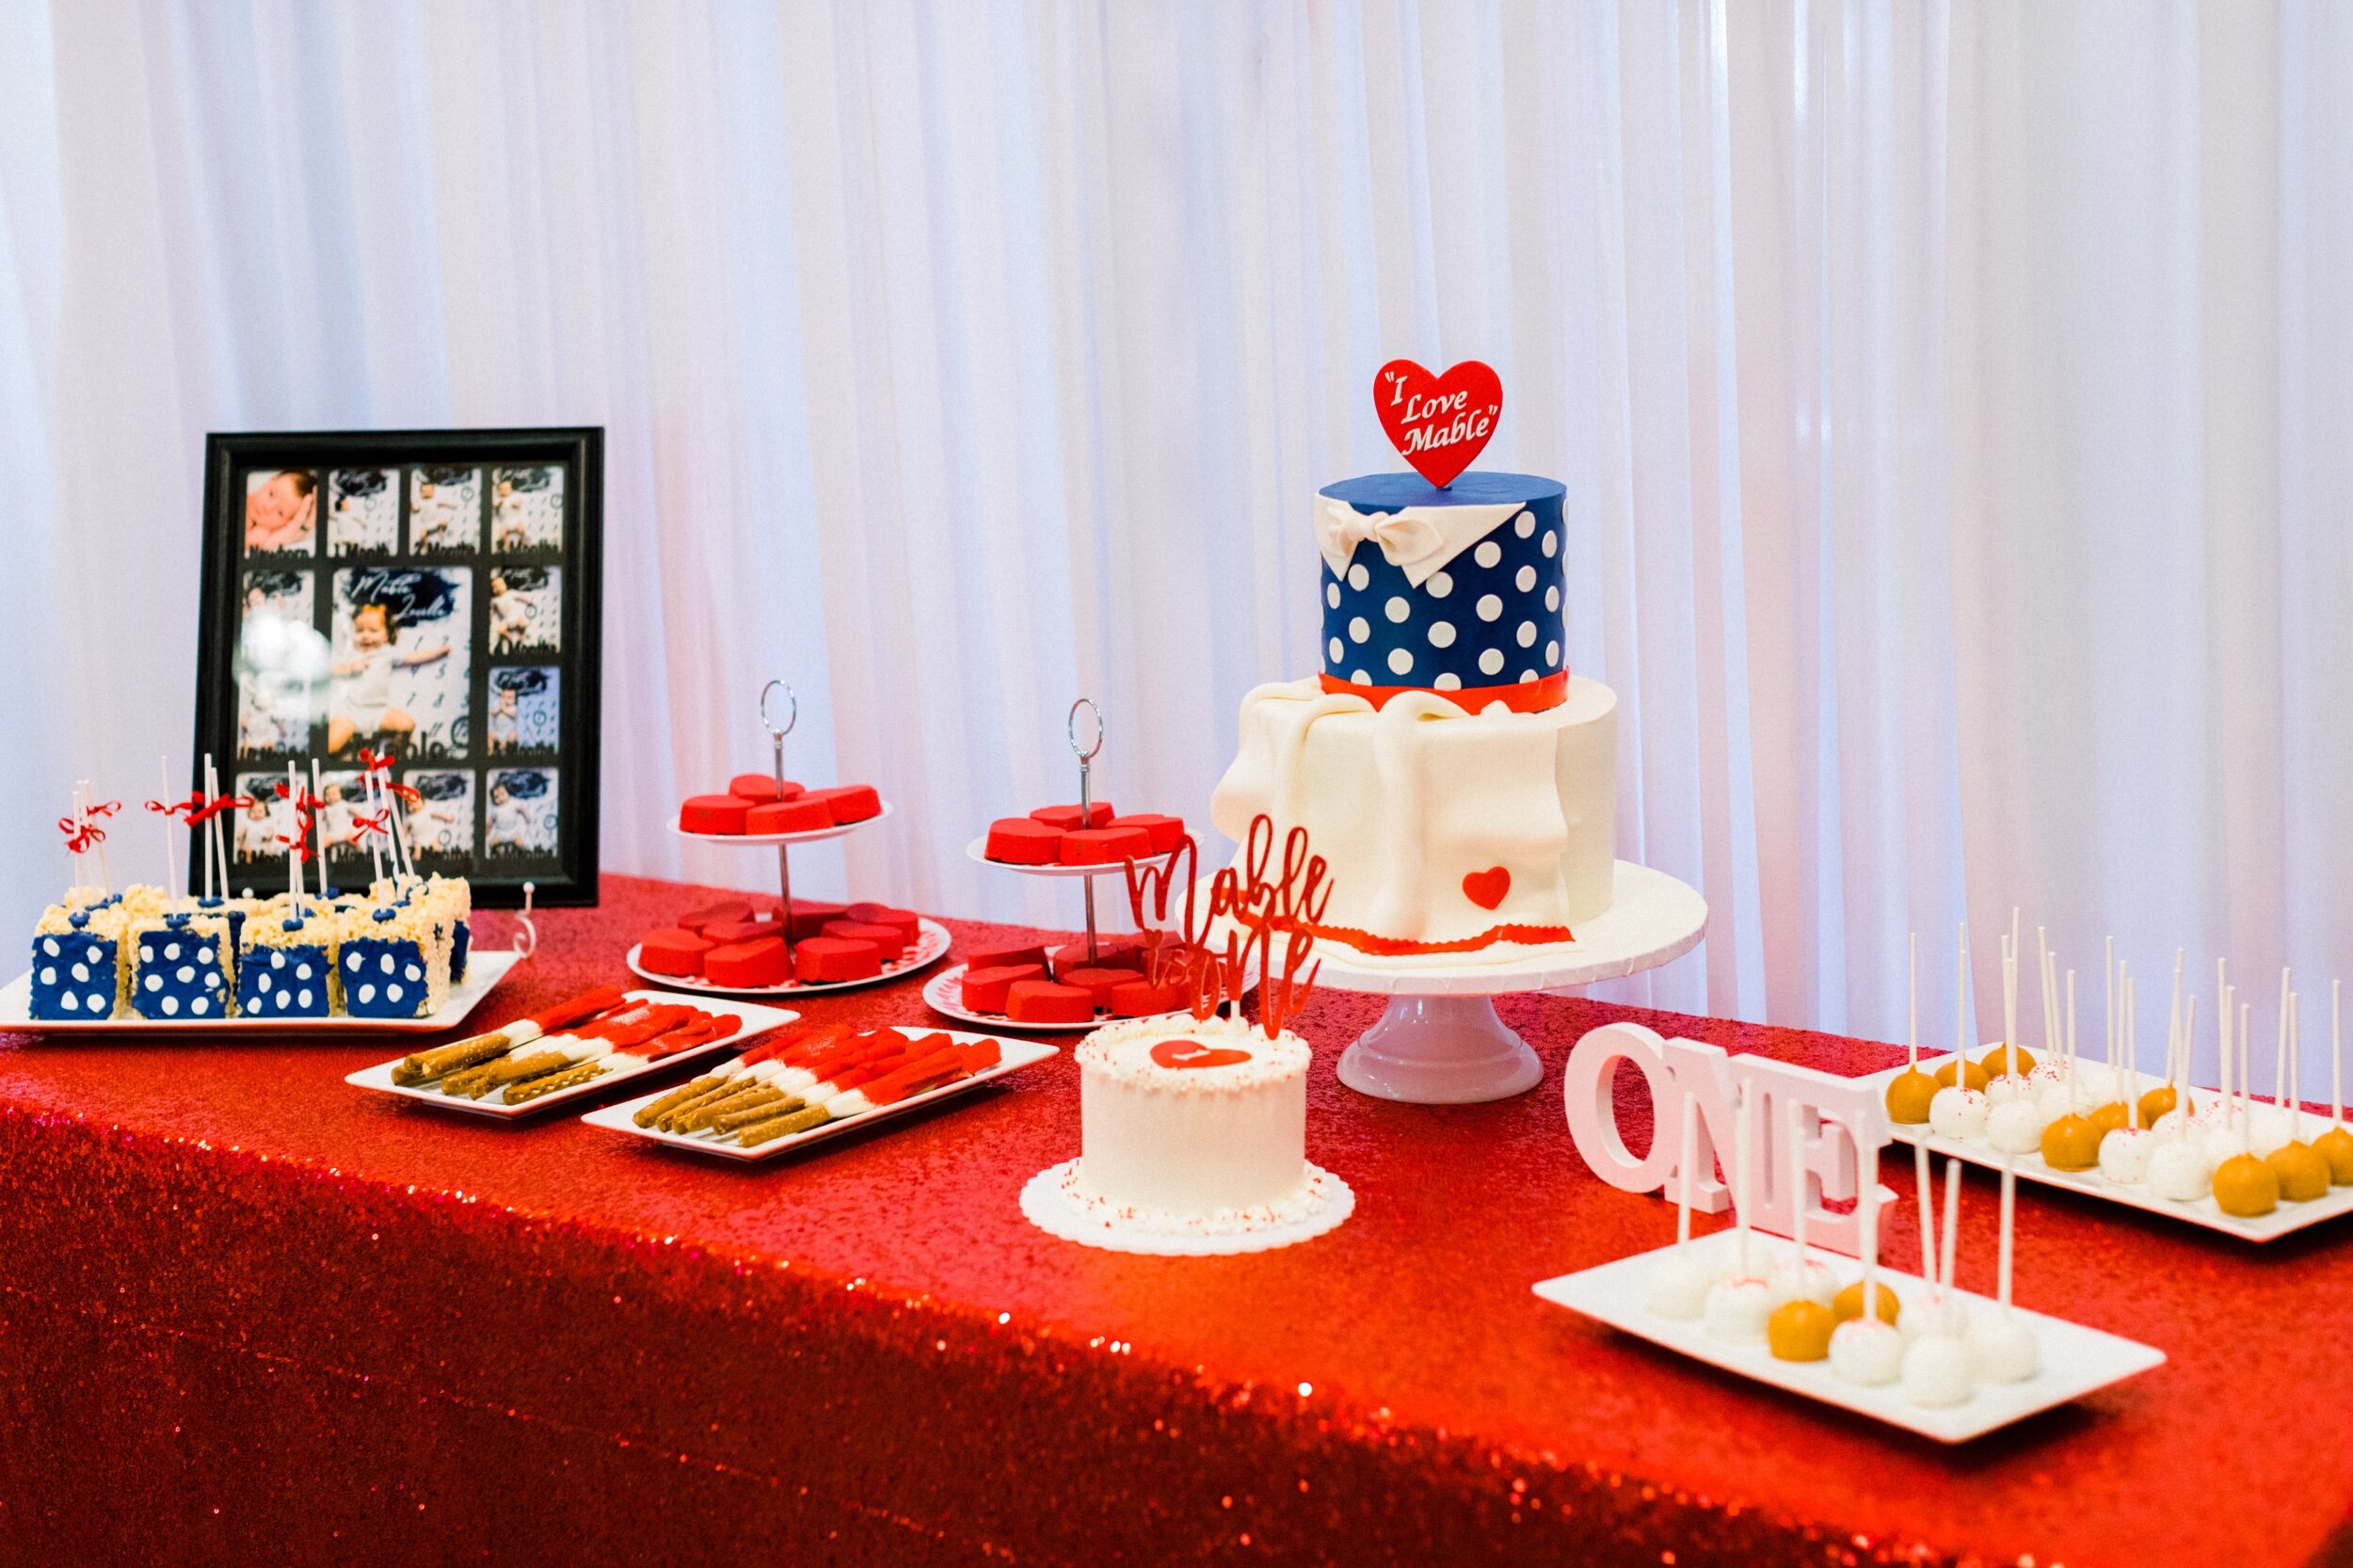
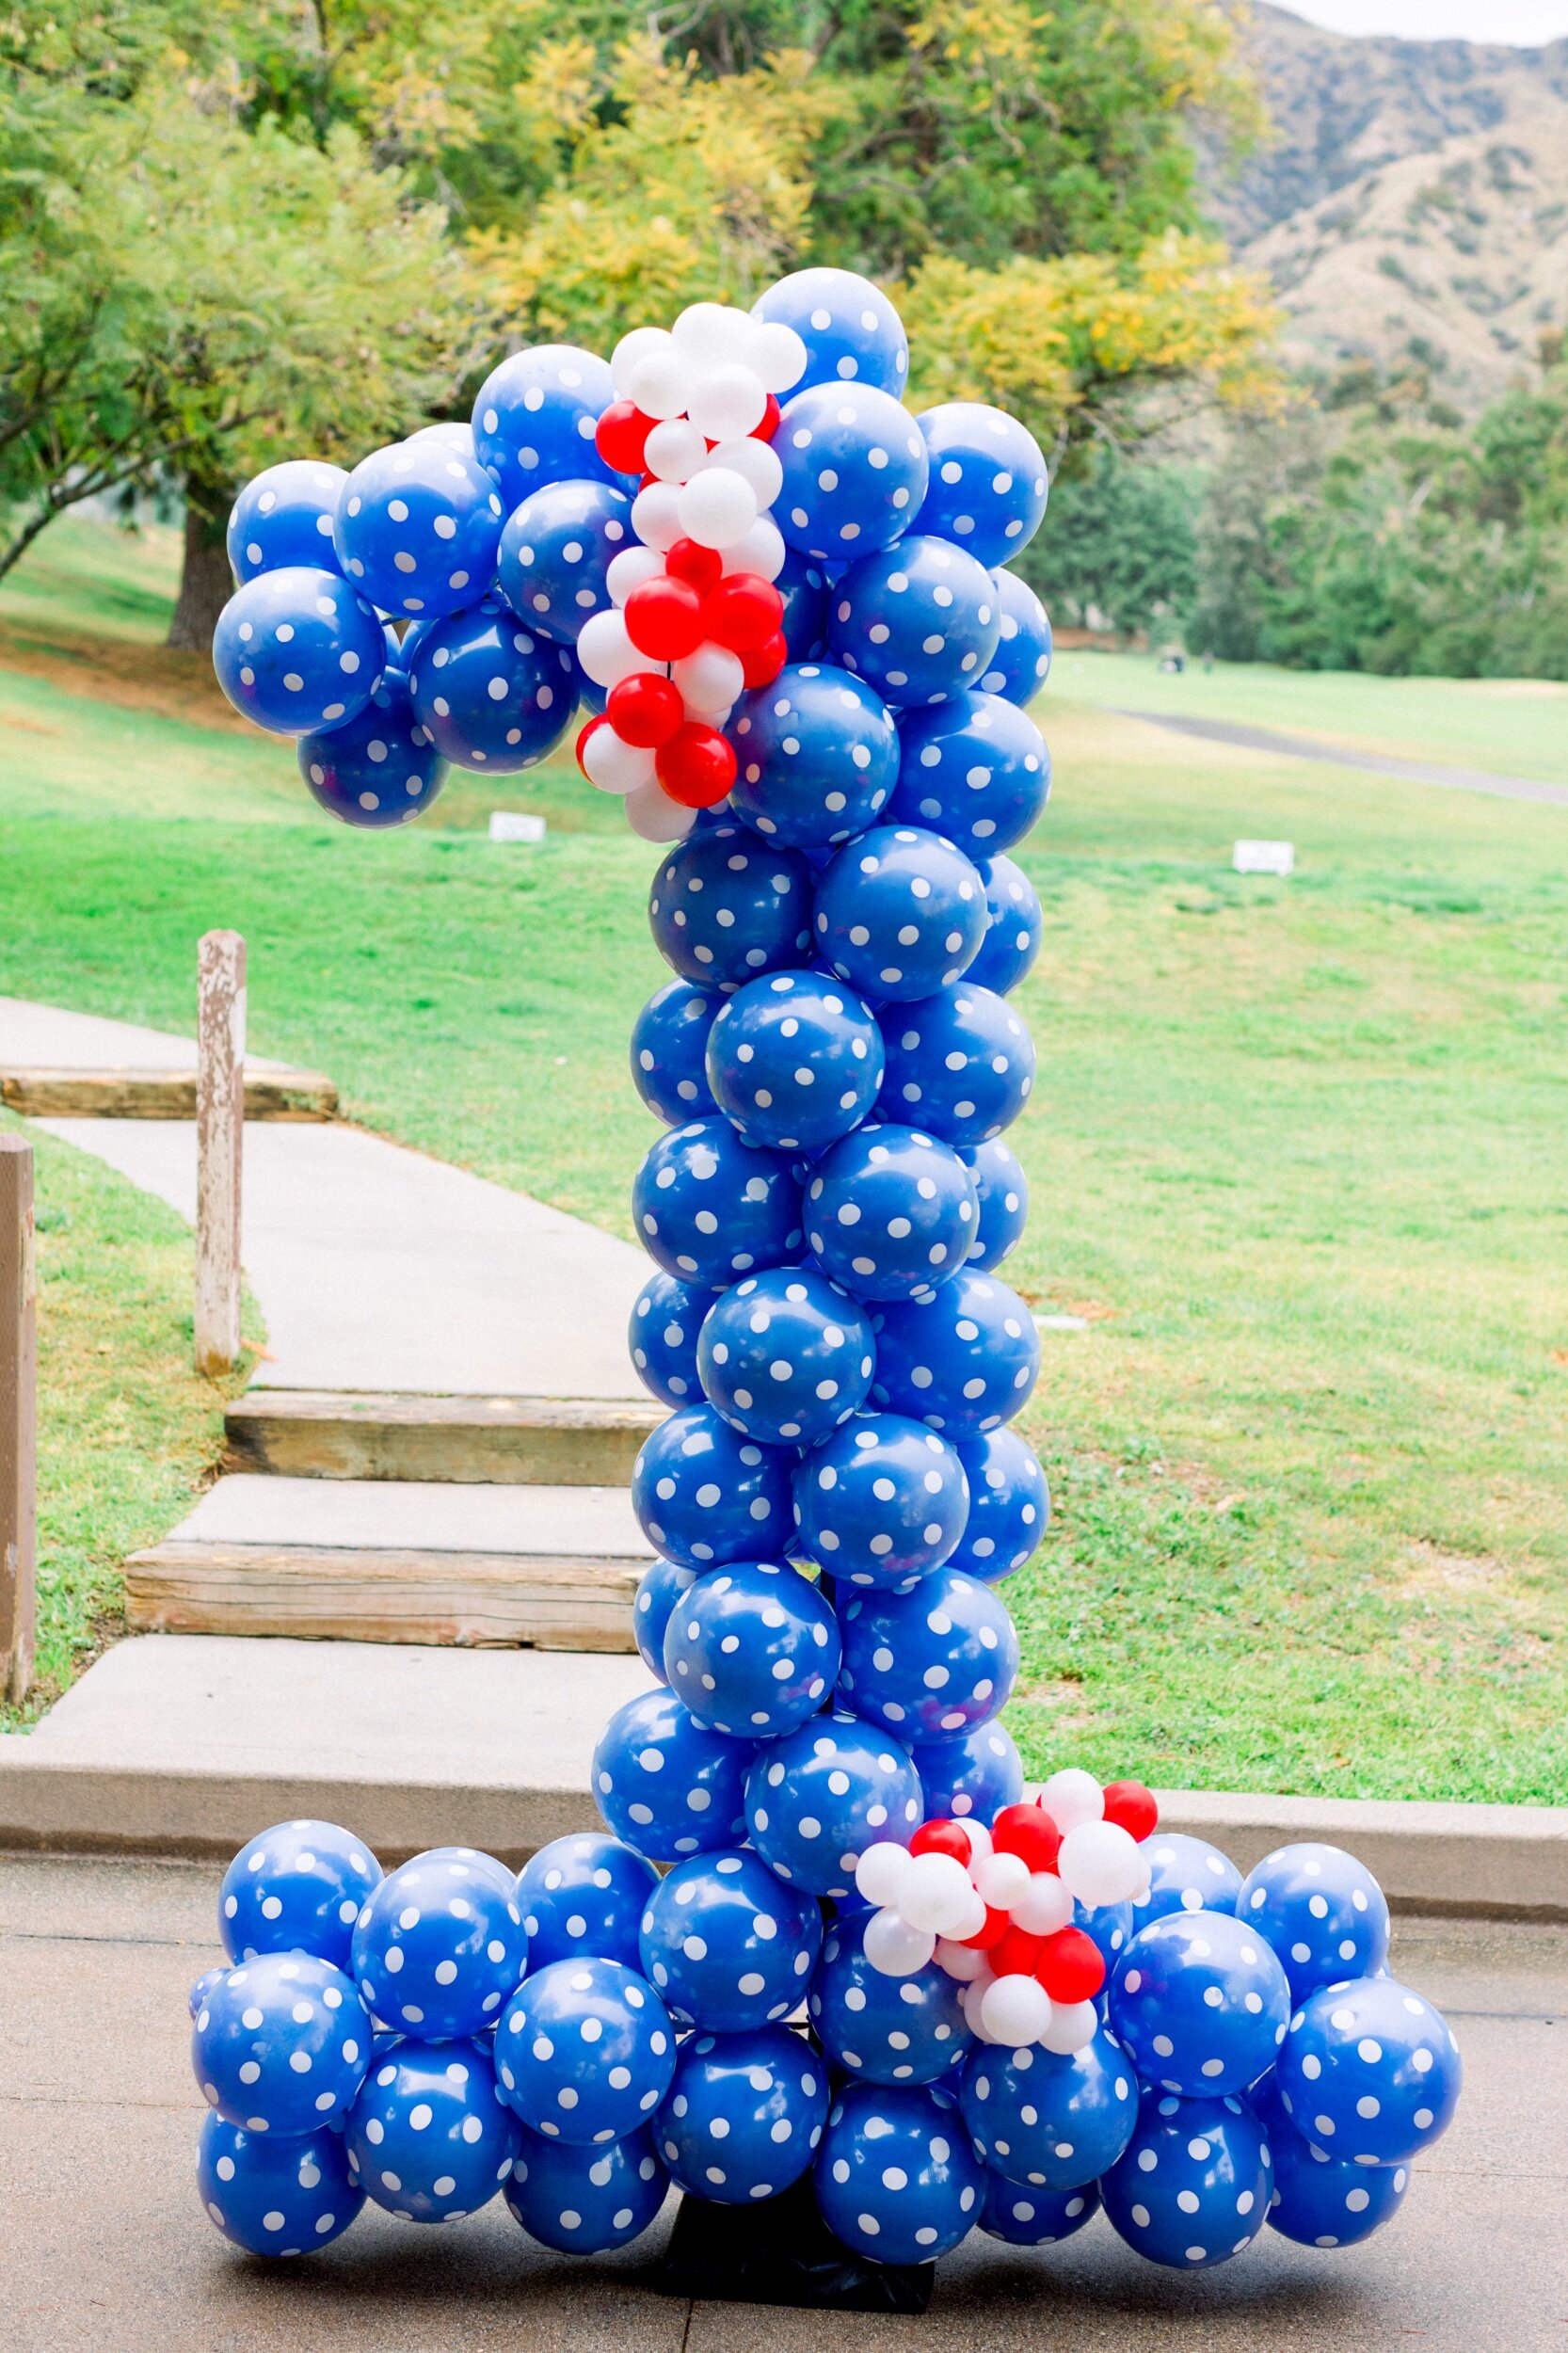
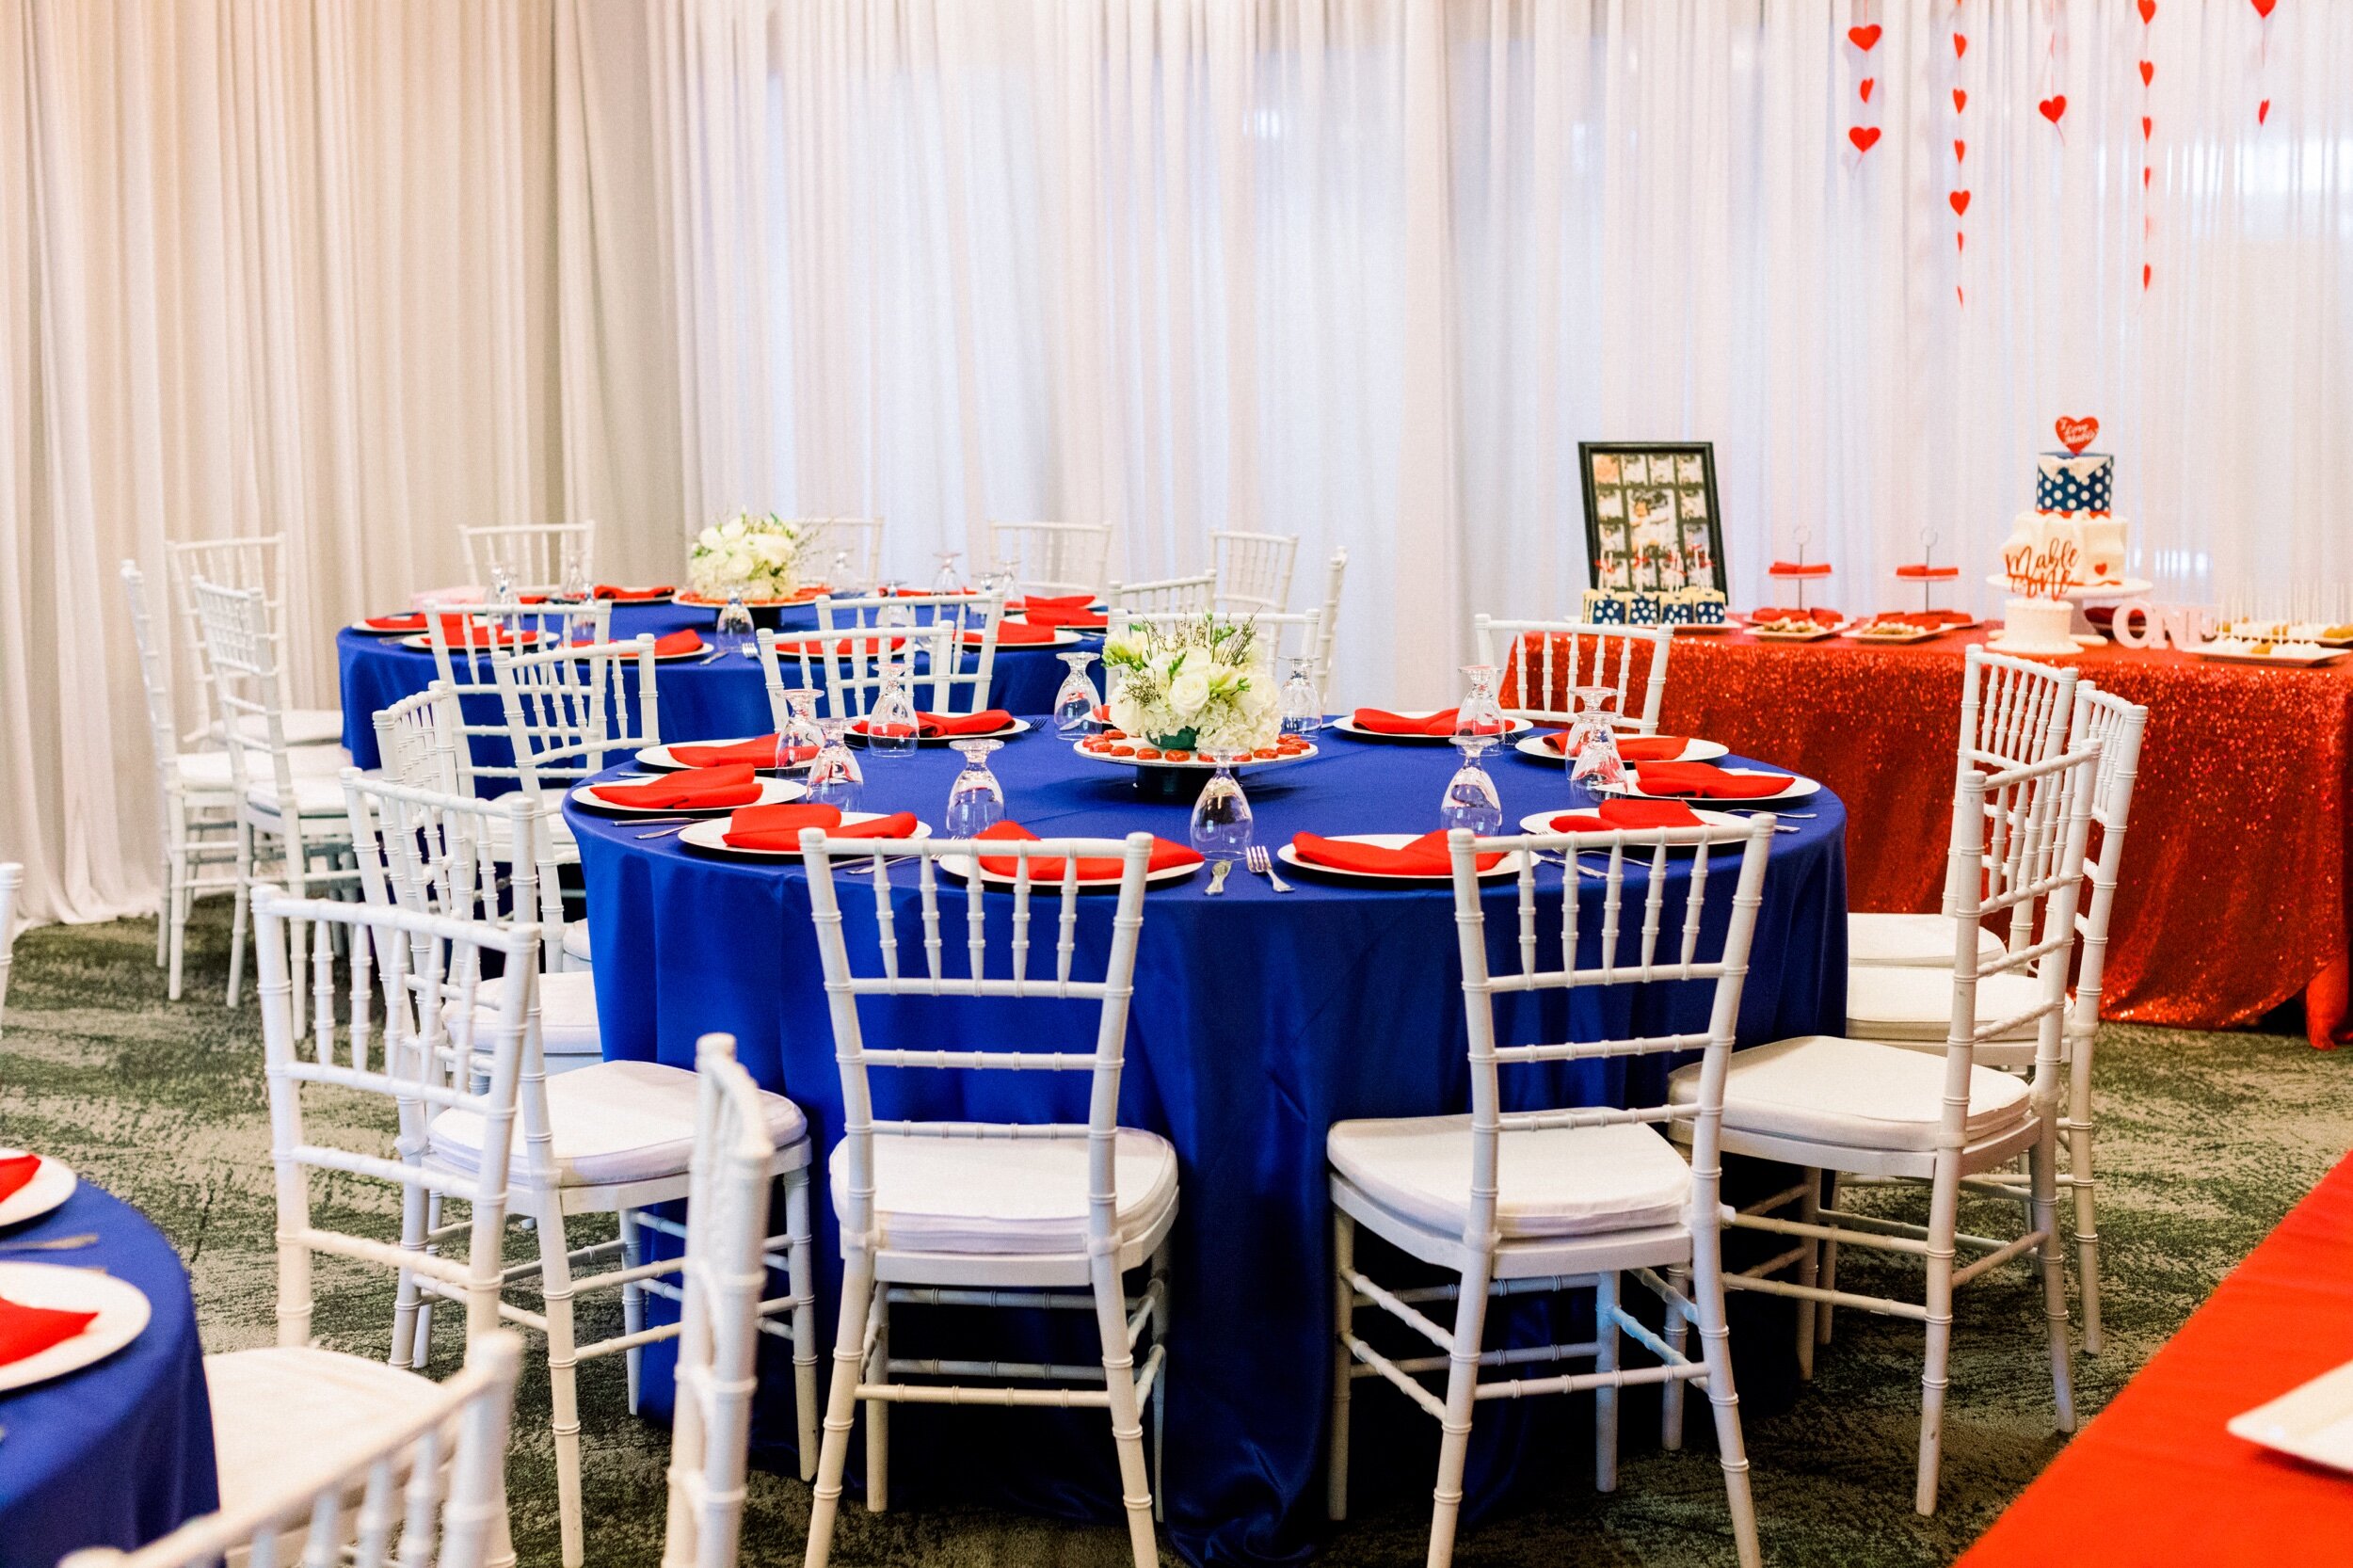
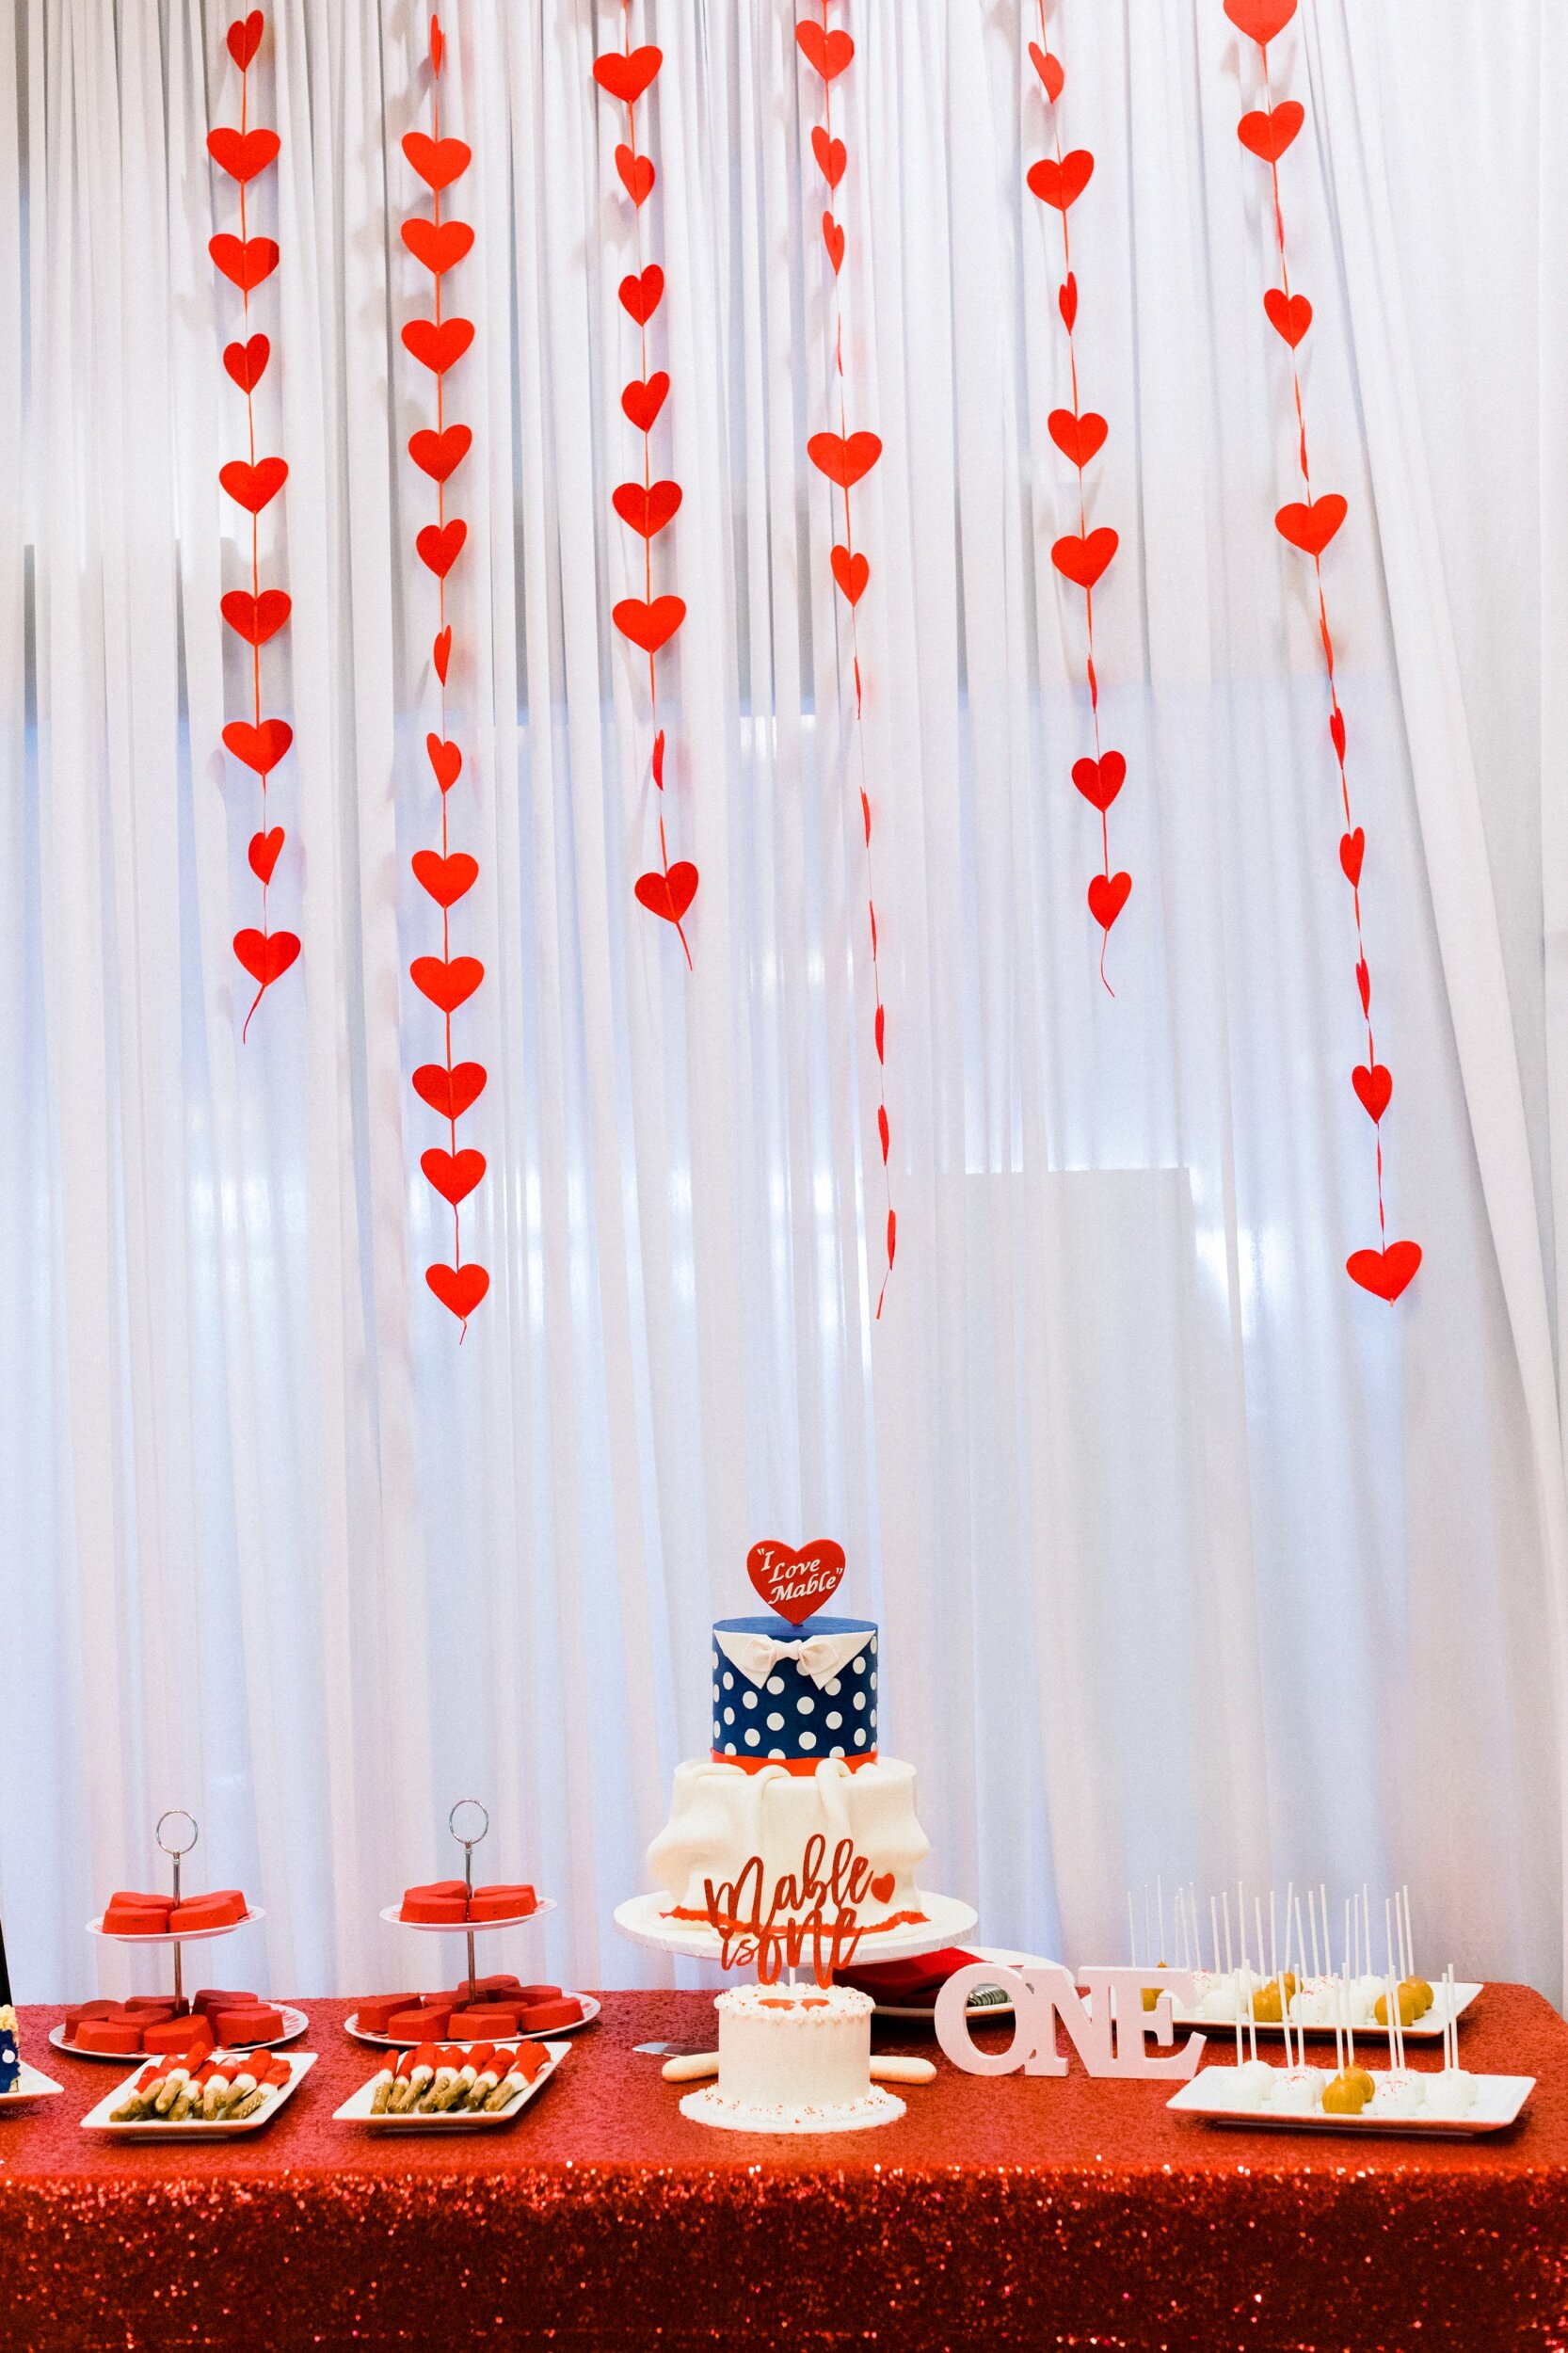
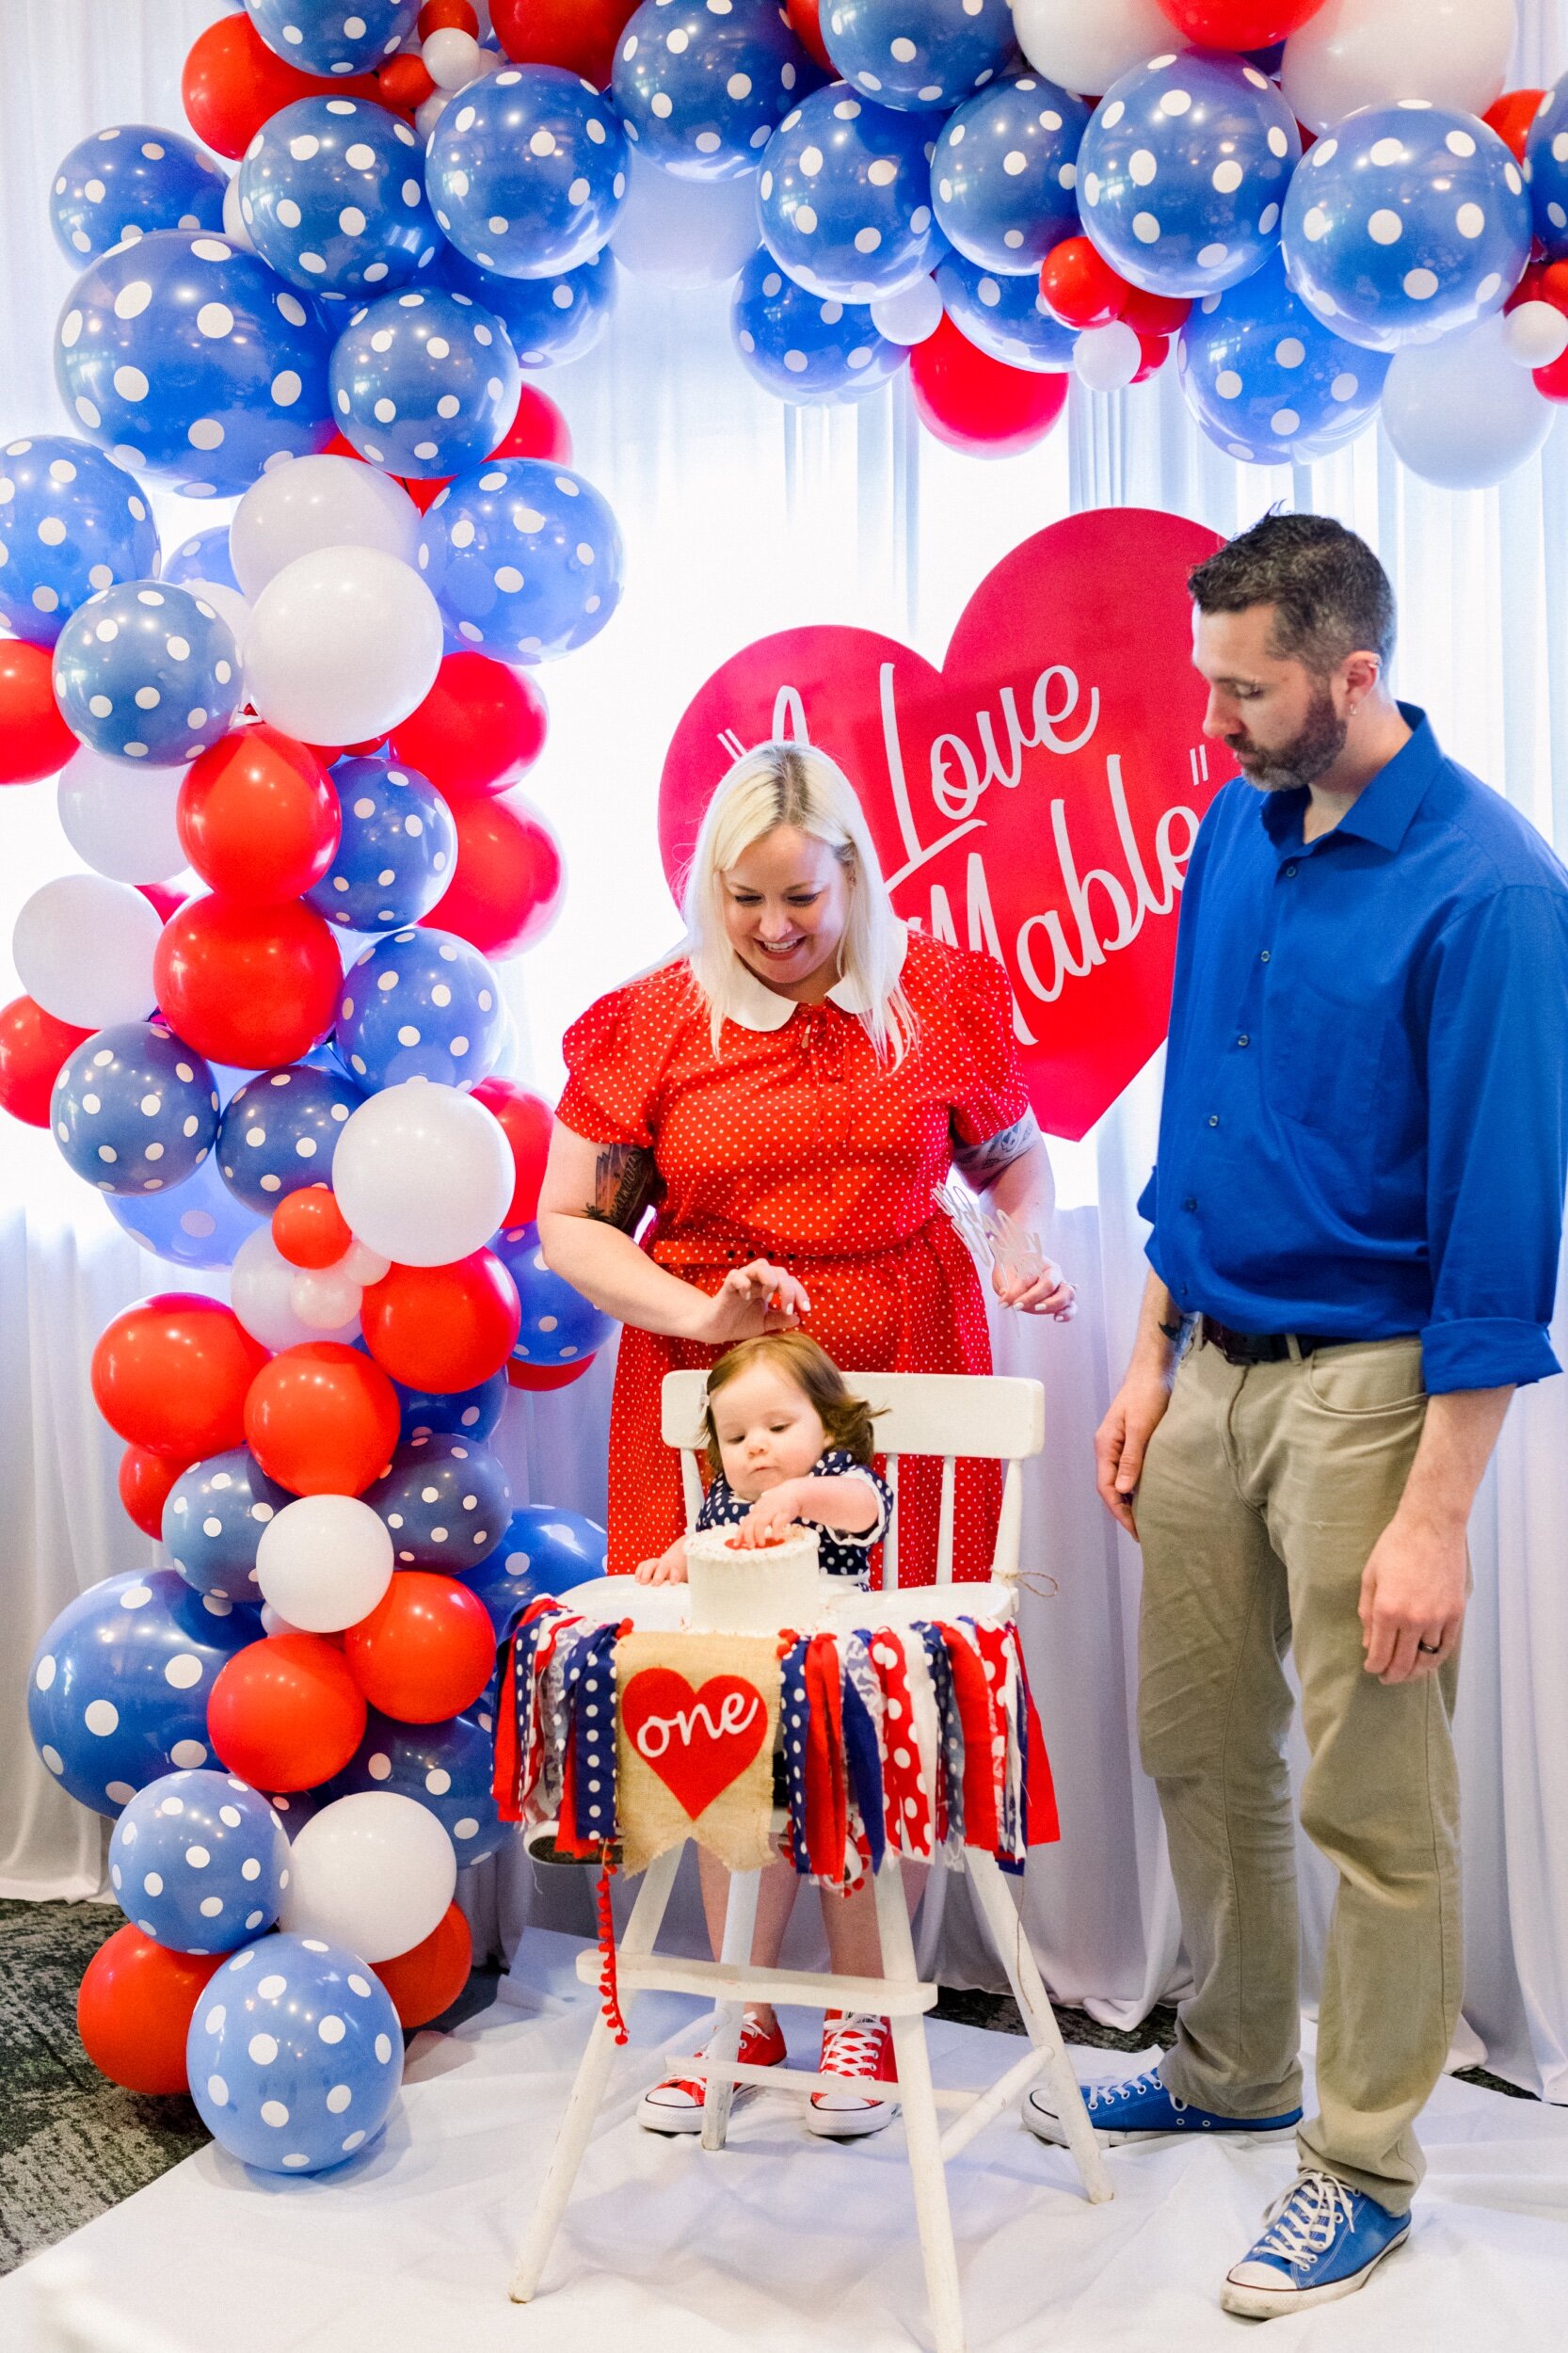
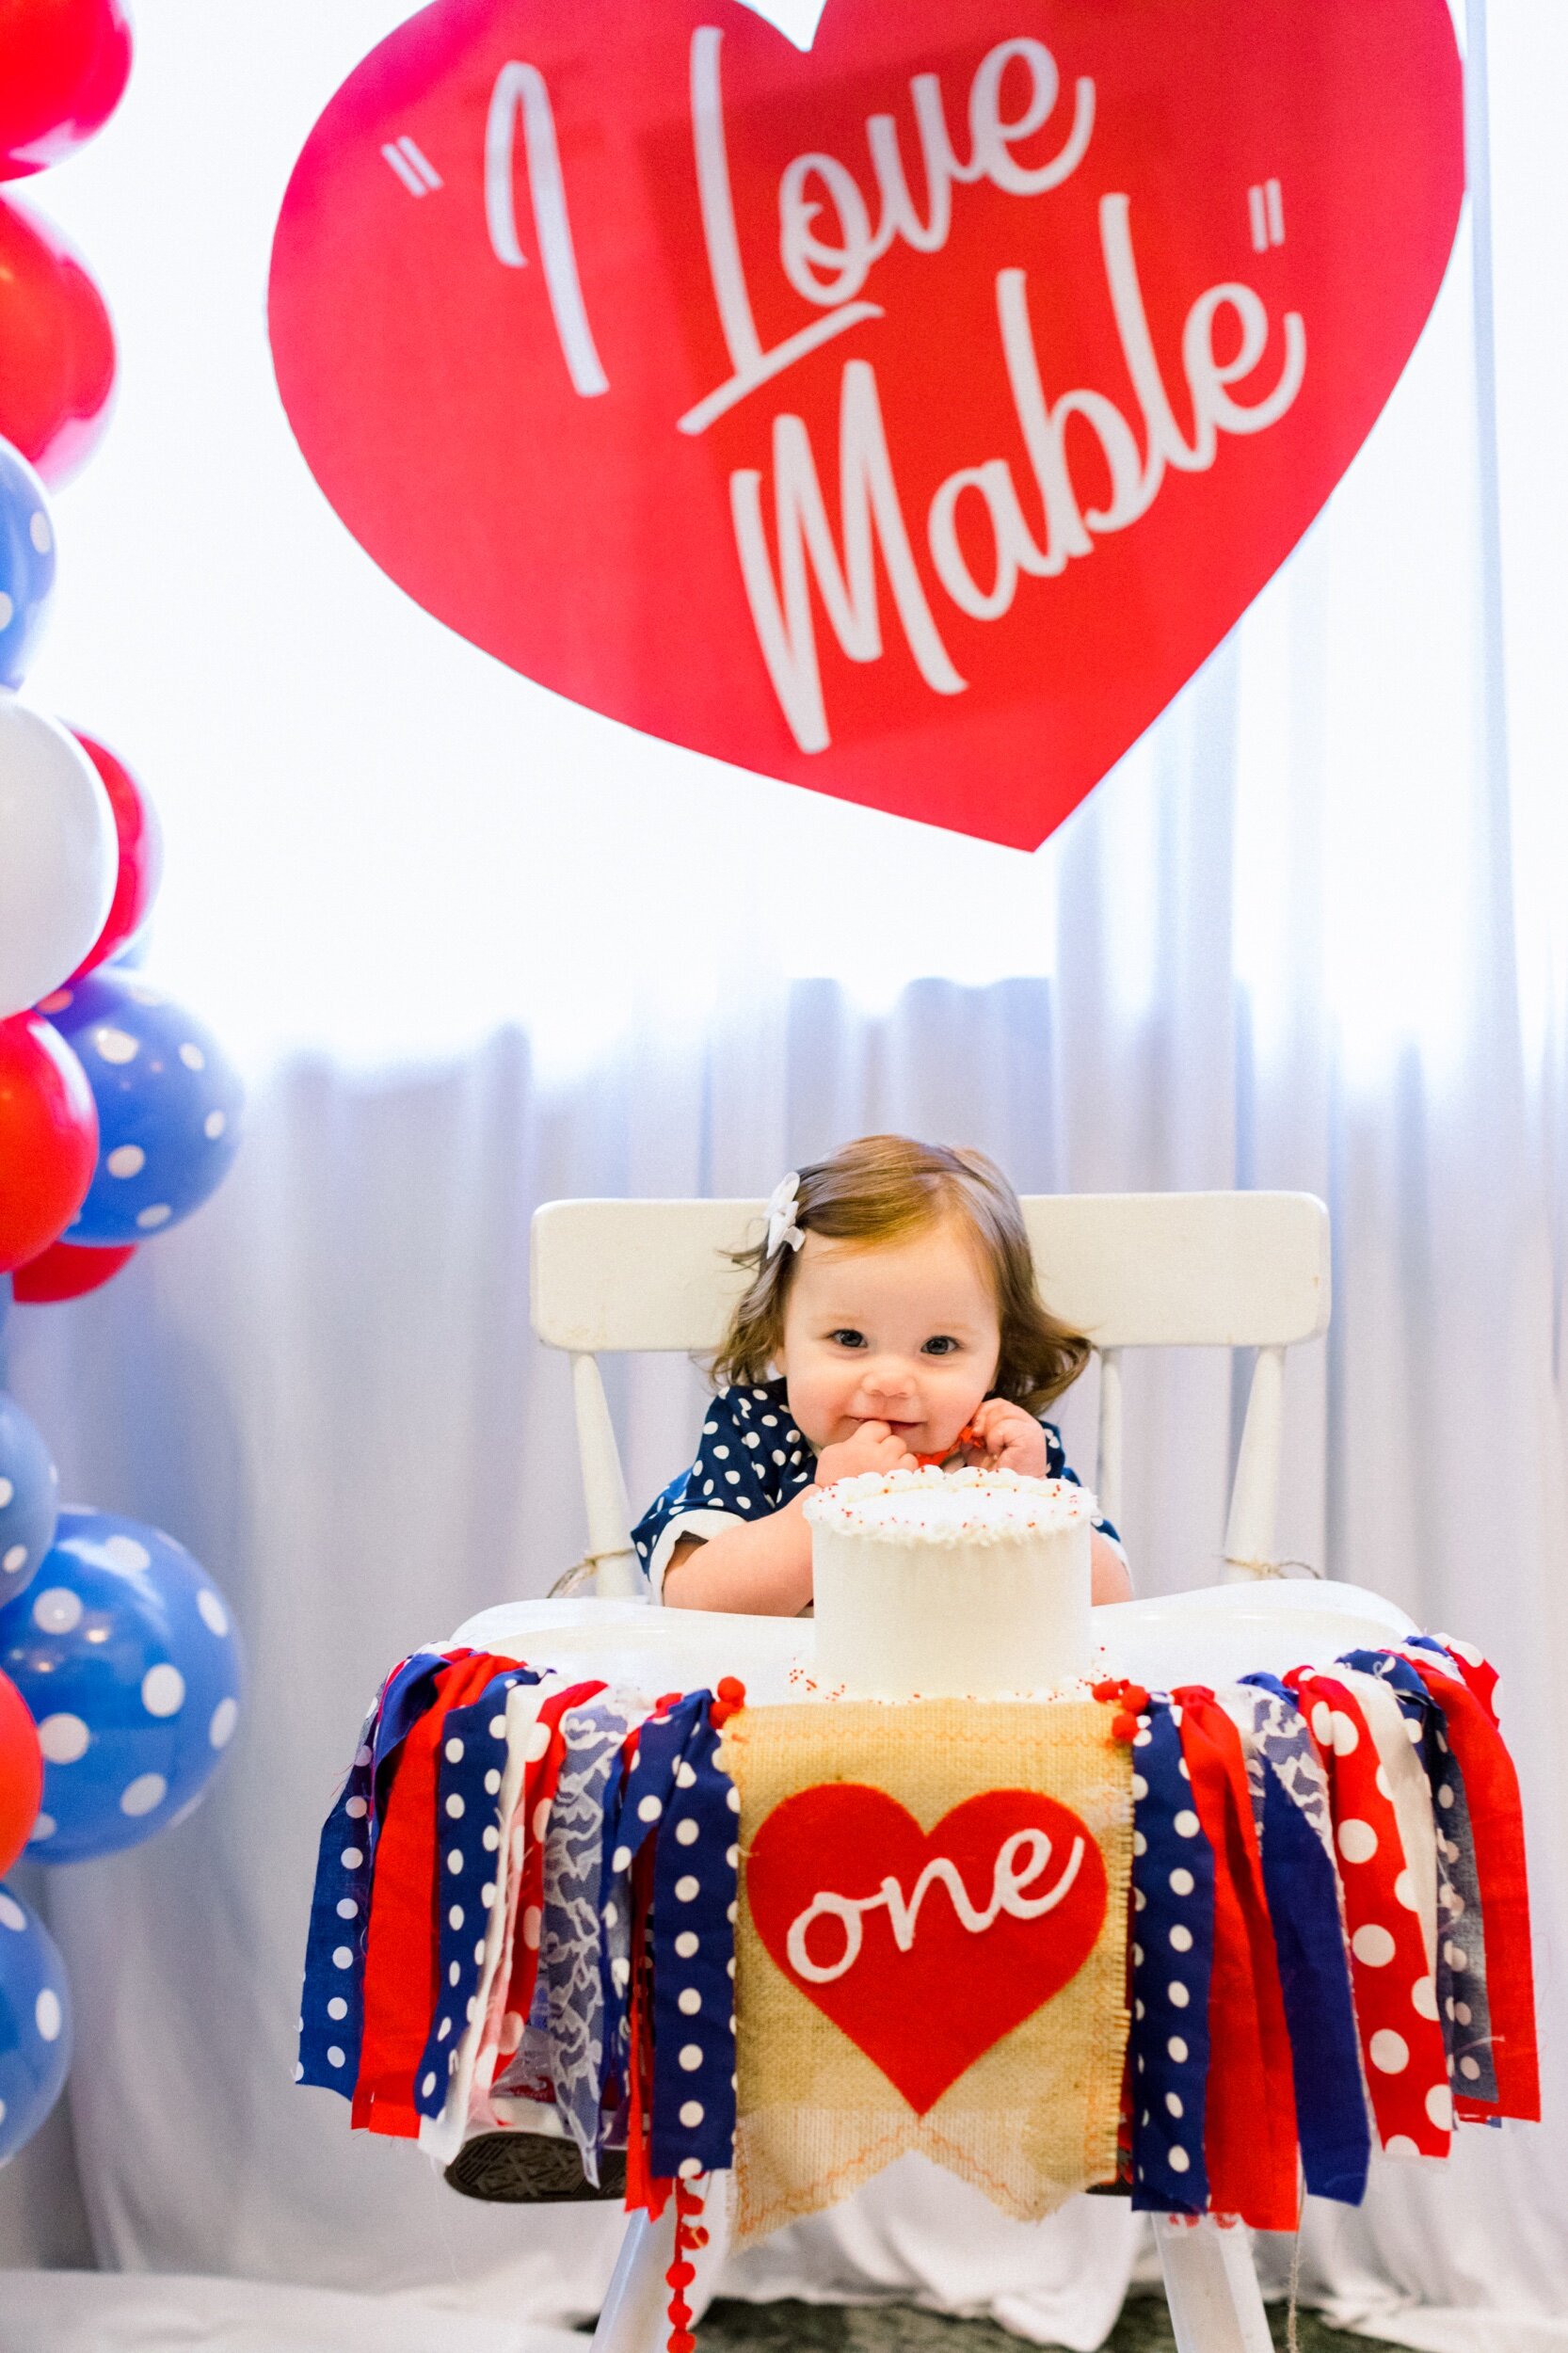
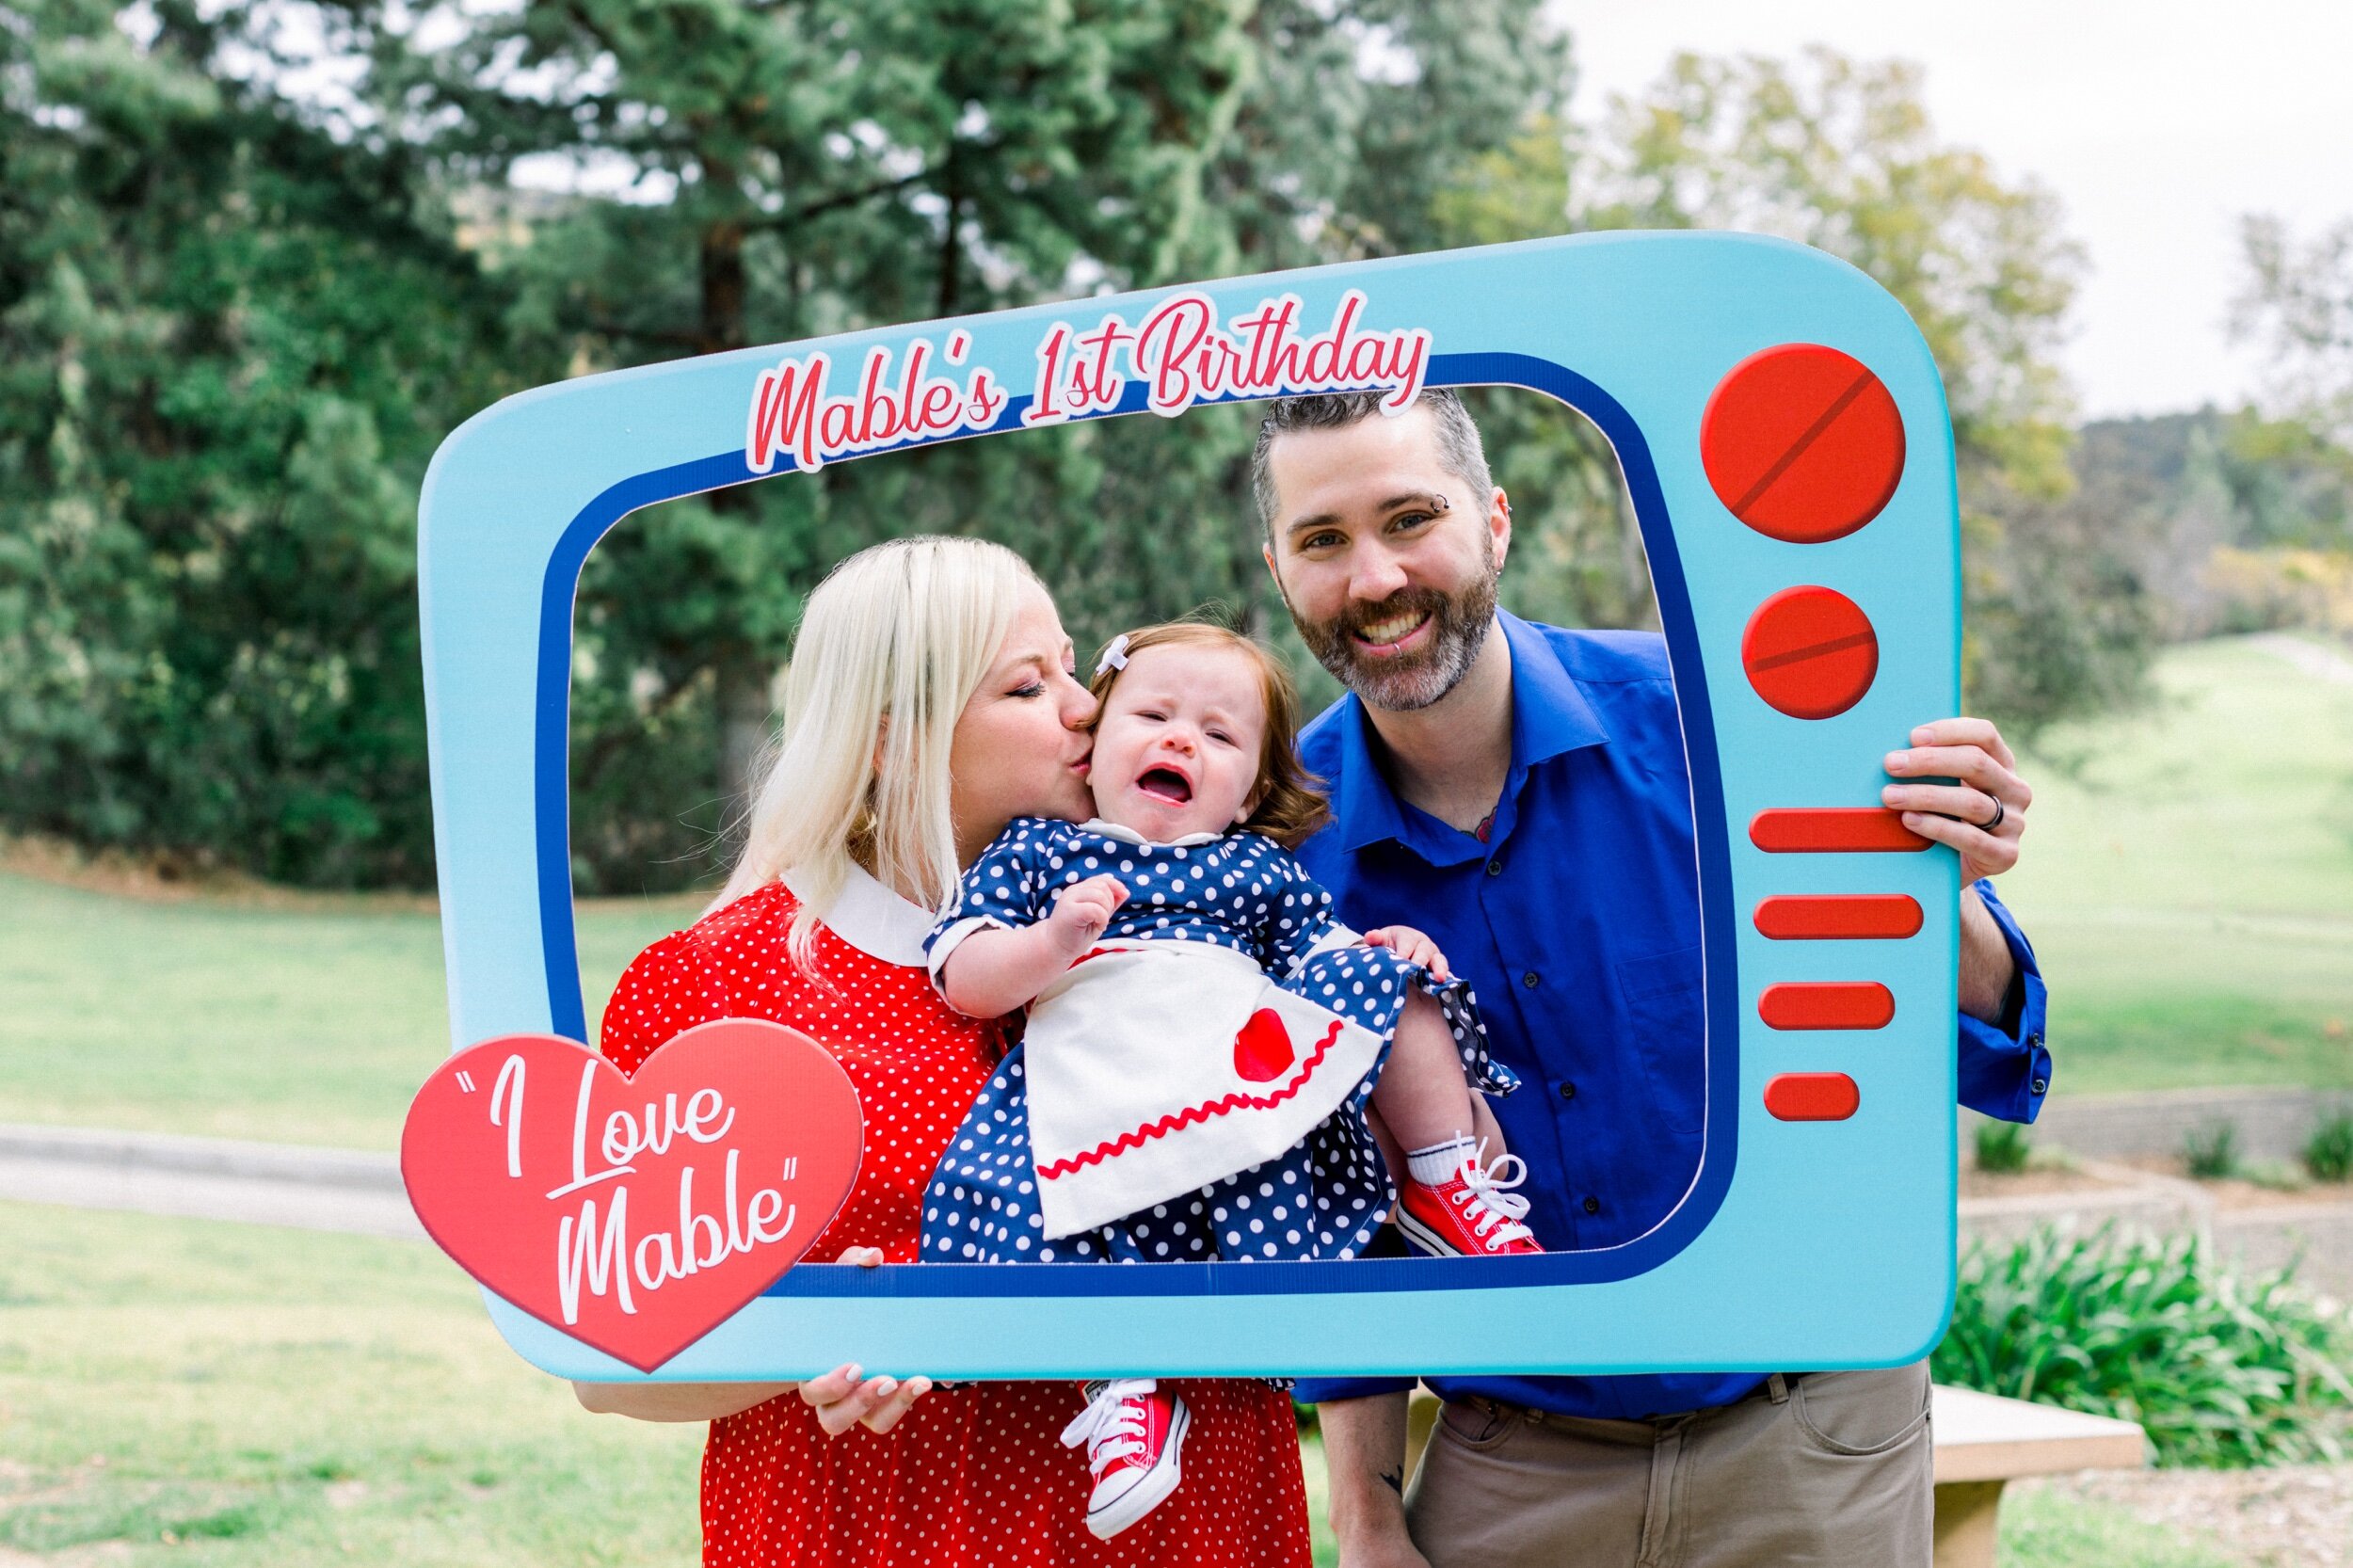
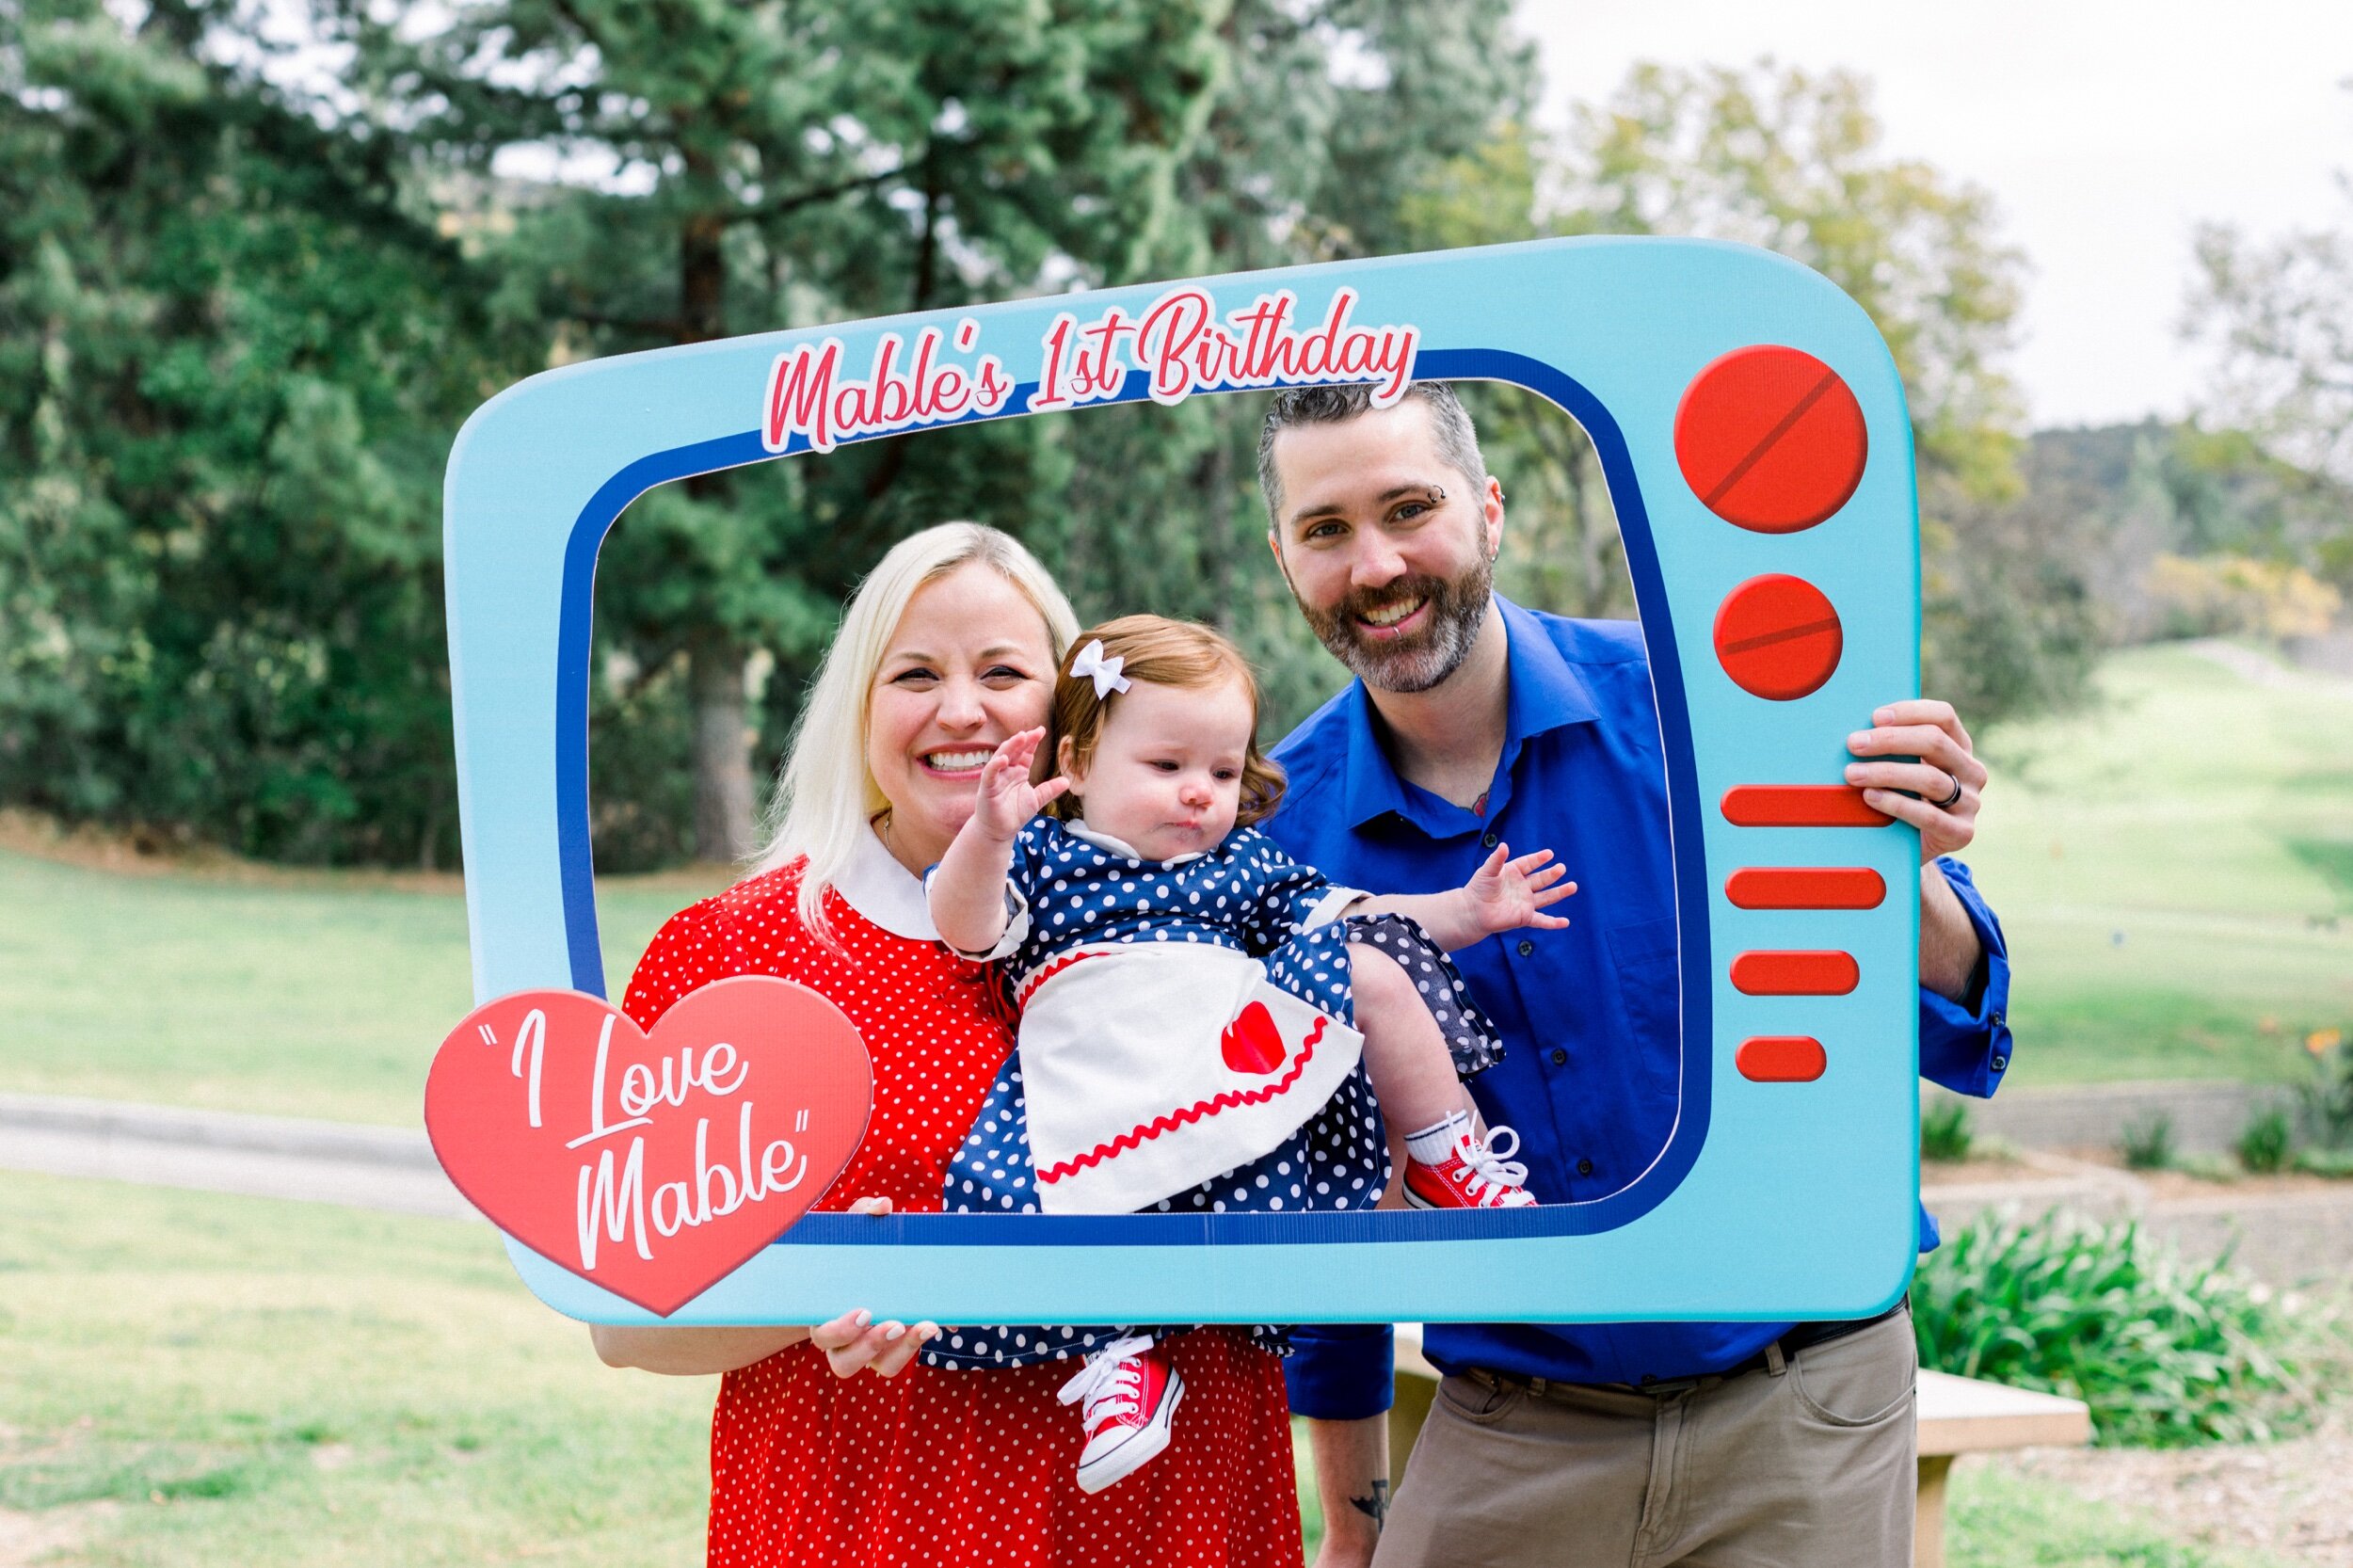
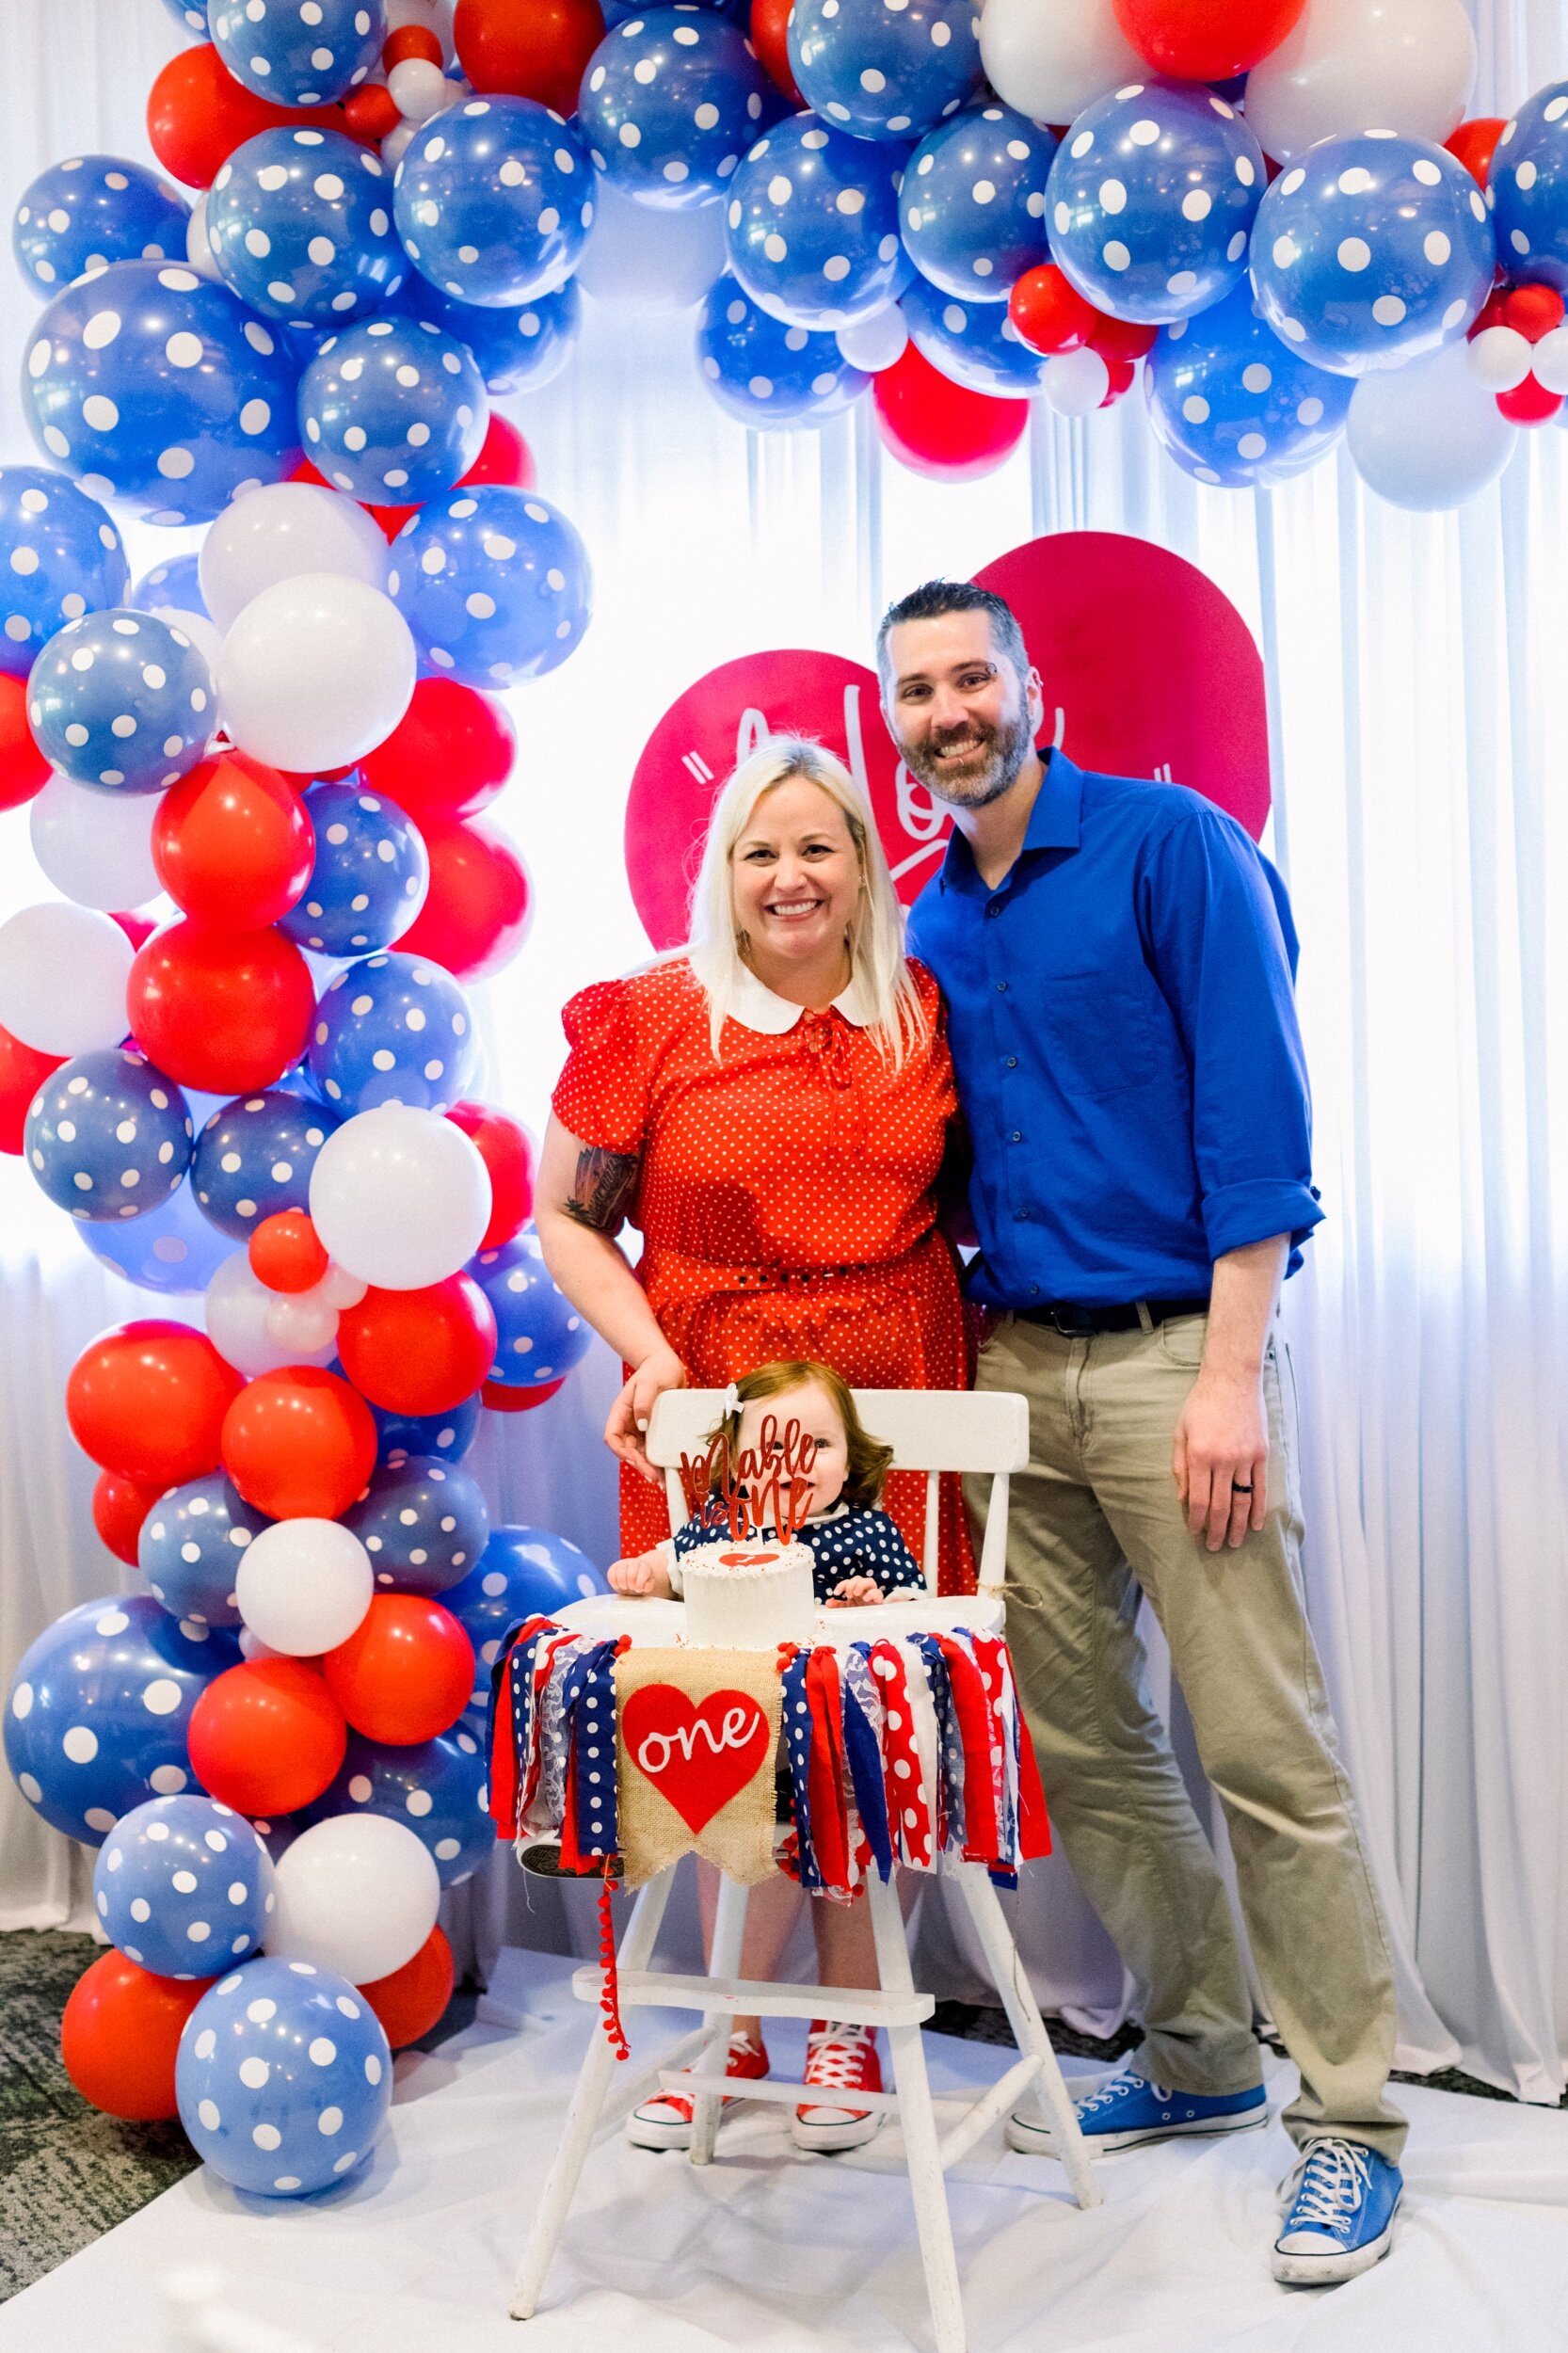
While you may be used to seeing I Love Lucy in black & white, this retro party was anything but boring! Bright and bold party details brought to life both the iconic red & white heart and the signature blue & white polka dot pattern (a nod to one of Lucy’s most famous dresses).

I Love Lucy Themed First Birthday on Hello Rascal Kids. Family lifestyle blog for parents and kids.

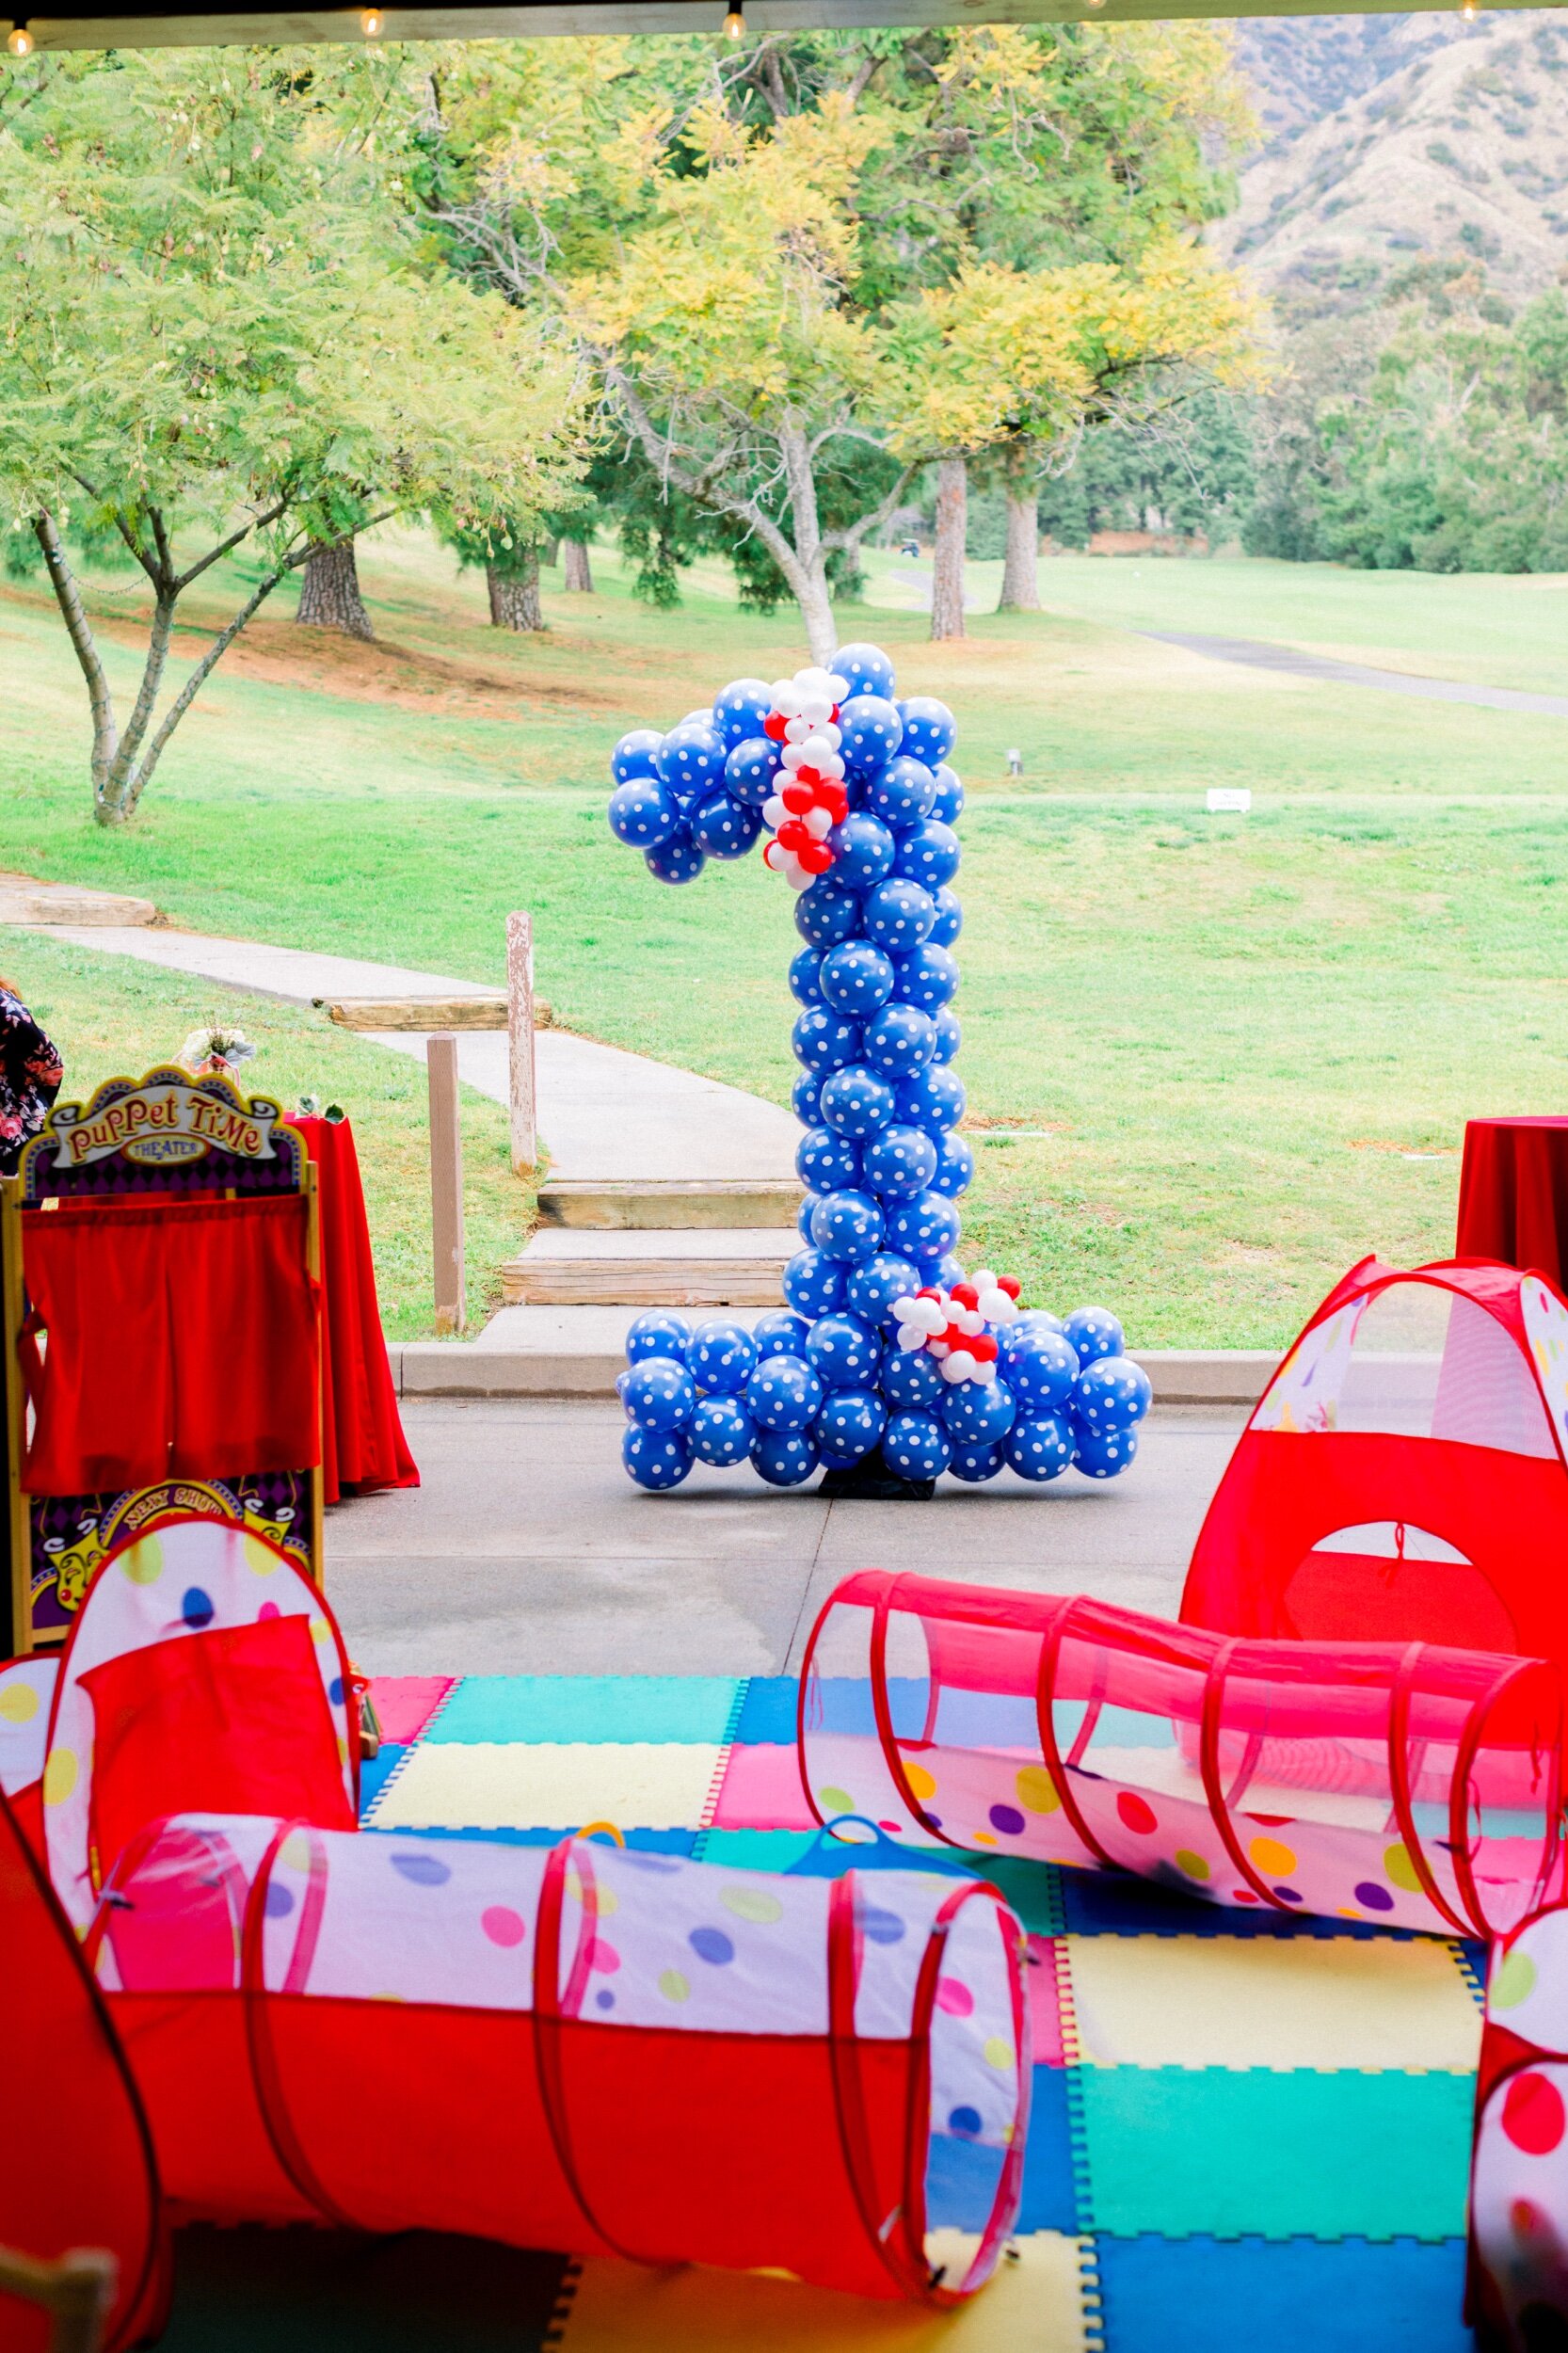
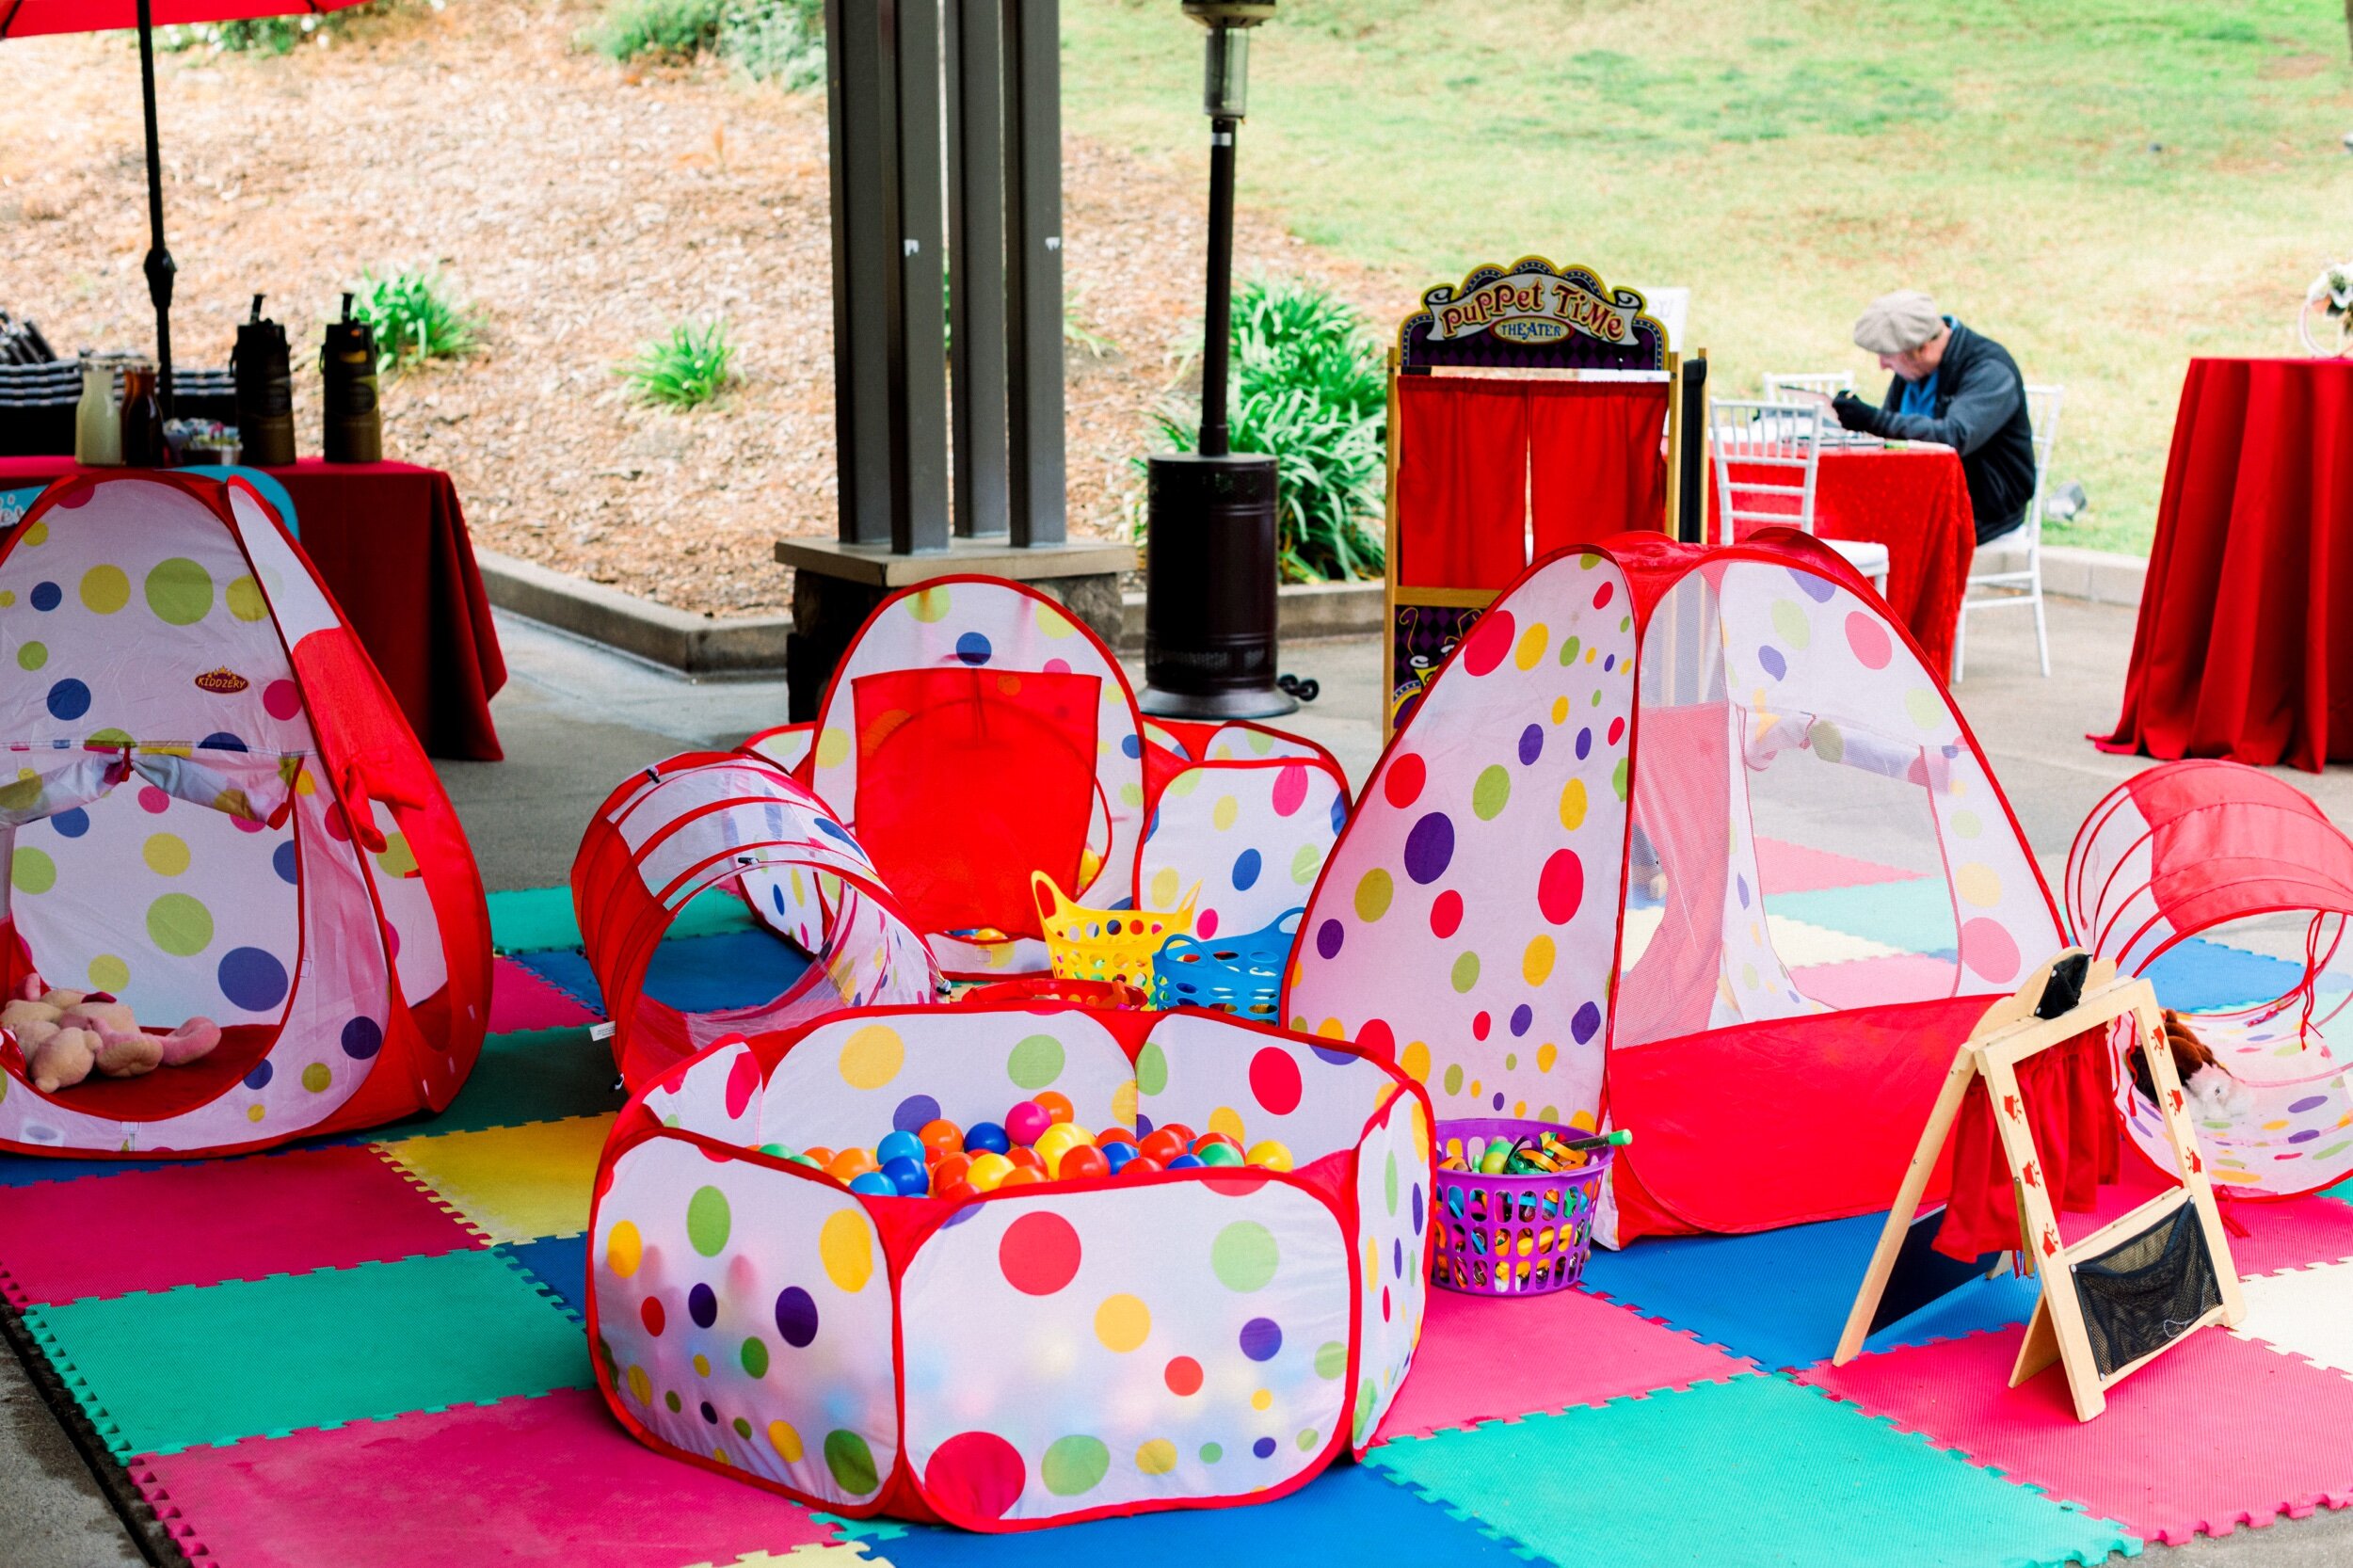
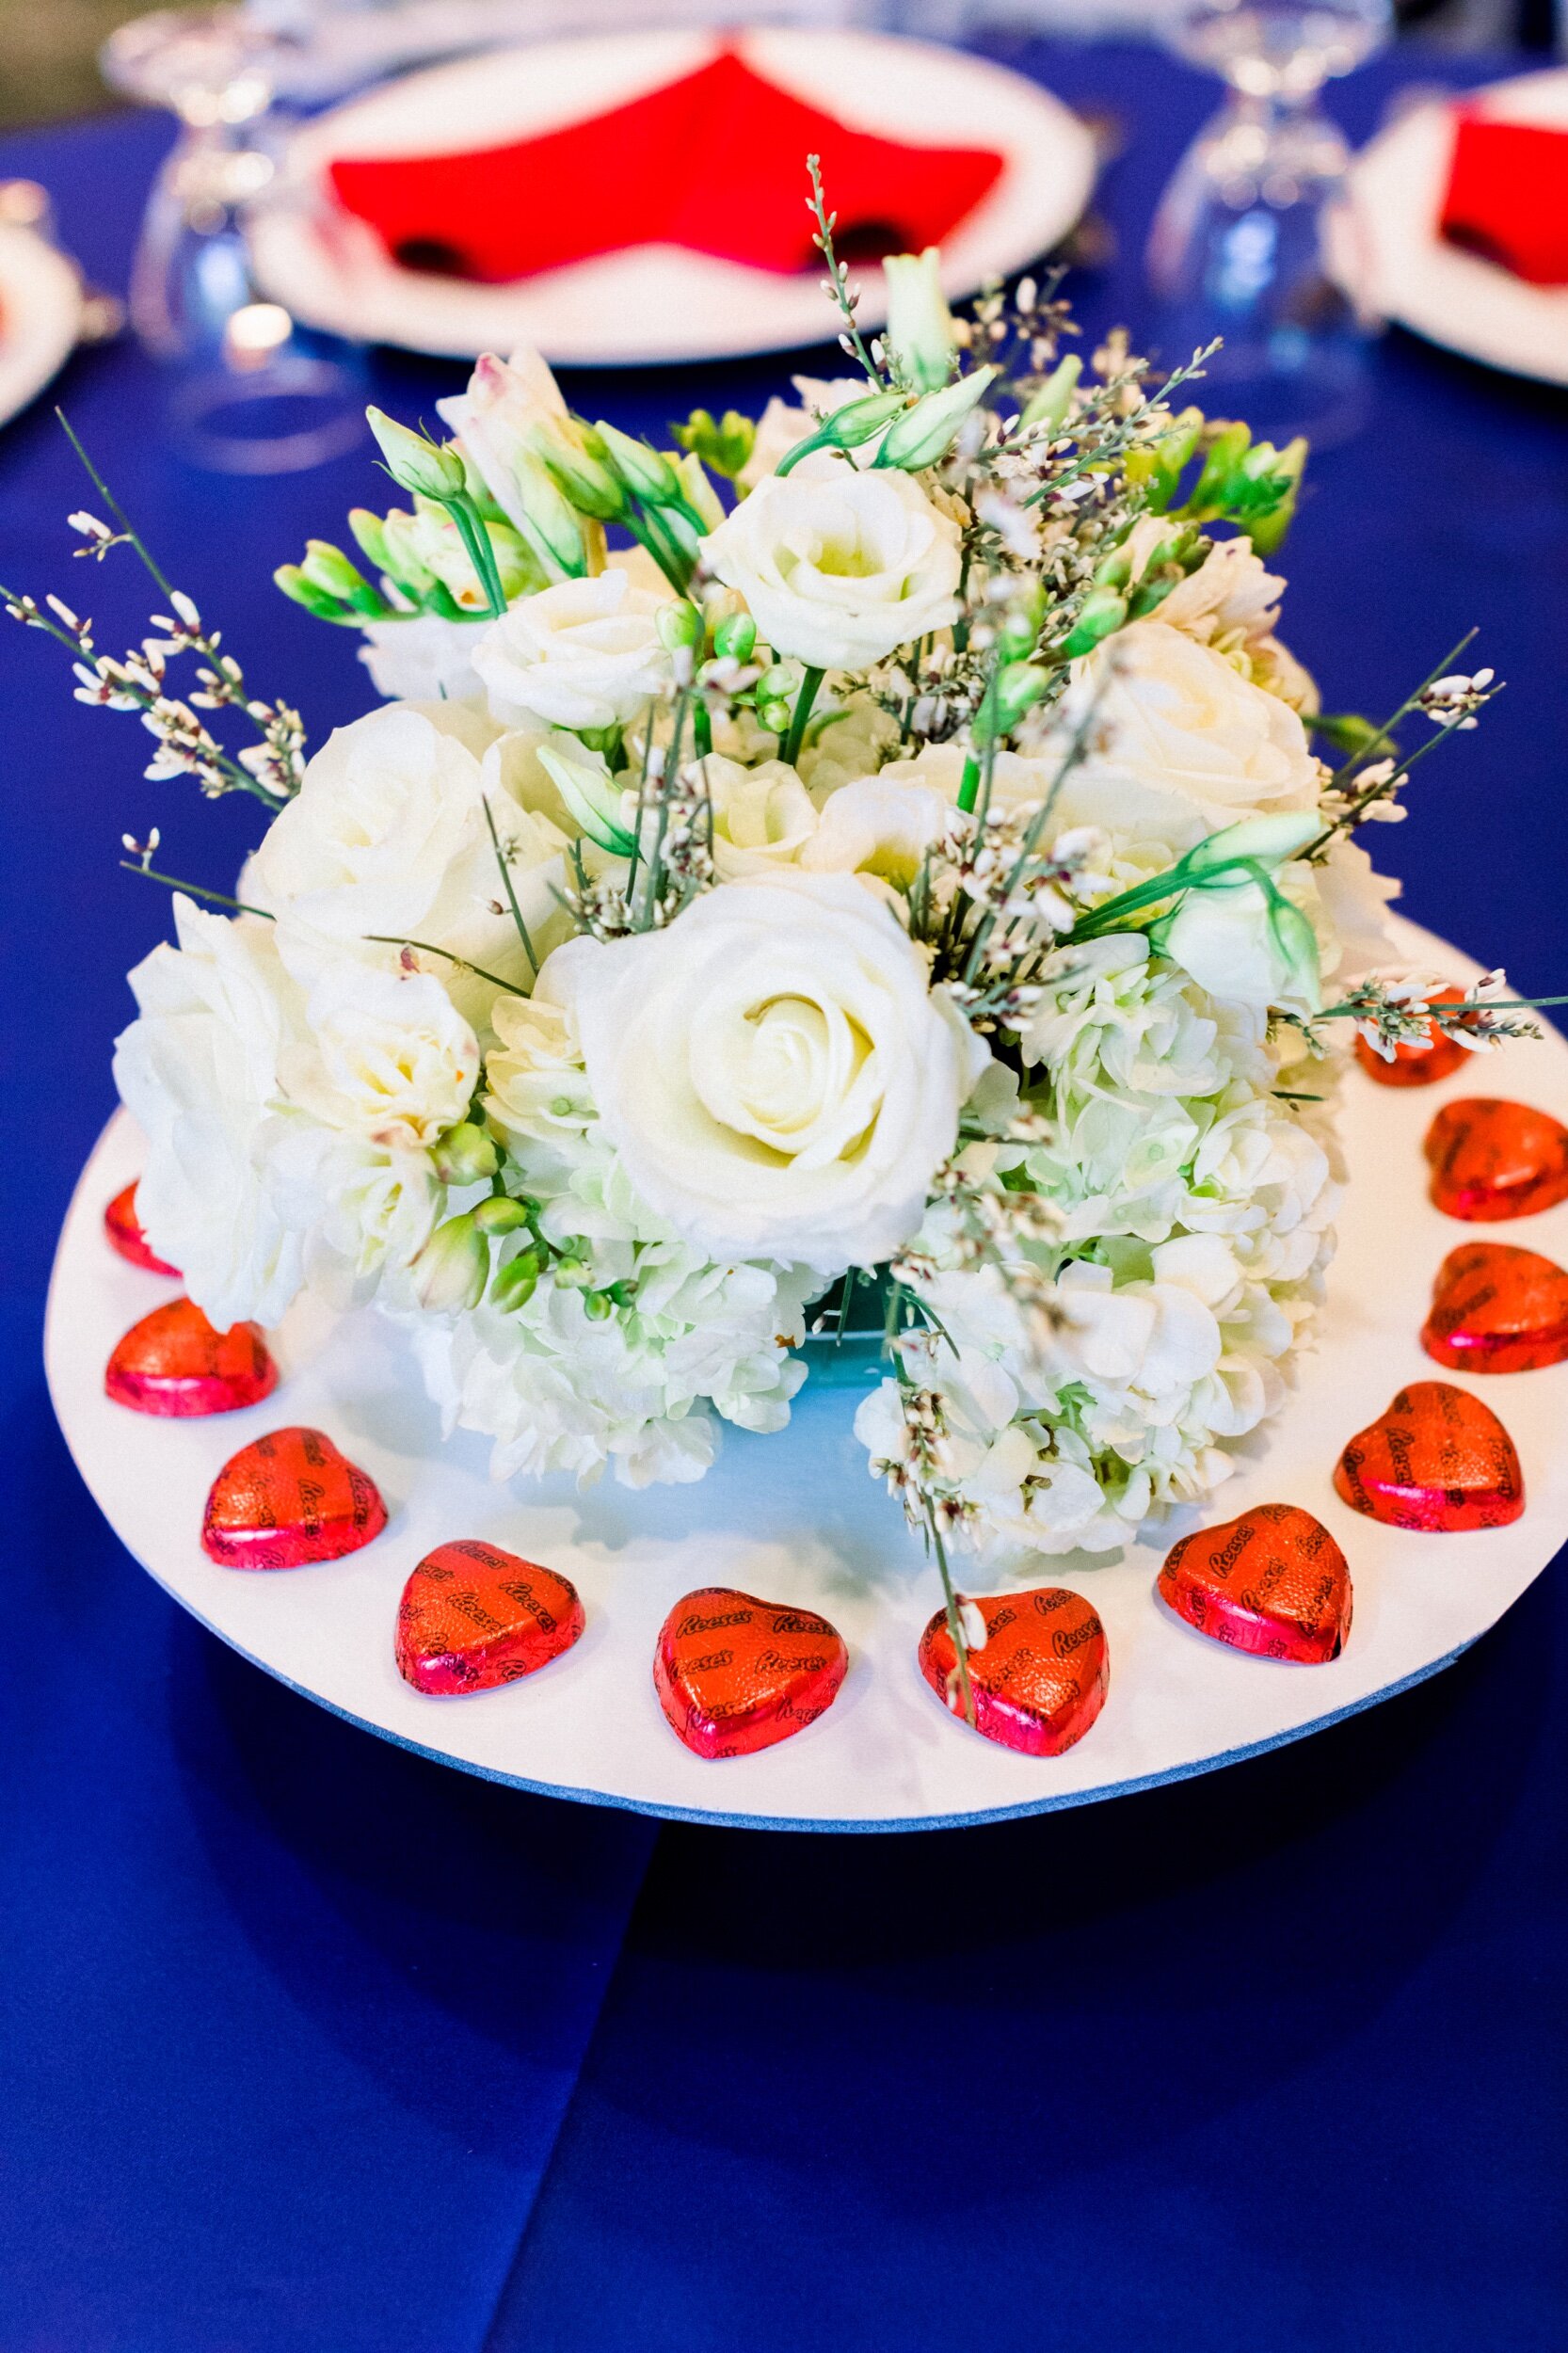
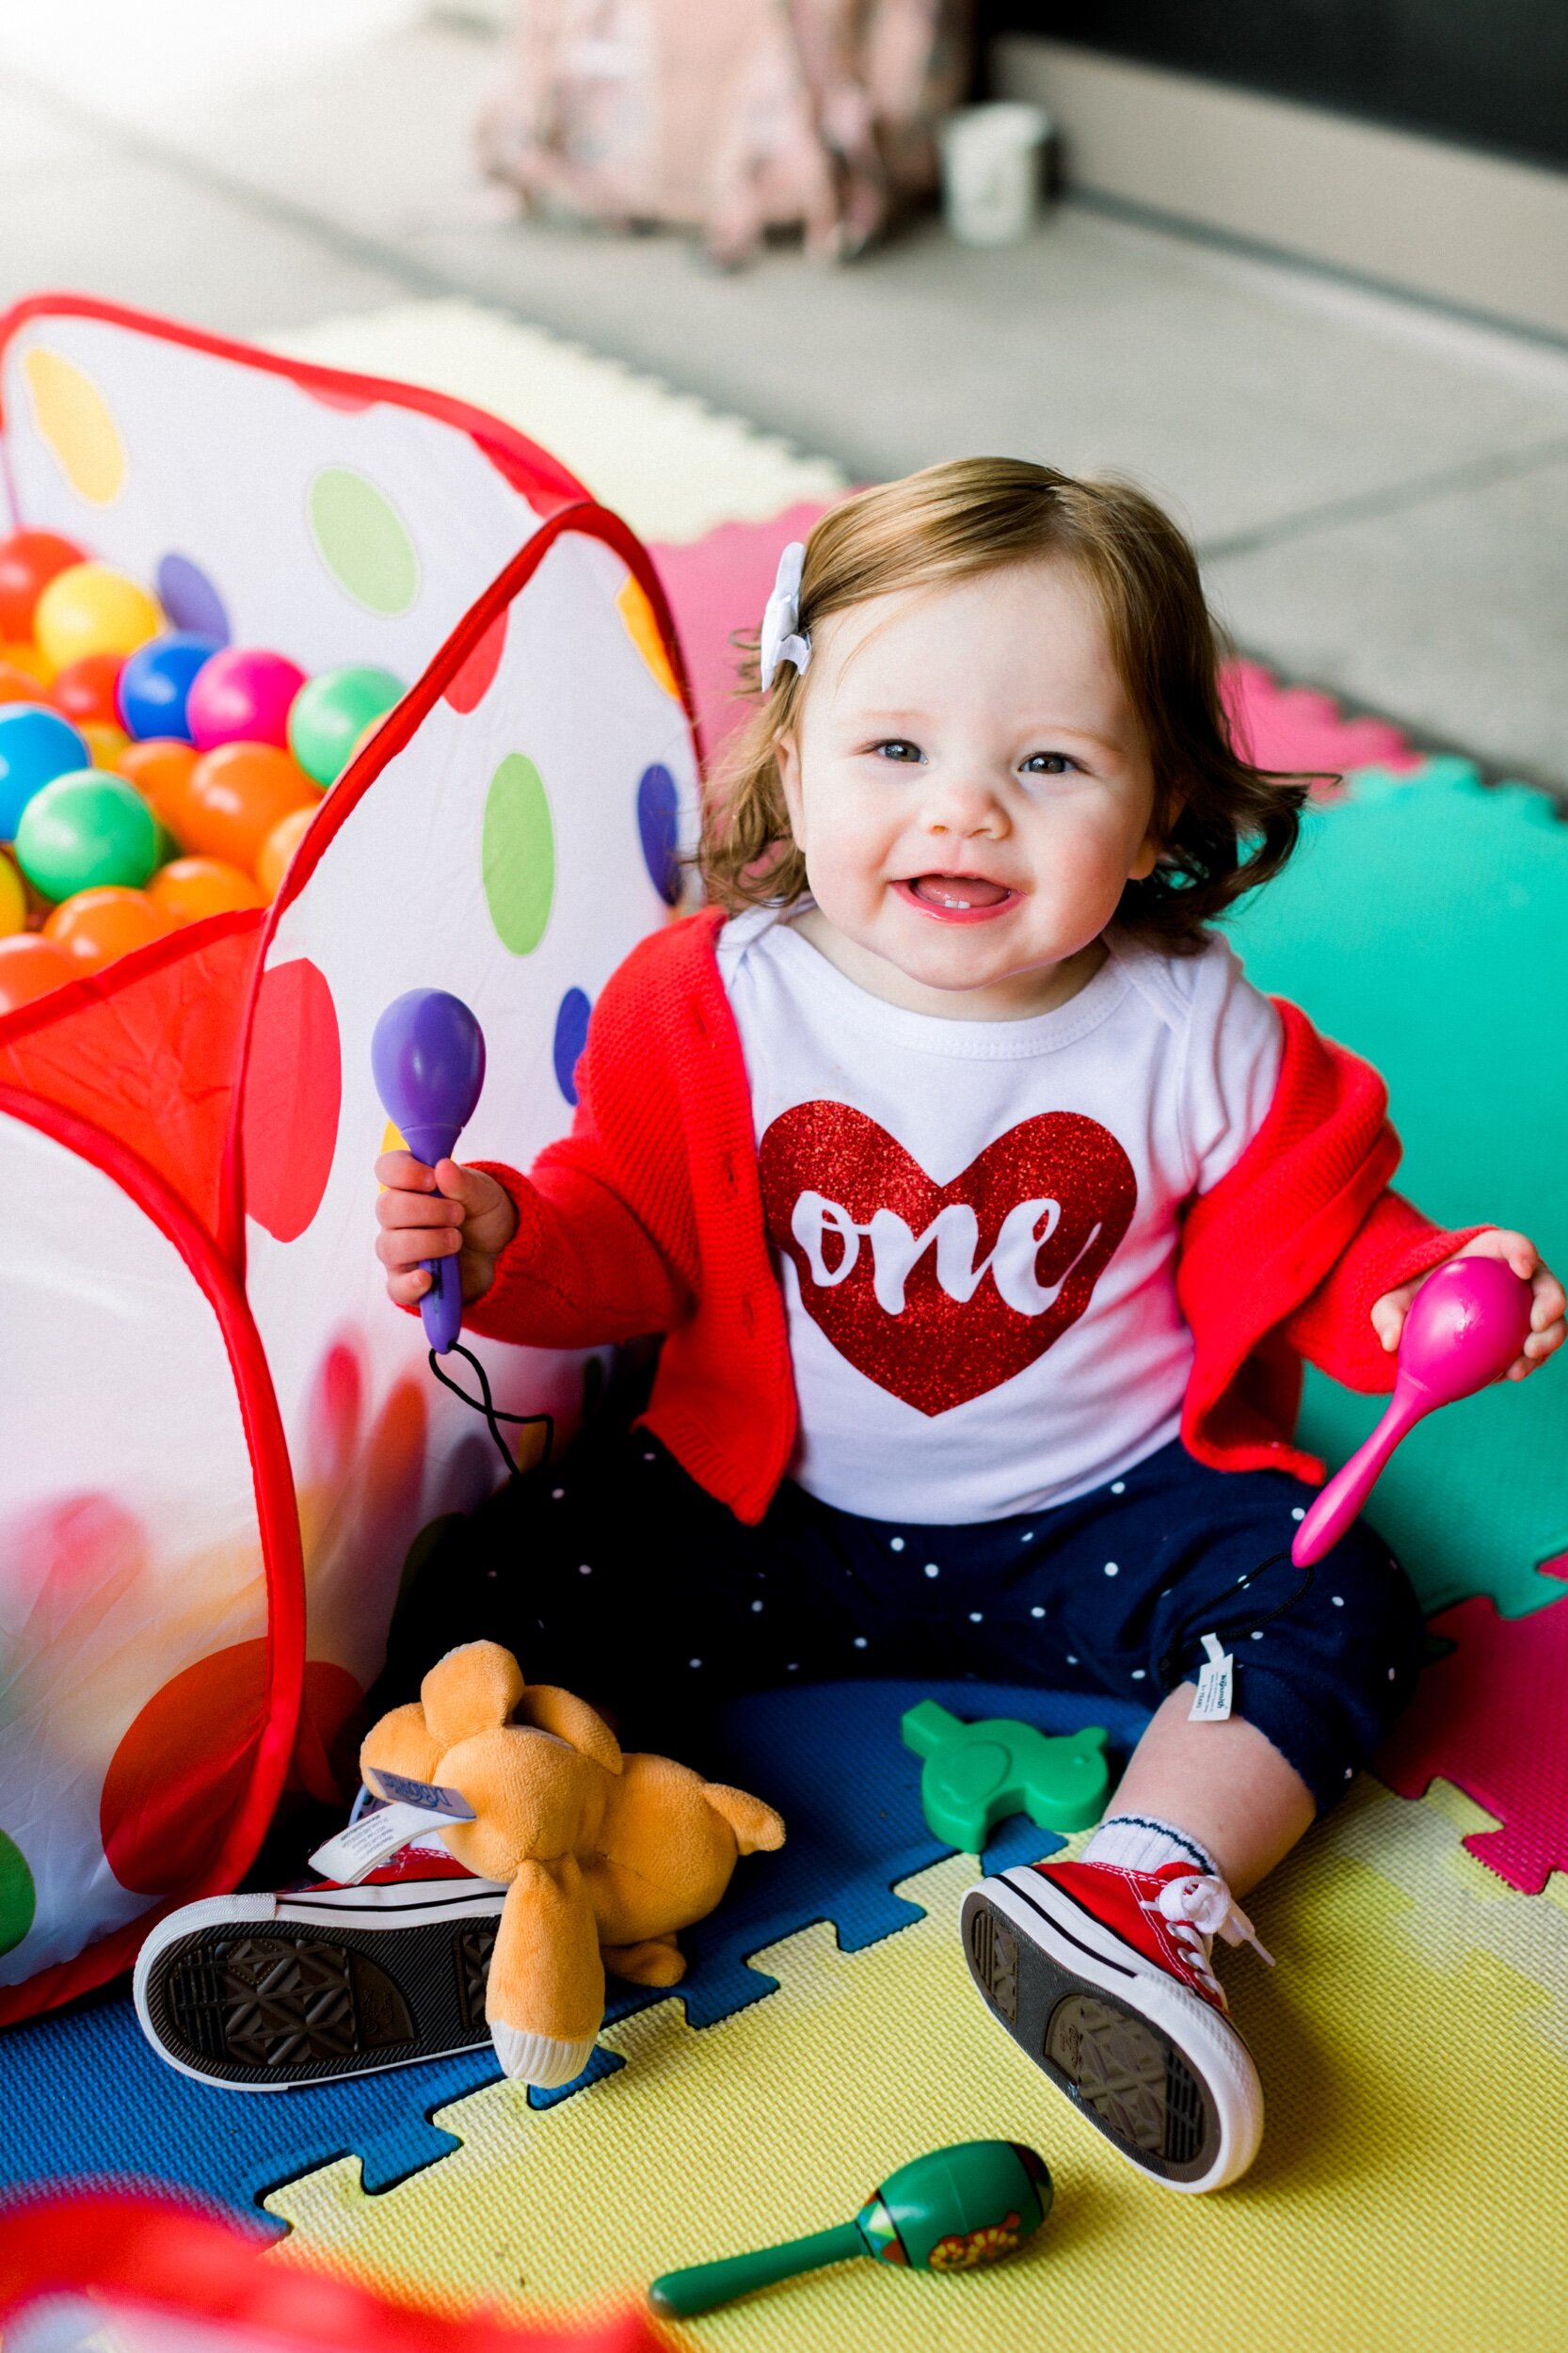
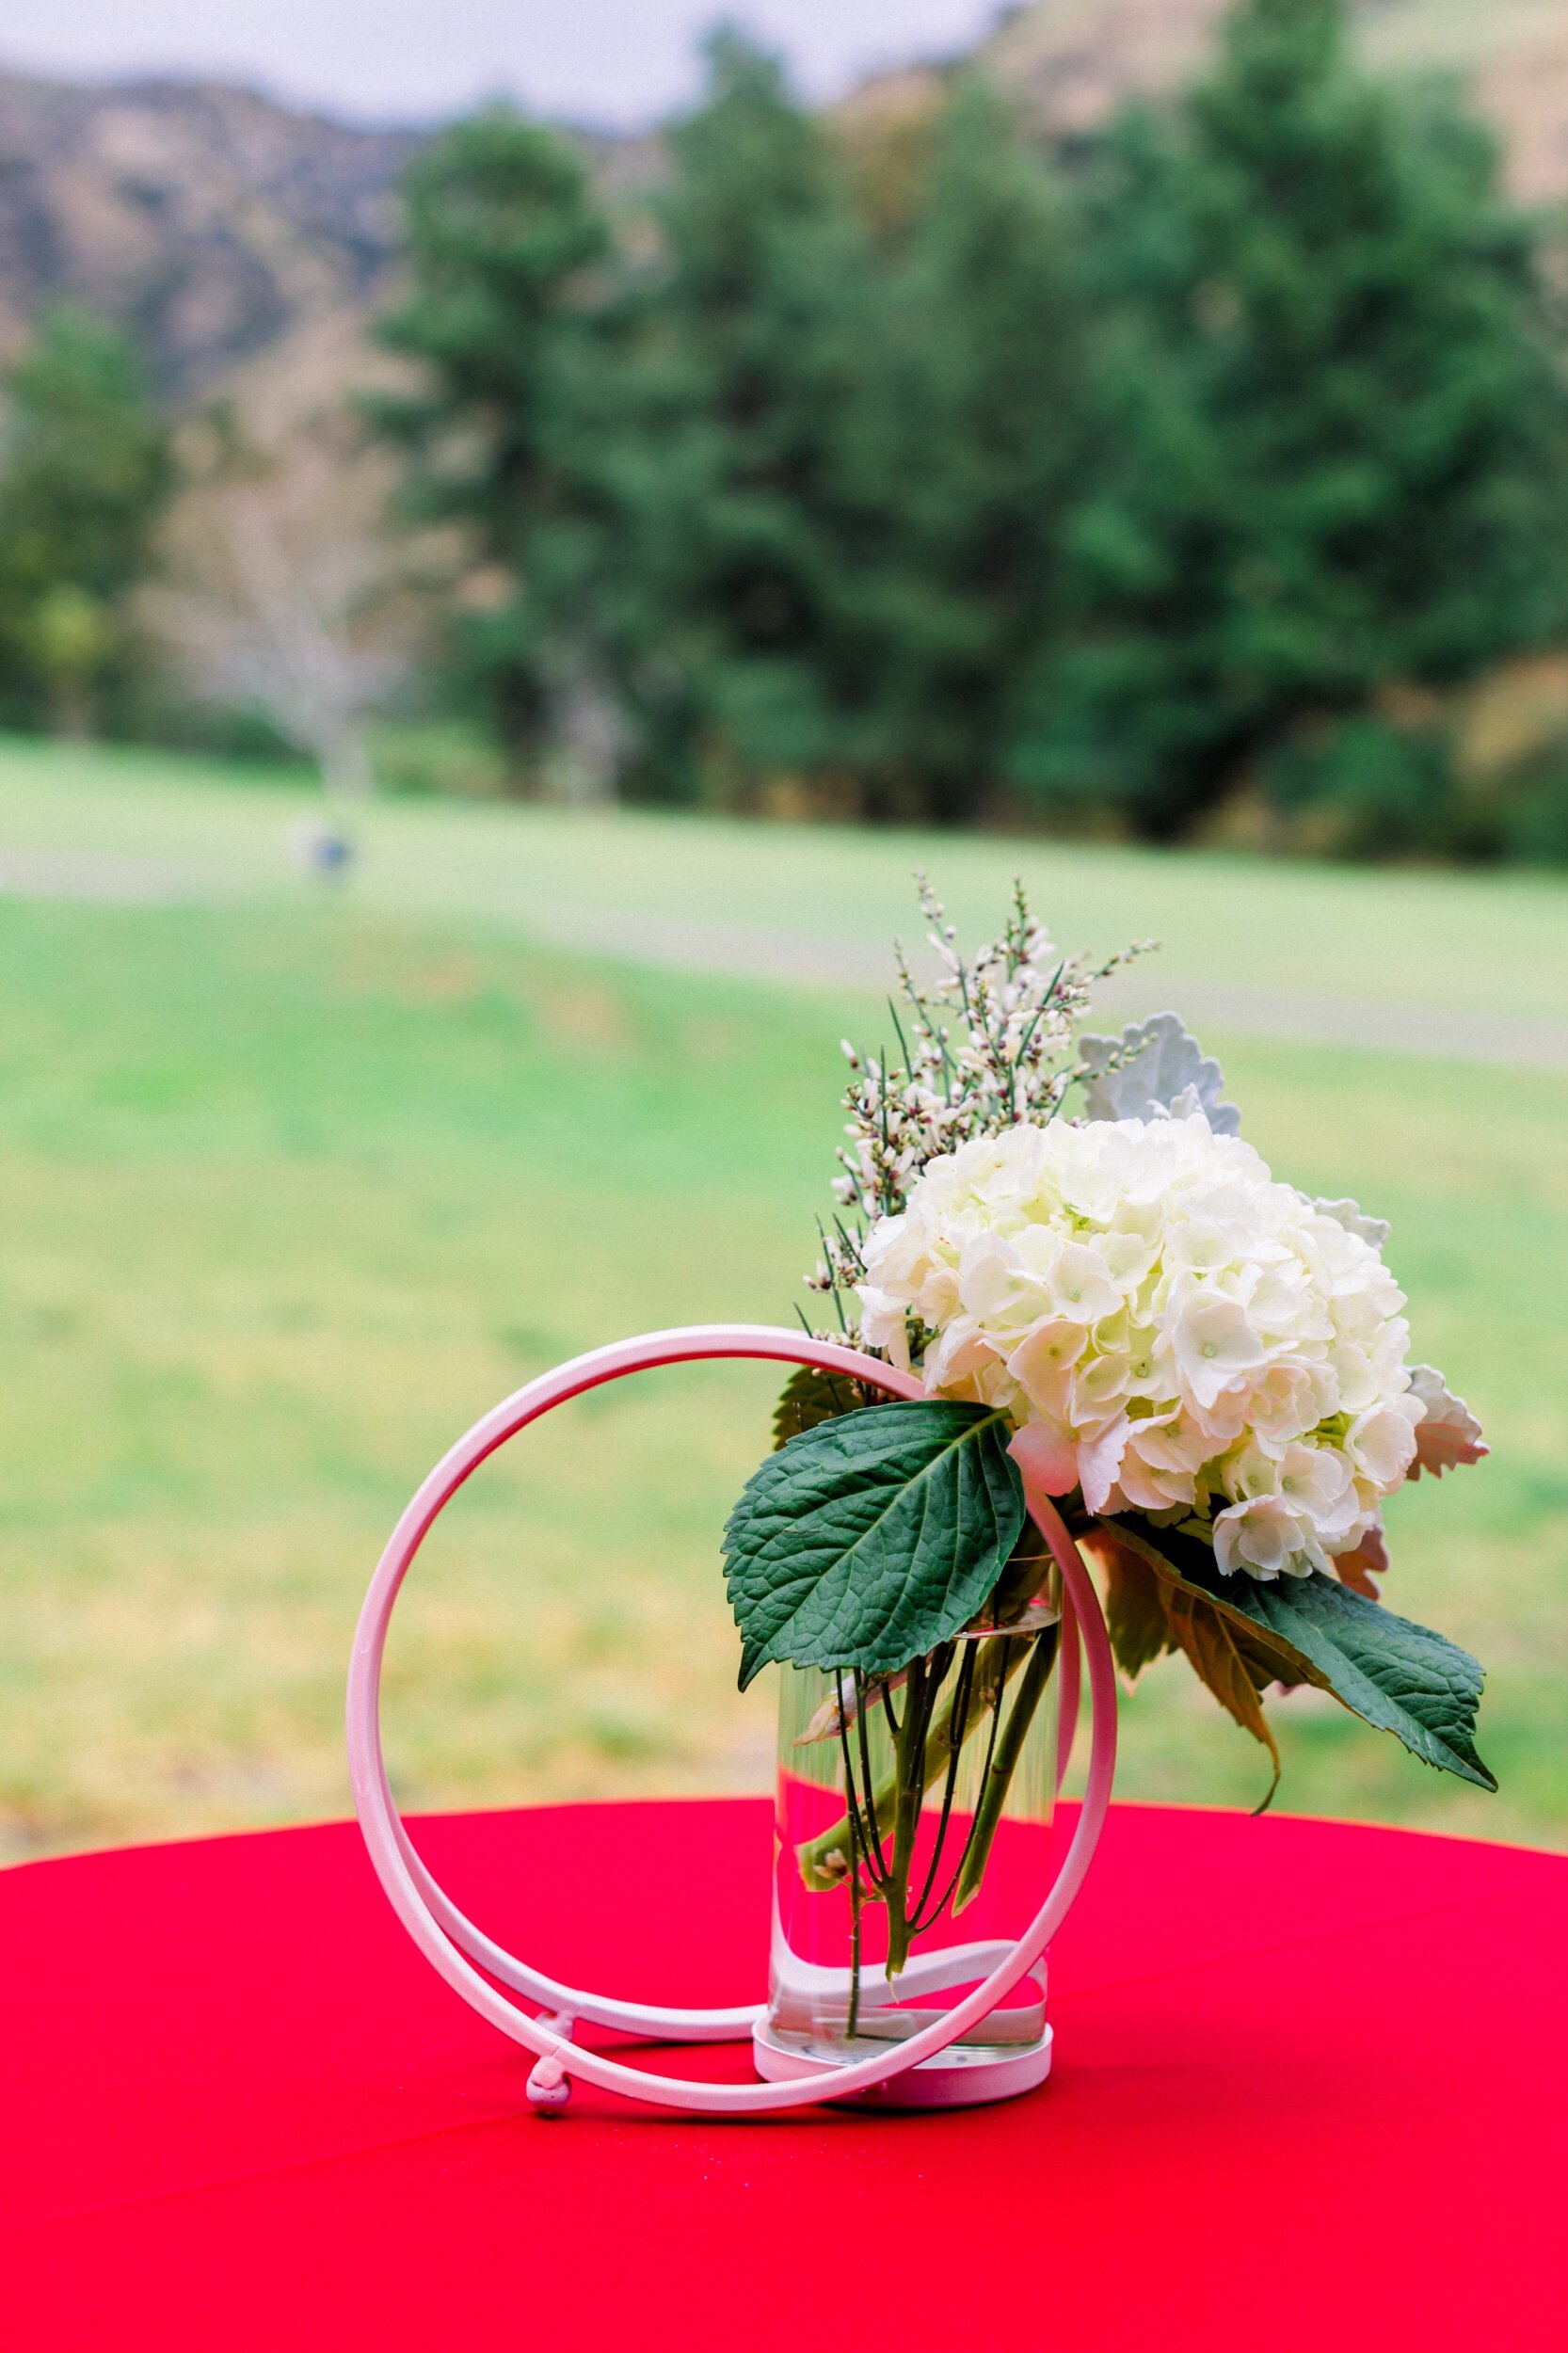
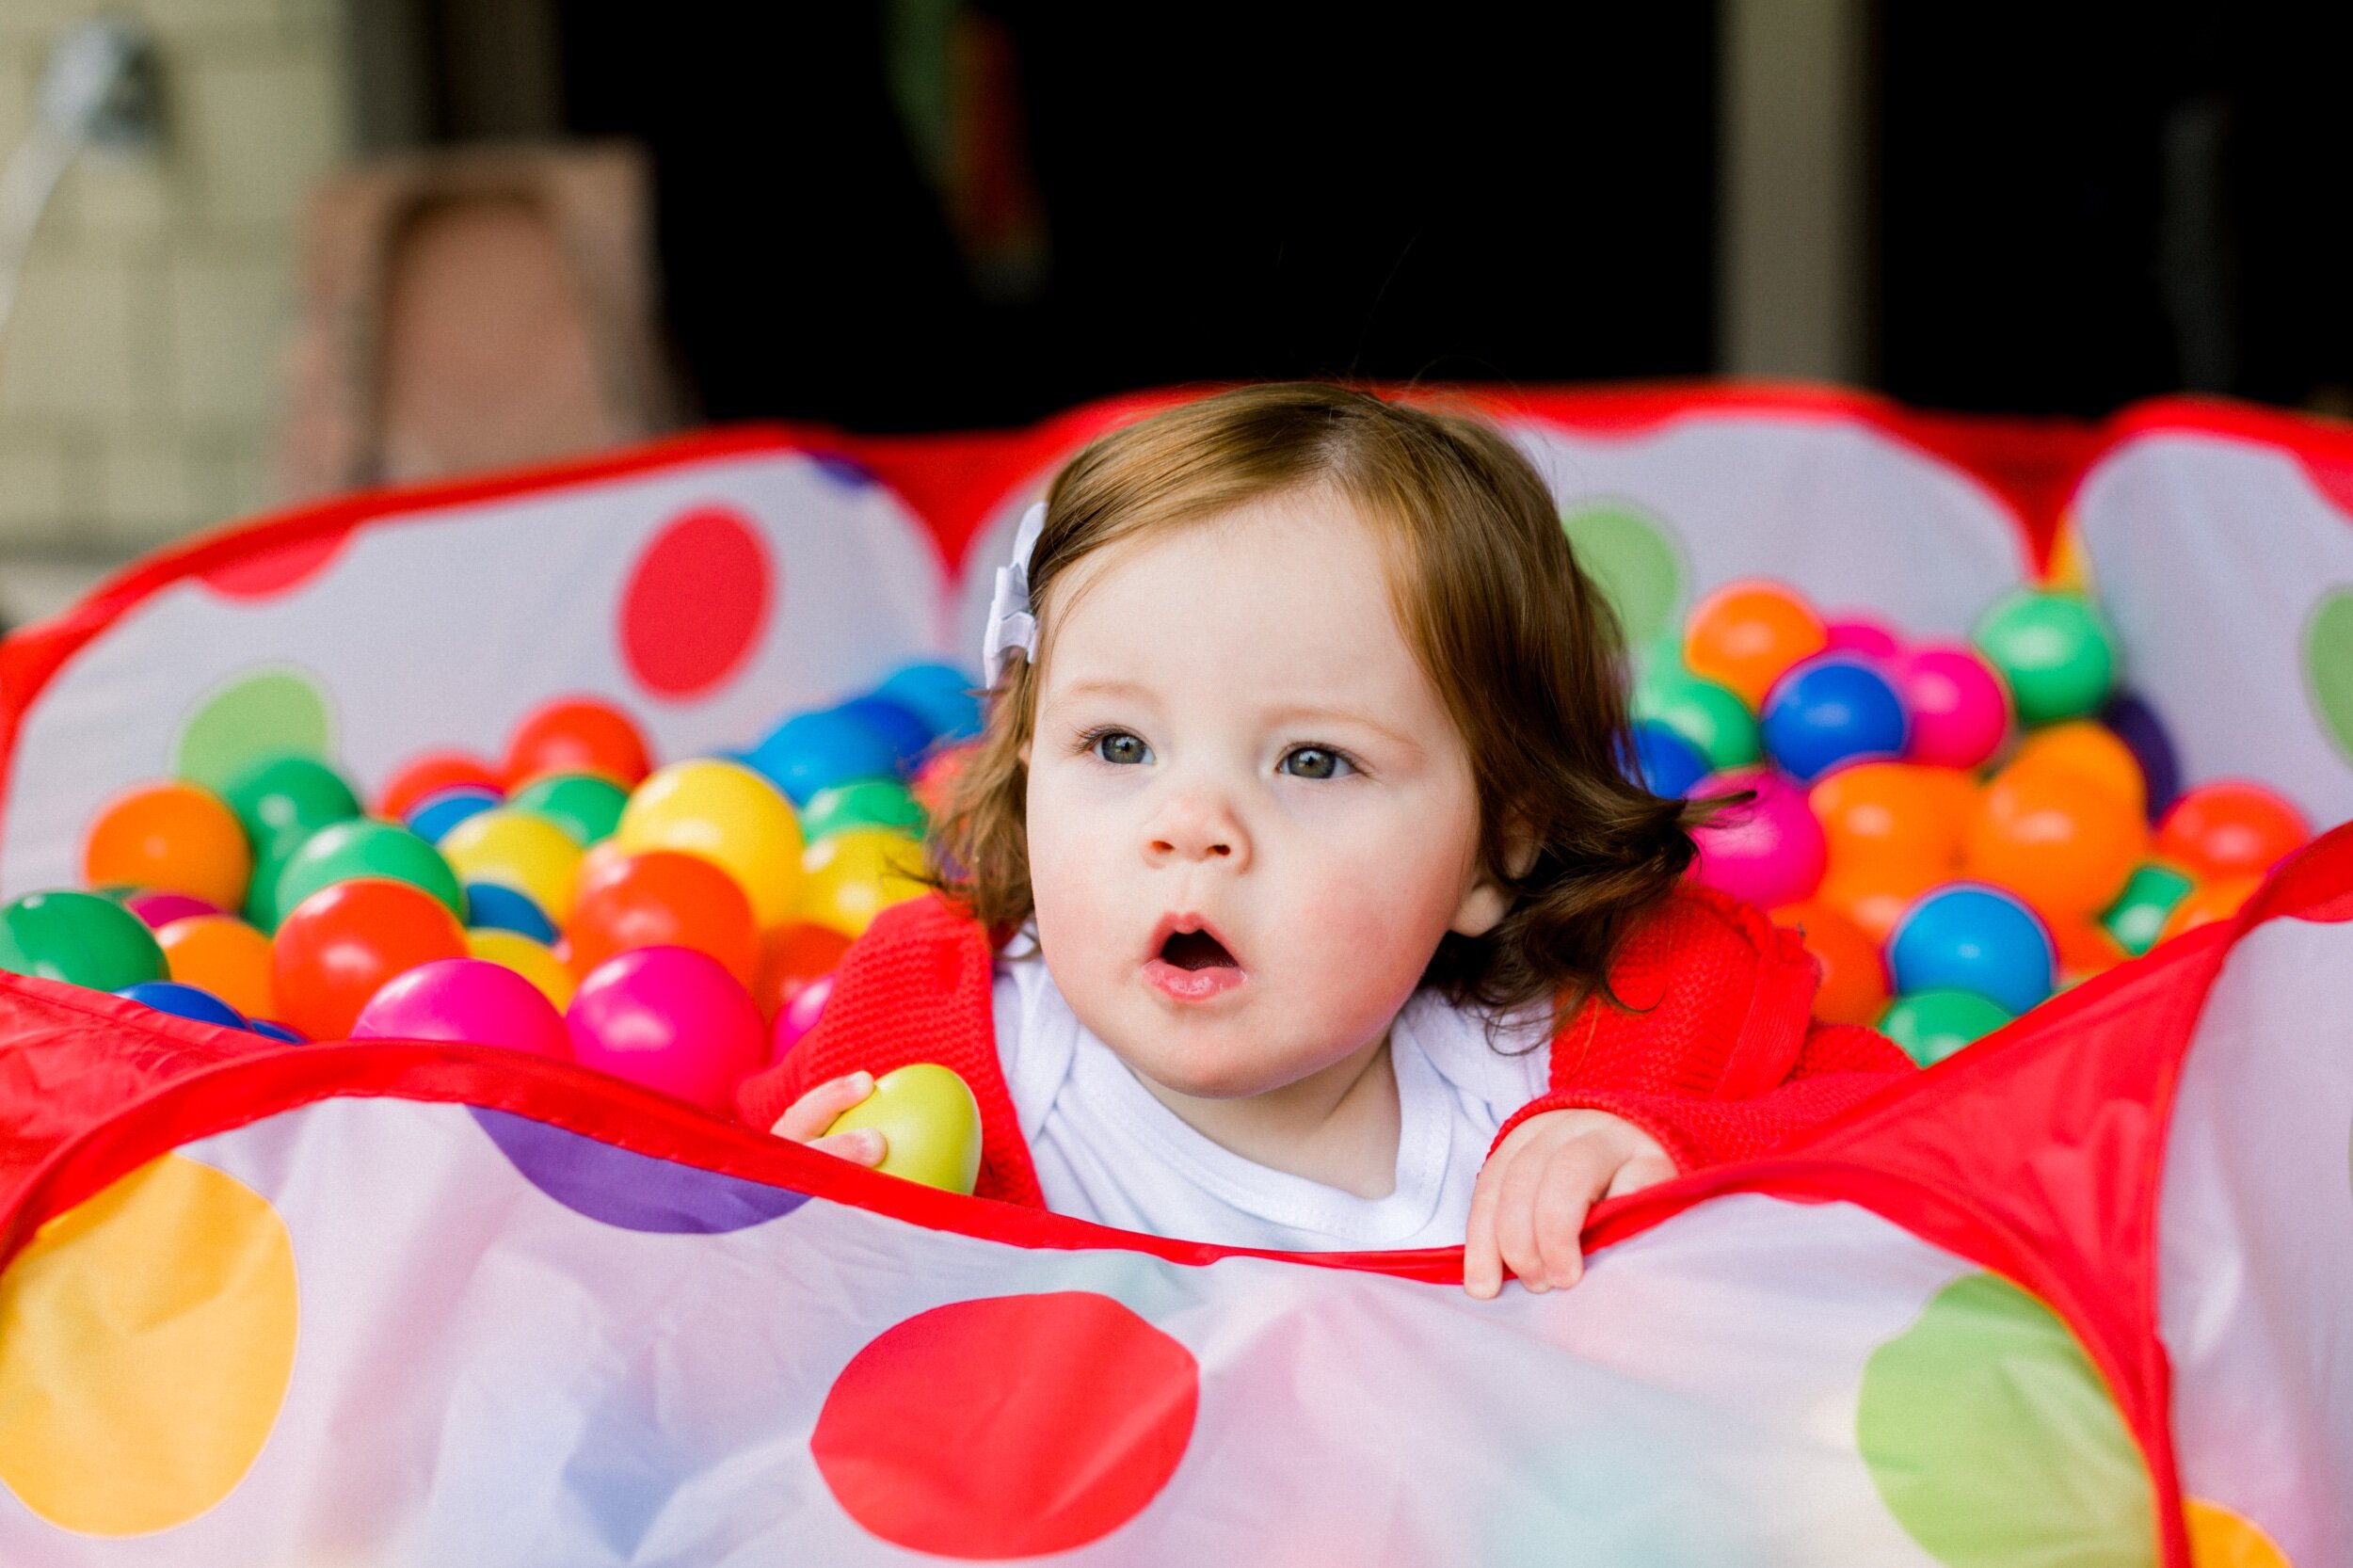
From the gorgeous balloon installations to the rotating centerpieces adorned with chocolate candy, every detail tied together in this indoor/outdoor affair. A children’s colorful play area gave little ones a safe place to make new friends with ball pits, tunnels, puppet theaters, bubble wands, and musical instruments all available for an afternoon of imagination.

I Love Lucy Themed First Birthday on Hello Rascal Kids. Family lifestyle blog for parents and kids.

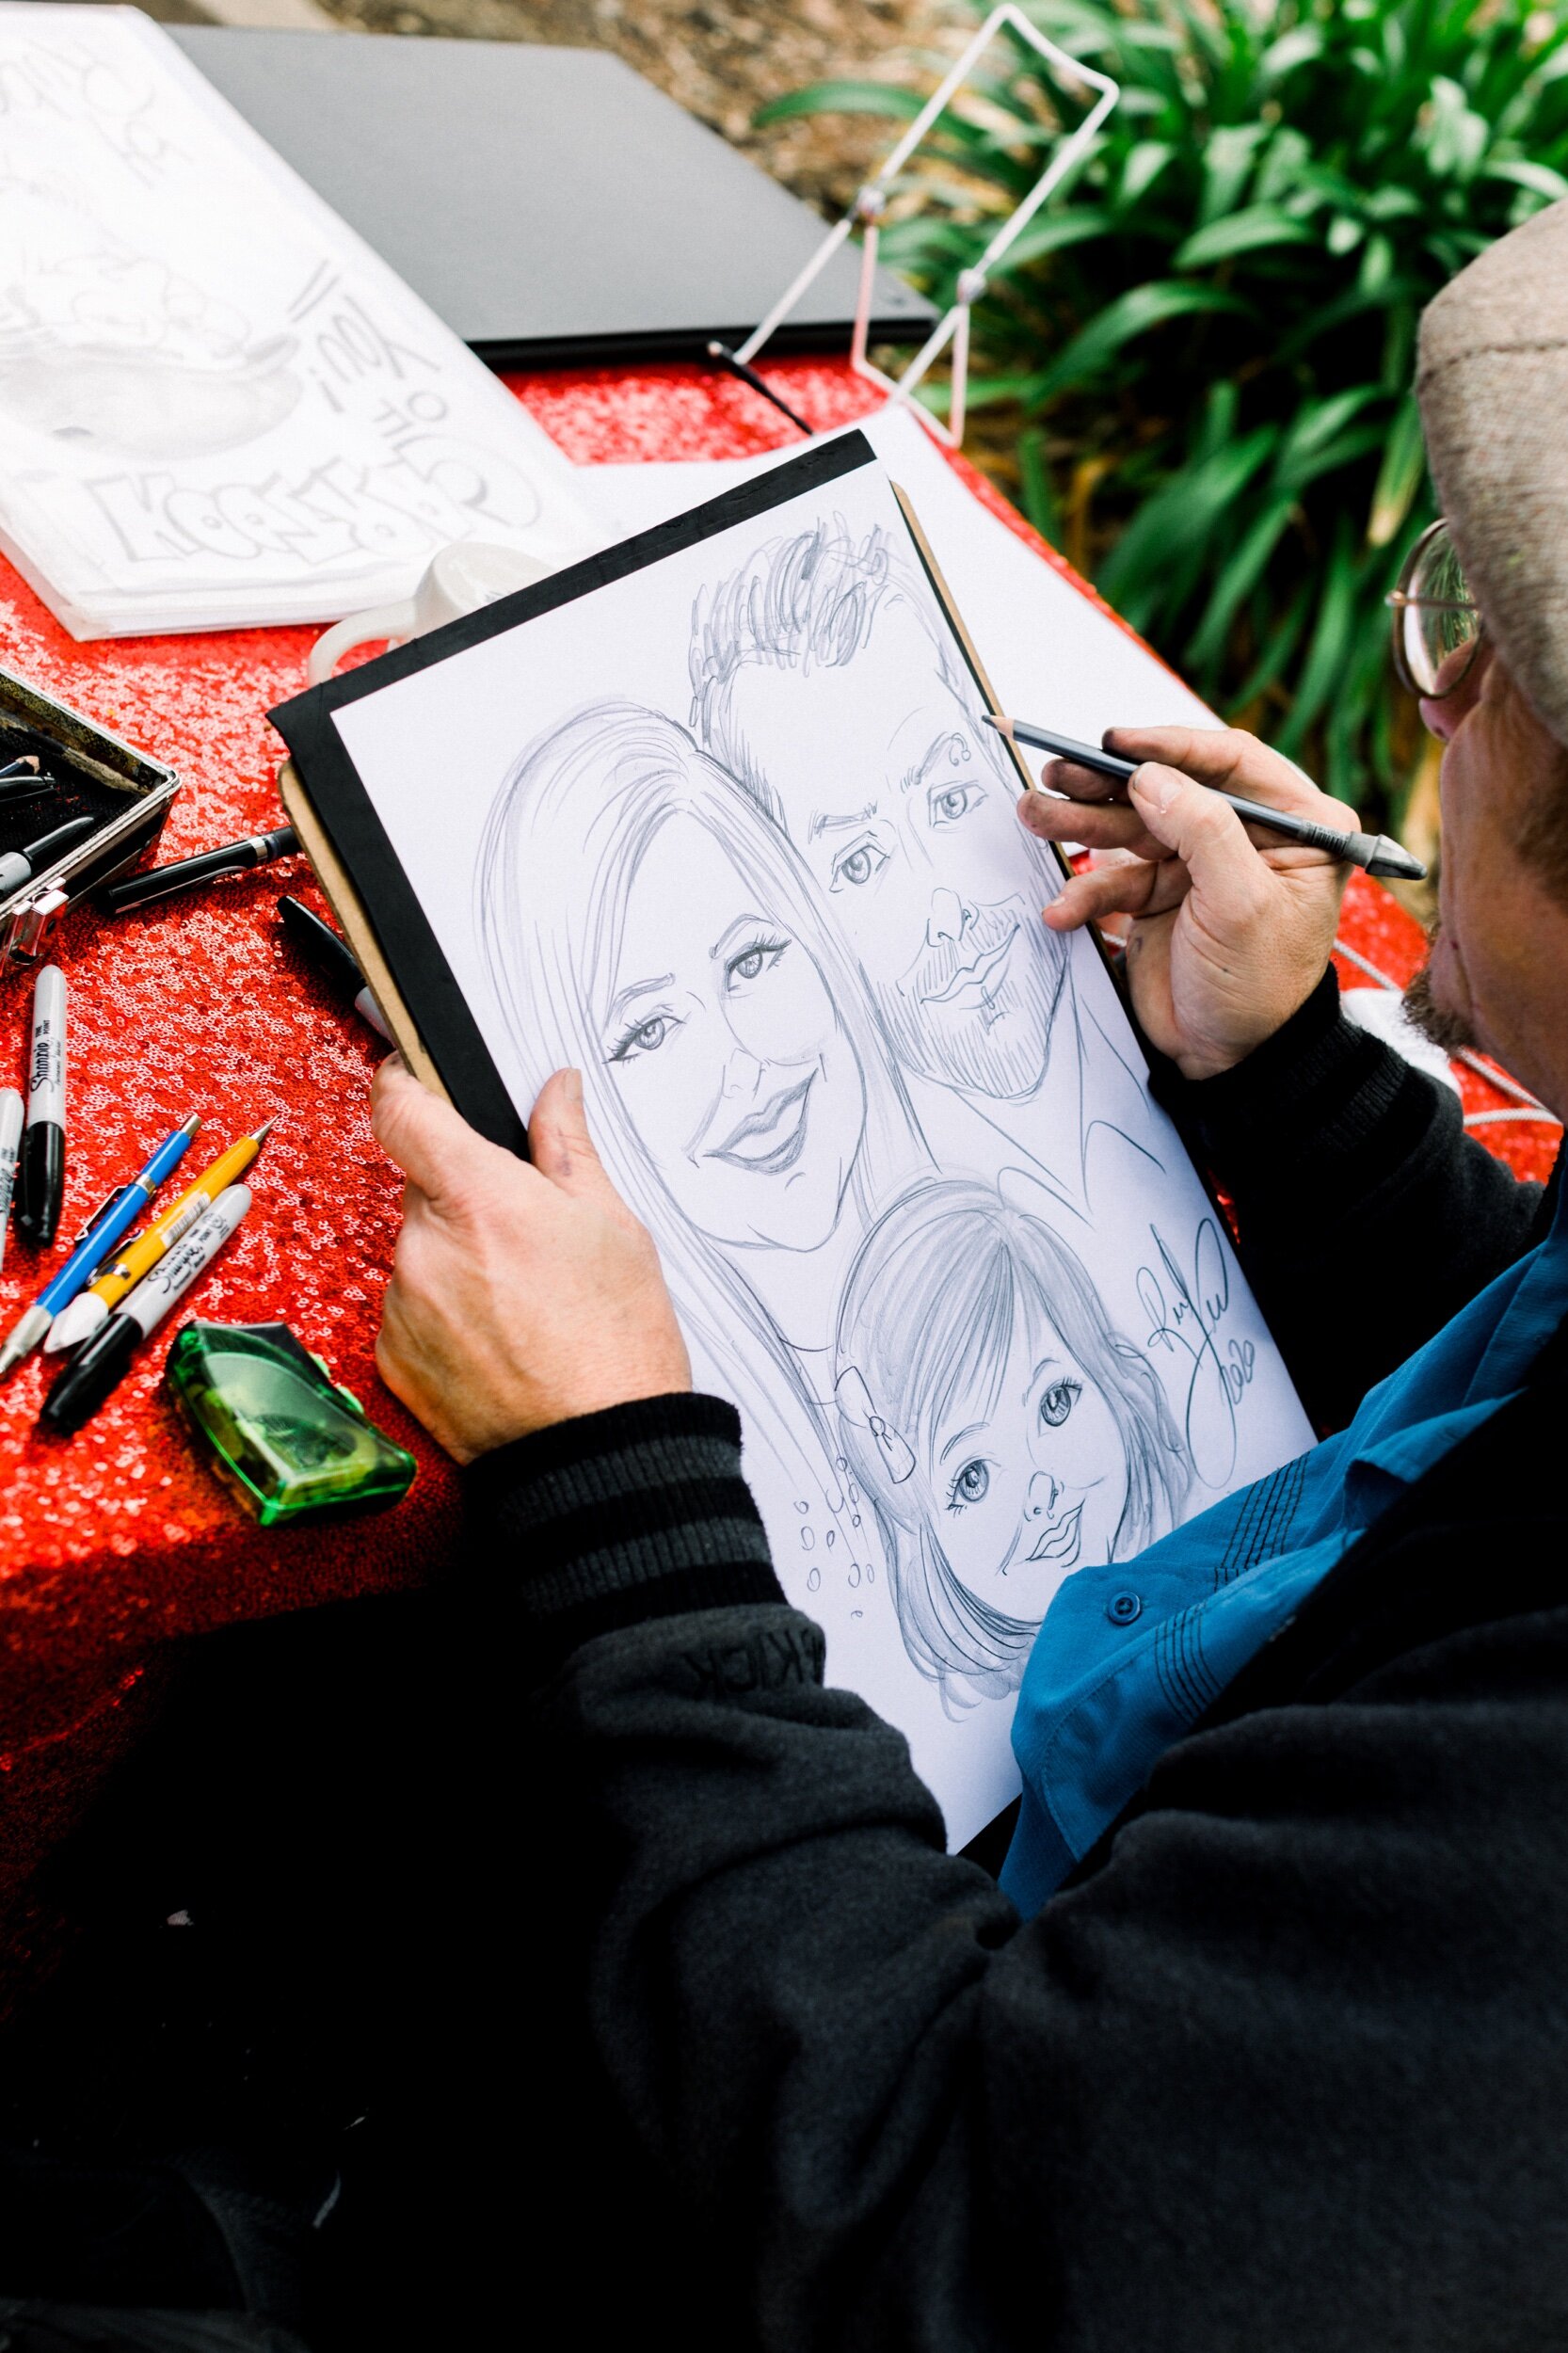
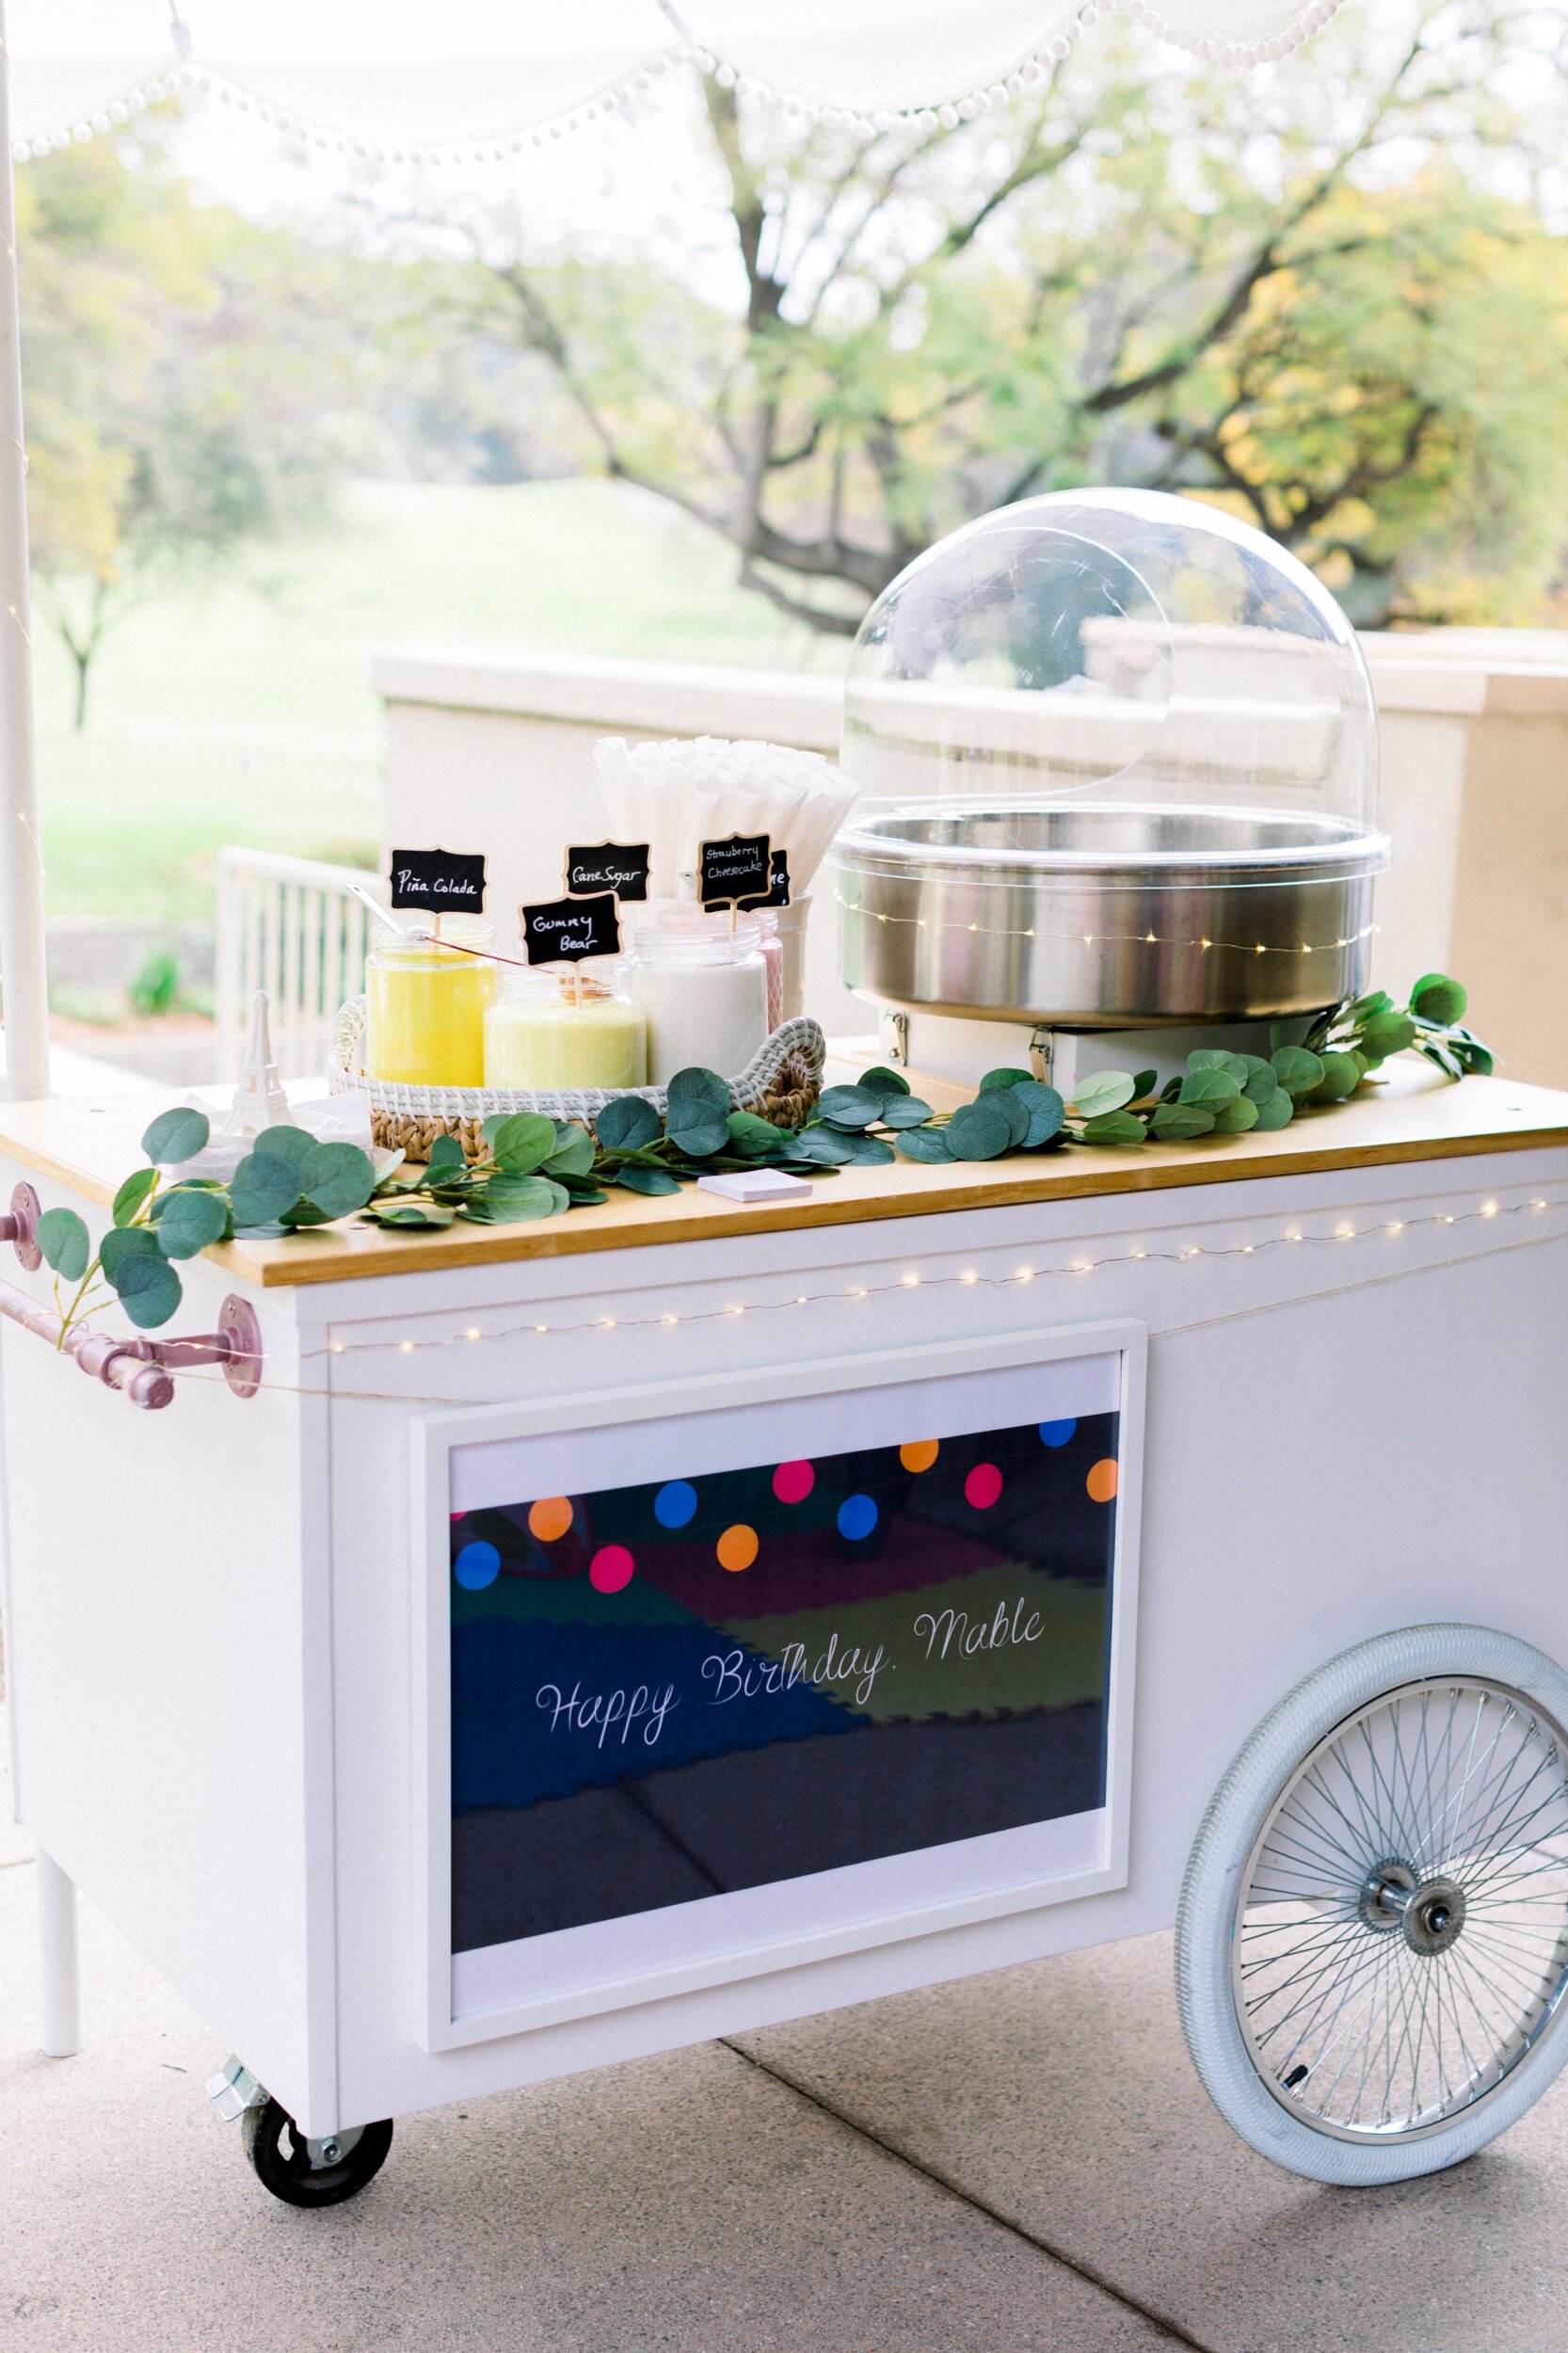
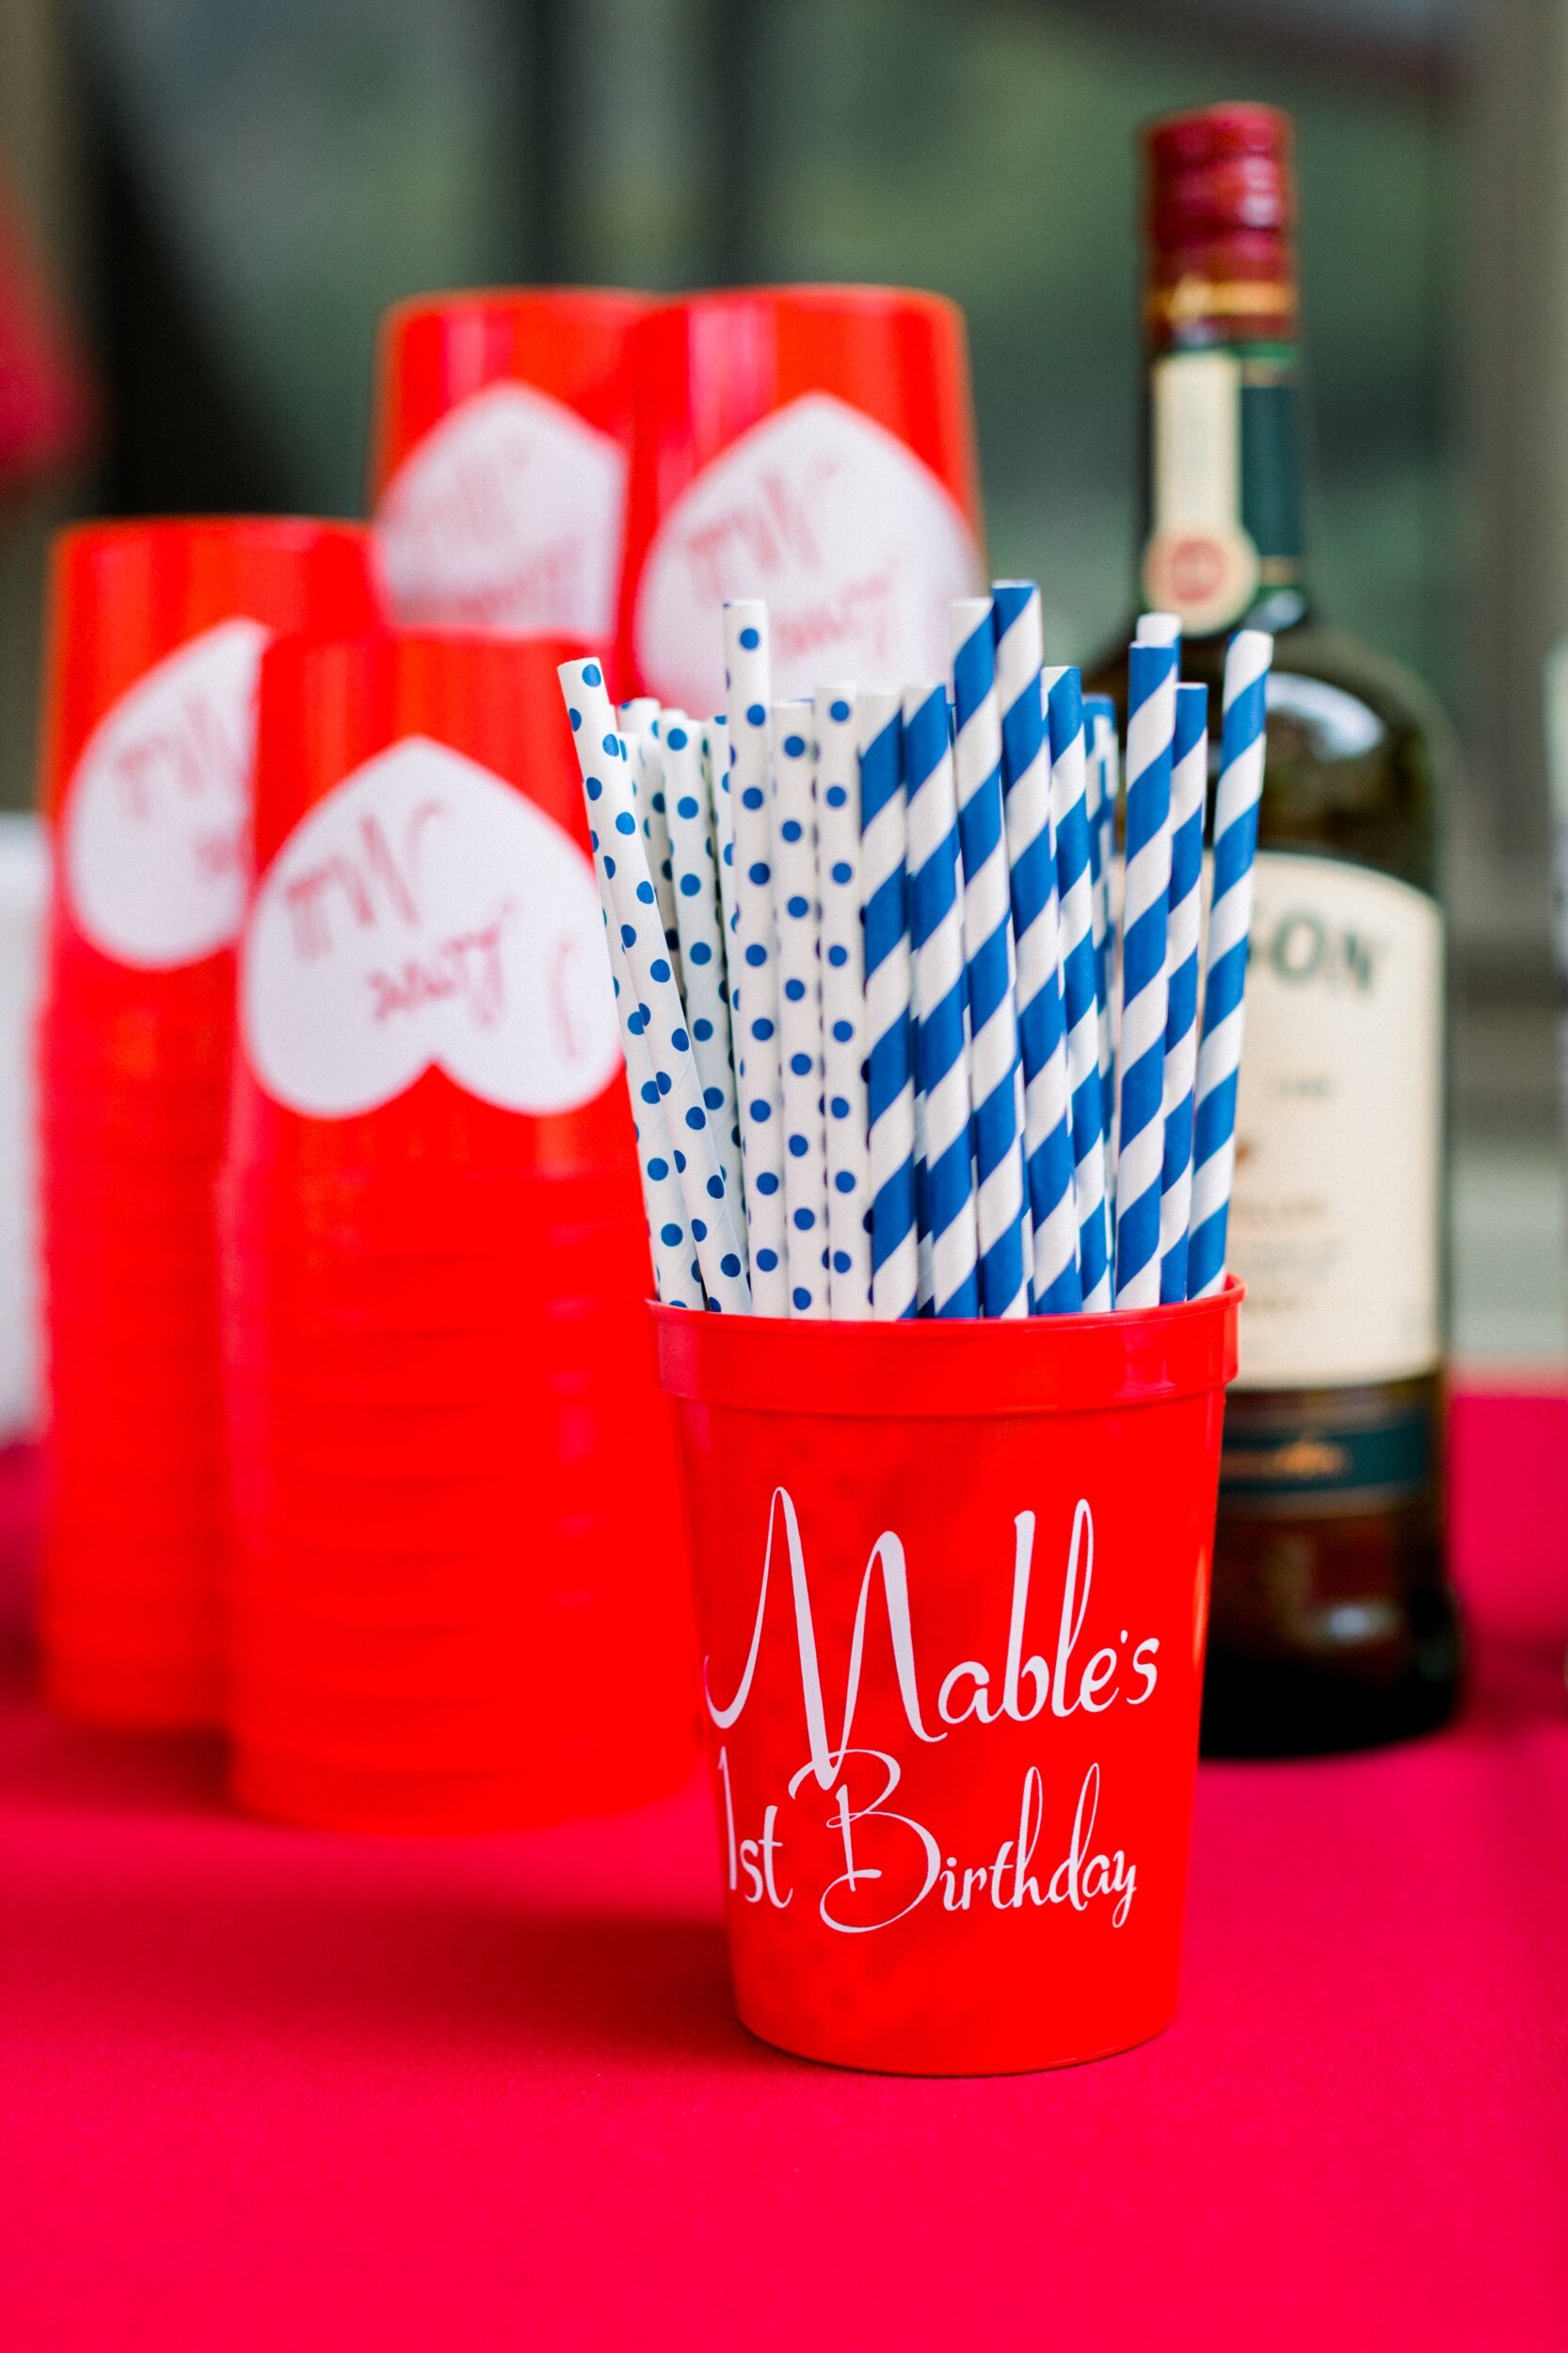
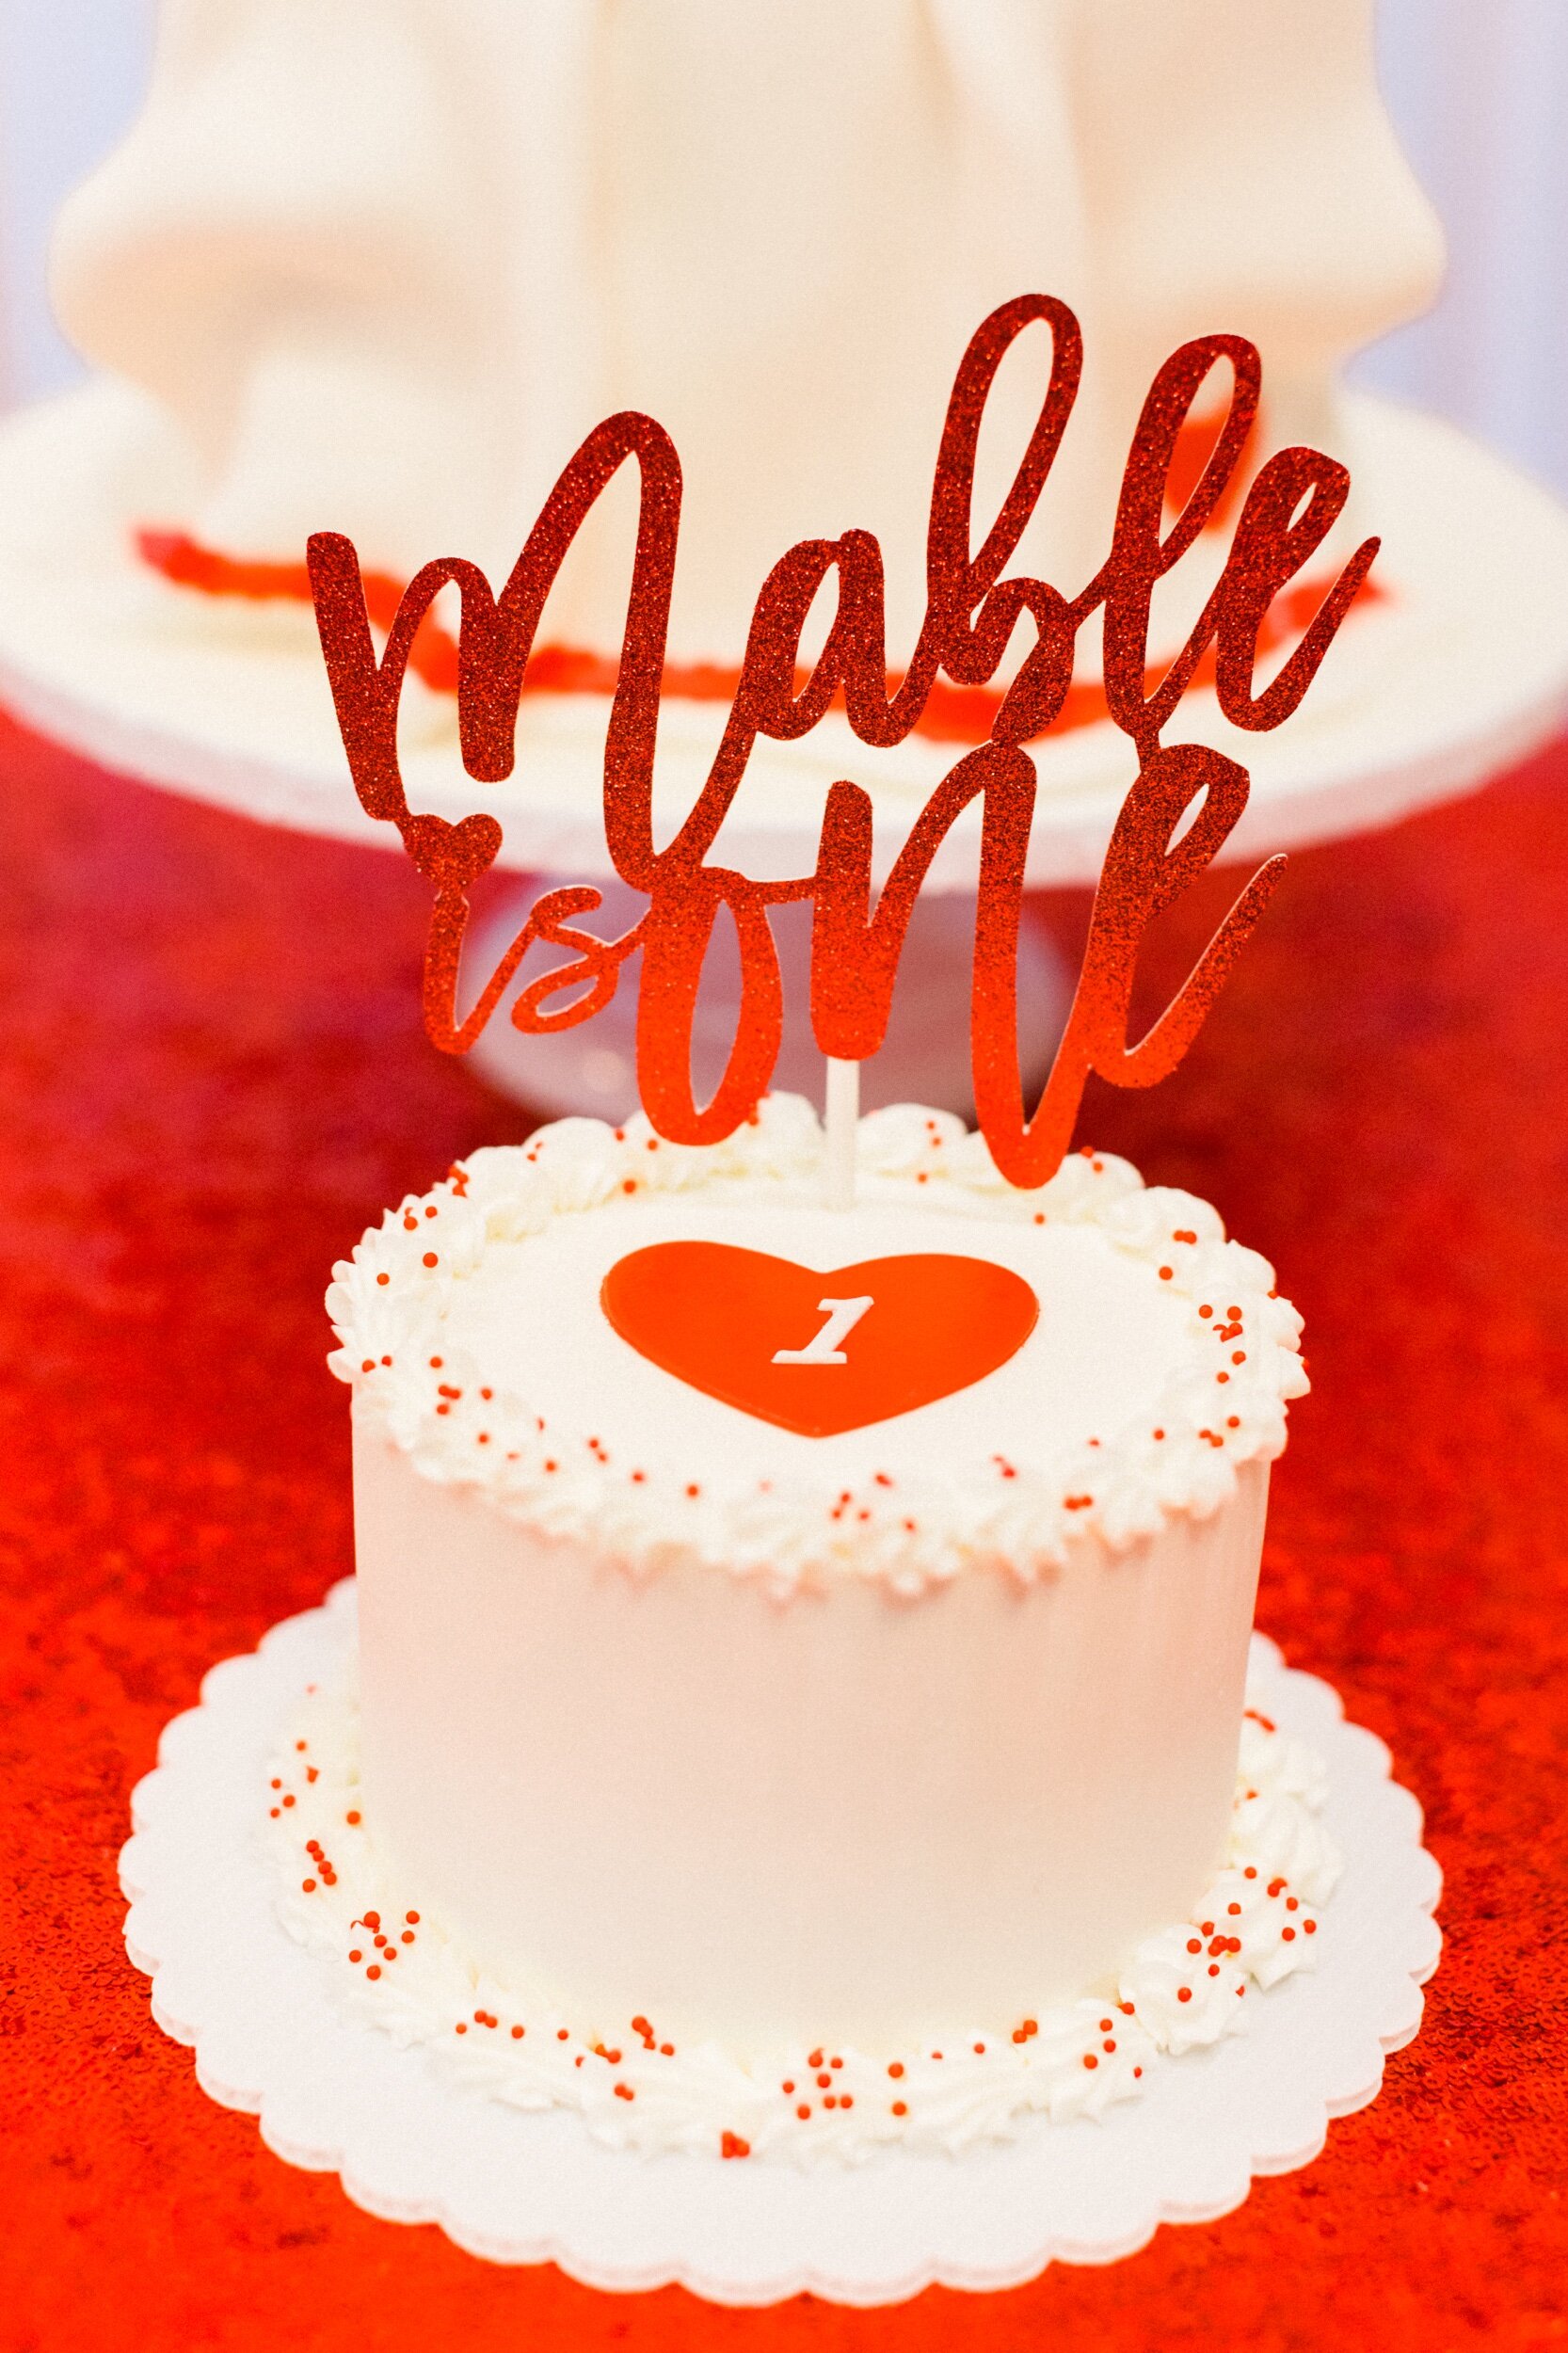
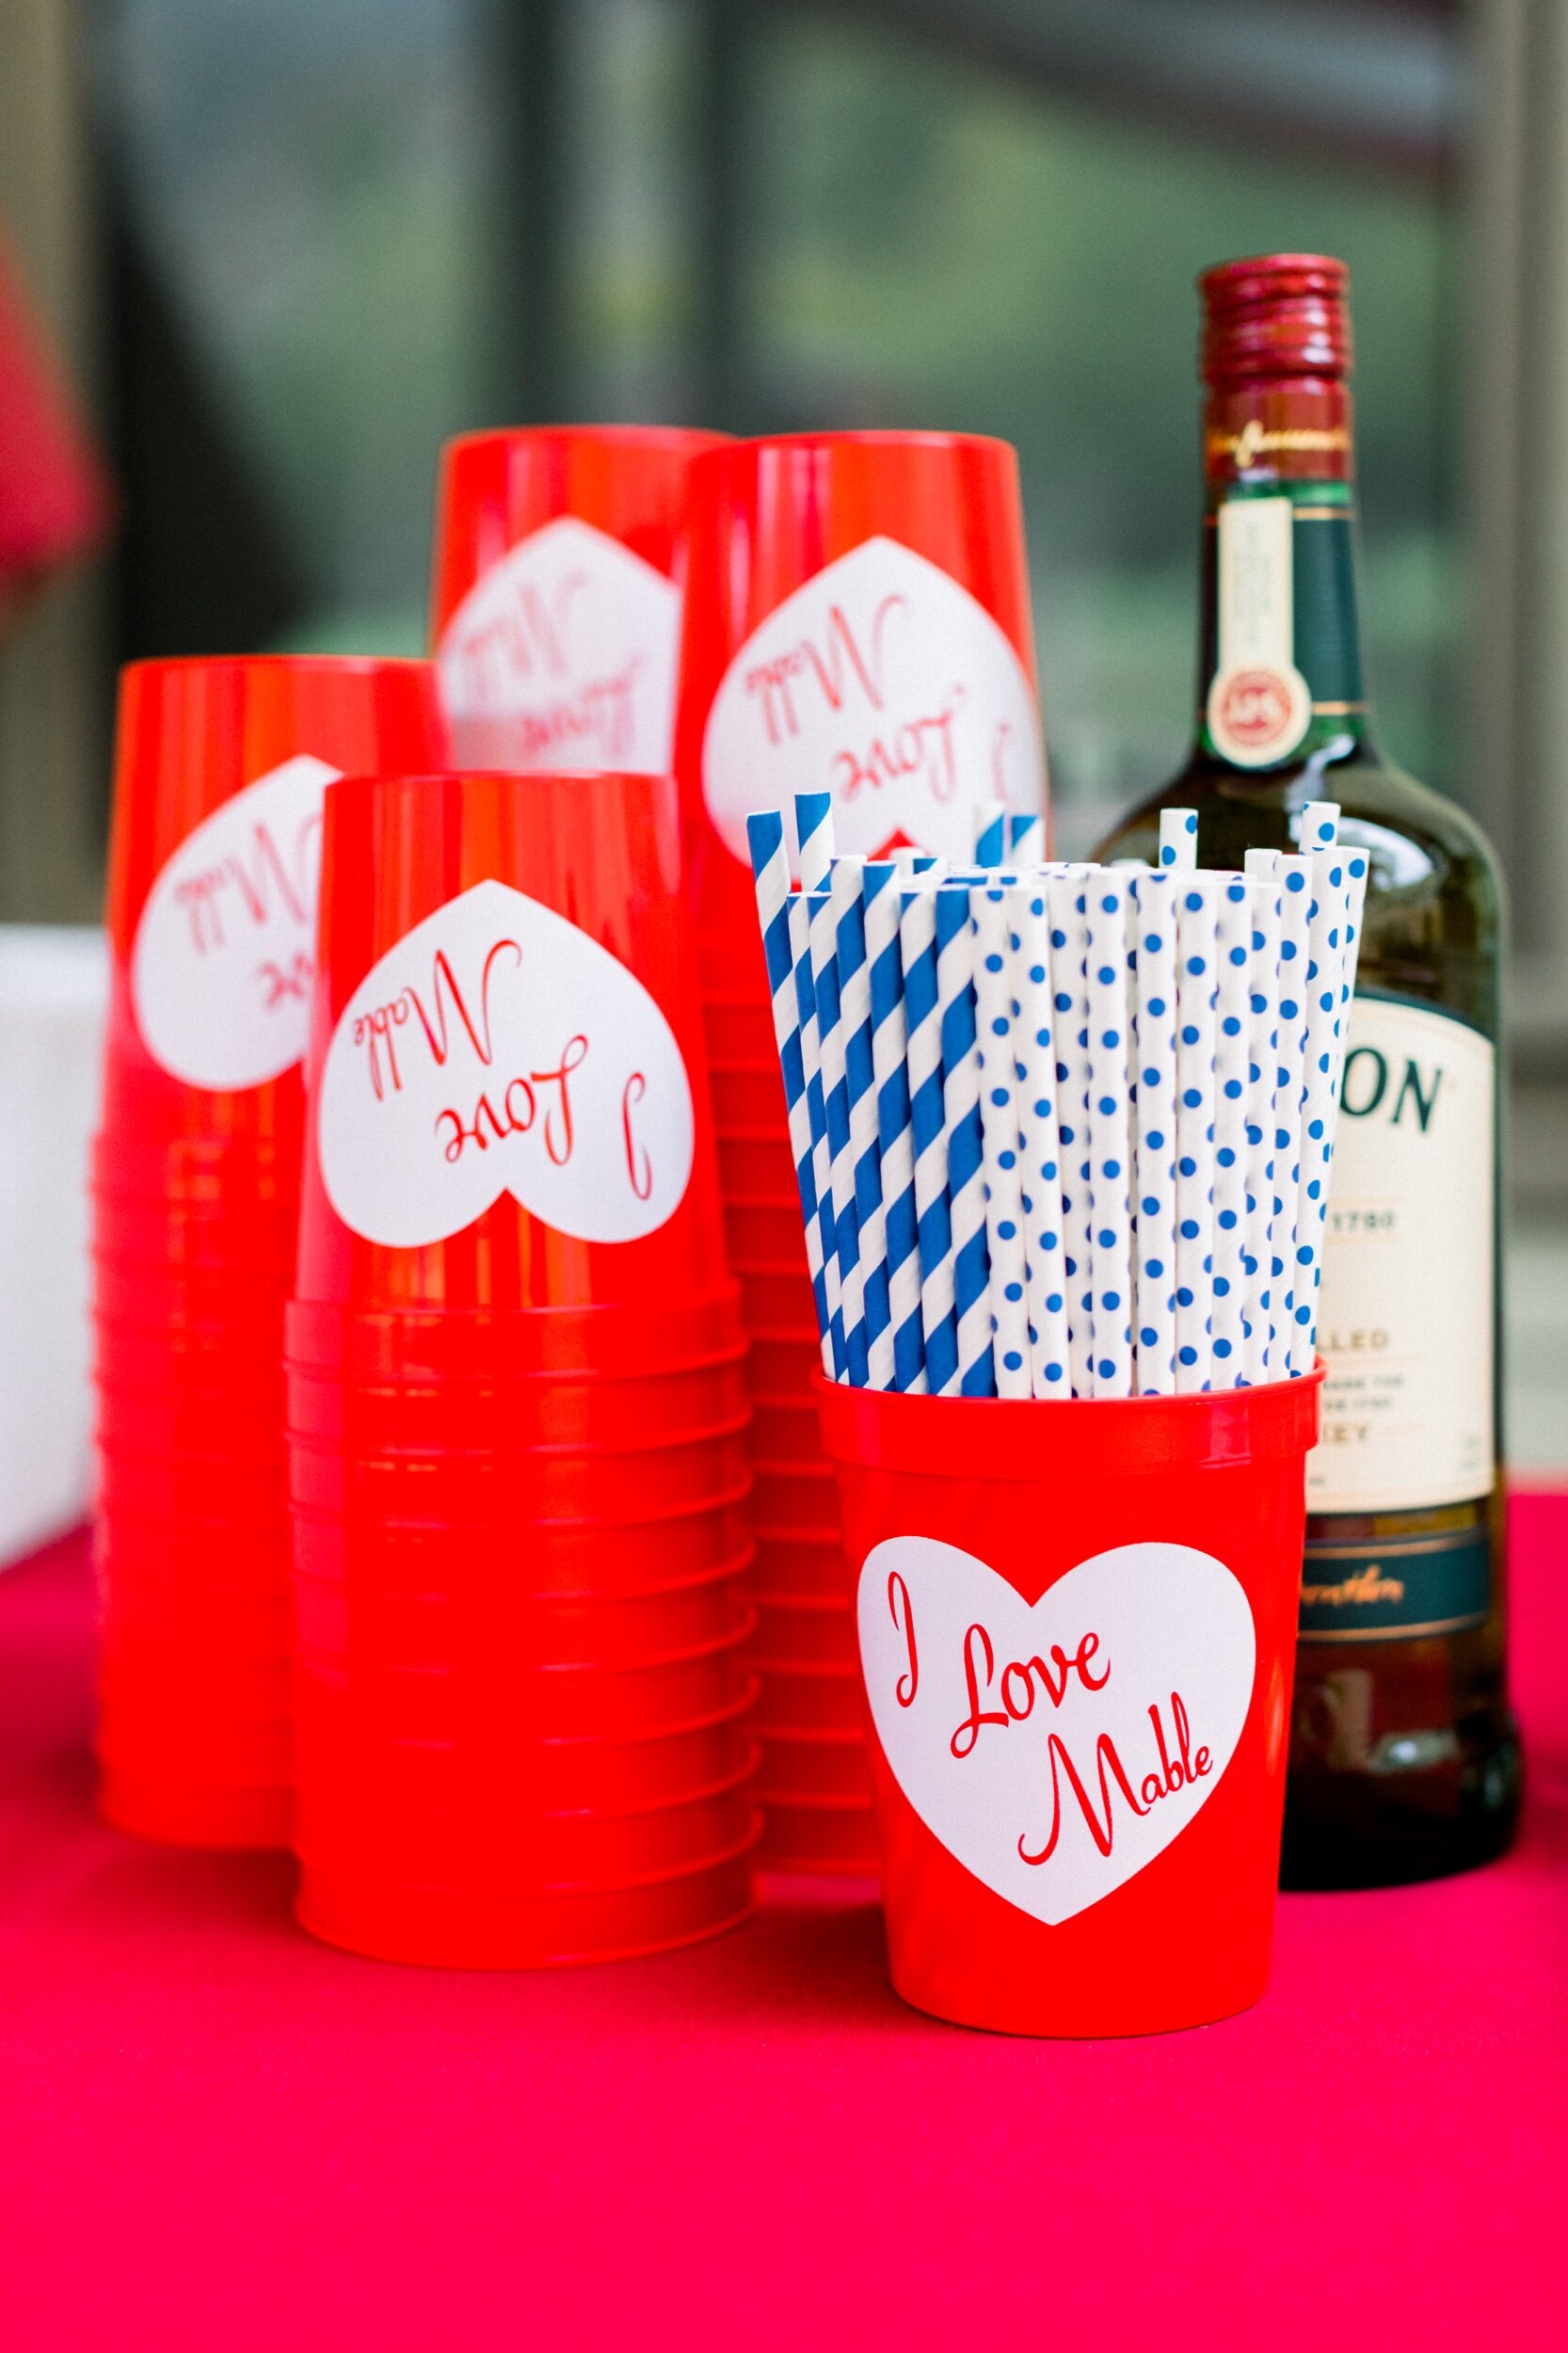
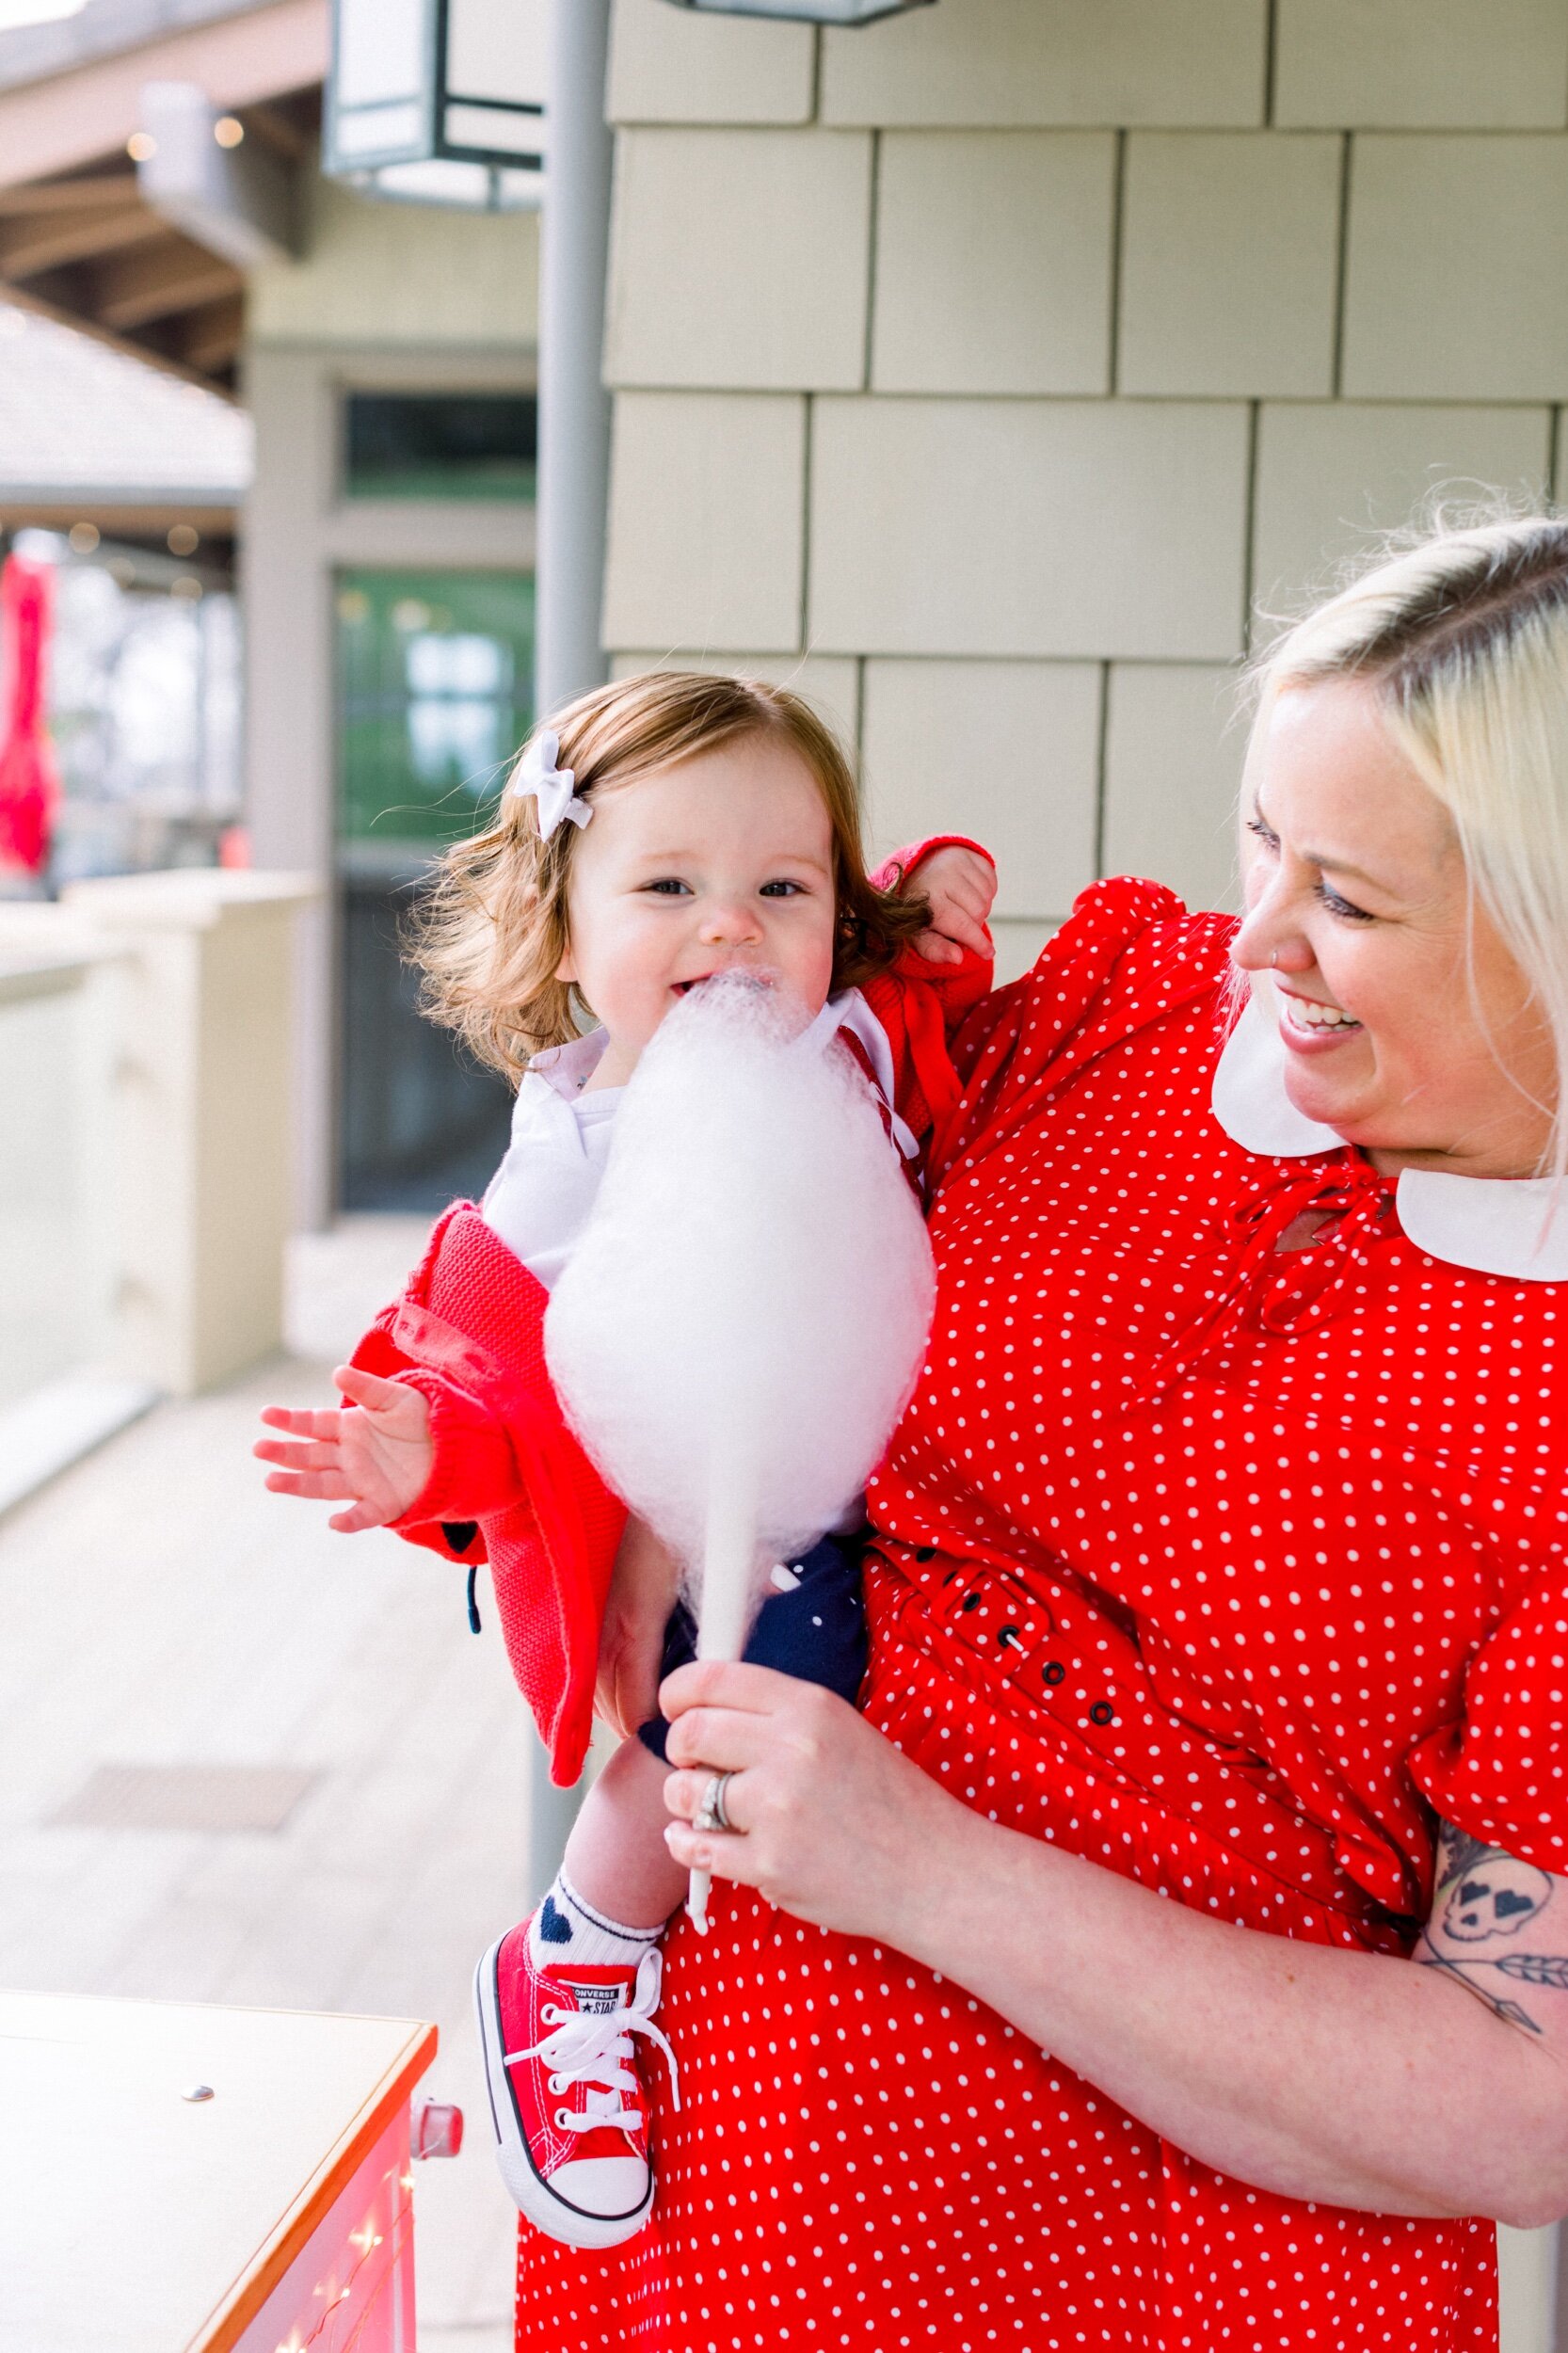
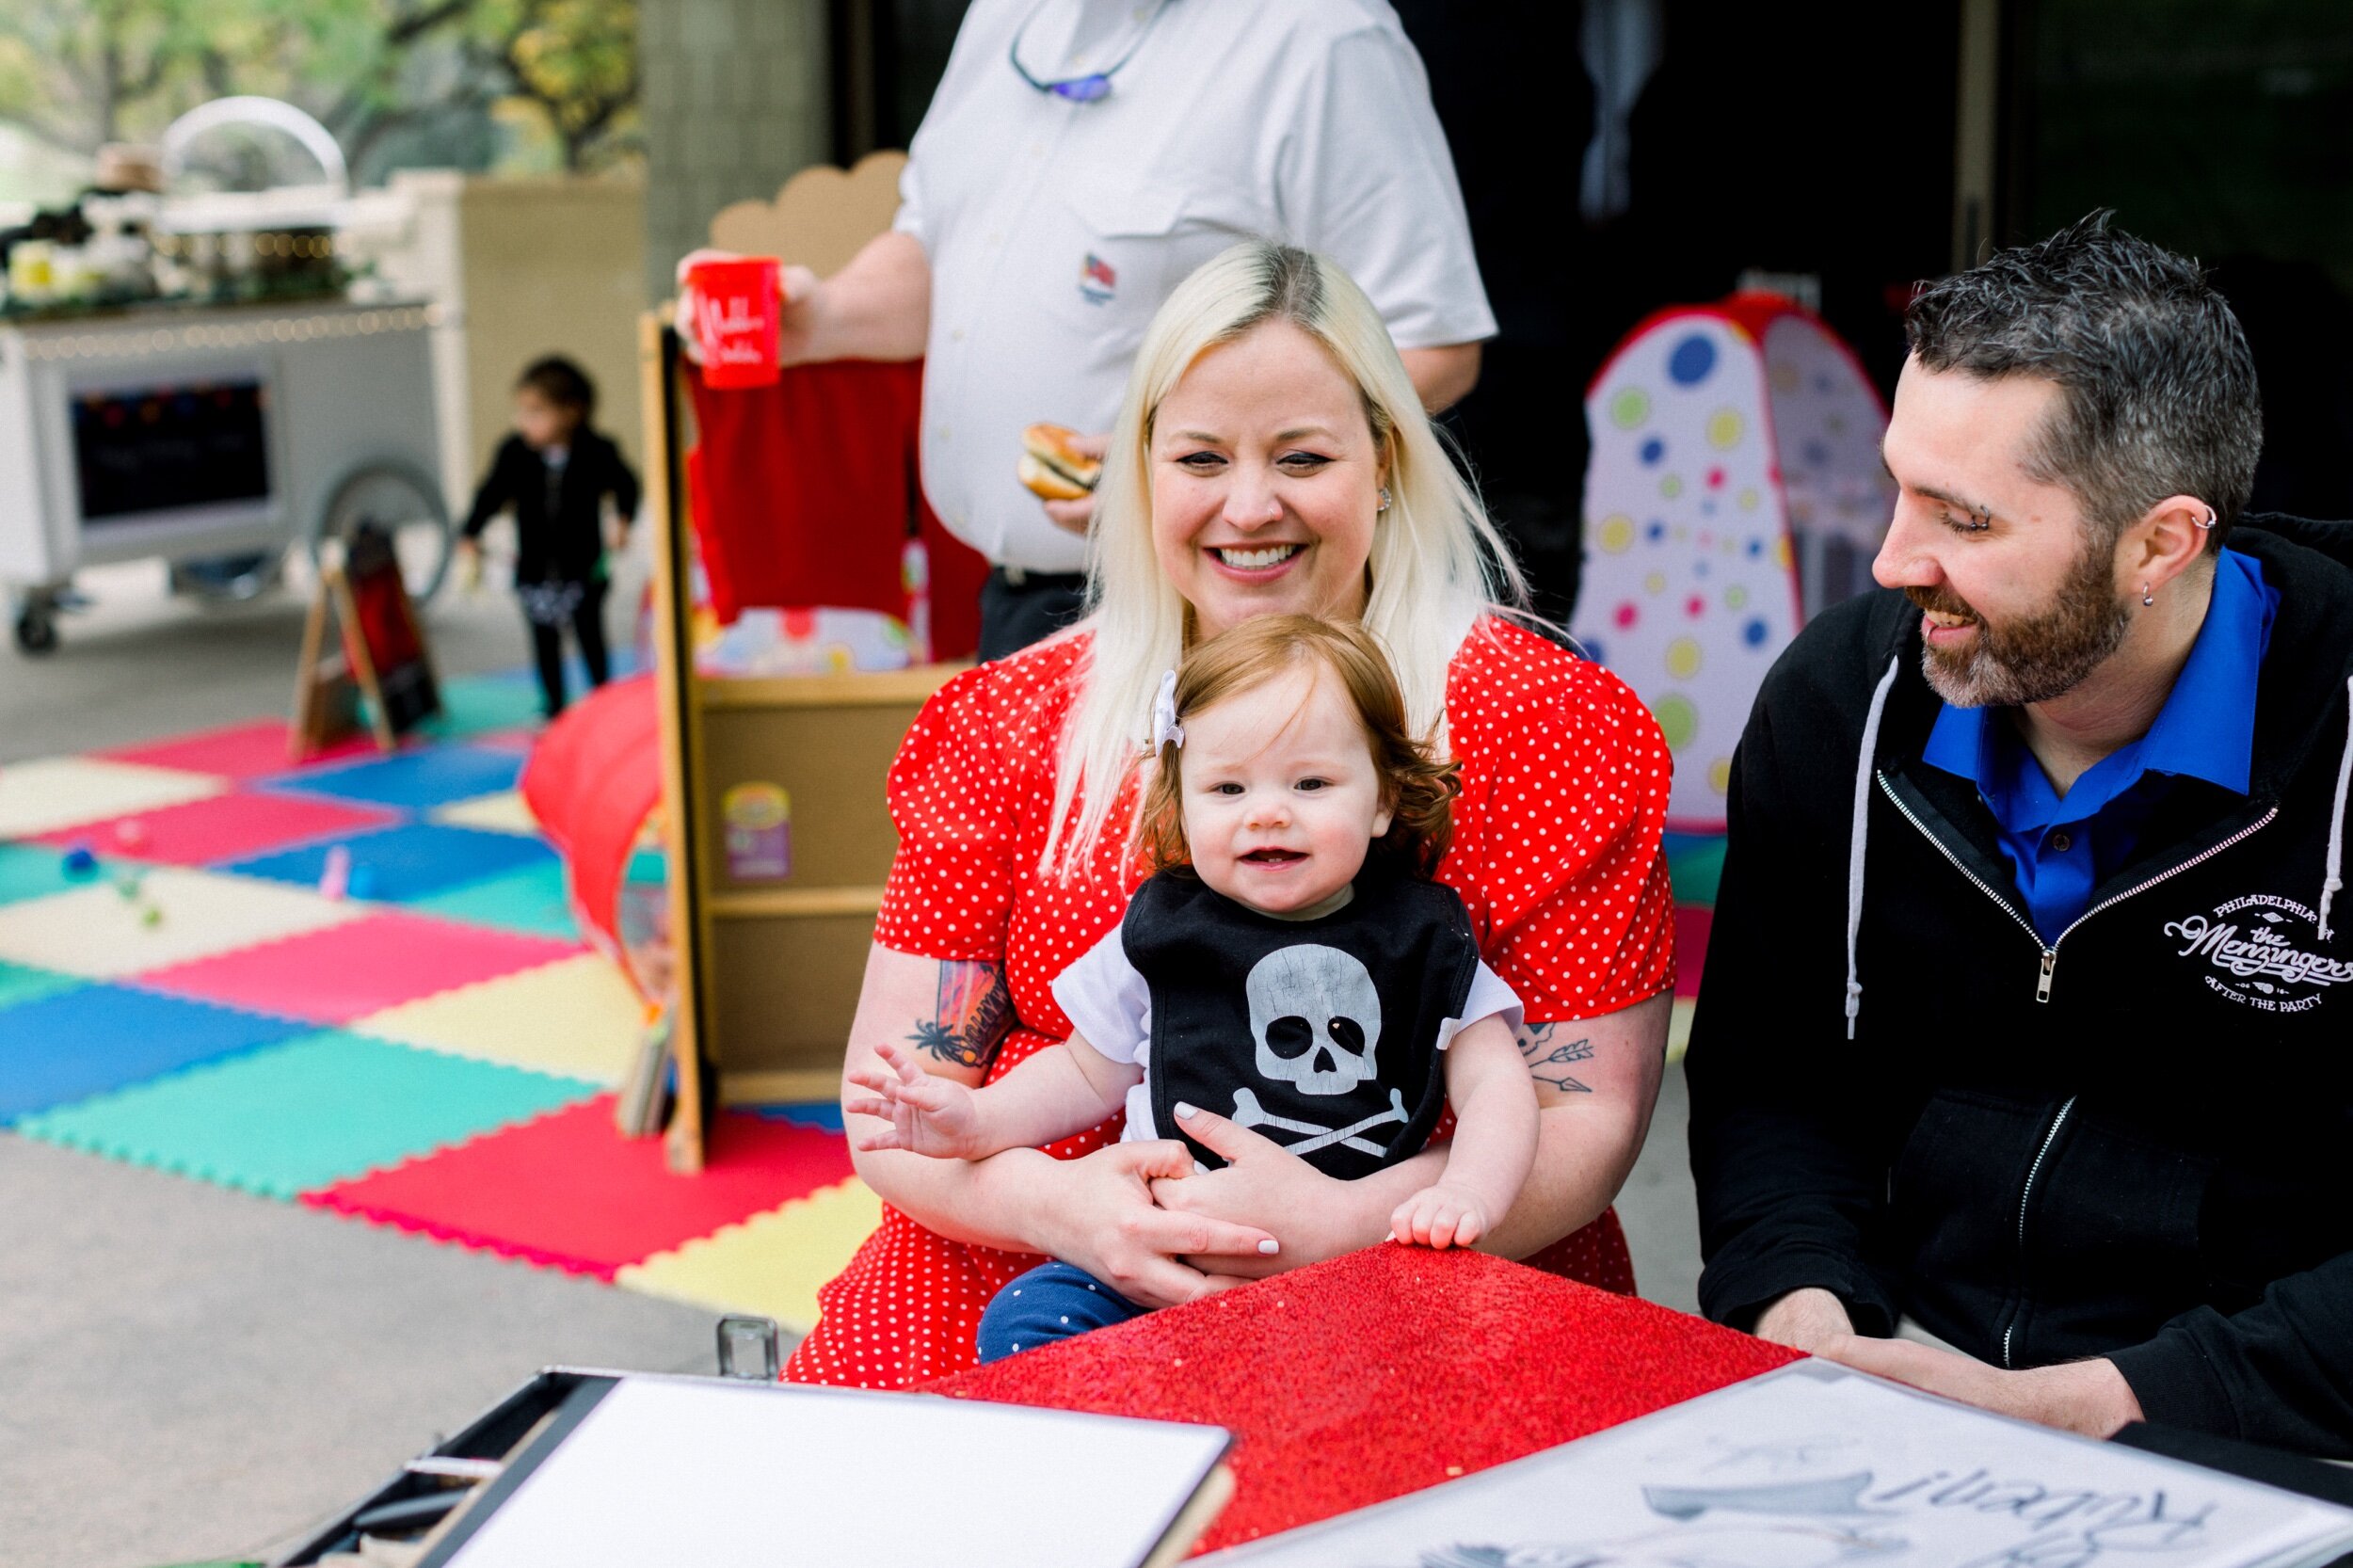
Adults were treated to hors d’oeuvres, food stations, and cocktails served in custom tumblers. The yummy dessert offerings included a vegan & organic cotton candy cart with flavors like strawberry cheesecake, gummy bear, and champagne, as well as a custom dessert table & delicious tiered cake.  Guests of all ages were invited to get a caricature to commemorate this special milestone.

I Love Lucy Themed First Birthday on Hello Rascal Kids. Family lifestyle blog for parents and kids.

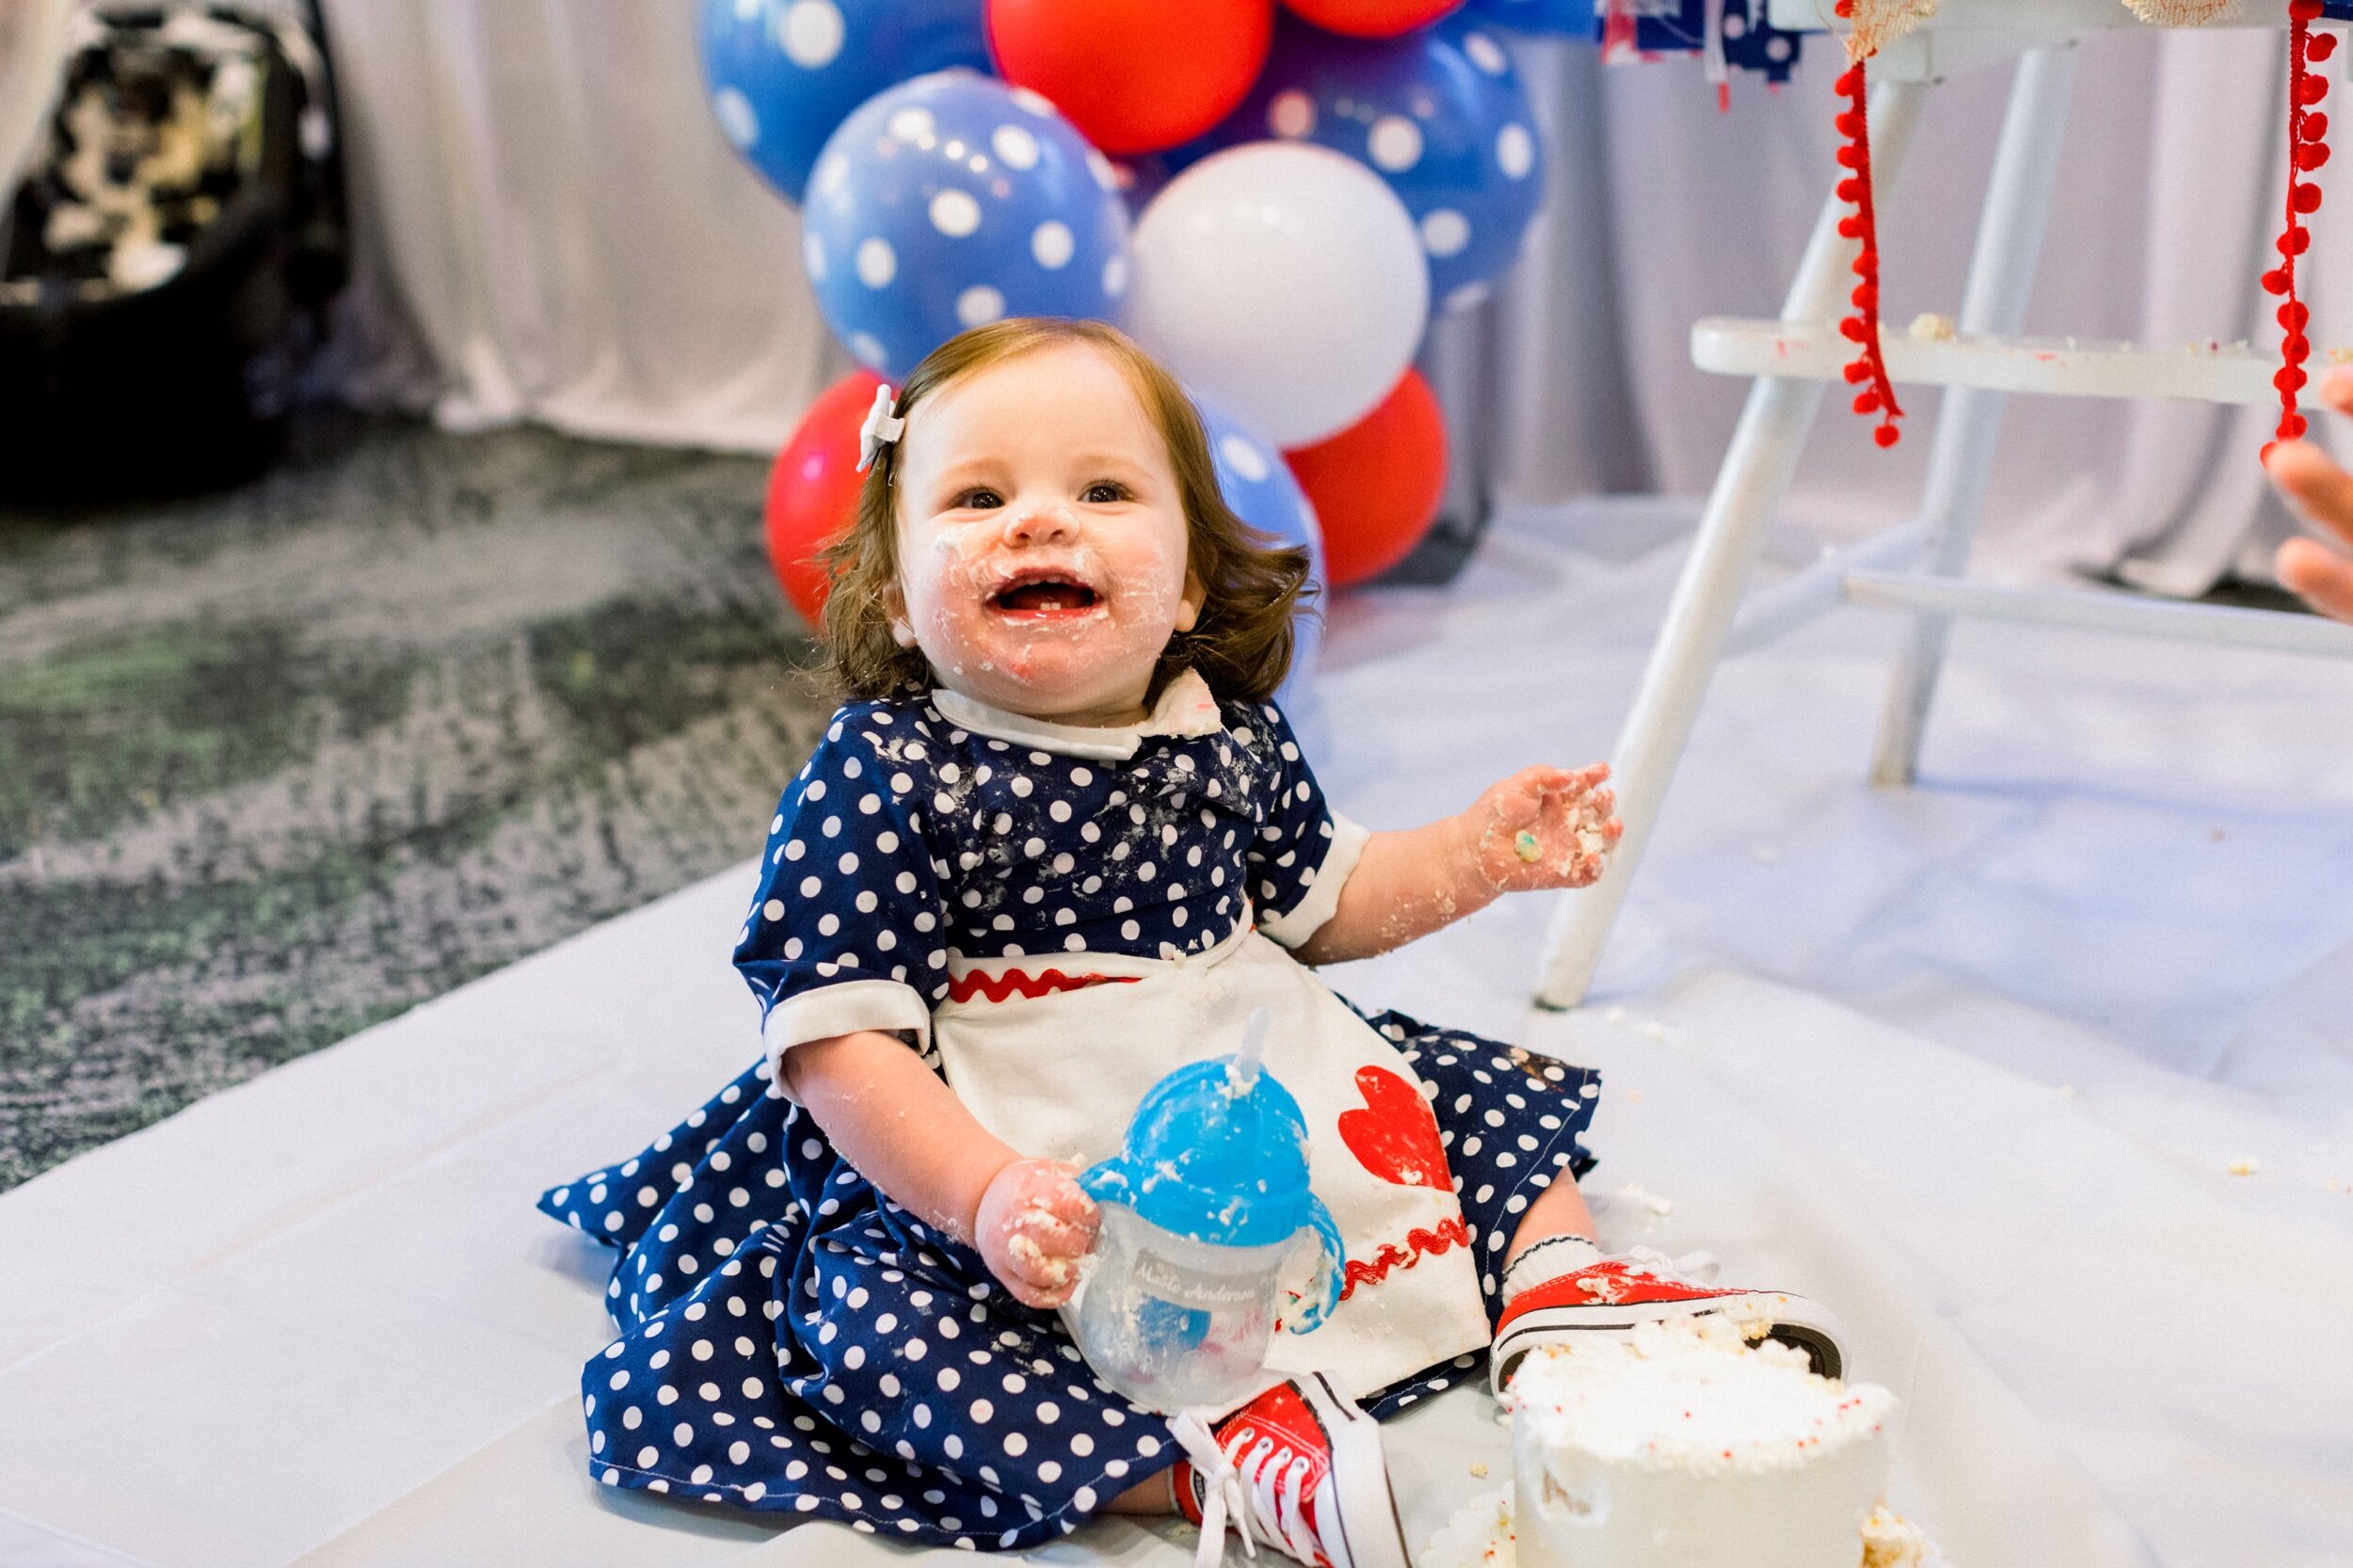
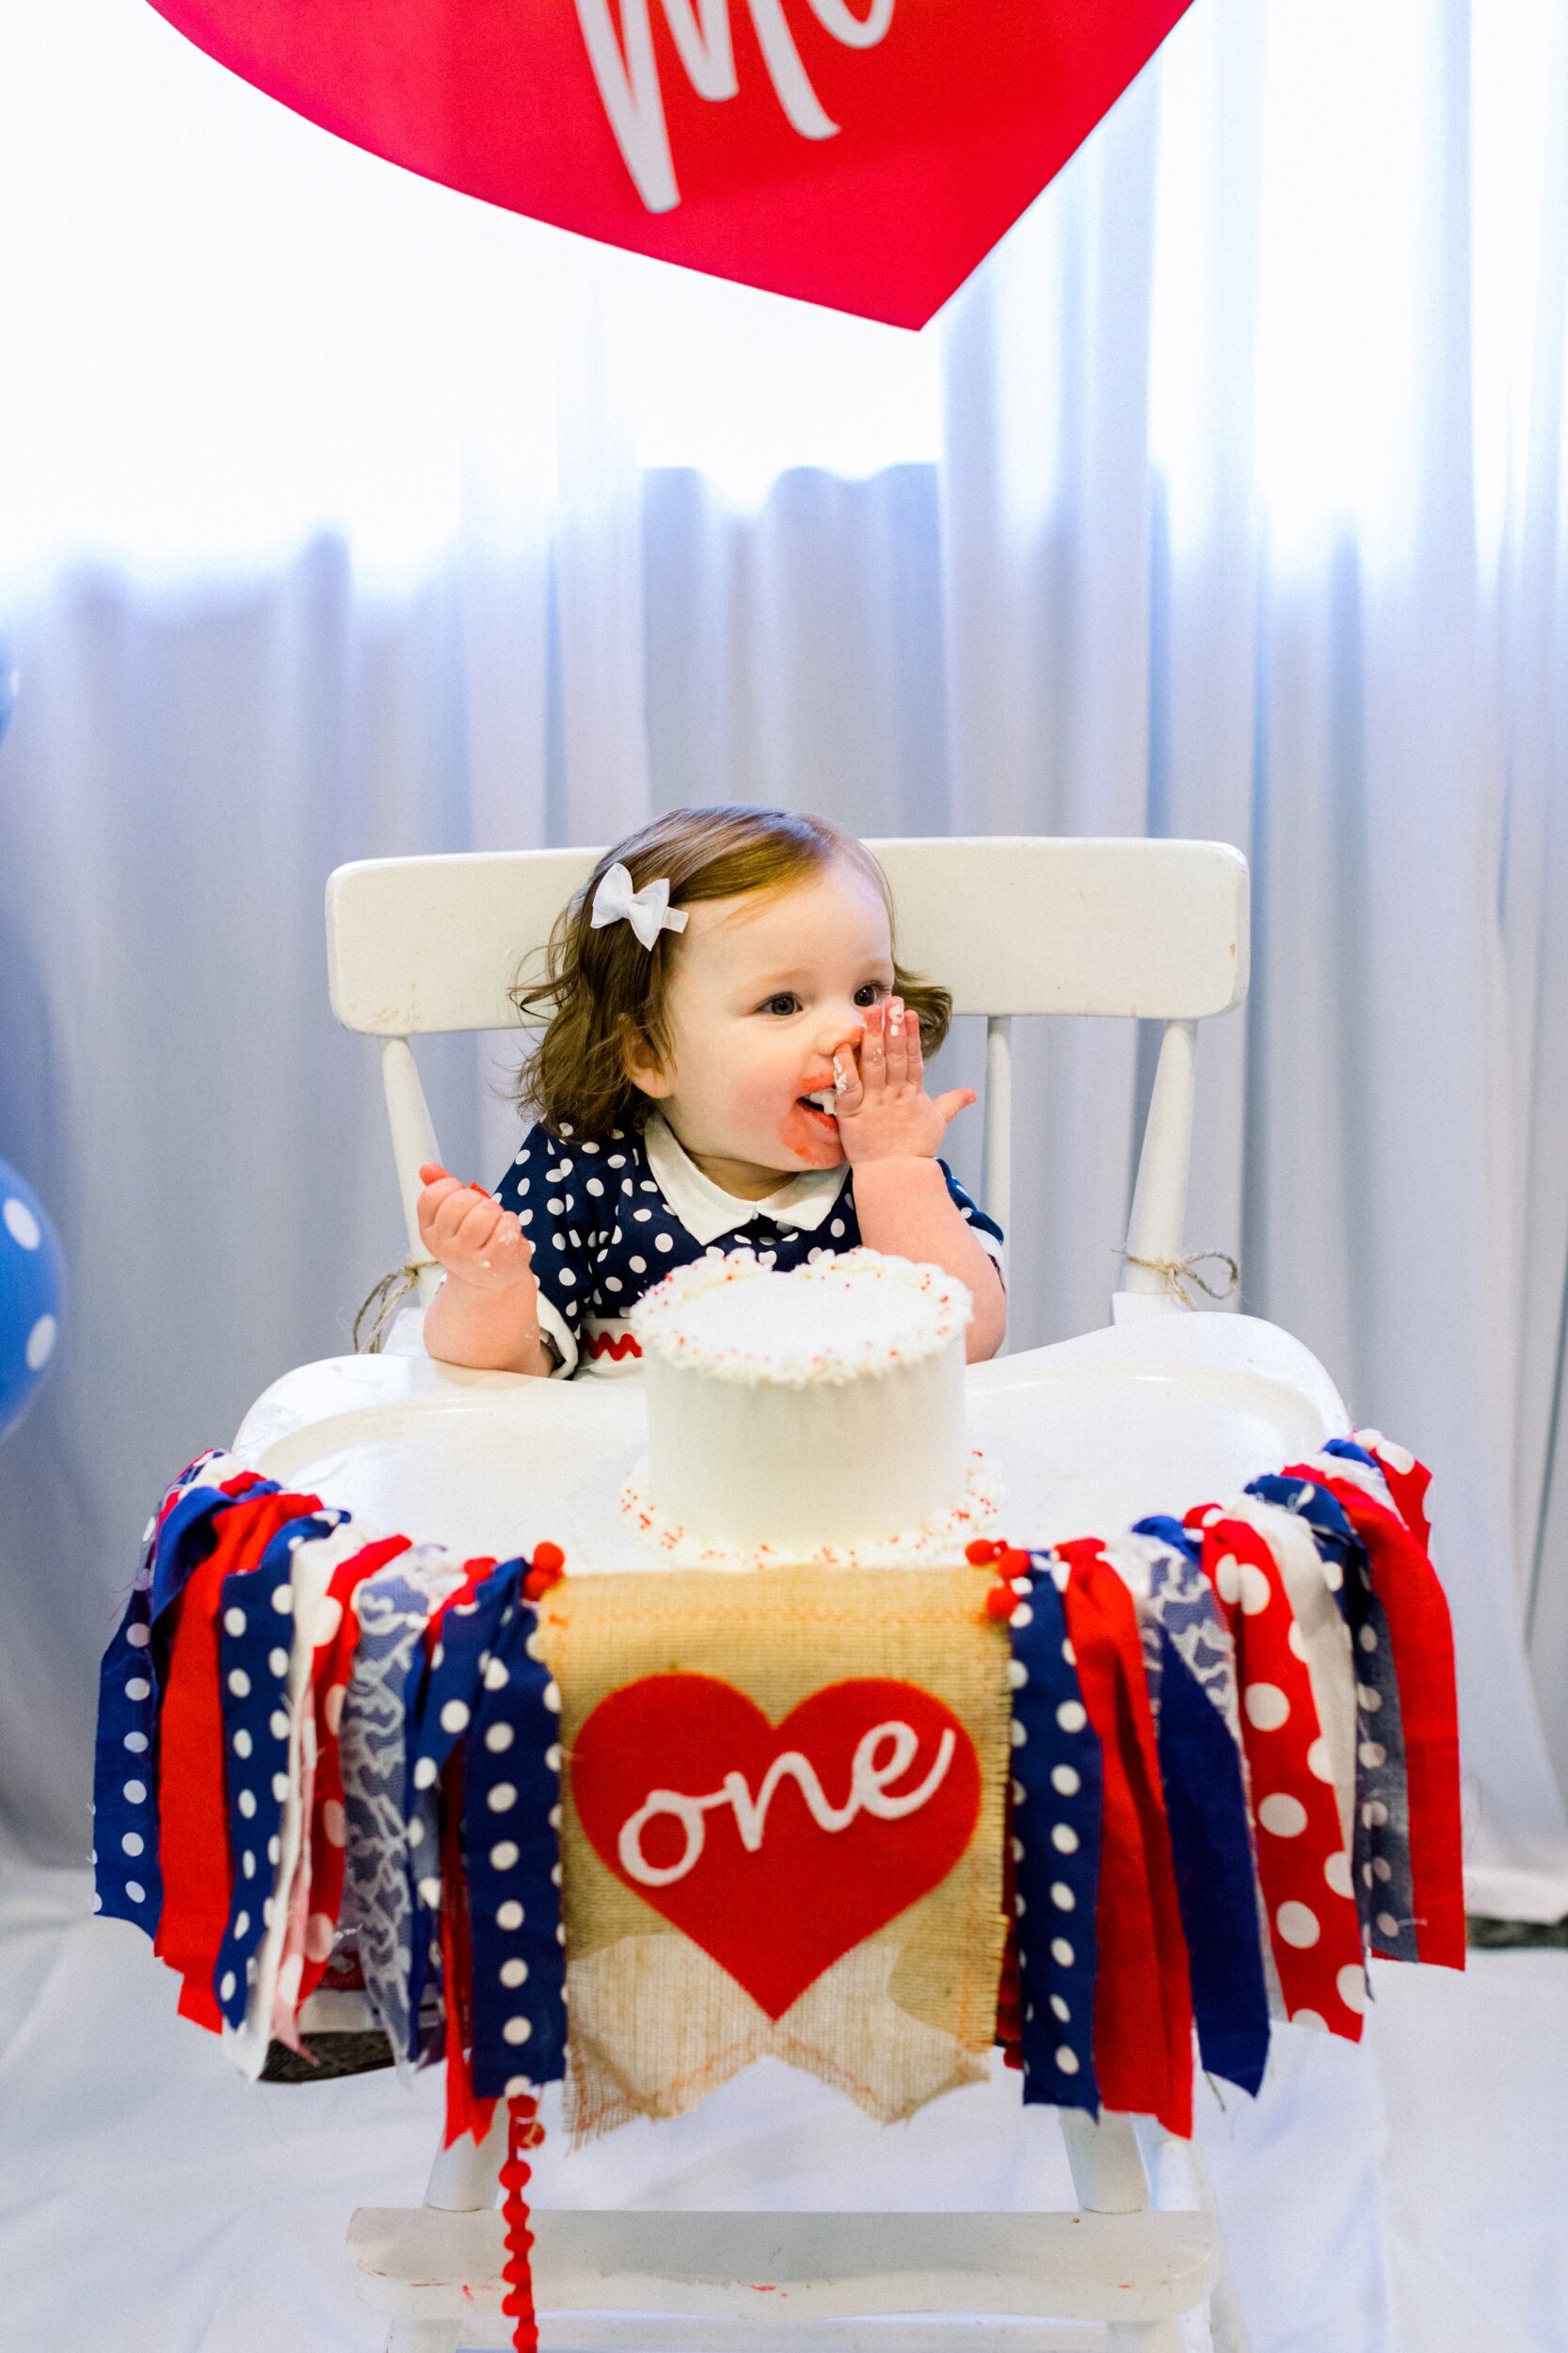
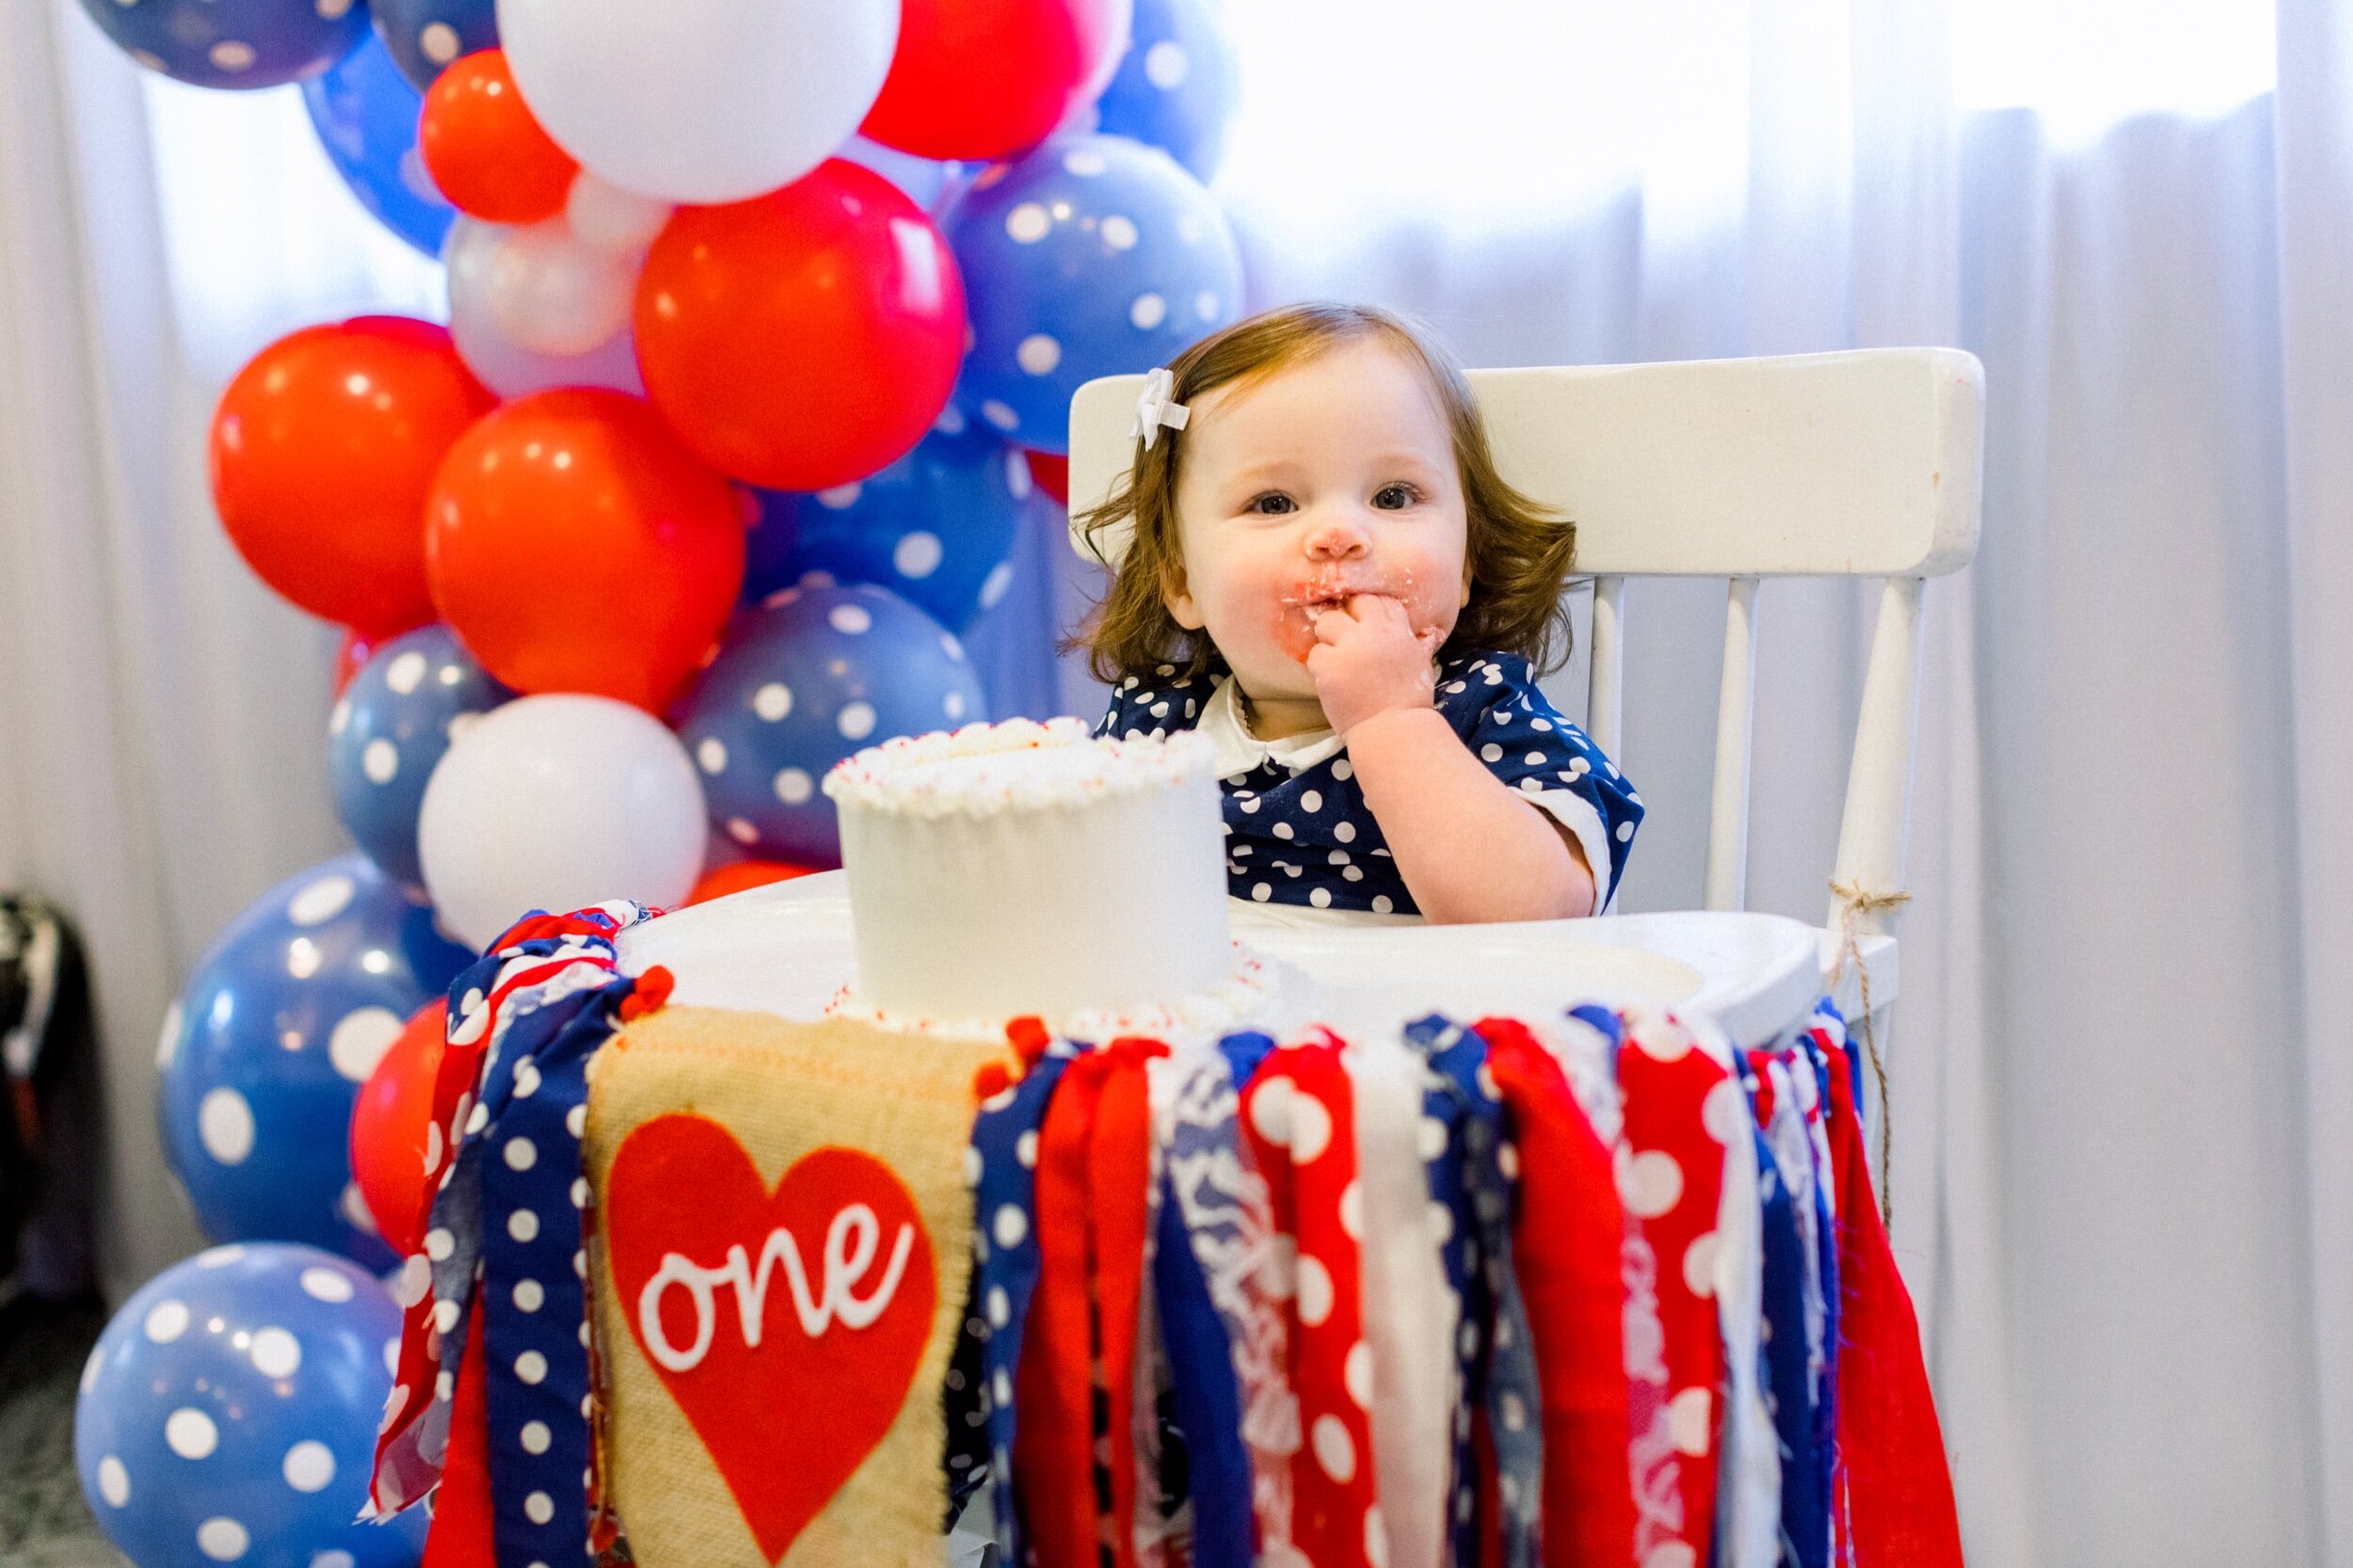
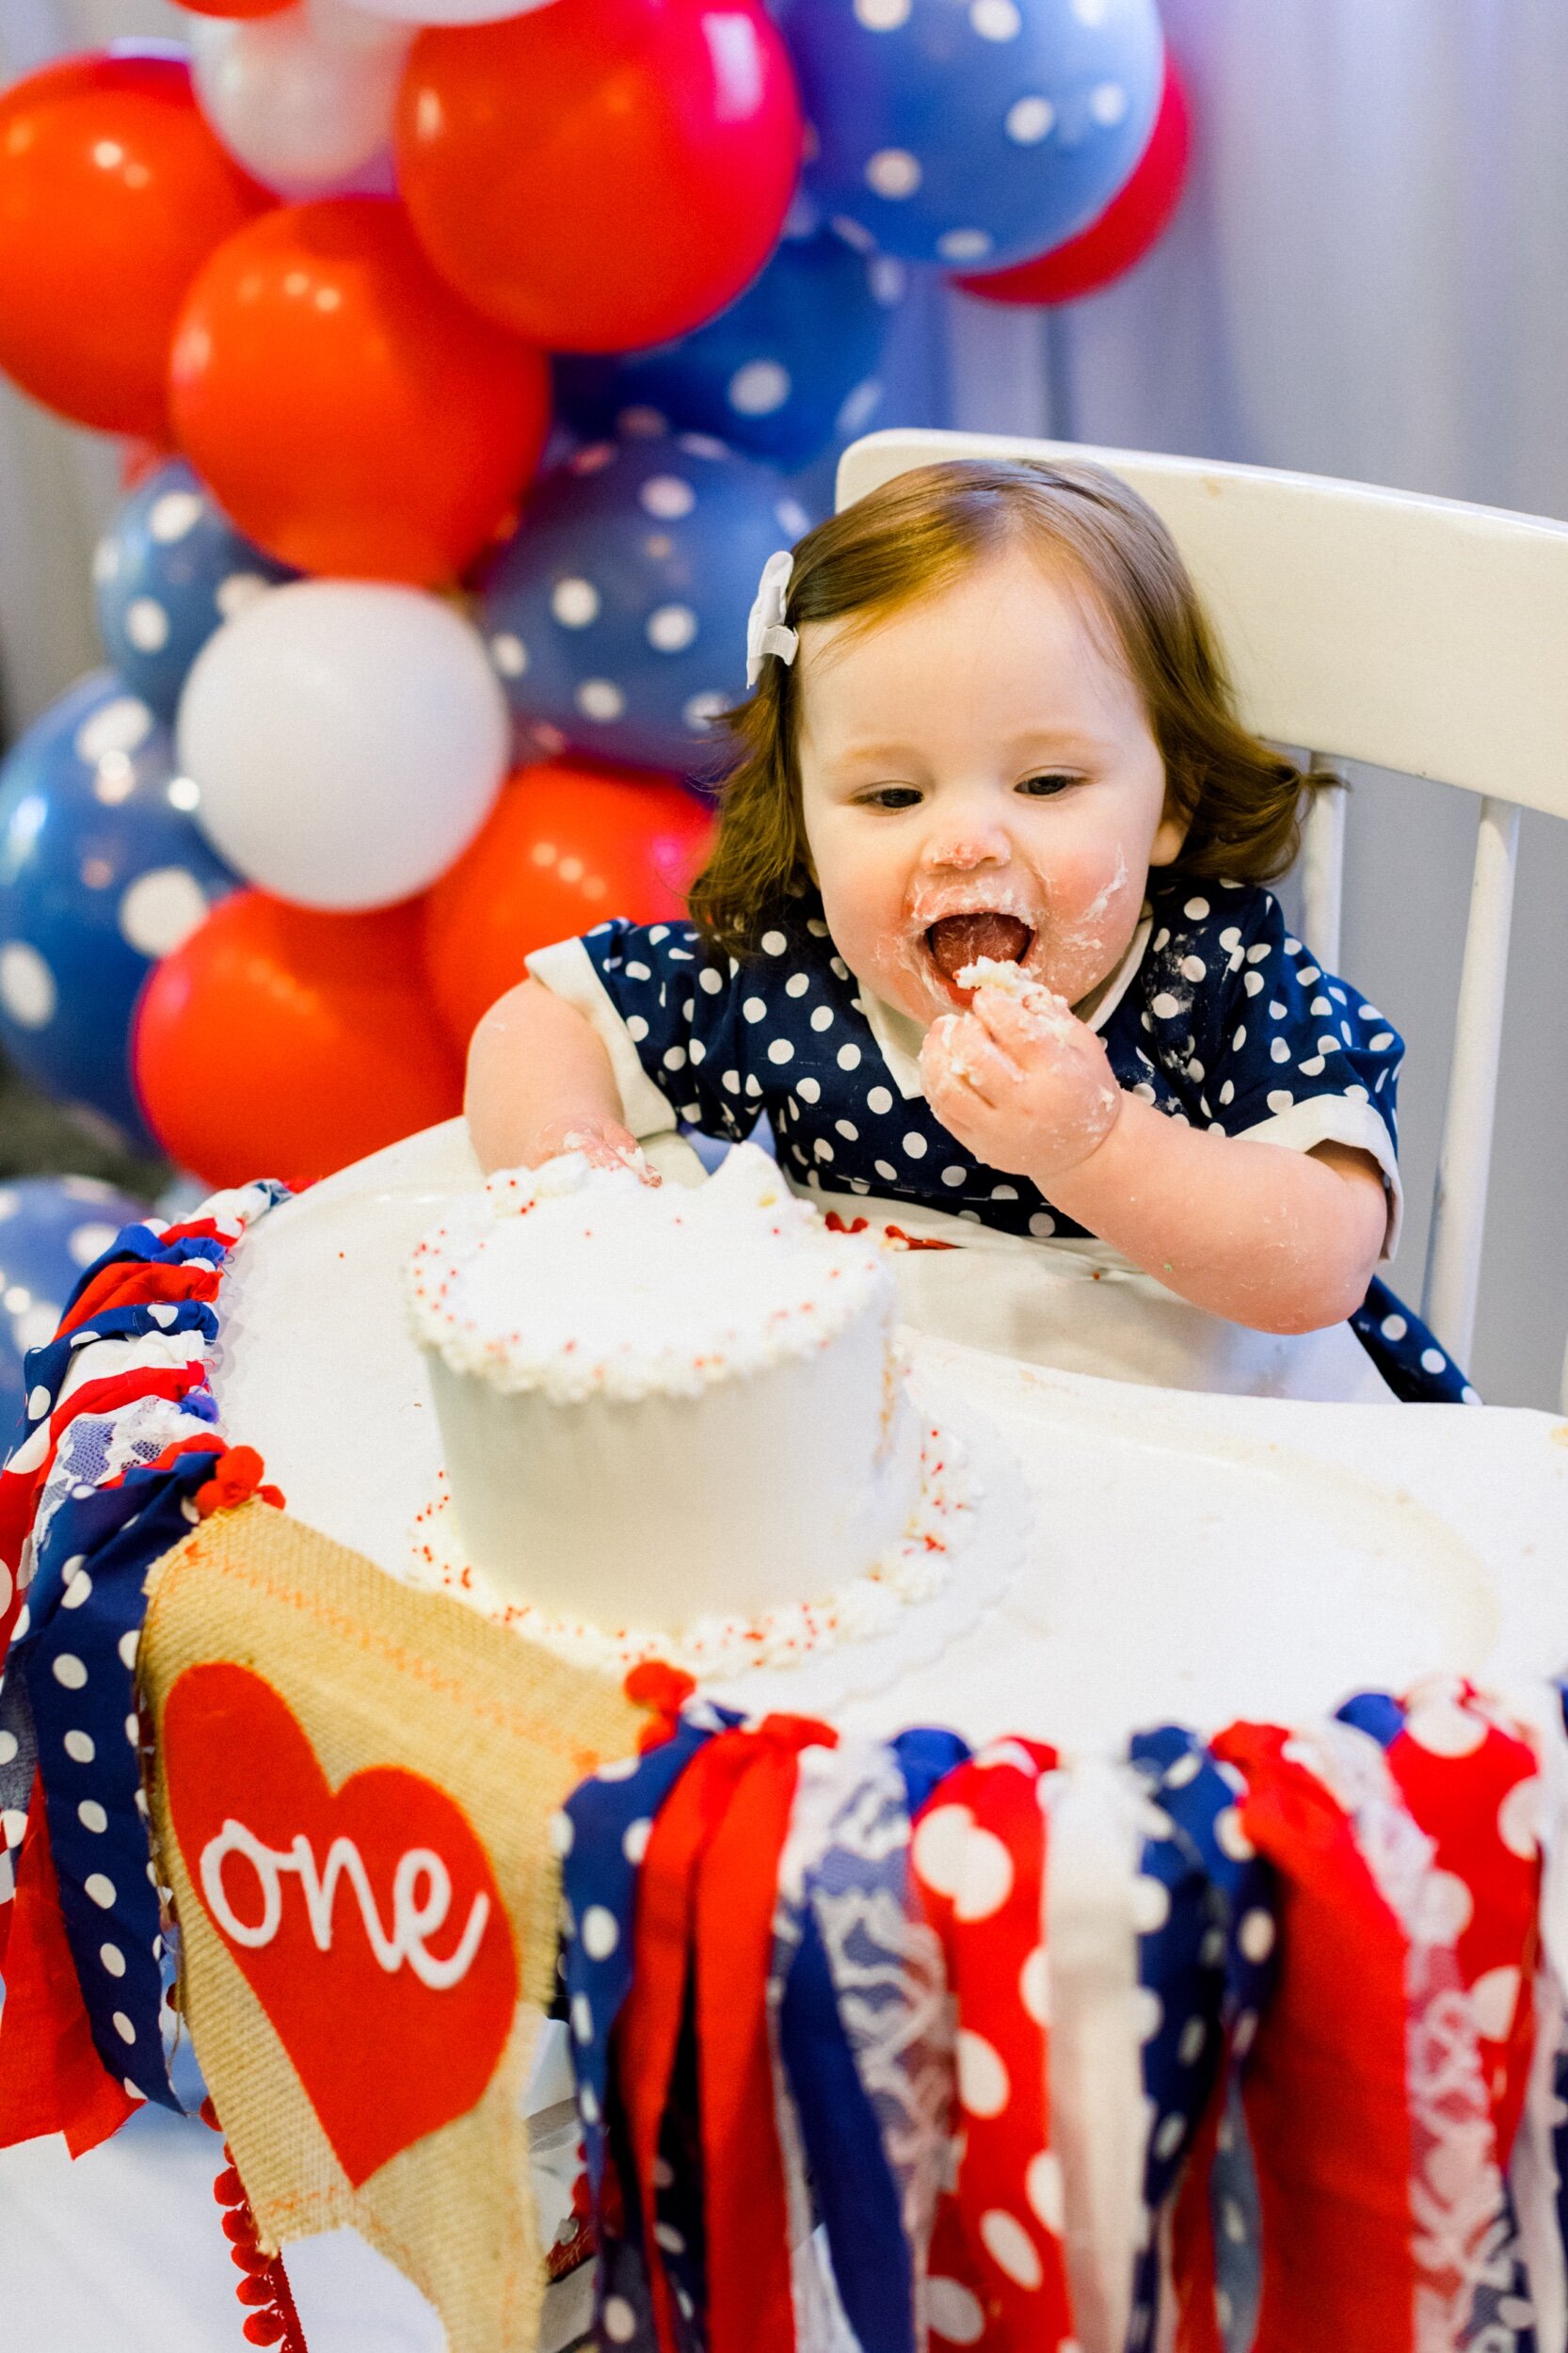
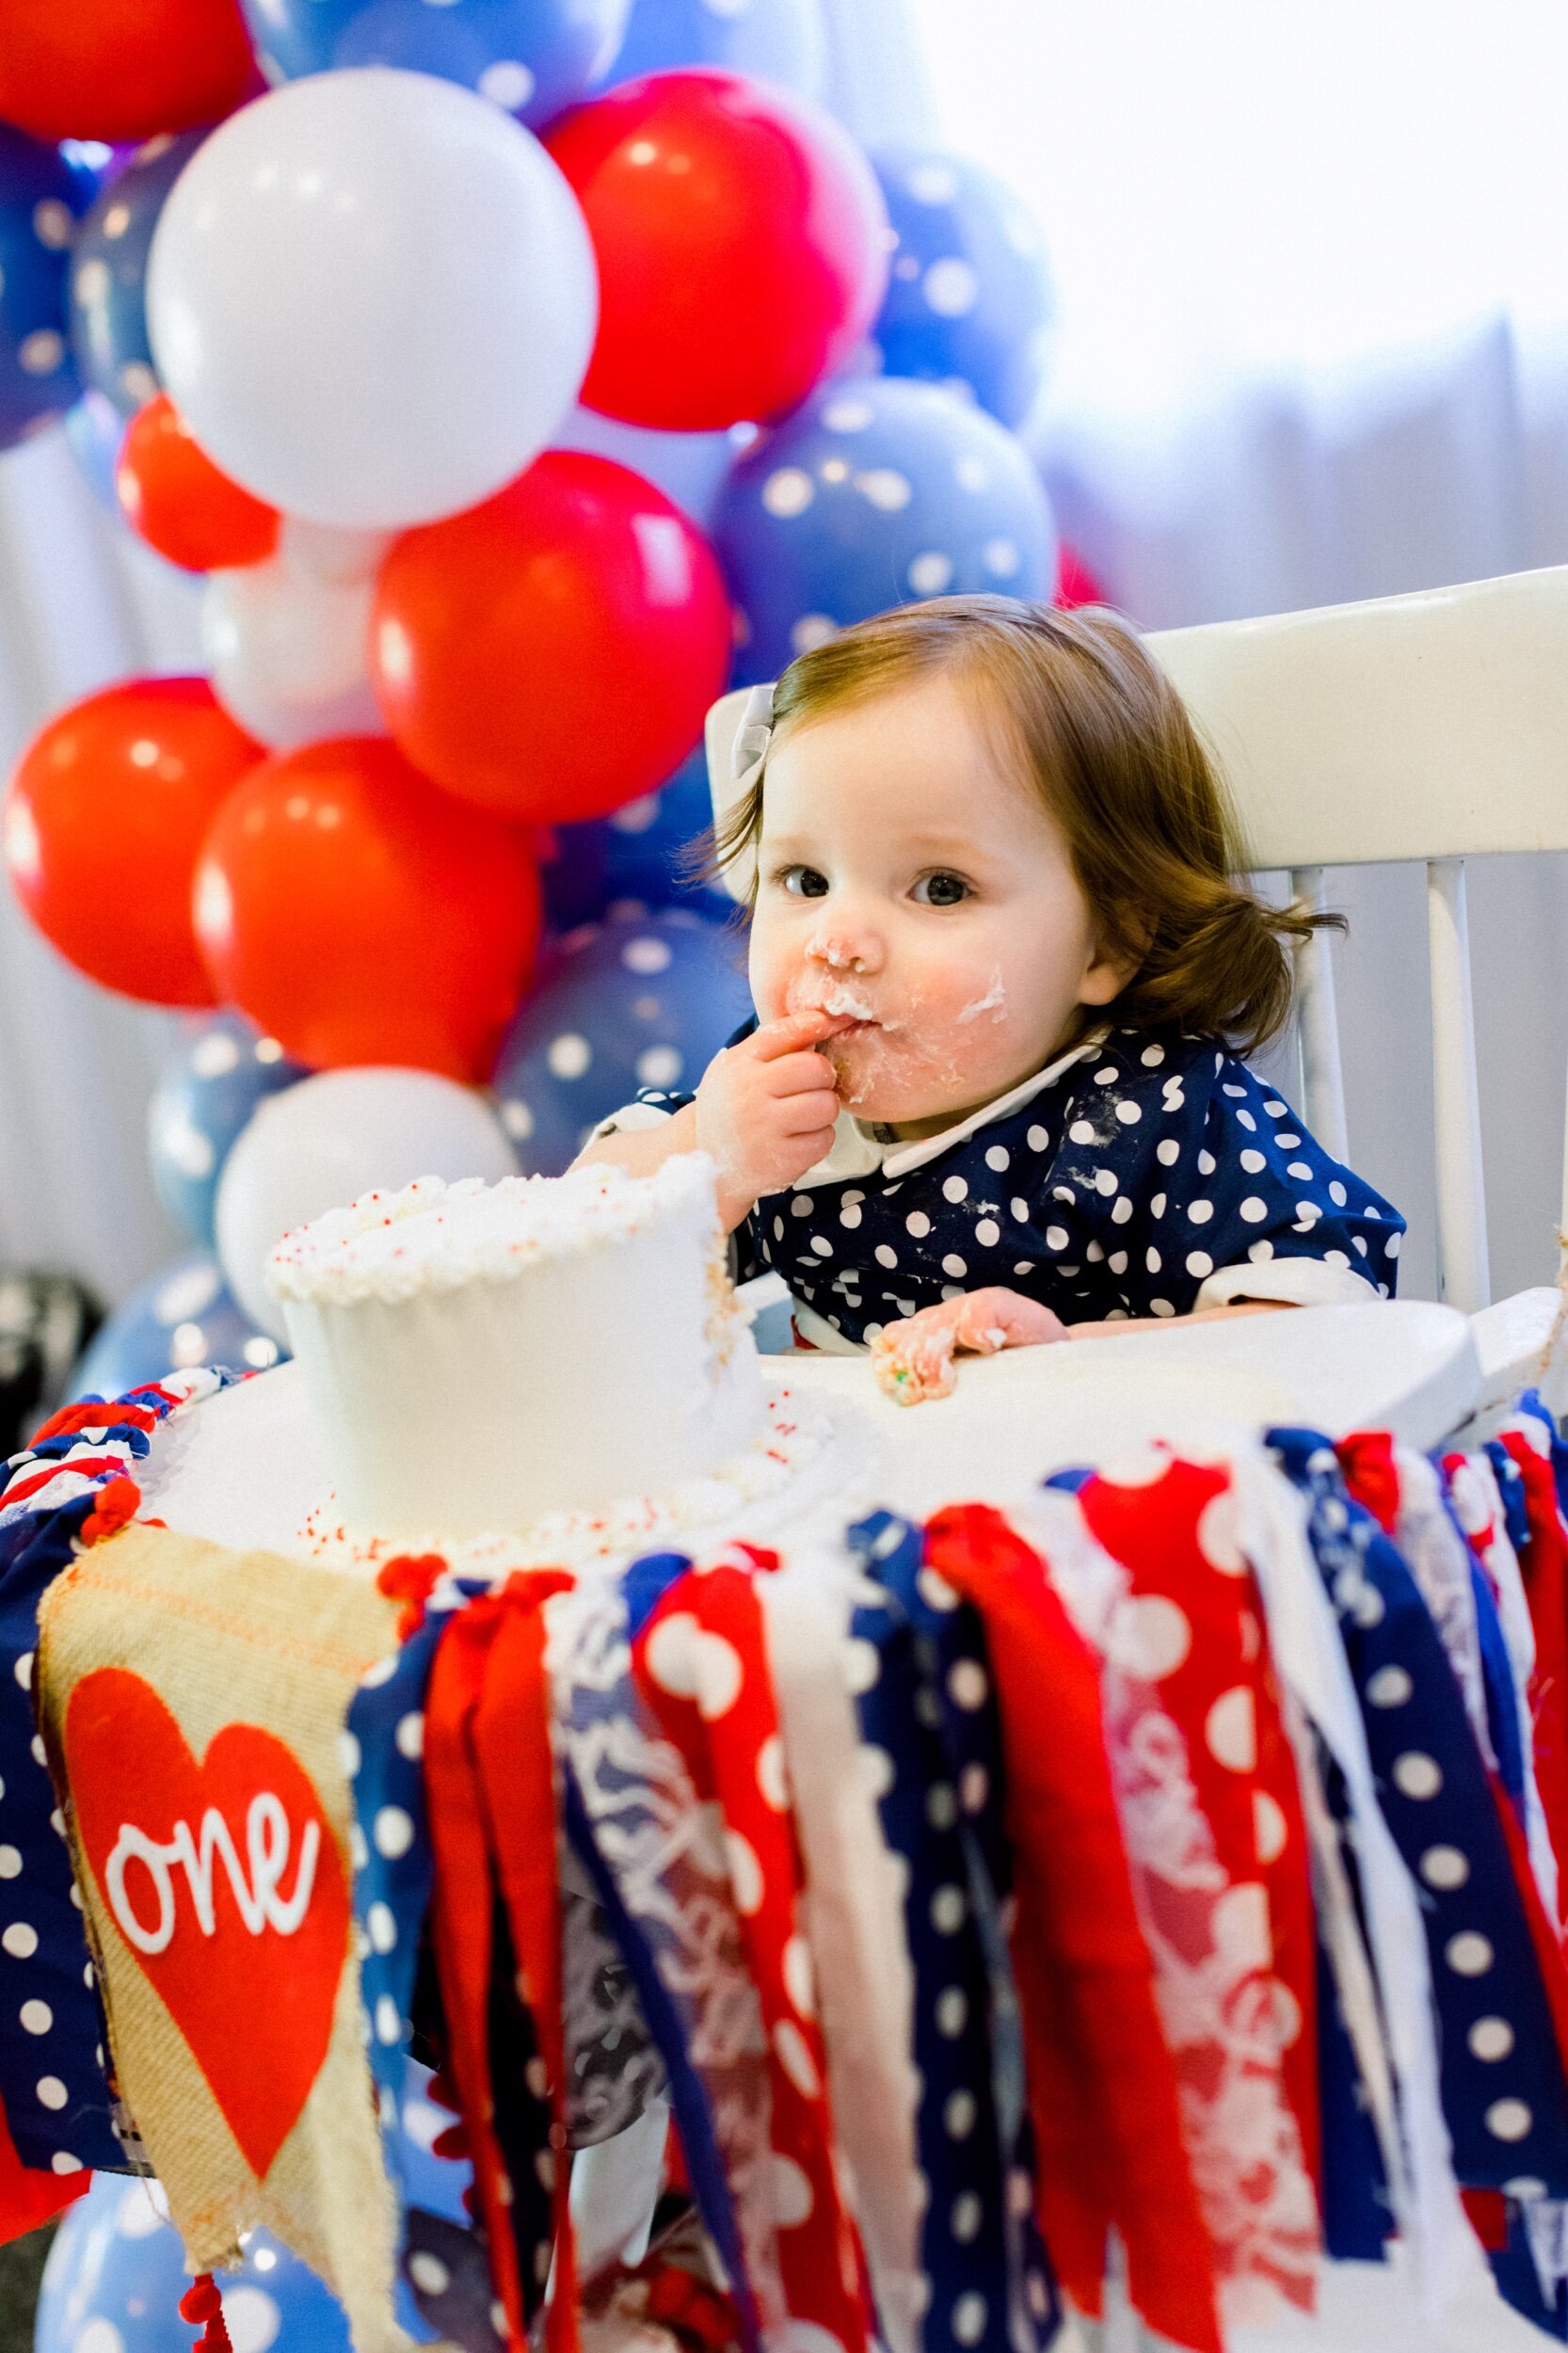
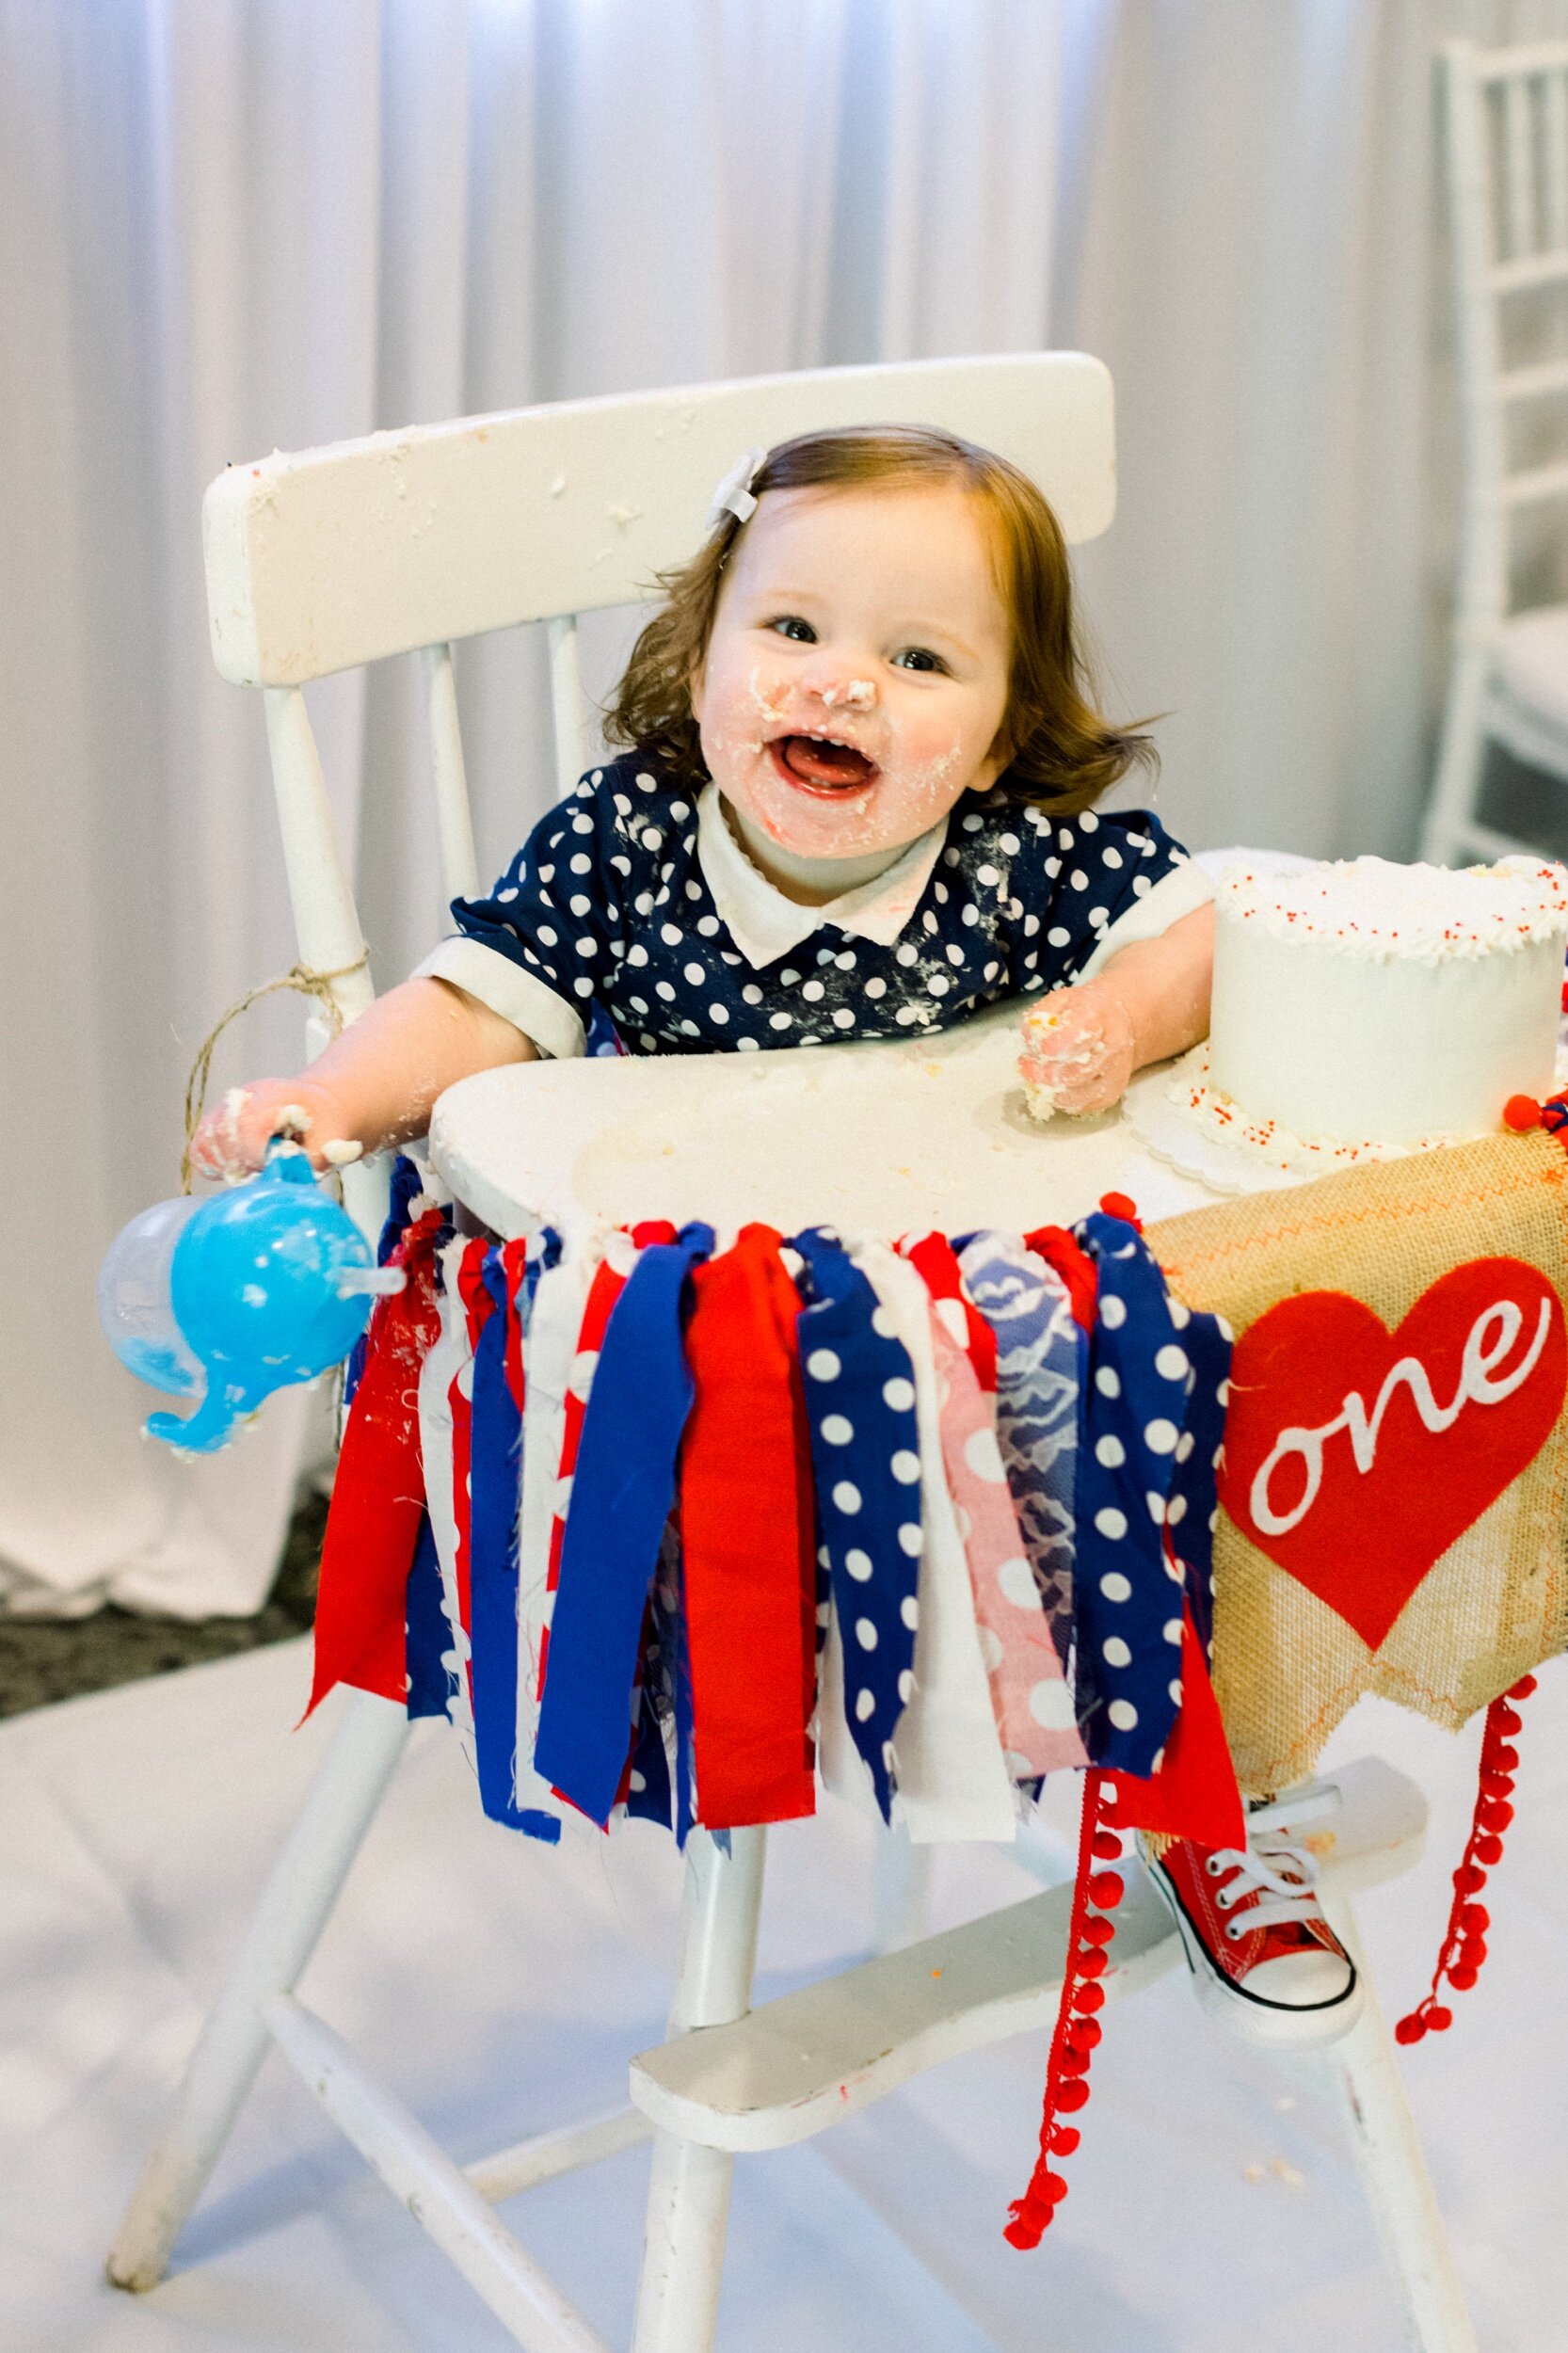
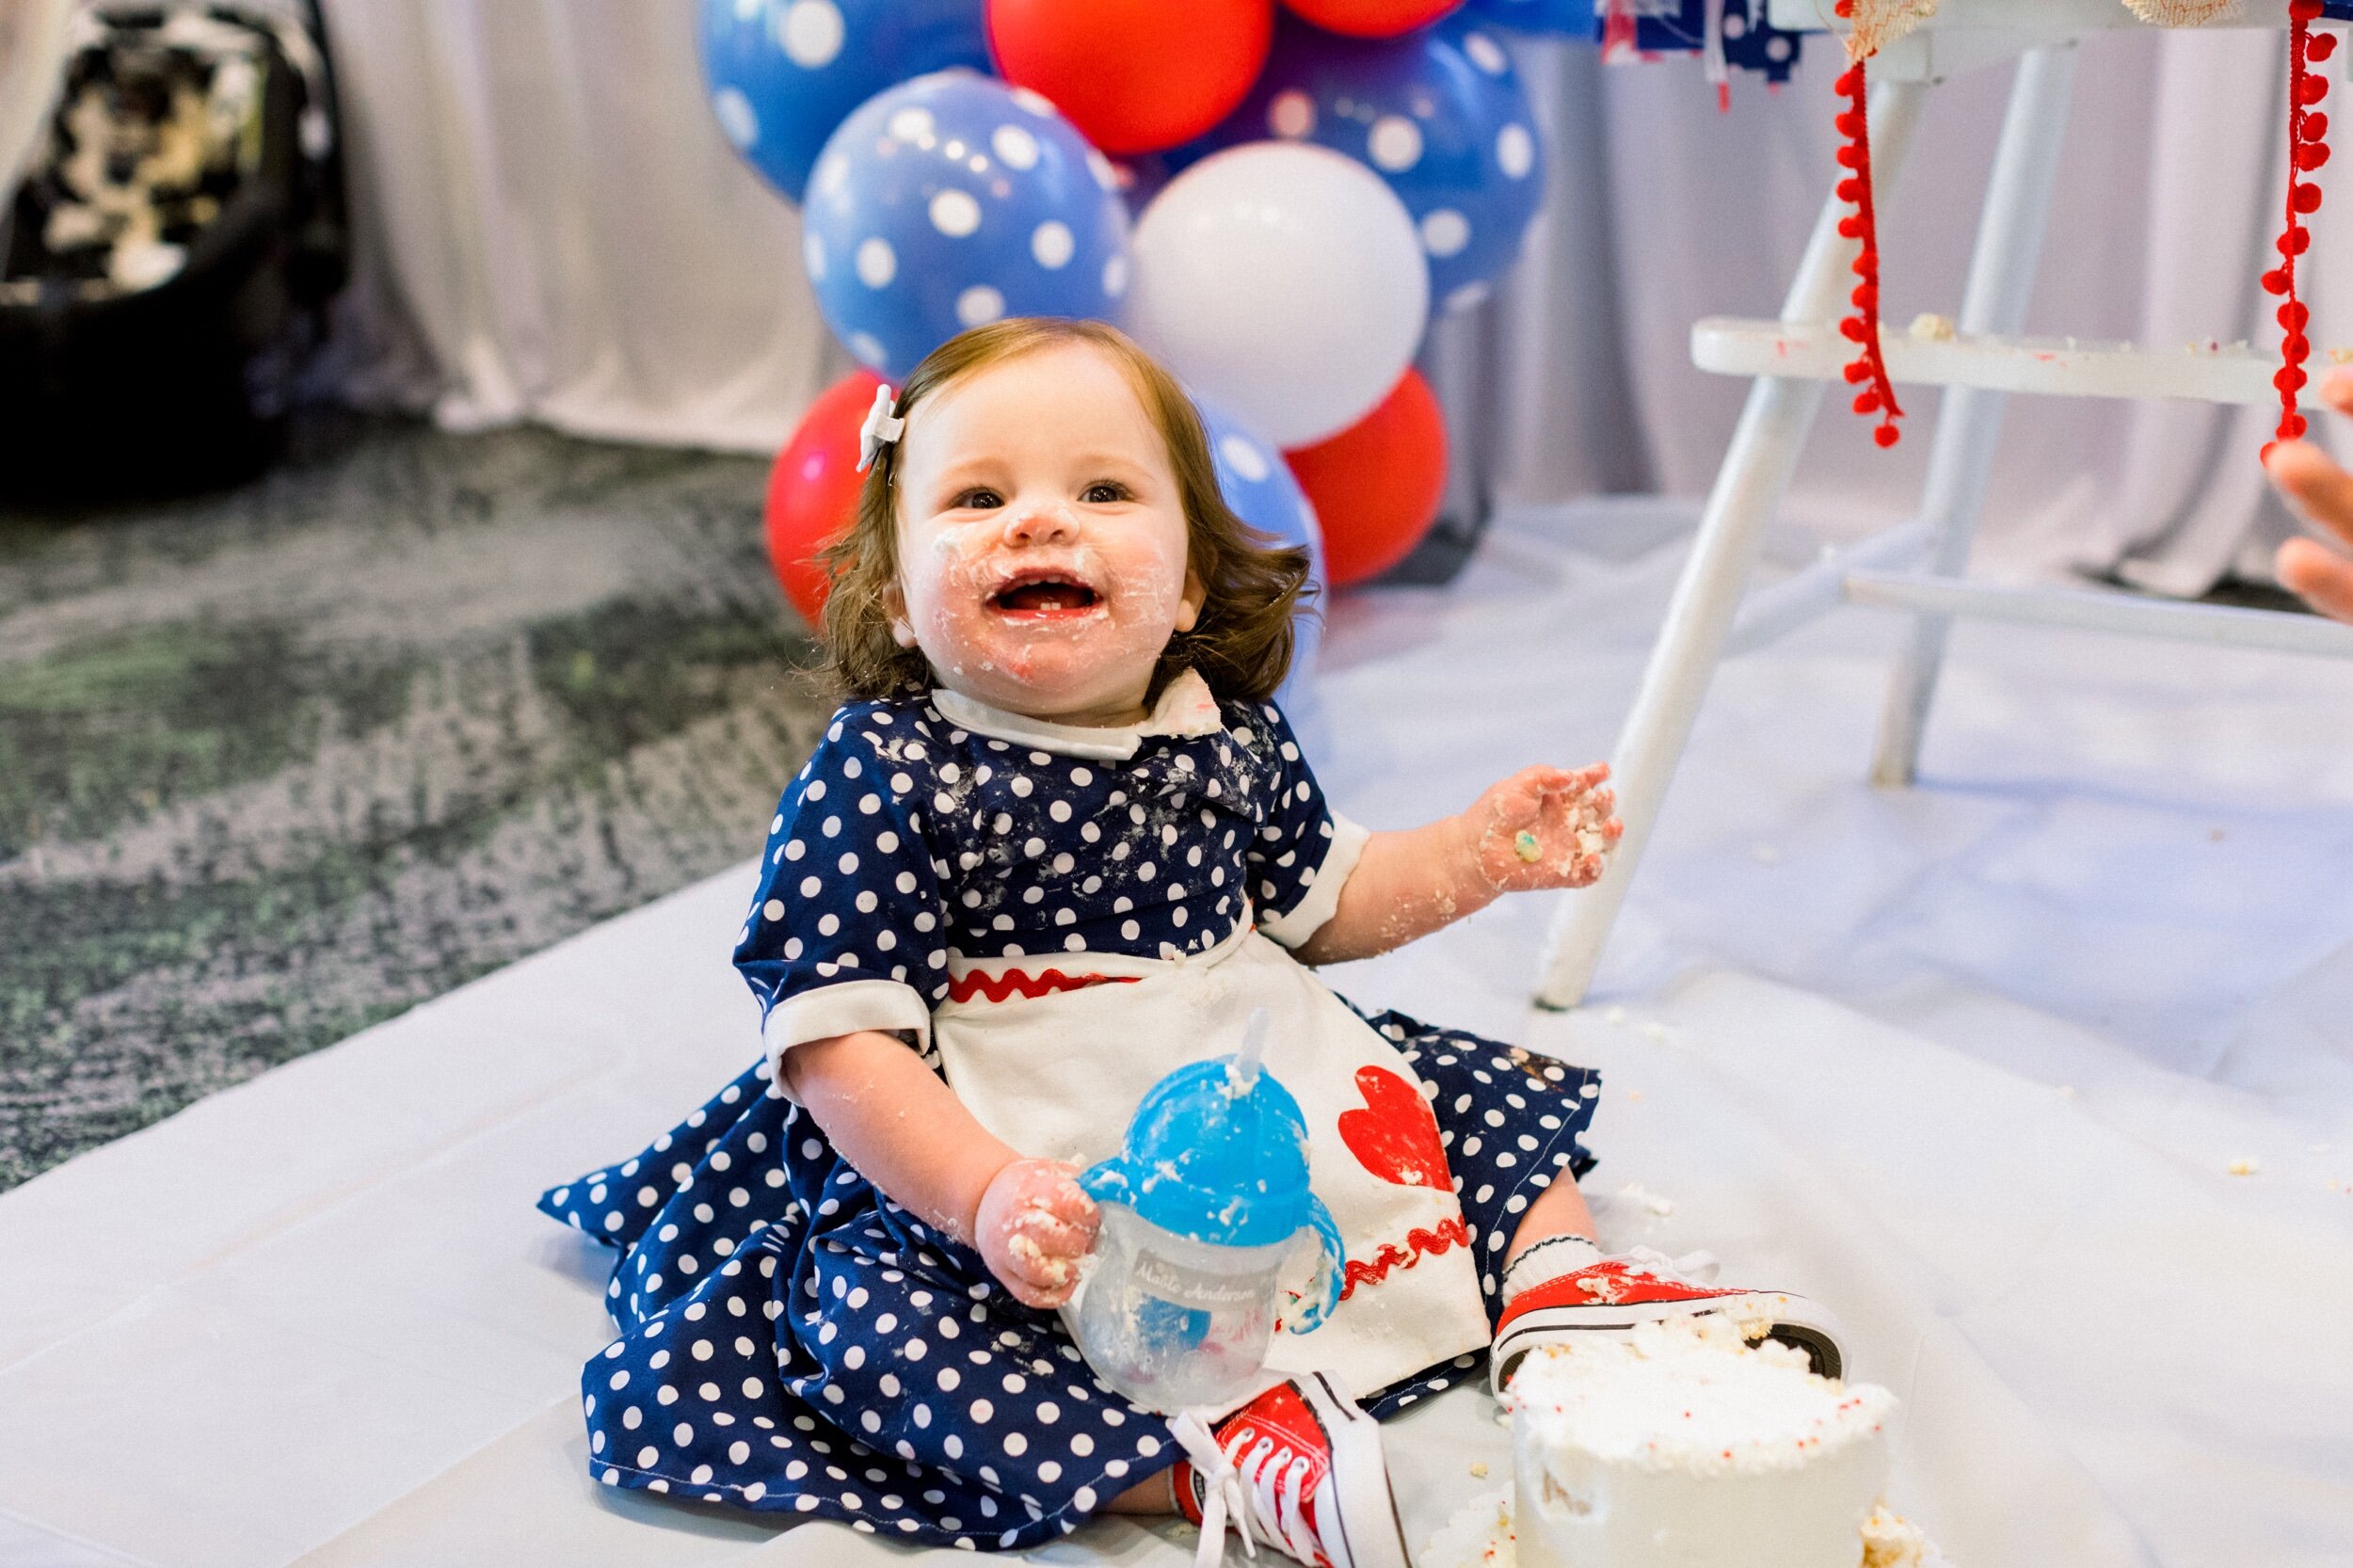
The highlight of this first birthday party was the cake smash, where the guest of honor (wearing a replica of Lucy’s dress) daintily savored every delicious bite, while still getting messy enough for a few cute photos!

I Love Lucy Themed First Birthday on Hello Rascal Kids. Family lifestyle blog for parents and kids.

Fabulous Vendor Partners:

Photo Gallery

Shared by Meredith Anderson, mom of 1 rascal, age 17 months.

Ice Cream Art Project

Easy Art Project at Home. Ice Cream Art Project on Hello Rascal Kids Lifestyle Blog.

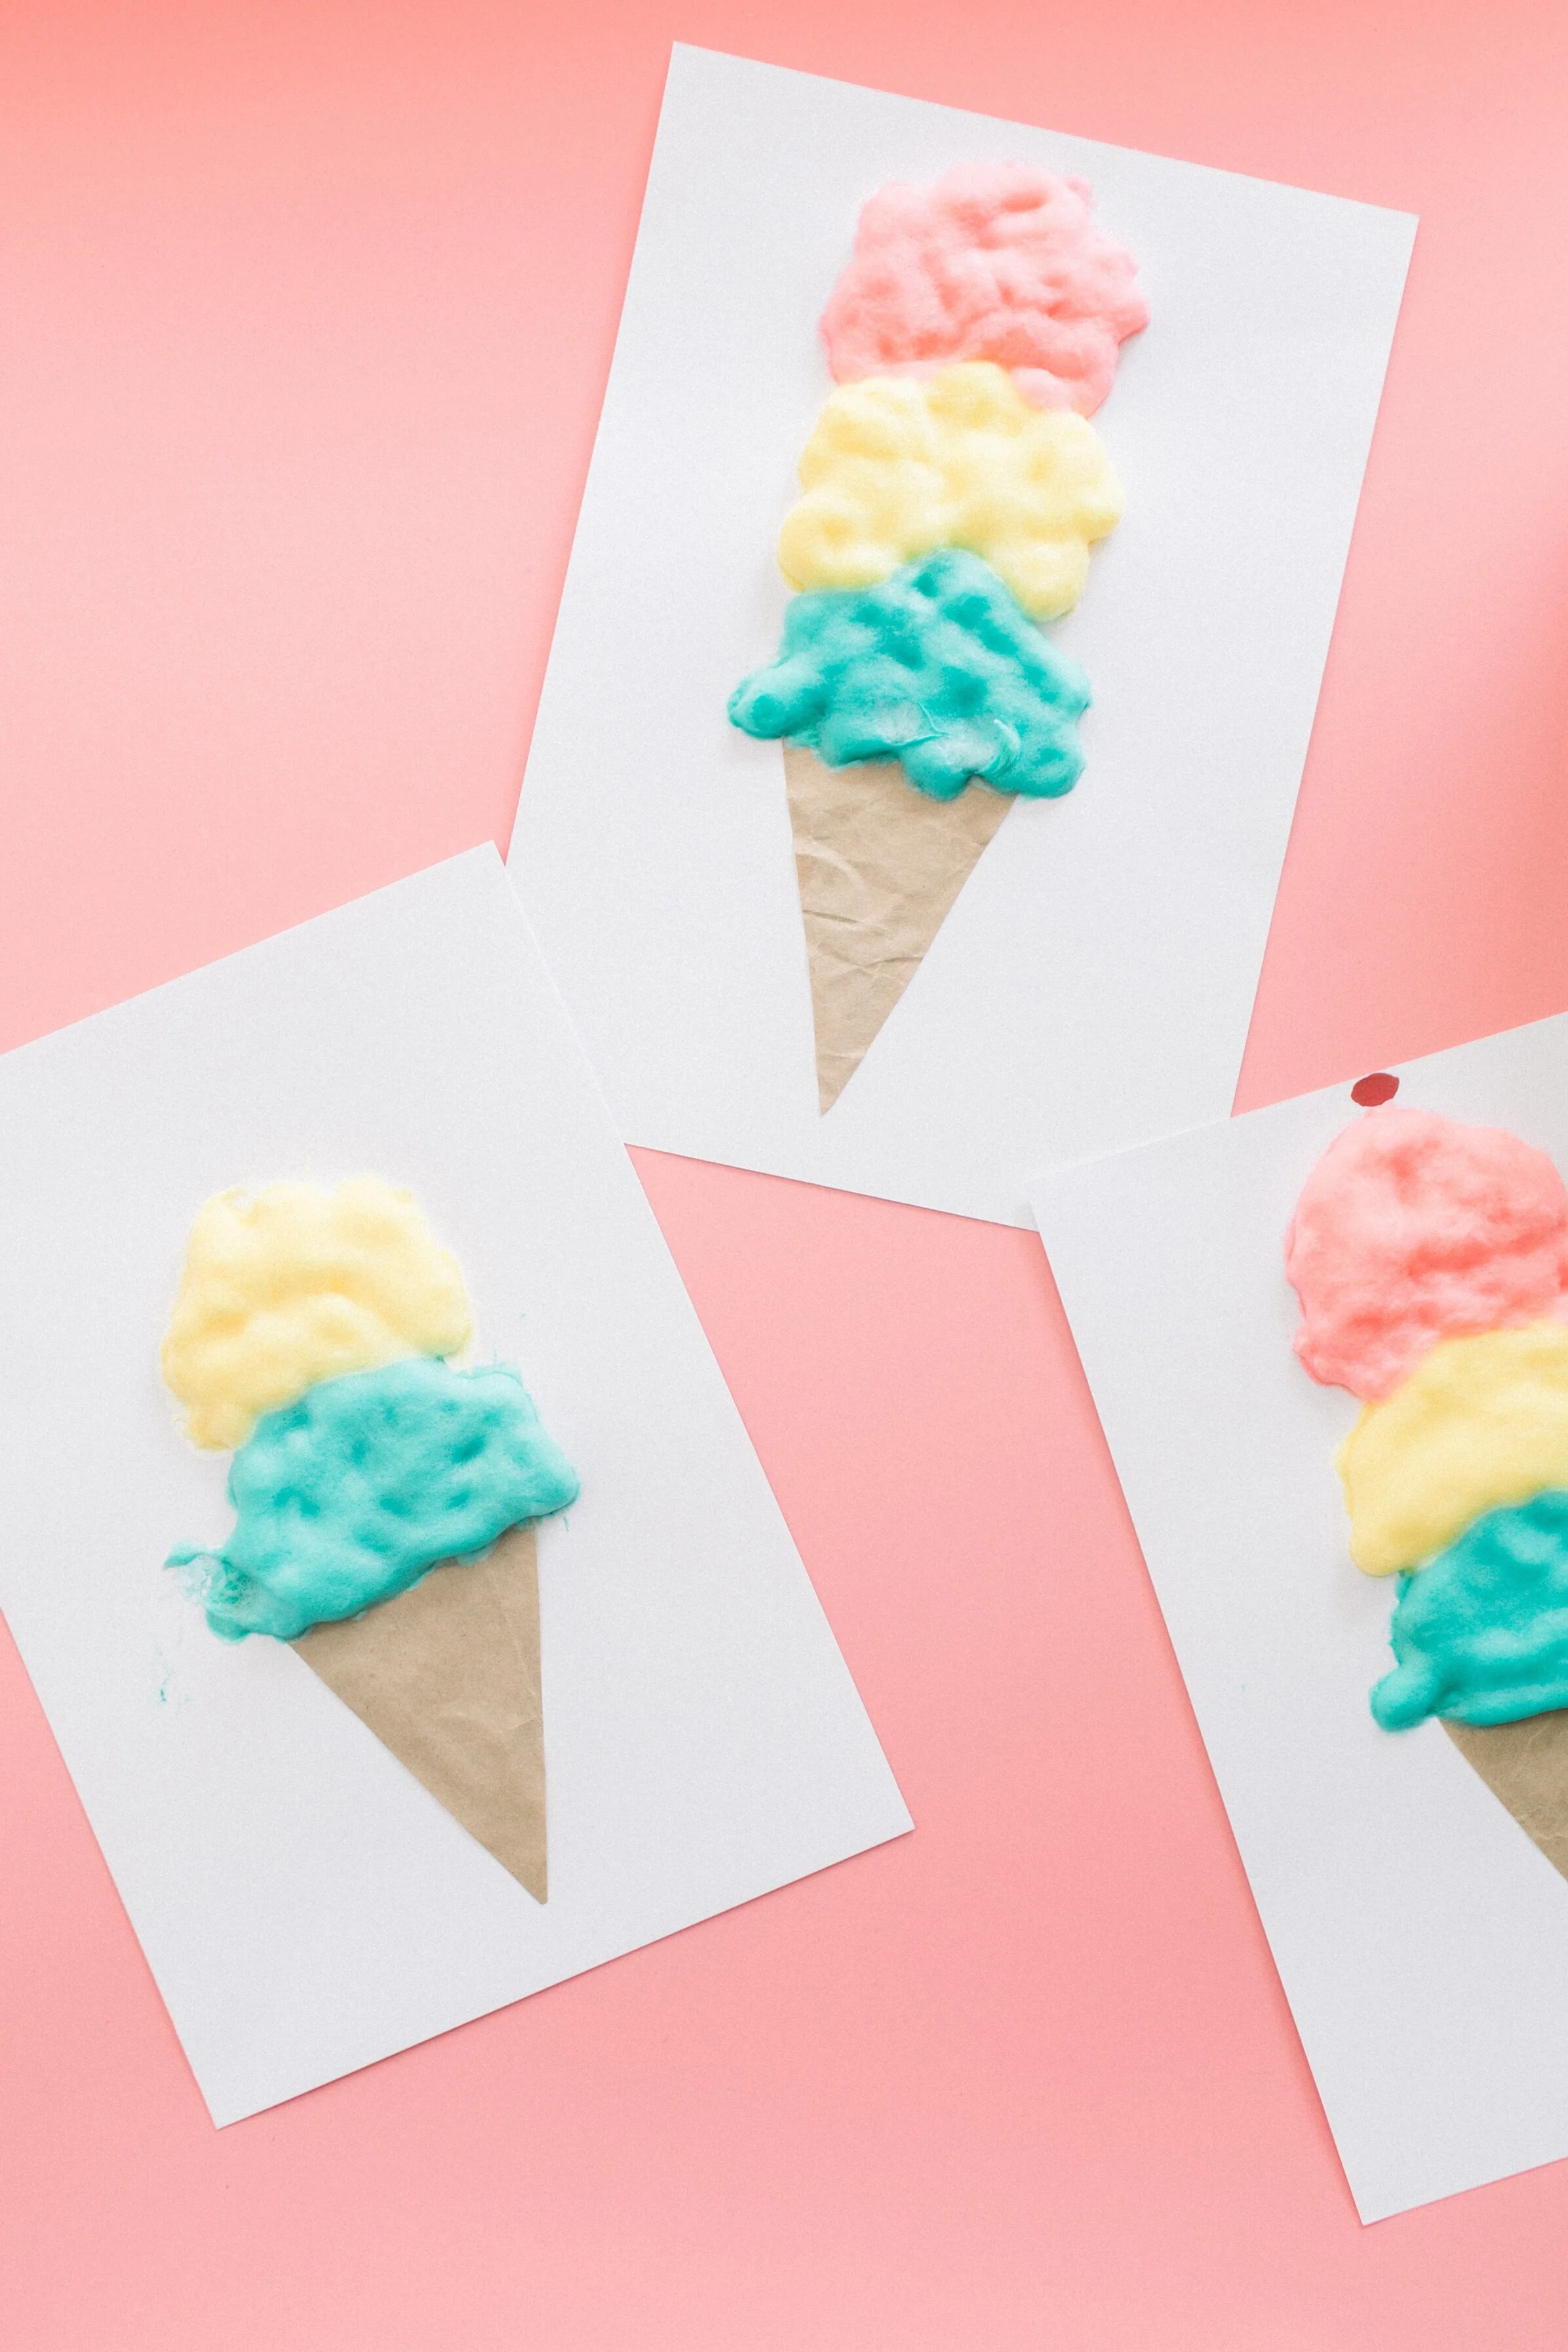
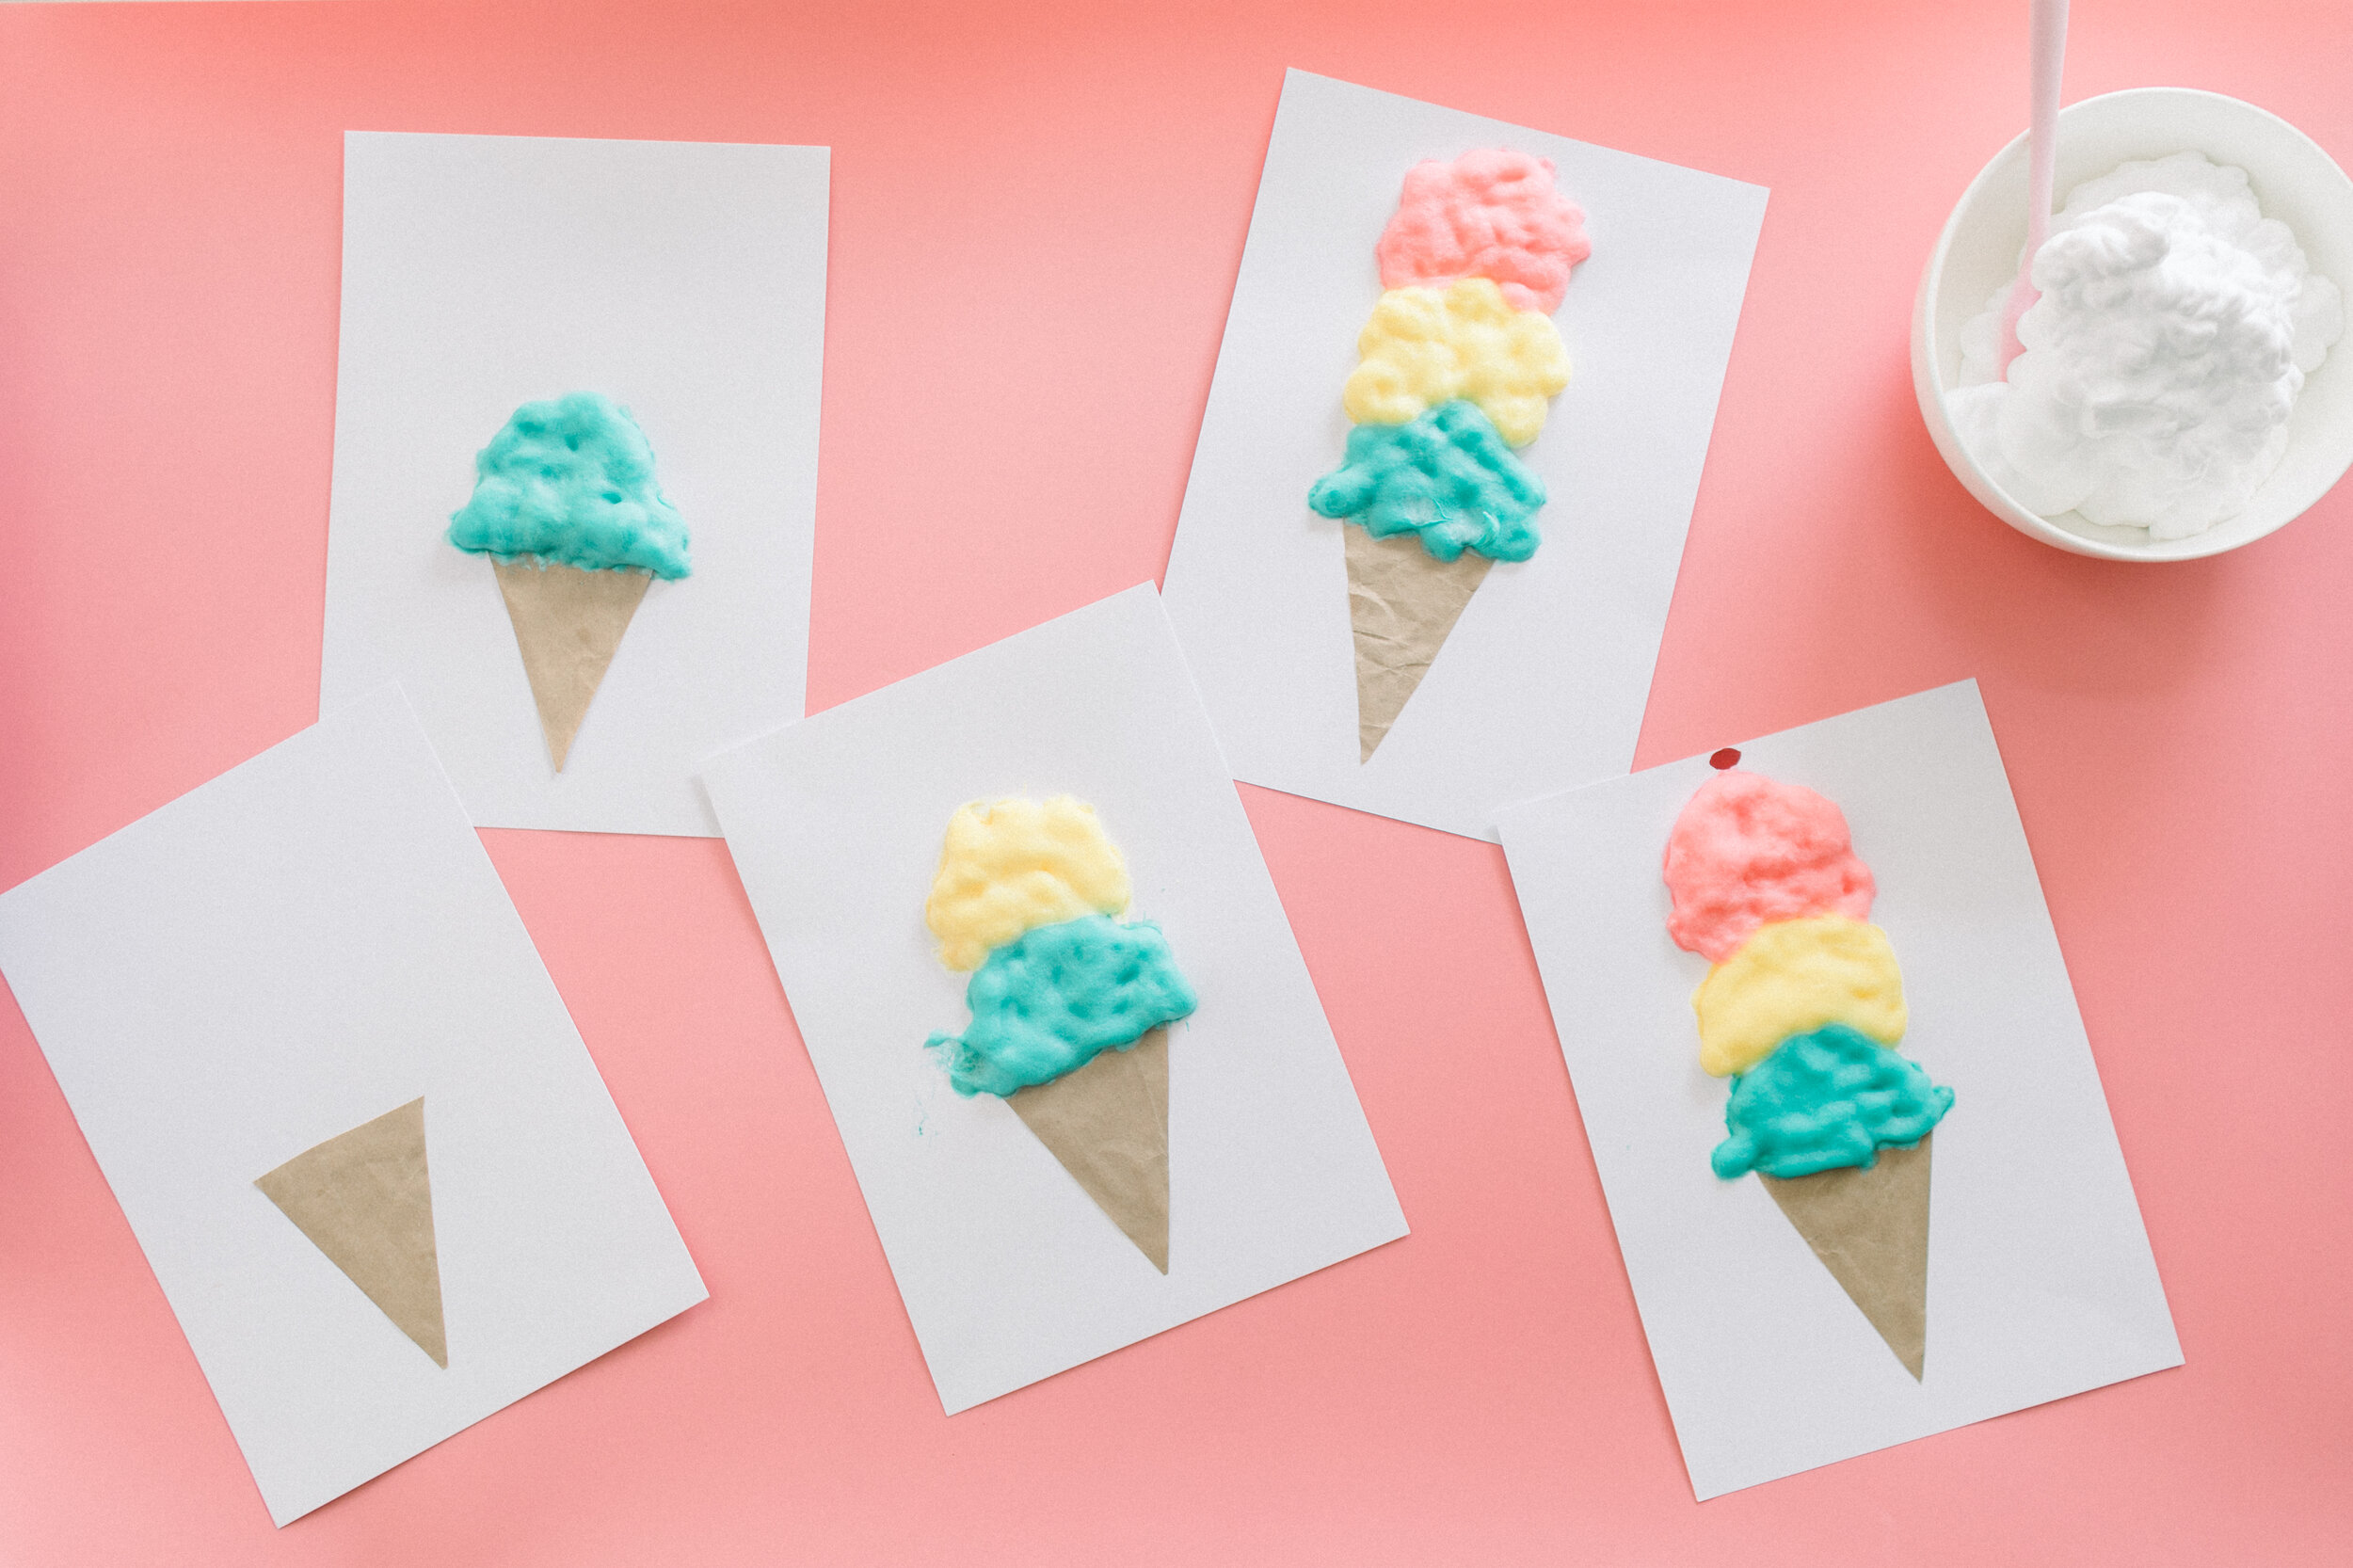
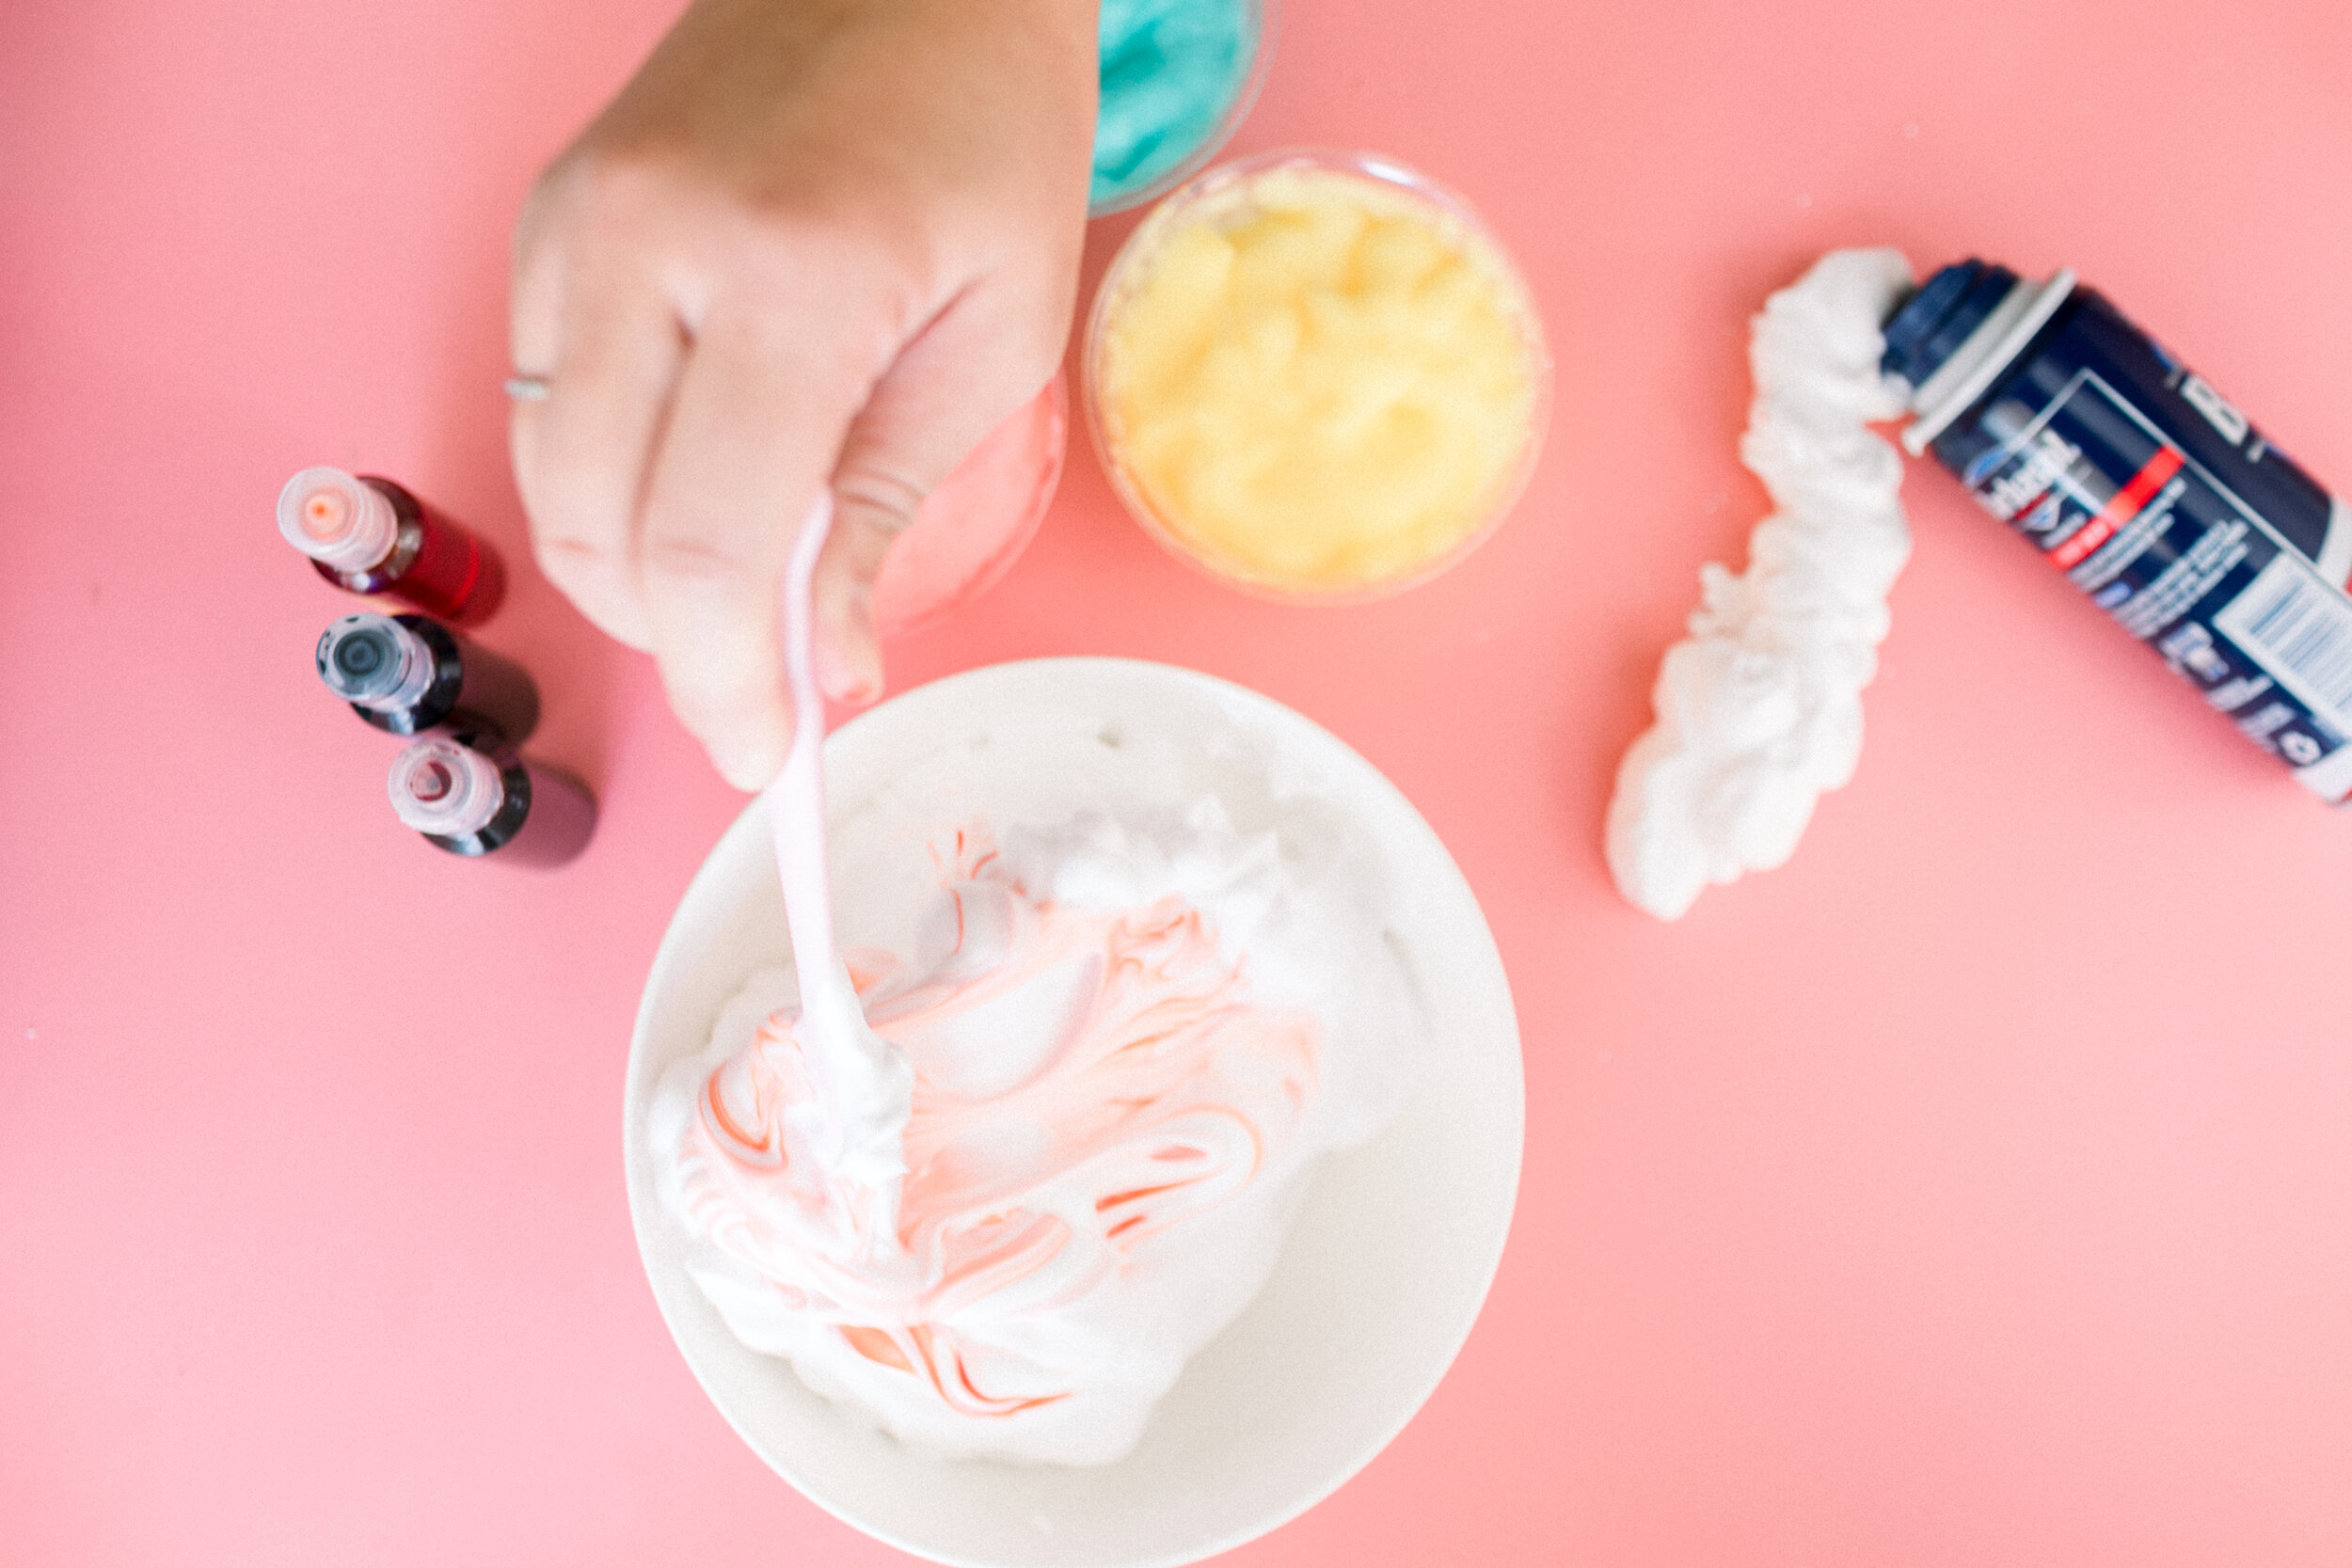
What do kids love more than a combination of attending a fun party, playing dress up, and making arts and crafts? Throwing ice cream into the mix! Homemade puffy paint is a great way to imitate the texture and look of ice cream. It’s made of shaving cream and is easy to clean up, so don’t be afraid to get creative with your rascals!

Supplies

  • White glue

  • Shaving cream

  • Food coloring

  • Card stock

  • Brown paper

  • Scissors

  • Pencil

  • Paintbrush

  • Spatula

Easy Art Project at Home. Ice Cream Art Project on Hello Rascal Kids Lifestyle Blog.

Design

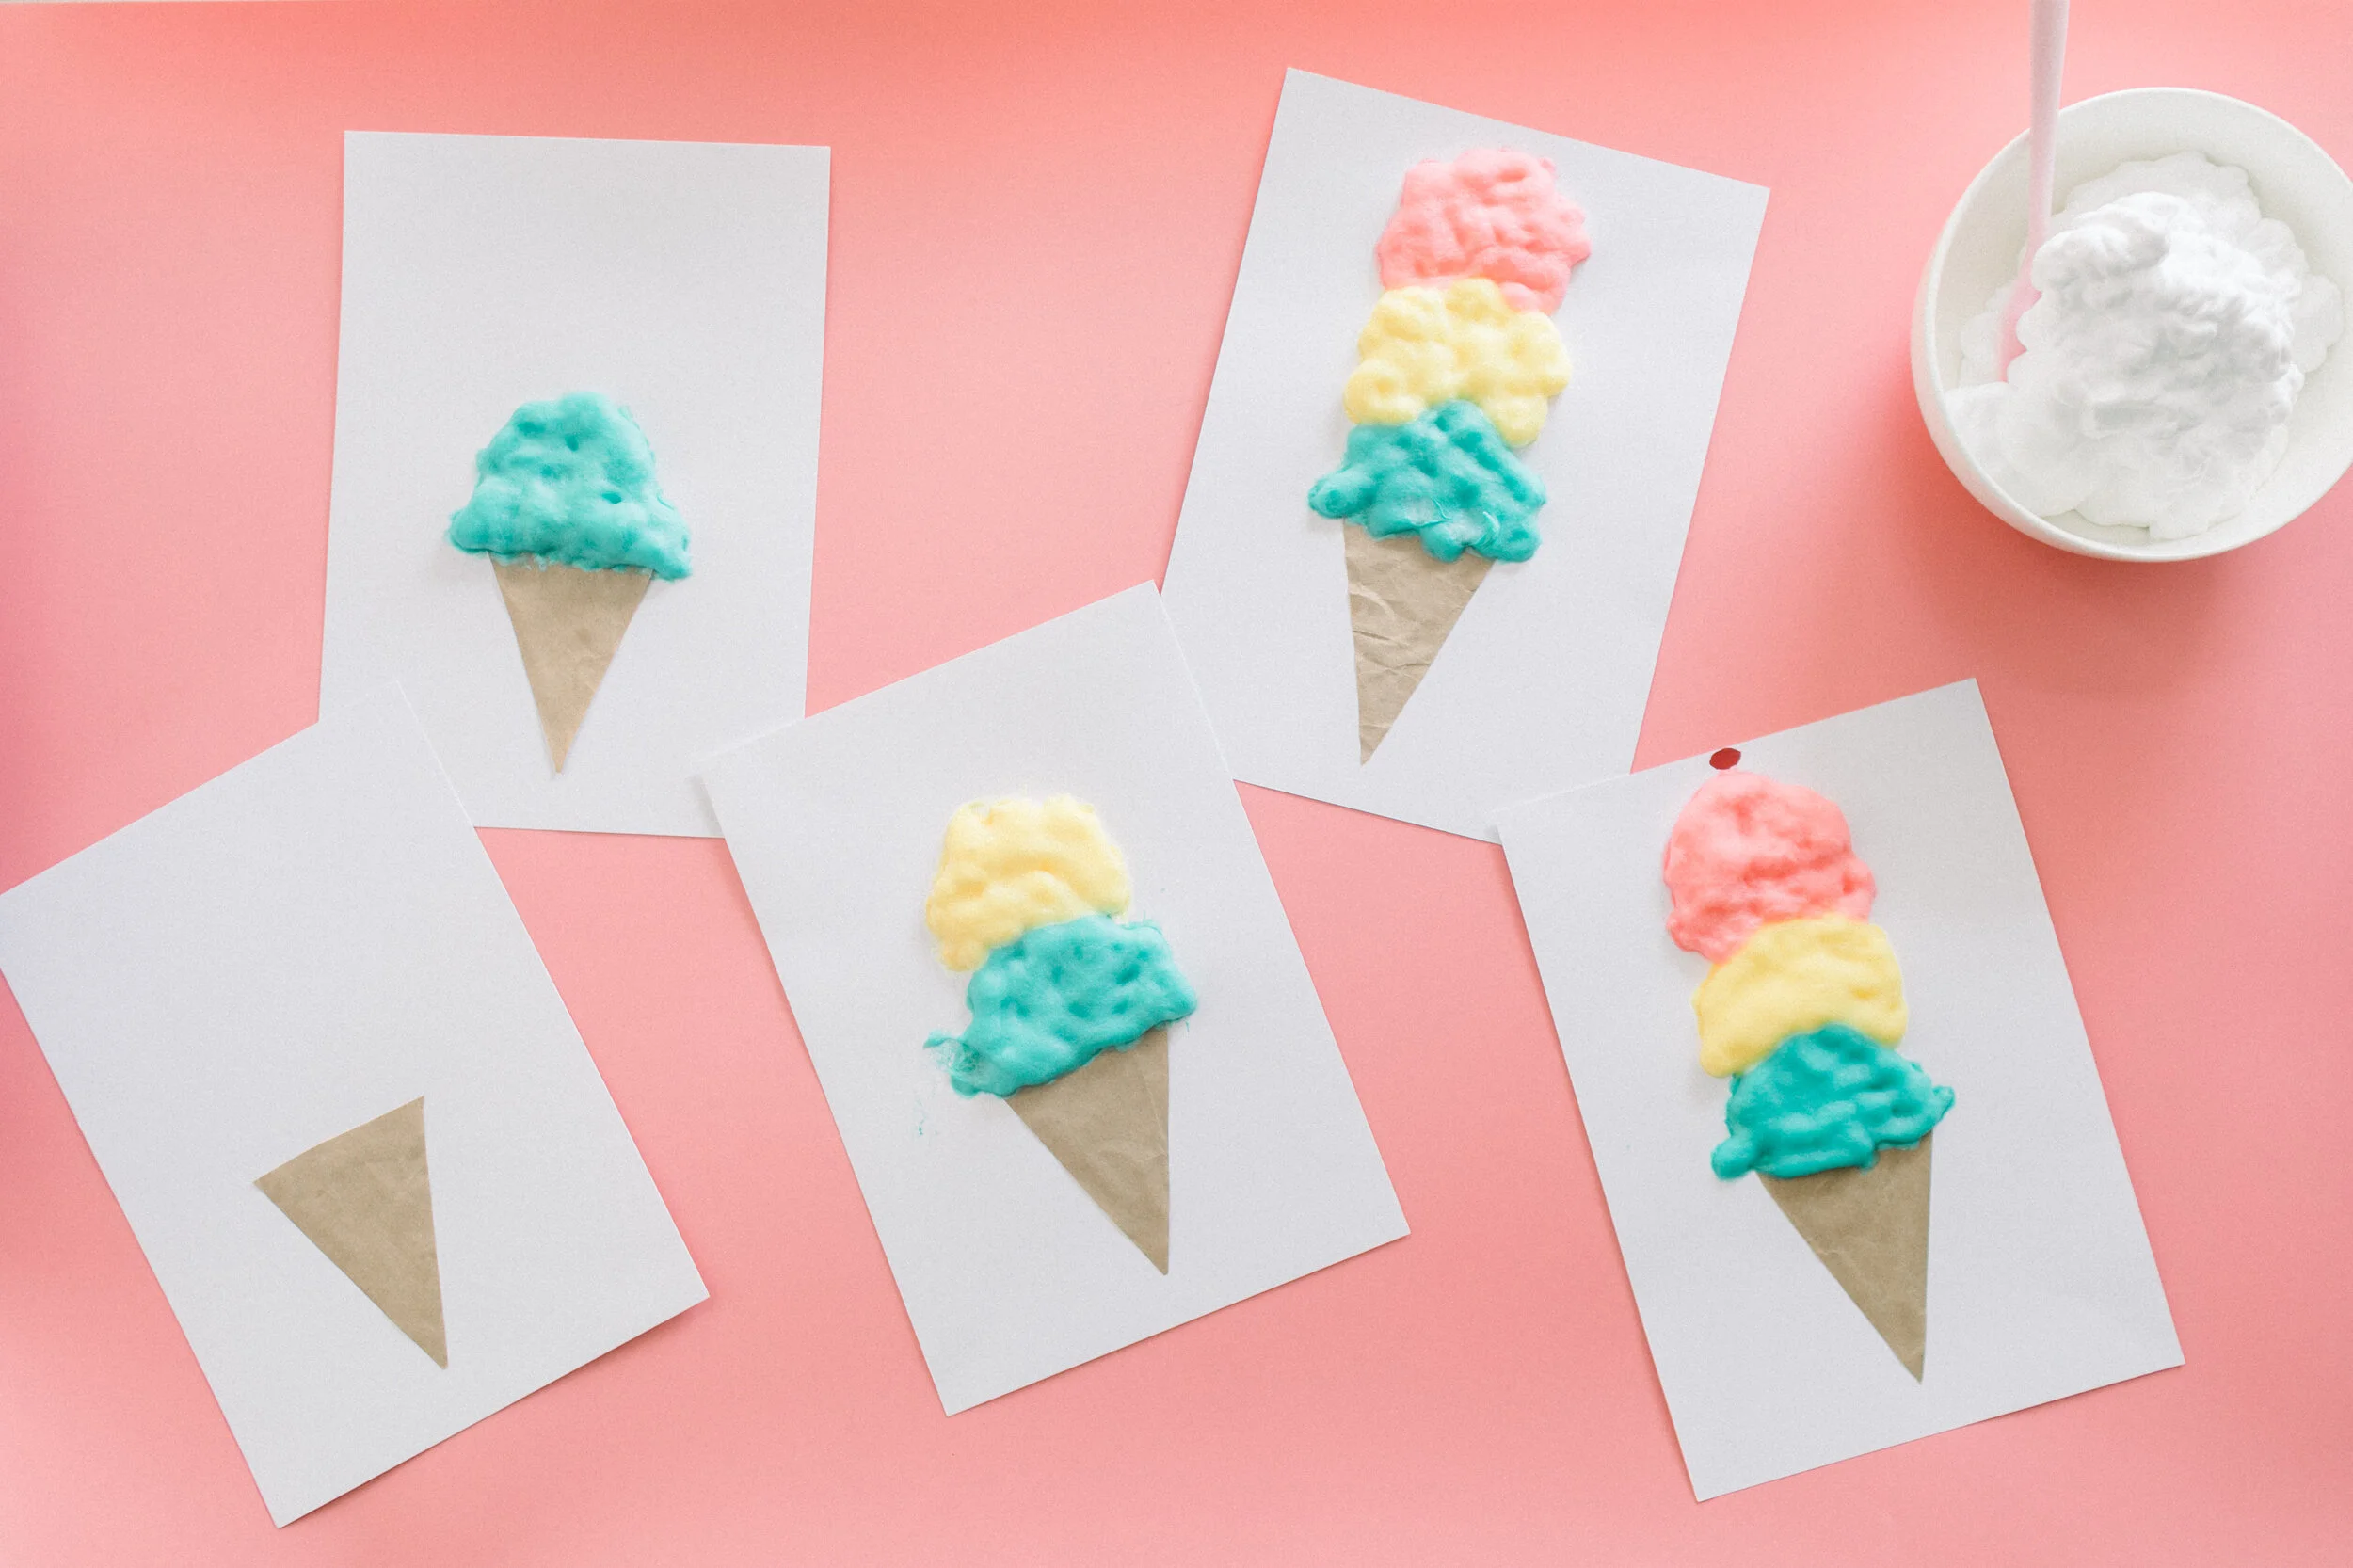
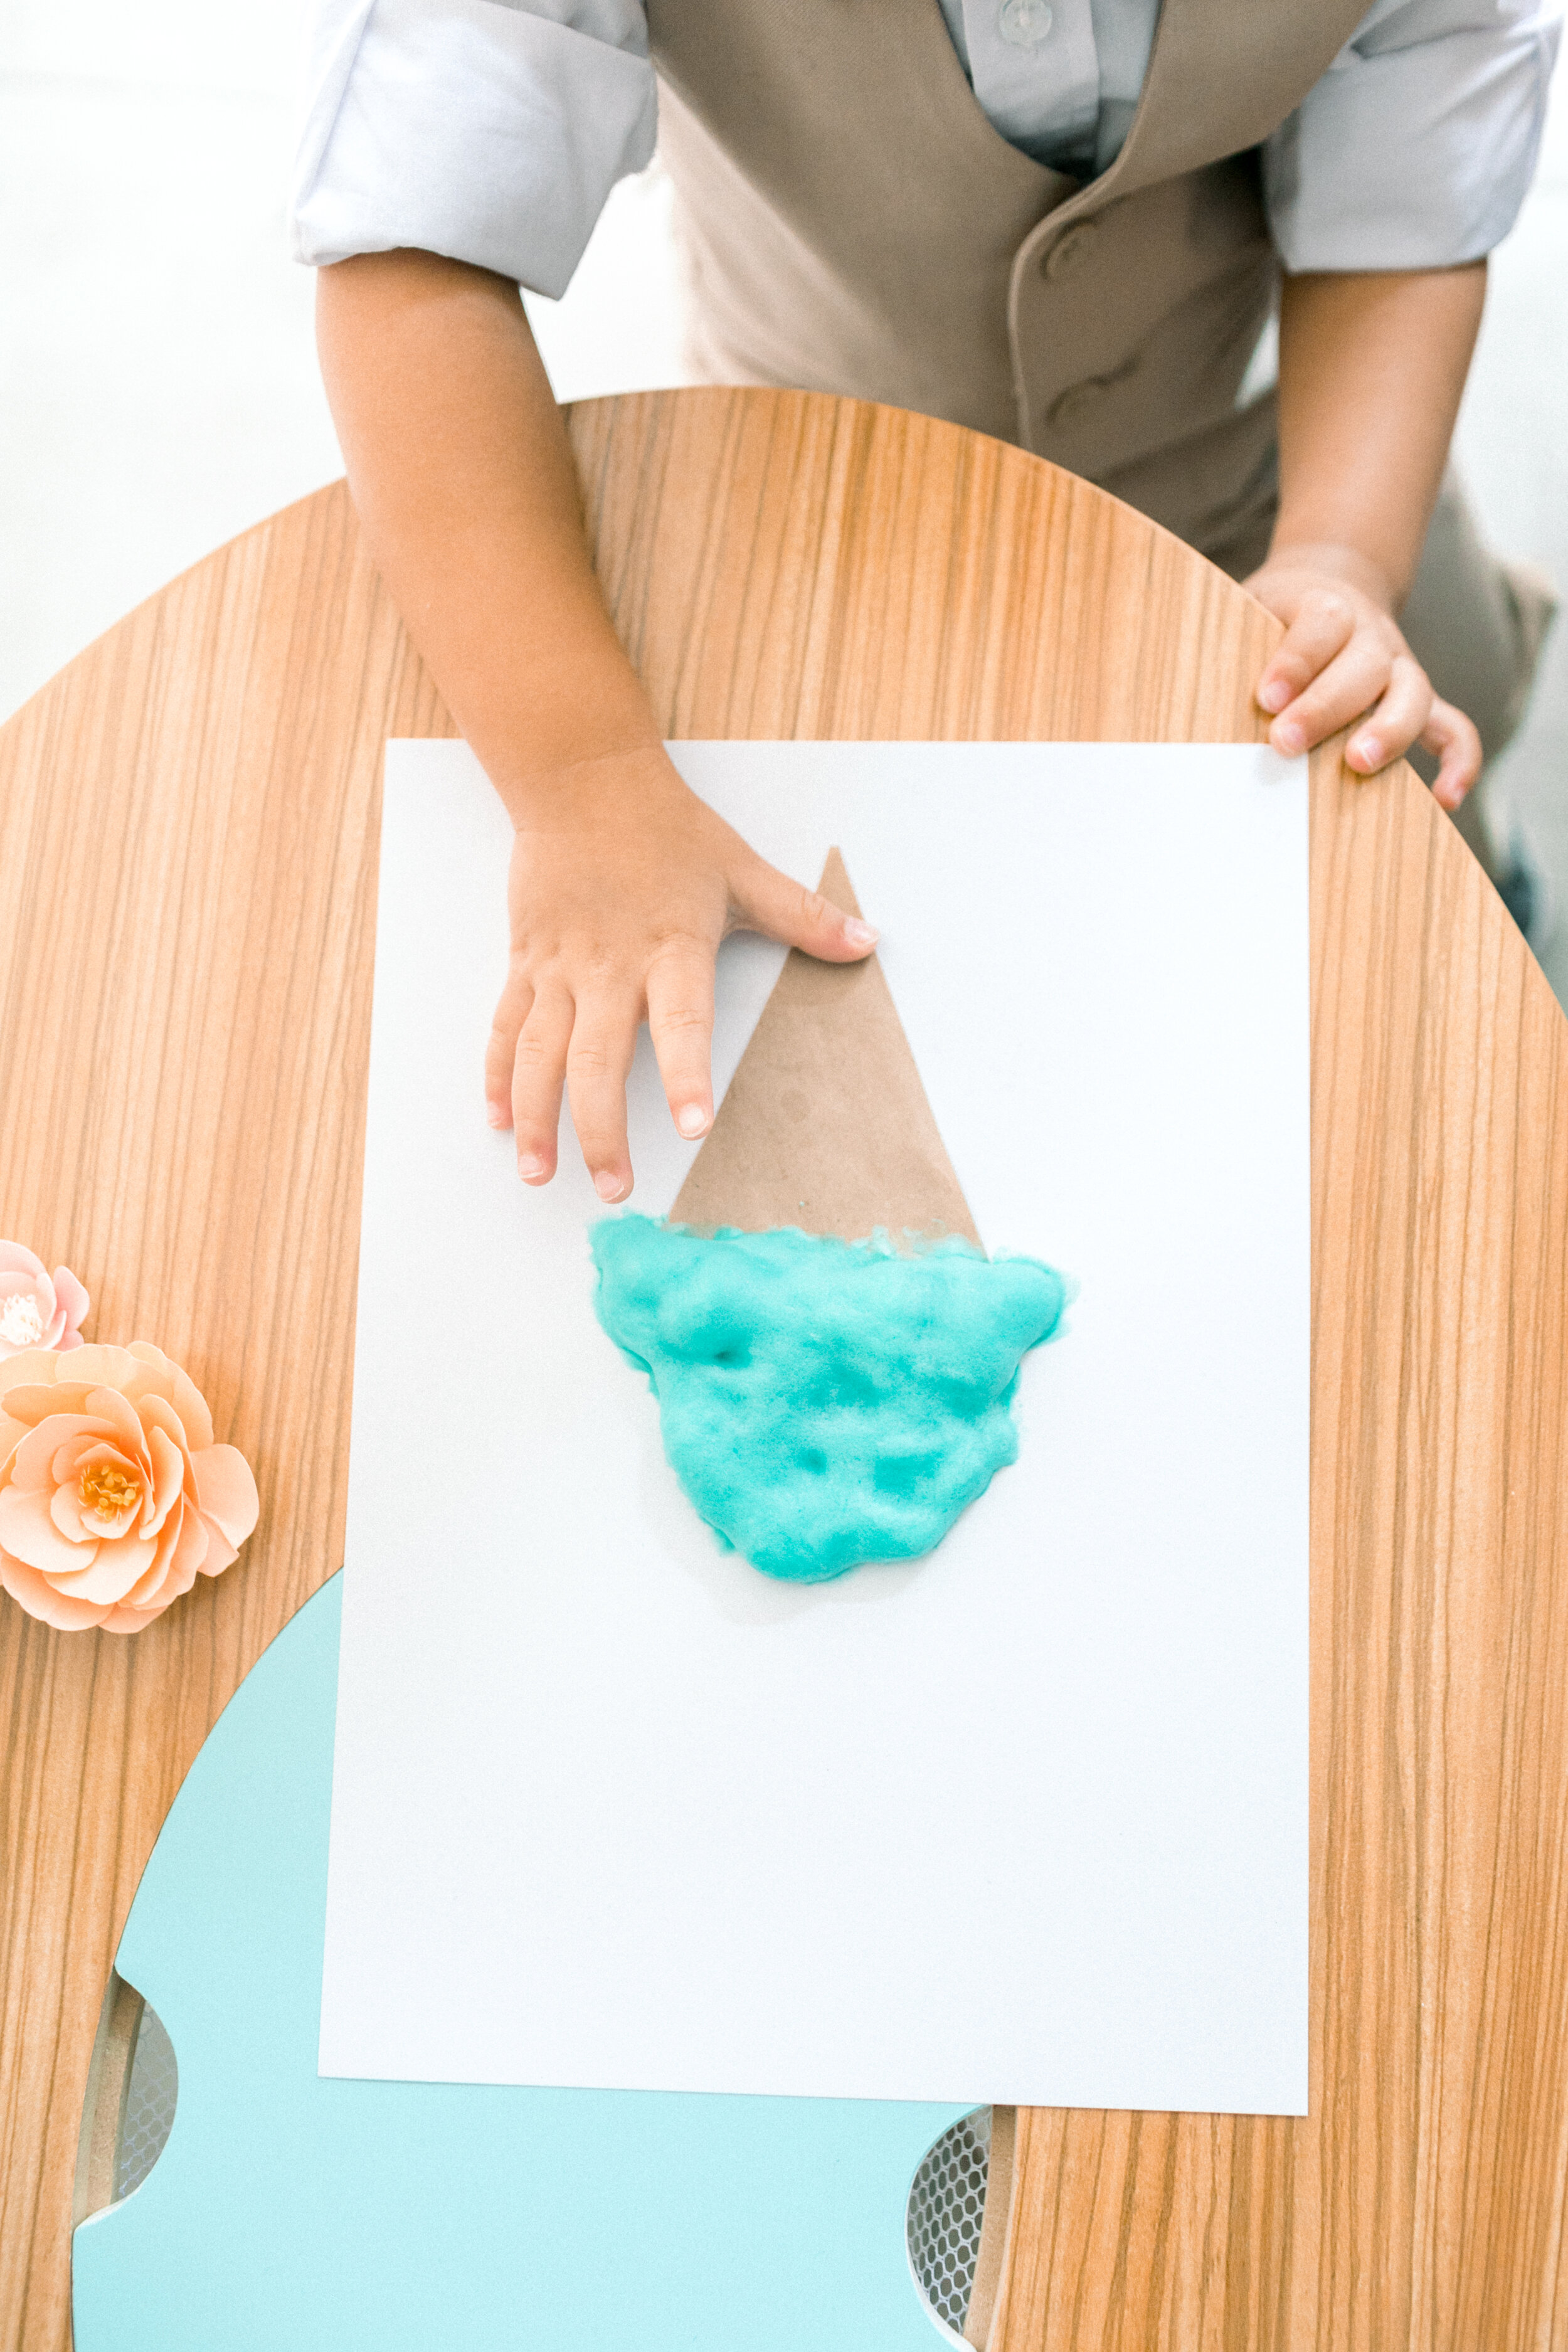
Cut a triangle cone shape out of brown paper and tape it towards the bottom of the cardstock. Be sure to leave room at the top of the paper for your puffy ice cream paint. Use a pencil to make an ice cream shape on the top of the cone so your rascals can use it as an outline.

Directions

  1. Mix equal parts of white glue to shaving cream. Start off with one cup of each in a bowl and mix with a spatula.

  2. Add food coloring of your choice. Use a small amount of coloring first, (one drop) and add more if desired. Mix until the color is combined.

  3. Use a paintbrush to paint a thick layer of the puffy paint directly on the top of the cone and around your pencil outline.

  4. Allow to dry flat for at least 12 hours.

Written by Head Rascal (Ngoc Nguyen Lay), mother of two rascals, ages 5 and 7. Project created and designed by Amaris Ma.


Shop this Post

Ice Cream Party

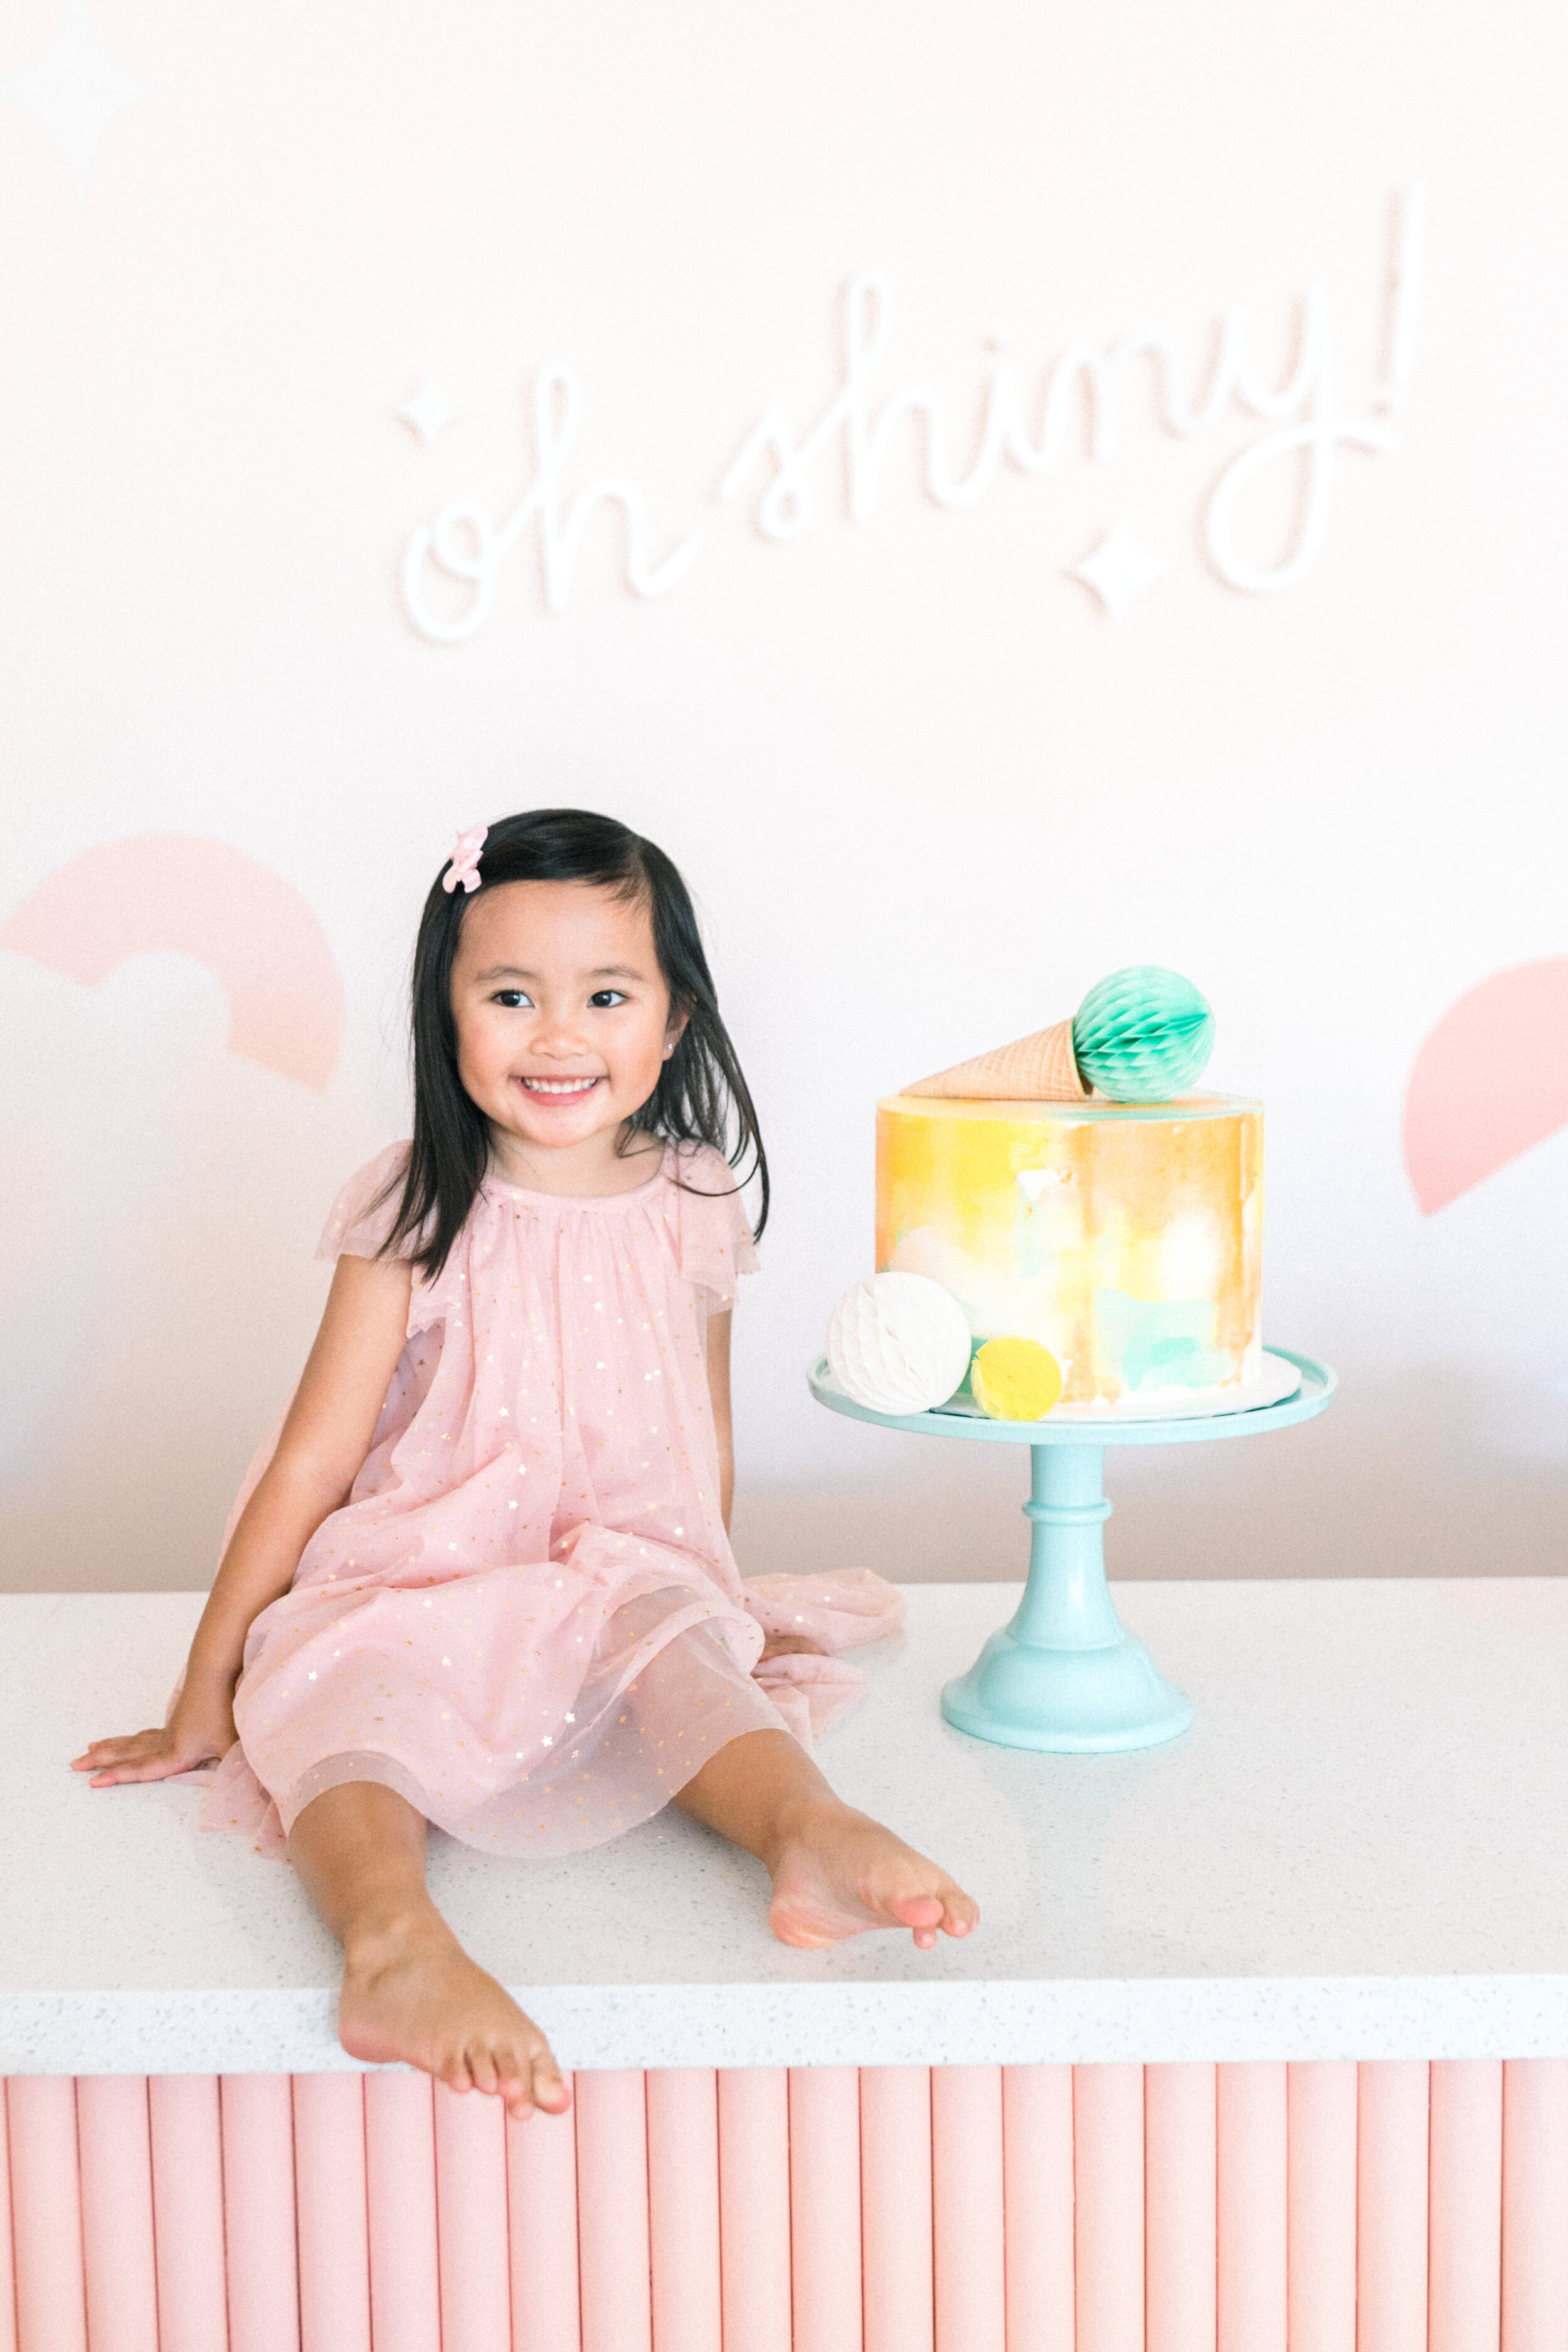
Ice Cream Party featured on Hello Rascal Kids.

“Life is Sweet in More Ways than One”

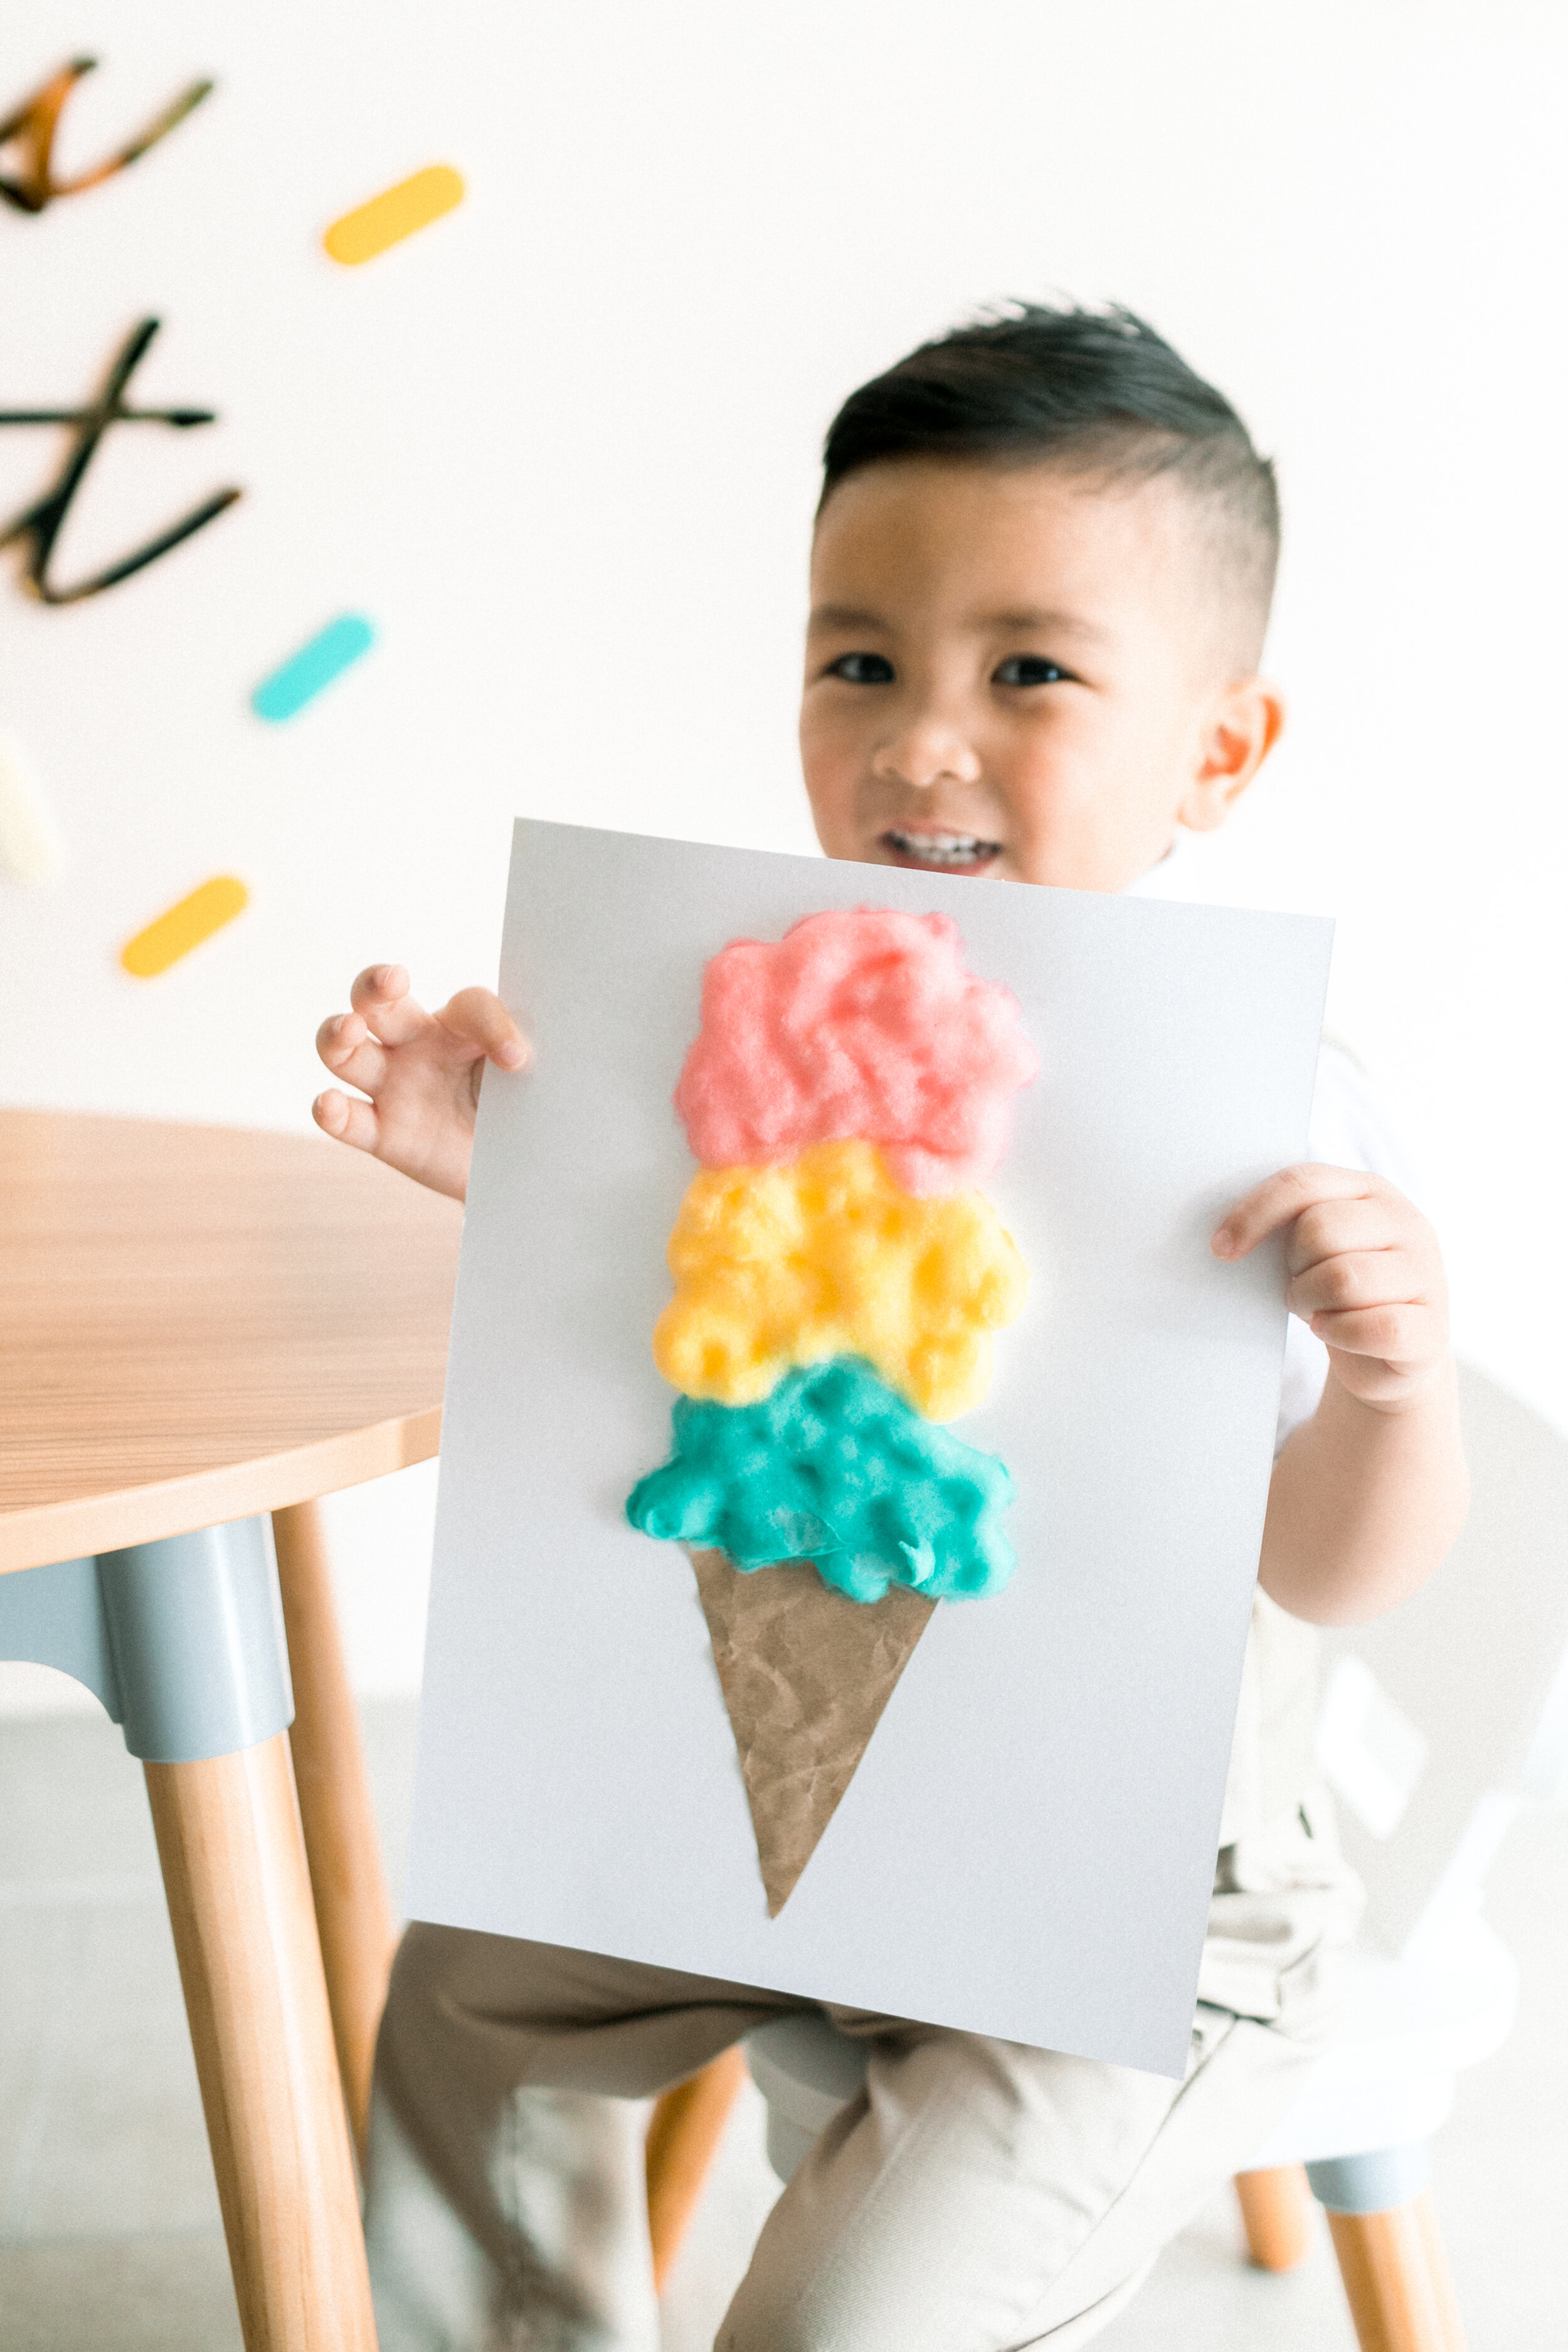
Ever wondered how to make ice cream more fun for your little ones, giving them the opportunity to get messy and experience how life can be sweet? We welcomed a few rascals to join us for a sweet, wonderfully messy playdate. They were encouraged to get dirty and express their creativity with DIY puffy paint and ice cream crafts.

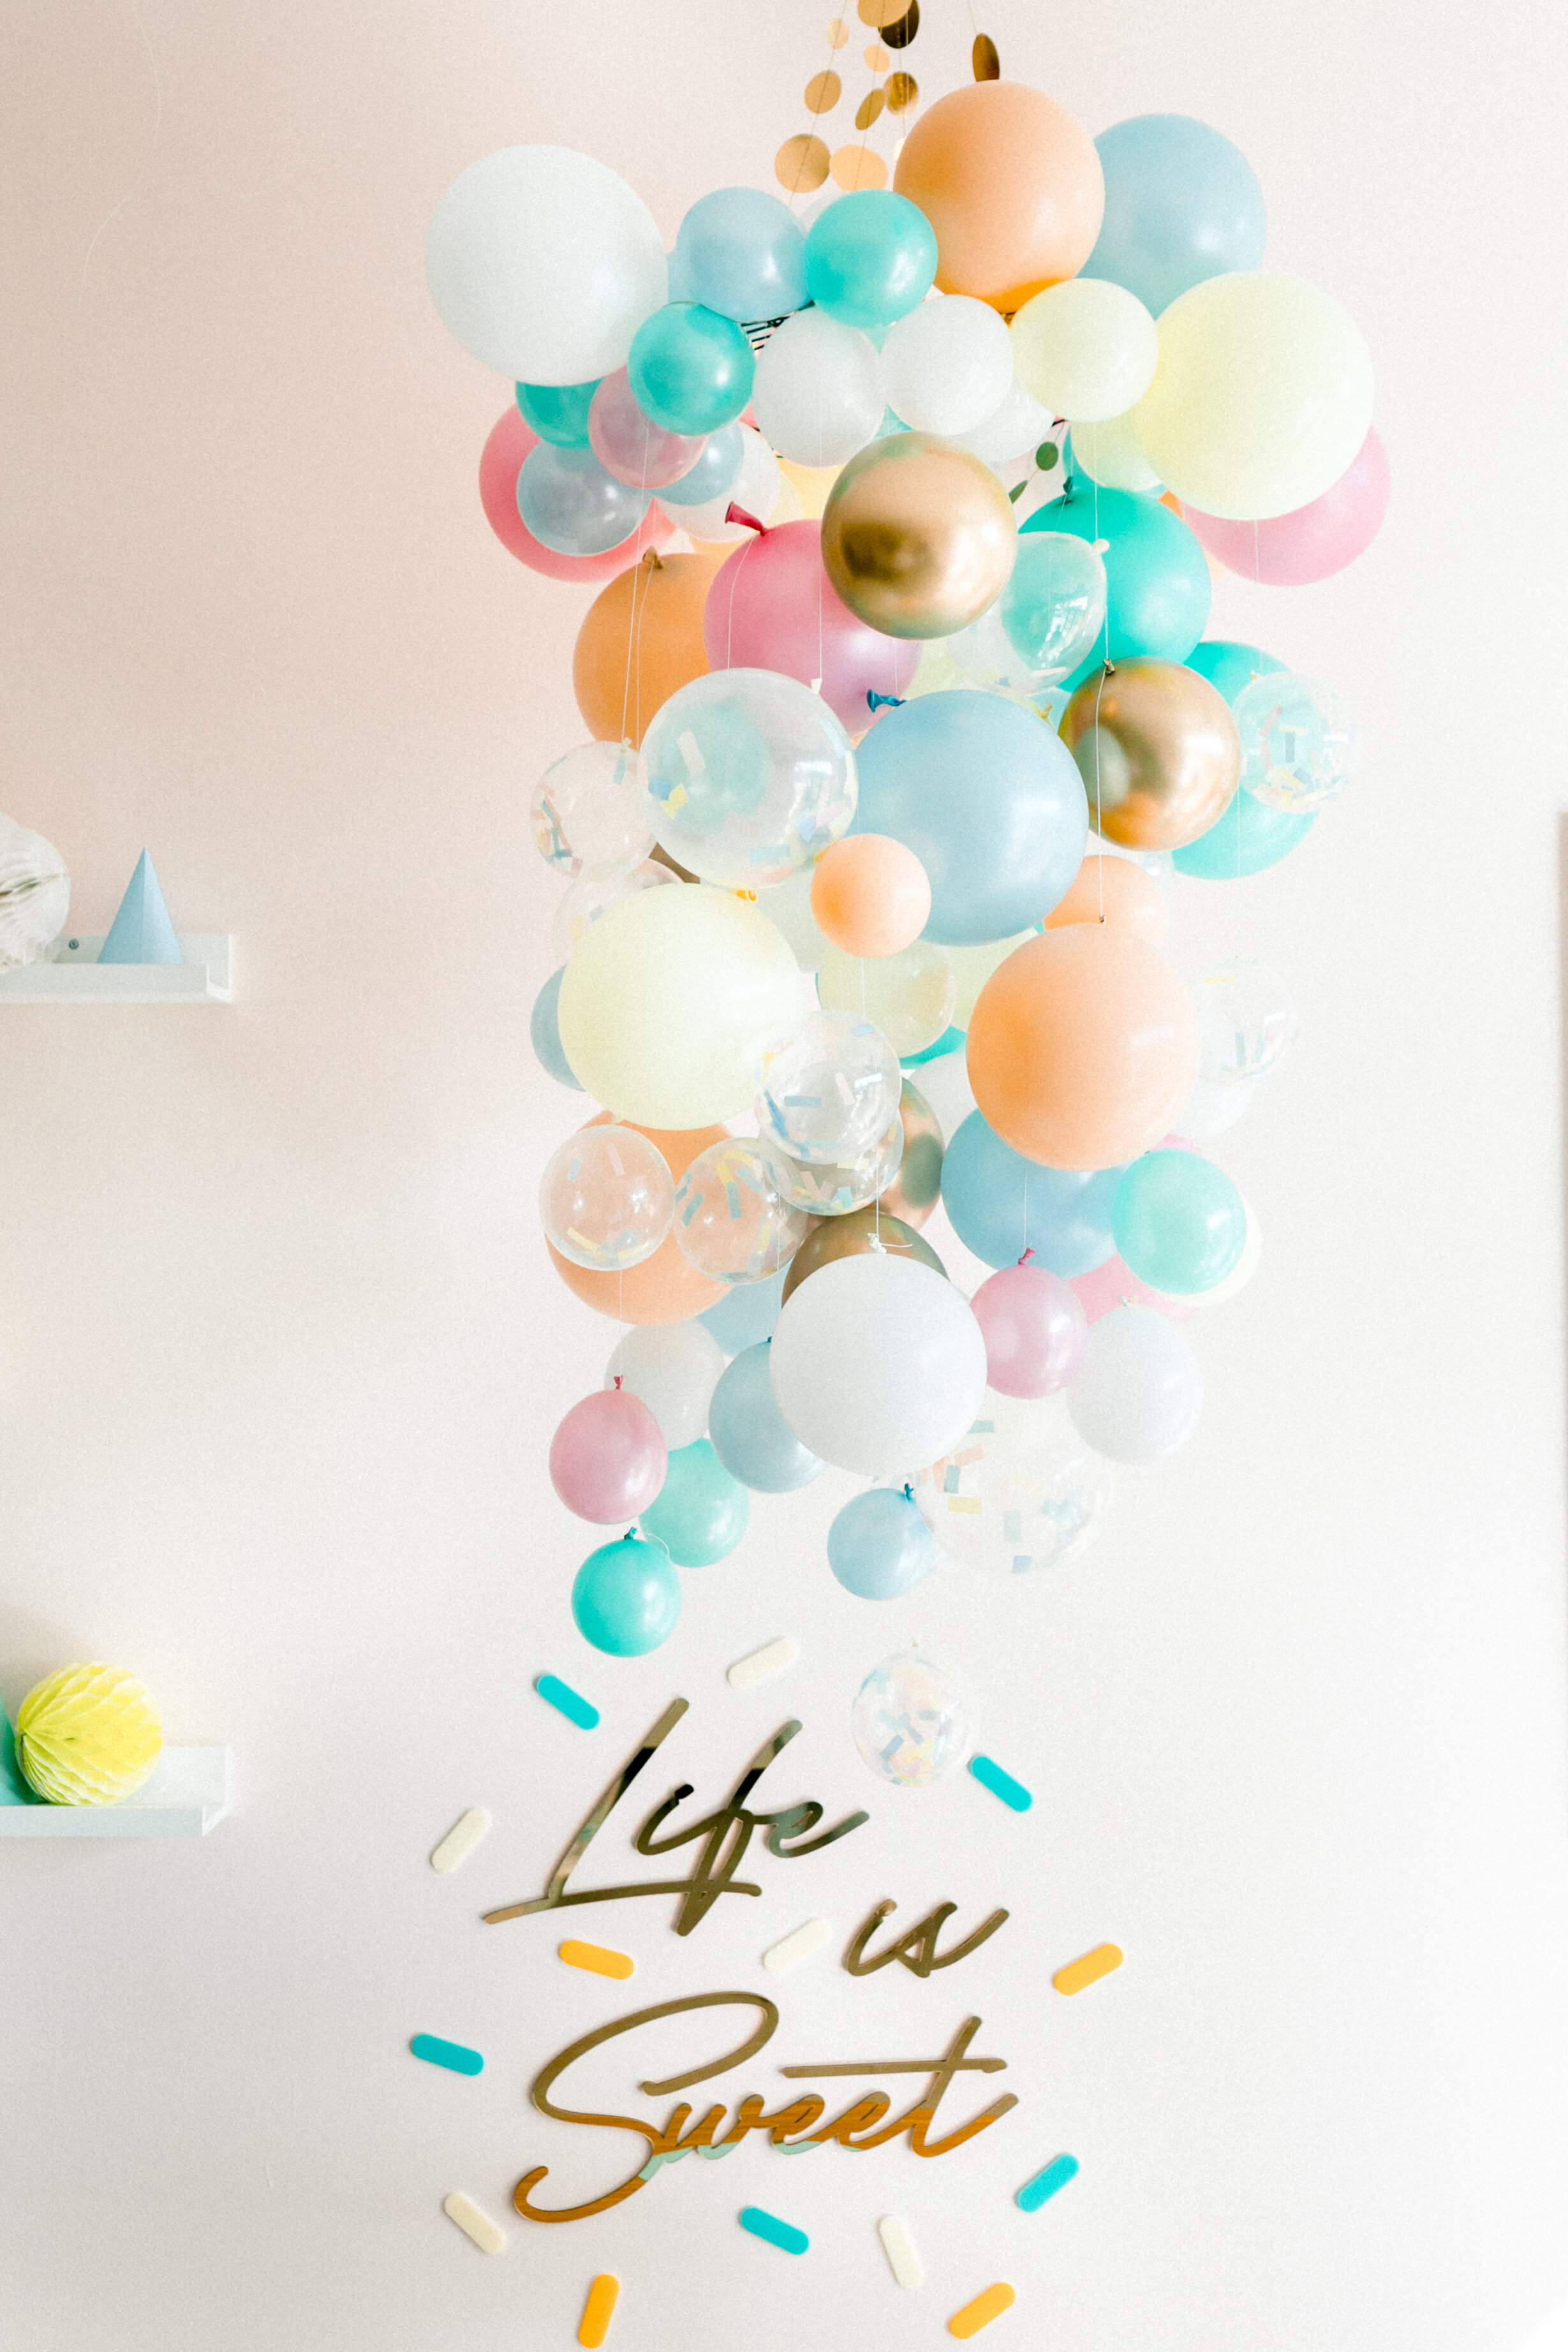
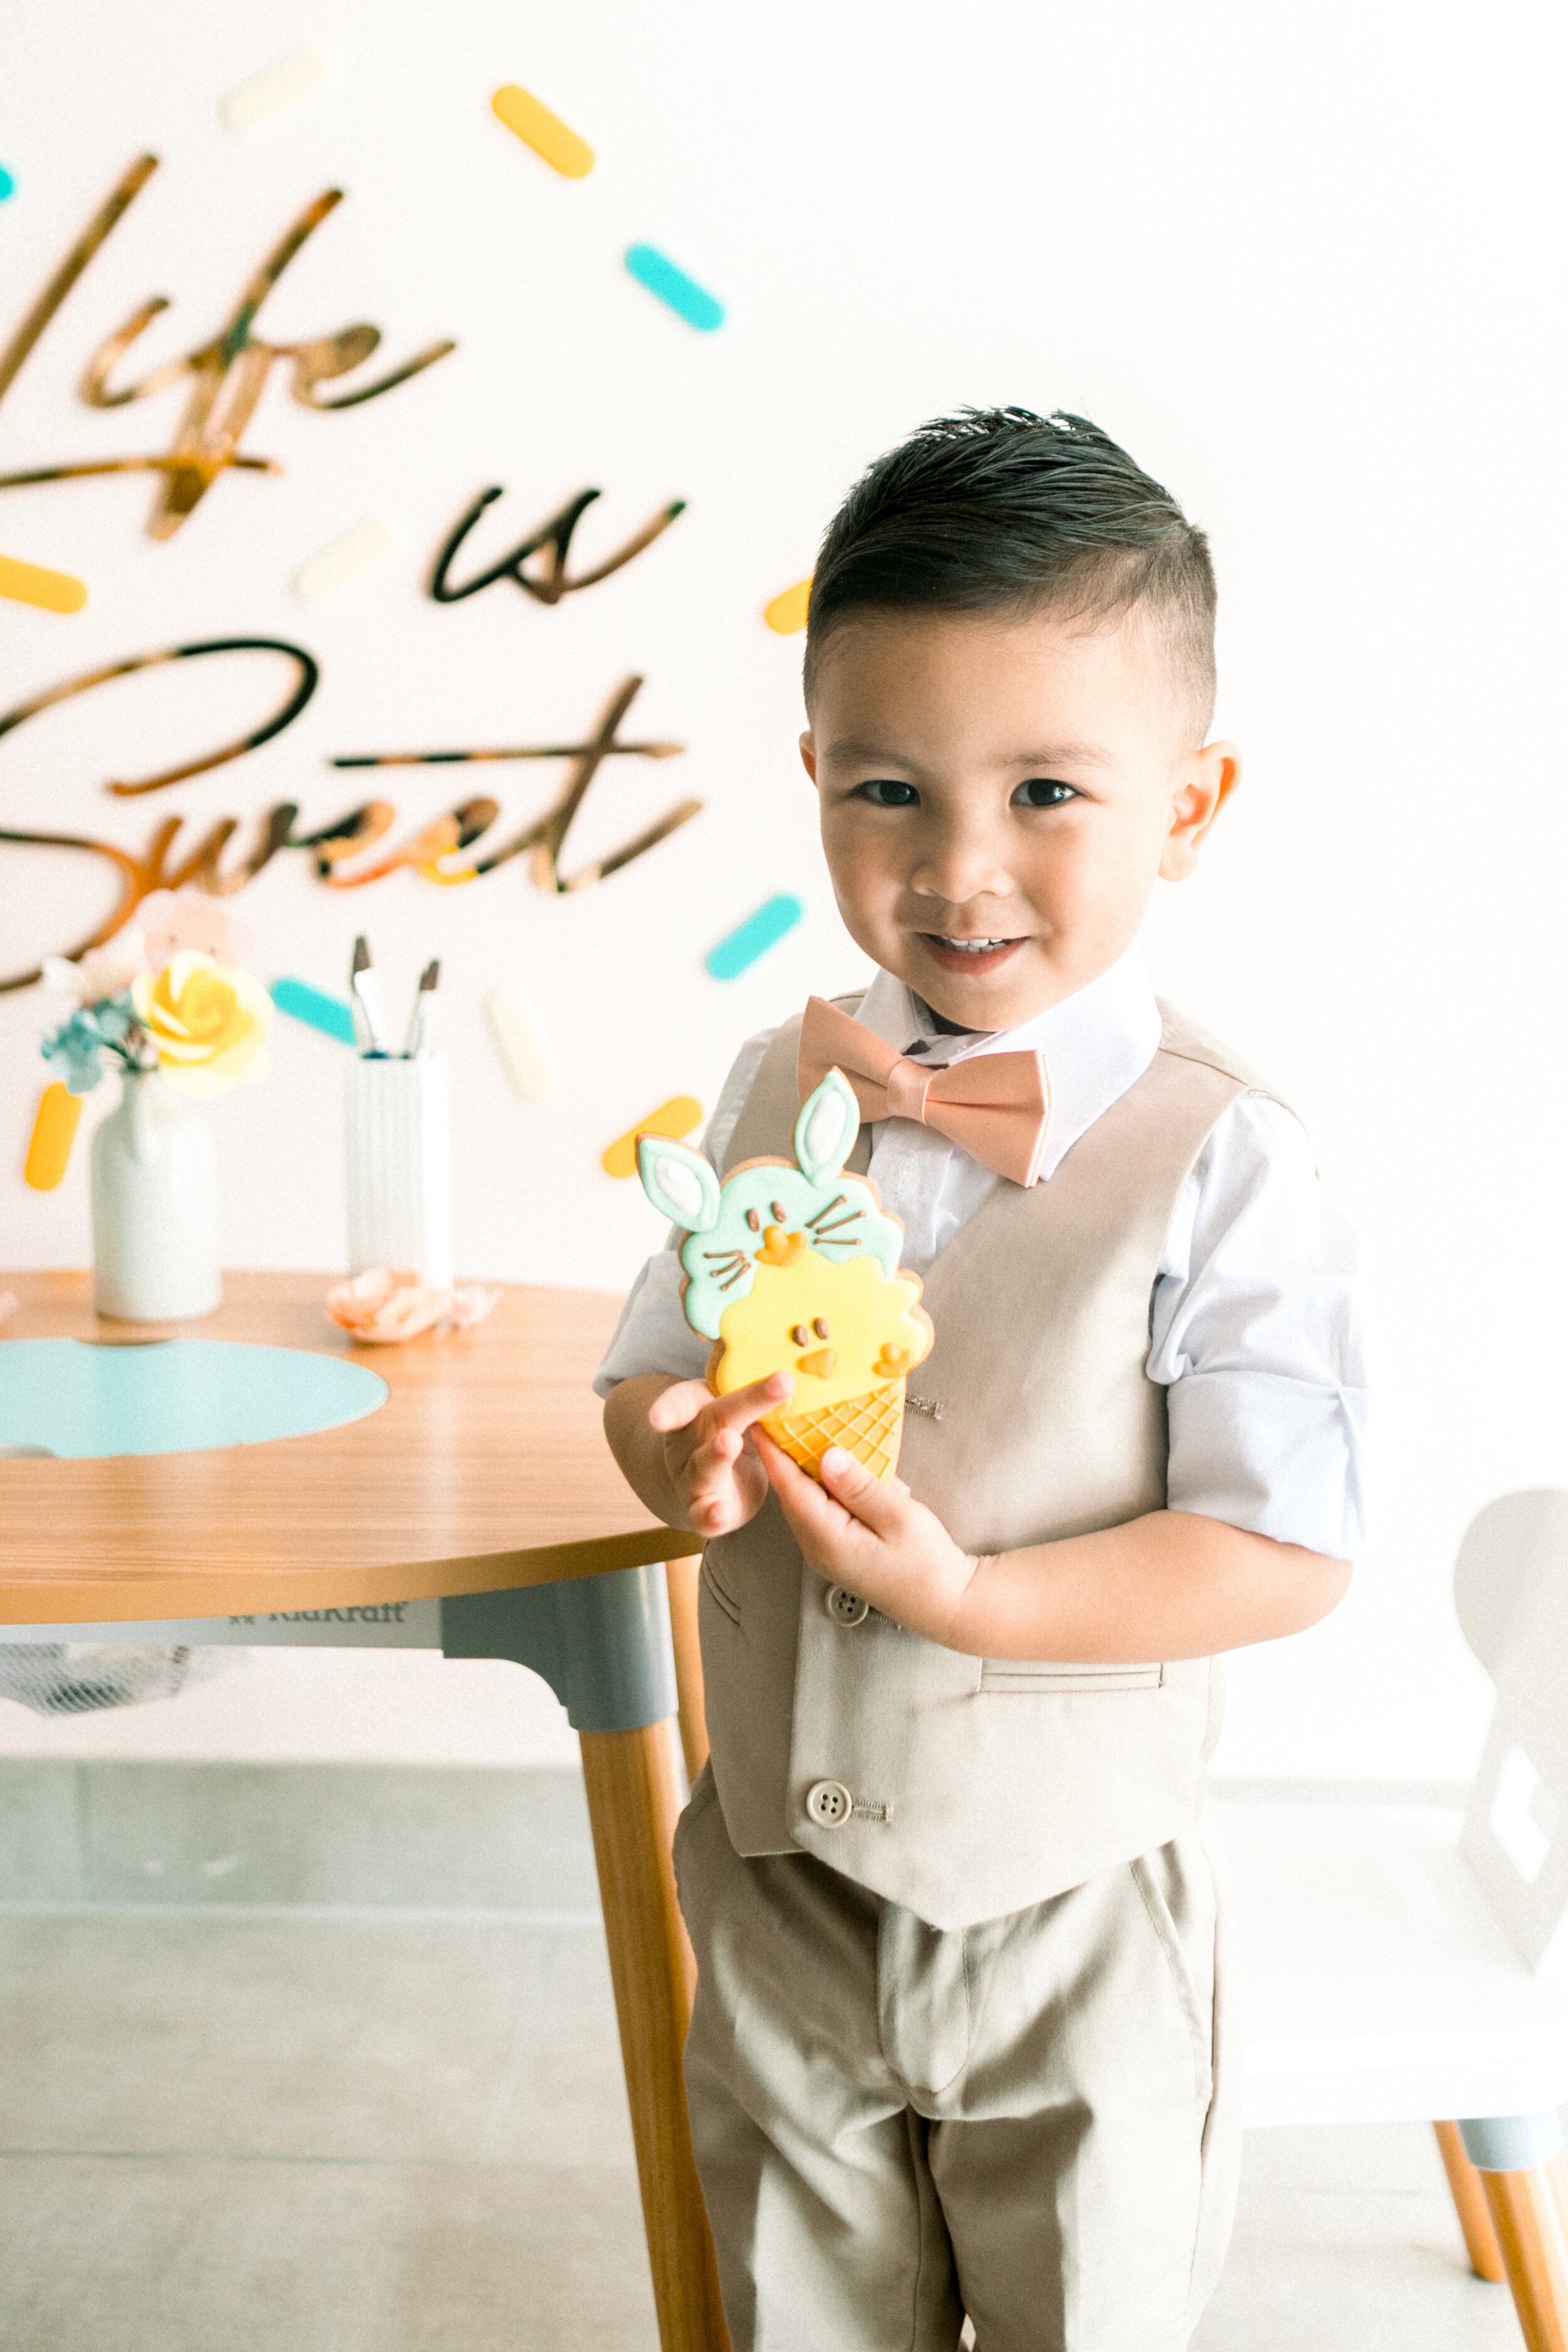
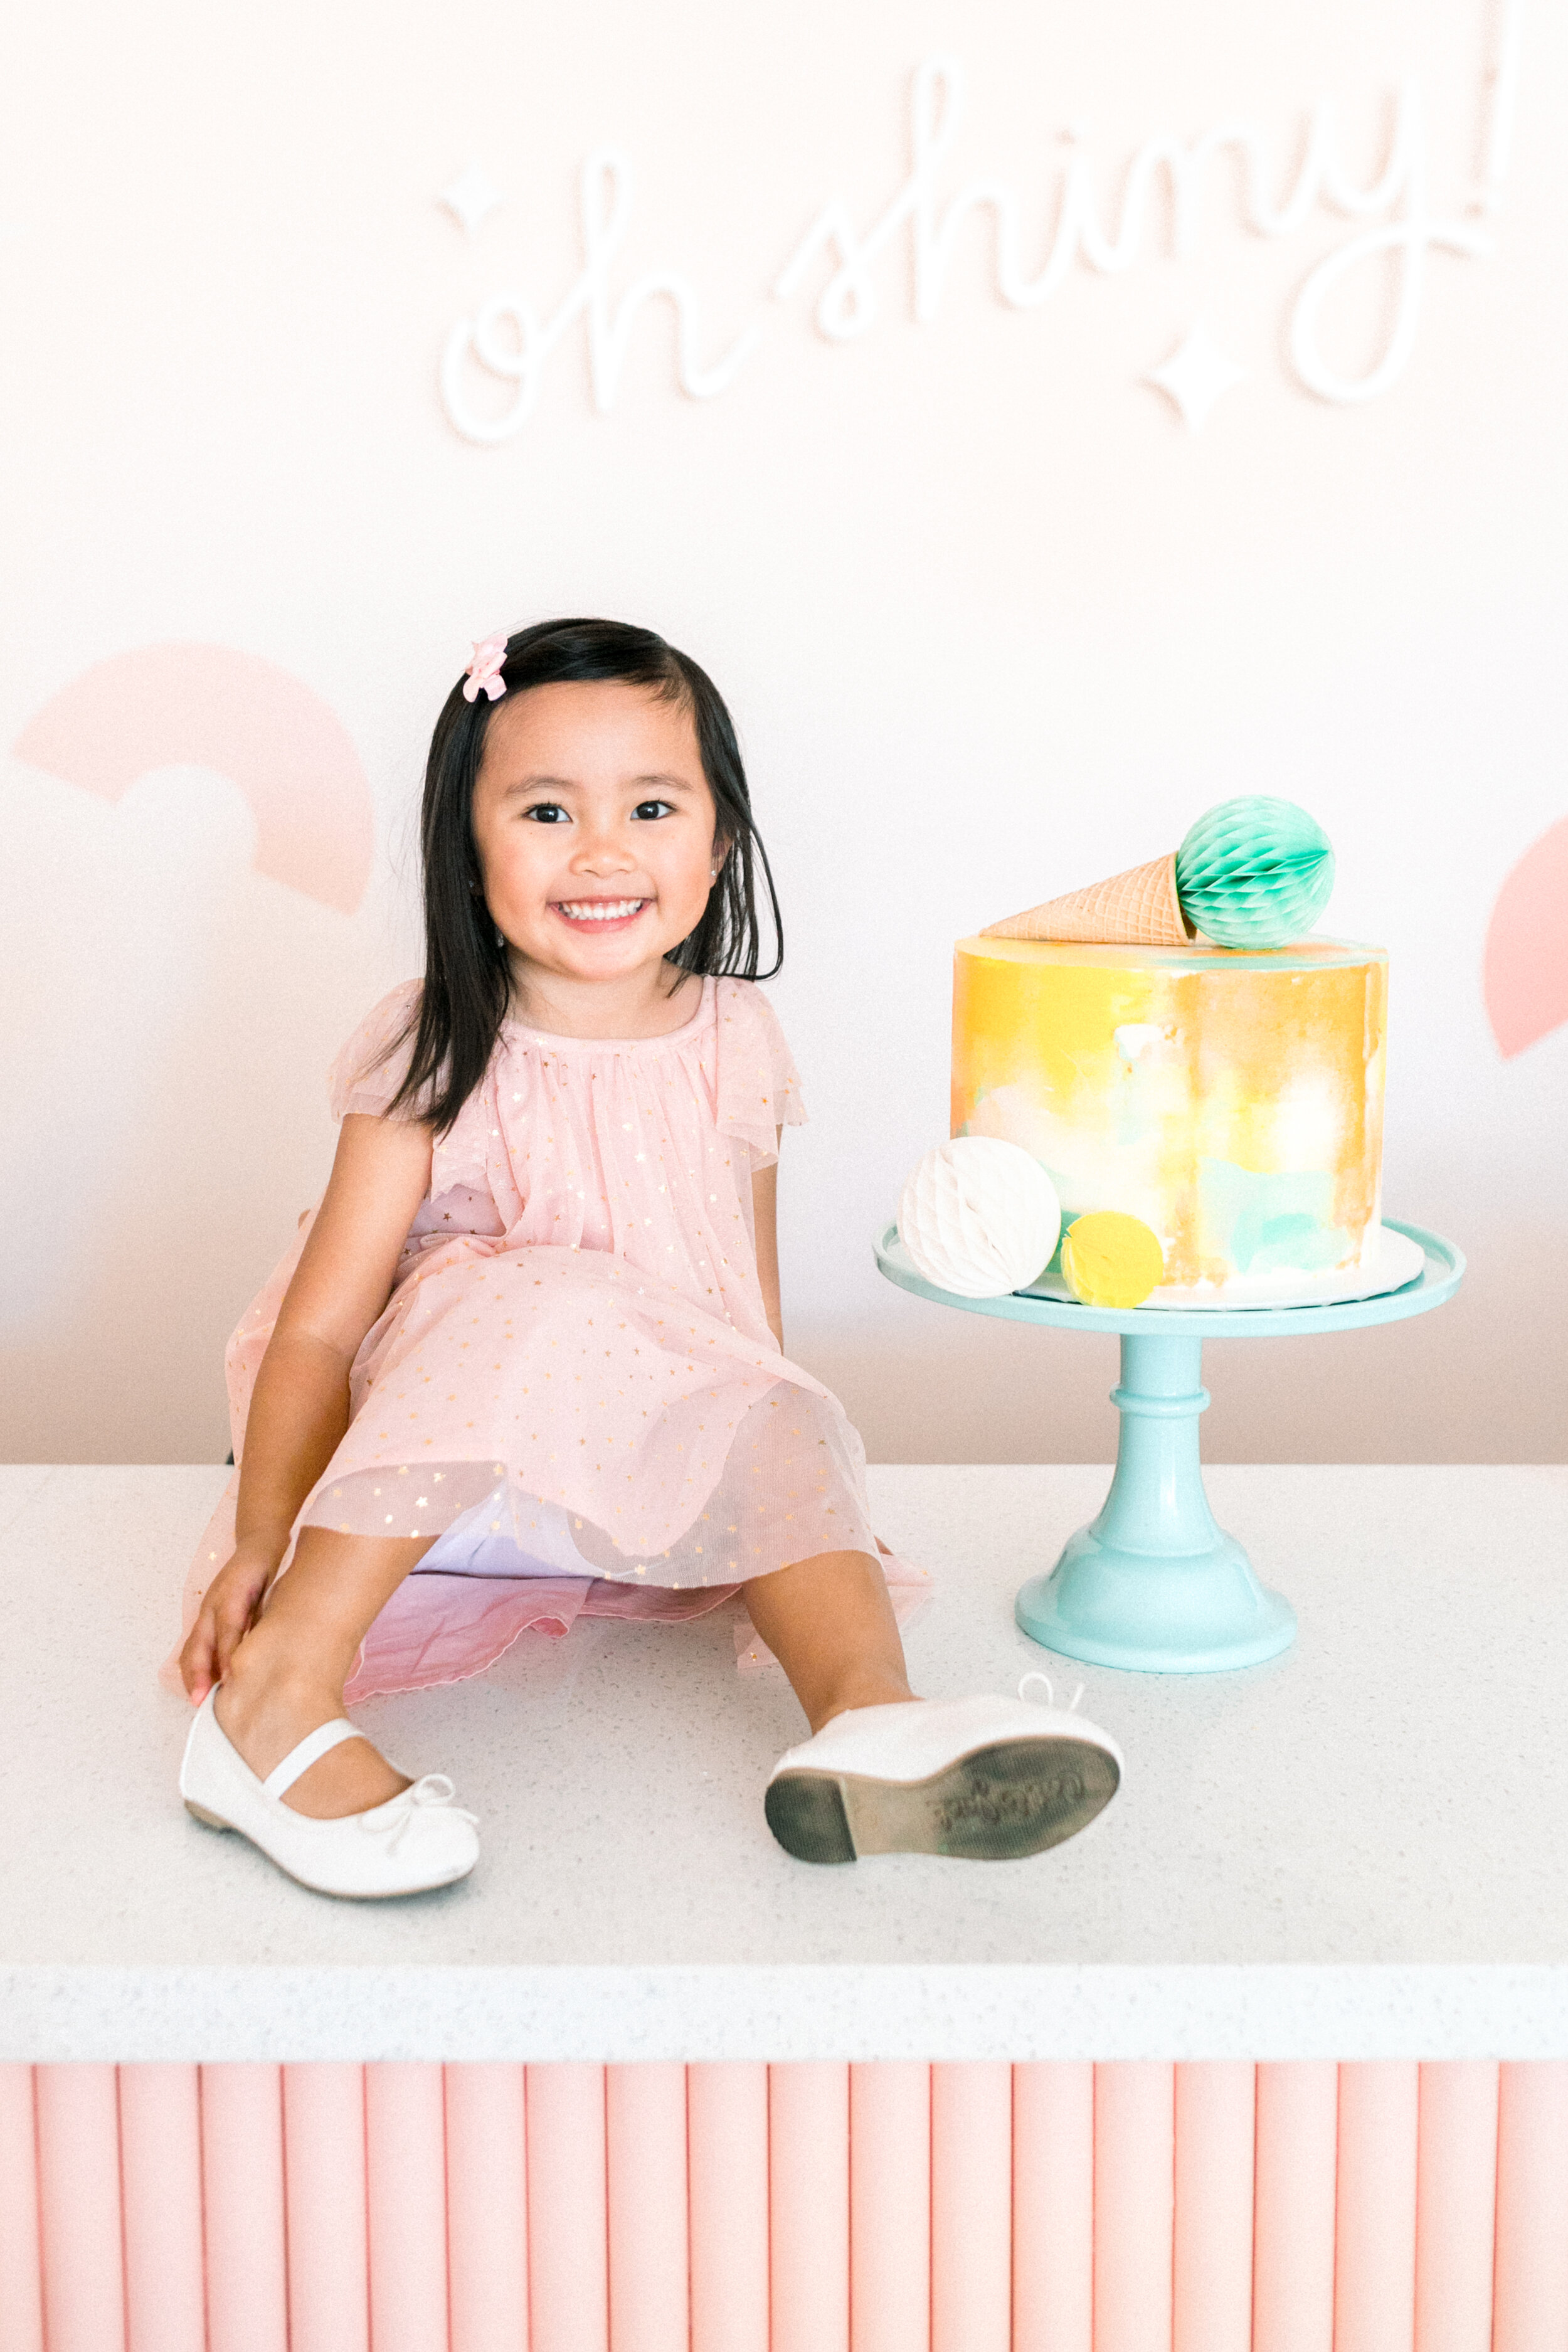
When our little guests arrived, they were greeted with a colorful balloon chandelier made by our friends from Oh Shiny!, painting an air of wonder that made the party magical. They delivered above and beyond, adding even more fanciful vibes with confetti balloons. The color palette added to the whimsical aura of the event: white, teal, yellow, soft-blue, and blush. Beneath the balloon chandelier, the kids’ station was complete with a miniature table with craft supplies, and there was a spread of treats, sweets, and everything in between so they could make ice cream sundaes.

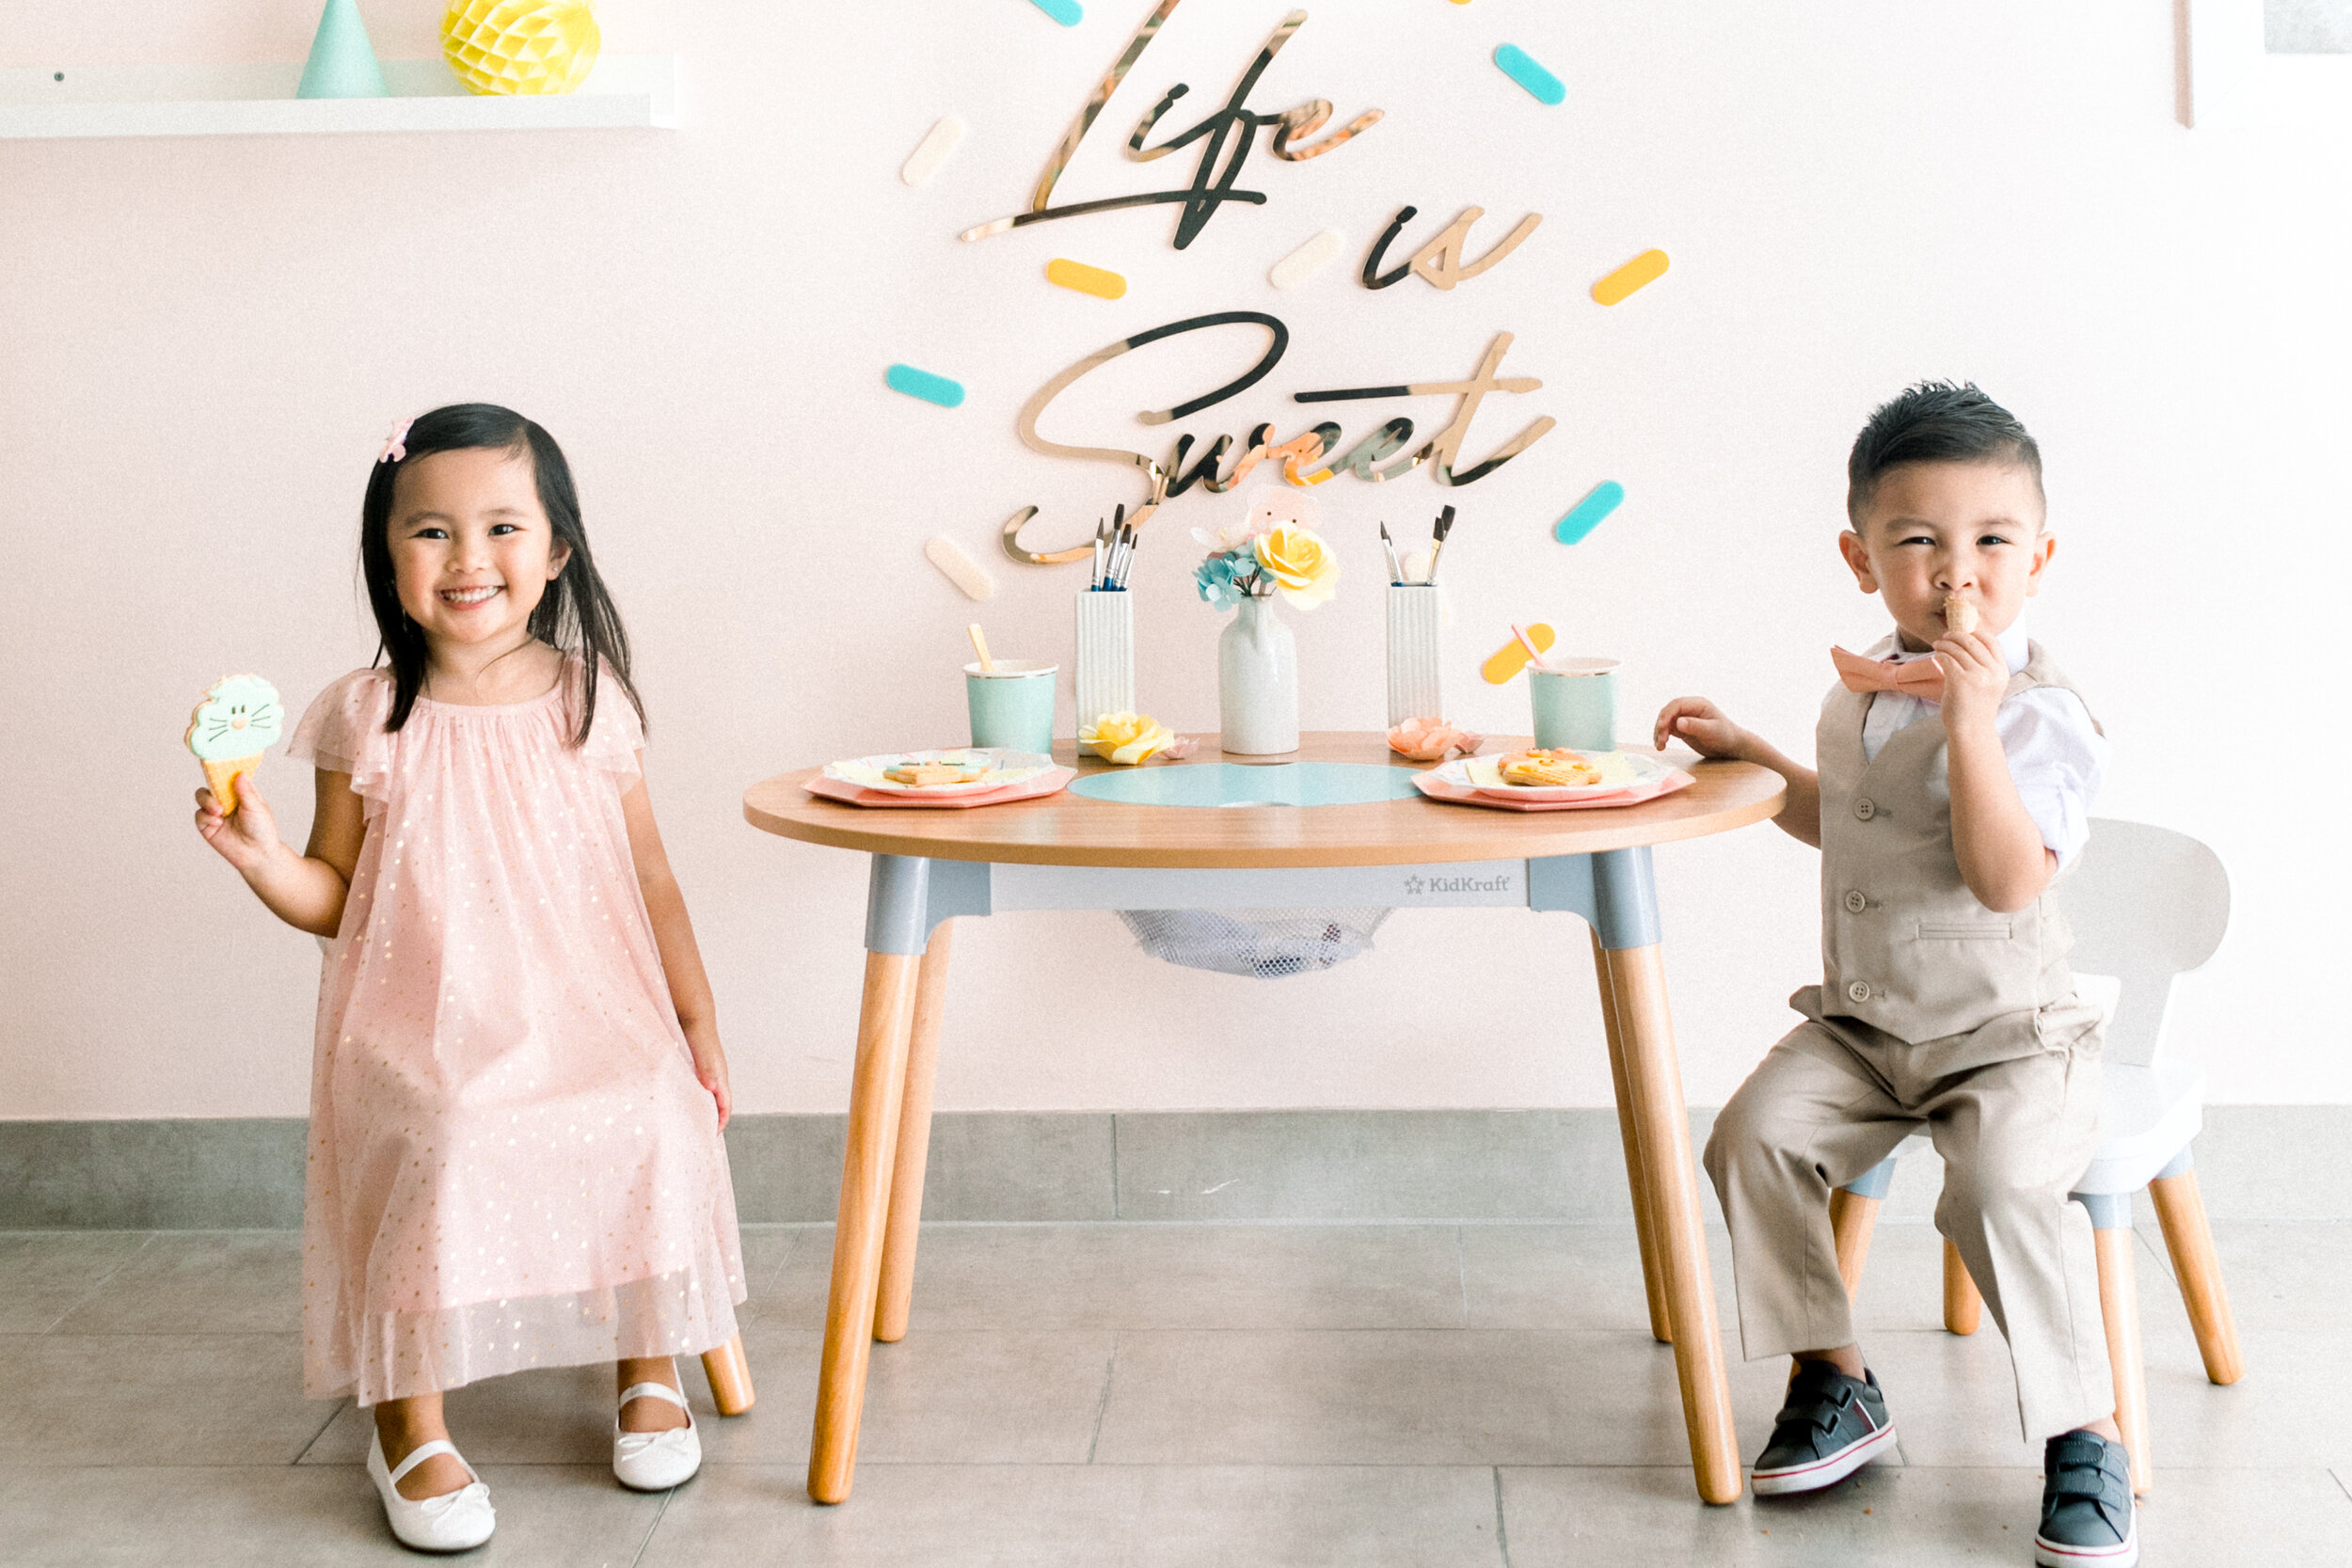
Our guests were dressed to the nines in their fanciest outfits, but their attitudes were far from formal. Our rascals held on to their whimsy, being giggly and carefree as they played, which was the main goal for the gathering. We didn’t want our kids to have the best ice cream craft party — we wanted them to have an ice cream party filled to the brim with nostalgia and longing for sunny summer days, eating ice cream with friends, and not caring if you spilled on your fanciest outfit.

The first activity allowed the kids to get their hands dirty. They made puffy paint and painted ice cream cone masterpieces, which was our favorite part of the event. As kids, they are often told not to touch things or to stay clean — but not at this party. They were encouraged to get messy with the shaving cream, and the joy on their faces made our hearts soar. Once they finished the craft, they were free to make ice cream sundaes and decorate them to their heart’s desire, all while enjoying a sweet treat reminiscent of our favorite summer days.

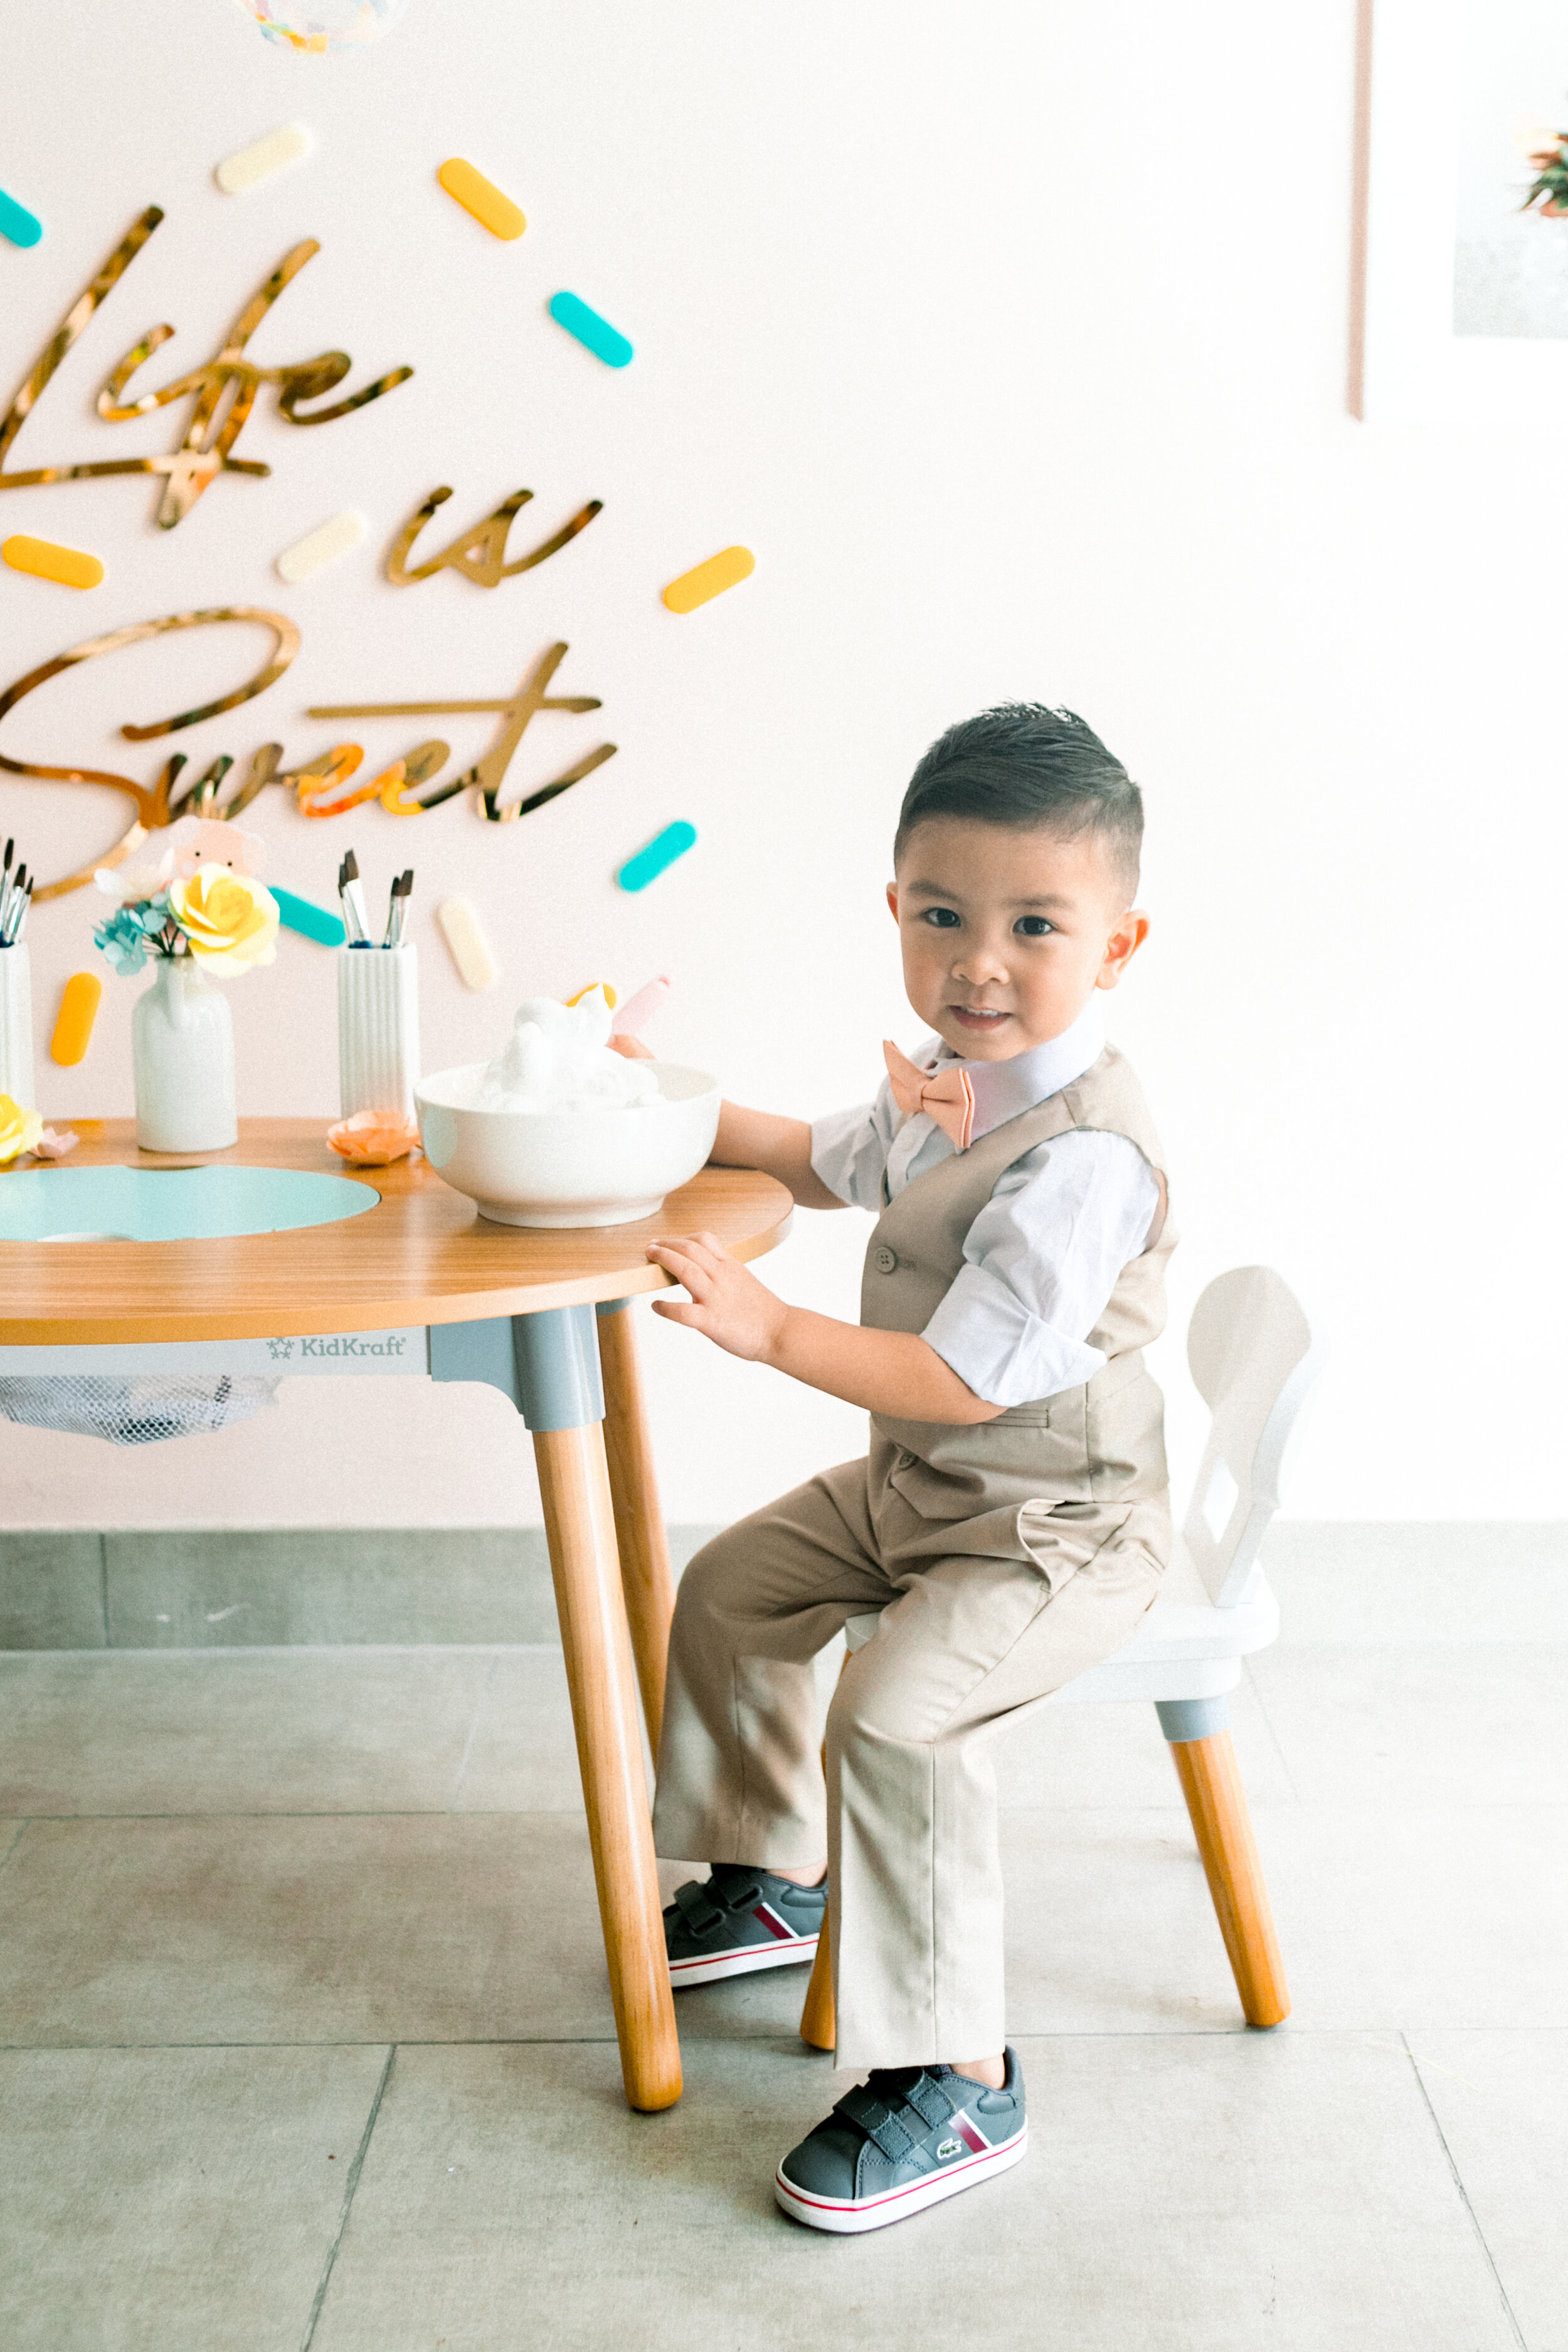
Like any gathering, the setup is where the magic starts. The fun-size table with white chairs was the perfect fit, and the puffy paint ingredients took over the craft table: shaving cream, food coloring, paintbrushes, spoons, small bowls, and craft paper. To remind the kids as they played, a cutout behind the table proclaimed “Life is Sweet” by Happily Ever Etched.

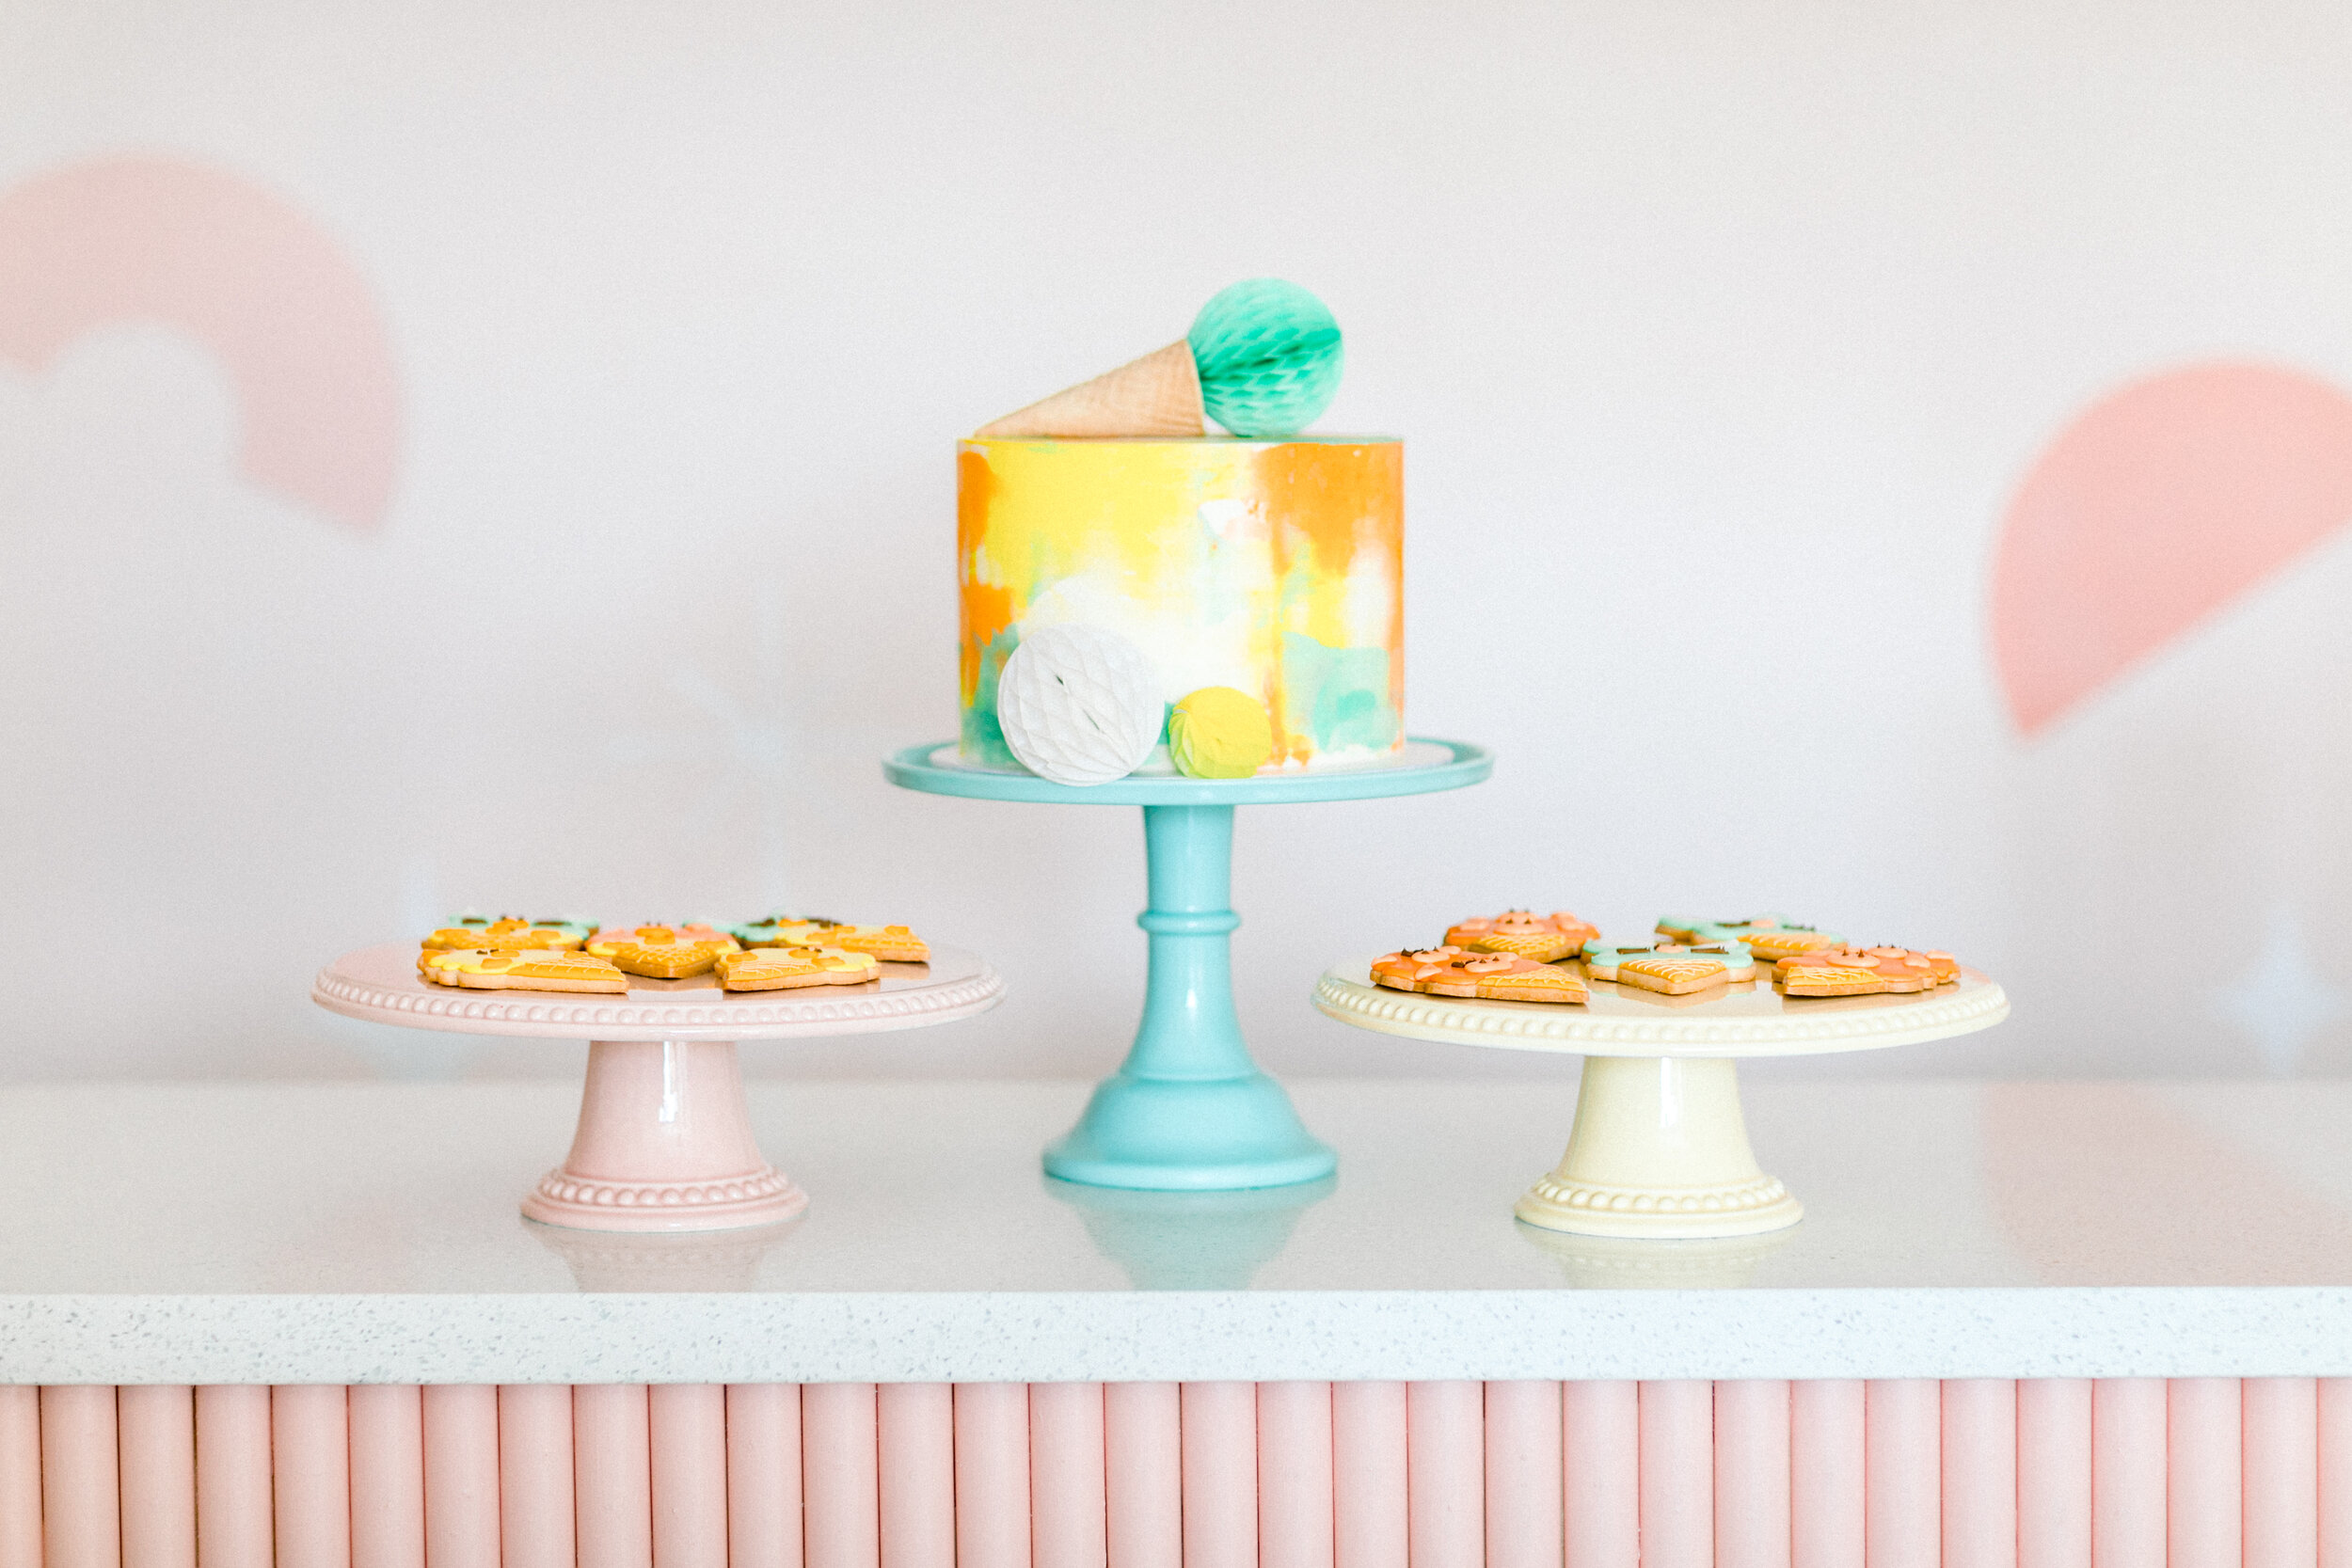
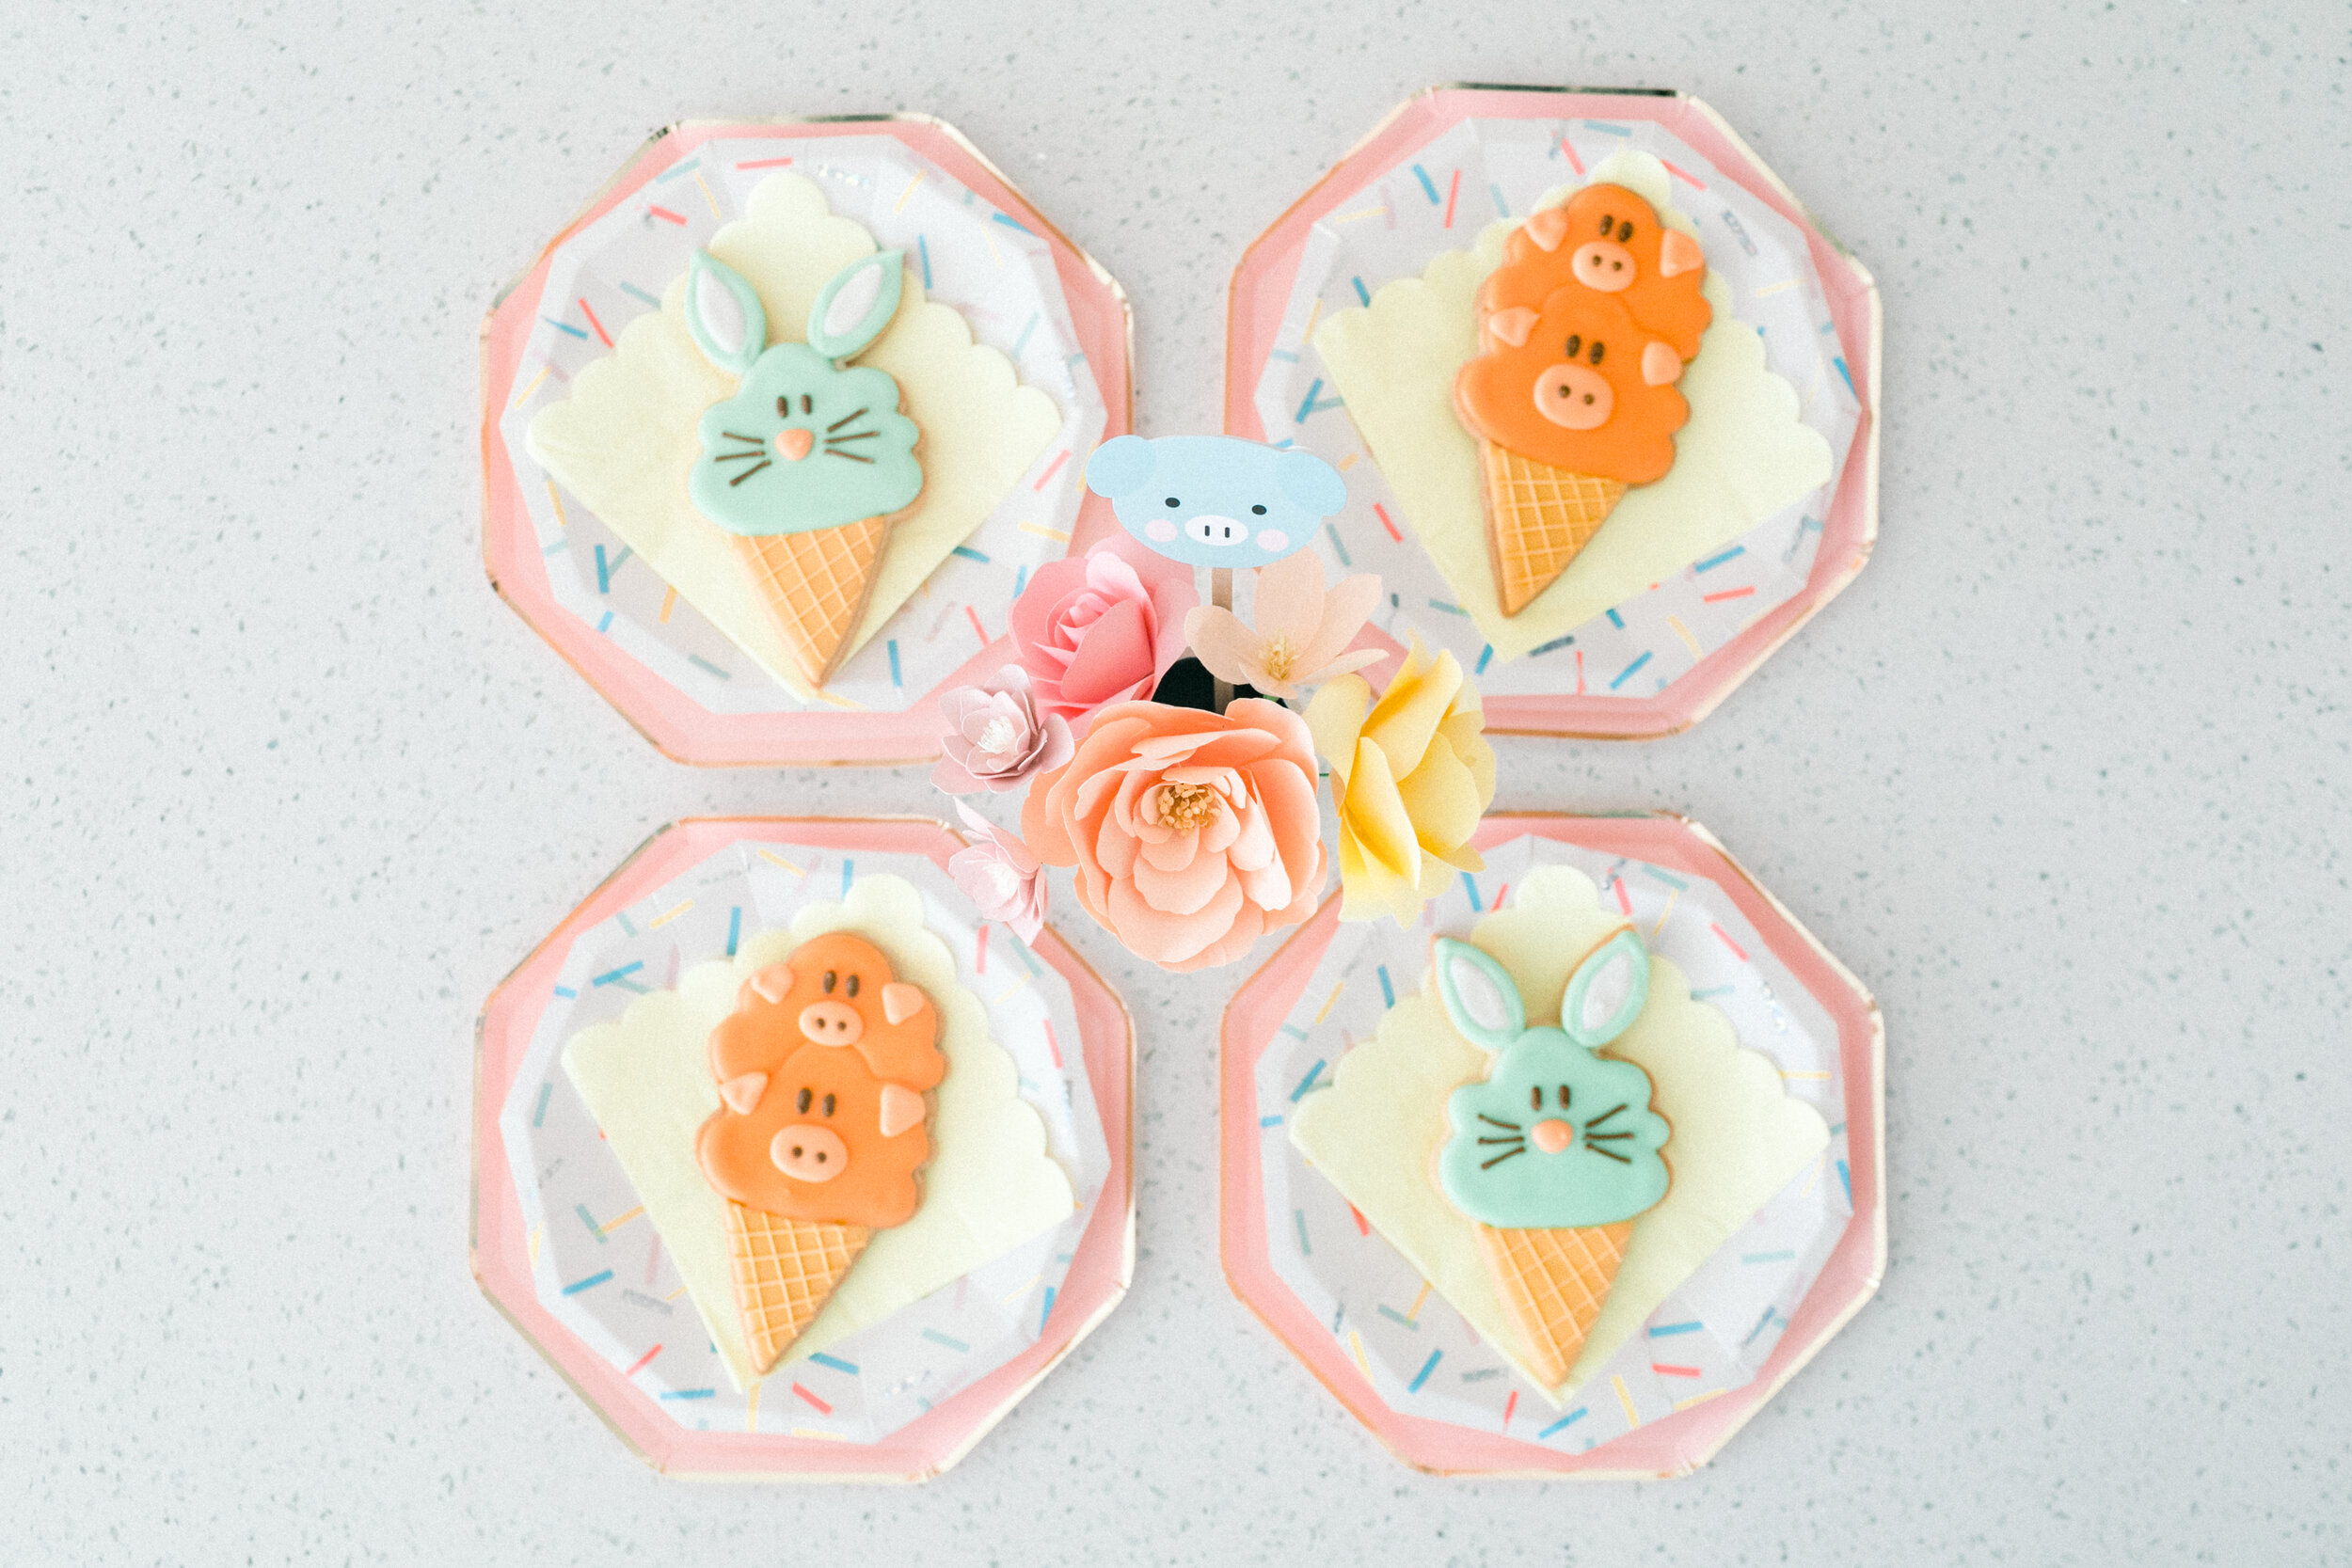
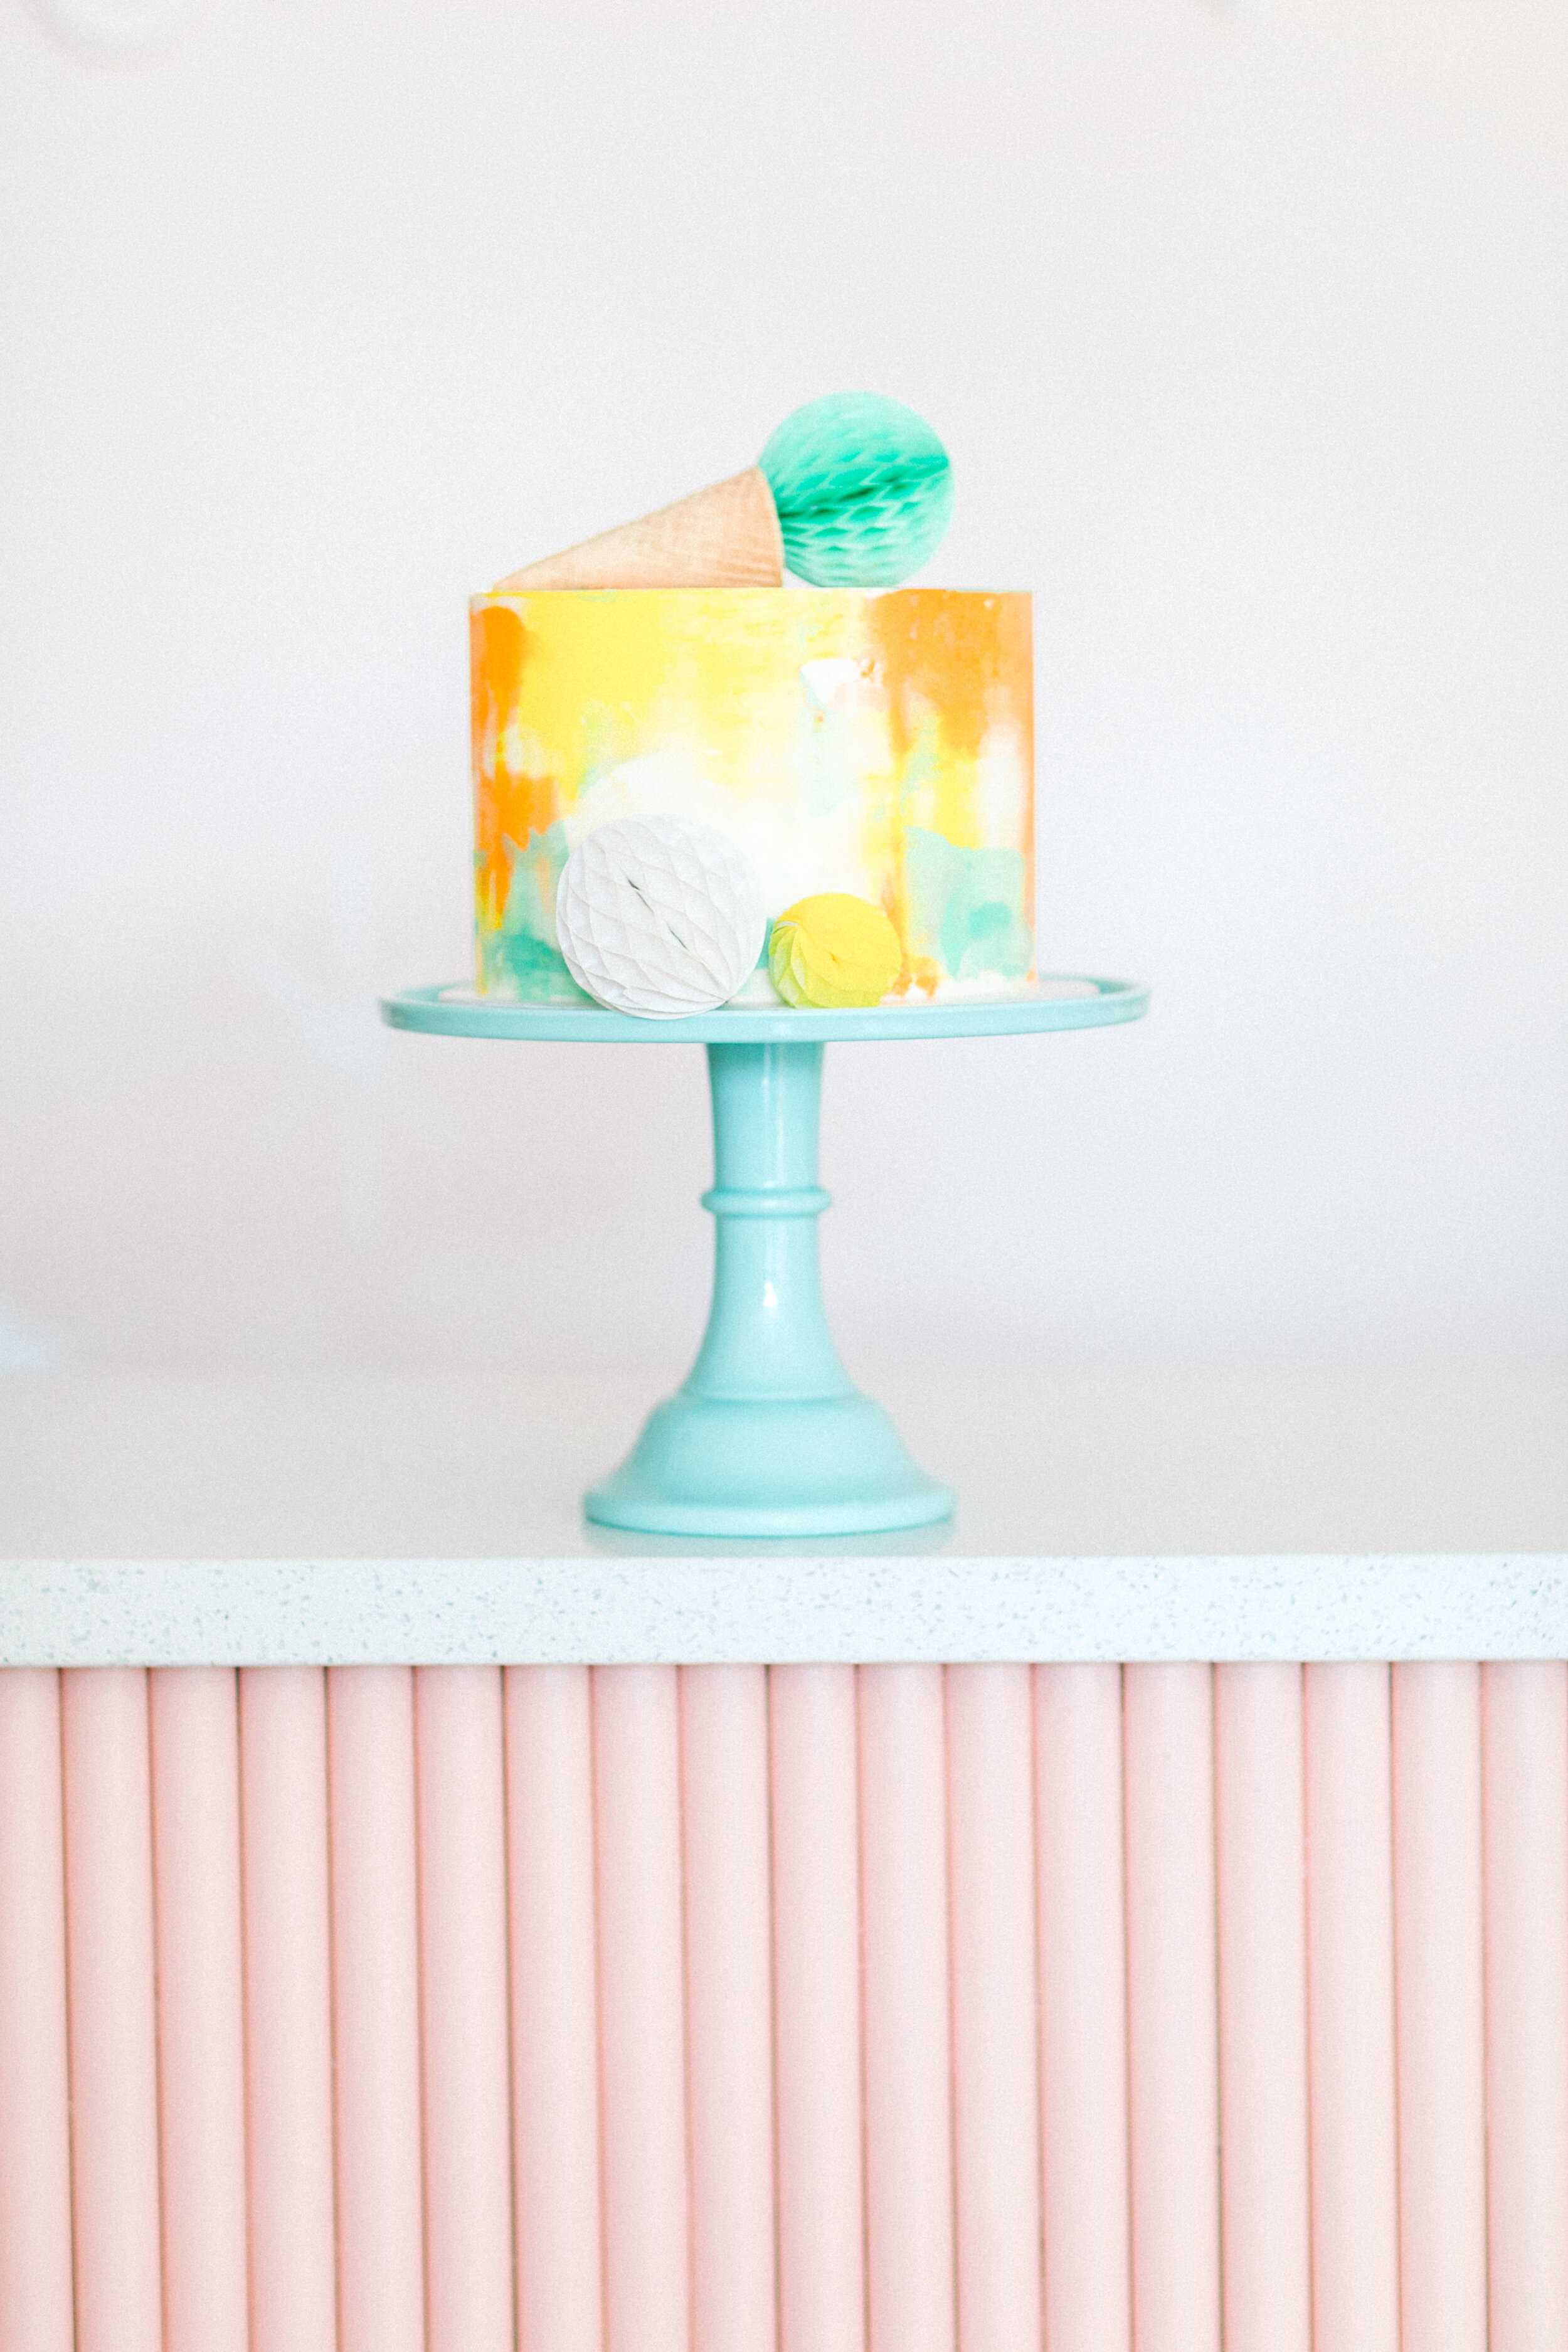
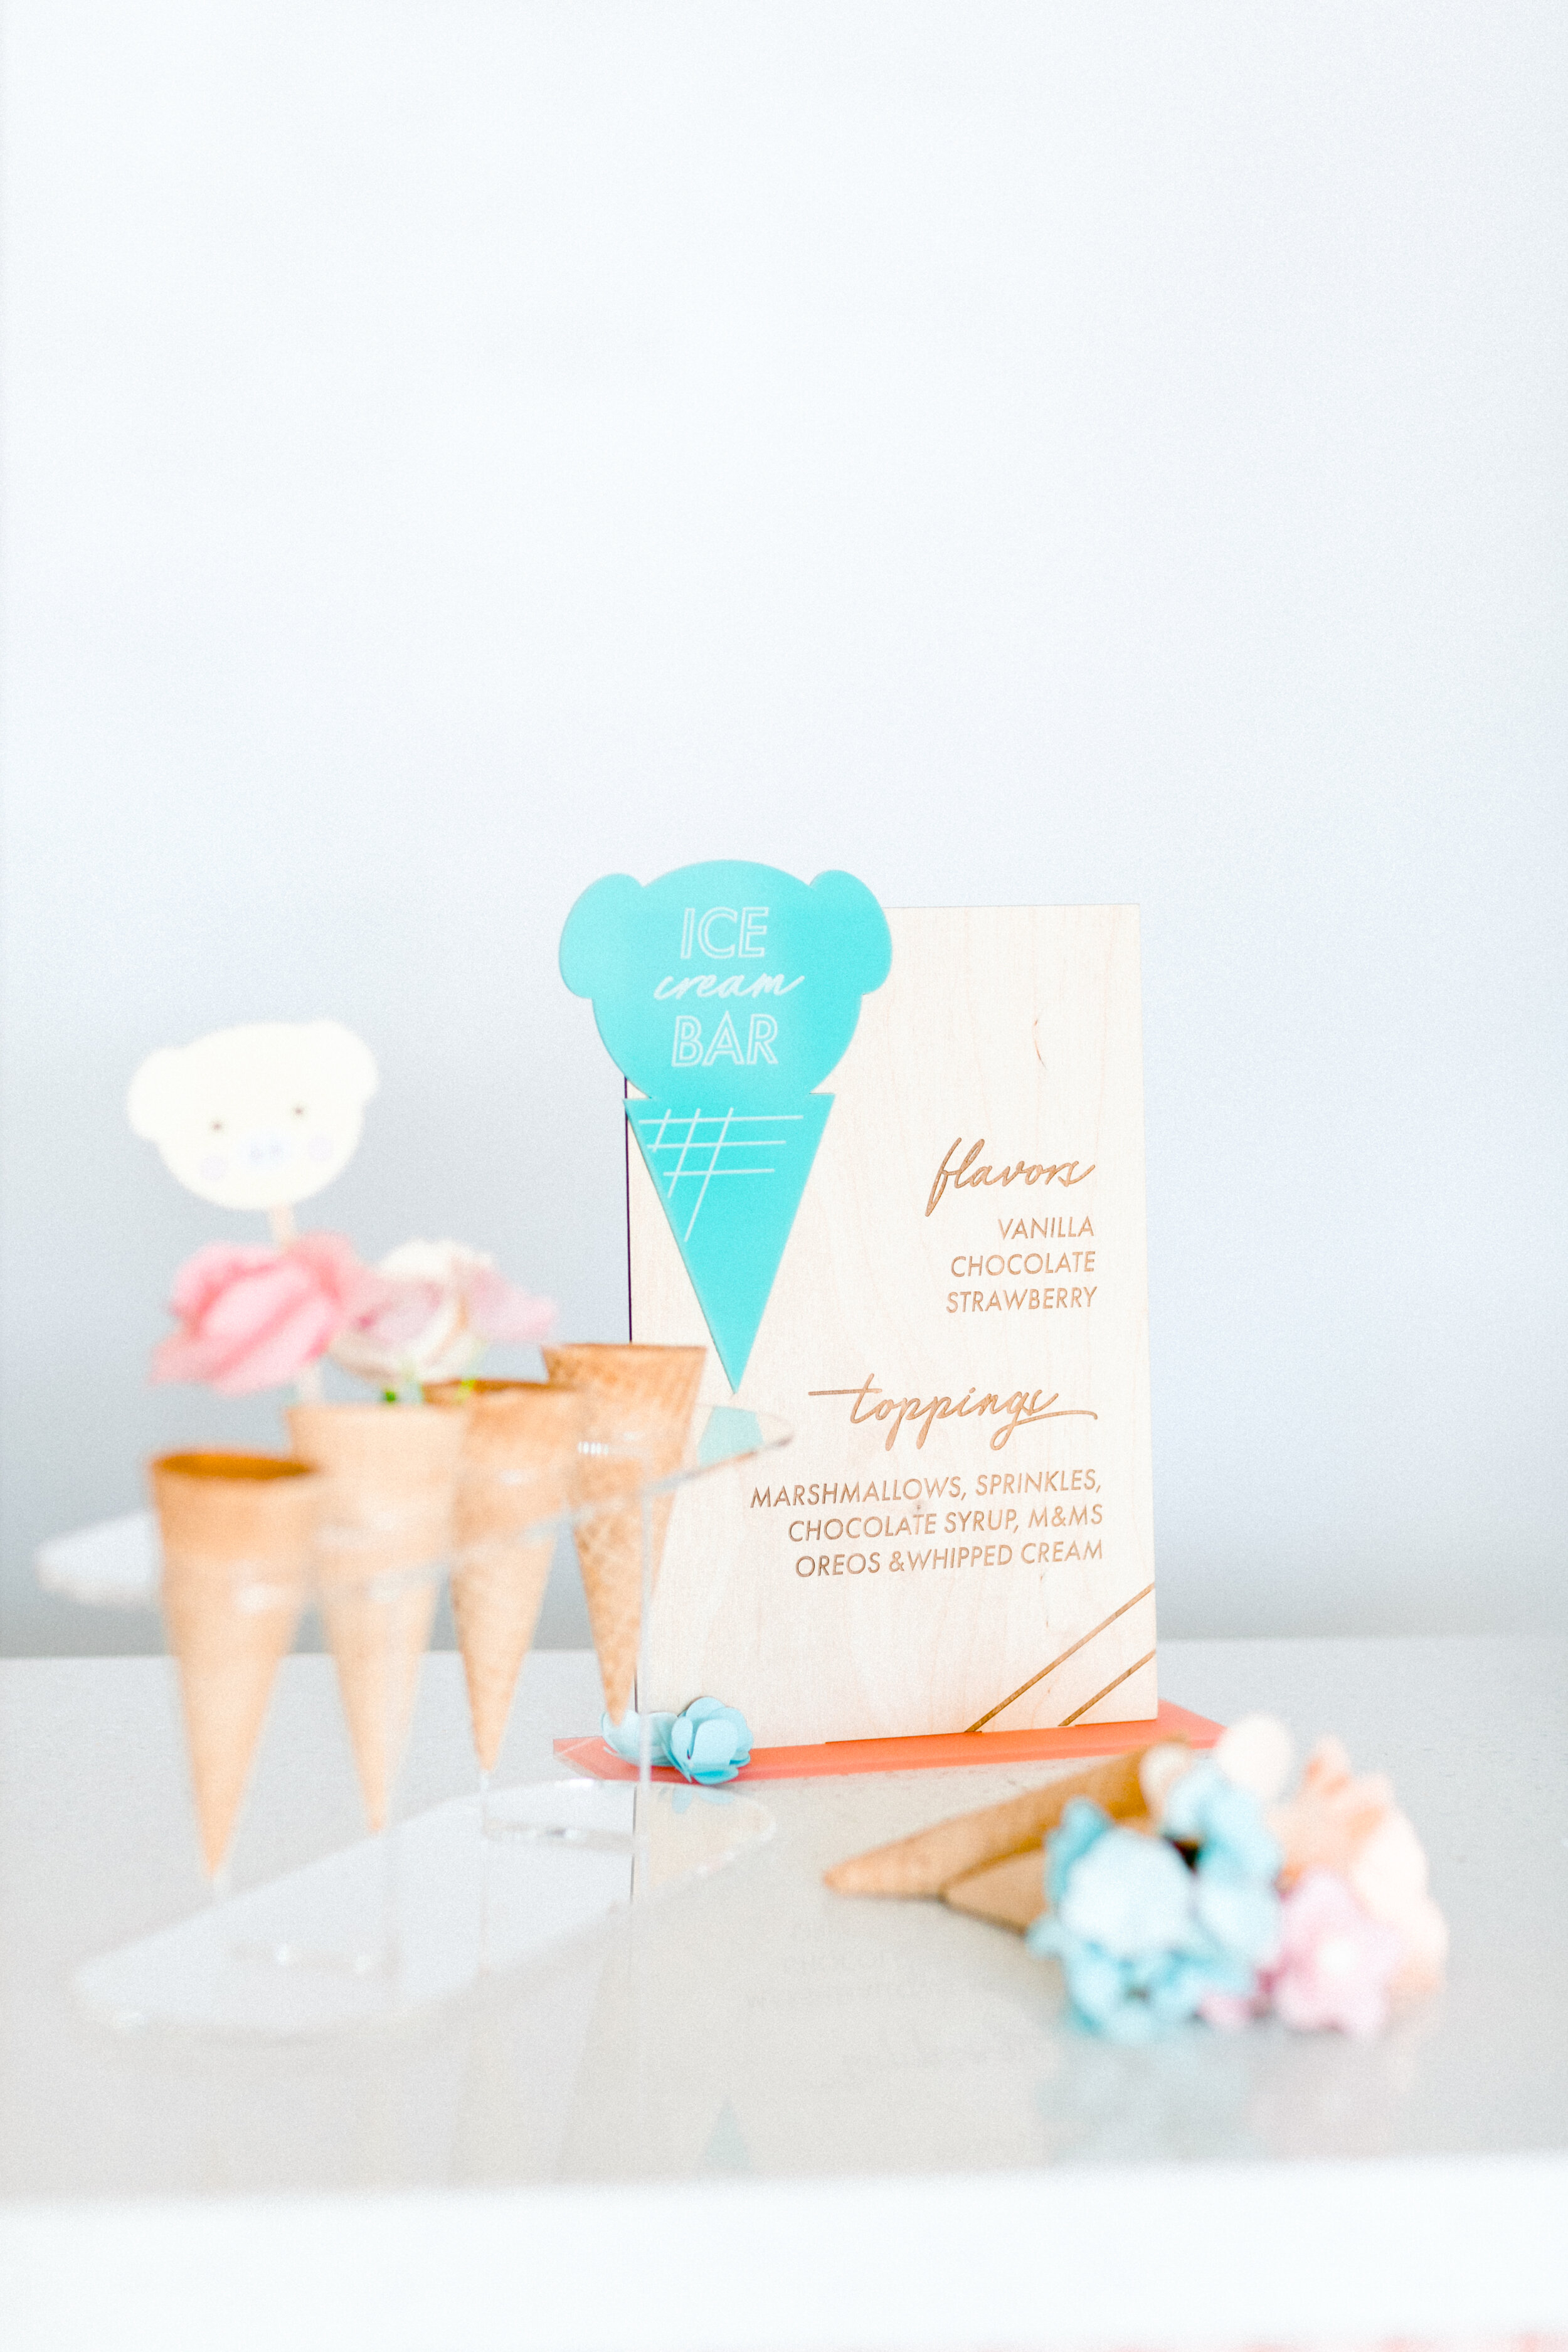
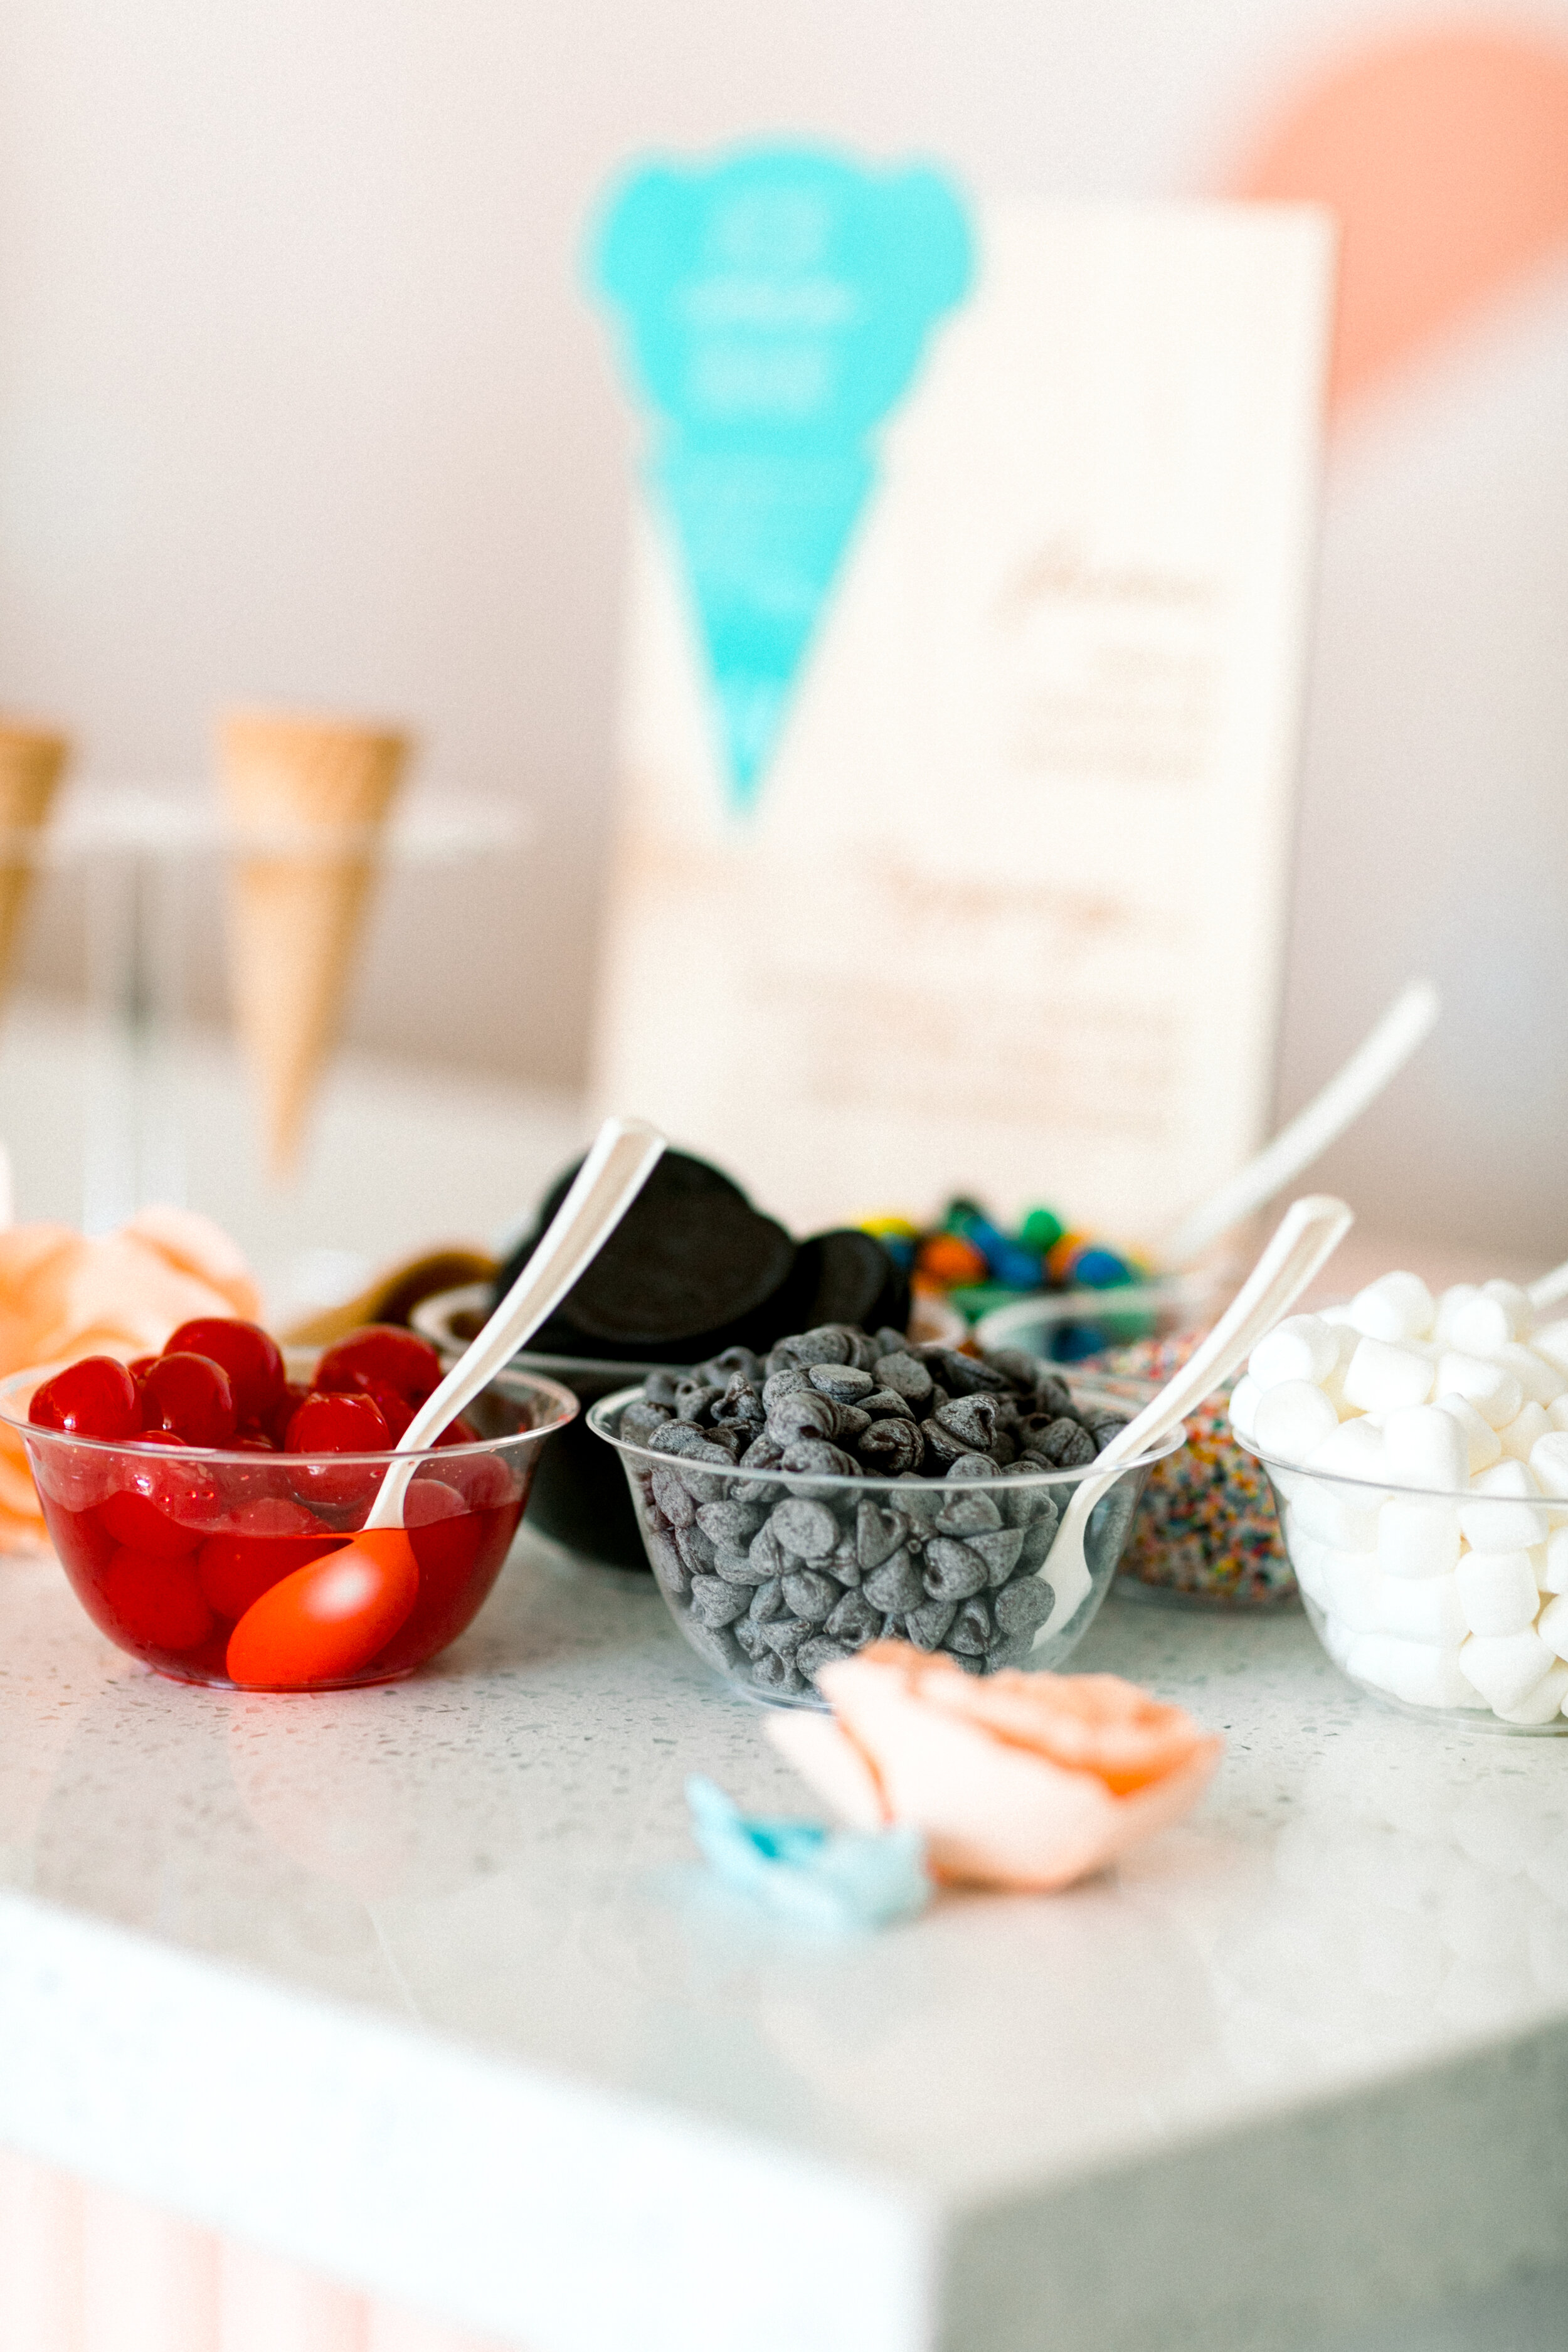
Our ice cream bar was laid out just like an adult dessert bar would be, with an added element of being crafty and fun! It was full of delicious toppings spread out into small bowls with spoons ready to be scooped onto each kid’s dessert creation. The ice cream bar was set up alongside a custom wooden sign creat” was the actual cakes and cookies made by Danielle Keene of Sheila Mae.

This party could not have happened without our talented friends. Special thanks to our photographer Adriana Gonzales of Simply Adri Photography for capturing all these special moments; Rebecca and Kelly of Oh Shiny! Paper Co for providing us the venue, balloons, and party goods; Christine Ngo from Paper Sandwich; cookies and cake from Danielle Keene of Sheila Mae; and signage from Happily Ever Etched. Finally, but never least, thanks to our little party goers, Sienna Lansangan and Zeke Pena, for their willingness to smile and eat all the sweet treats. This party perfectly echoed the nostalgia of summer, sitting under the sun with a delicious, melting treat in your hands. It is simple to re-create in your own homes, with any added bits of magic or wonder you’d like.

Photo Gallery

Written by Head Rascal (Ngoc Nguyen Lay), mother of two rascals, ages 5 and 7. Published on Mingle Magazine Summer 2020 Issue.

Loving the Members of Our Community

The concept of community and those who live outside of our 4 walls can be tough for young rascals to understand. It is hard for young minds to think about things they cannot see or experience. The idea of being alone, feeling lonely, or not getting affection are concepts our little people may not understand. Yet, there are people of all ages and walks of life who are experiencing these feelings daily.

In this very real, very scary, and very isolating time of the coronavirus pandemic, we have helped our boys understand that there are people who cannot see their families and loved ones. While watching the local news one morning, a segment aired about an adult son visiting his aging father in a nursing home. It showed the adult son sitting outside, talking on the phone with his father who was sitting inside. No touching. No hugging. No physical contact. My young rascals asked questions:

  • Why can’t they be in the same room?

  • Why can’t they open the window?

  • How will they hug goodbye?

  • Who will hug them?

  • Are they loved?

My mama heart just ached. Ached for my rascals trying to understand. Ached because my rascals are developing empathy and this is just the beginning of some really big feelings. Ached for those who cannot touch or be touched by those they love.

Then they asked, “Can we love them?” That answer is yes!

We began a journey of making homemade arts and crafts that can be mailed to various nursing homes in the country. So far, we have sent love letters and art to nursing homes in Texas, Wisconsin, Colorado, and California.

We made foam sticker bookmarks, wrote letters, created sunshine signs, designed art out of multi-talented pencils, assembled patriotic craft sticks, and fashioned USA doorknob hangers.

My rascals now have a greater sense of serving and loving others, even those we have never met.

In return, the rascals have received their own love letters from residents and staff at the nursing homes. These small gestures have made everyone’s hearts full.

20200610_113135.jpg

Shared by Brandi Stanton, mama of 2 rascals ages 2 and 4.


Shop This Post

Learn Math with Cookies

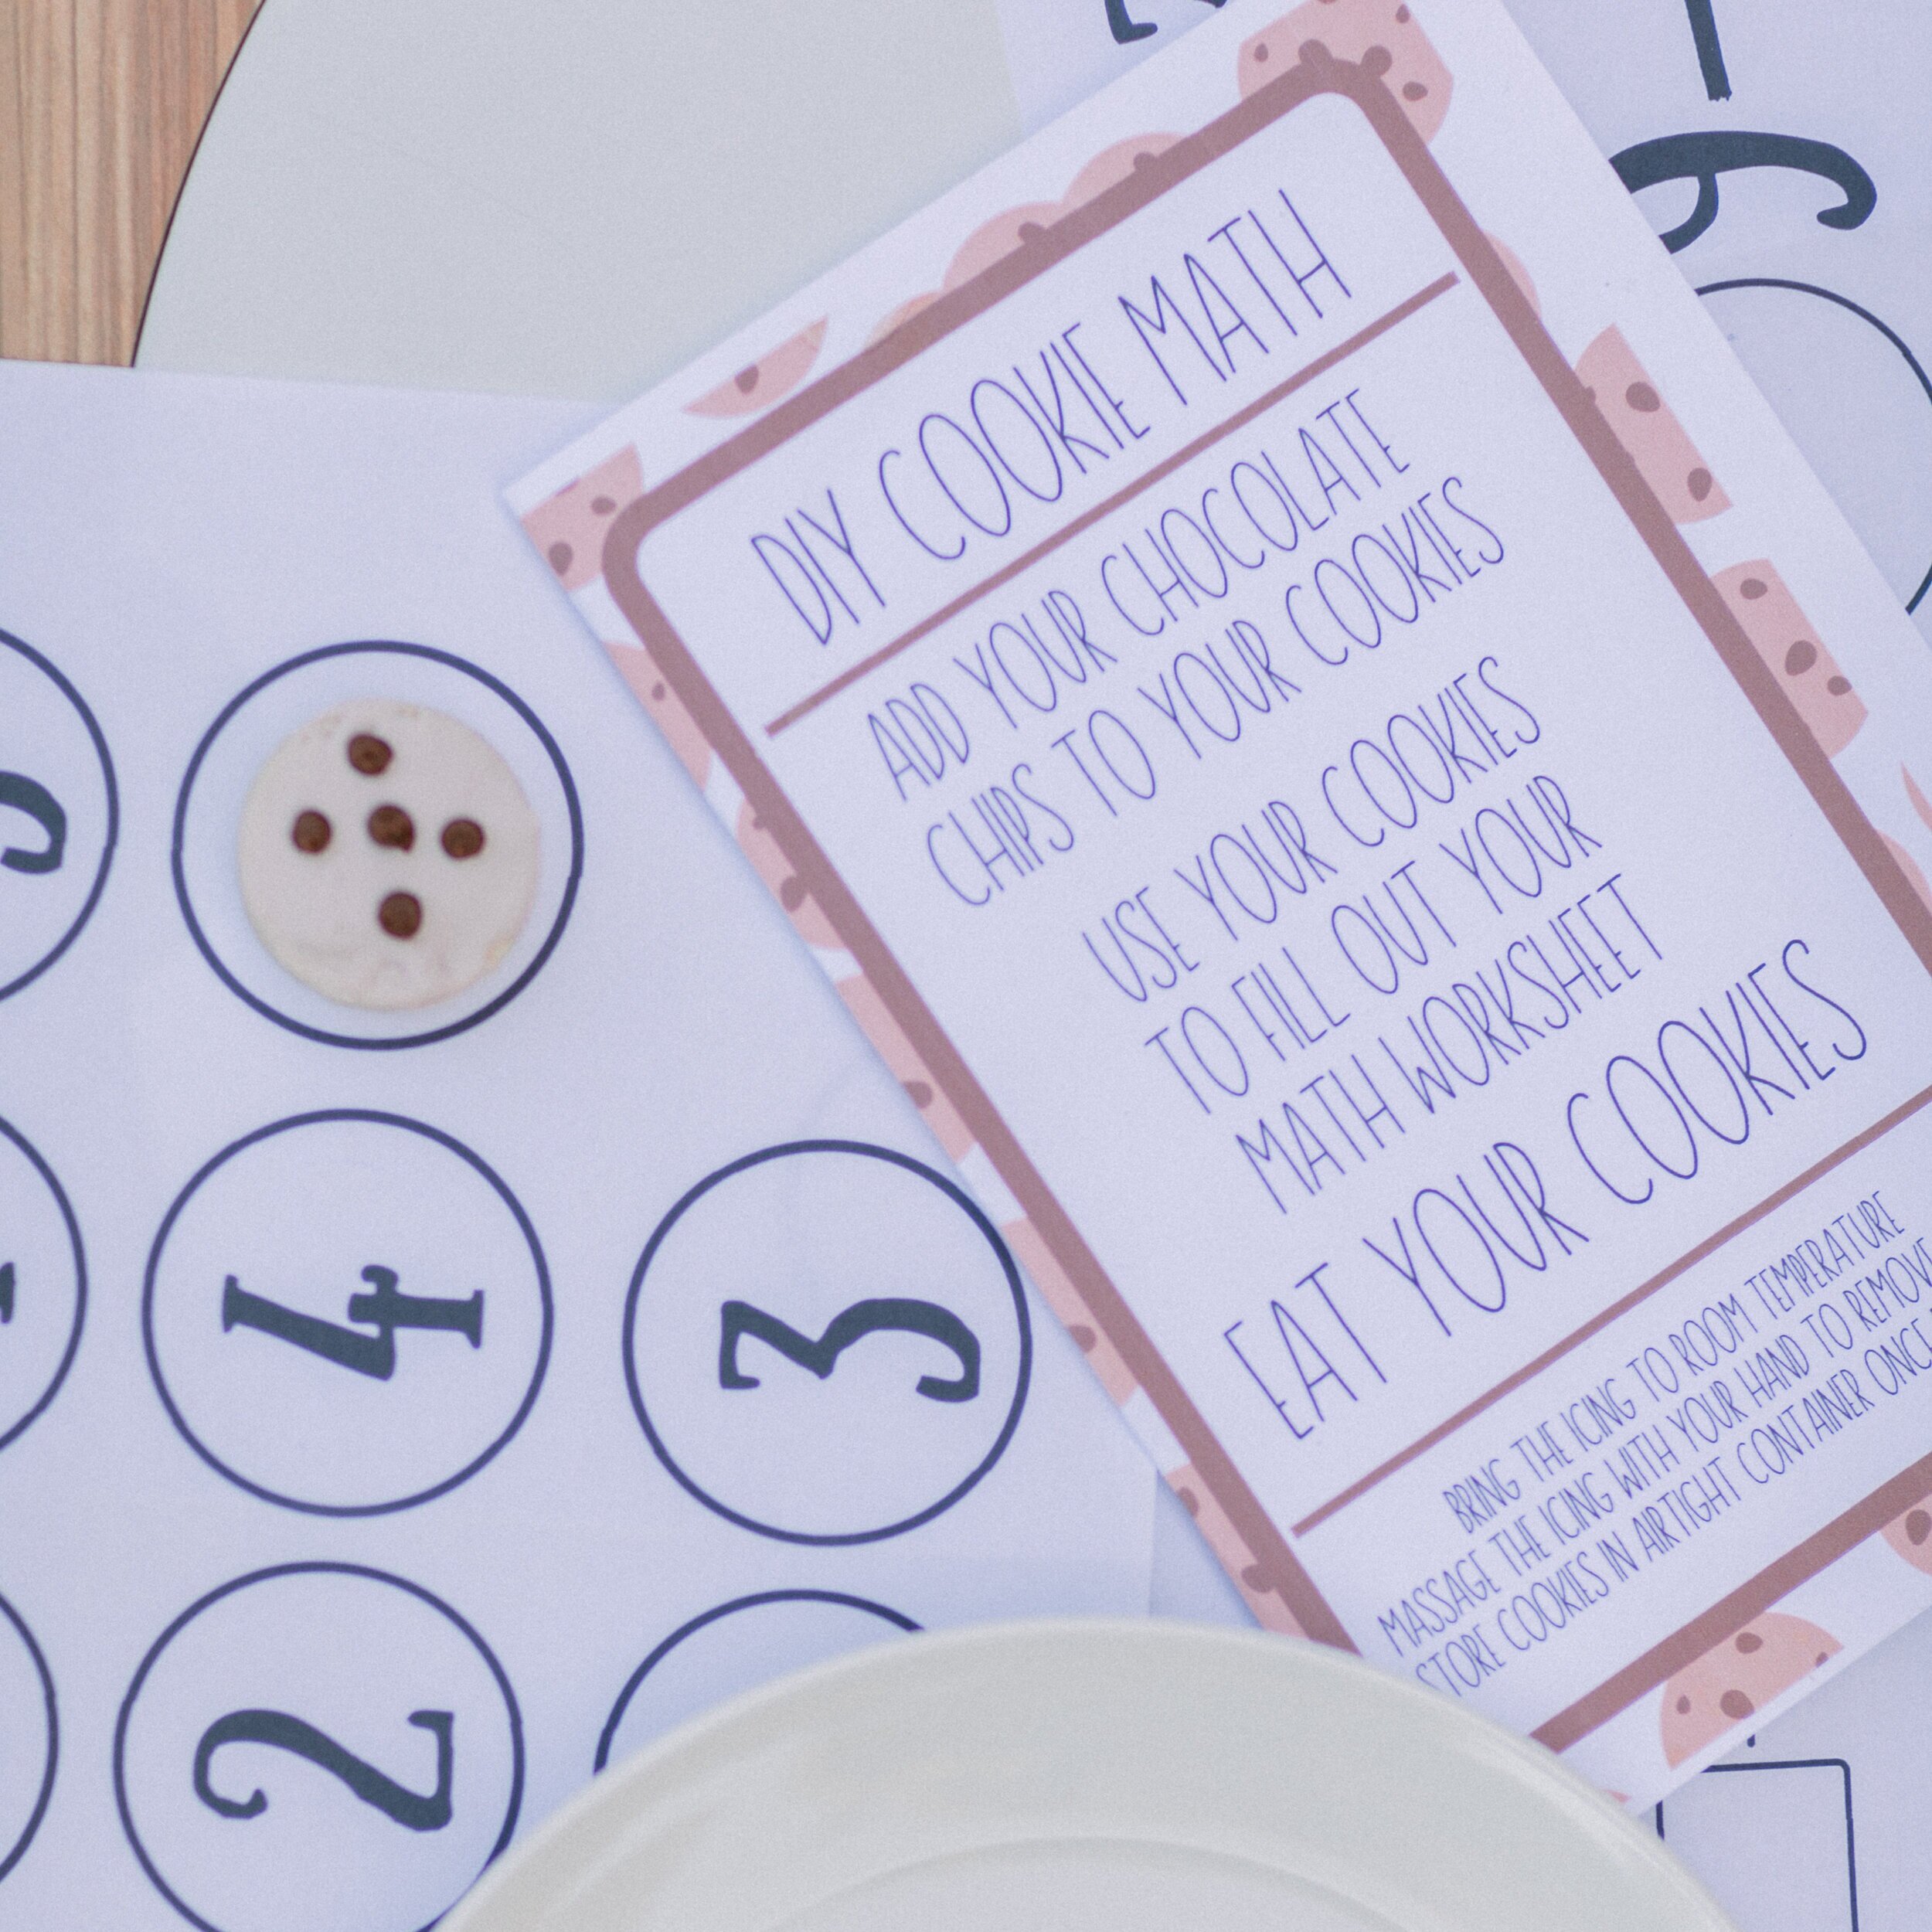
Summer is here and although this year may look different, the basics are still there: sunshine, long days and the freedom of the season. Both of our boys are home this summer since most camps and summer schools are remote. I am still working from home and trying to keep them busy seems like an impossible task most days. Our new lifestyle has me settling into the transition from working mother to WFH (work-from-home) parent/teacher and now summer camp director. Sharing ideas with my fellow WFH parents has been my saving grace for finding new ideas to keep my boys interested and motivated. That’s how I stumbled upon SoEn Cookie Gram.

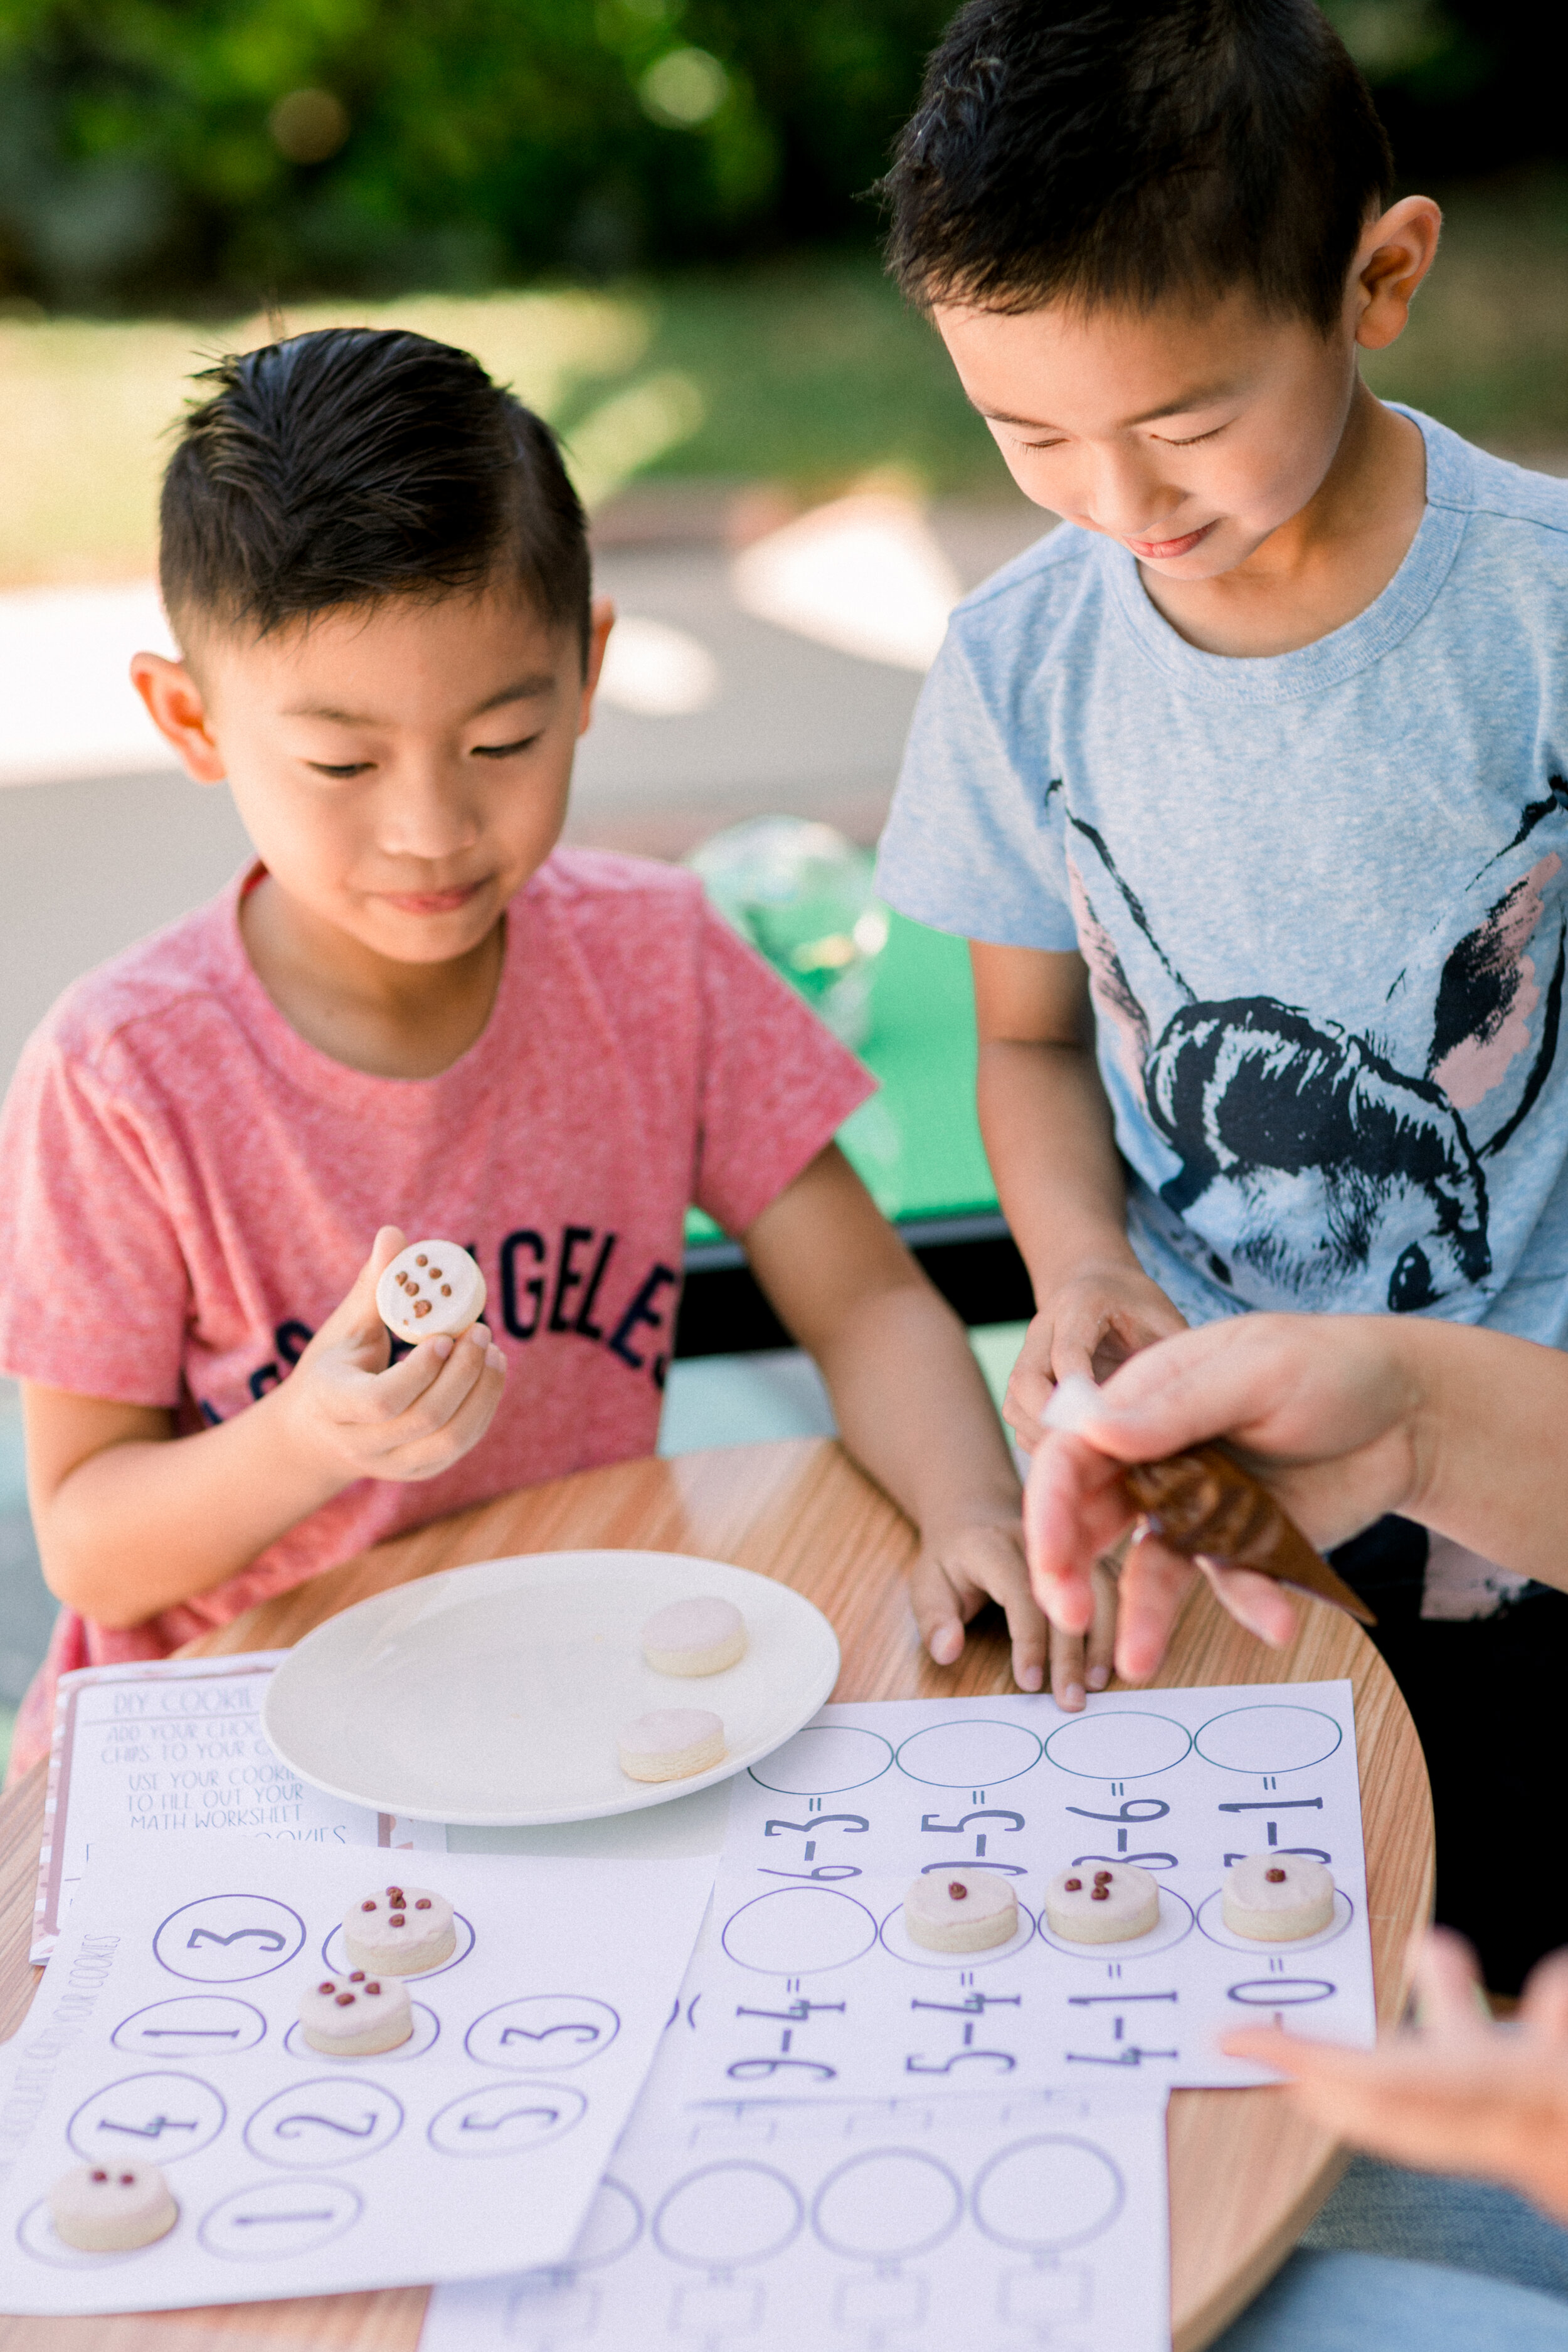
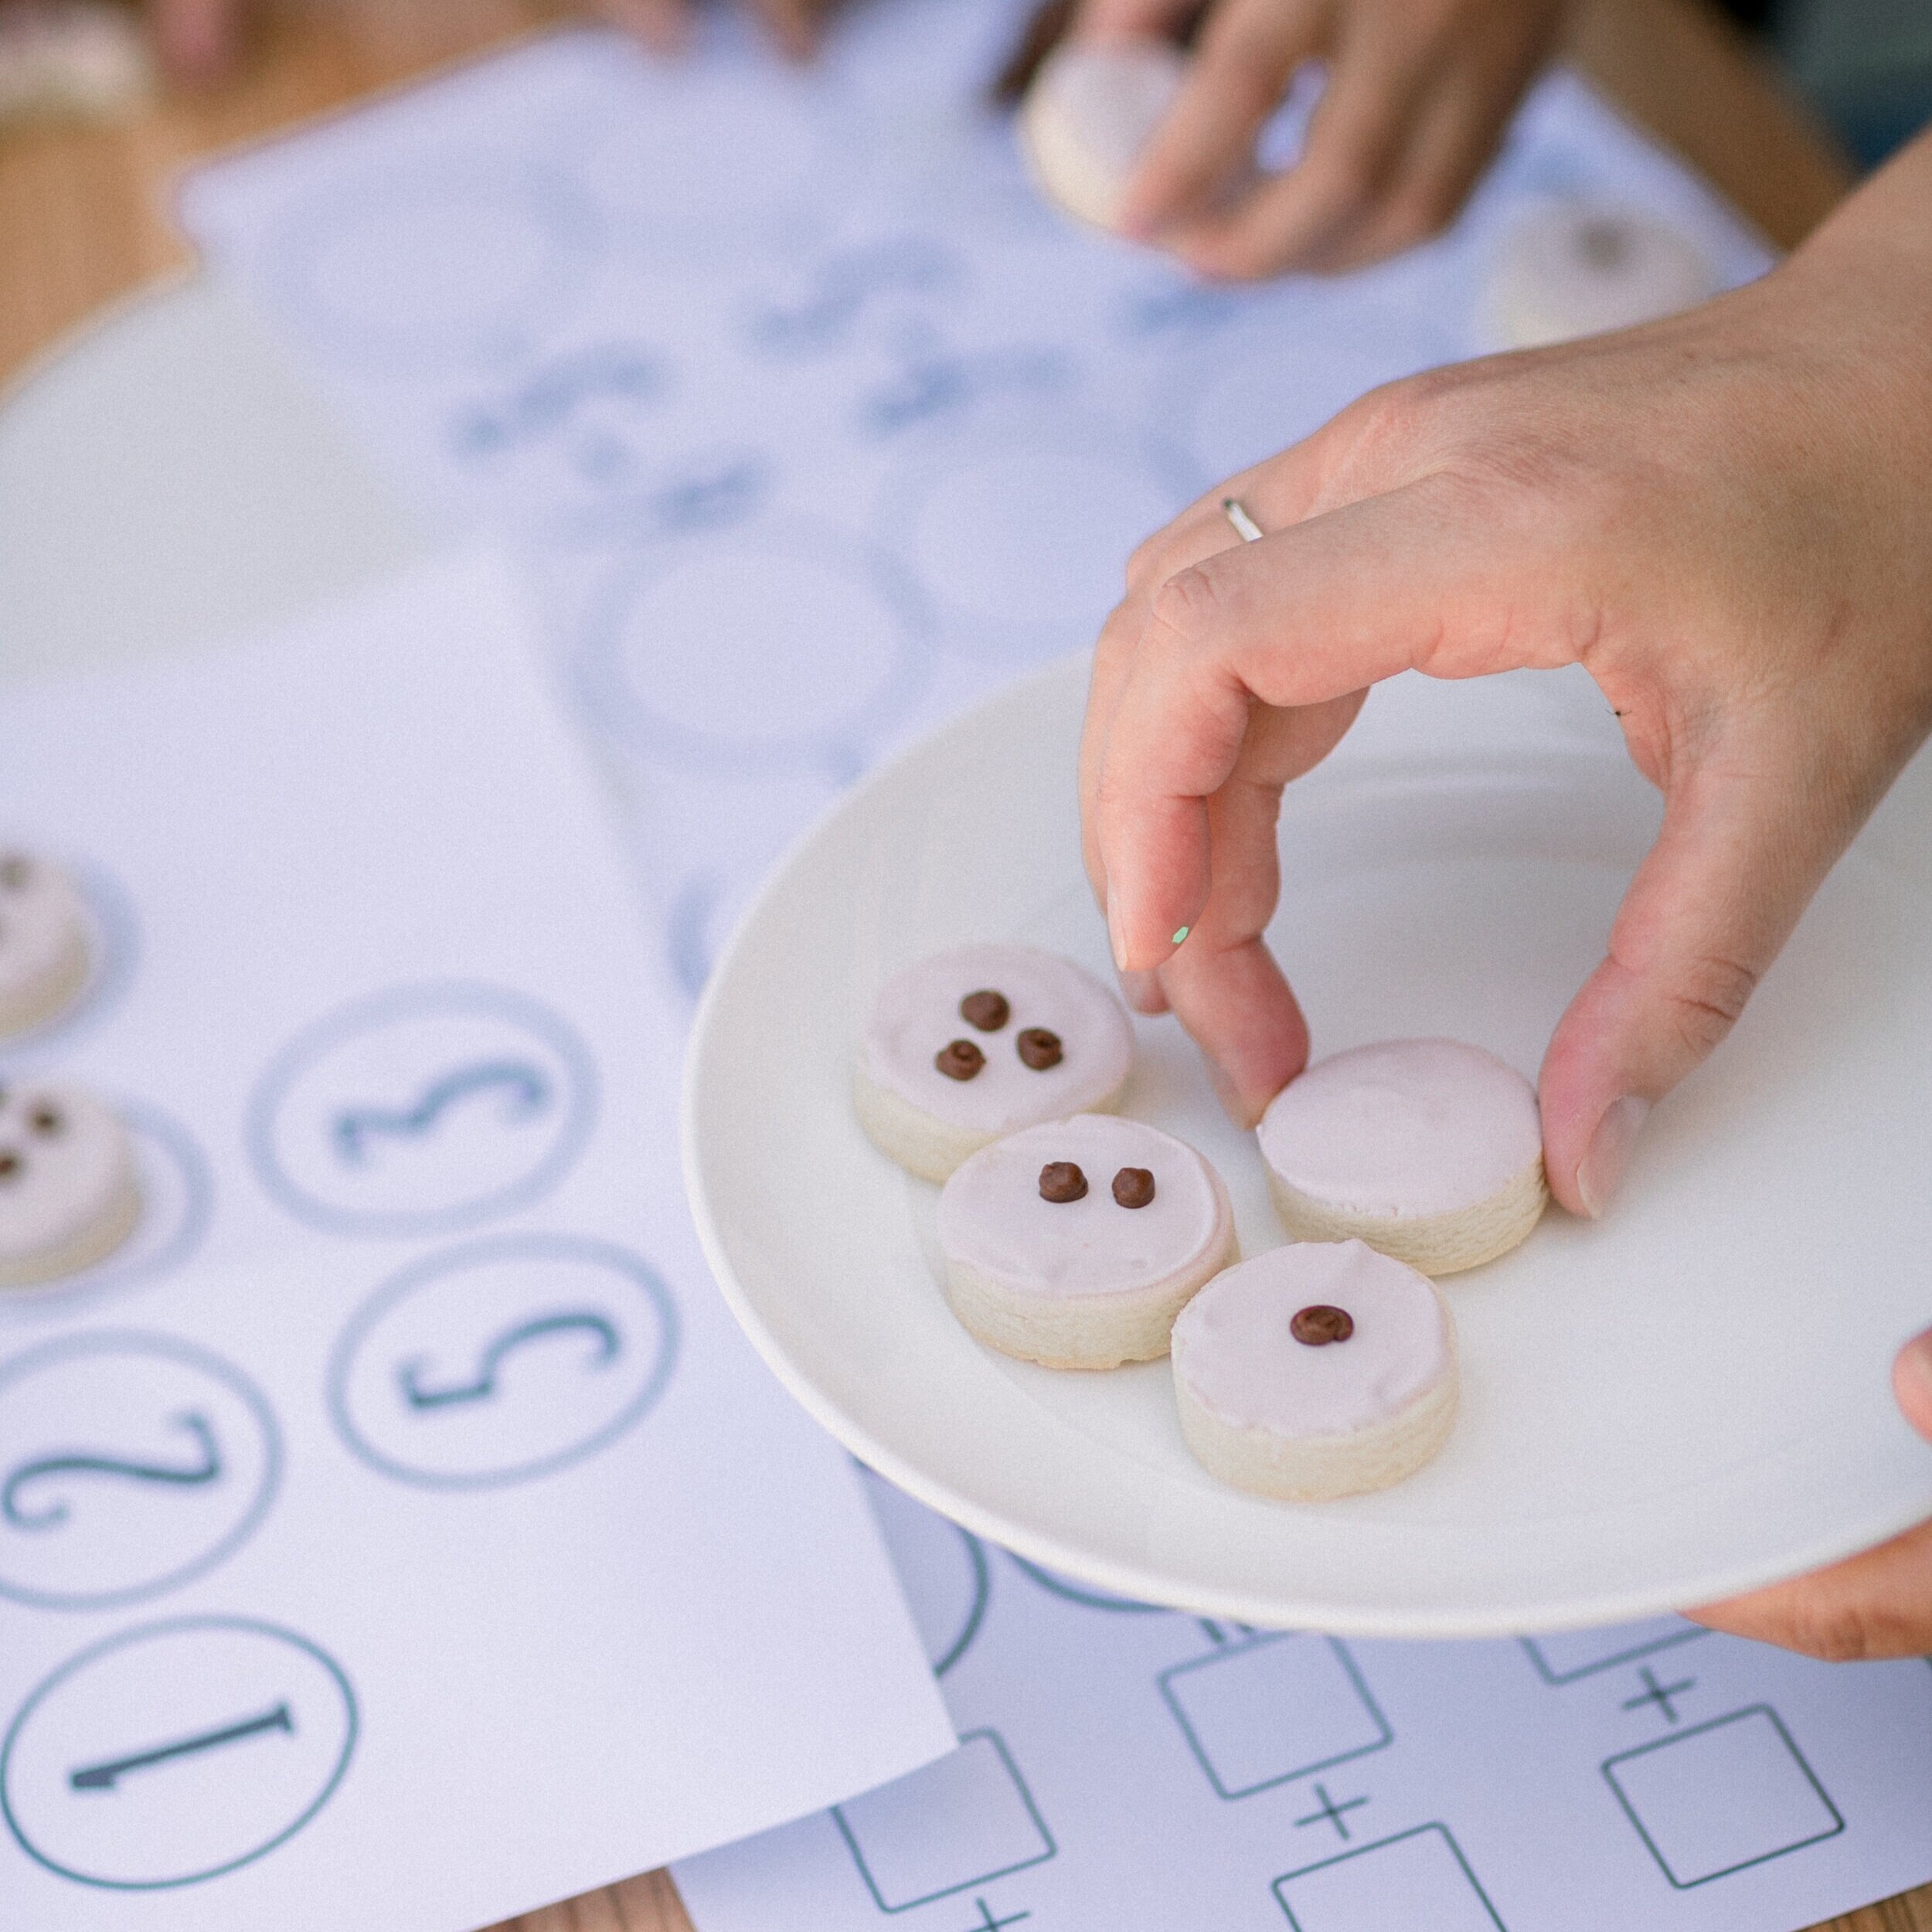
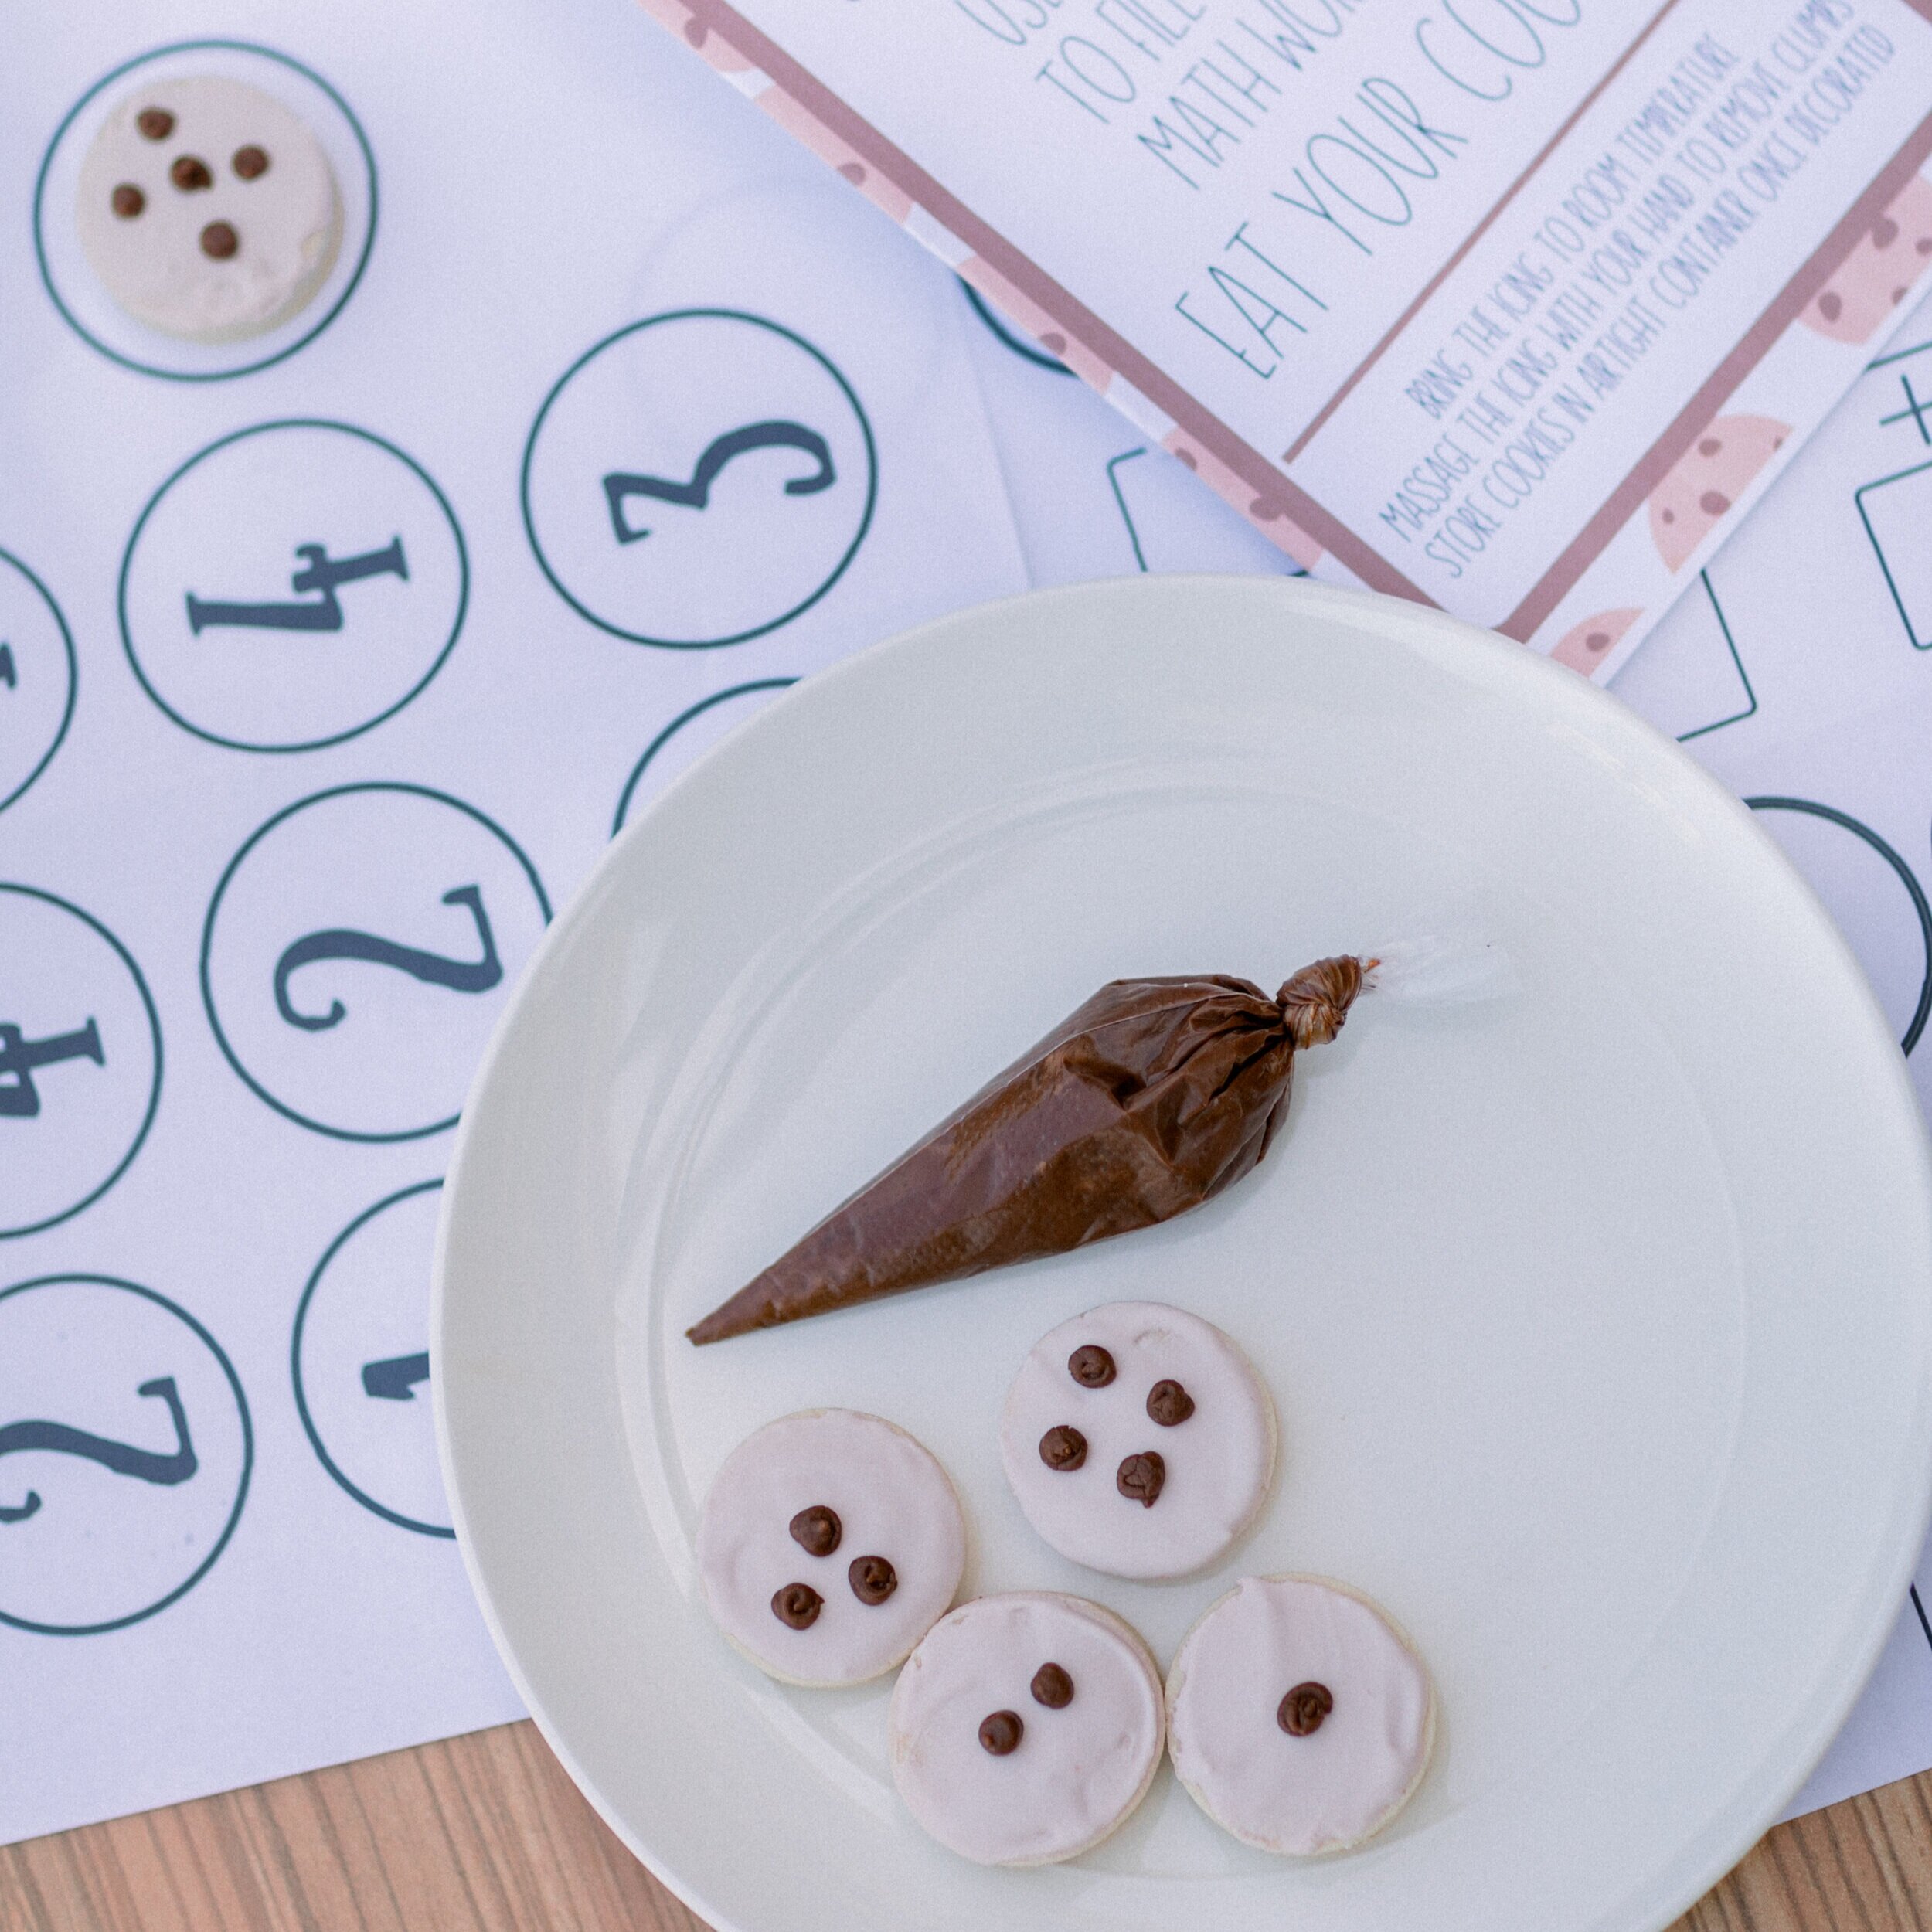
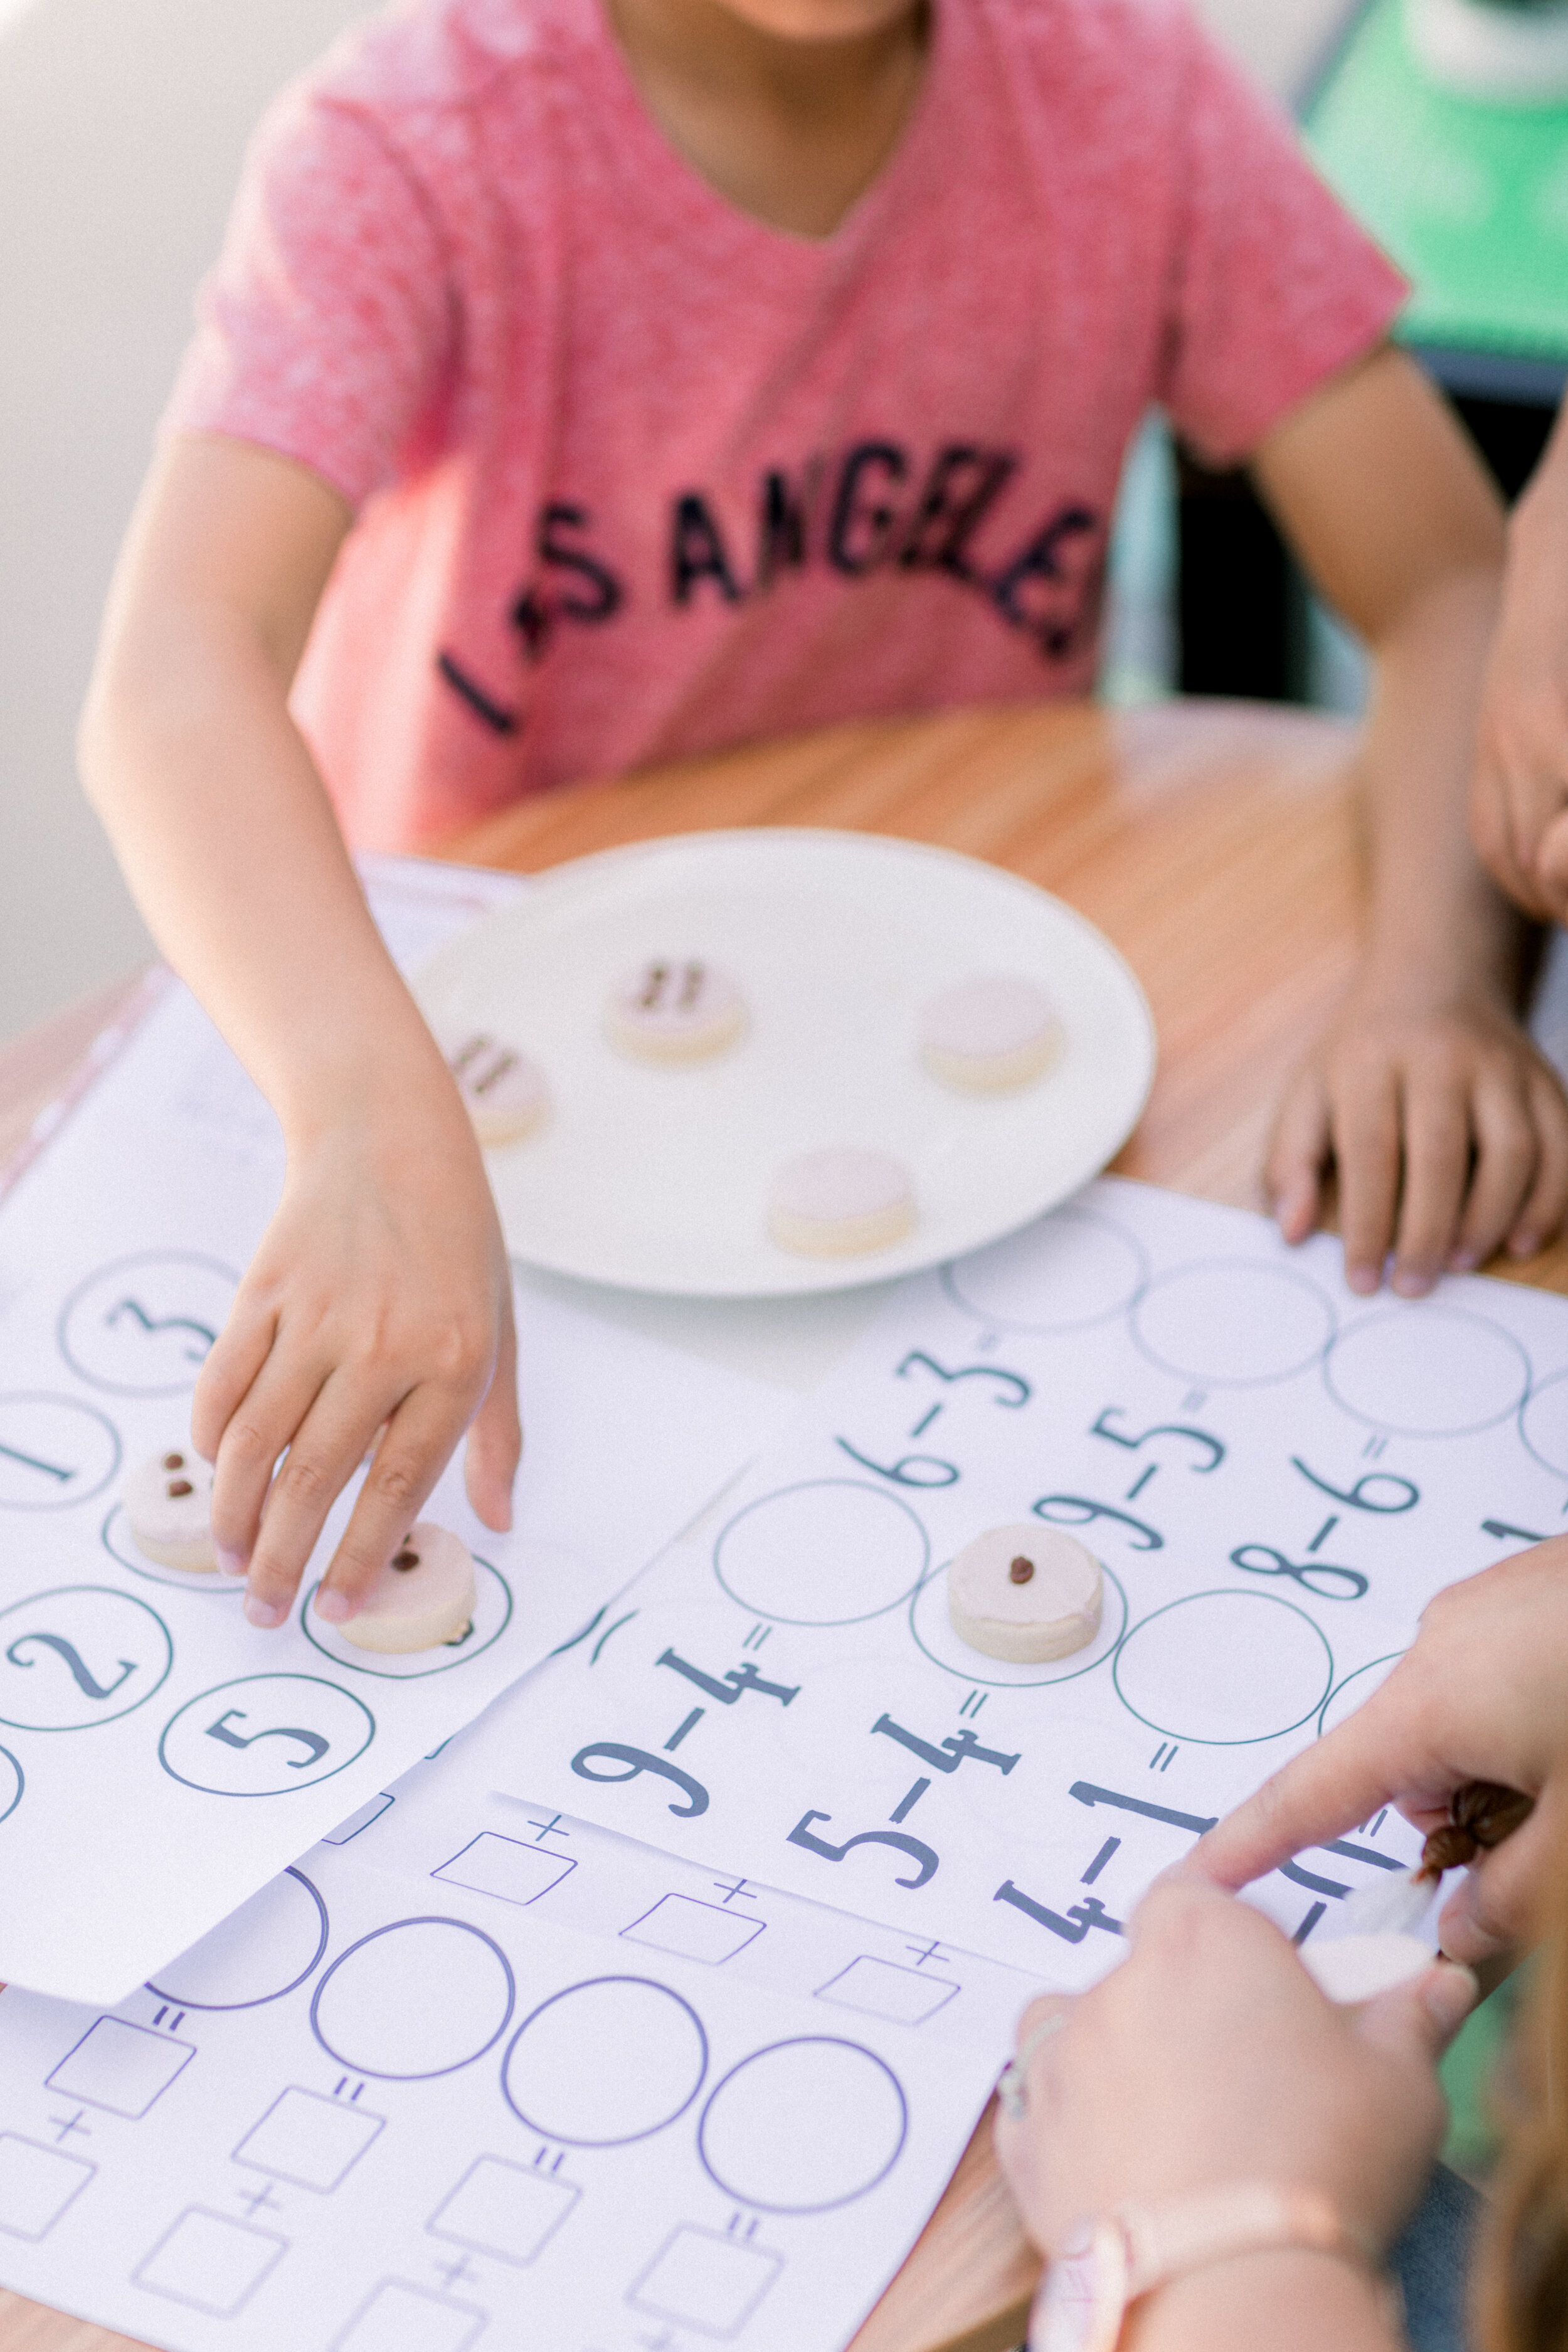
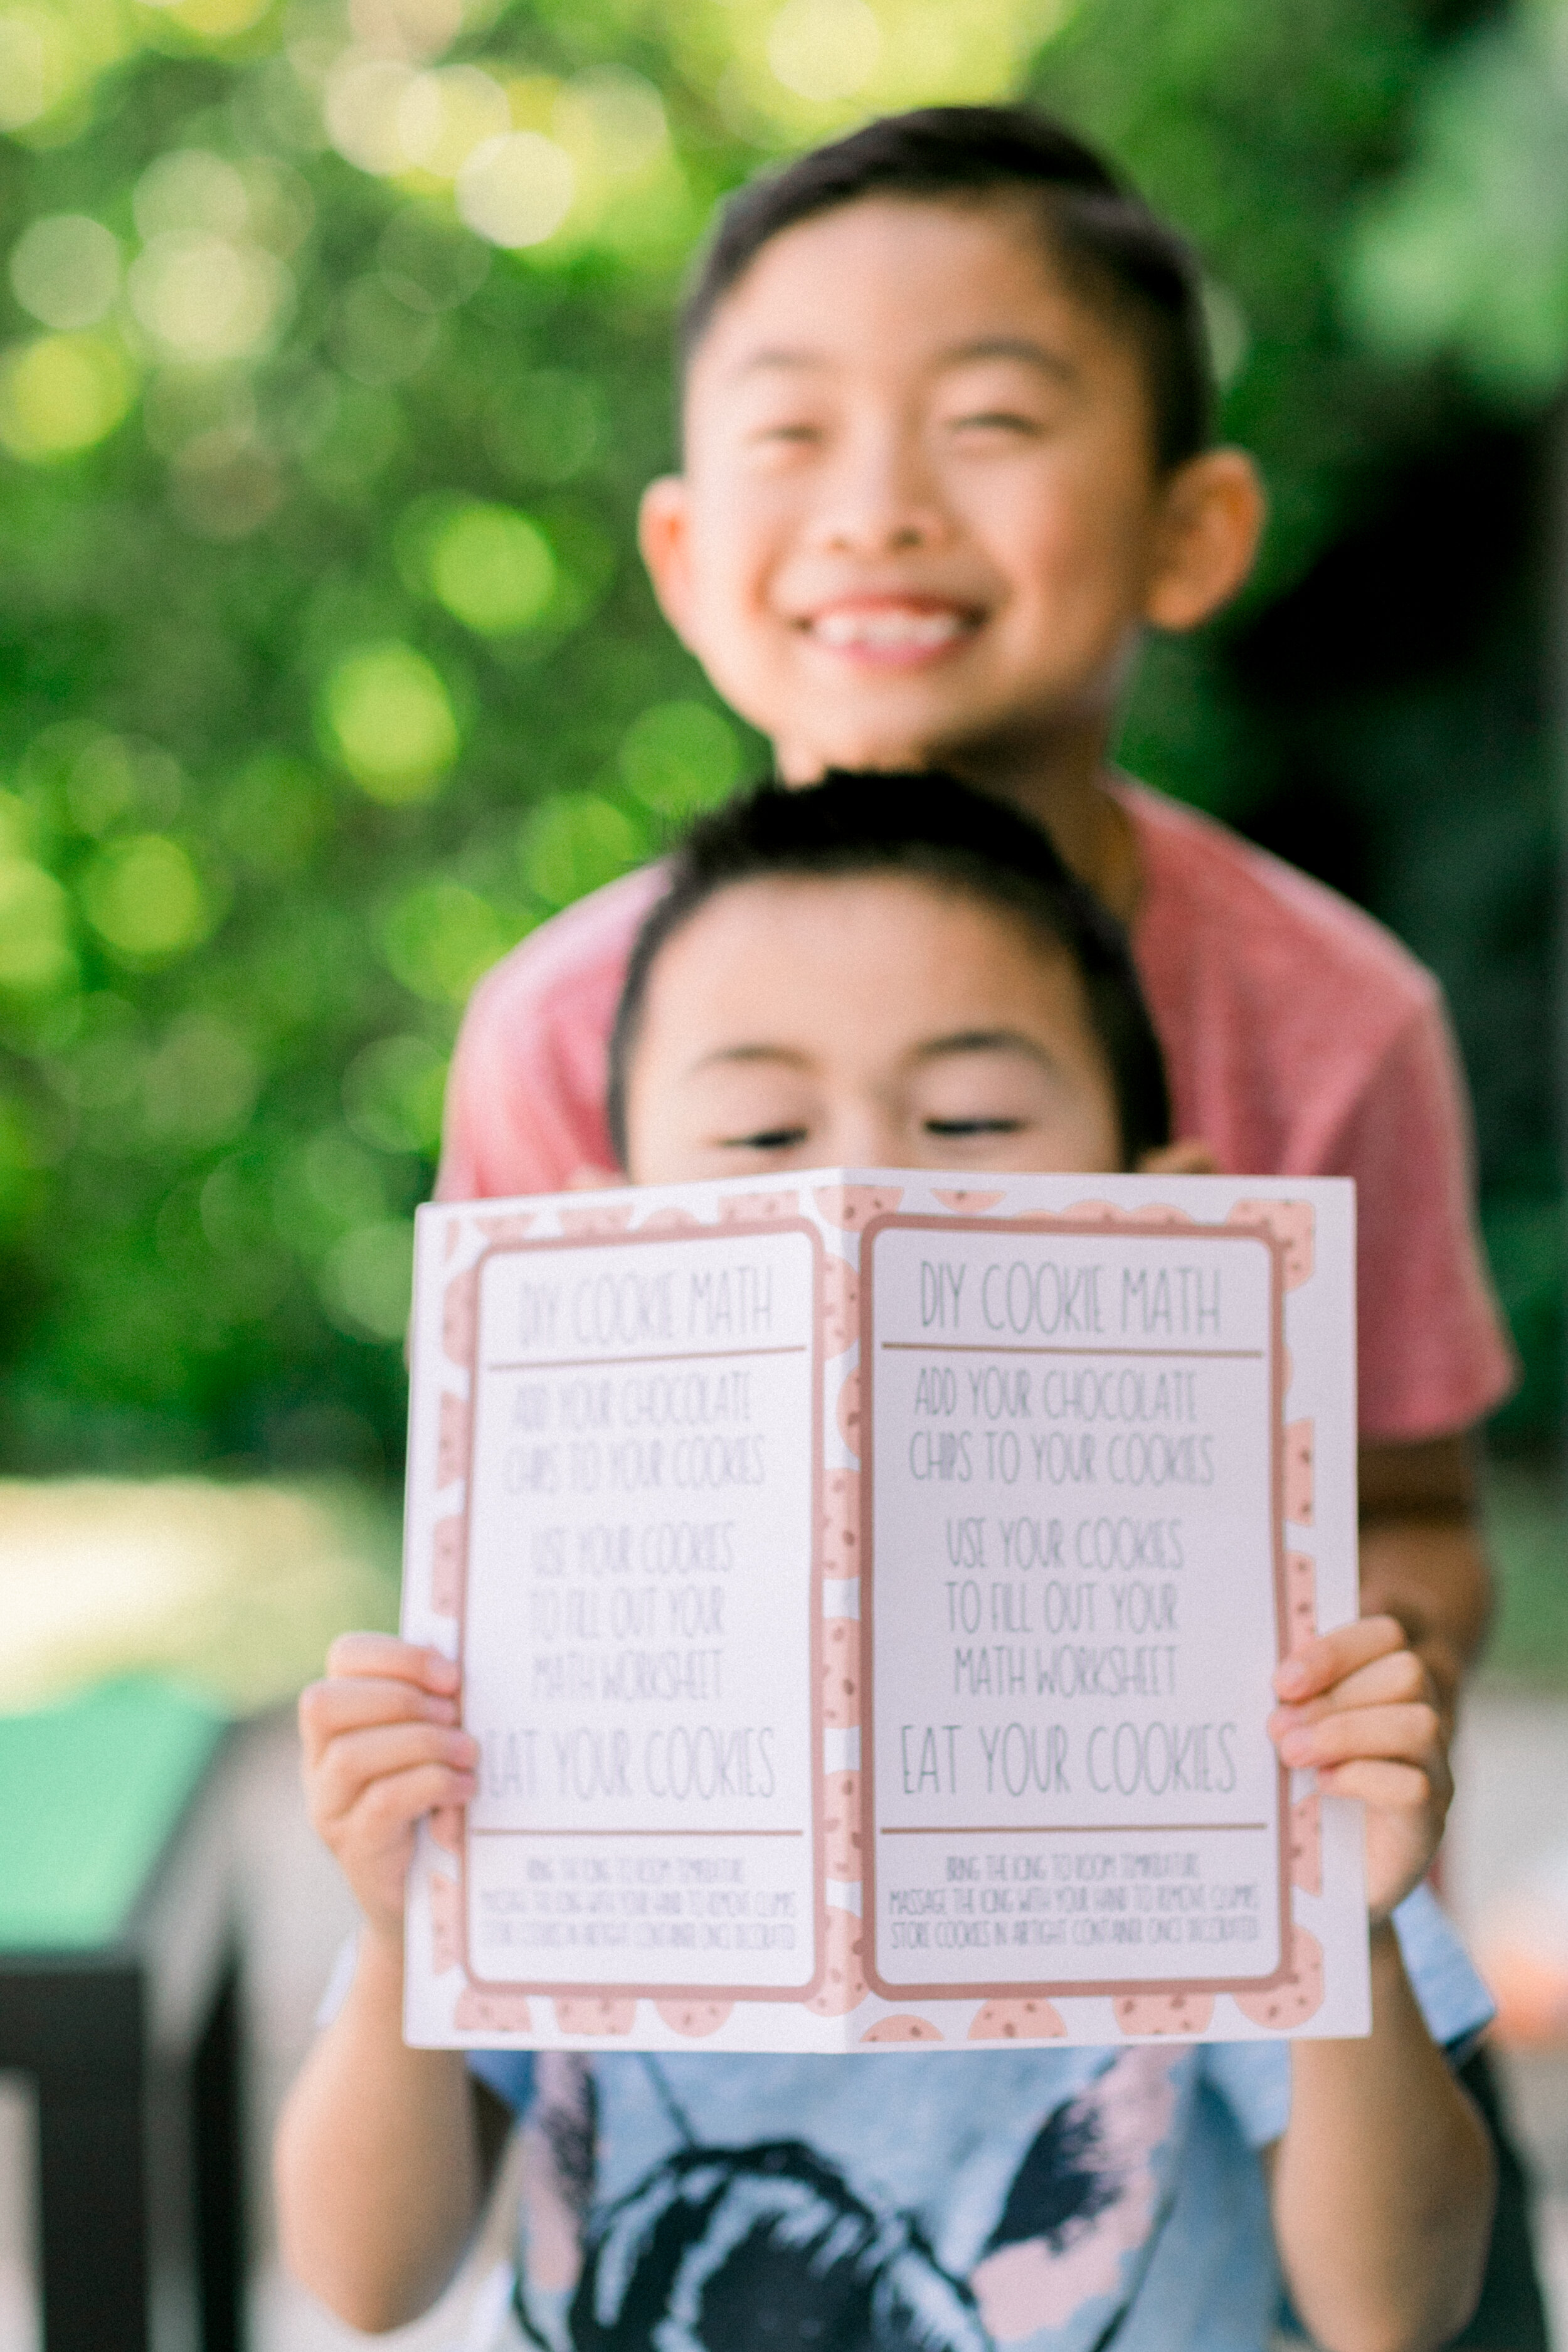
I was browsing through all the different cookie choices when I saw the Cookie Math option – a set of 10 cookies, brown icing for “chips,” math worksheets, and instructions. Immediately, I was intrigued. They were affordable, available to ship, and seemed like such a fun way to mix up Ben and AJ’s lesson plans. I added them to the cart and, along with my boys, eagerly waited for them to make their way to the Lay household.

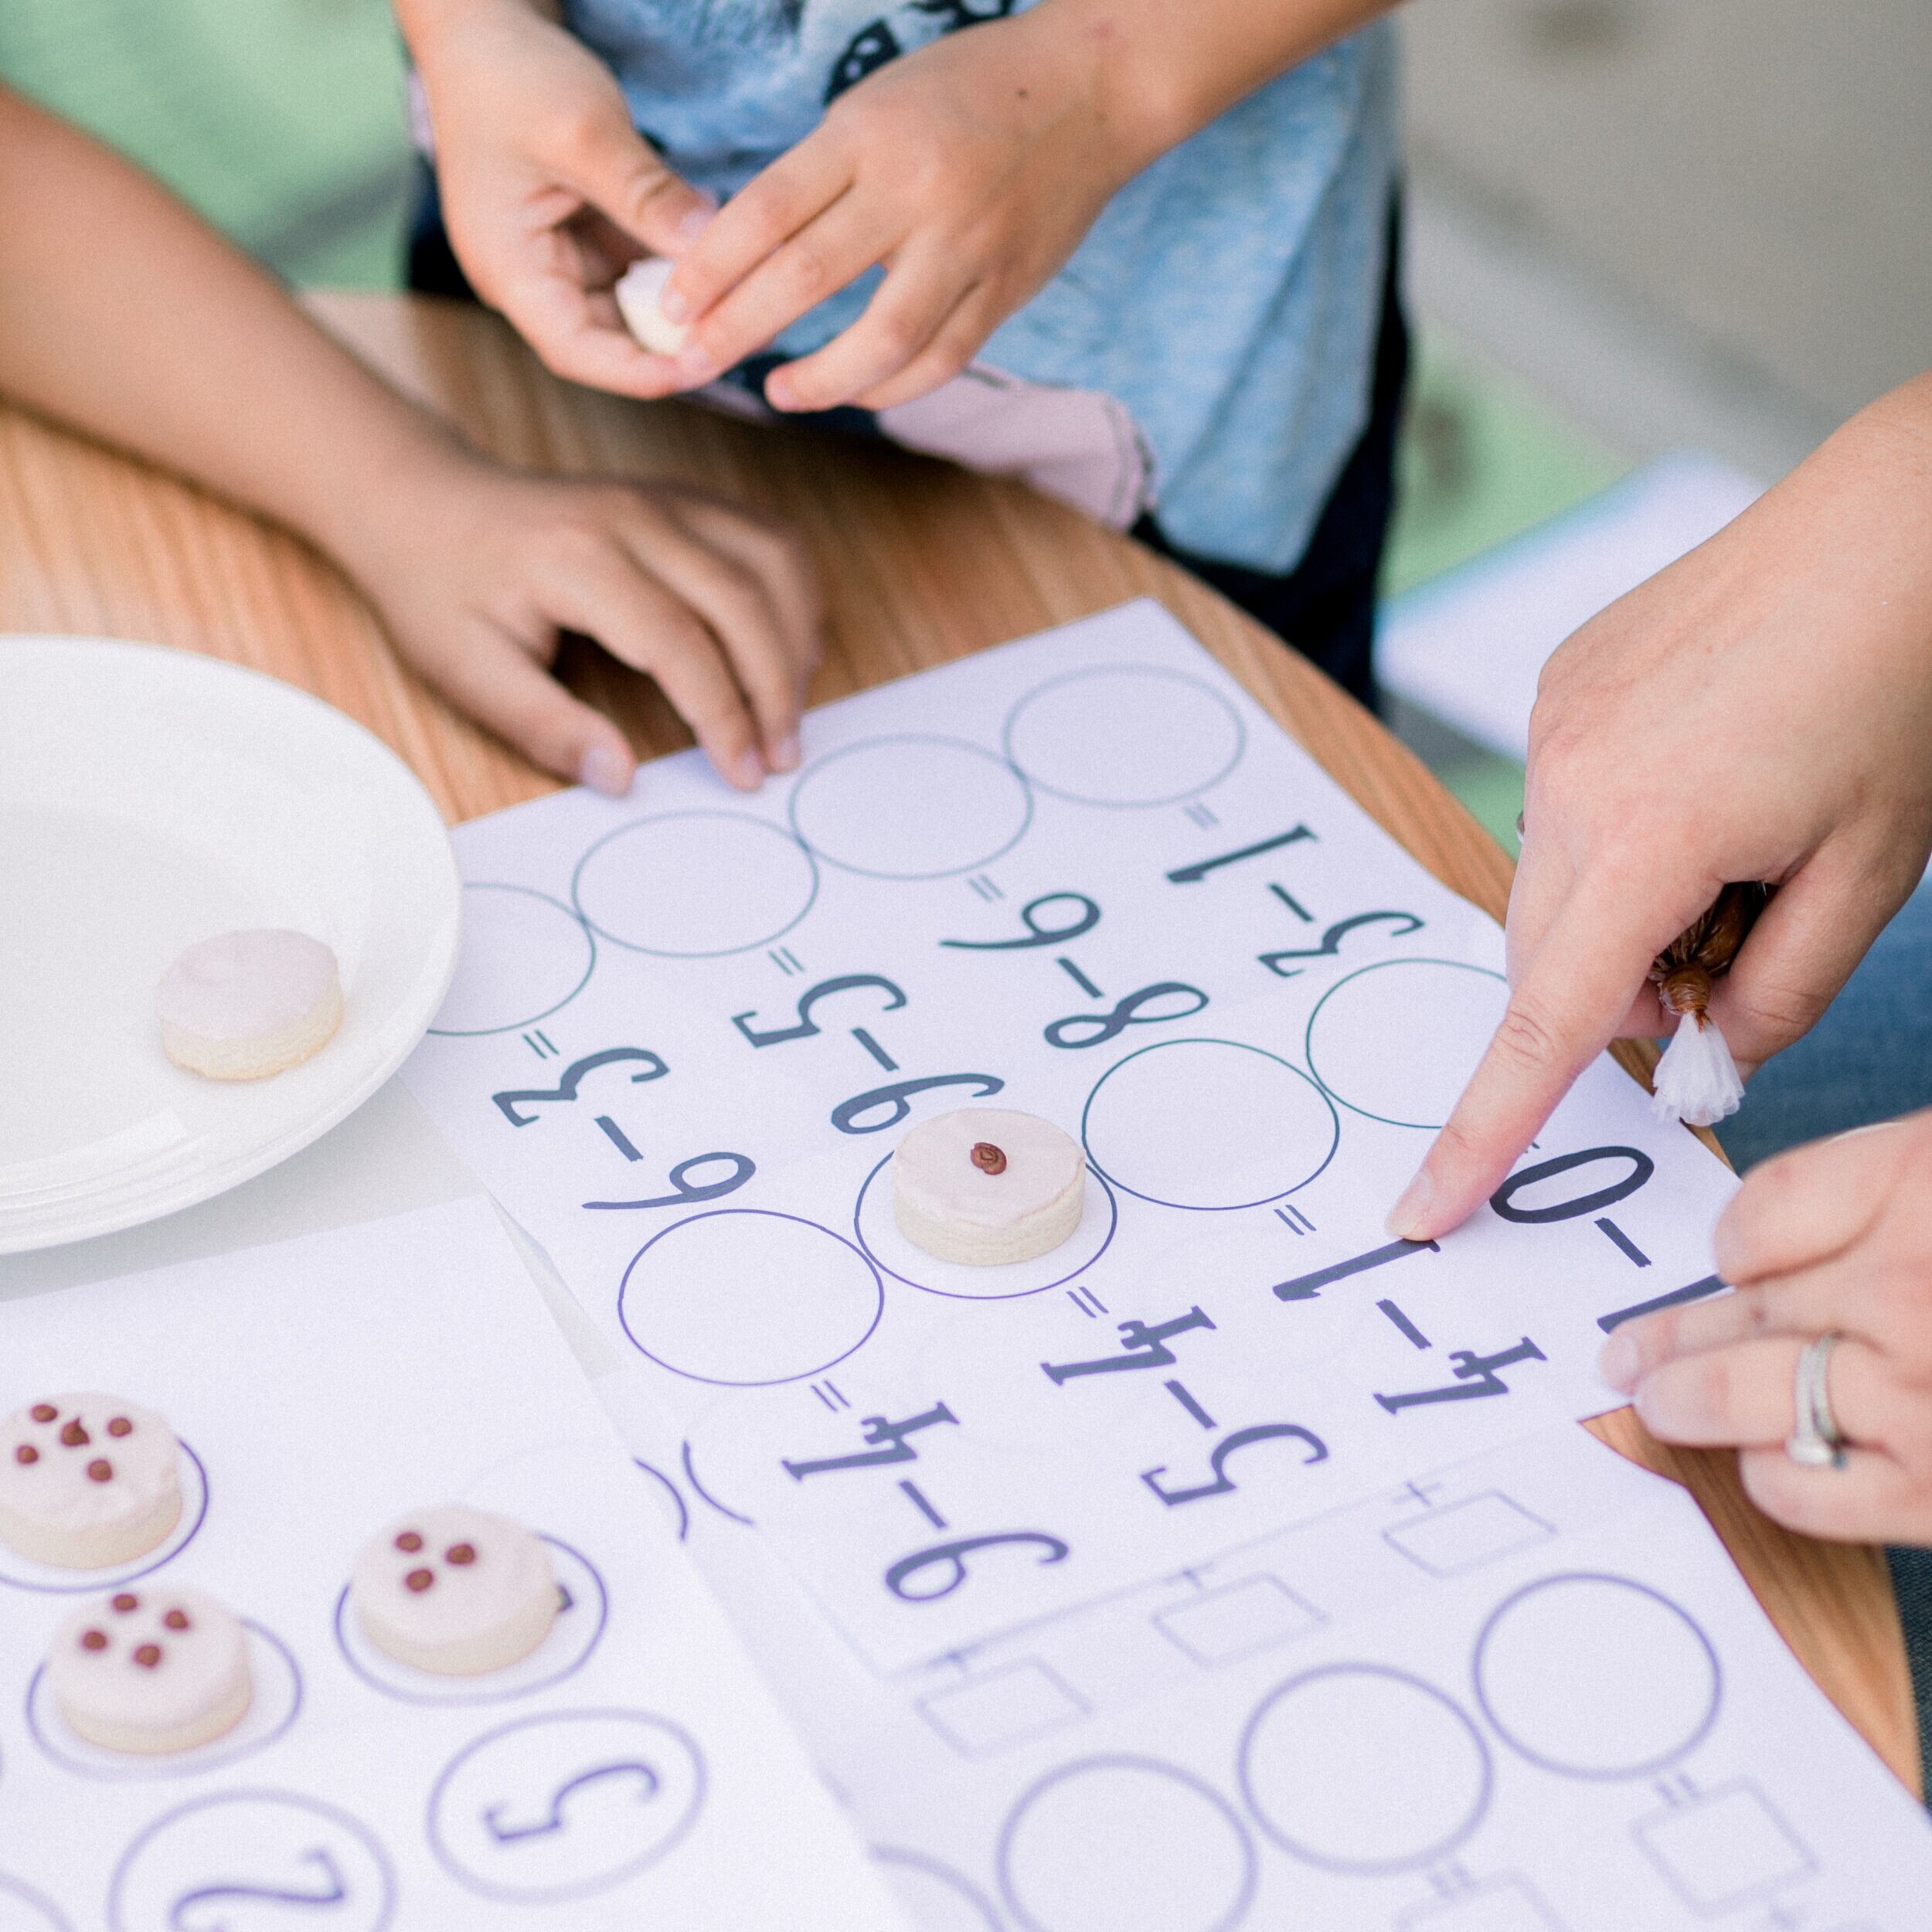
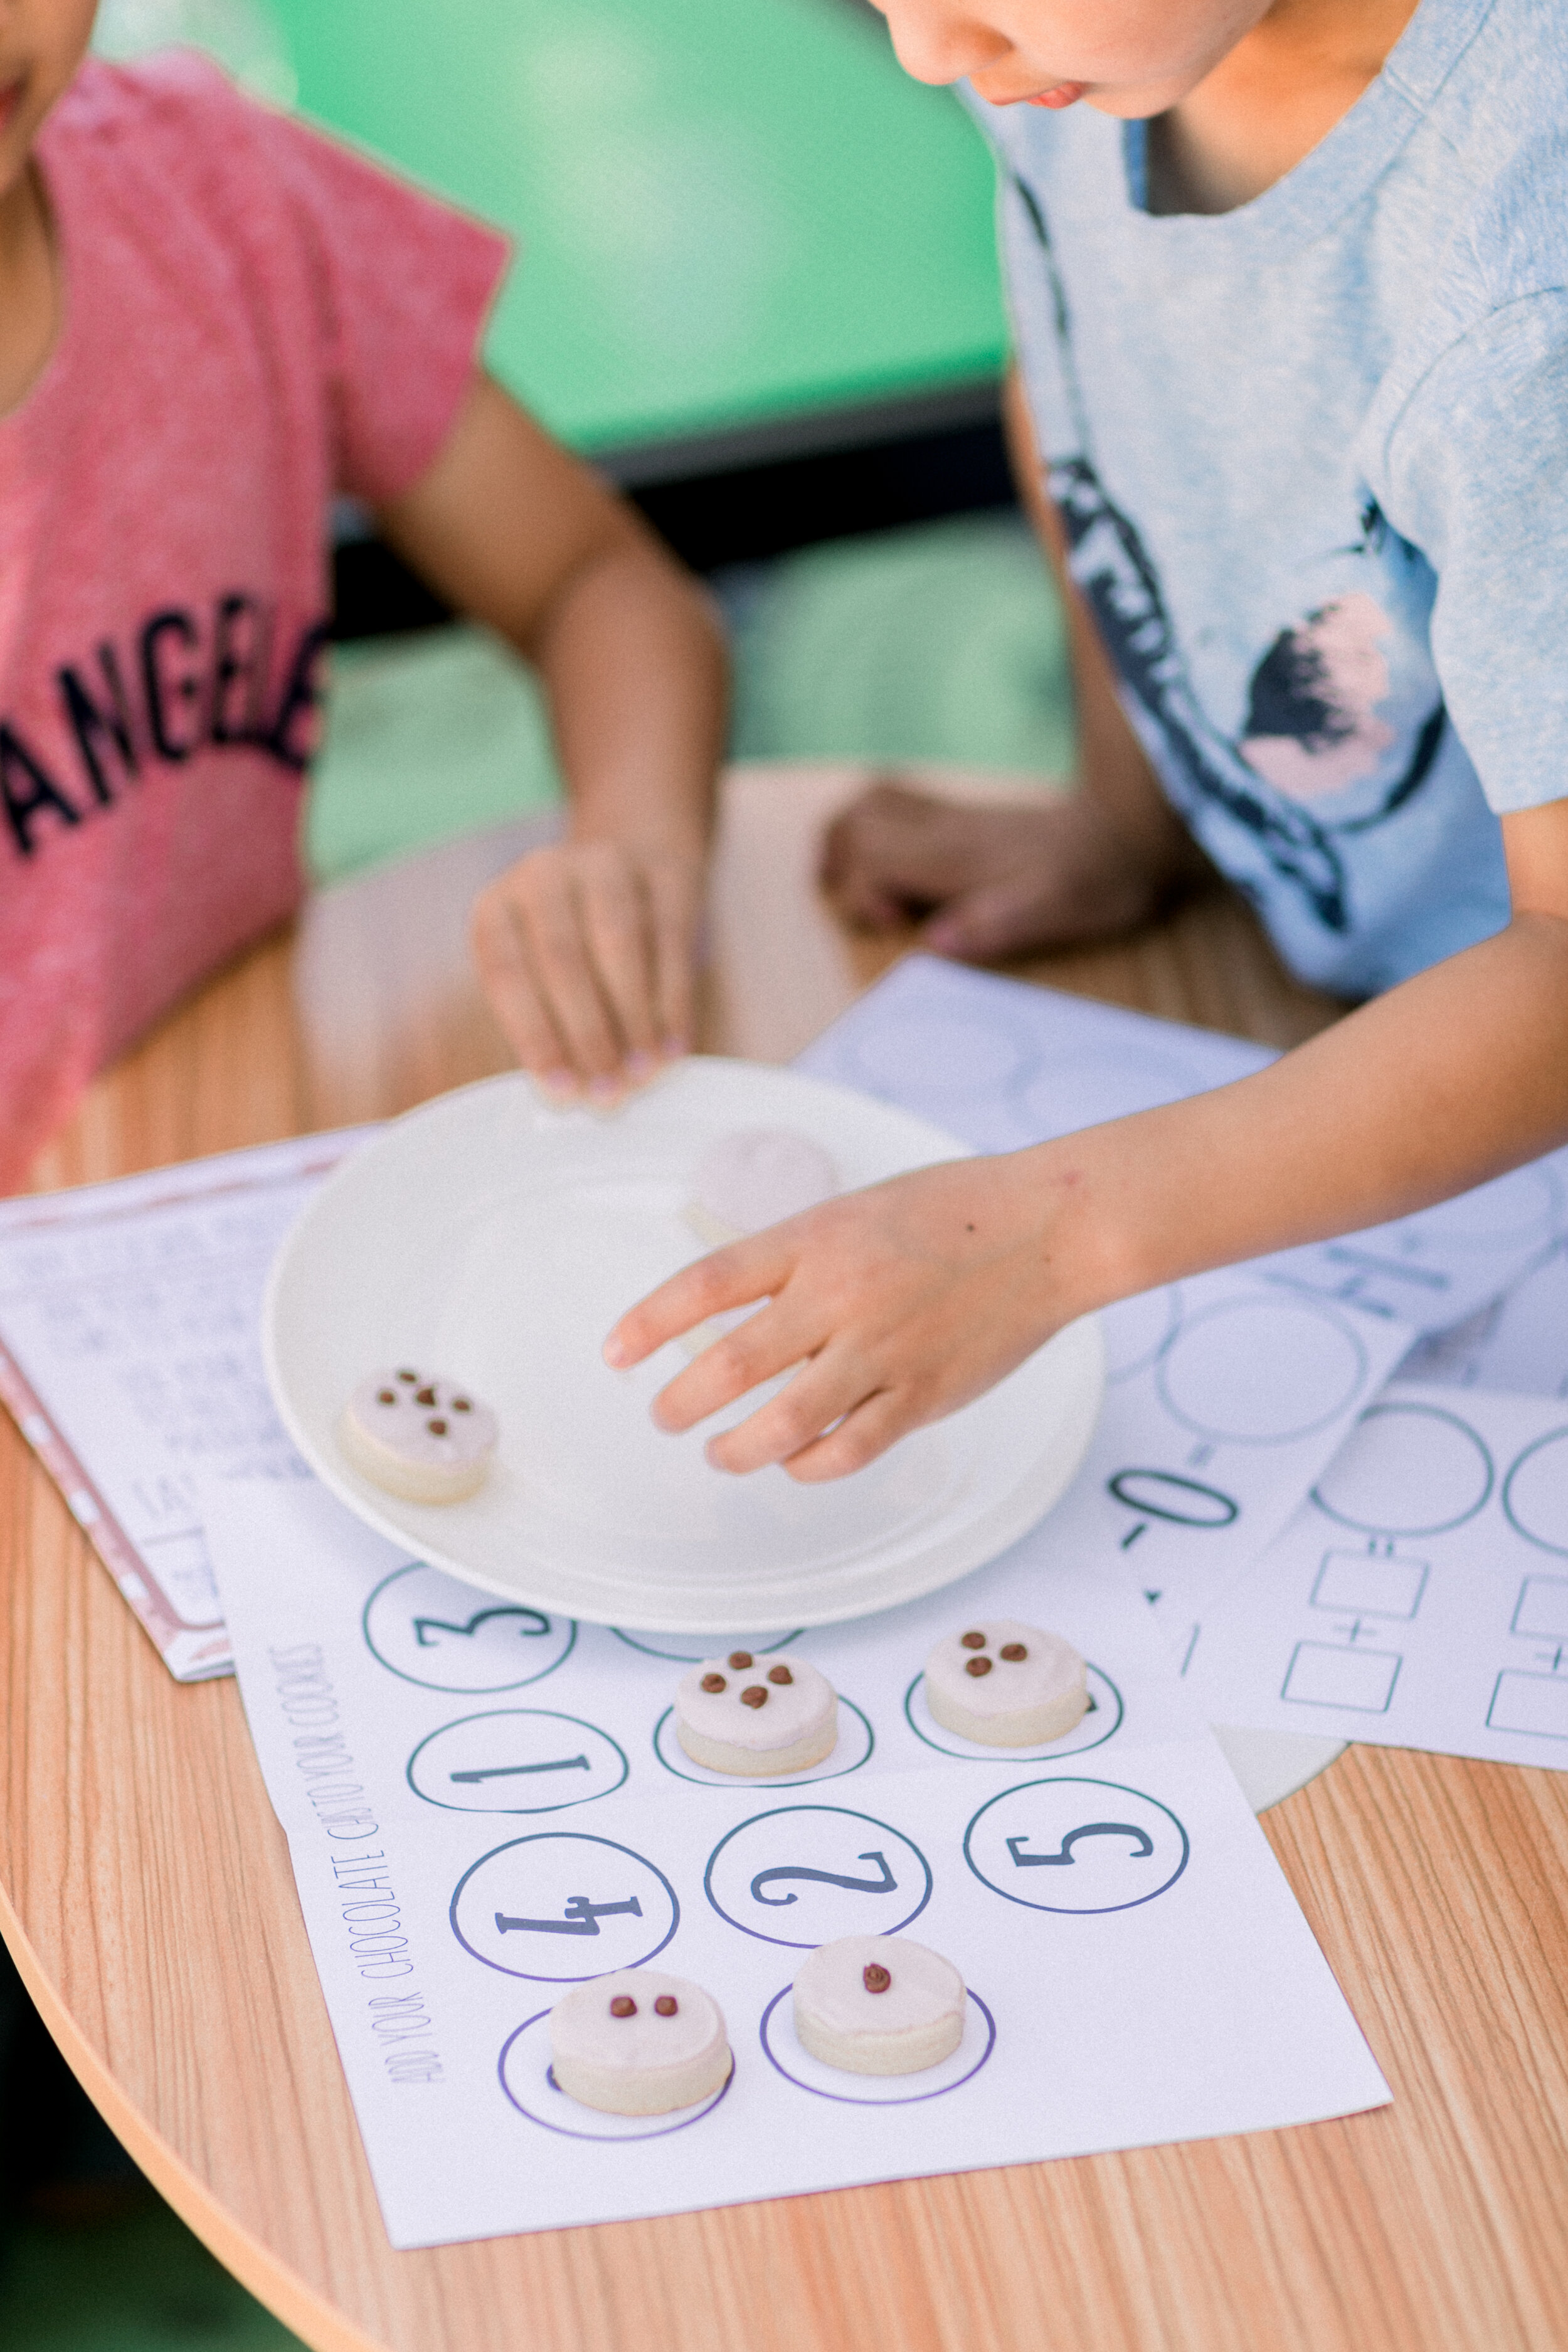
My boys absolutely loved them, and, as a mom, it felt good to be able to offer them some variety in their schooling. Most of their schoolwork has been done on the computer, so it was fun for them to be able to get away from the screen and learn in a more creative, hands-on way – even if they were trying to eat the cookies the entire time. It felt like more of a treat than schoolwork, which allowed the Cookie Math set to fit seamlessly into their home lesson plan while also being a “sweet” experience. It was super easy to have both boys involved, even at their different age levels of 5 and 7 years old. For Ben, we used this set to teach him numbers and introduce counting. For AJ, he already knew his numbers, so we used the set to teach him addition, subtraction, and more advanced math.

With the positive experience my rascals had with this set, and with how perfectly it fit into our current at-home teaching situation, I wanted to learn more about the story behind these cookies and SoEn Cookie Gram. Nicki is the brains behind SoEn Cookie Gram. She is a mother of two, wife to a Frenchman-recently-turned-U.S. citizen, and, surprisingly, is relatively new to cookie decorating.

Her cookie decorating obsession started from what she considered a “failure” in her eyes. When Nicki’s daughter turned 1, she wanted to bake and decorate fancy cookies for her birthday but failed miserably. For so long after, she was afraid to try again and shied away from the idea. One day, for a Christmas program for her daughter, Nicki decided to try again. They didn’t come out great, but, this time, she kept trying. As she improved, she built up enough courage to apply for a Cottage Food Operator permit and started her cookie business. My favorite part about SoEn Cookie Gram, besides how much my rascals loved it, is that it all started from this story of resilience, of falling, getting back up, and pushing away her fears to try again.

Turning her newfound cookie decorating hobby into a business was a way for Nicki to share her creative outlet with others. Cookie decorating was therapeutic, and she hoped that, through her cookies, others would be able to cope and destress at home and on their own in the same way. She also wanted to be able to share the most rewarding aspect of the process with others, her feeling of, “Wow. I did that!” 

Now, Nicki says she finds her inspiration in everything. “I see cookies everywhere,” Nicki told us, “I honestly want to ‘cookiefy’ everything.” Find Nicki’s Cookie Math set (and more) at SoEn Cookie Gram.

Written by Head Rascal (Ngoc Nguyen Lay), mother of two rascals, ages 5 and 7. Photos by Simply Adri Photography.

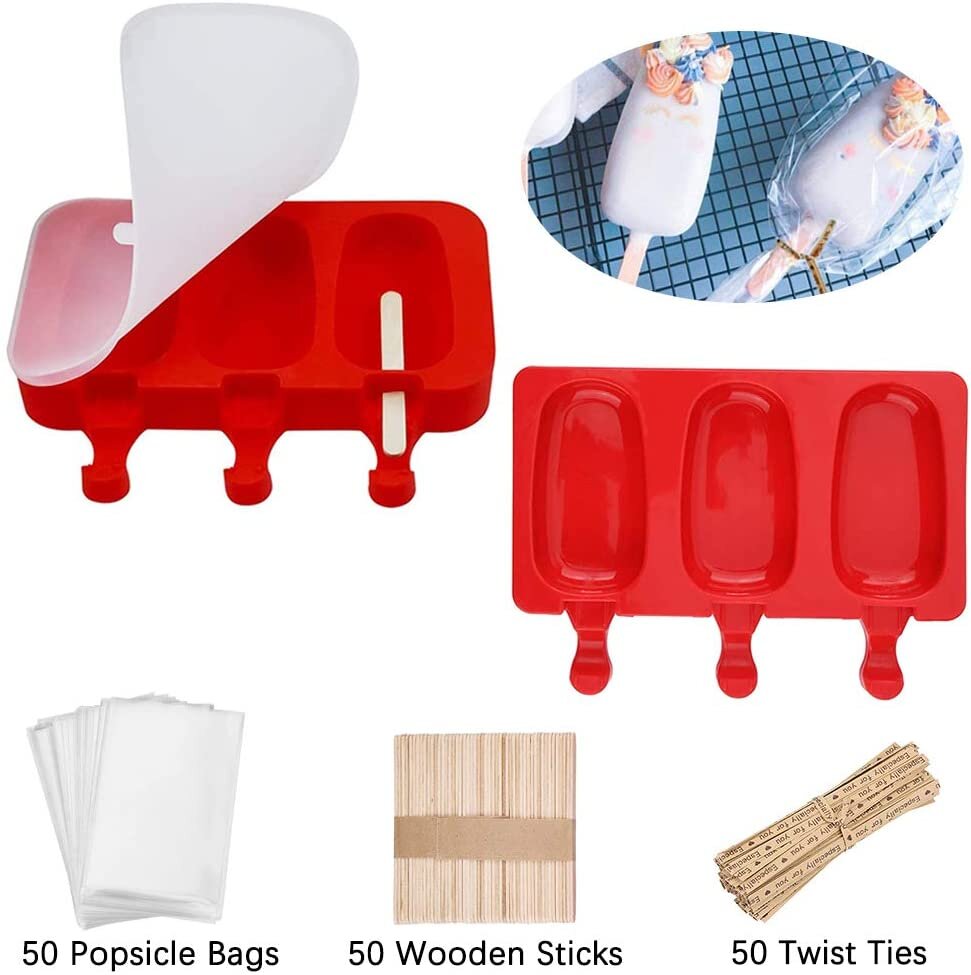
Homemade Frozen Fruit Pop Recipe

Fourth of July Fruit Popsicles on Hello Rascal Kids.

Beat the heat with some cool, sweet treats! Did we mention these are actually healthy?! These delicious fruit pops are made from real fruit and sweetened with a touch of agave nectar. They are a breeze to make for your rascals.

Fourth of July Fruit Popsicles on Hello Rascal Kids.

Ingredients
•    1 pint box ripe strawberries (10-12 medium sized strawberries)
•    1 half pint box blueberries (15-20 blueberries)
•    1 cup of vanilla yogurt
•    1 tbsp agave nectar or honey (use agave nectar to keep it vegan)

Instructions
1.    Chop strawberries and blueberries until everything is bite sized.
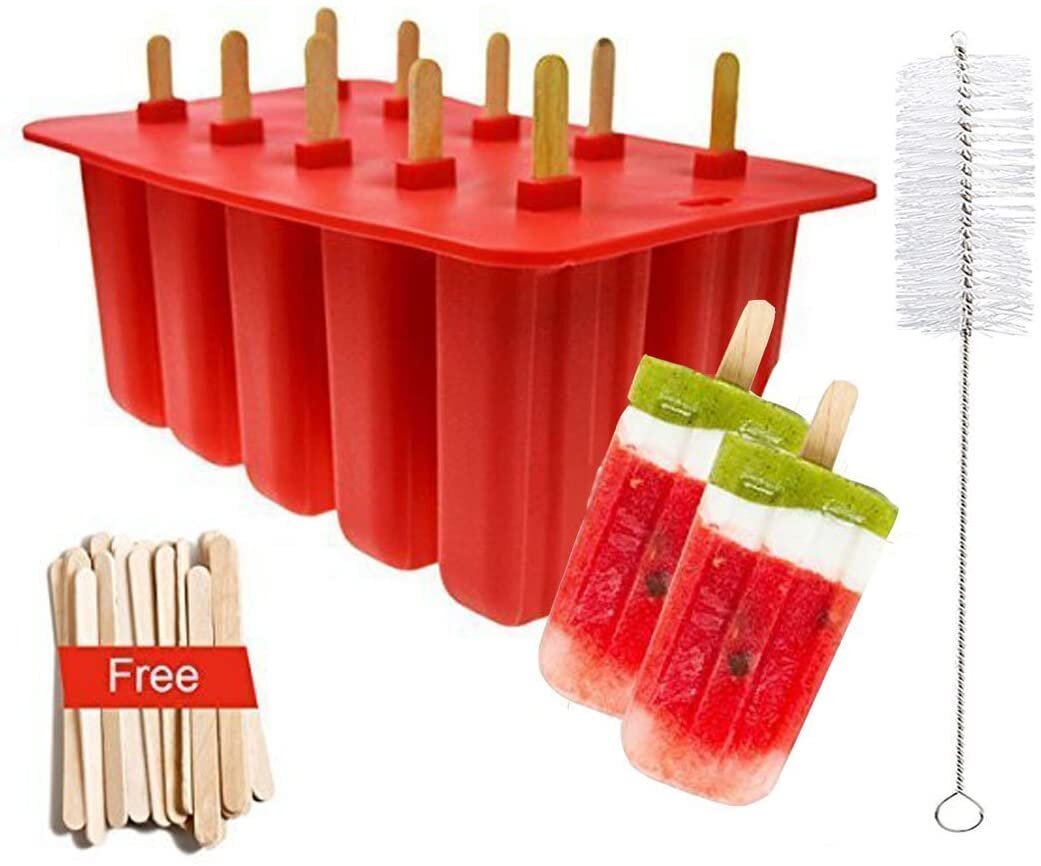
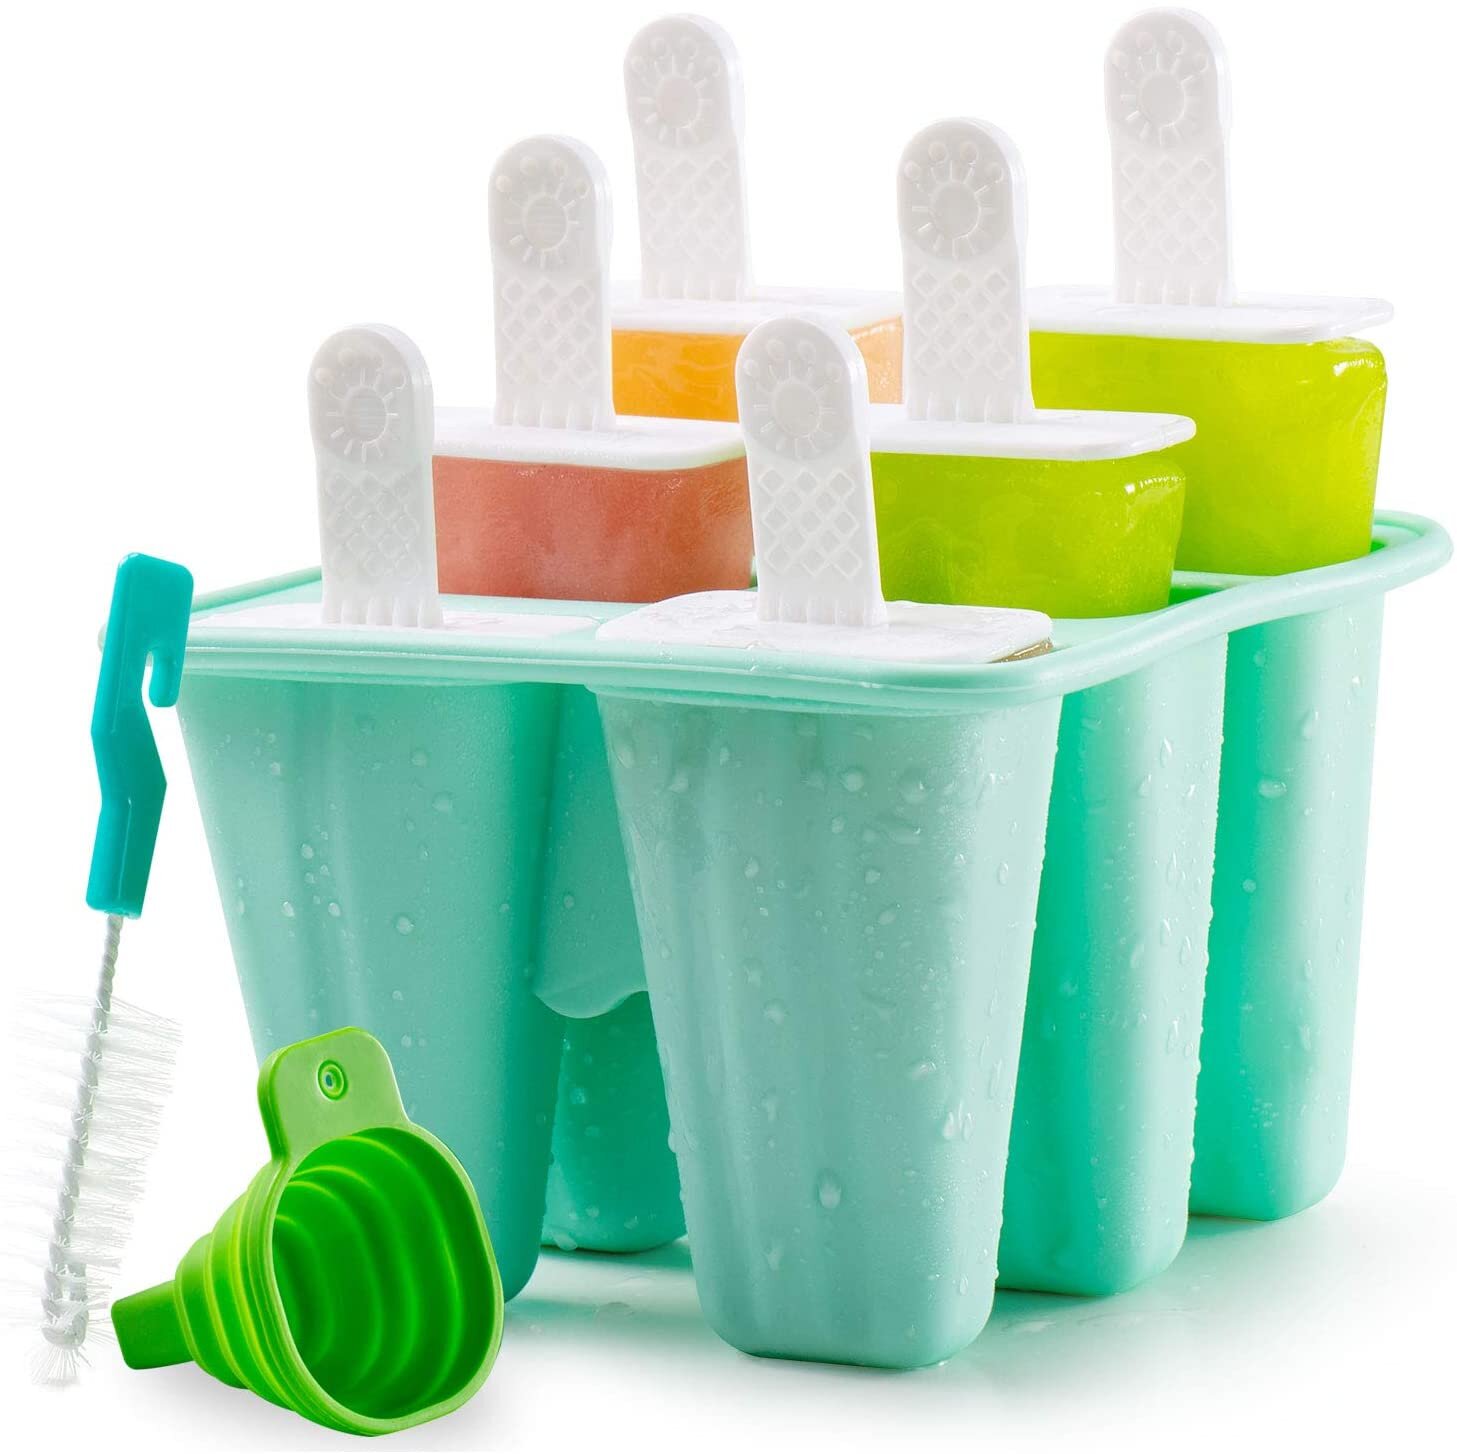
2.    Mix yogurt and agave/honey and divide among pop molds. Add popsicle sticks and freeze. 
3.    To remove, run warm water on the outside of the molds. Enjoy!

Written by Head Rascal (Ngoc Nguyen Lay), mother of two rascals, ages 5 and 7.


Shop the Post

Water Play at Home

christine-larsen-7oLuQ0ZEQ9A-unsplash.jpg

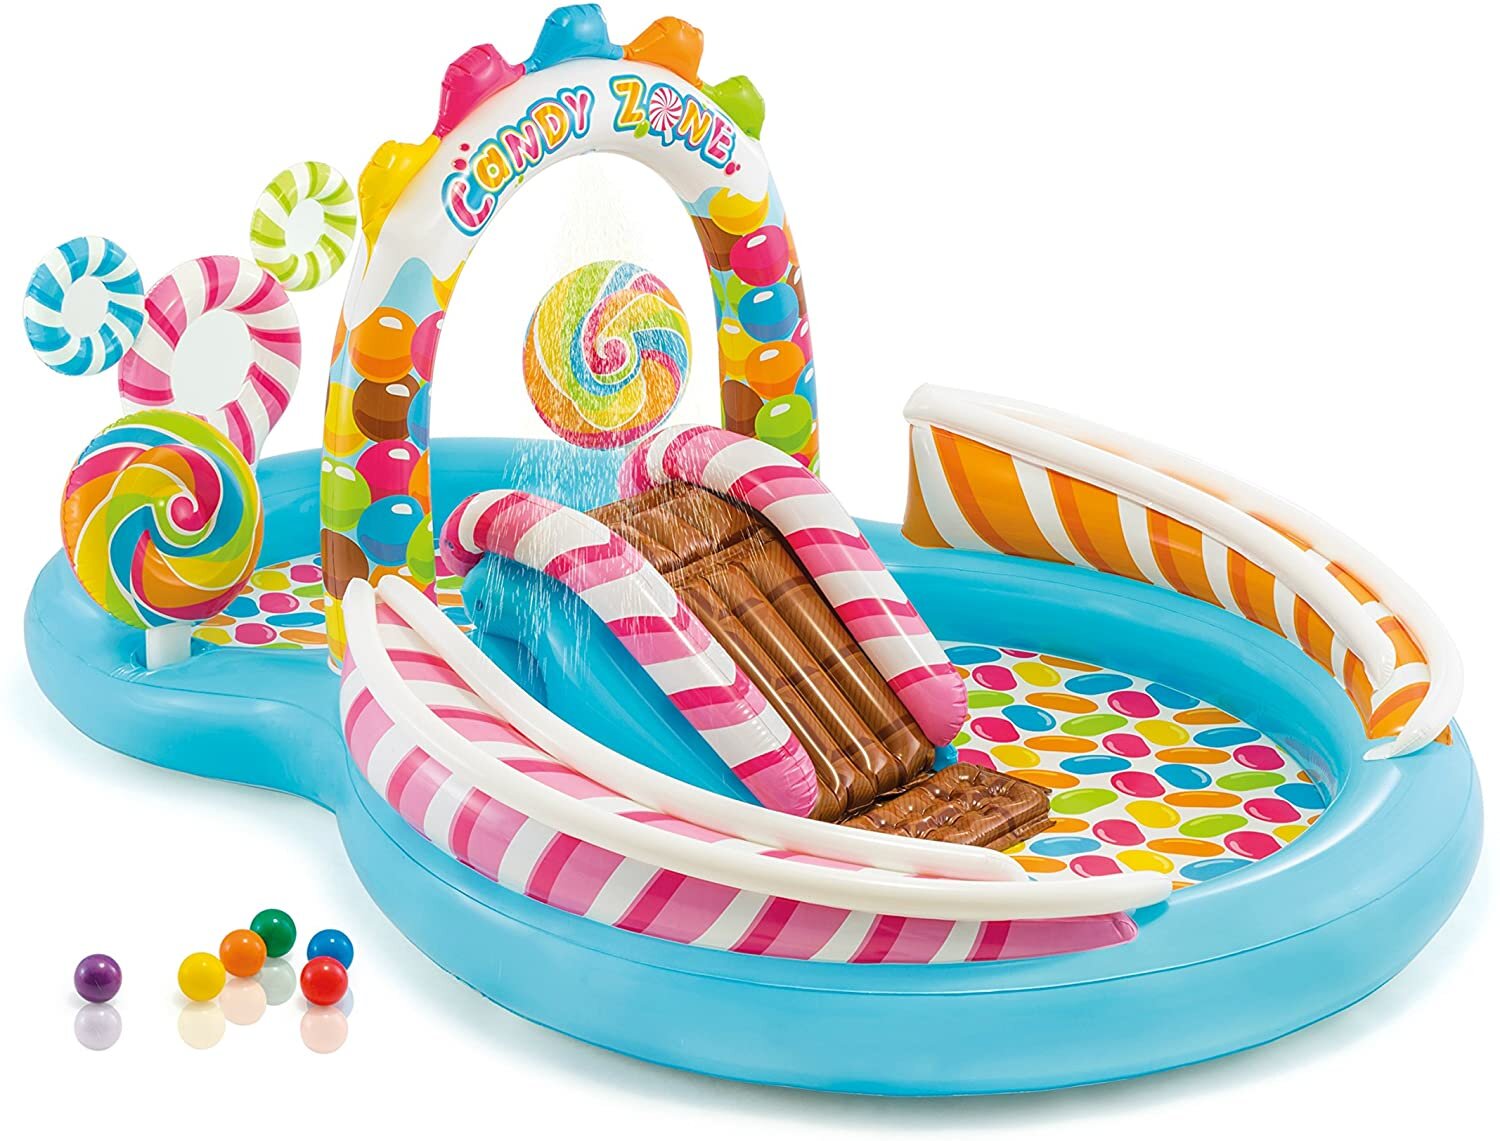
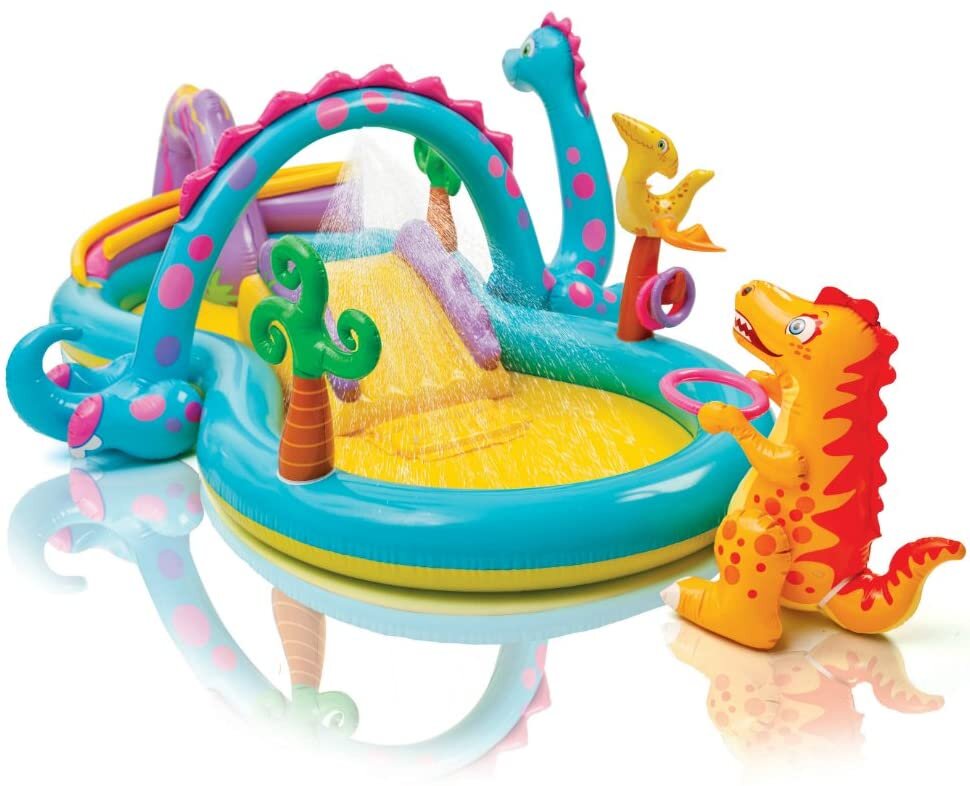
Where does everyone want to party during the summer? At a Beach Club of course! This is a fun theme that you can recreate at home. All you really need is a small pool for the kids to splash around in and a few key toys to pique their interest. It’s a great way to keep cool during the summer and an opportunity for parents to showcase their BBQ skills. While supervising, parents can also work on their tans or sip on pina coladas or sweet teas in the shade.  It’s a win-win all around!

Here are a few easy tips to create your own personal “Beach Club”:

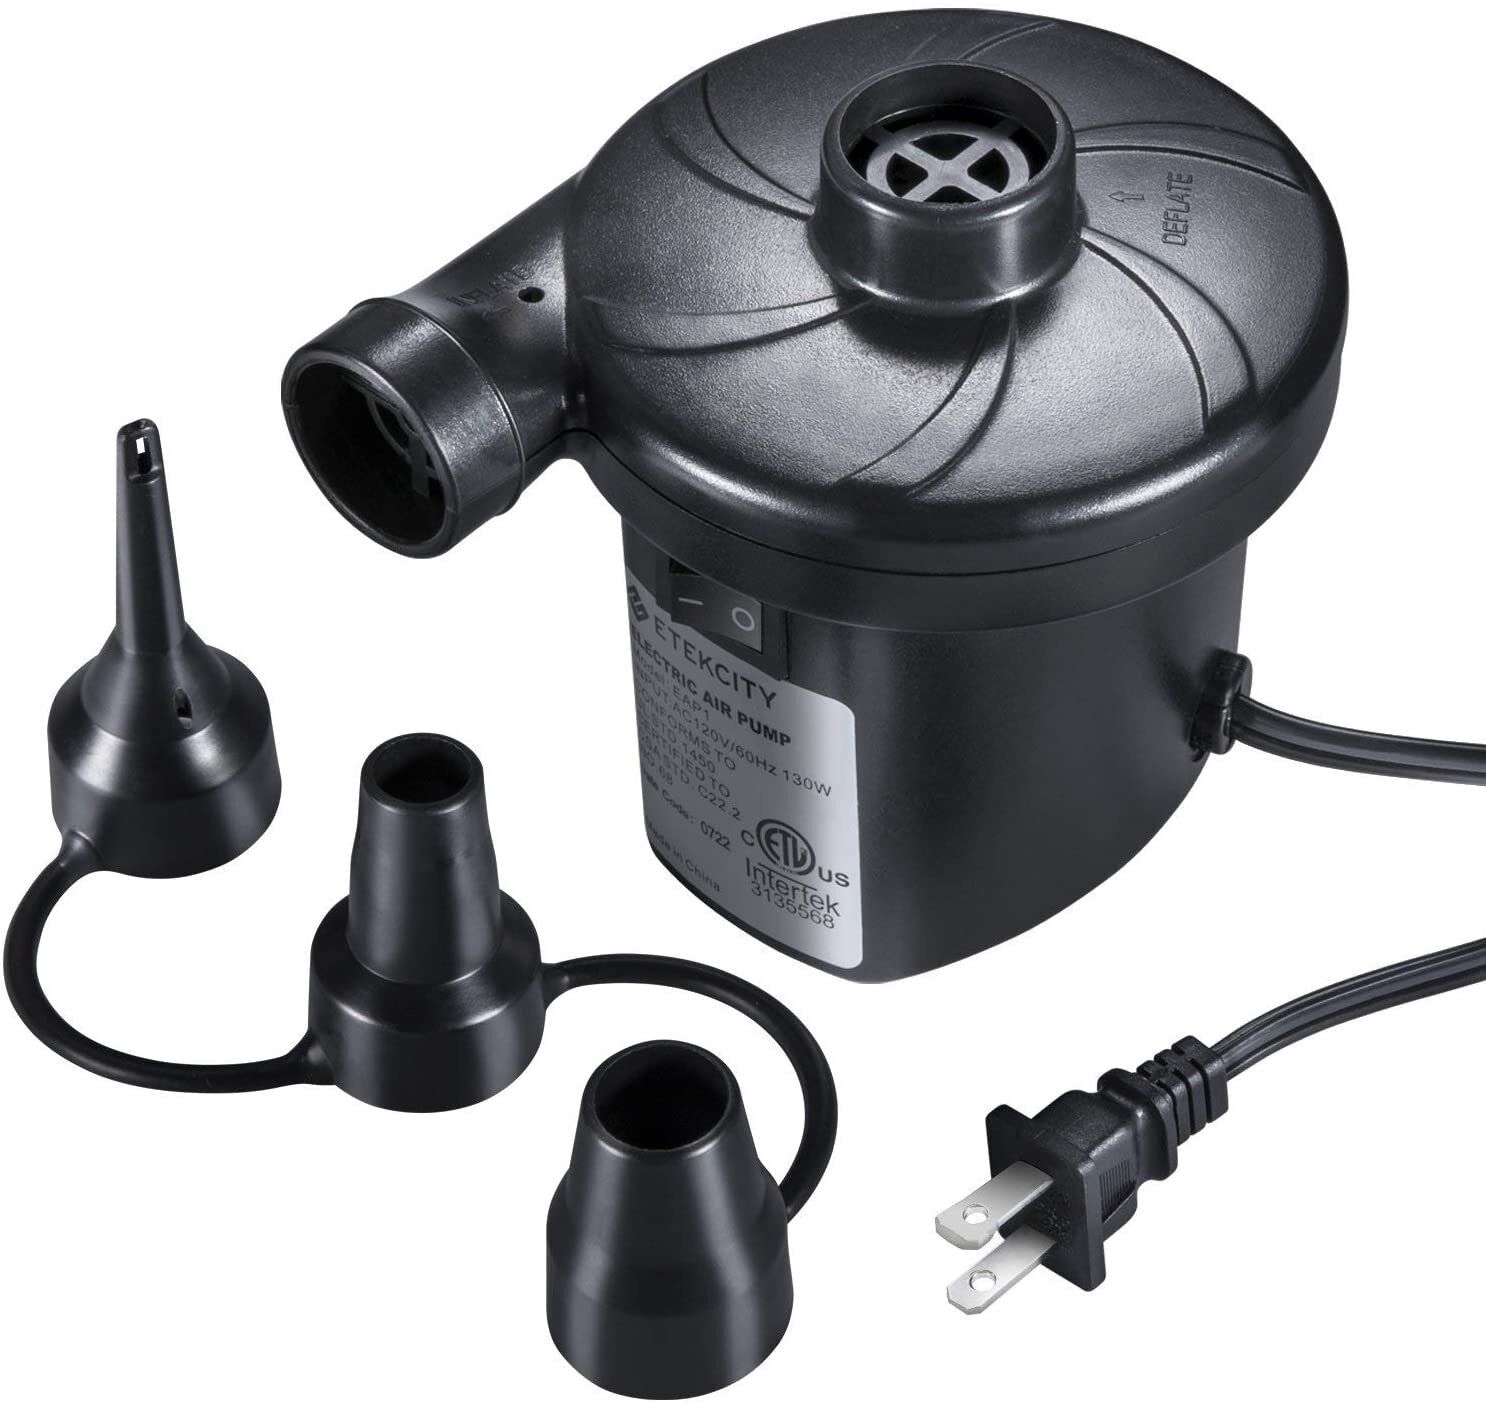
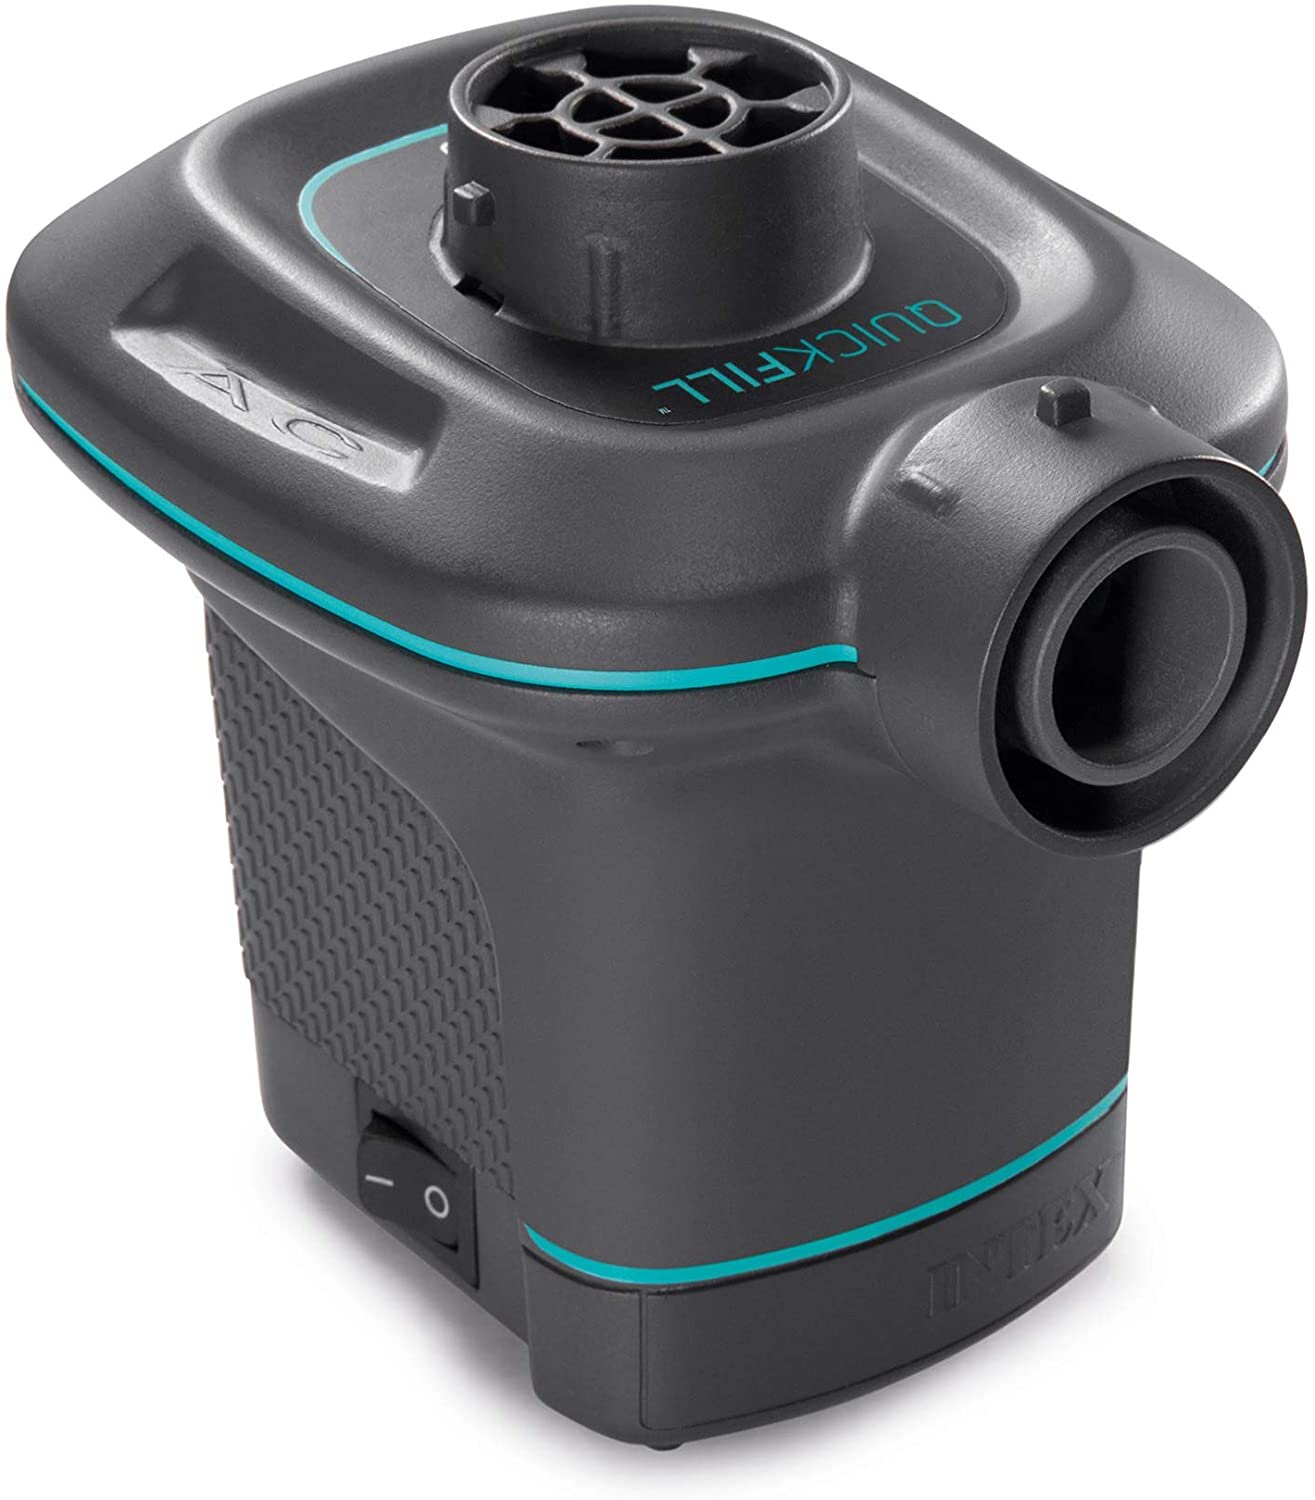
  1. Purchase an electric air pump - it will be worth it. It speeds up the process and saves your energy for playing in the water.

  2. Set up in advance. Decide when you will be having your water play day because it will take awhile to fill up the pools and slides (if applicable). You might even want to fill them up early so the water can warm up with the sun before the kids enter.

  3. You don’t need to purchase 20 different water options. If you have friends with little ones, consider trading items with them so you have variety. The kids will like the different options too.

Hope your rascals enjoy their first beach club.

Written by Michelle Urriquia, mother of two rascals ages 3 and 6.


Shop the Post

Postcard Trade

Ideas for kids postcard collection and trading on Hello Rascal Kids, a lifestyle blog for families.

As summer travel plans come to a complete stop, my family and I have been brainstorming new ways to creatively make memories. It almost seems as if we’ve traveled to a different time period with the activities we’ve thought of under the stay-at-home orders. With so many videos and stories of families baking bread from scratch, I know we’re not alone in that feeling.

This back-to-basics era that we’re in reminded me of my own childhood memories of writing and collecting postcards. As a kid, I loved postcards. I wouldn’t even send most of them; I just loved collecting them. All the fun colors and faraway places kept my spirits high, even when I was stuck at home. I collected postcards from every single place I visited with my family, near and far. Even when we re-visited the same places, I’d pick up a new postcard because they were all special and represented a different memory of a particular place. For example, when I think of San Francisco, my mind immediately goes to the Golden Gate Bridge. But I also have postcards from SF with beautiful images of Fisherman’s Wharf, Union Square, and Lombard Street, all capturing the unique perception each photographer had of San Francisco in that moment.

I figured, if homemade bread is making a huge comeback, why not postcards? Now is as good a time as any to return to the beauty of the written word and instill in our children the value of a handwritten sentiment over the immediate digital responses we’ve become accustomed to.

Nowadays, our kids don’t necessarily collect things that withstand time. My kids collect video games and BeyBlades, but by the time they have children of their own, the gaming systems that were required and the different components of the BeyBlades may be long gone. My postcard collection, on the other hand, can be passed on like a family heirloom. I can pull them out and share memories of my favorite childhood travels with my own children, and it’s like I’m experiencing those memories all over again, only now I get to share them with Ben and AJ.

Since we’re all staying at home for the time being, this is a great opportunity for our rascals to trade postcards with friends in another city. Encouraging our kids to write, keep, and trade postcards can offer them the chance to make their own memories, mirroring the experience we had growing up. It will also help parents feel excited about mail again. So many of us have grown used to dismissing mail as an addition to our task list: another bill to pay or simply another nuisance to handle - I know I have. My kids, however, get so excited to see their names on our mail.

One activity you can do with your kids this summer is to pick a city they would like to visit every week and have them mail a postcard to a friend in that city to (hopefully) get one in return.  This captures the wonder of the postcard trade and receiving mail while incorporating a written, sentimental touch. Remember to pick a postcard with your child’s favorite place in their hometown; kids have such a wonderful imagination - they only need a good picture to “travel” there.

Here are a few tips for writing postcards with your little rascal:

  1. Encourage them to draw a picture. Do they have a favorite park? A favorite local spot or monument? Tell your kids to paint a picture of what their city looks like through their eyes and share this vision with their friends.

  2. Brainstorm tips about future trips to your city. Maybe you and your child take a more scenic route through the park. Or maybe your child has discovered the perfect spot to crunch leaves beneath their feet. Sharing these details with their friends will get them excited to visit once it is safe to do so. 

  3. Share about your city. Prompt your kids to share a bit more, such as a fun fact about their city that not many people will know, like the best place to bird watch or spot people walking their dogs. Encourage your children to share fun facts that are meaningful to them.

  4. Share a favorite memory. Get your kid thinking about a favorite memory they made in their hometown, whether it’s the first time their parent walked them to kindergarten or their favorite time playing outside.

  5. Good eats in town. Write about food trends in your town, or your child’s favorite restaurant. They can even share recipes that they’ve mastered during quarantine that are kid-friendly.

  6. Share something special. Is your city known for anything special? Be sure to share it!

The neat thing about postcards is that they’re short and sweet. You get the meaningful, handwritten note without the stress of writing a full-blown letter. We hope you and your rascals are able to trade a few postcards, start your own collections, and create wonderful memories along the way.

Written by Head Rascal (Ngoc Nguyen Lay), mother of two rascals, ages 5 and 7.

Scribbles Become Art

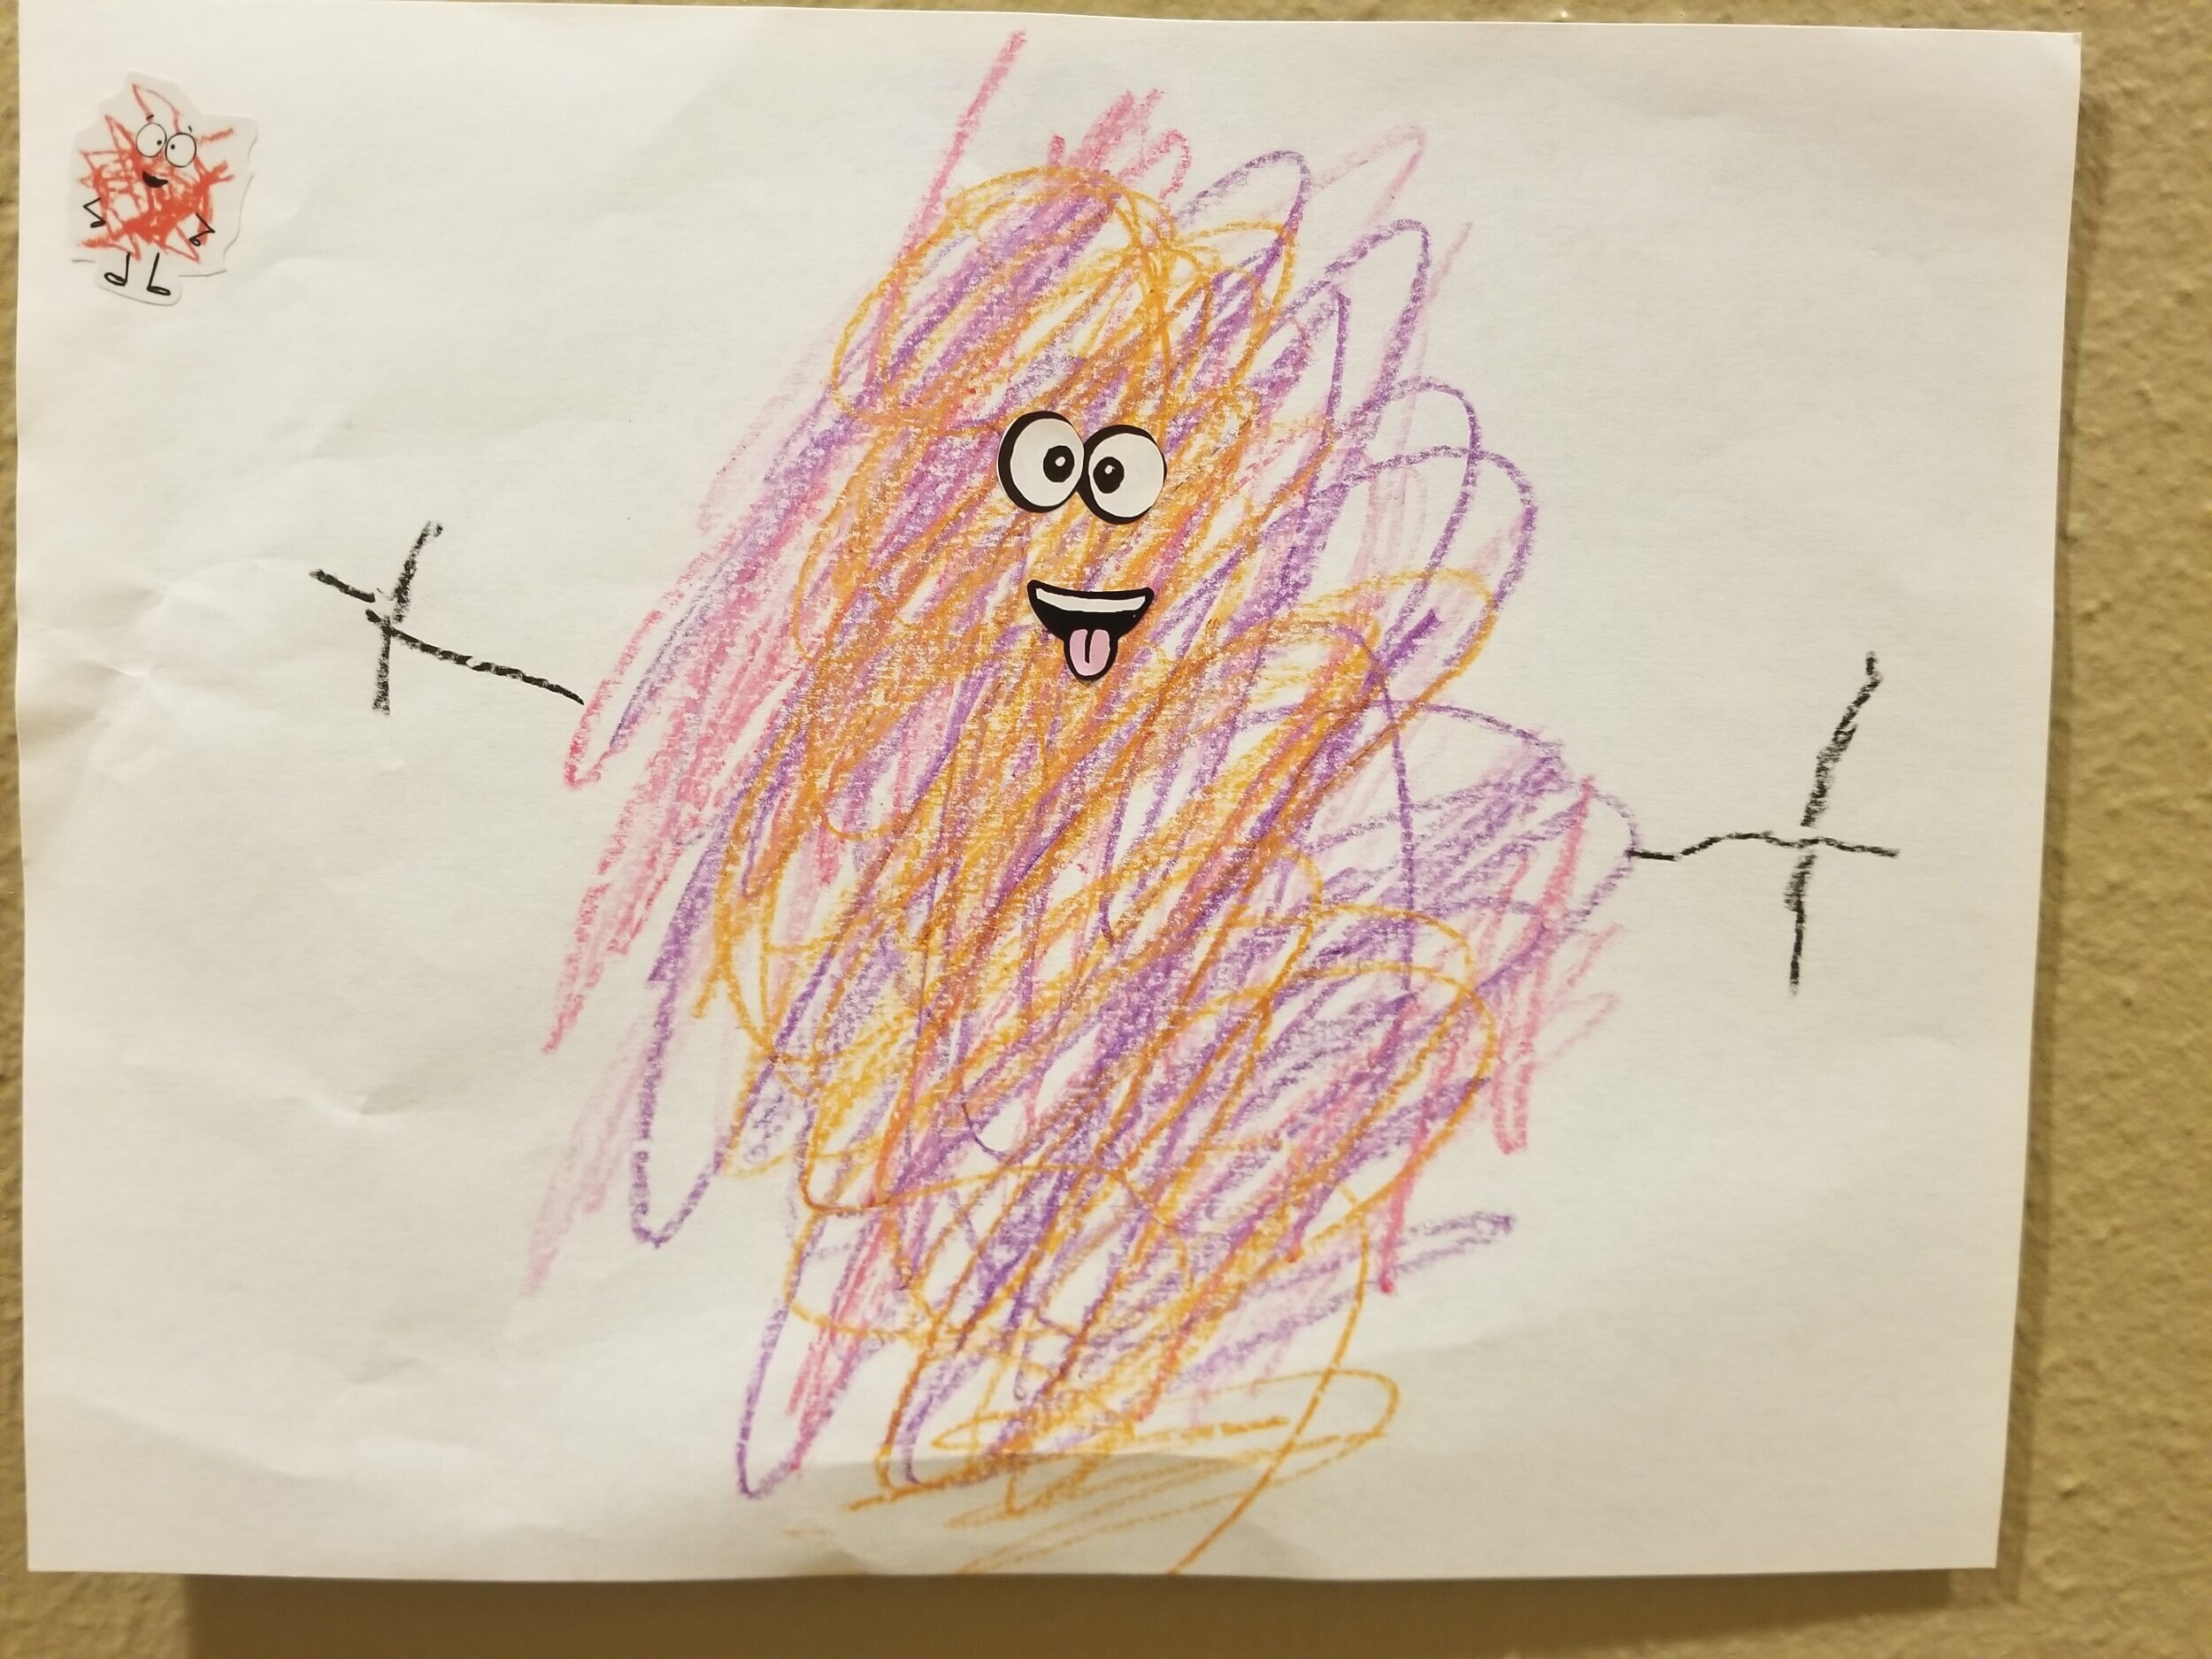
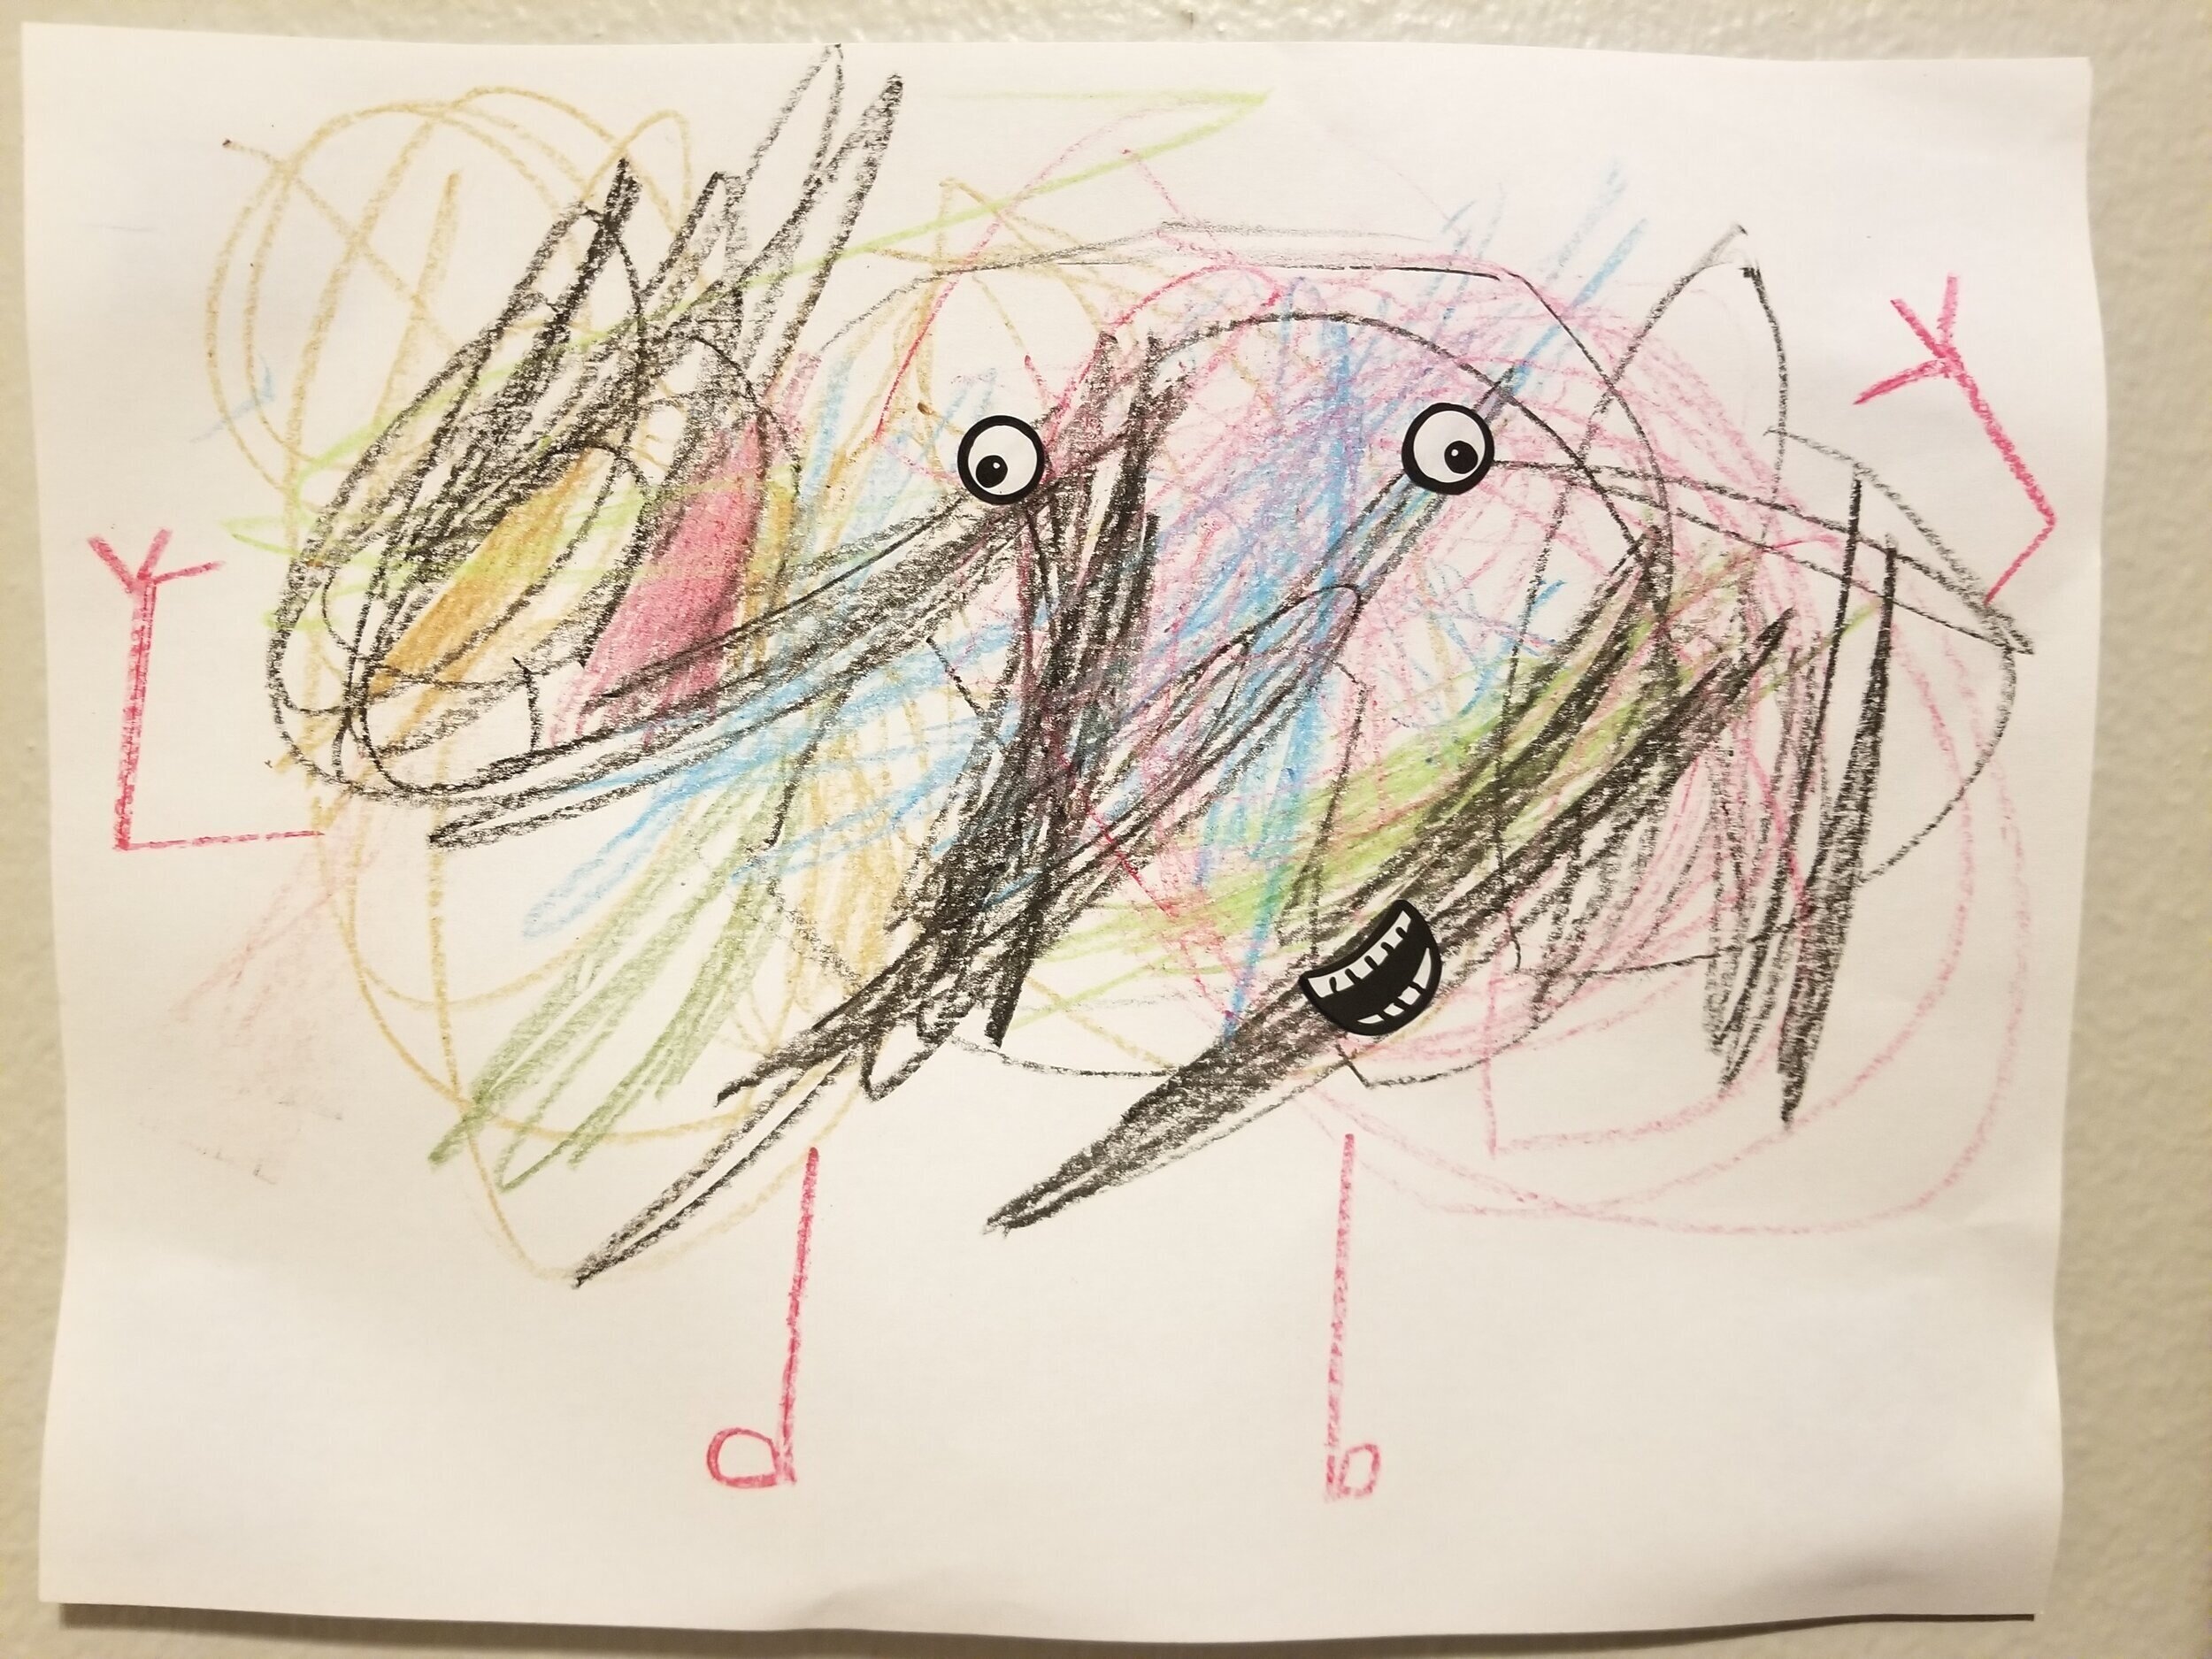
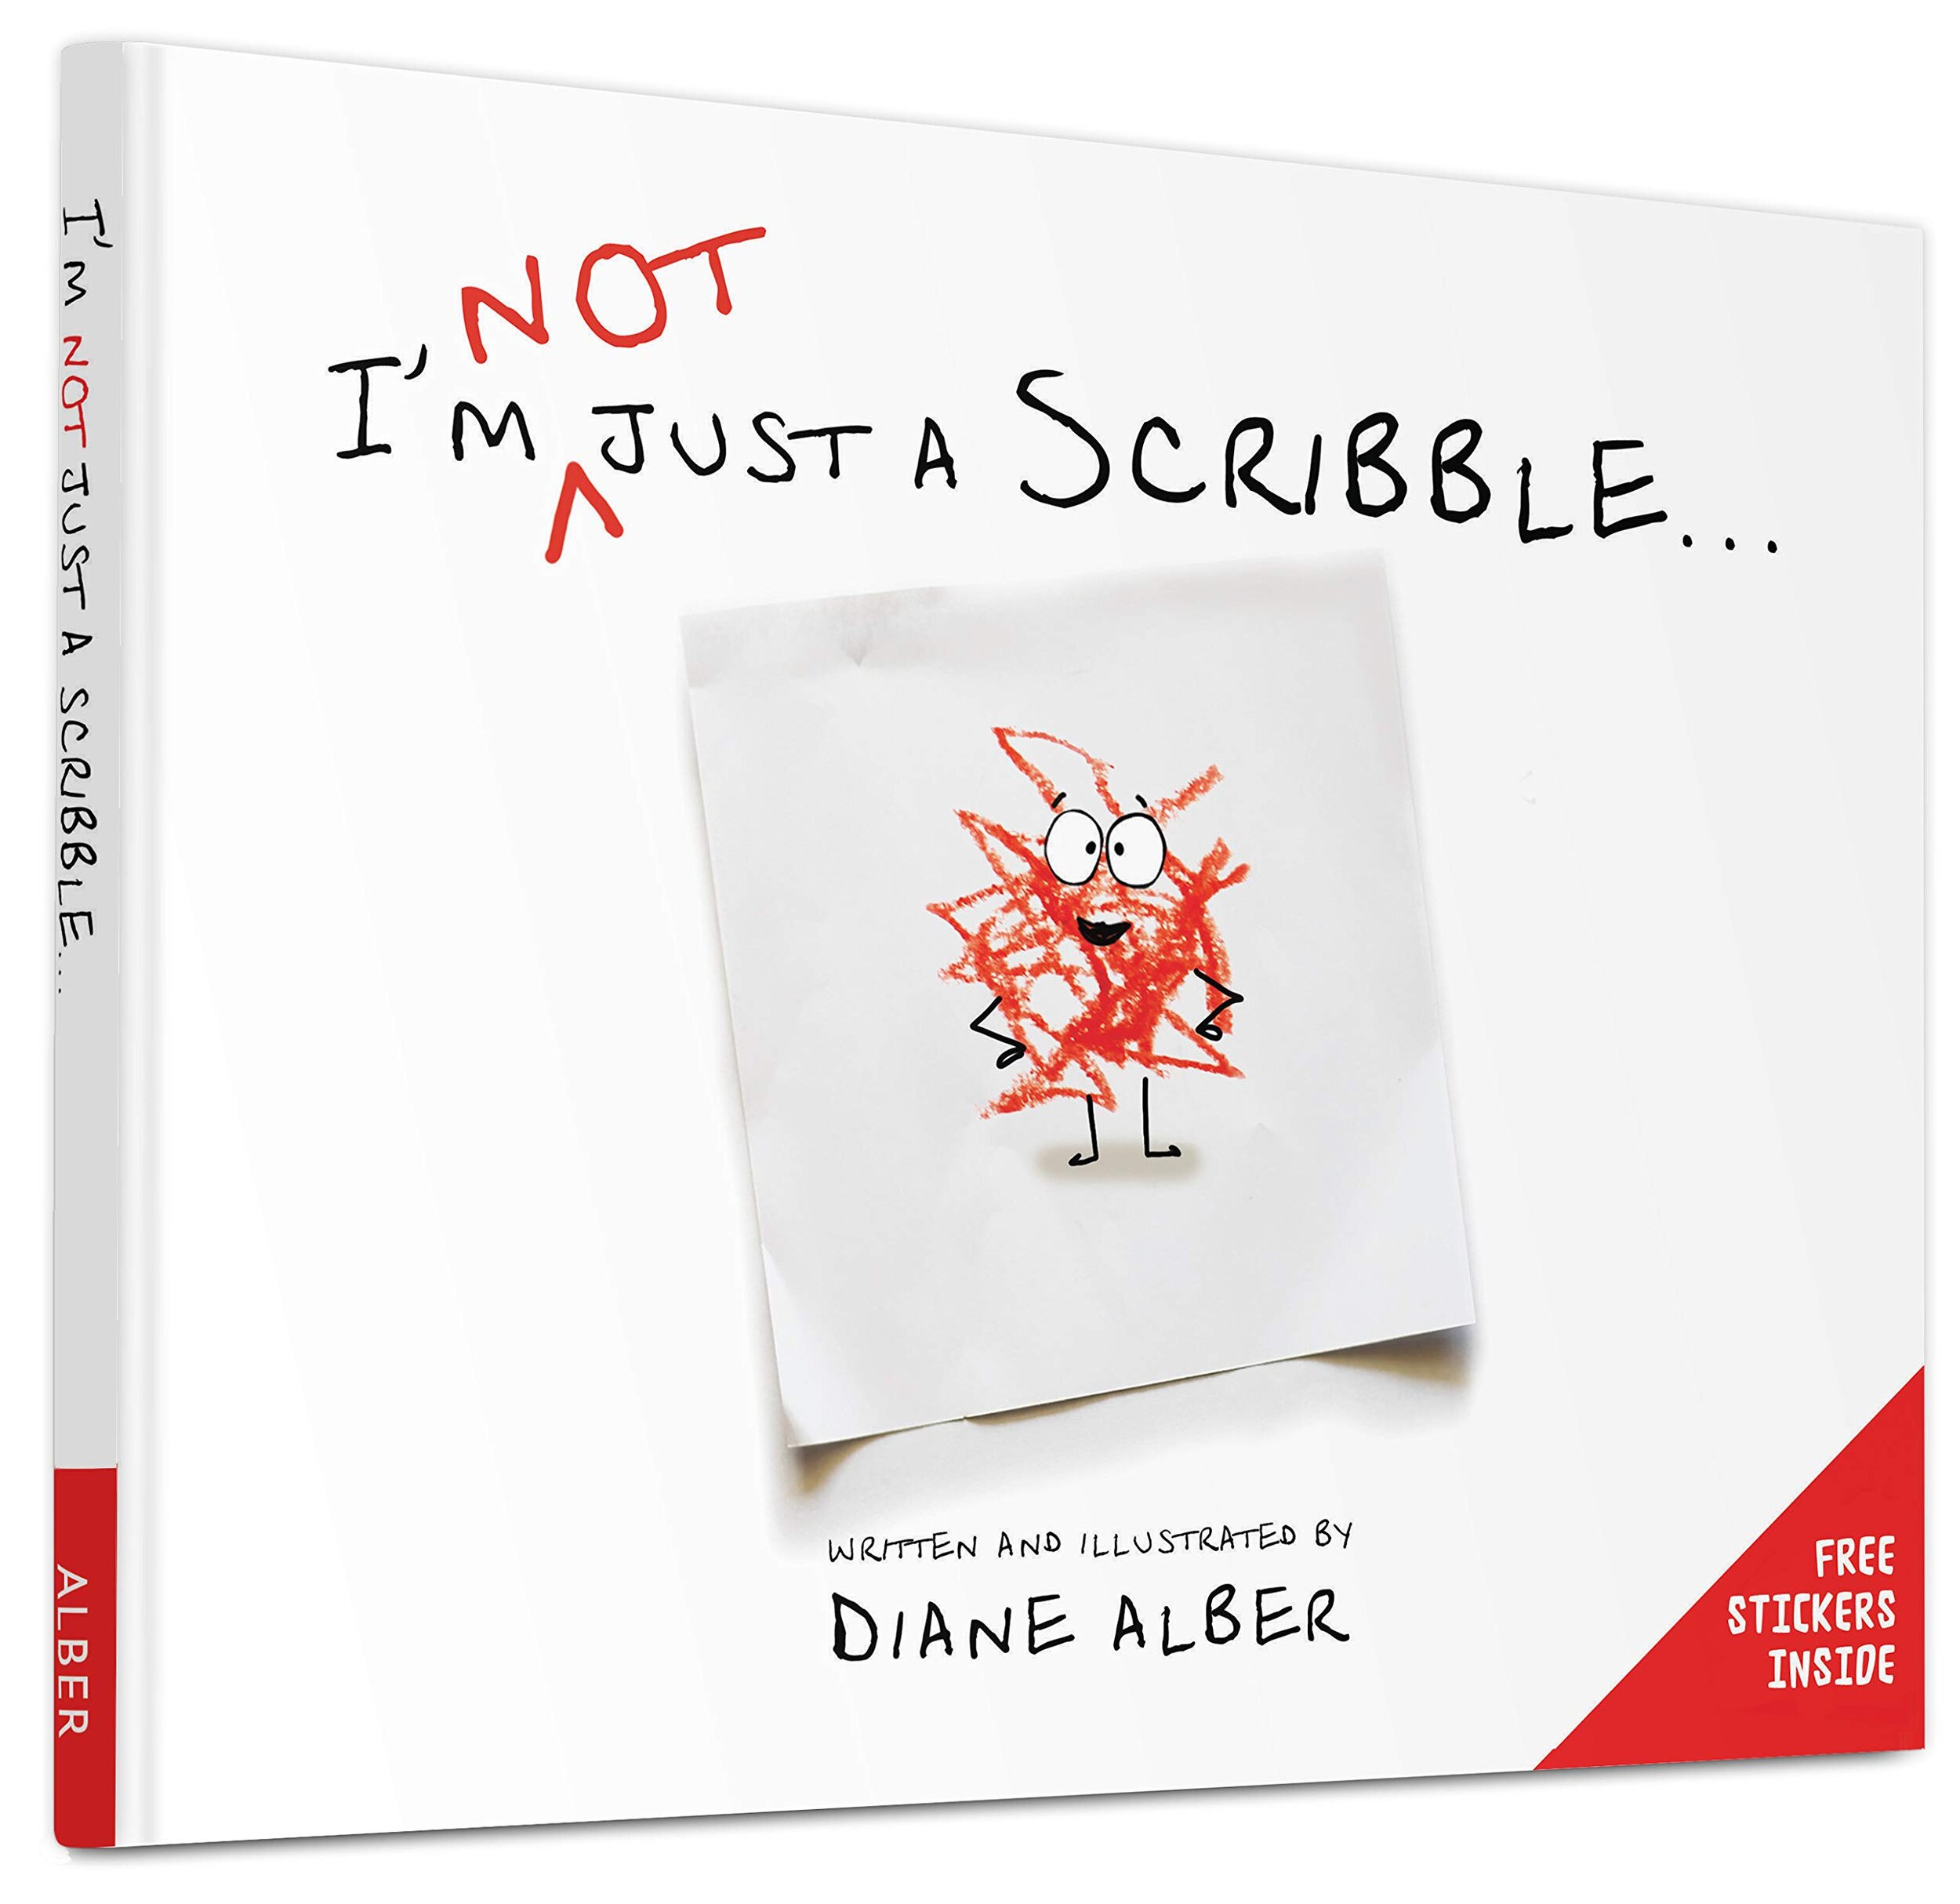
This all started as a gift from my mother-in-law. She knows that we are an artsy household - not because we have true talent or artistic skill, but because we like expressing our creativity, our feelings and emotions, and our wonder about life’s big questions. When this book arrived in the mail - we were so overwhelmed with personal matters that I immediately put it on the bookshelf and promptly forgot all about it.

Then one day, literally MONTHS later, my 2 year old rascal pulled it off the shelf, sat in his dad’s lap, and listened to the story about a scribble being more than a scribble and fighting to be seen as such. The story is super sweet and encourages readers to accept themselves and others as we are so that we can all work together to create beautiful art (read: a beautiful world).

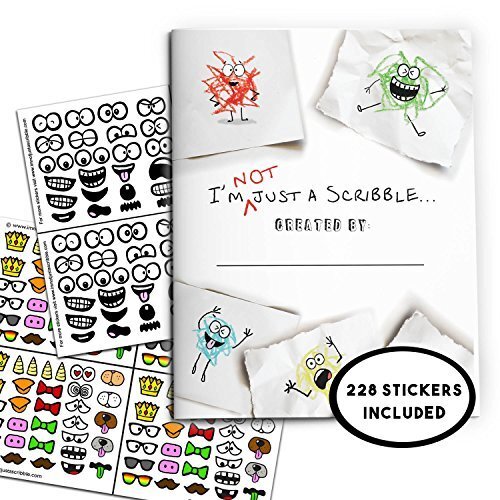
The fun does not stop there, though. The book comes with 3 sheets of eyes and mouth stickers to transform your own little rascals' scribbles into fun characters. Imagine that - your little one’s scribbles can be brought to life with eyes, a mouth, and even limbs.

After making more than a dozen scribbles - some with a single color and some made out of multiple colors, some with plain backgrounds, and others with scenic backgrounds - we named each scribble, folded the papers in thirds, stuffed them into envelopes, and mailed them off to family and friends.

As printed on the dust jacket, this book is geared for kids ages 2 to 6. My 4 year old no longer “scribbles,” but that did not deter him from participating. In fact, I think it helped him stretch his imagination away from drawing real world objects towards more abstract art.

Written by Brandi Stanton, mother to two rascals ages 2 and 4.


Shop the Post

Drive-In Movie Night at Home

Drive-in Movie Night at Home on Hello Rascal Kids. DIY ideas for home gathering with your kids.

Although we are adhering to current guidelines in place due to the COVID-19 pandemic, we didn’t want it to keep us from having fun and creating memories for our daughter, Lucy. Settling into our new “normal,” we knew we had to get creative and find safe ways to do things that we normally enjoy as a family. The weather has been great, which is perfect for at-home versions of favorite family activities.

Drive-in Movie Night at Home on Hello Rascal Kids. DIY ideas for home gathering with your kids.

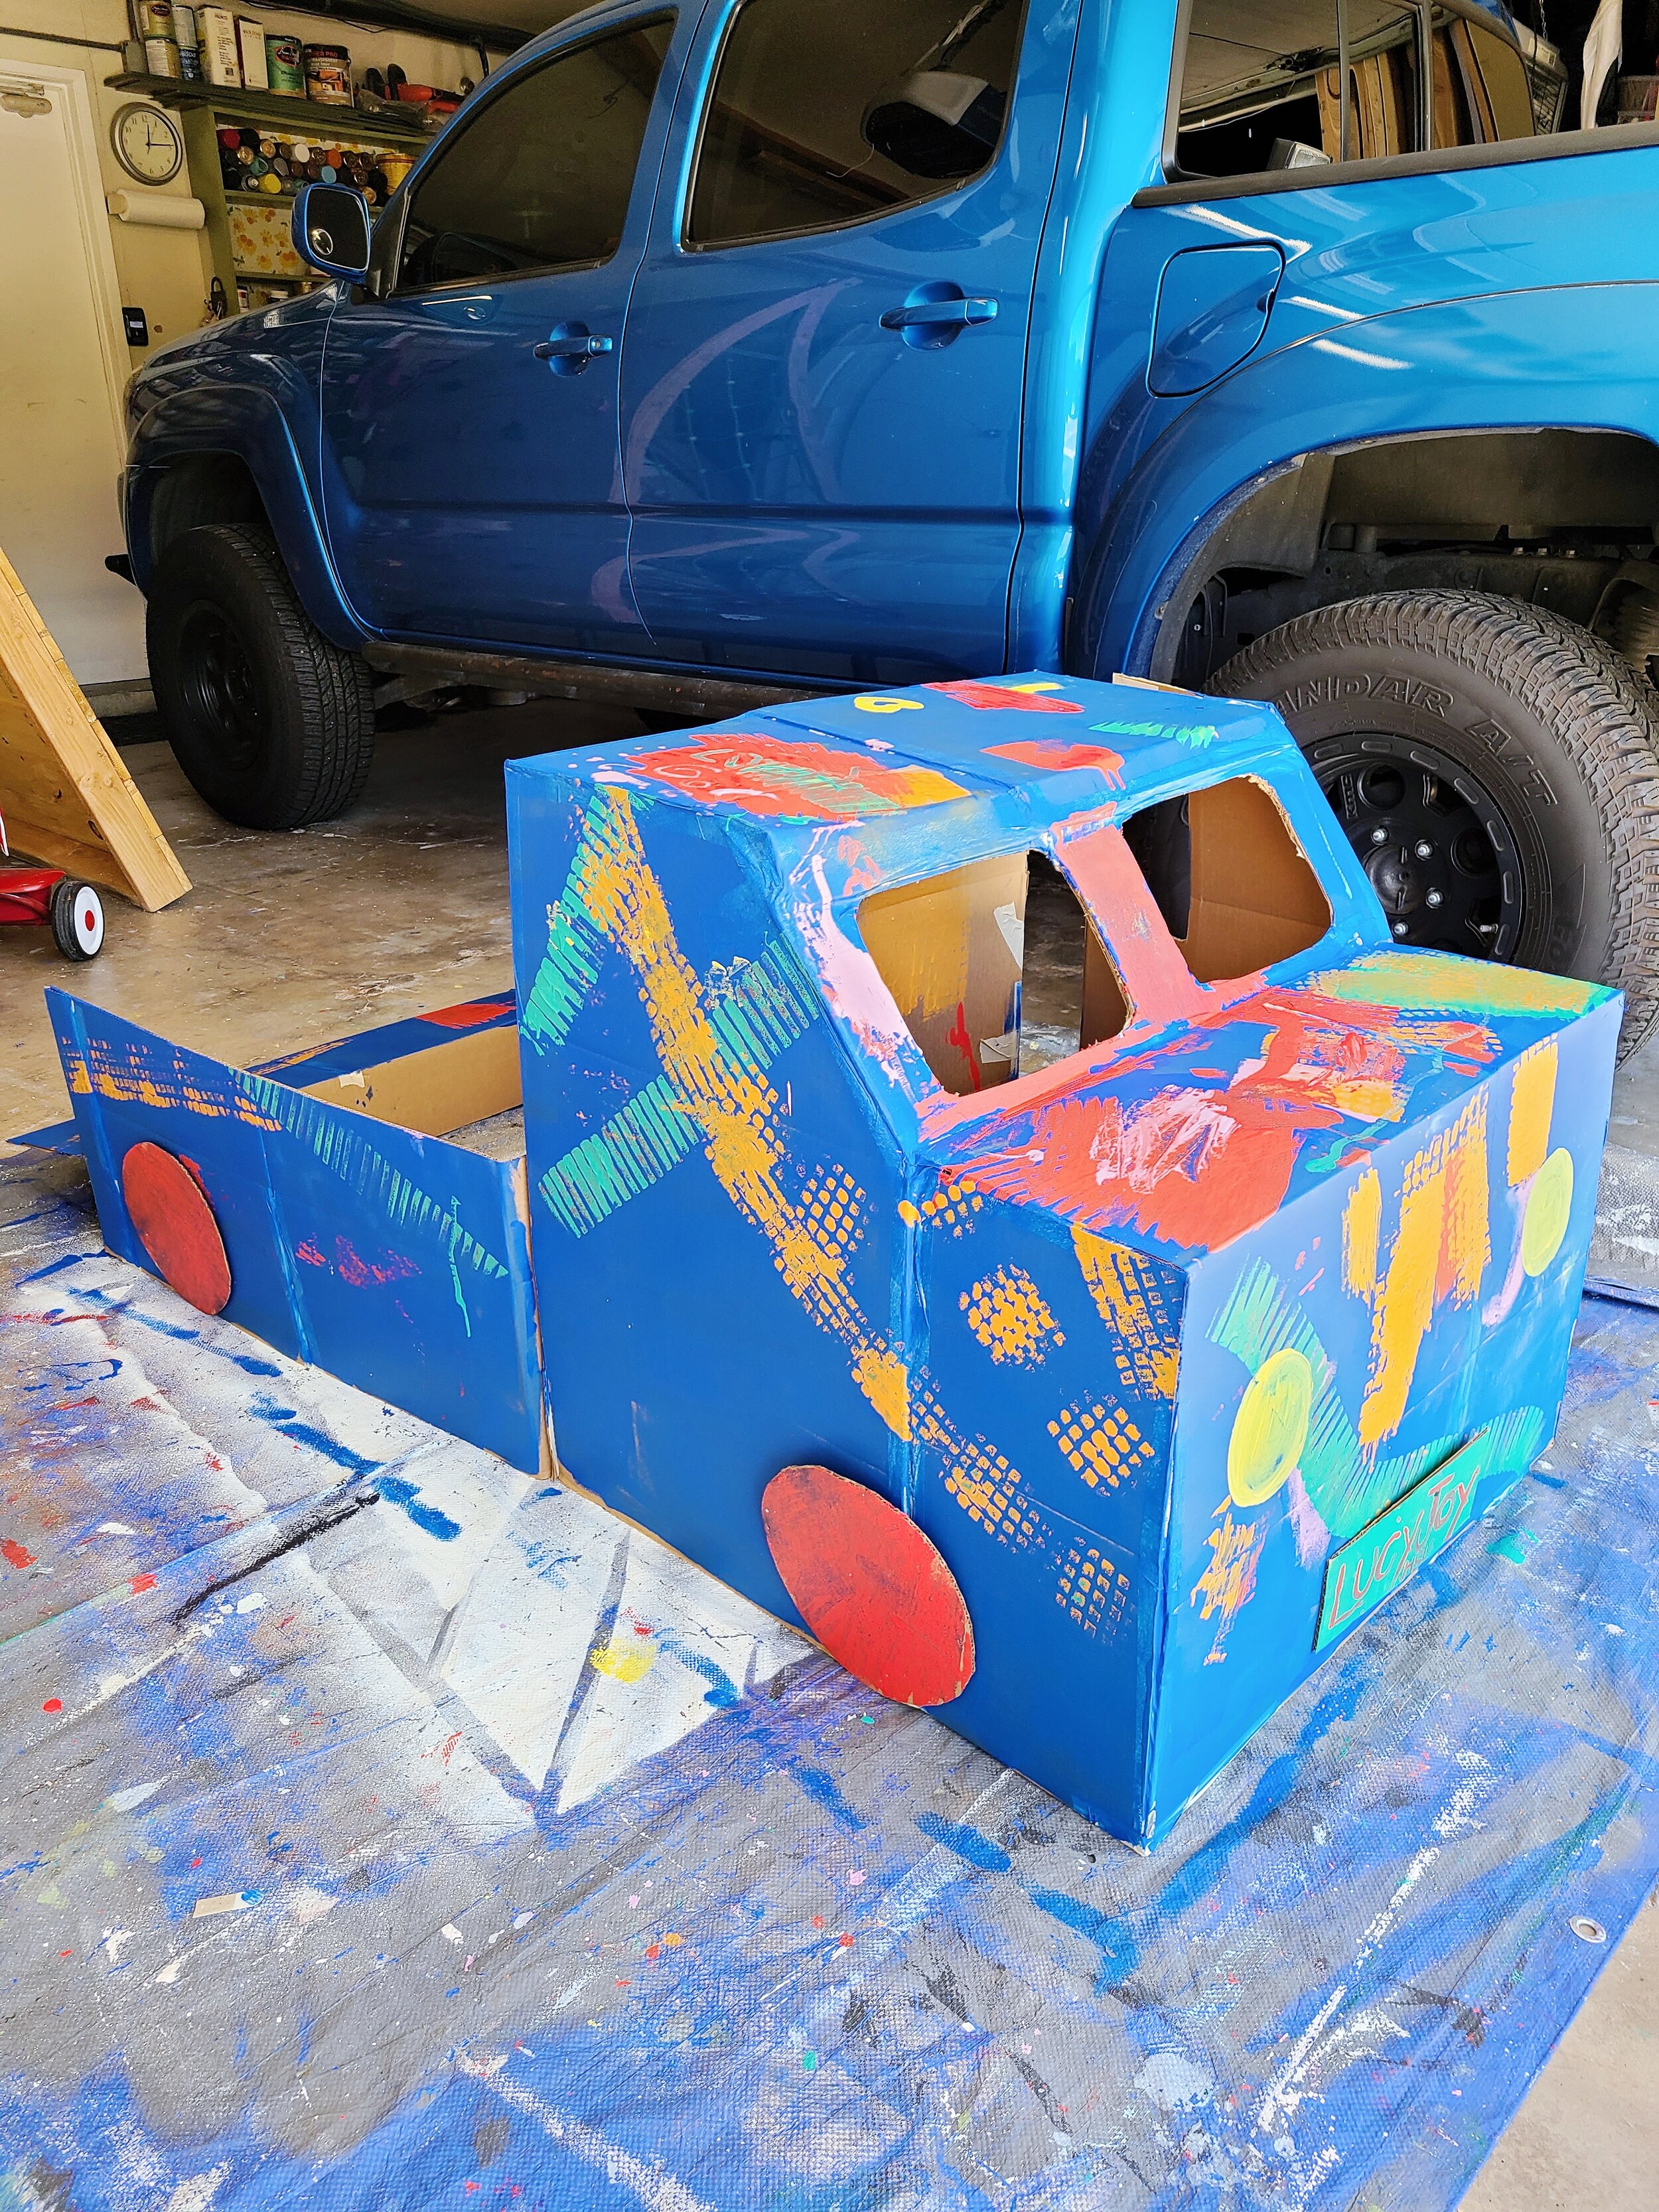
We came up with the idea to create a DIY Drive-In movie night for Lucy. While planning, we knew it was a must for our daughter to fully experience the drive-in, complete with sitting in a colorful cardboard “truck” and all the usual fixings of a movie night catered to Lucy’s favorite snacks and treats. We set out to give her the best drive-in movie experience ever, just in time to watch Trolls 2 as a family with homemade chili cheese dogs, popcorn, and licorice!

Our drive-in menu was inspired by one of Lucy’s favorite foods: hot dogs! They were an absolute MUST, but we wanted to take it a couple steps further. We purchased brioche hot dog buns, nitrate-free hot dogs, cheddar cheese, onions, and even drove to Wendy’s to pick up some of their chili to top them off! For the adult chili cheese dogs, we also added some sweet jalapeños for a little spice. If your child is up for it, feel free to add it to theirs as well! We paired our hearty chili cheese dogs with homemade, air-fryer French fries and a couple of sweet treats – kettle corn and Red Vines – to complement all the savory menu items.

Drive-in Movie Night at Home on Hello Rascal Kids. DIY ideas for home gathering with your kids.

For the main attraction, the movie set-up, we used a projector we already had on hand for work! Our projector is an affordable option that we purchased from Amazon for about $120. For the screen, we utilized our patio framing to hang a light-colored Queen bedsheet using 3 clamps at the top and baker’s twine to tie the bottom ends to the frame. As a finishing touch, we grabbed a few blankets and cushions to make it cozier. Coupled with our DIY cardboard truck, we had created the perfect drive-in experience for our little Lucy. It was amazing!

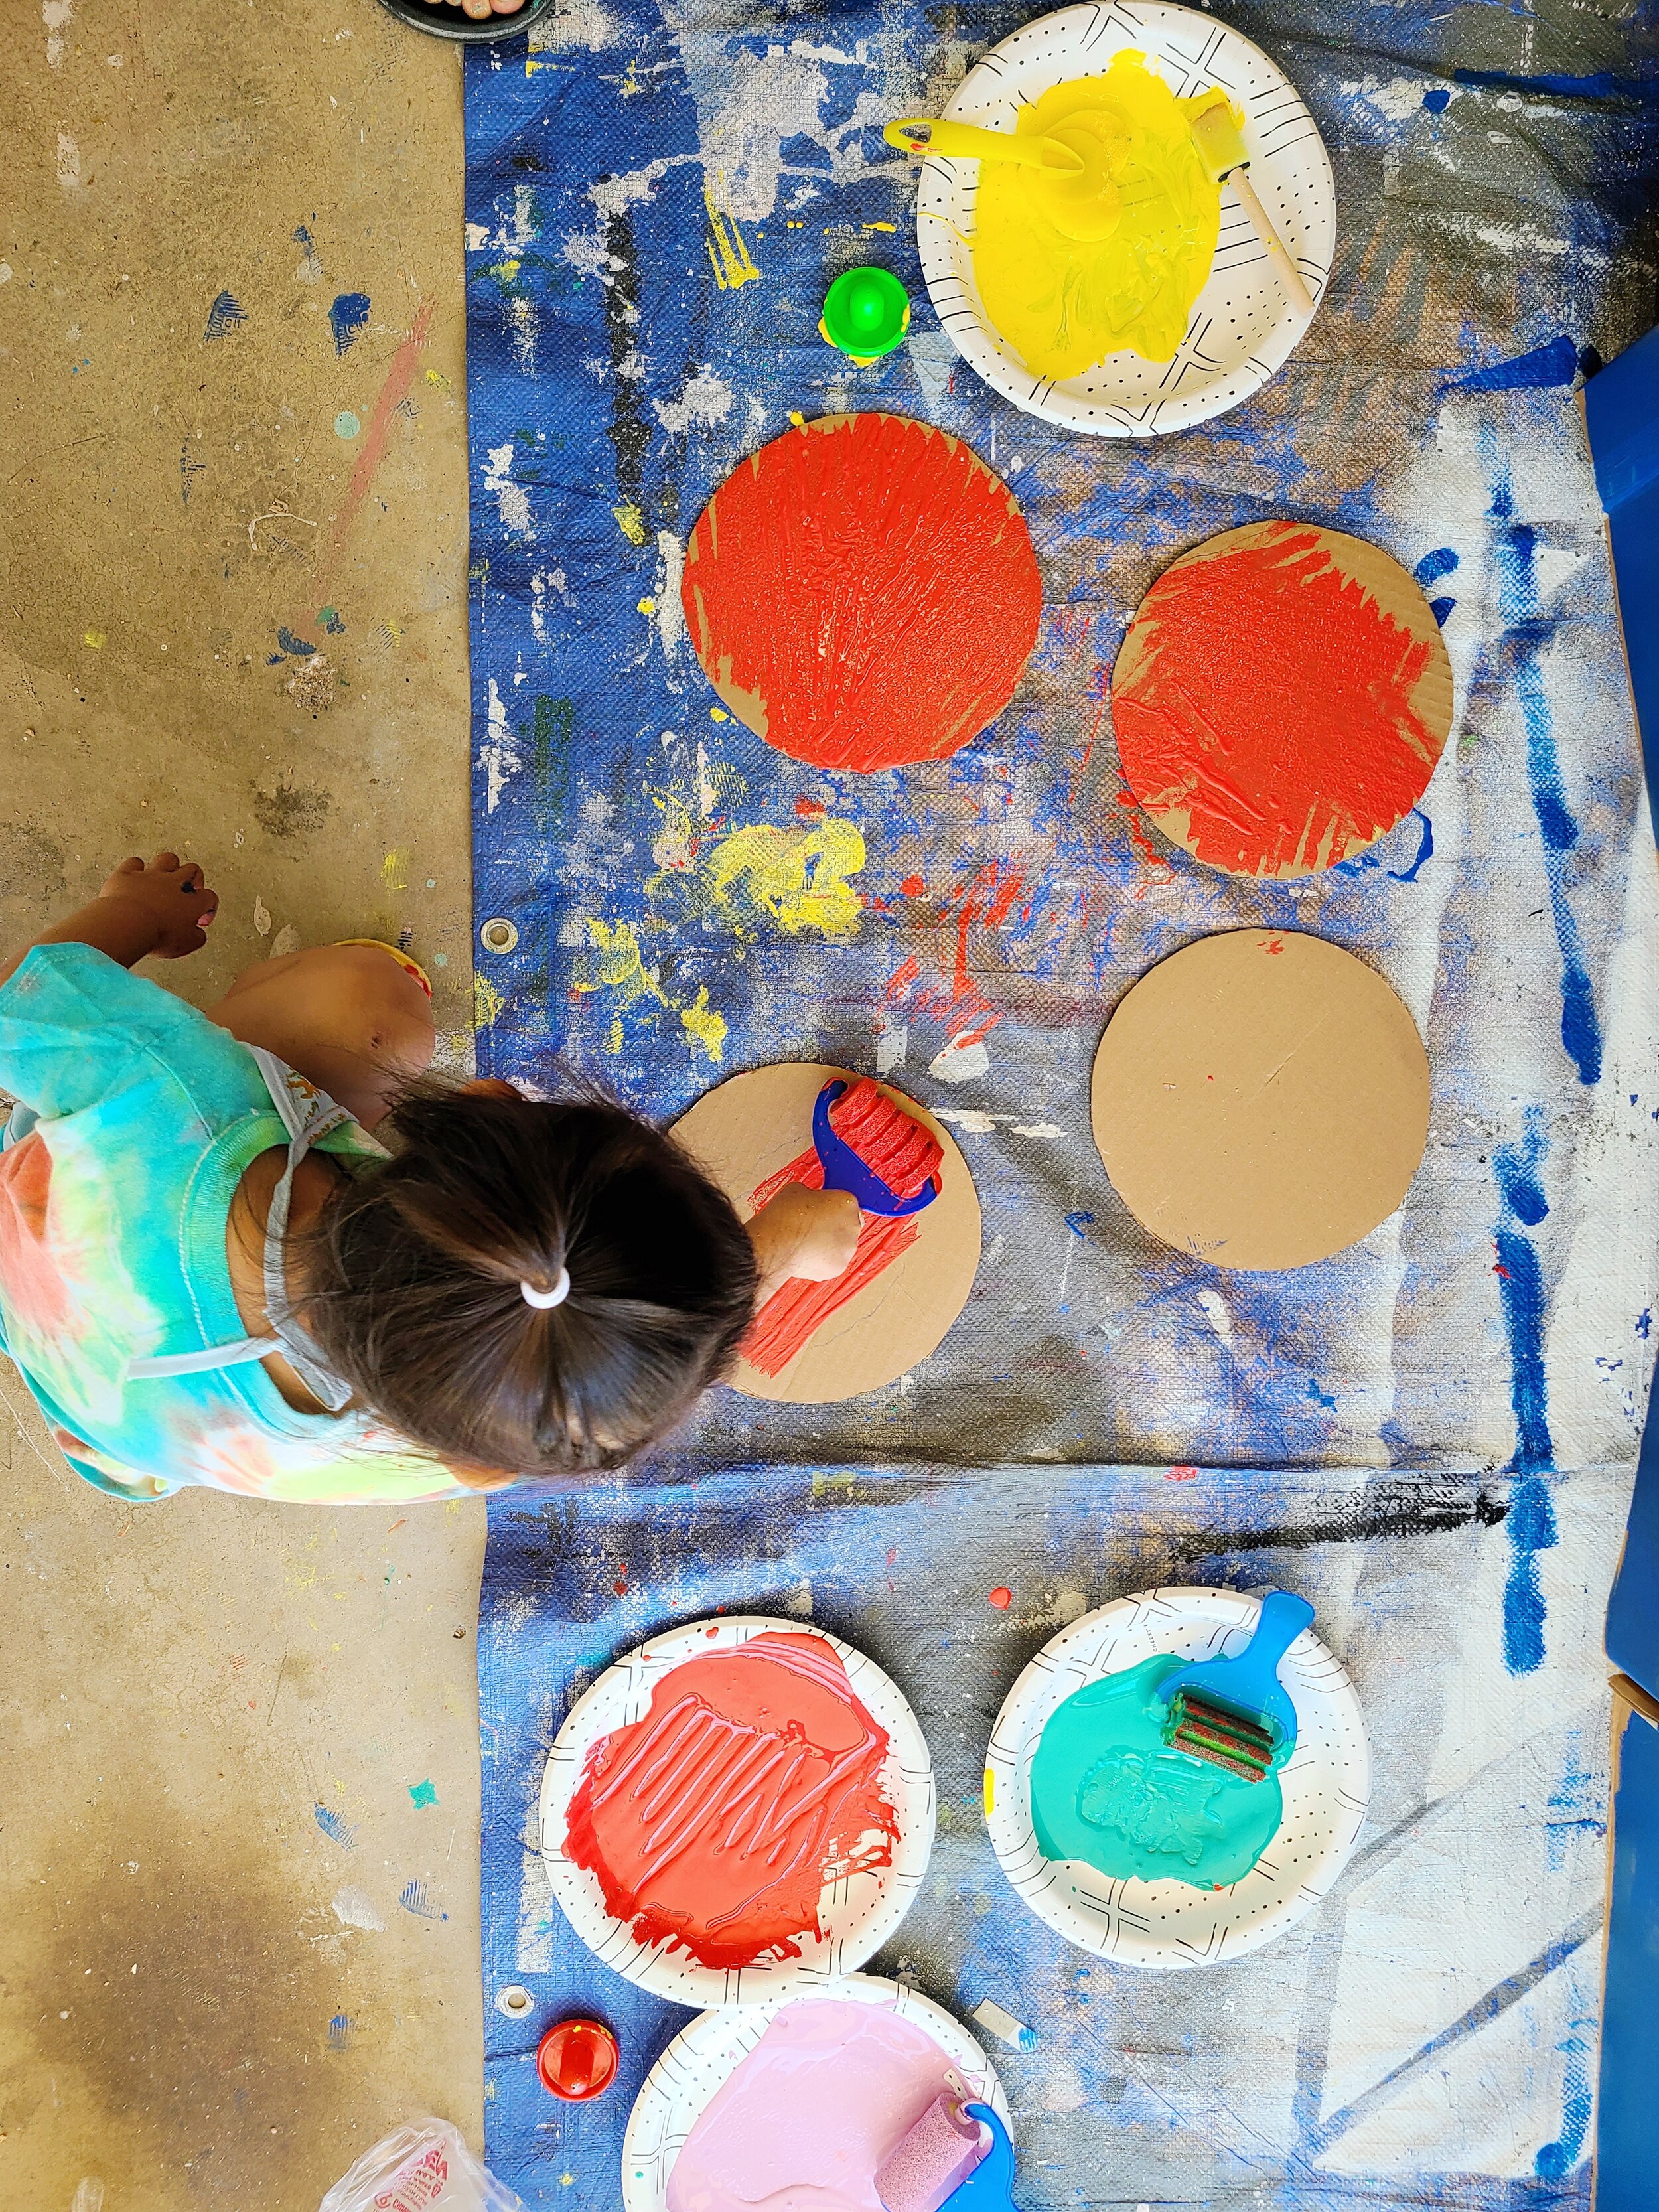
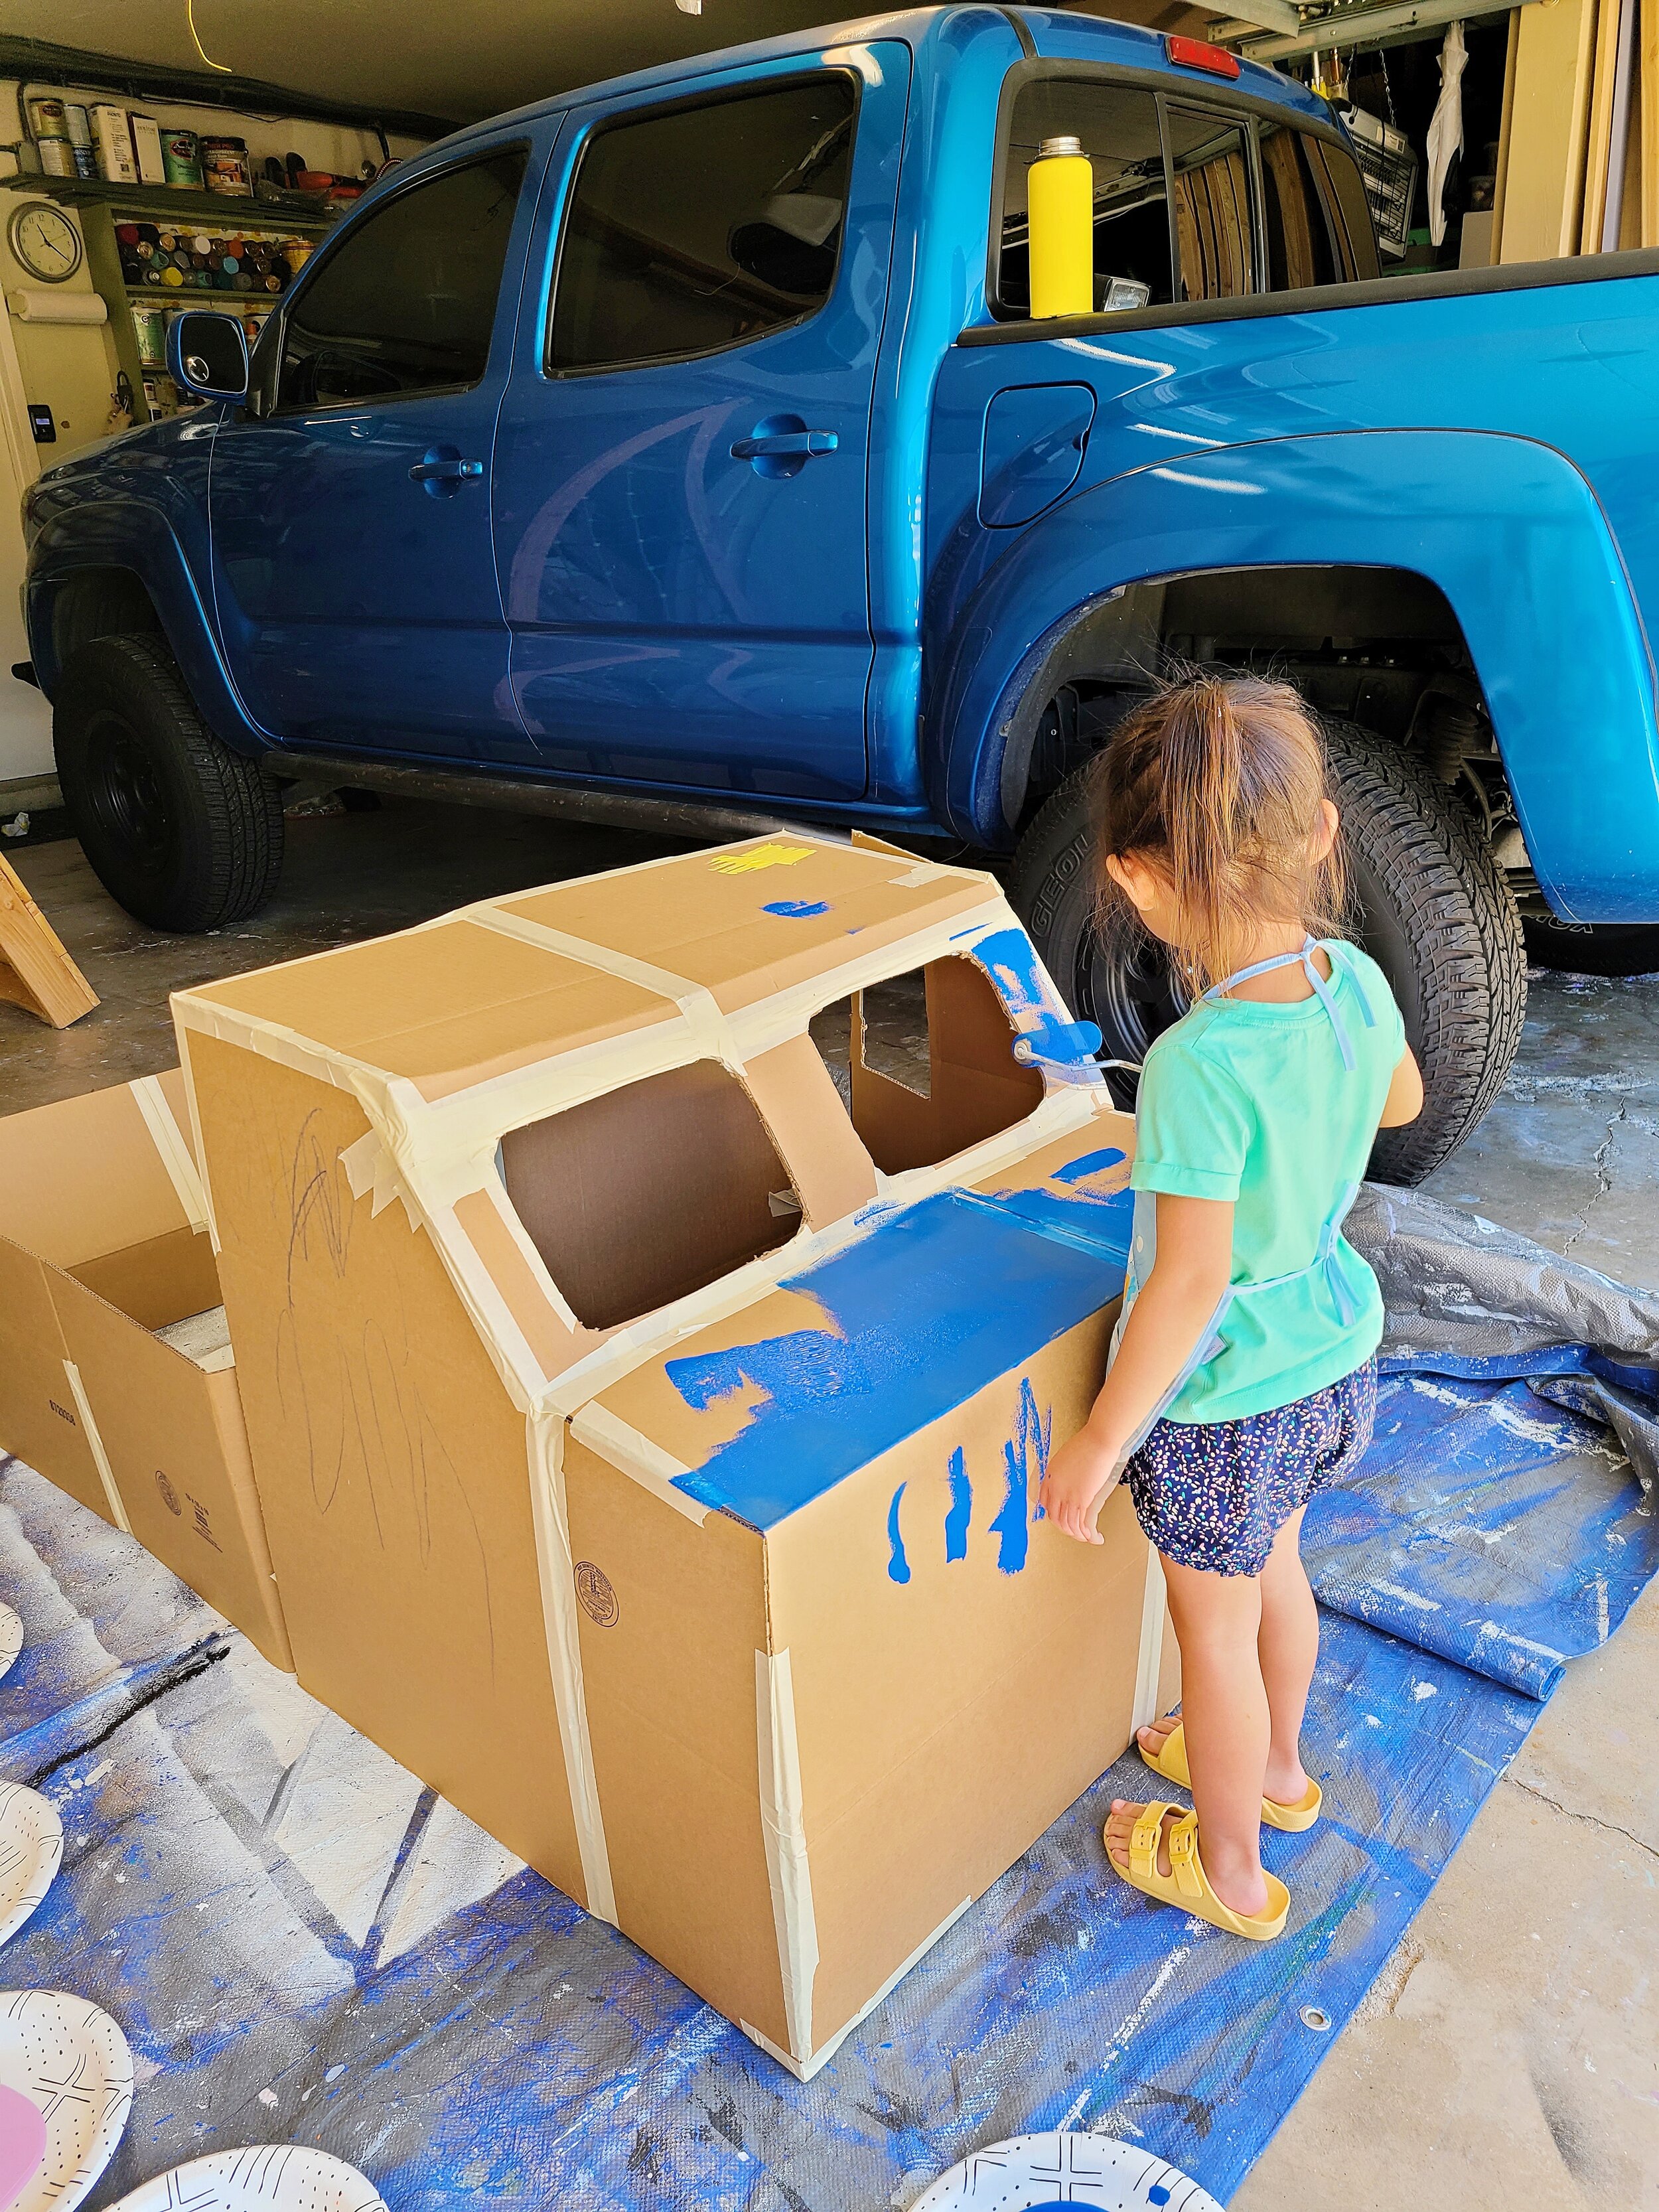
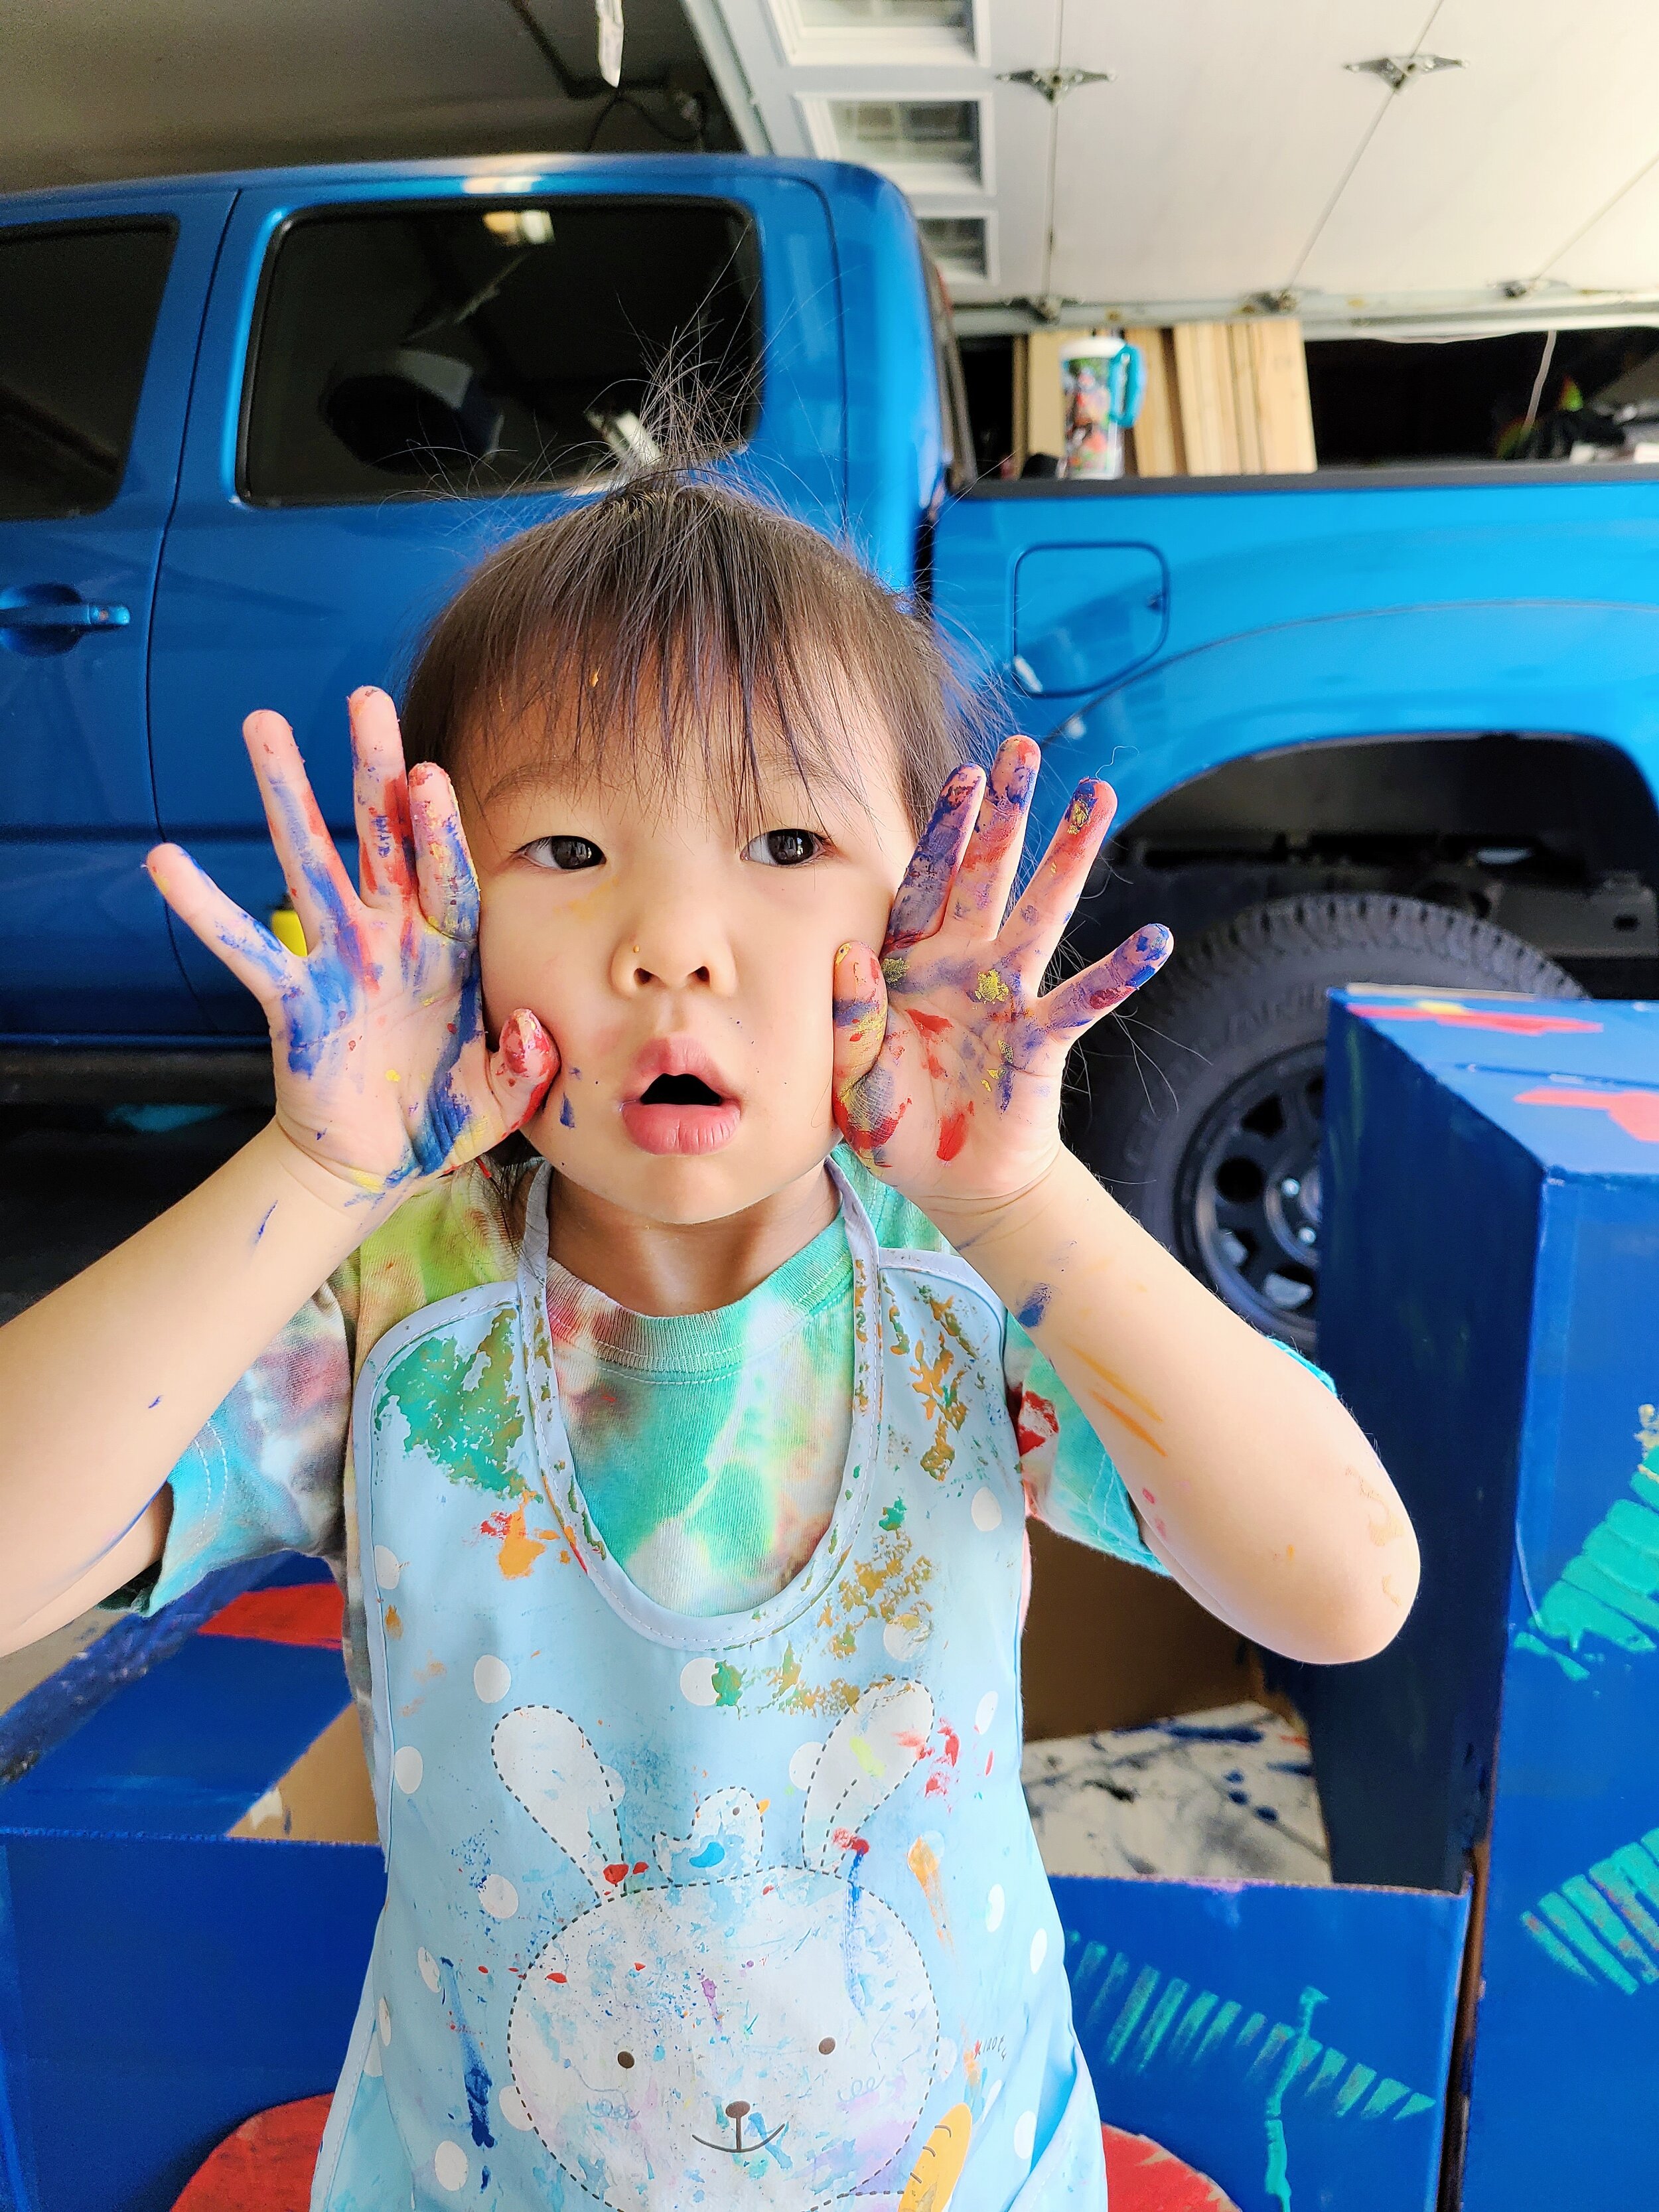
Throughout the process, we kept Lucy VERY involved. We consulted her about the menu and what she would like to eat to go along with a movie night. She was involved with everything, including painting the color of the truck. As we watched the sunset before the movie began, we let her play in the truck and her imagination ran wild. She kept calling it her ice cream truck, and even tried to sell us food from it!

This DIY night was not only a great opportunity to watch a sweet movie as a family, but also a chance for mom and dad to spend time together working on a project. It also gave our daughter the opportunity to get a little messy, have fun, and get creative.

Follow along with our steps below to create your own cardboard truck for a DIY drive-in you and your rascals can enjoy. Add your own spin to the menu, decor, and experience, making sure to include some of your child’s favorite things!

Supplies Needed:

  • Cardboard (the amount will depend on the size and type of car you would like to make)

  • Roll of masking tape, preferably 2” wide

  • Exacto knife

  • Permanent marker

  • Washable paint

  • Paint brushes and sponges

  • Paper plates

  • Optional, but recommended: large tarp to lay out on the floor while painting

Directions

  1. Research and sketch out what type of car you and your little one would like to create. Take into consideration the amount of cardboard you have at your disposal. We personally have had a lot of deliveries recently, so we had plenty of cardboard. We also knew we wanted to build the truck around the Nugget cushion we had since Lucy would sit in the truck during the movie, which gave us a pretty good idea of what size we wanted.

  2. Draw lines for each panel of the car/truck using your permanent marker.

  3. Use the Exacto knife to cut each piece along the lines.

  4. Gather the painting supplies and let your child’s imagination run free! We painted the base a color that Lucy chose – which was the same color of her dad’s truck – and then let her decorate as she wished.

  5. Let the paint dry and assemble the car/truck. We also added accessories, such as wheels, a license plate, and steering wheel.

  6. Have fun! Go wild!

Drive-in Movie Night at Home on Hello Rascal Kids. DIY ideas for home gathering with your kids.

By Catherine Cindy Leo of CCL Weddings and Events. Mother of 1 rascal, age 2.5.

Listening and Learning about Social Justice

SUPPORTING, AMPLIFYING,
LISTENING, LEARNING

Currently, there are #BlackLivesMatter protests happening in all 50 states, across all media platforms, and in countries across the world. The protests are a demand to stop police violence. They are a call to end systematic racism. They are a call for justice. 

Parents are the catalyst for positive change in the next generation. There is no better multiplier of positive change than our voices and actions as parents. It starts at home. We need to be the people we want our children to feel empowered to be.

As I hope you all are, I am challenging myself to do better, to do more, and to speak up. When the world around us is rife with uncertainty, it is each of you who remind me that there is hope. It comes in the form of economic opportunity, diverse talent collaborating over new ideas, difficult but necessary conversations, and lifting one another up in good times and in bad. You, parents, are the diverse leadership that will create a brighter future. 

This week served as a much needed reminder of the power of expression and action — to educate, amplify, empathize, connect, and promote understanding. What are the ways you are talking to your kids about what is going on in the world? How are you promoting discussion and understanding? How can we partner our creativity with purpose?

I am listening,

Ngoc Nguyen Lay

As a mother of two boys I am committed to Educating my children on social justice Teaching them compassion Respecting their community Talking about acceptances And giving them a voice..png

Strawberries and Cream Recipe

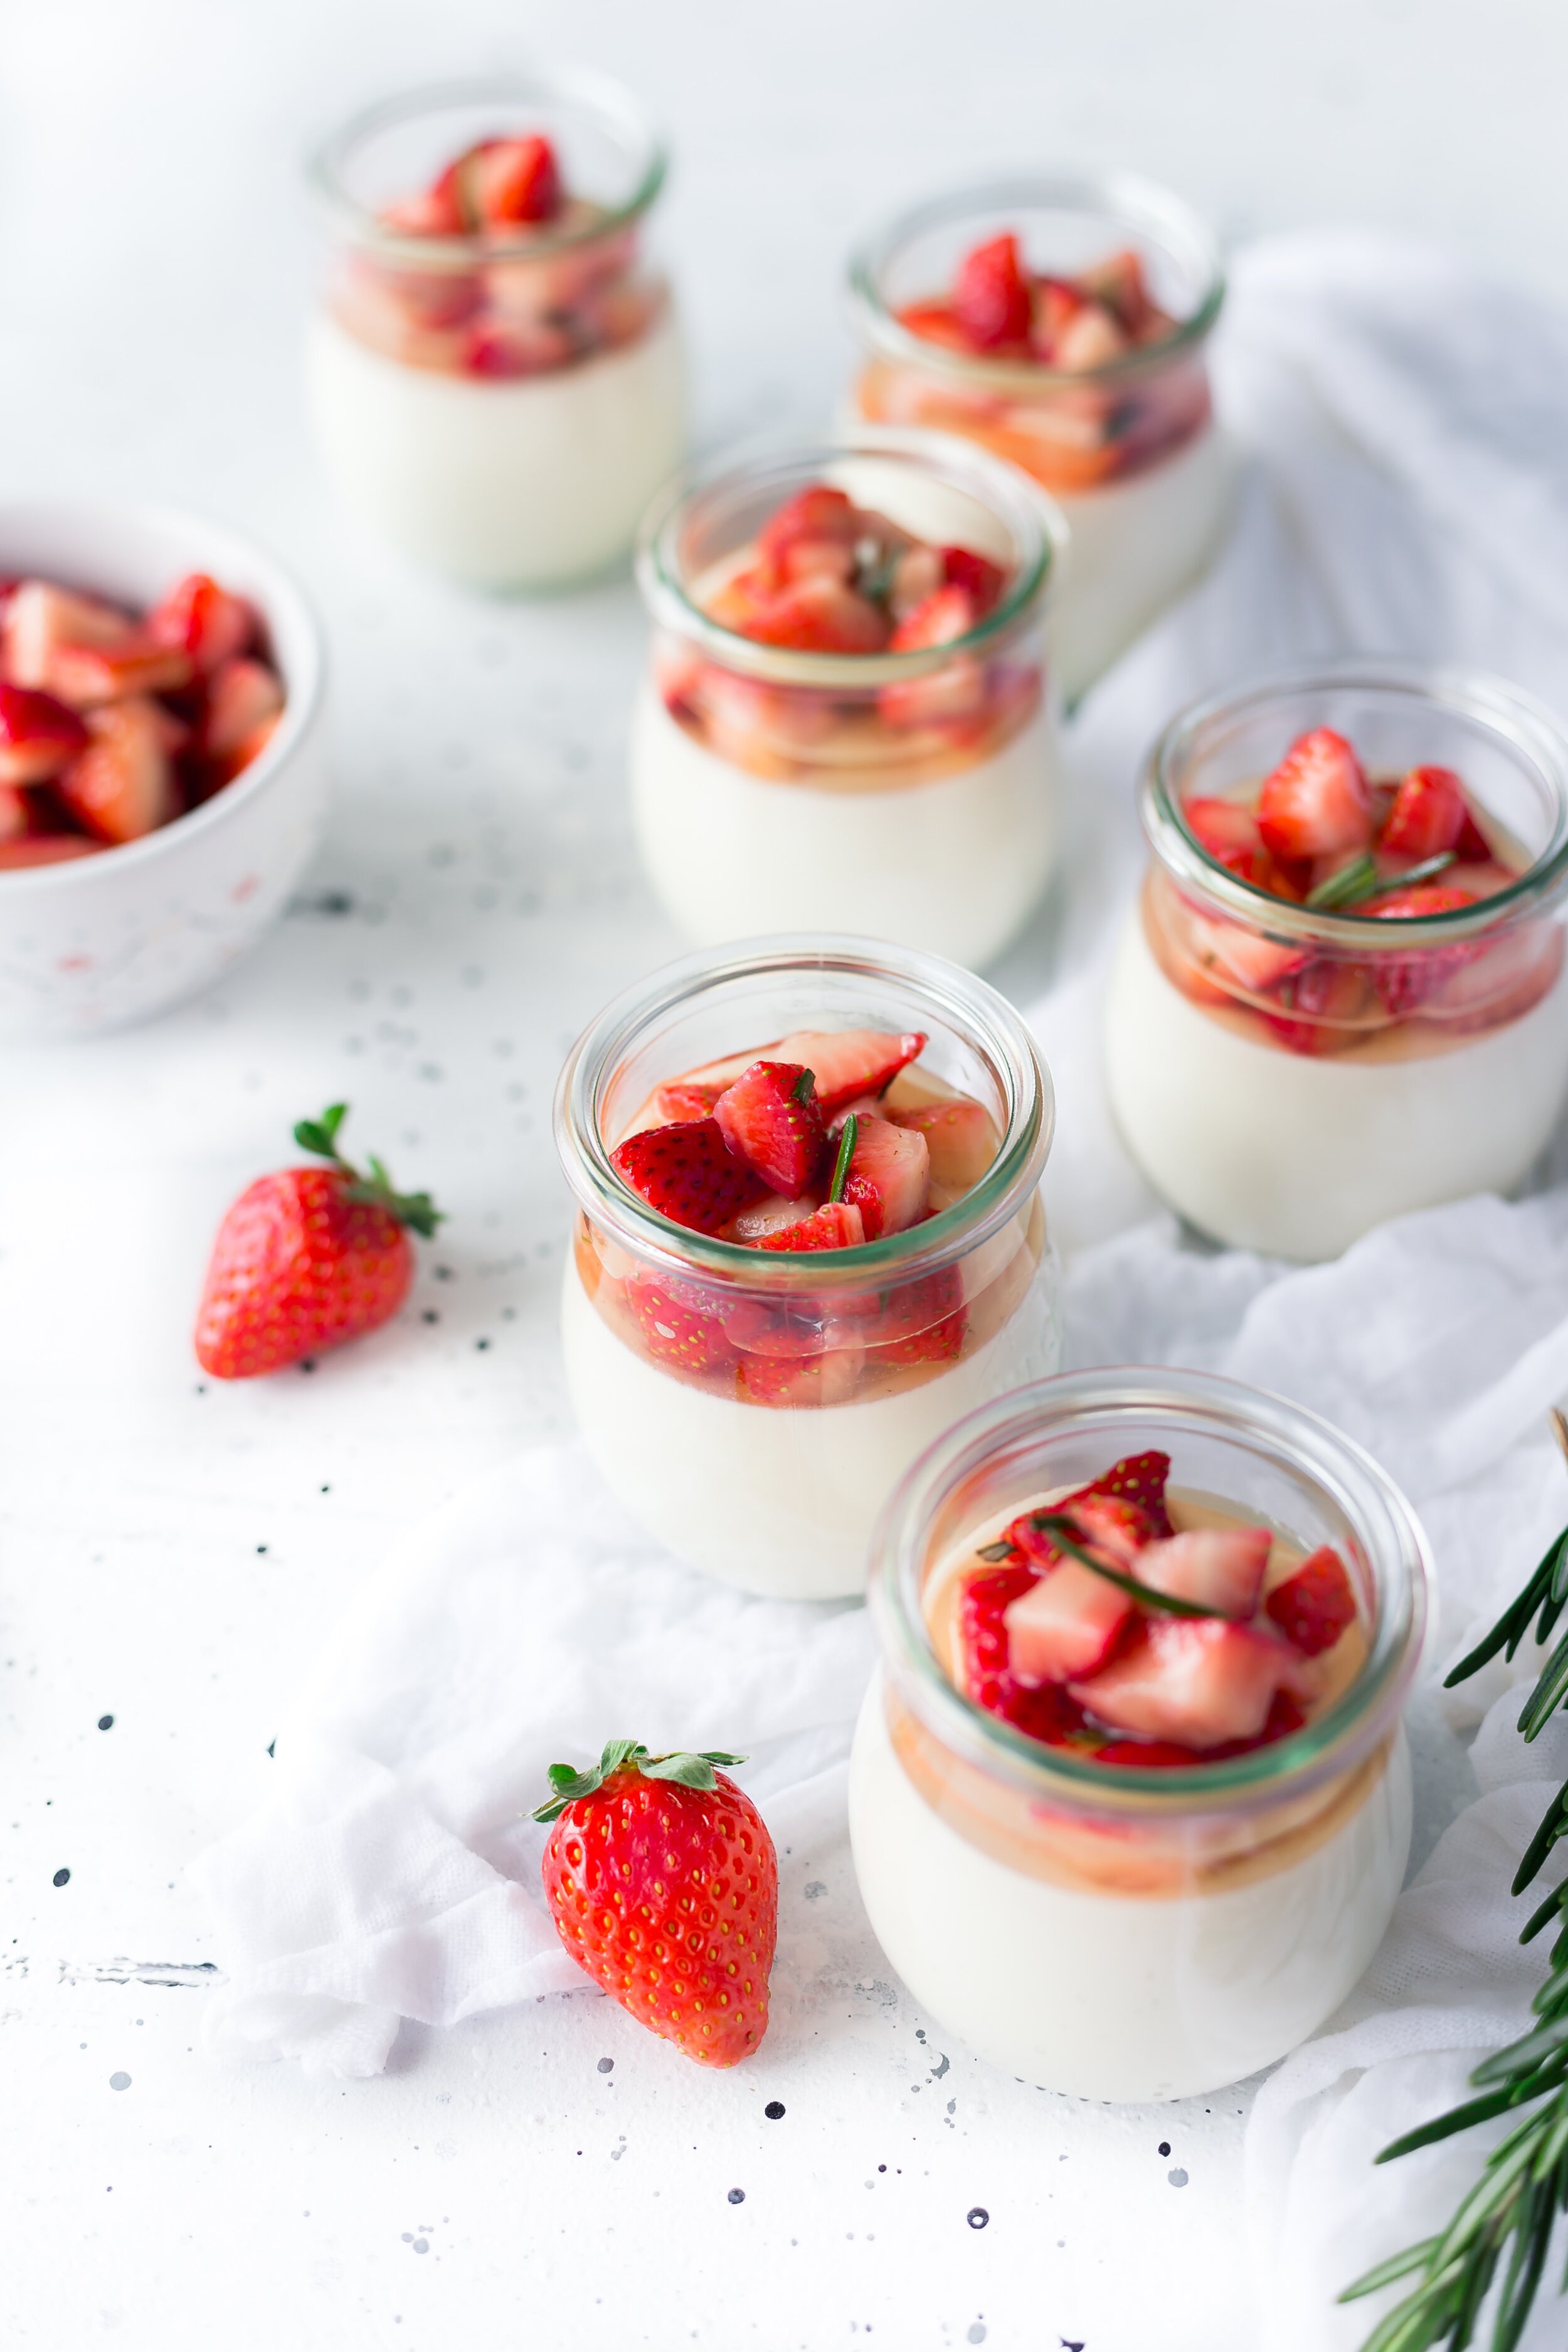
Strawberries and Cream is a sweet, simple timeless combination and a sure winner for our kids!

This is a rich dessert that doesn’t taste overwhelmingly rich. Nevertheless, it’s served in super small portions, so indulge a little! This is a simple recipe that you can have fun making with your rascals. The strawberries and cream jars need time in the refrigerator to firm up, so you can make them the day before, and all you have to do is garnish them right before serving.

Strawberries are the first berries of the season and perfect for any of your summer gatherings. The fresh strawberry flavor comes through nice and clear in this dessert because the strawberry puree never gets cooked. You get to taste the bright, ripe strawberry in all its glory.

Ingredients

  • 1 cup strawberries, washed and hulled

  • 2 tsp lemon juice

  • 1 cup heavy cream

  • 1/4 cup sugar

  • 3 large egg yolks

Instructions

  1. Puree the strawberries in a small food processor or good blender until smooth. Strain and discard any seeds or solids. Stir in the lemon juice and set aside.

  2. Put the egg yolks in a medium bowl and lightly beat them.

  3. In a small heavy bottomed saucepan heat the cream and sugar, stirring to dissolve the sugar, until it comes to a simmer. Slowly drizzle half of the hot cream into the egg yolks, while whisking. Then pour the mixture back into the pan, stirring constantly, and bring back up to a gentle boil. Cook for about a minute, stirring constantly, as the mixture thickens.

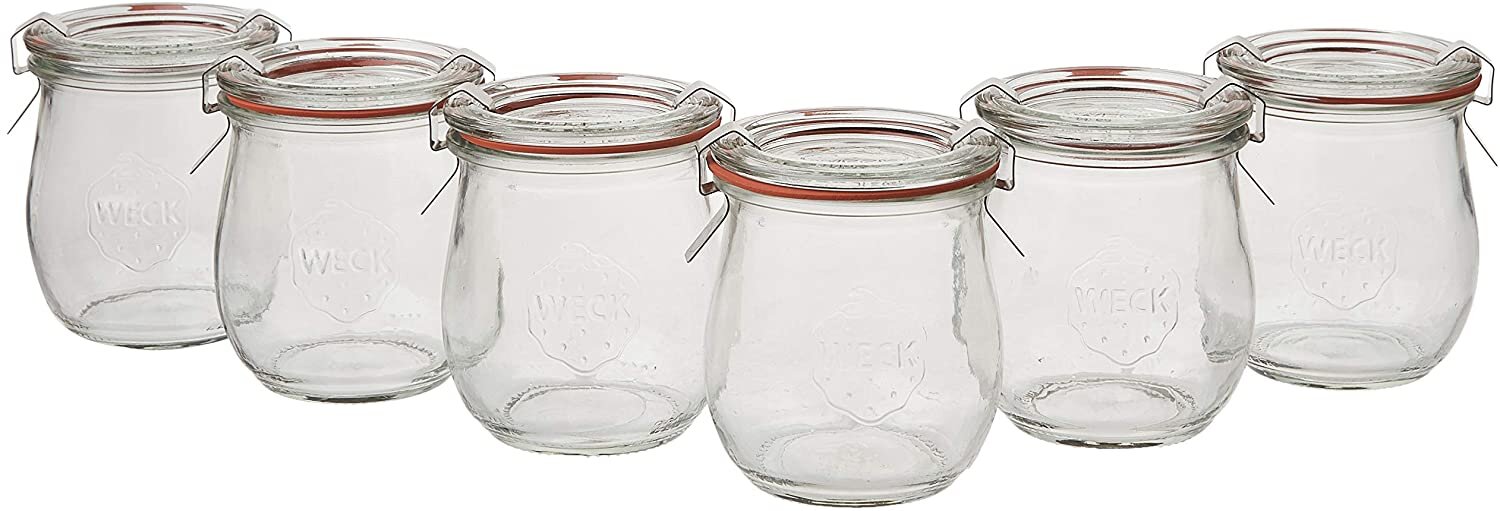
  4. Remove from the heat and pour through a (rinsed out) strainer to remove any lumps. Pour into 4 small jars or cups.

  5. Chill the jars for at least 4 hours or overnight. Served topped with the reserved strawberry puree and fresh mint.

  6. Notes: This recipe makes 4 small pots. If you'd like more, feel free to double the recipe.

Simple recipes like this make celebrating the arrival of the season breeze. Gather your little rascals, sit down to a home cooked dinner, and enjoy that extra hour of daylight.

Written by Head Rascal (Ngoc Nguyen Lay), mother of two rascals, ages 5 and 7.


Shop The Post

Making Graduation Caps for Kids

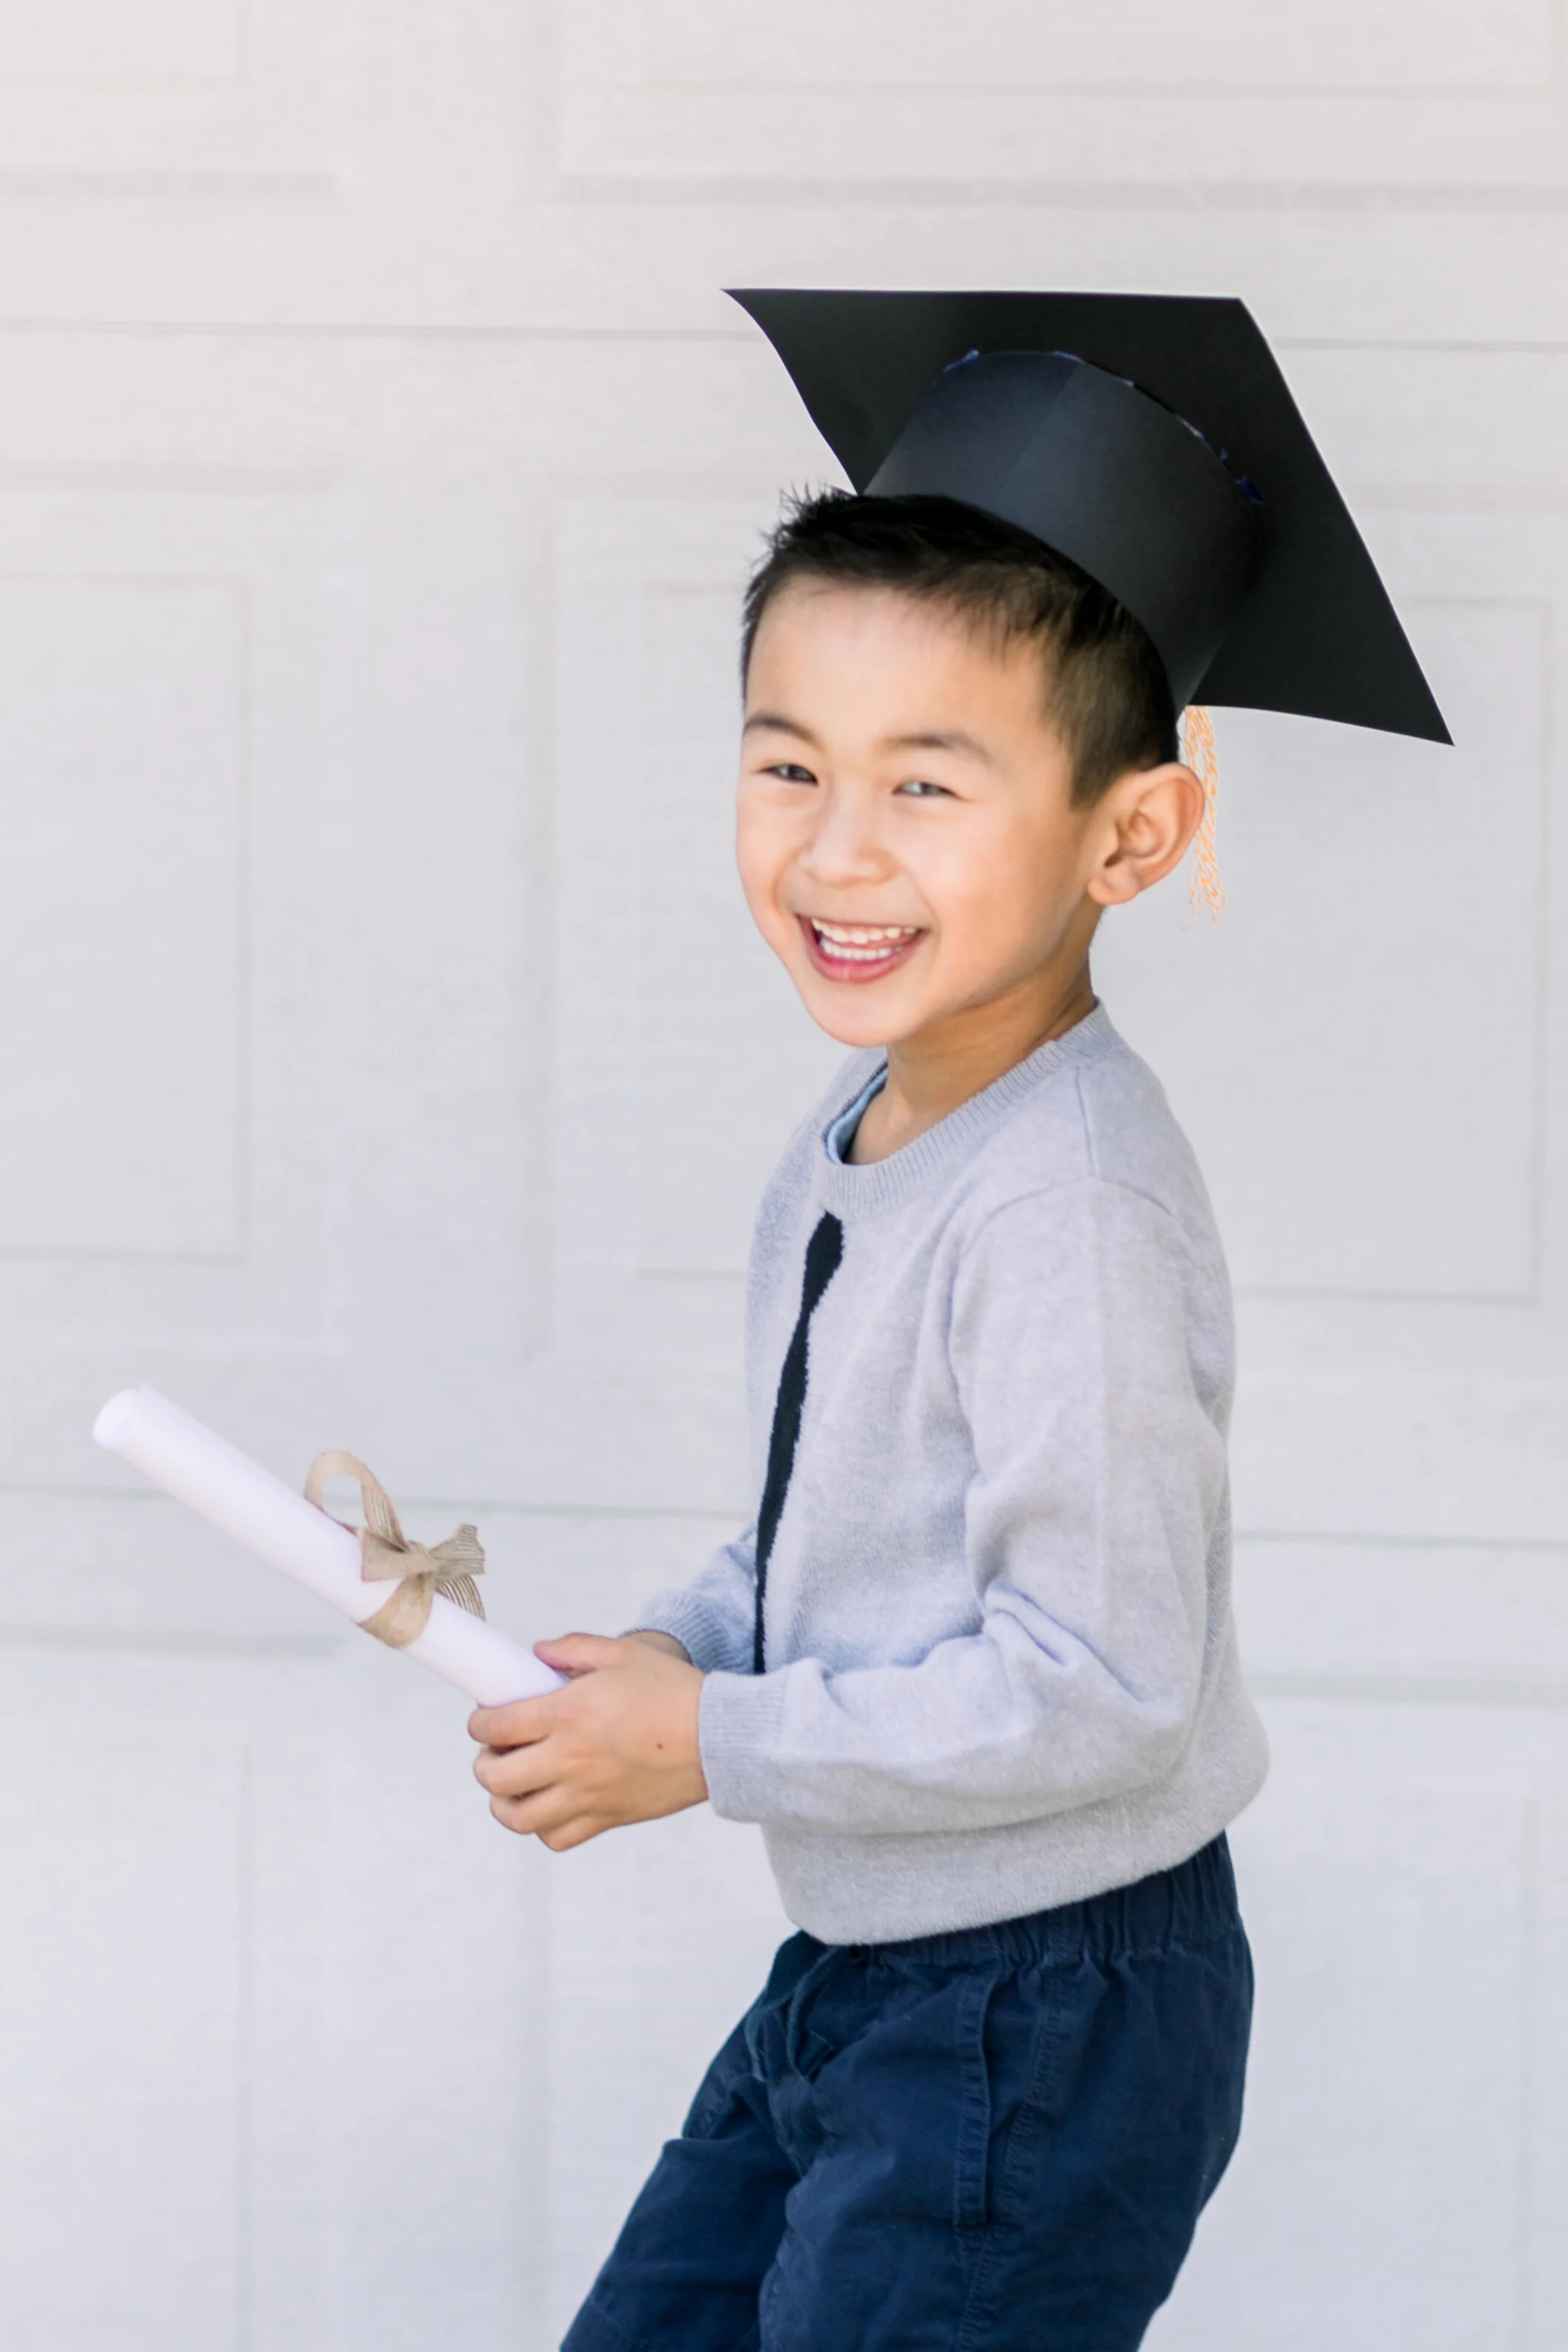
DIY Graduation Caps for kids on Hello Rascal Kids.

Completing milestones is a big deal for kids. Whether it’s the transition from preschool to kindergarten, elementary school to middle school, or even the transition from one year to the next, the completion of another school year is worth celebrating!

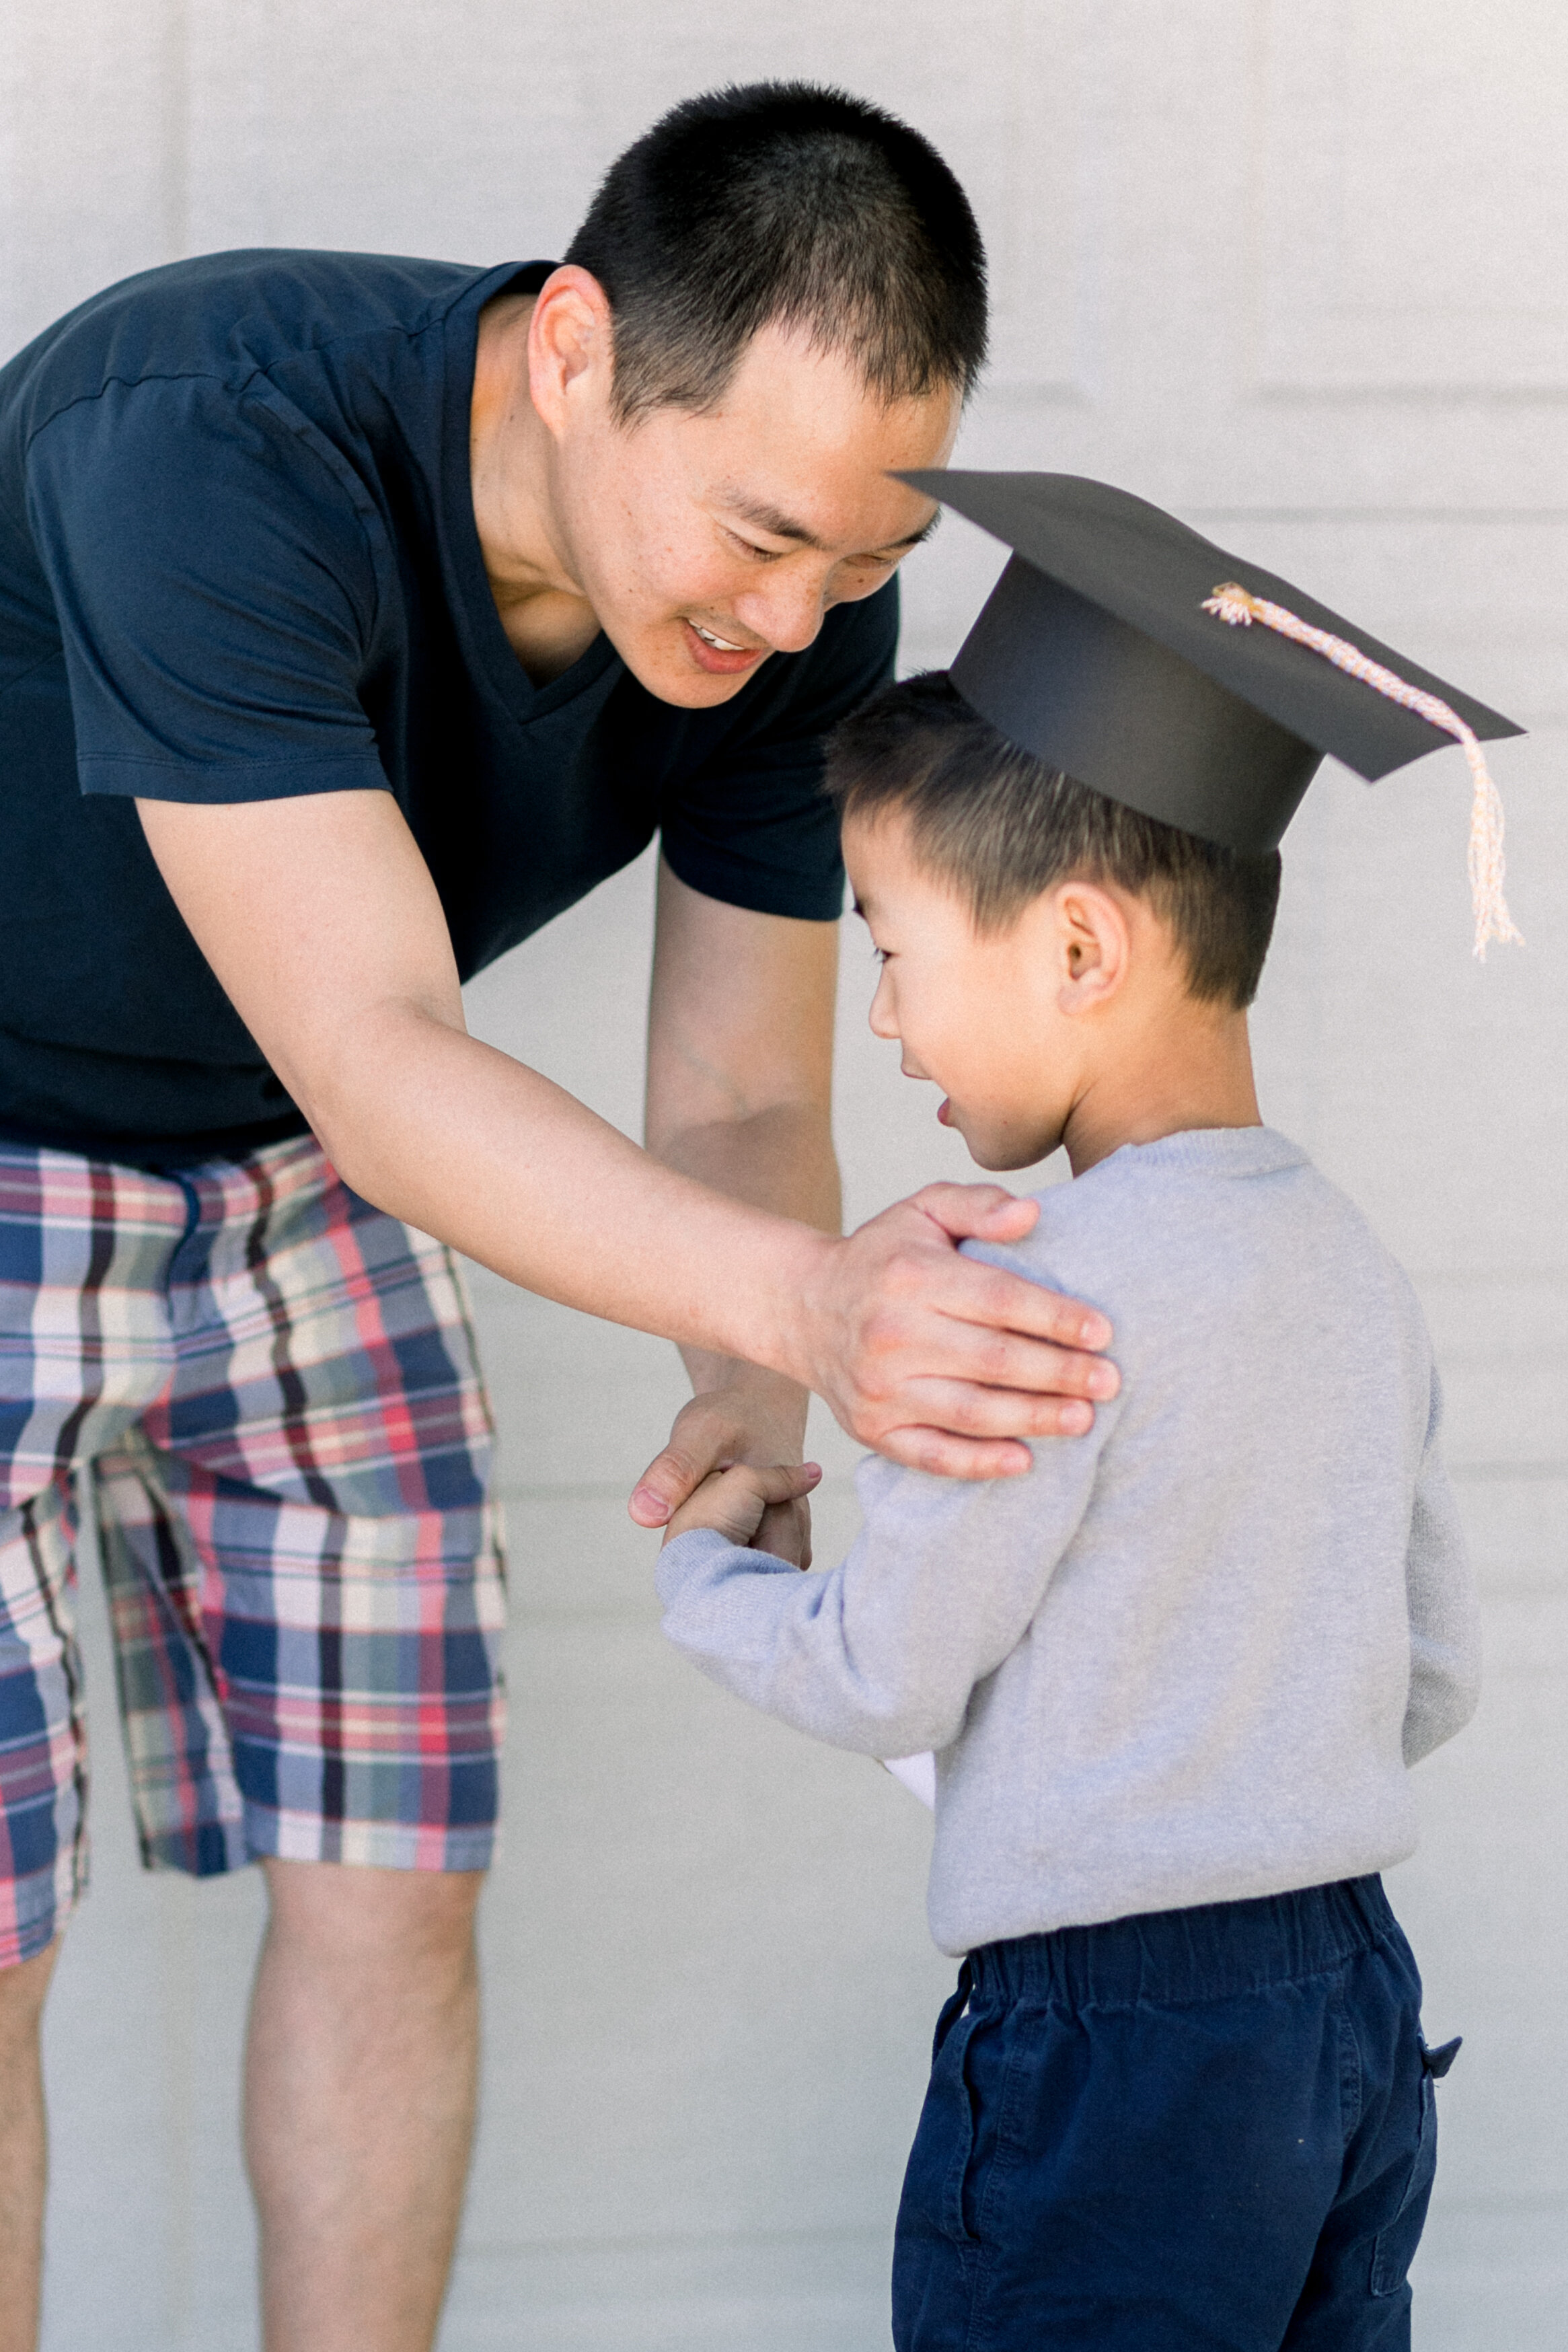
With the close of the school year quickly approaching, many of our rascals are transitioning to the next big step in their lives without being able to share this moment with friends, family, and teachers. However, not being physically in school doesn’t mean we have to forego celebrating their achievements altogether; it just makes celebrating a little bit different. Our youngest rascal completed preschool this year, and he’s ready for kindergarten in the Fall. One way we celebrated this achievement was making our own graduation caps!

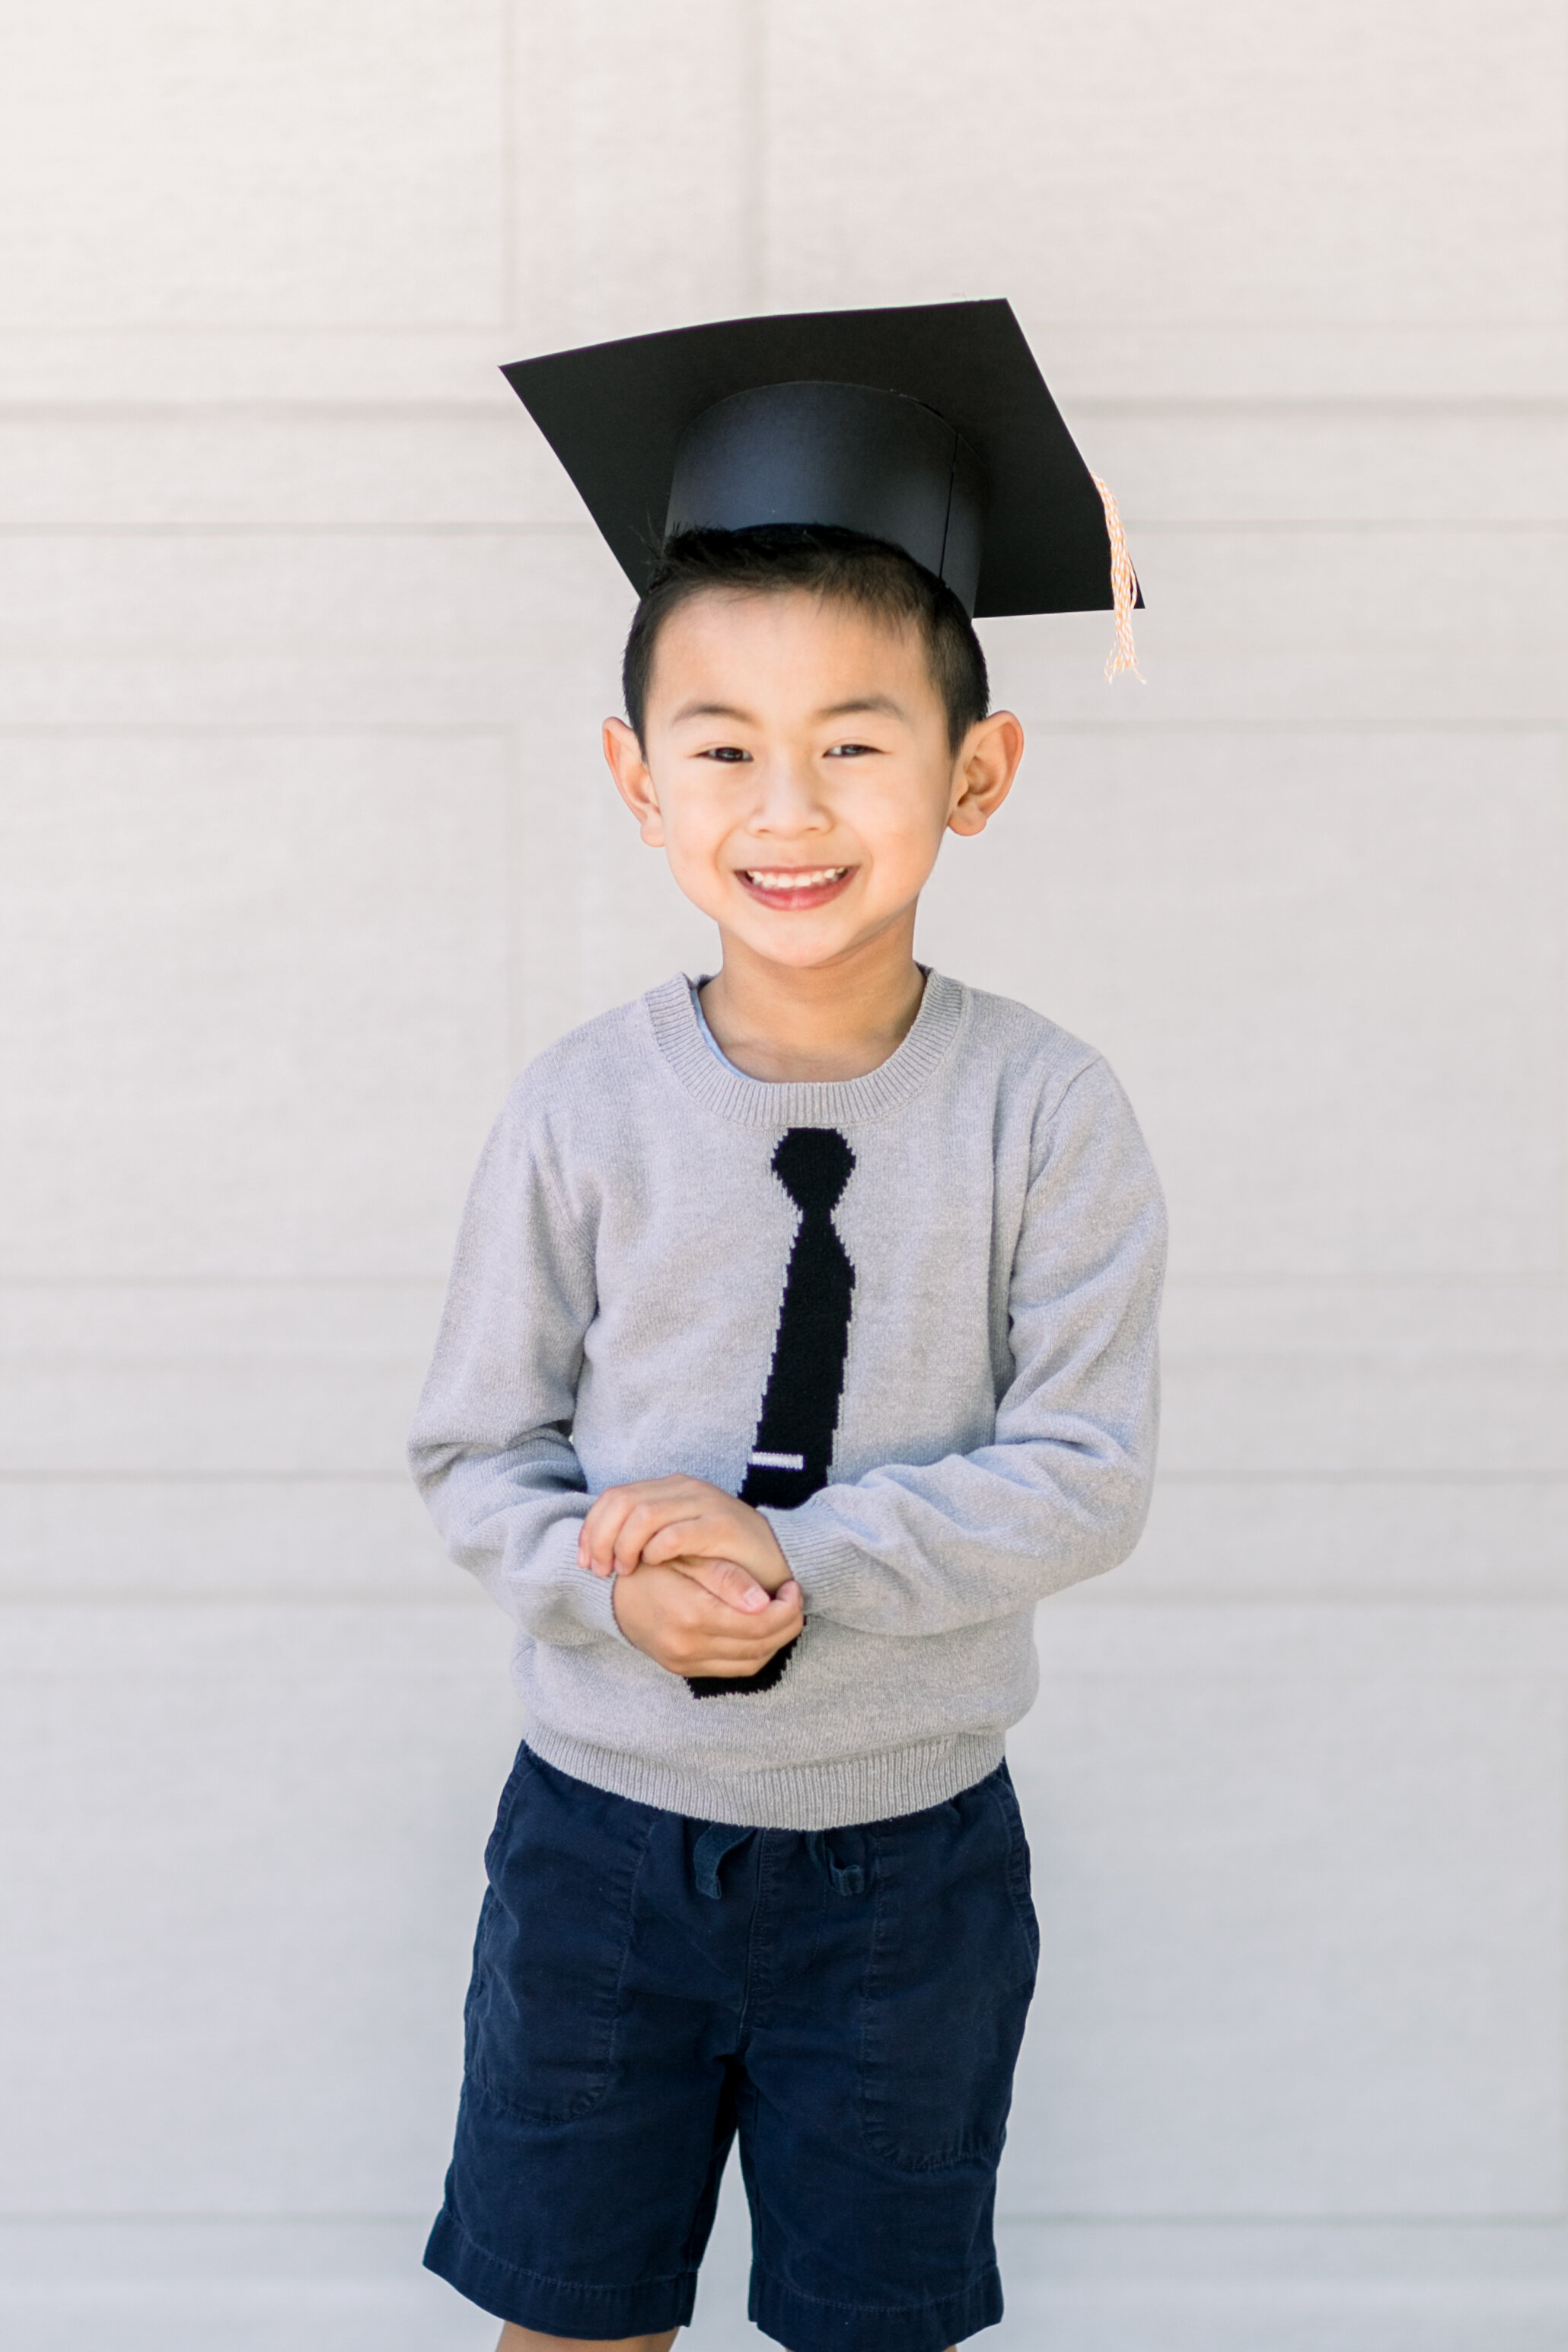
Schooling for most of us has been different, but you can still make this moment a really special event with this super simple DIY project! Create a graduation cap for your child, paired with your own at-home recognition ceremony, and they will feel like a star!

DIY Graduation Caps for Kids

Here is how you can make your own graduation cap at home:

Supplies Needed:

  • 10 inch by 10 inch colored cardstock paper (ideally black)

  • Hot glue gun

  • Yarn or ribbon

  • Scissors or paper cutter

Instructions:

1.     Start by cutting the top of the graduation cap out of the cardstock paper. Kids have smaller heads than us, so keep this in mind when measuring it out! You will need a square that is approximately 7 inch by 7 inch. Feel free to adjust this size based on your child’s needs.

2.     Next, you can begin assembling the lower half of the graduation cap. For this part, you will need two strips of cardstock paper. Measure around your child’s head, then cut out enough so that the cap fits around their head comfortably.

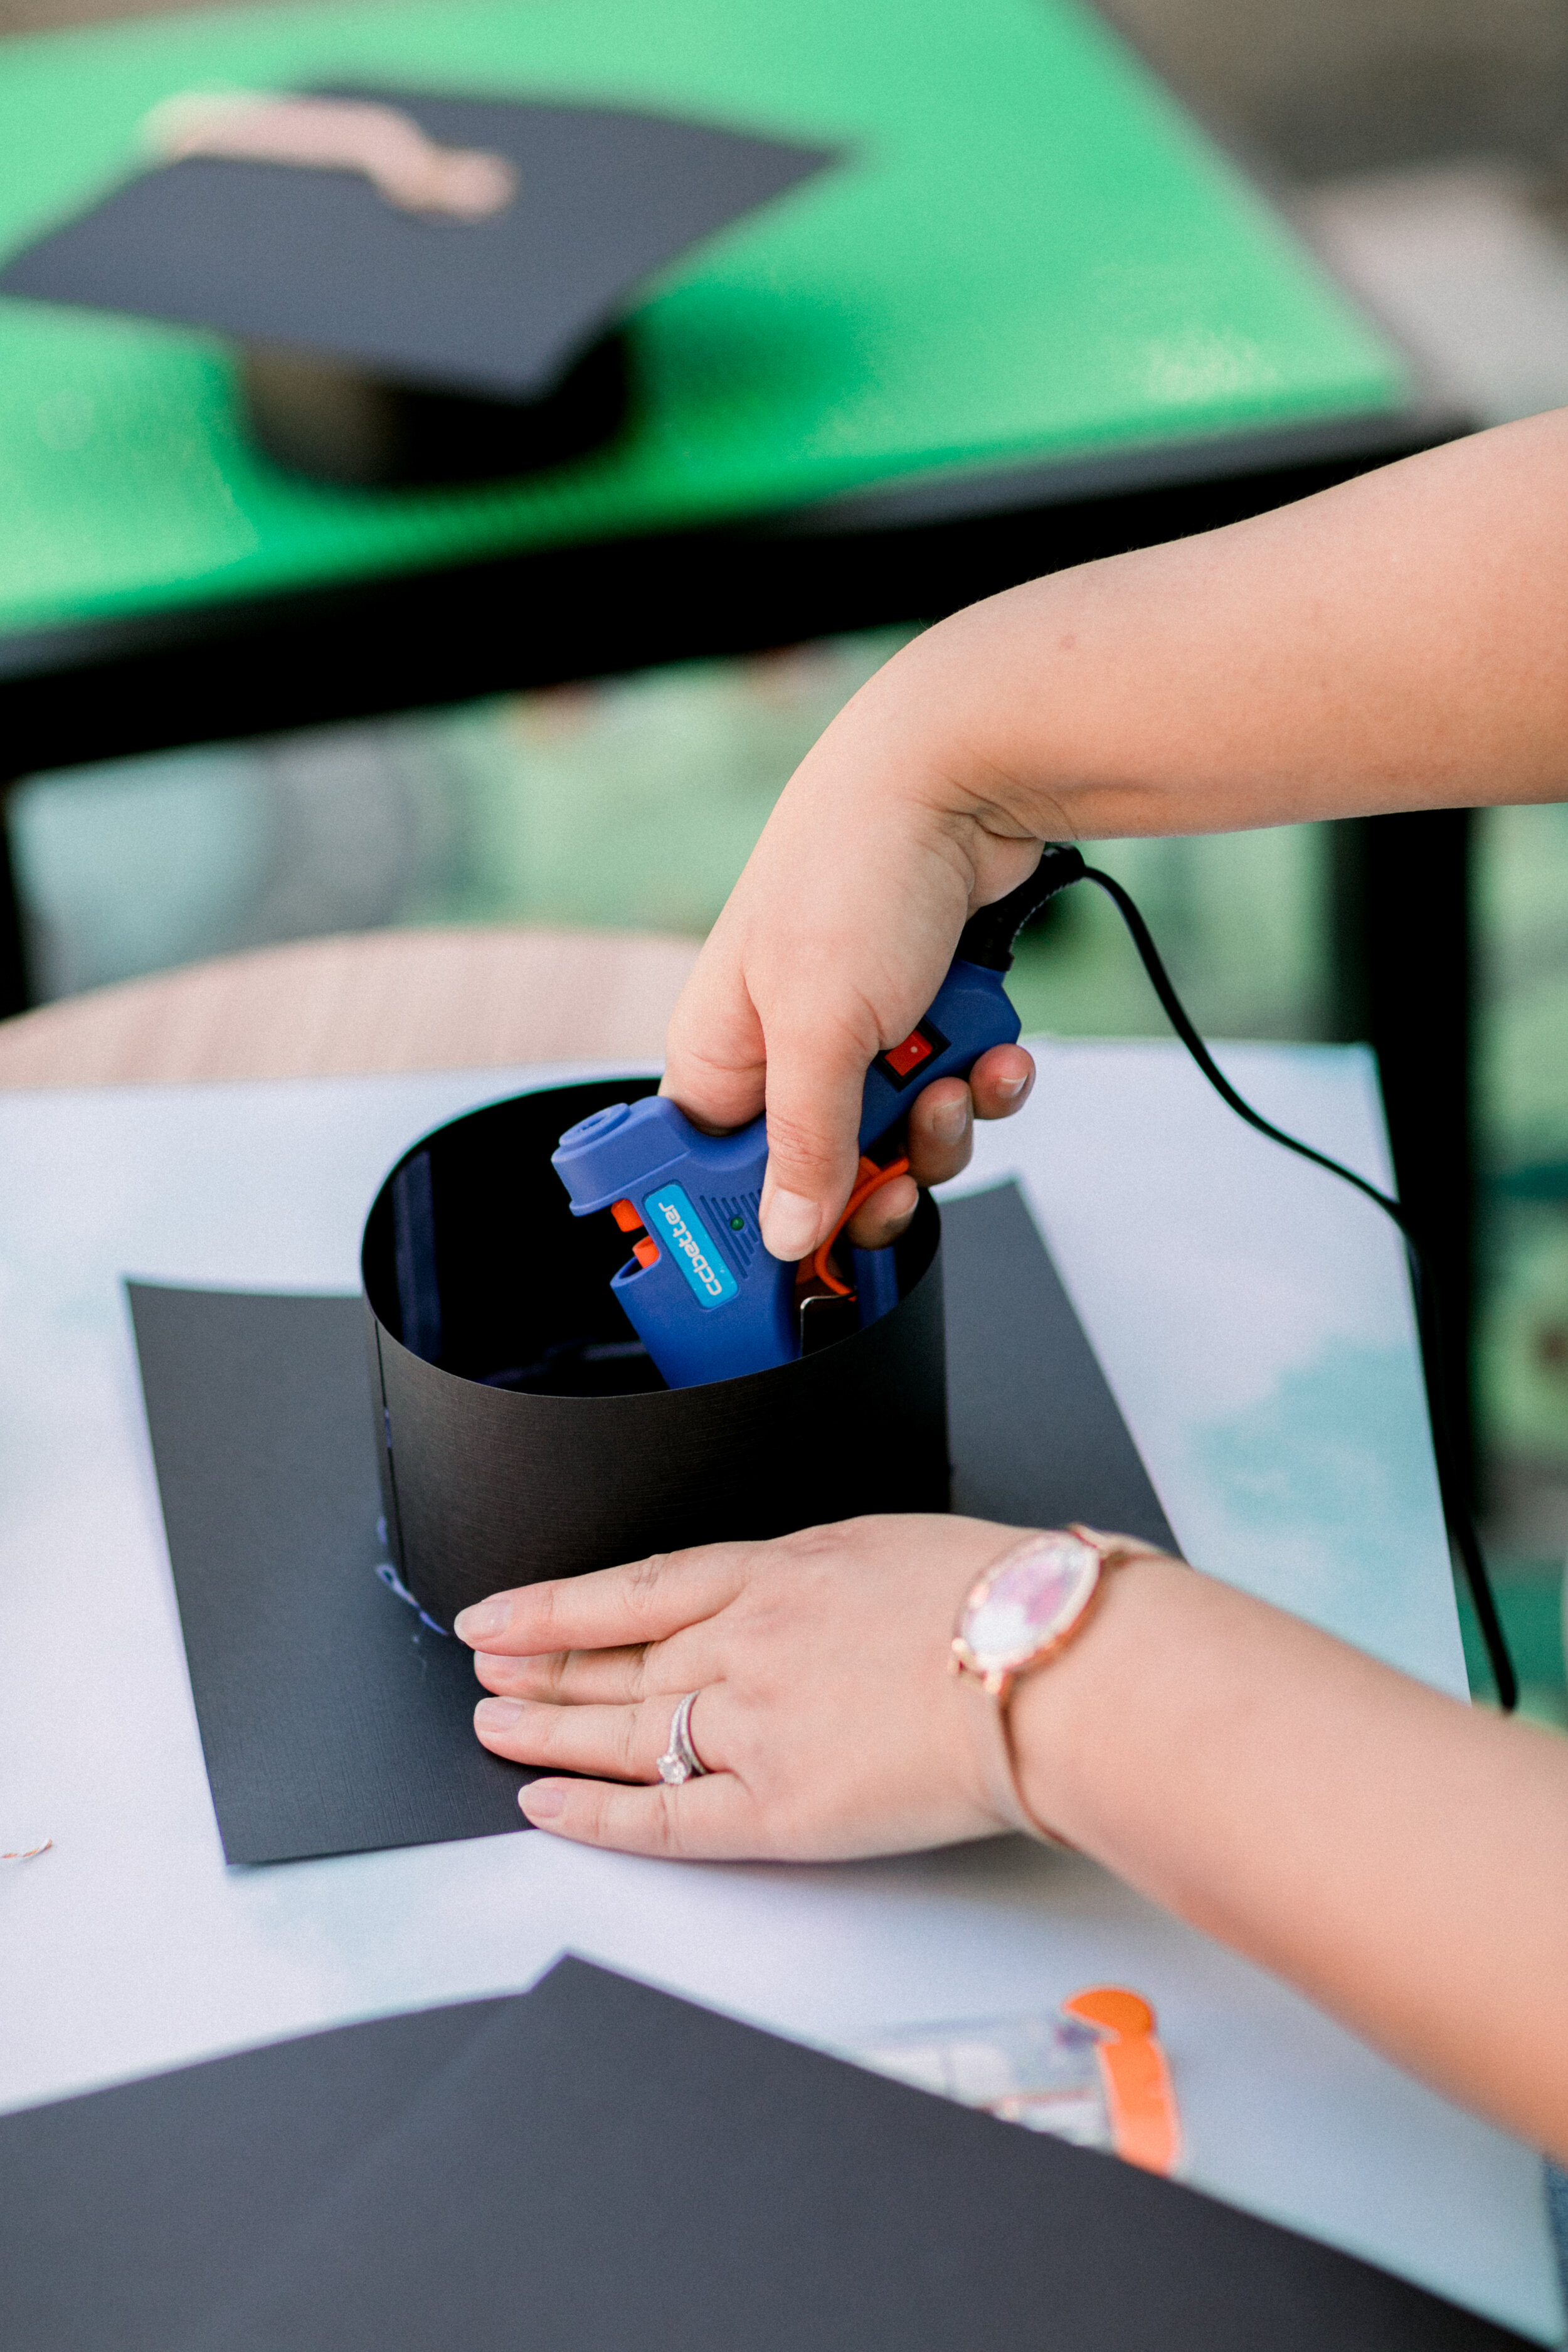
3.     Then, wrap the strip around your child’s head to ensure that you have sized the graduation cap appropriately. Add glue along the shorter edges of your strips and press them together to create a continuous loop. Set aside to dry.

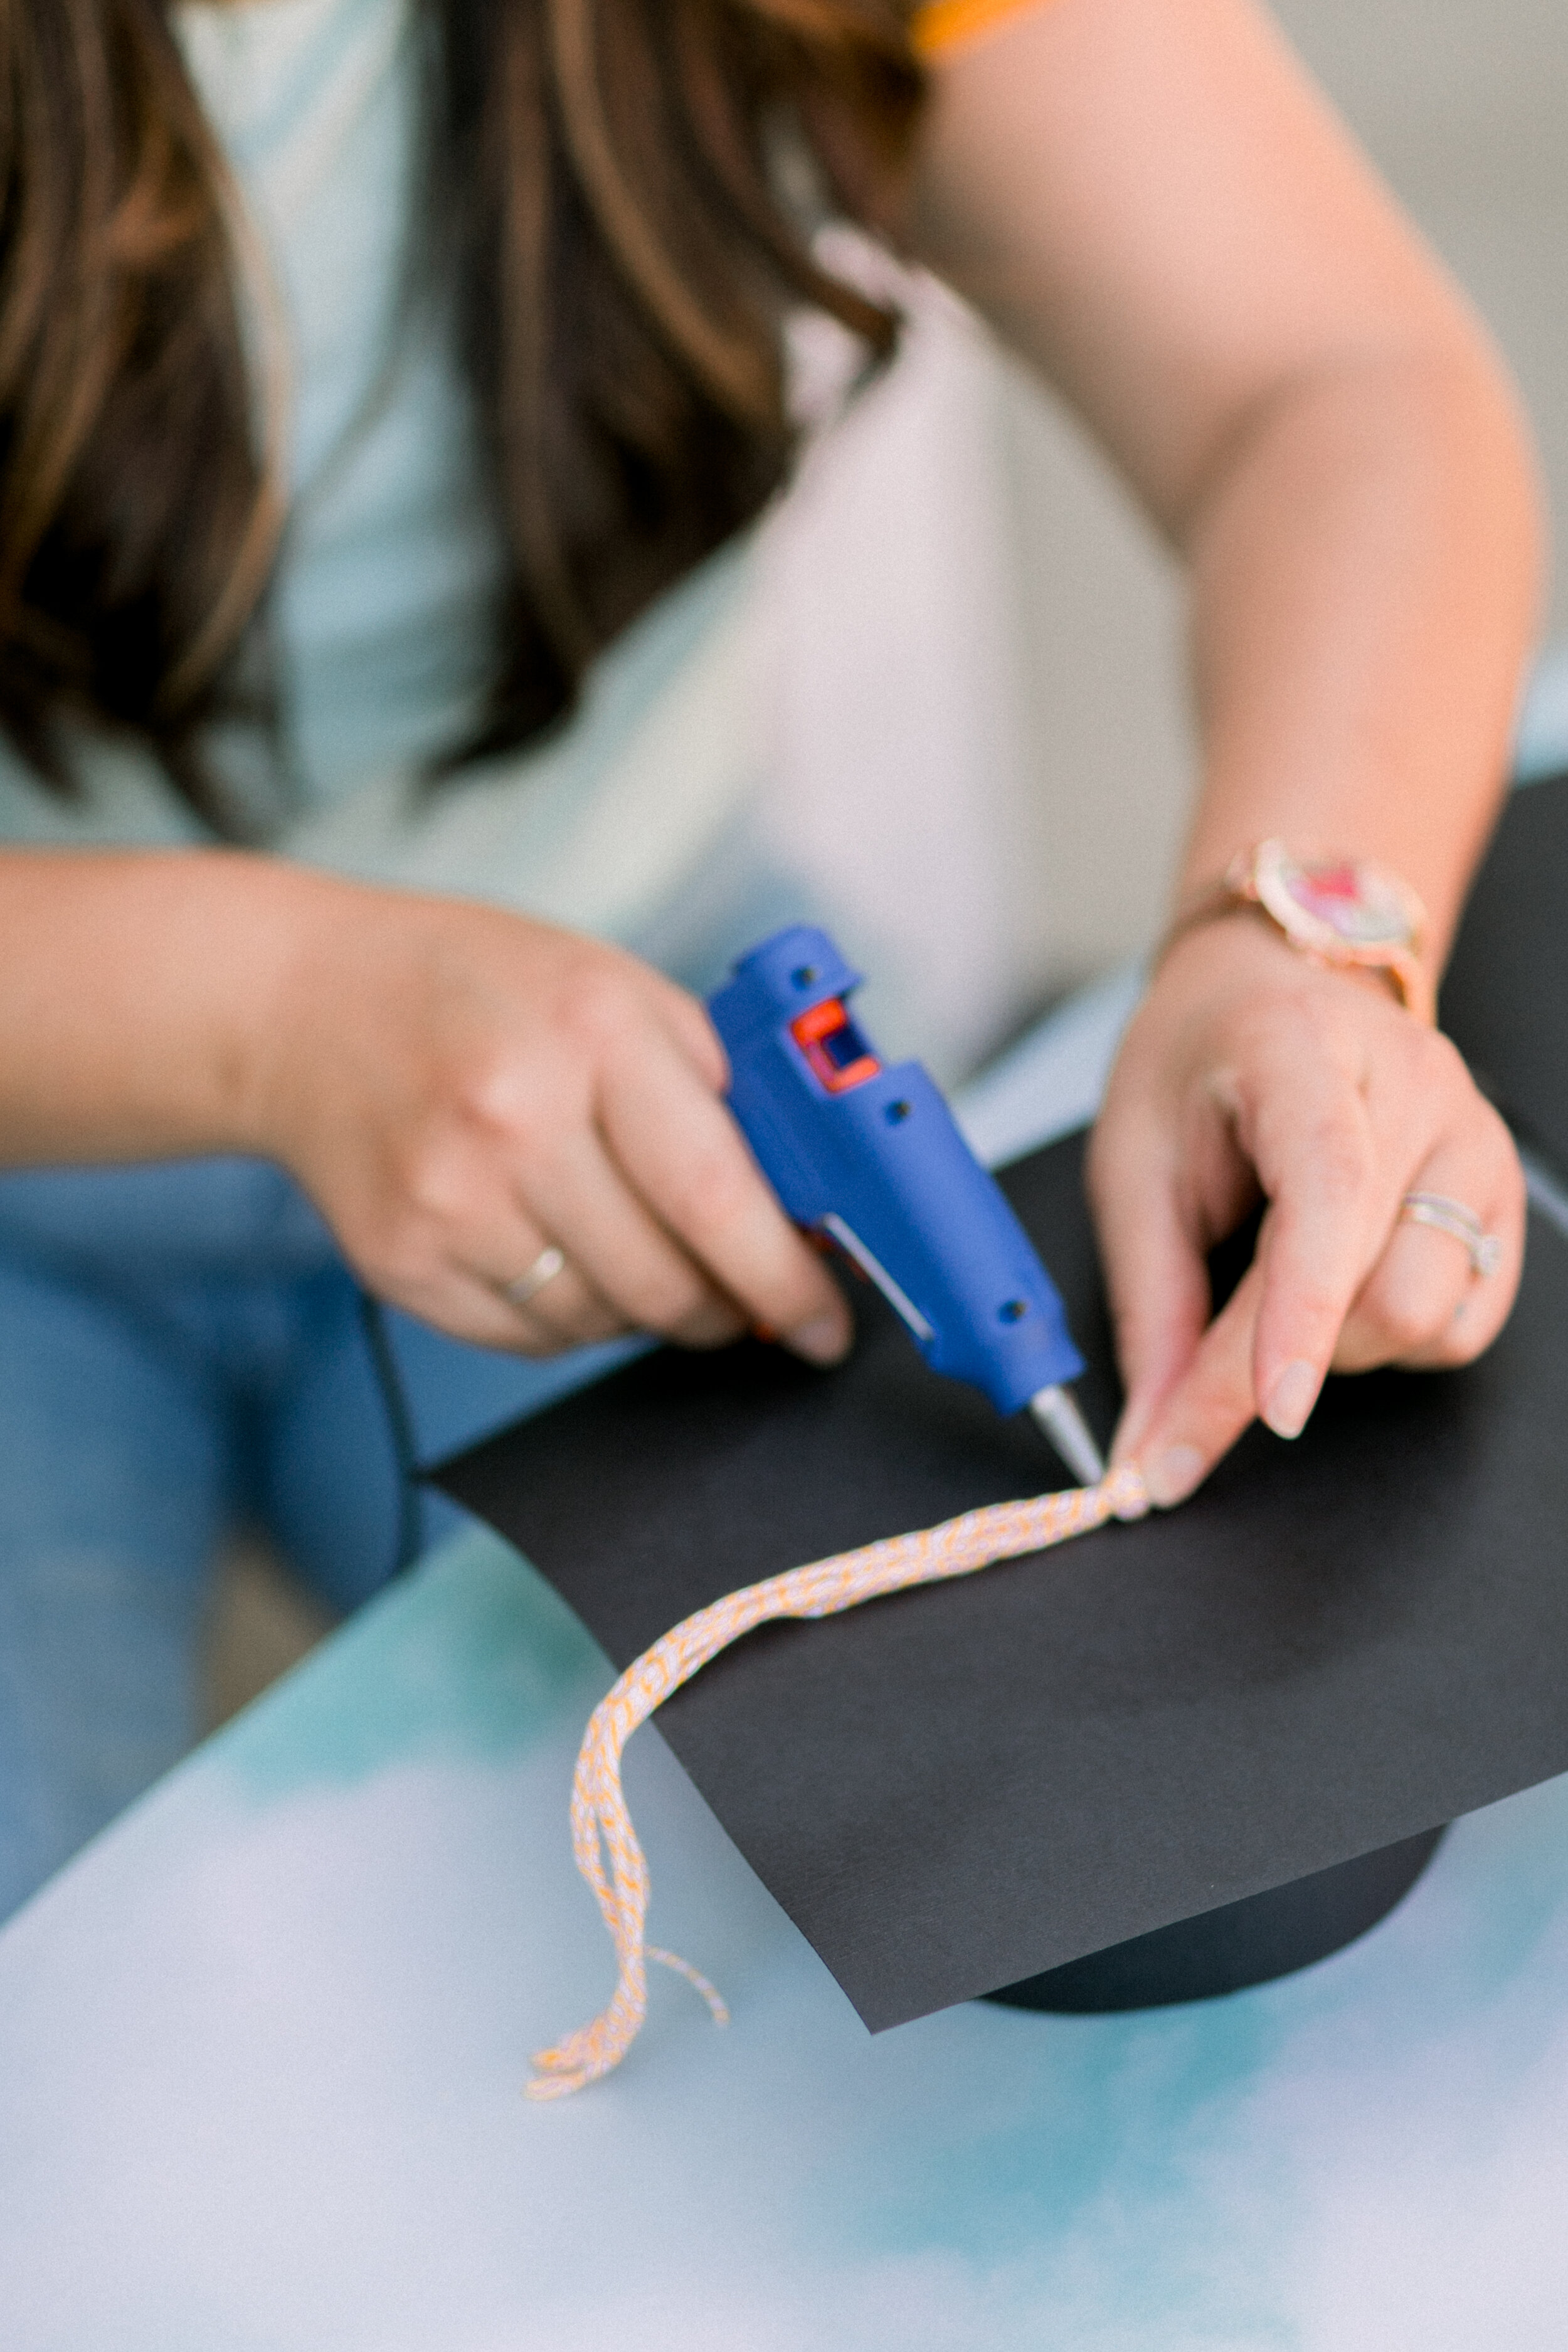
4.     To create the tassel of the graduation cap, simply gather some lengths of yarn or ribbon and tie them into a low knot. Snip and fringe to create the tassels. Add some glue to the end of the tassel and attach it to the center of the cap.

5.     Finally, add a strip of glue along the top rim of the loop you previously set aside to dry. Place the top half of the hat on the loop and press gently. Allow to dry.

6. Once all of your pieces are dry and secure, your child’s graduation cap is ready for their makeshift celebration!

This is a fun way to celebrate your child’s achievements and it will really make them feel special in these trying times.

Written by Head Rascal (Ngoc Nguyen Lay), mother of two rascals, ages 5 and 7. Photos by Simply Adri Photography.


Shop This Post

Balance Game for Toddlers

My friend Katie is an excellent gift giver. This girl has serious skill in finding the perfect gift for kids that parents can also enjoy. For example, when my rascal was 3 years old, she gifted him a child’s size kitchen apron, chef’s hat, and a kid-friendly Sesame Street recipe book. We tried making nearly every recipe while perfecting his kitchen skills and expanding his taste palate.

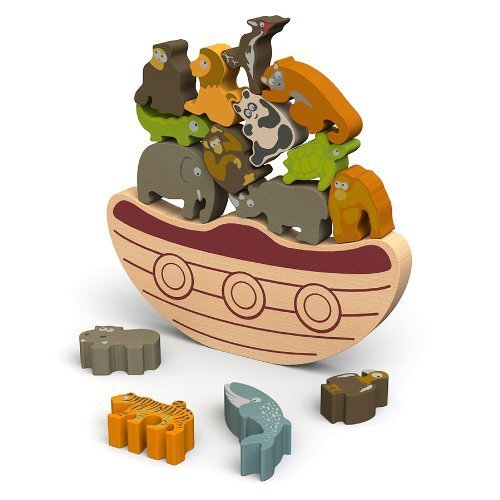
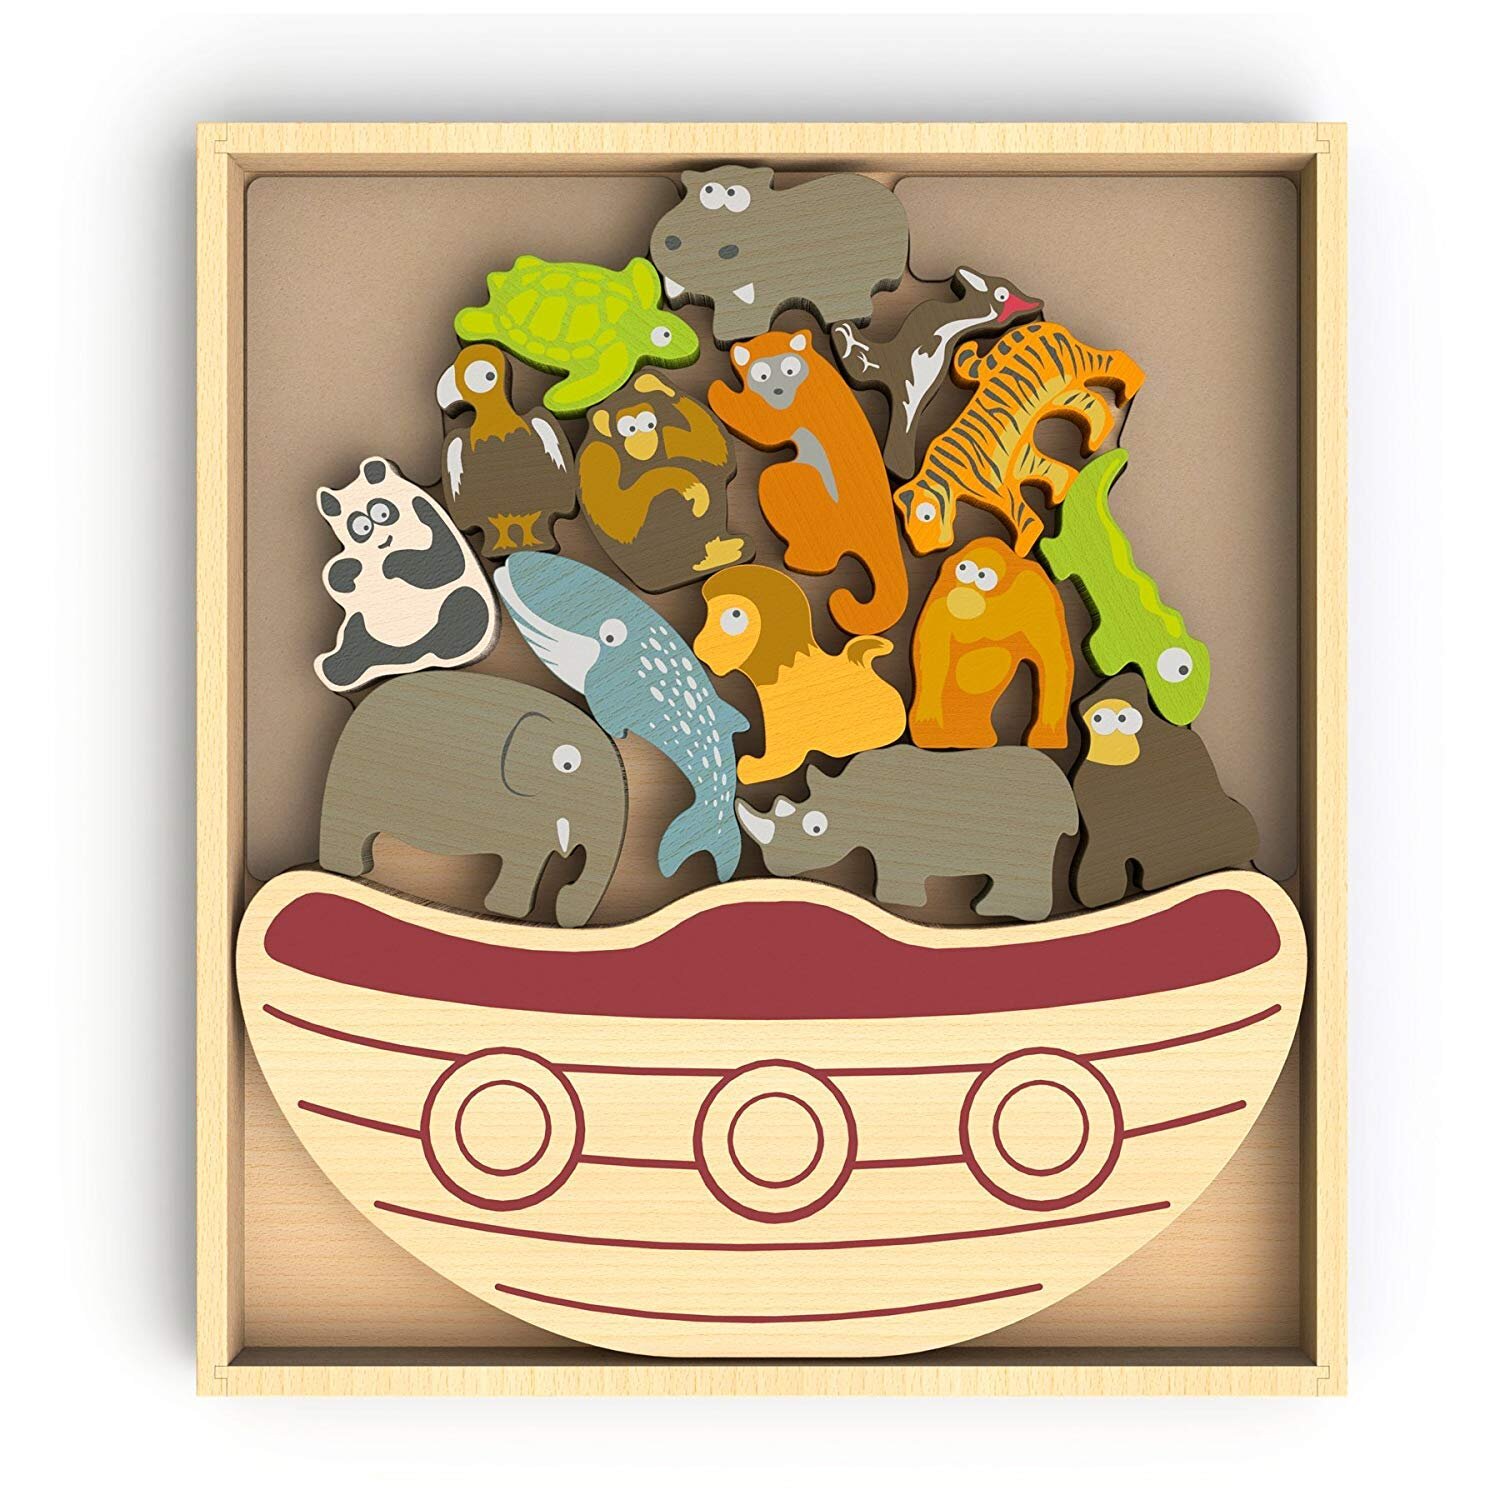
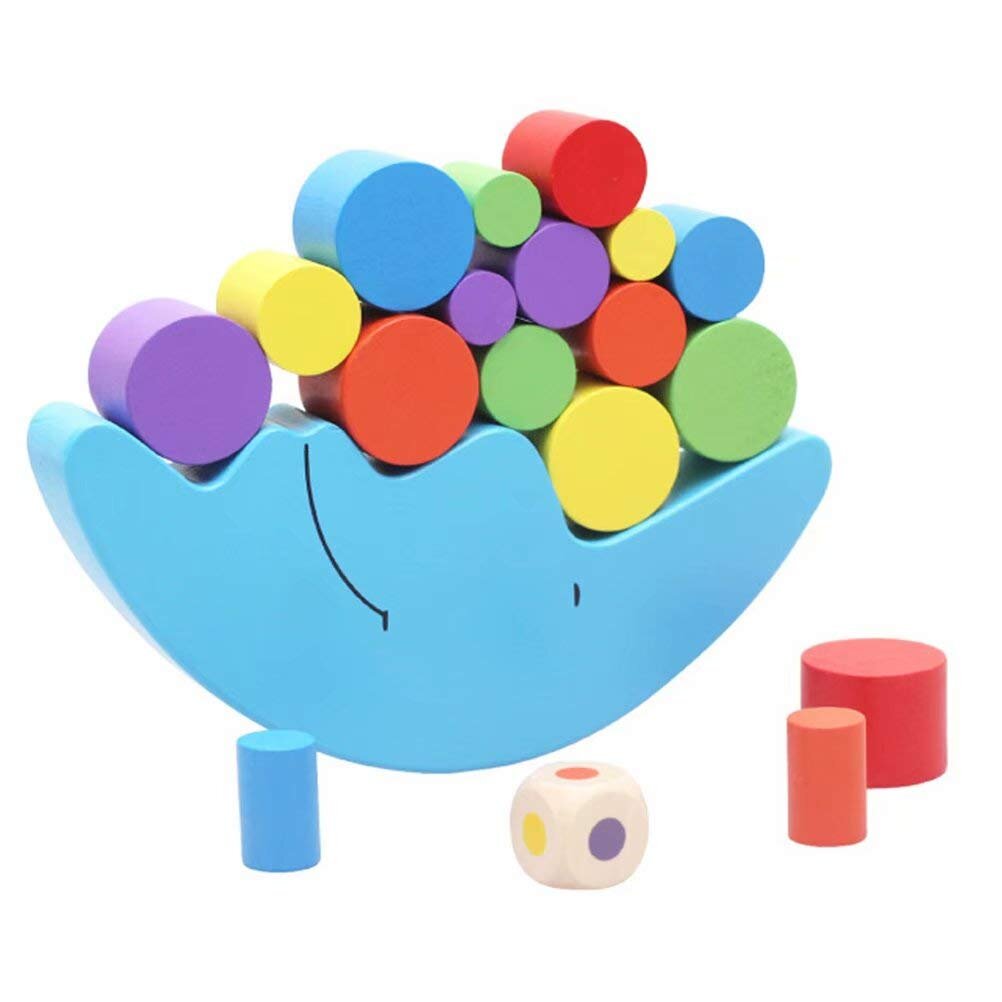
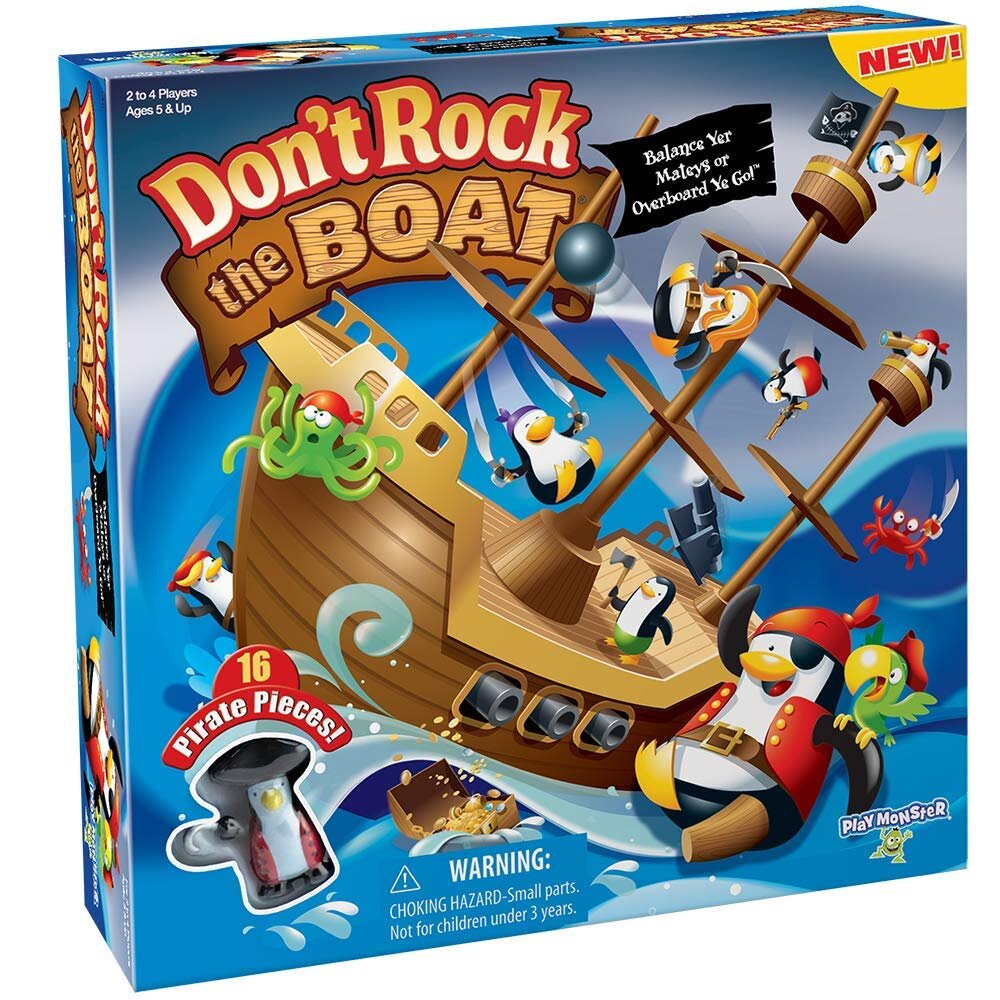
When my rascal turned 4 years old, she gave him this Endangered Animals on a Balance Boat game. The basic goal of the game is to place all the animals on the boat and keep it balanced.

Balance Game for Toddlers

As a parent, I love this game because my son can play it solo or by taking turns with others. When we play it together, it is a good brain game for me to choose and place animals that support or challenge my rascal’s next move.

It promotes patience, dexterity, and spatial ability as he figures out which animals to stack and how to make the boat balance.

The game can also be a great learning tool. We discuss the various animals and their traits while playing, and delve into the concept of endangered species. This often leads to larger conversations about the environment and ecosystems in general.

The animal pieces are also great for imaginative play in other ways. My younger rascal isn’t interested in balancing the boat, but he loves making the tiger roar and the whale swim.

In the spirit of environmental awareness, the manufacturer, BeginAgain, is building a greener game world using plant based materials rather than plastic.

Balance Game for Toddlers

Whether you are looking to amplify your own toy collection or give a gift, this game is a great choice.

Played and loved by Brandi Stanton, mama to 2 rascals aged 2 and 4.


Shop This Post

Chapter Books for Kids

Chapter Books for Kids and Parents

I have been reading baby and toddler books every day since the start of 2016. That’s a lot of reading, right? Go me! However, that means I have read a lot of books that are just not that interesting to an adult. Recently, I decided it was time to step into the vast and wild world of chapter books with my 4 year old. I think he is just as excited as I am to transition from books with many pictures to books filled with words (and a few pictures because, again, he is only 4 years old).

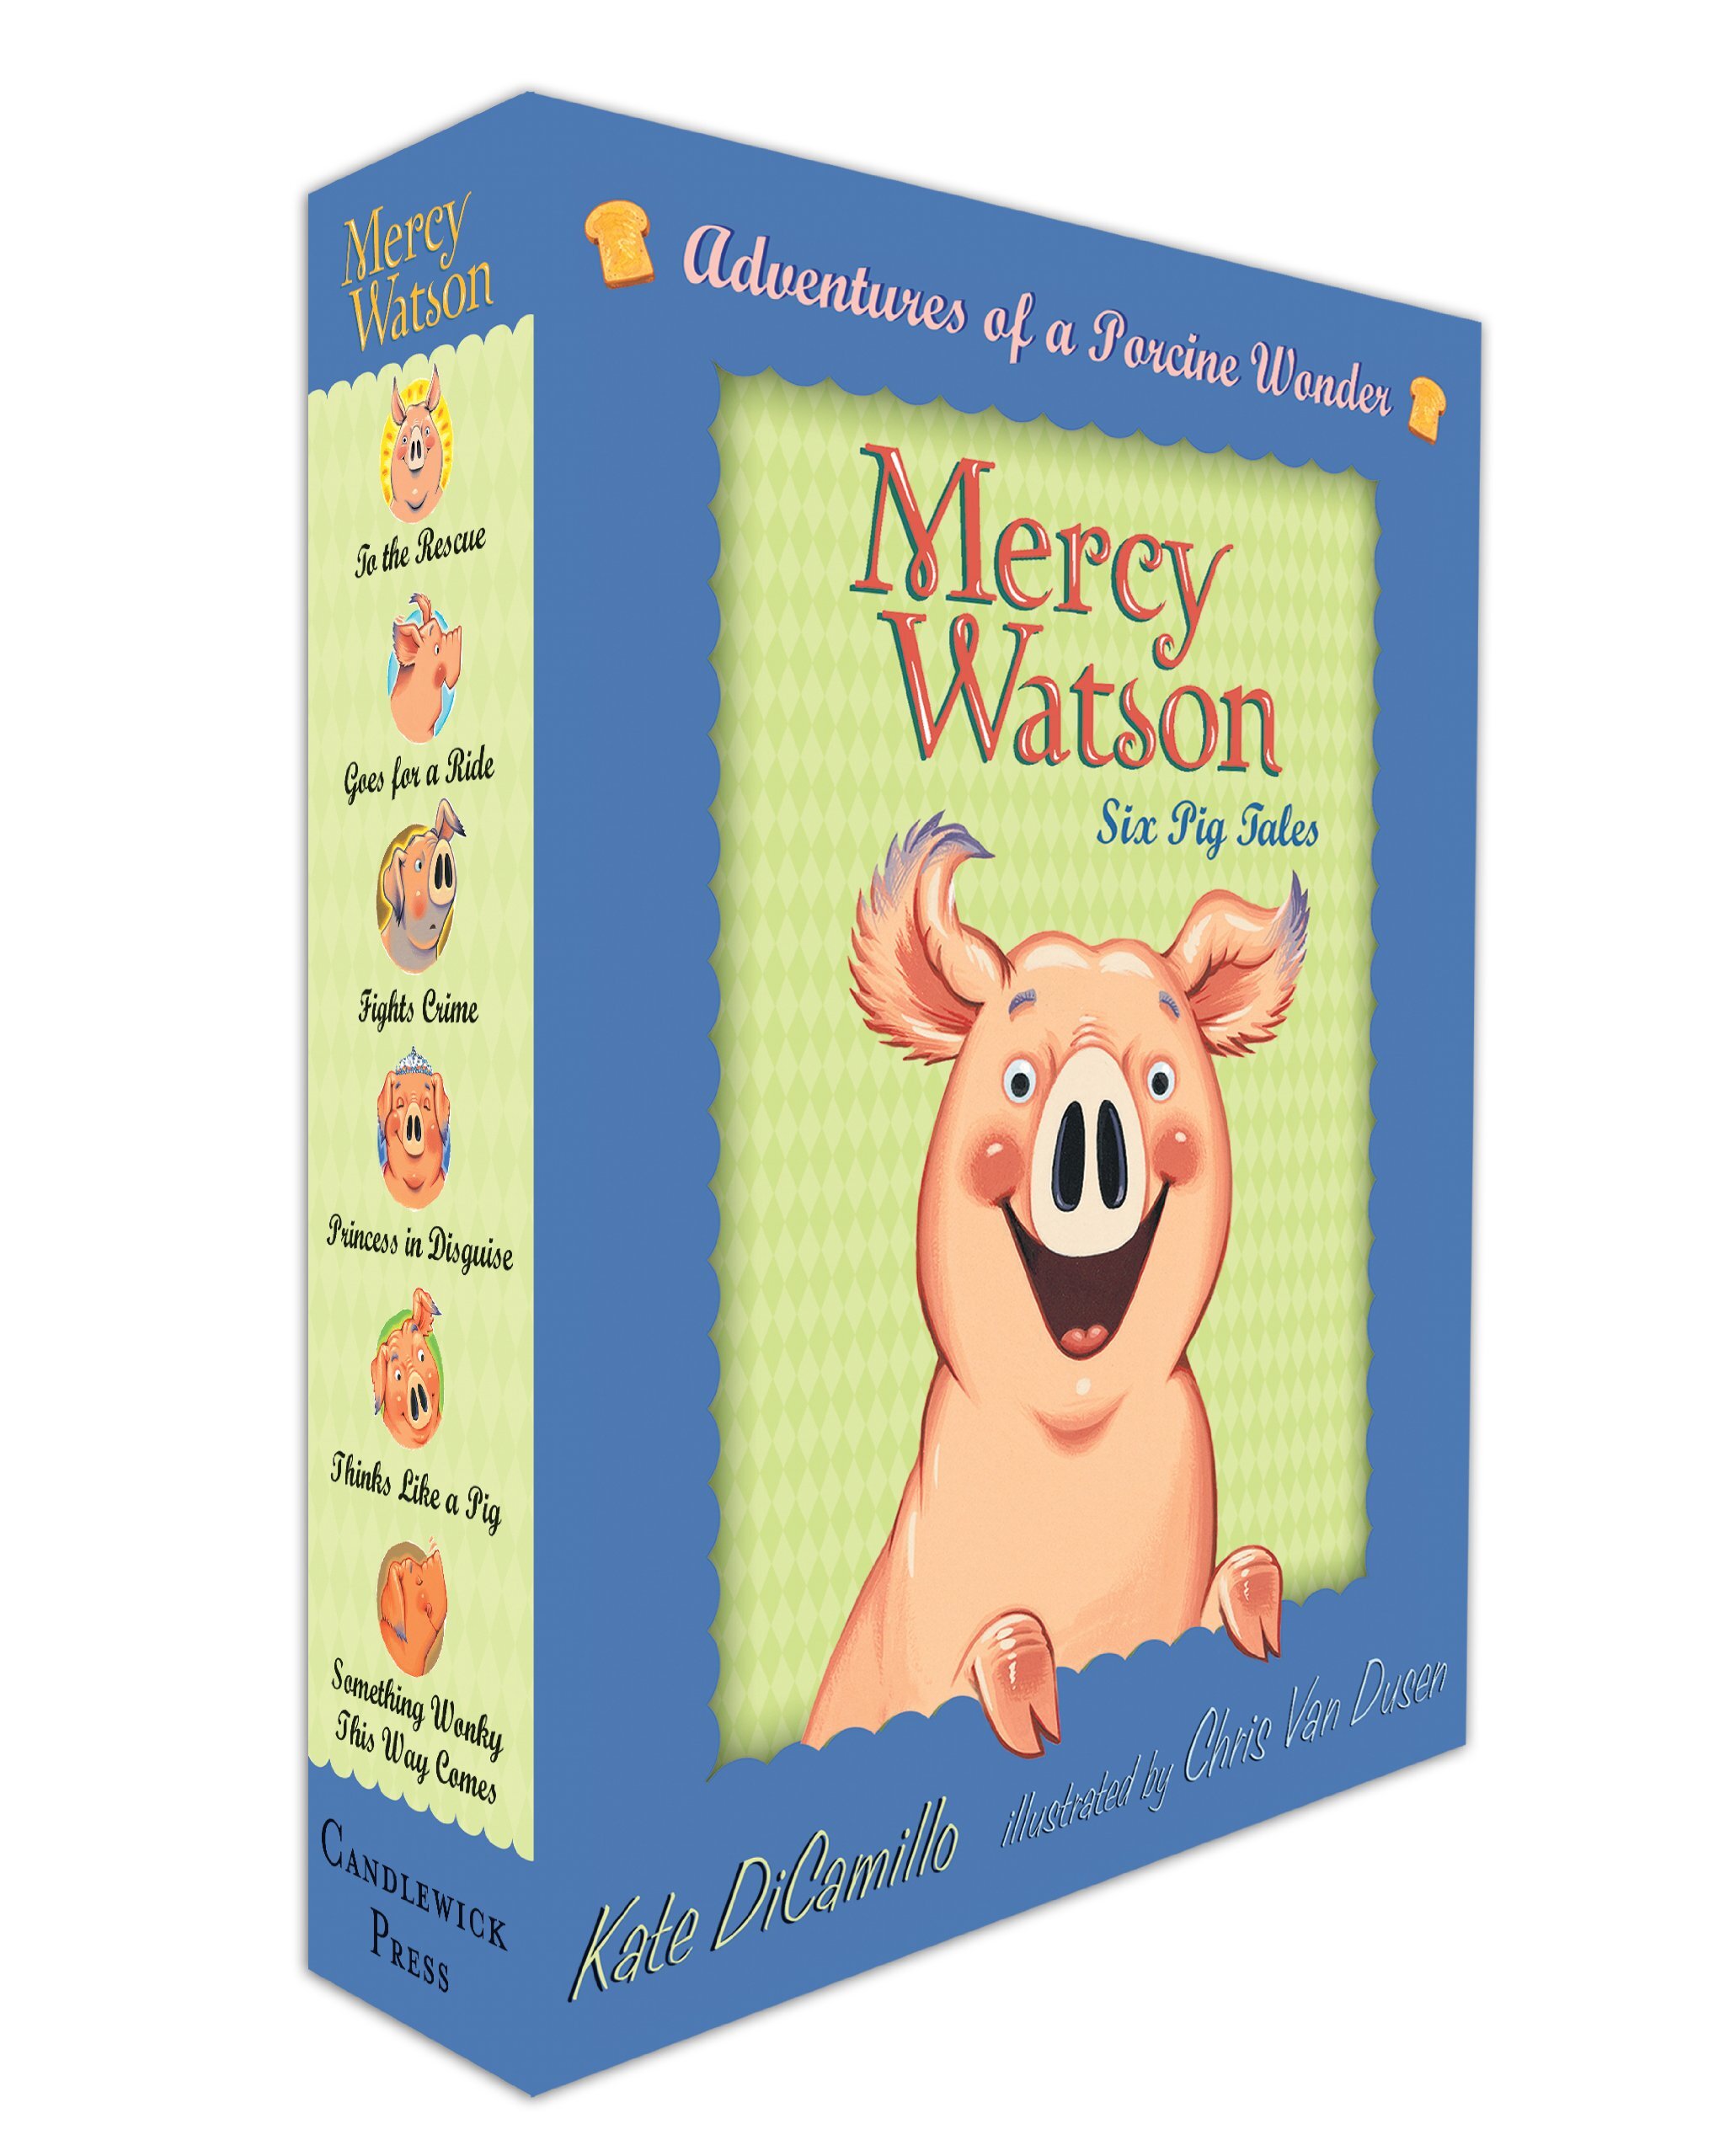
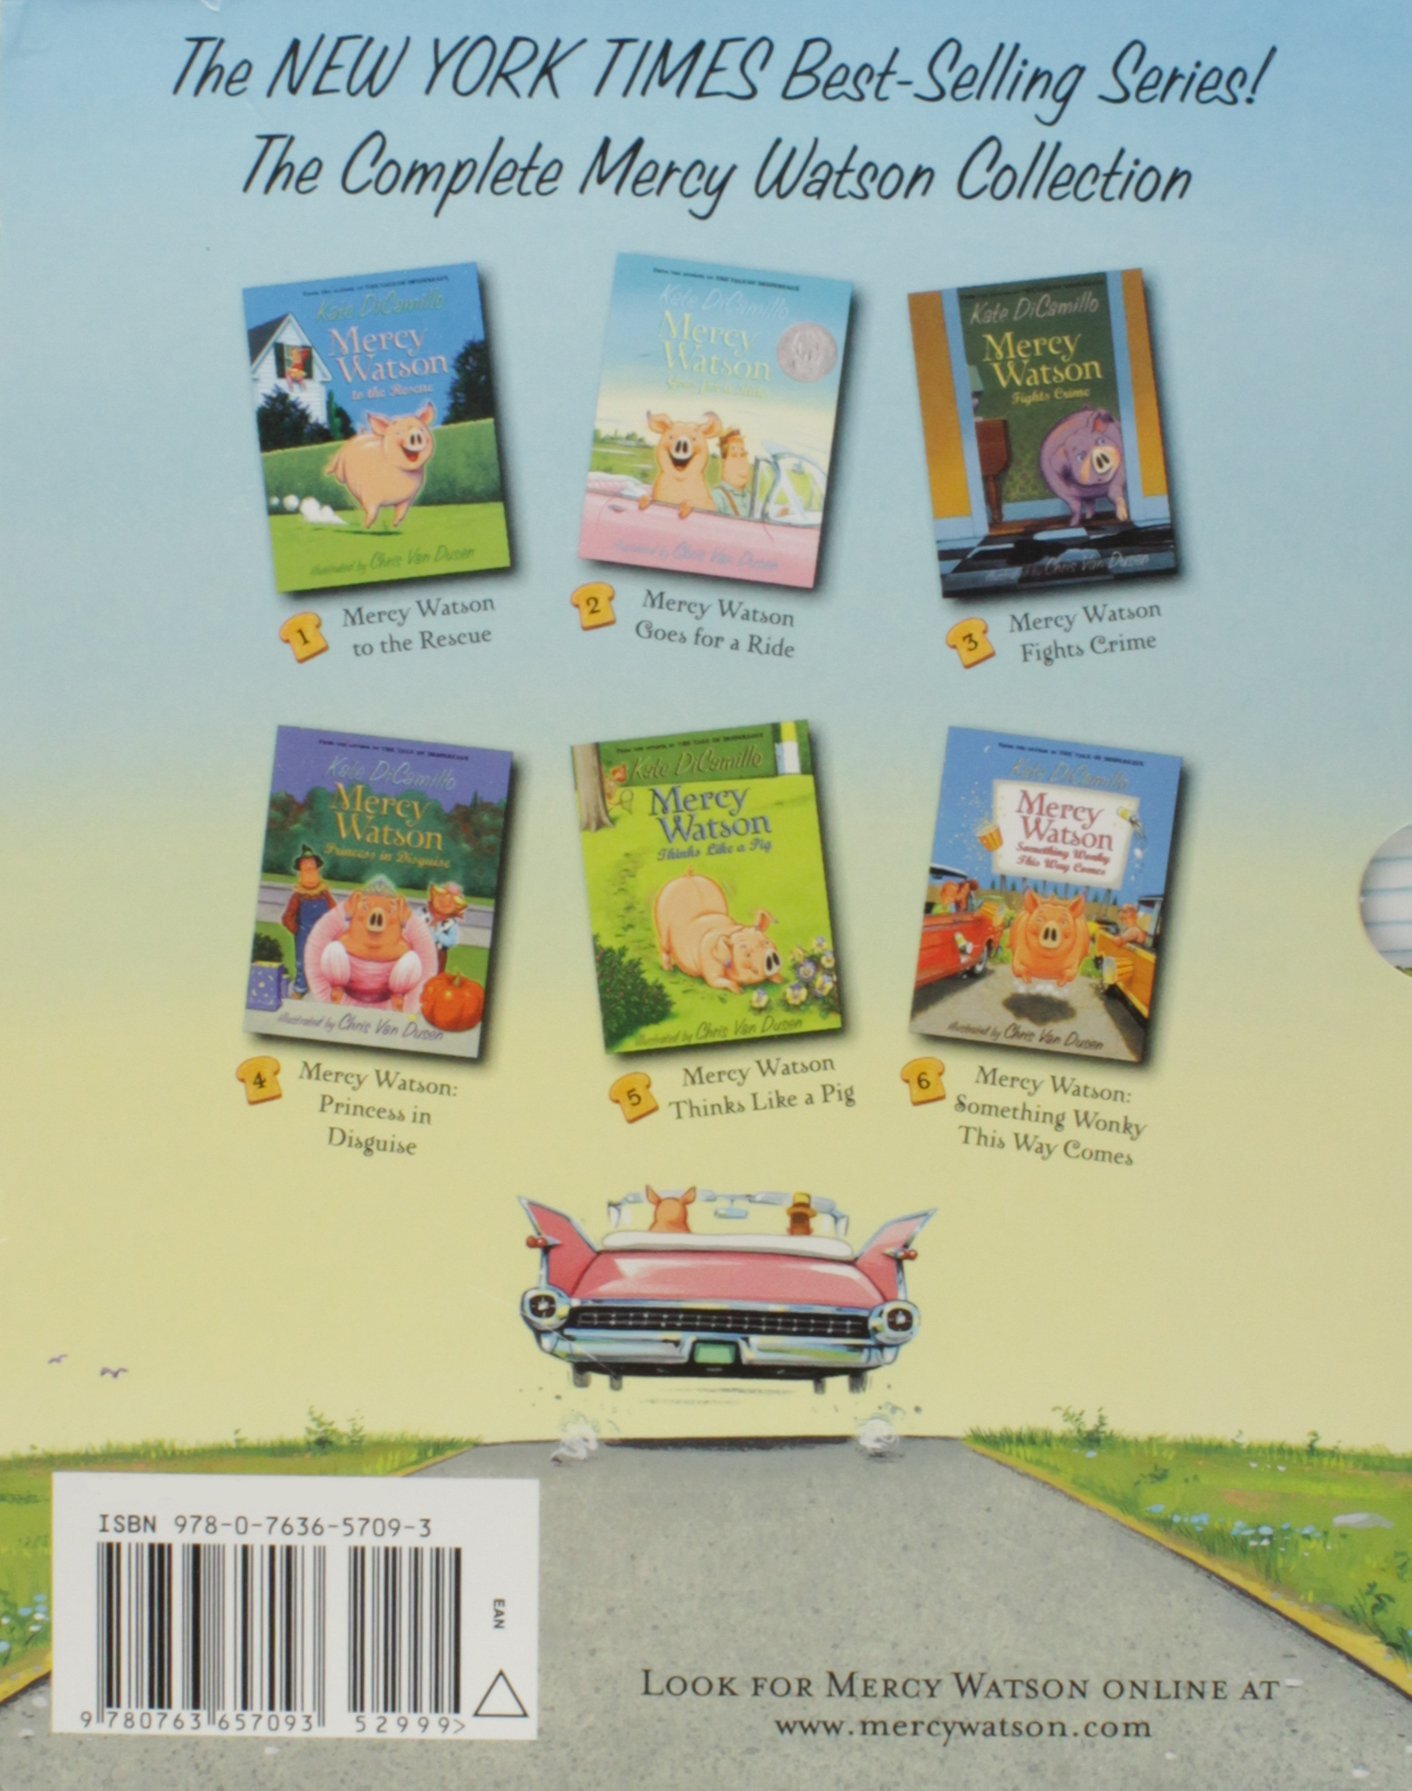
We began our journey into chapter books with the Mercy Watson series written by the acclaimed author Kate DiCamillo and illustrated by the very talented Christ Van Dusen. (You can order the 6 book series from Amazon.)

Mercy Watson is an easy-to-love pig (yes, an actual pig) that lives with Mr. and Mrs. Watson on Deckawoo Drive. Unknowingly and without any ill-intention, Mercy causes havoc throughout her neighborhood because, well, she is a pig living among humans. The vocabulary is more advanced than typical children’s books, yet easily understood by a 4 year old. The pictures are bright and brilliant. The characters are varied and relatable. With 6 books in this series, we have ample opportunity to learn about Mercy and her friends.

Chapter Books for Kids and Parents

These books provide an added bonus - as an ex-teacher, I am excited to teach story elements and reading strategies to my 4 year old. We discuss the setting in each story, both by the illustrations in the book and by the images created in our mind as the words fill our brain. We talk about how and why the characters develop and behave the way they do. As the story progresses, we review important events and sequence them (this is the plot of the story). We also make predictions about what will happen next when we have to stop in the middle of the book. We retell the story to Dad when he gets home. My rascal even makes connections to parts of the story.

If you haven’t yet done so, consider moving forward into chapter books with your little rascals too!

Written by Brandi Stanton, mom of 2 rascals, ages 2 and 4.


Shop This Post

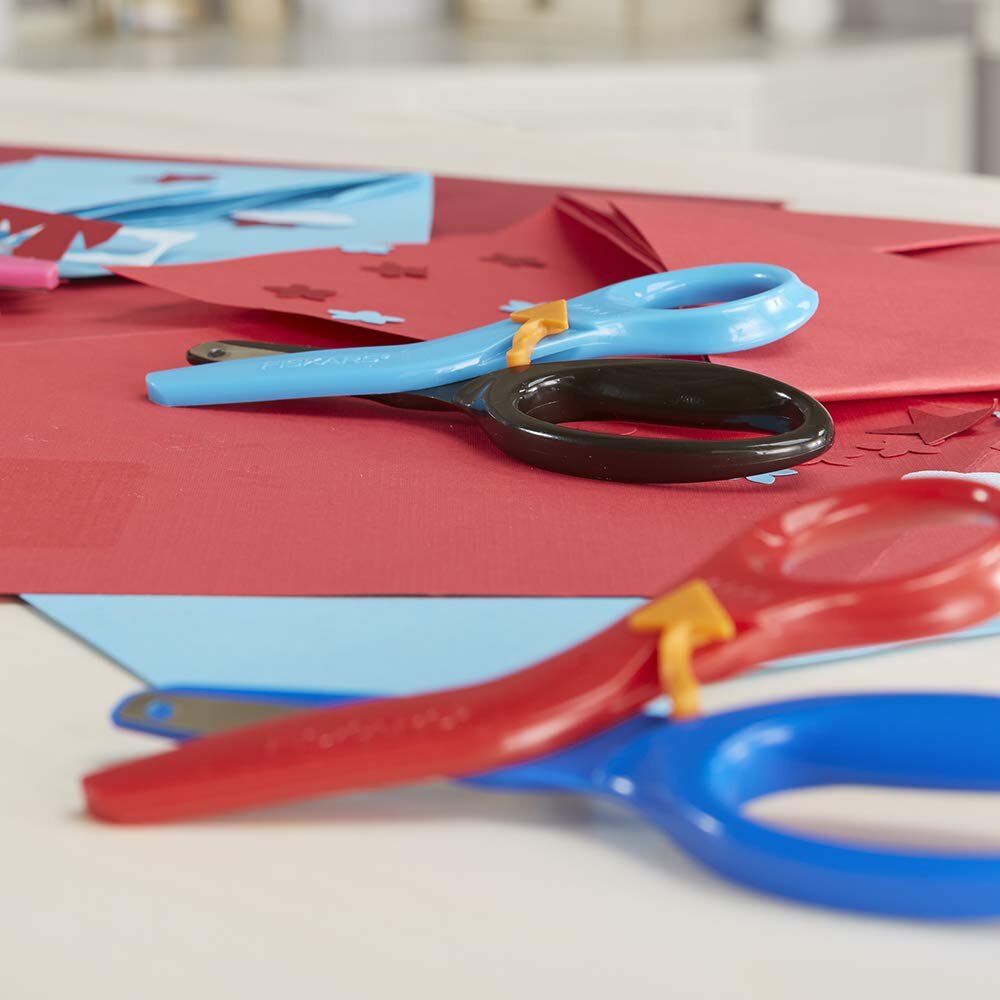
Product Review: Preschool Training Scissors

Teaching children to use scissors can be a challenge. There could be blood… scars… severed fingers…wait, just kidding!

But really, scissor skills are not easy for little hands that may not have the strength to open and close the grip, the gross motor skills to hold the scissors at the right angle to cut, or the coordination to control the paper with one hand and the scissors with the other. Scissors can be “Disaster Central” with your little one, but they don’t have to be. At least, not when you have the right tools.

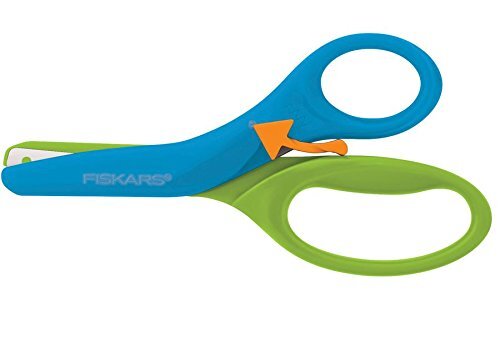
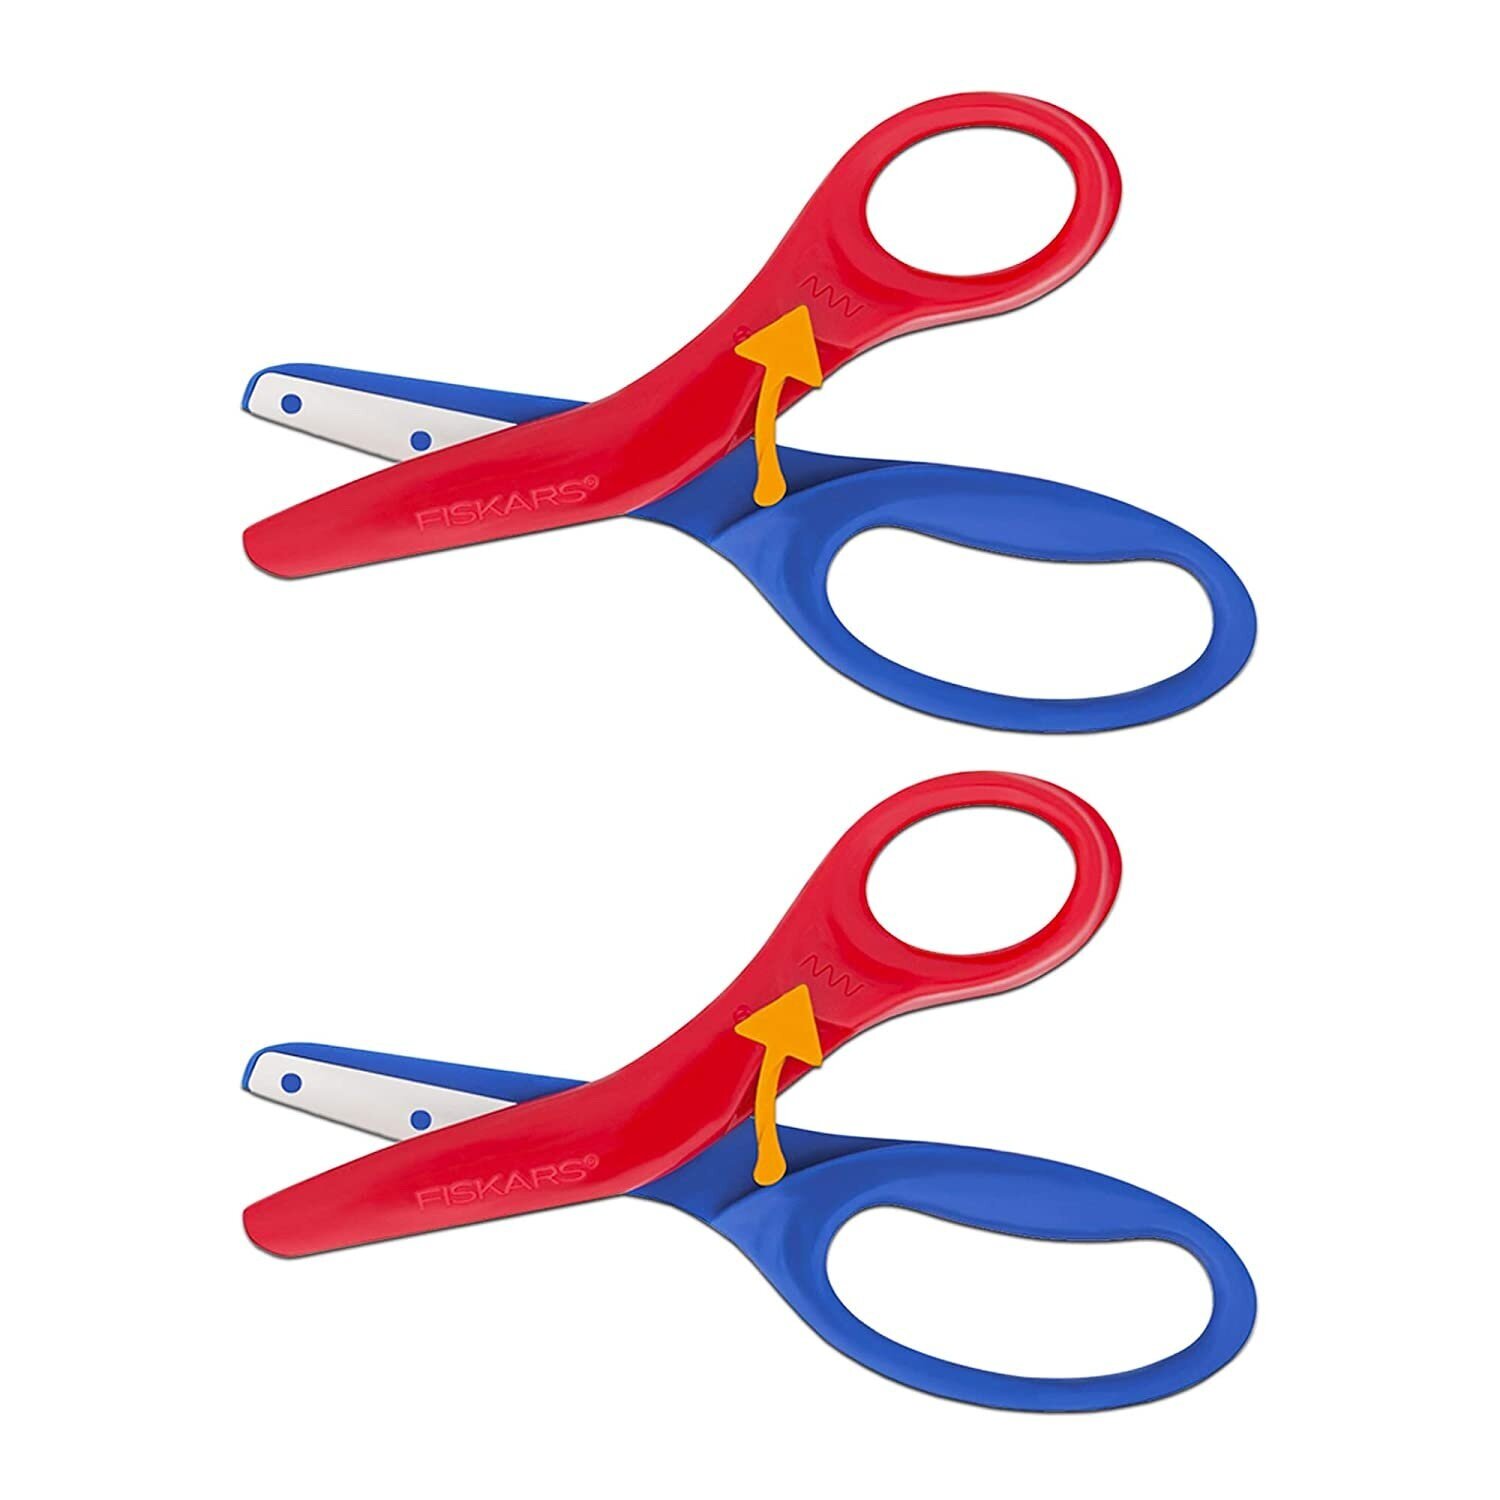
When you’re ready for scissors, I recommend Fiskars Pre-School Training Scissors (found on Amazon). Not only are they super inexpensive, but they perform perfectly.

When set in the “training” mode, the scissors automatically retract back to the open position. All your little one has to do is close the scissors to cut and they automatically spring back open. This feature helps train the hand muscles to maneuver the open-close skill, helping your rascals master scissors!

Don’t throw out these scissors when your little one becomes competent. Simply retract the arrow to the starting position and you have standard scissors anyone can use. My youngest rascal, just shy of 2.5 years old, took to these scissors immediately. The auto-open function is genius!

If your little one is not yet ready for scissors, start by letting them tear paper. It is just as easy as it sounds! I saved tissue paper from birthday gifts and junk mail for this task (I think tissue paper tears a little easier than regular paper, so start there and then build up). Let your child tear and rip up that paper as they develop the muscle strength in their hands and arms. Then, when they are ready, you can introduce the perfect training scissors.

Tried and tested by Brandi Stanton, mother of 2 rascals, ages 2 and 4.


Shop This Post

Thoughts on Parenthood

Recently, I started writing letters to my boys for them to open when they turn 18. It really got me thinking about parenthood, my rascals and the overwhelming feeling that I am being pushed and pulled in all different directions. I know I’m not the only parent to feel like this. Anyone else felt this way, especially now? Share if you relate. Your feelings are valid!

Thoughts on Parenthood

Written by Head Rascal (Ngoc Nguyen Lay), mother of two rascals, ages 5 and 7.
Abstract Art for Kids

Abstract+Art+for+Kids+on+Hello+Rascal+Kids.+Family+Lifestyle+website+for+parents+and+kids.+Arts+ideas+for+kids.jpg

Art is a favorite hobby in our house. We maintain a vast collection of art supplies all day, every day: stickers, stamps, markers, crayons, water colors, washable paint, scissors, glue, tissue paper, coloring books, sidewalk chalk, construction paper, and activity books, just to name a few!

Sometimes our art activities are super simple - like putting stickers on piece of construction paper or using stamps on white paper. I assure you that those activities are great for letting your kids express their creativity and while honing their fine motor skills, even though they seem “easy.”

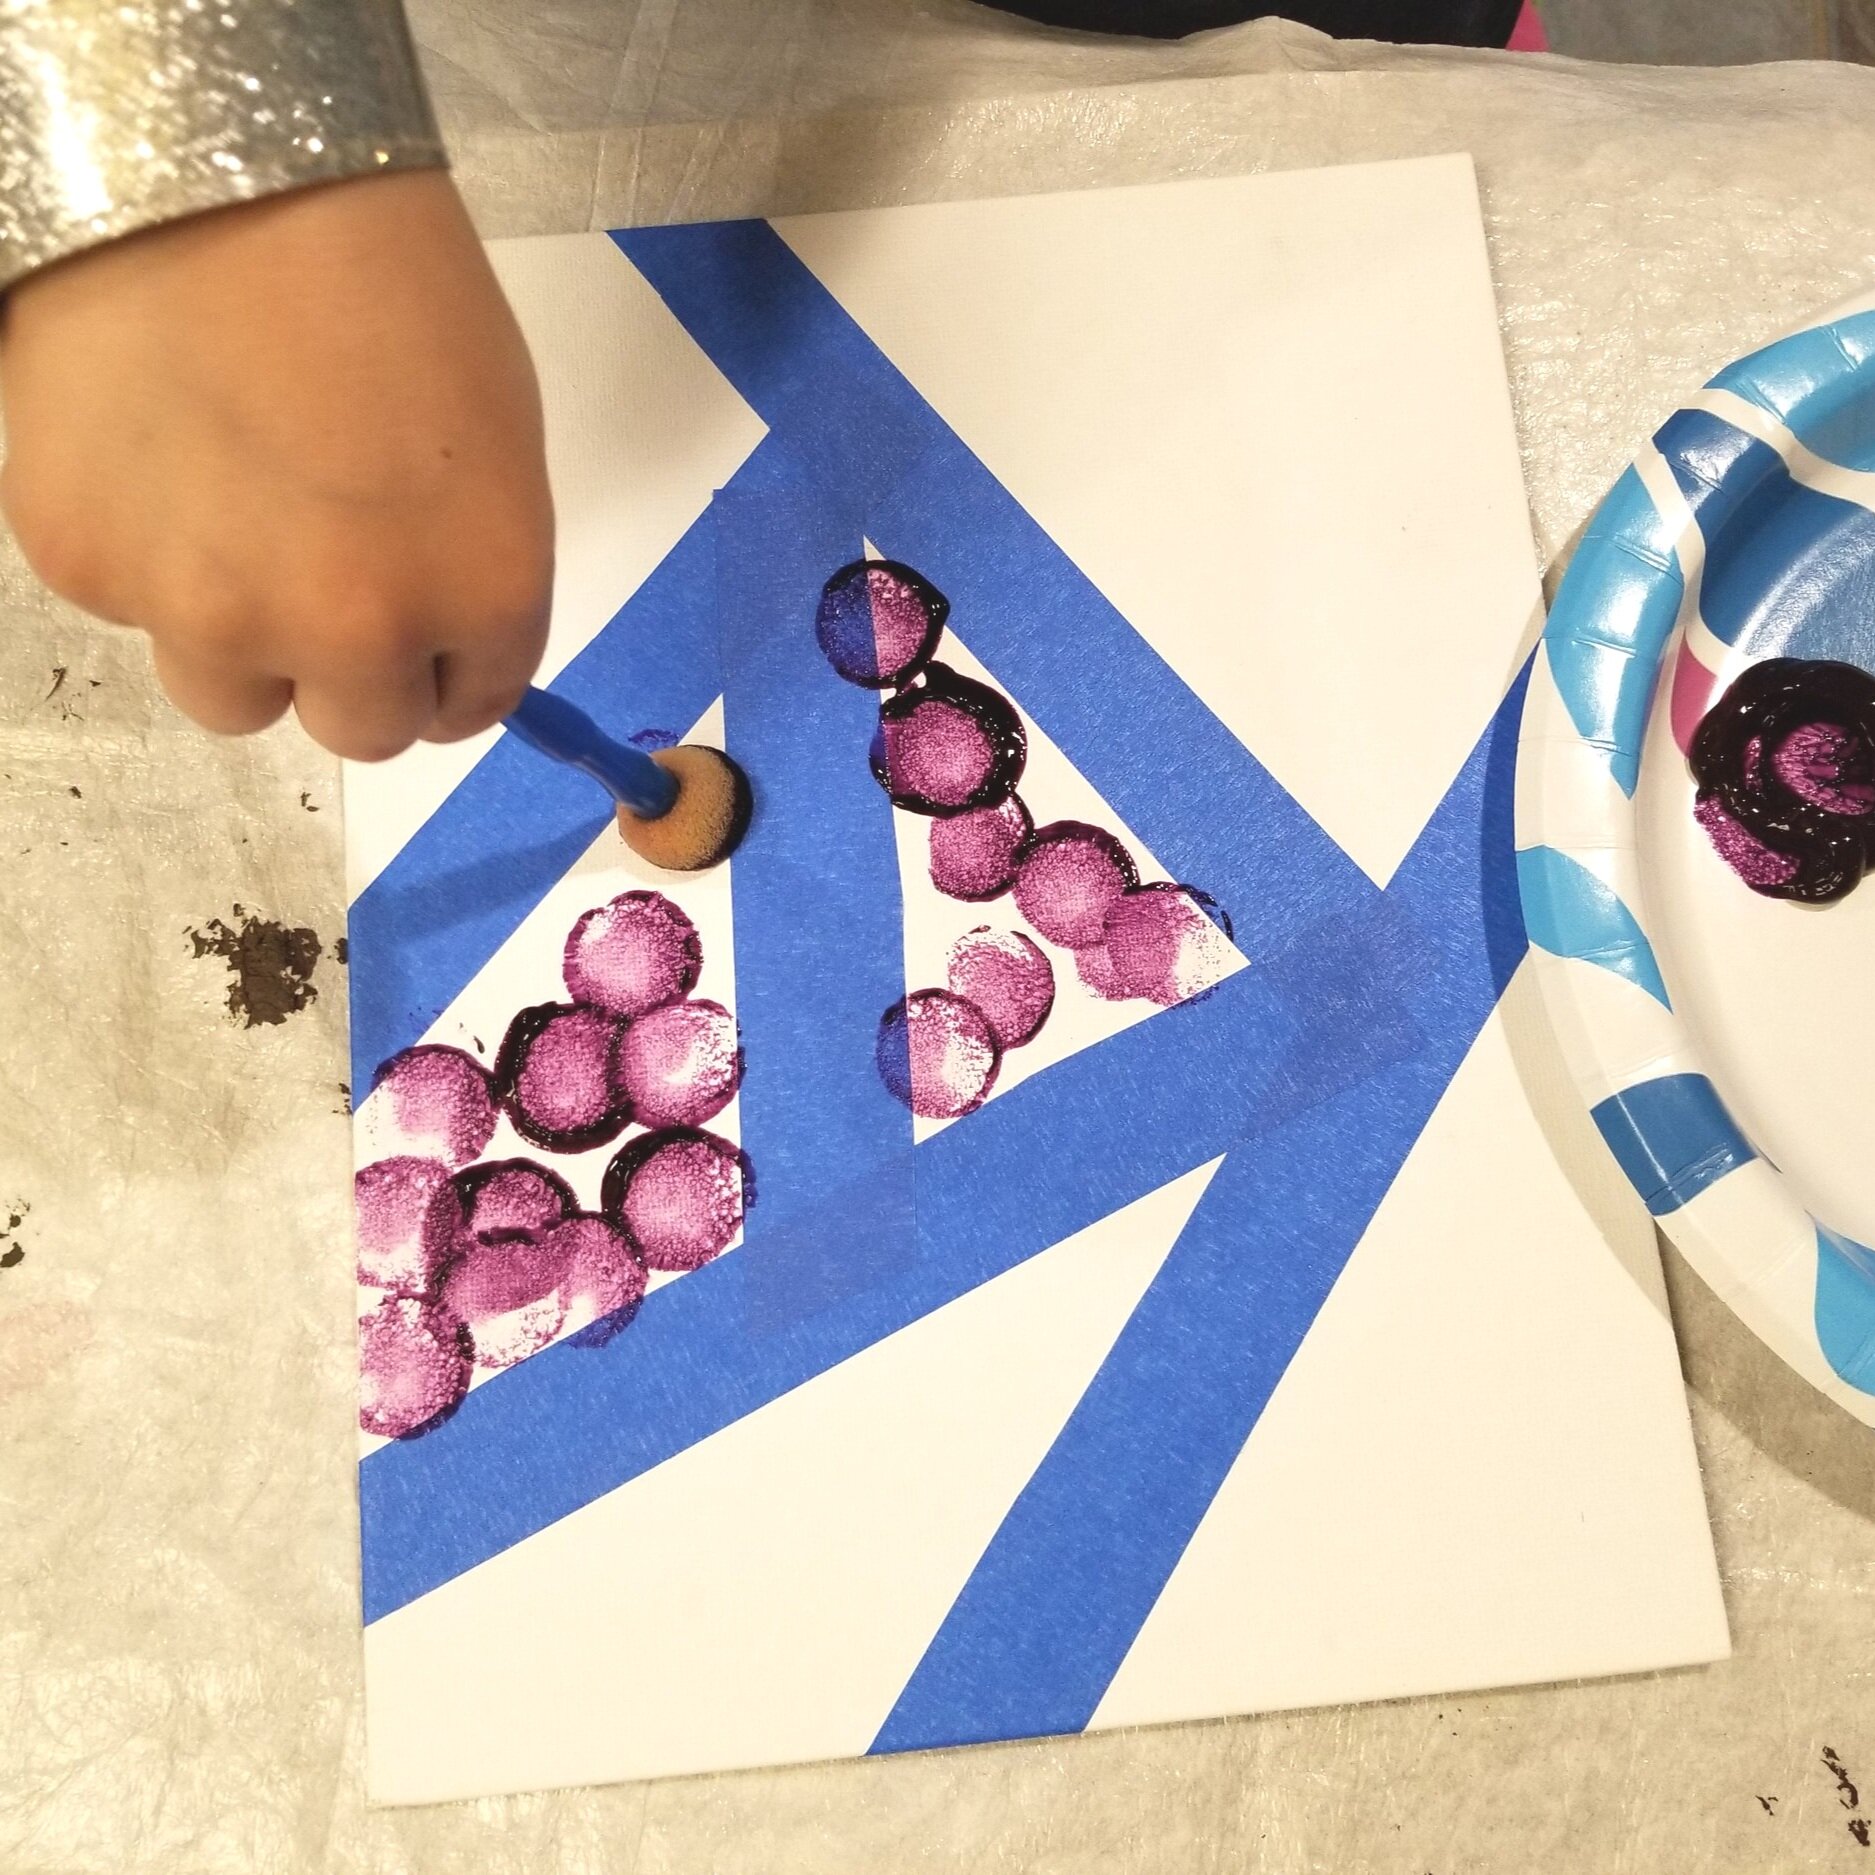
Other times we get really invested in our art creations. Today, my rascals learned a little bit about abstract art while also dabbling in sponge art, primary colors, secondary colors, geometric shapes, and empty space.

To begin, we grabbed small canvases and blue painters tape. Using their small fingers and practicing dexterity, the rascals placed strips of tape across the canvas in a criss-cross fashion. This part of the activity can be pretty independent for your rascal, depending on age and ability.

Next, my rascals chose their paint tool; they both selected sponge brushes. My 4 year old understands how to “dab” with a sponge brush while my 2 year old “swipes” it like a standard paint brush. Word to the wise: offer one color of paint at a time, otherwise you’ll end up with a mostly brown canvas.

With a vast amount of freedom (in order to best encourage self-expression), my rascals used their sponge brushes to paint their canvases. My role was to encourage using one color at a time, provide nickel-size blobs of paint on their palettes (AKA plates), and help rinse the brushes & sponges after each use.

We allowed the wet canvases to sit undisturbed overnight.

Abstract Art for Kids on Hello Rascal Kids. Family Lifestyle website for parents and kids. Arts ideas for kids.

The next morning, they used their little fingers to pull the tape from their canvases. Voila! Their masterpieces were revealed!

Abstract Art for Kids on Hello Rascal Kids. Family Lifestyle website for parents and kids. Arts ideas for kids.

Shop these supplies on Amazon:

Canvas
Washable Paint
Sponge brushes

*A drop cloth is super helpful because paint and paint brushes do not always stay on the canvas. Grab a drop cloth from your local art or hardware store and use it again, and again, and again.

Happy Art Days!

Written by Brandi Stanton, mother of 2 rascals, ages 2 and 4.


Shop This Post

How to celebrate milestones, birthdays, and other events while social distancing

How to celebrate milestones, birthdays, and other events while social distancing on Rascal Kids. Family Lifestyle website for parents and kids. Party ideas for kids.

As social distancing guidelines are extended, many of us have found ourselves in a bit of a bind: how do we celebrate our rascals’ upcoming milestones, birthdays, and other events while social distancing? One of my rascals, Ben, is celebrating his 5th birthday soon. Our family has been hard at work brainstorming ways to make Ben feel special, celebrated, and loved. Here are some of the ideas we’ve come up with - we hope you can adapt these ideas to celebrate your own rascals!

Idea 1: Whip up your rascal’s favorite sweet treat or dinner. It’ll be exciting to shake things up a bit in the kitchen and create something special! Whether you’re pulling out a tried-and-true recipe or DIY-ing your rascal’s favorite restaurant meal, they’re sure to enjoy indulging in a meal or treat made with a parent’s love. On your next grocery run, be sure to include the ingredients to plan a special dinner or dessert for your rascal. Here’s an article that includes copy-cat recipes of restaurant fan-favorites!

You could also schedule a delivery or pick-up of a sweet treat from a local small business. We like Cookie Crave and I Like Pie. We’re sure your little ones will be excited to devour one of their favorites on their special day!

Idea 2: Schedule a delivery of something your rascal is loving at the moment! For our little Ben, it is definitely BeyBlades. He absolutely cannot get enough of collecting and battling with them. If your rascal loves to read, Kid Curated Books has a ton of boxes your bookworm is sure to be excited about! Curate and Co and Gratitude Collaborative offer the option to customize a gift box for your loved one or choose from pre-curated gift boxes.

Idea 3: Create a scavenger hunt for your rascal with a special prize at the end, whether it’s their birthday present, graduation gift, or an springtime surprise! This would be a perfect way to include siblings to share in the fun, if applicable.

Idea 4: Just because you can’t have a gathering doesn’t mean you can’t throw a party! Set up an at-home surprise for when your rascal wakes up, complete with decorations, themed tableware, and more! Our friends at Oh Shiny and Bonjour Fete have endless options for seasonal décor, party bundles, balloon bouquets, banners, and more! Set up a photo station to commemorate your loved one’s special day. Cover their bedroom door with balloons. Decorate the house or yard just as you would for a party.

Whatever you choose for your rascals, the most important thing is to make them feel special by celebrating in whatever ways you can, together. Share with your little ones just how much you love them, and they’ll be sure to remember this celebration as one of their favorites because of the love, care, and time that went into planning it.

Written by Head Rascal (Ngoc Nguyen Lay), mother of two rascals, ages 5 and 7.
Book Review: Smithsonian Makers Lab Outdoors

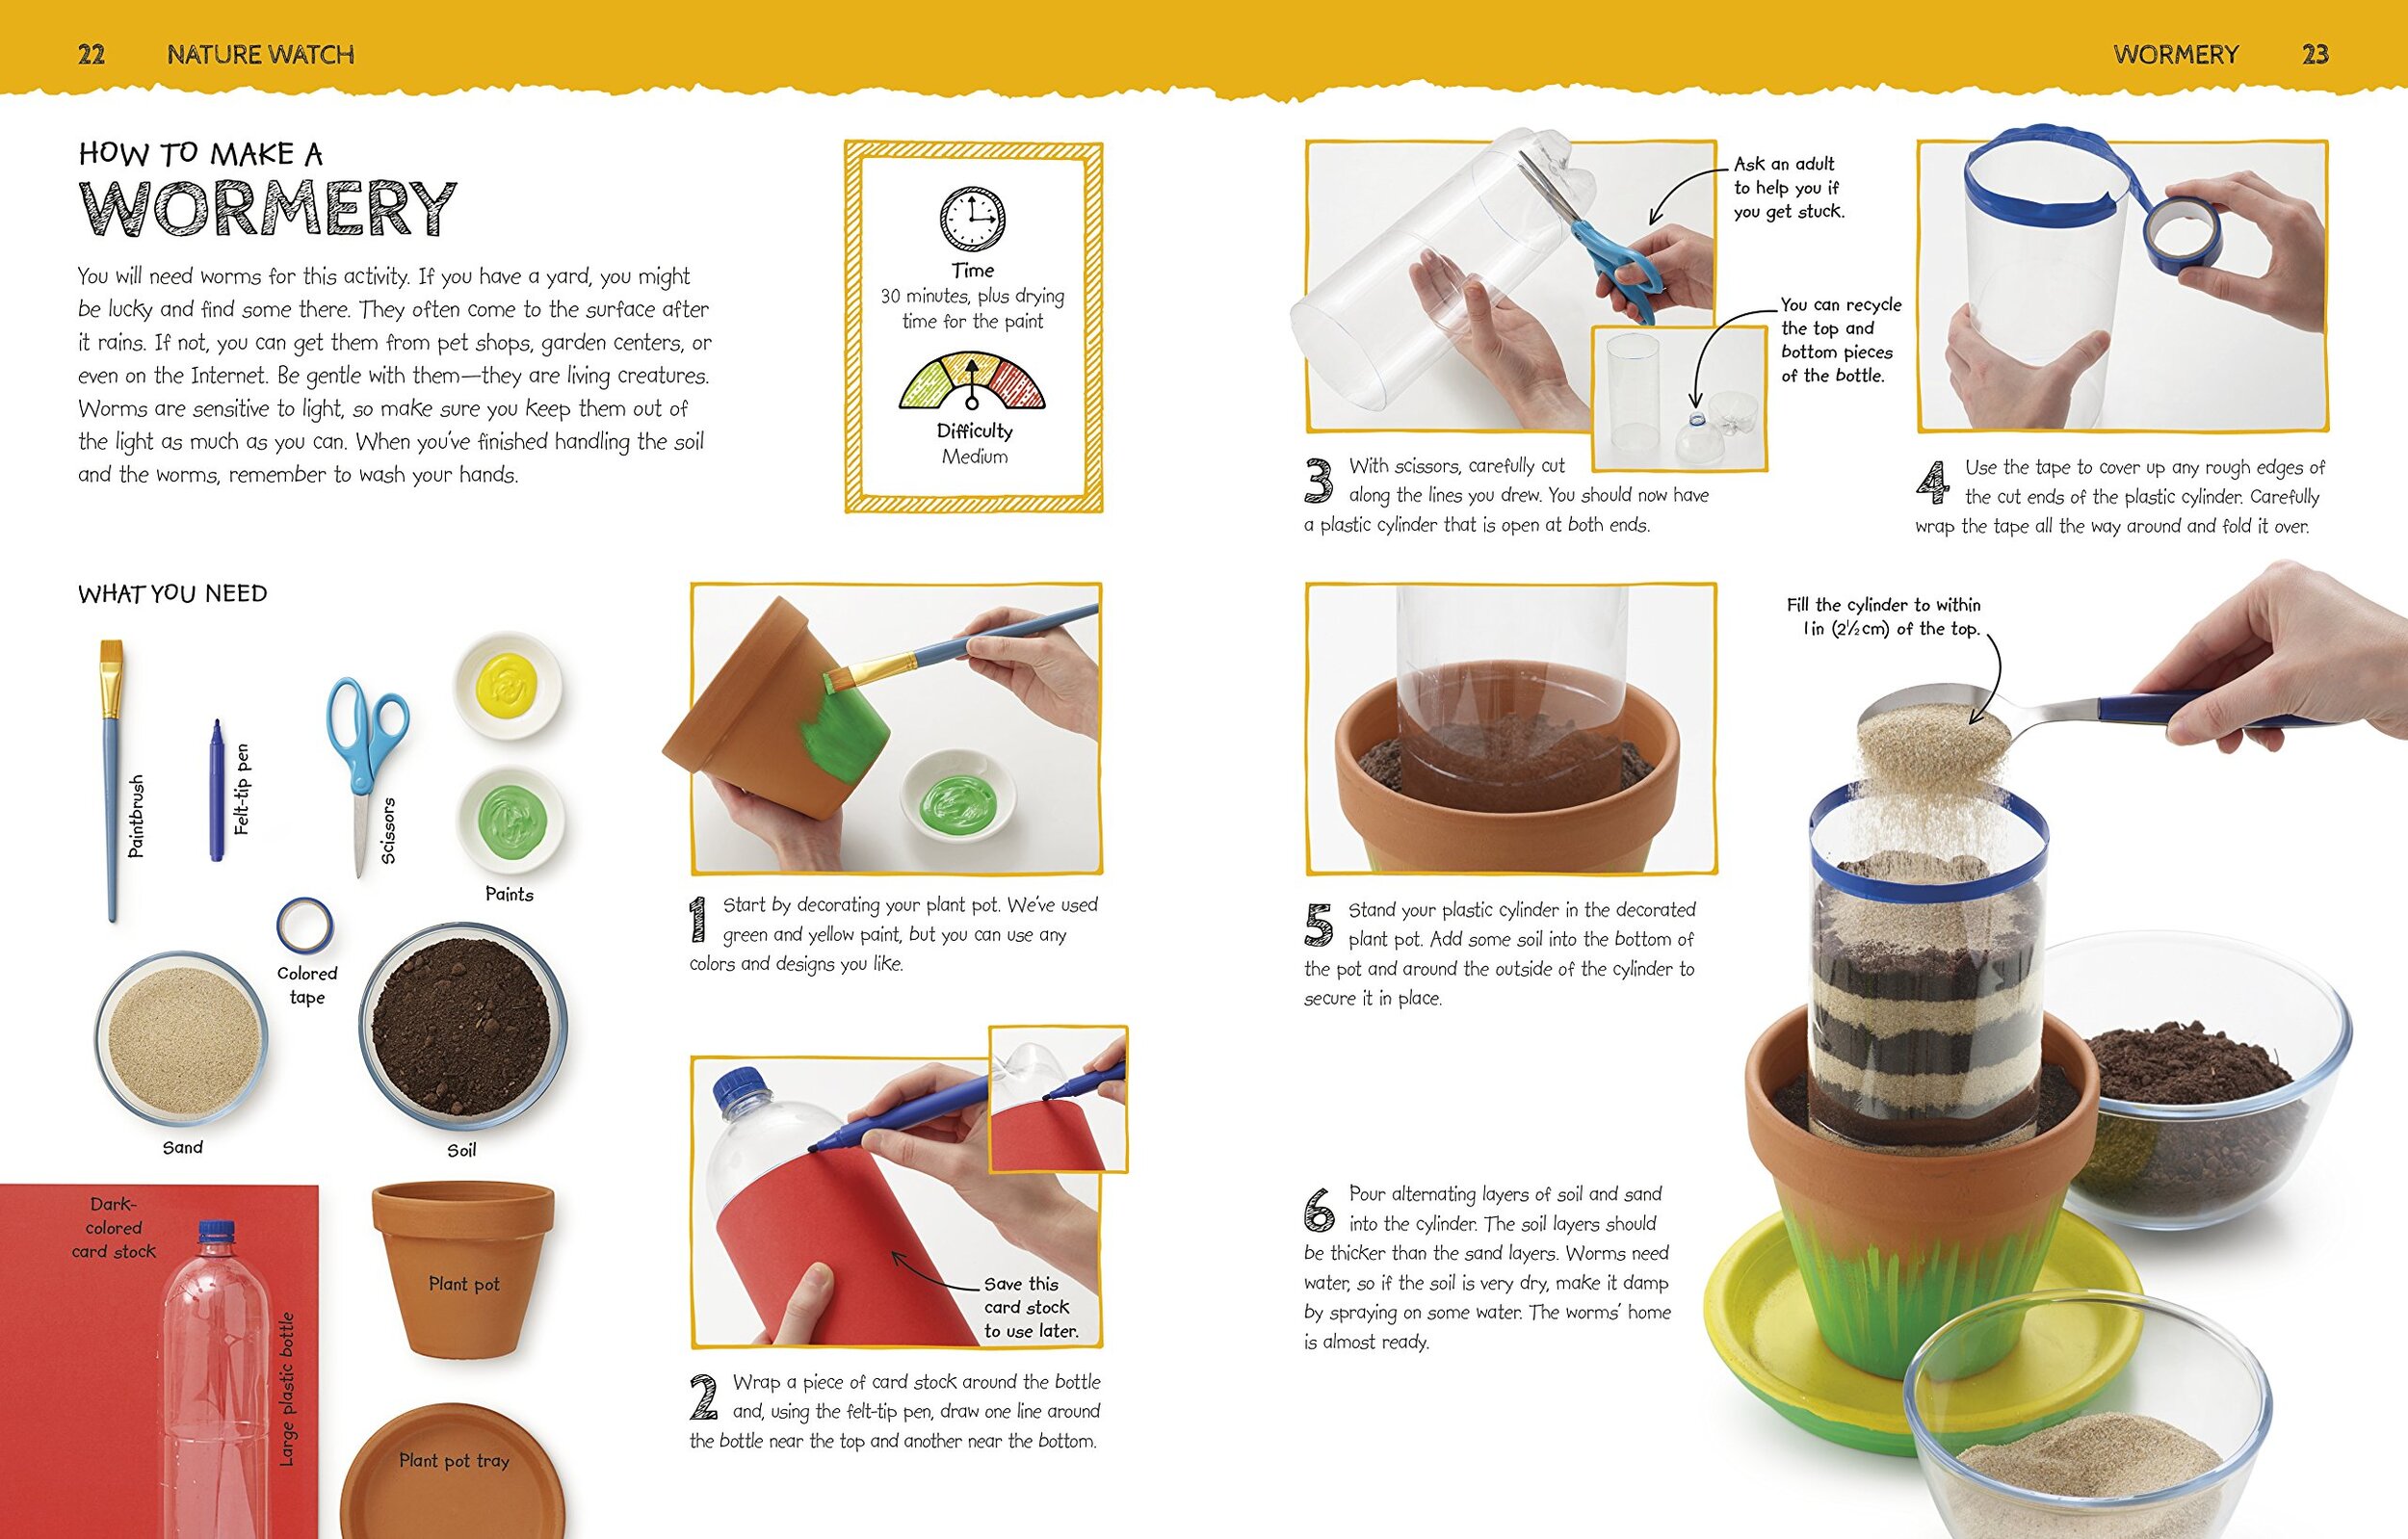
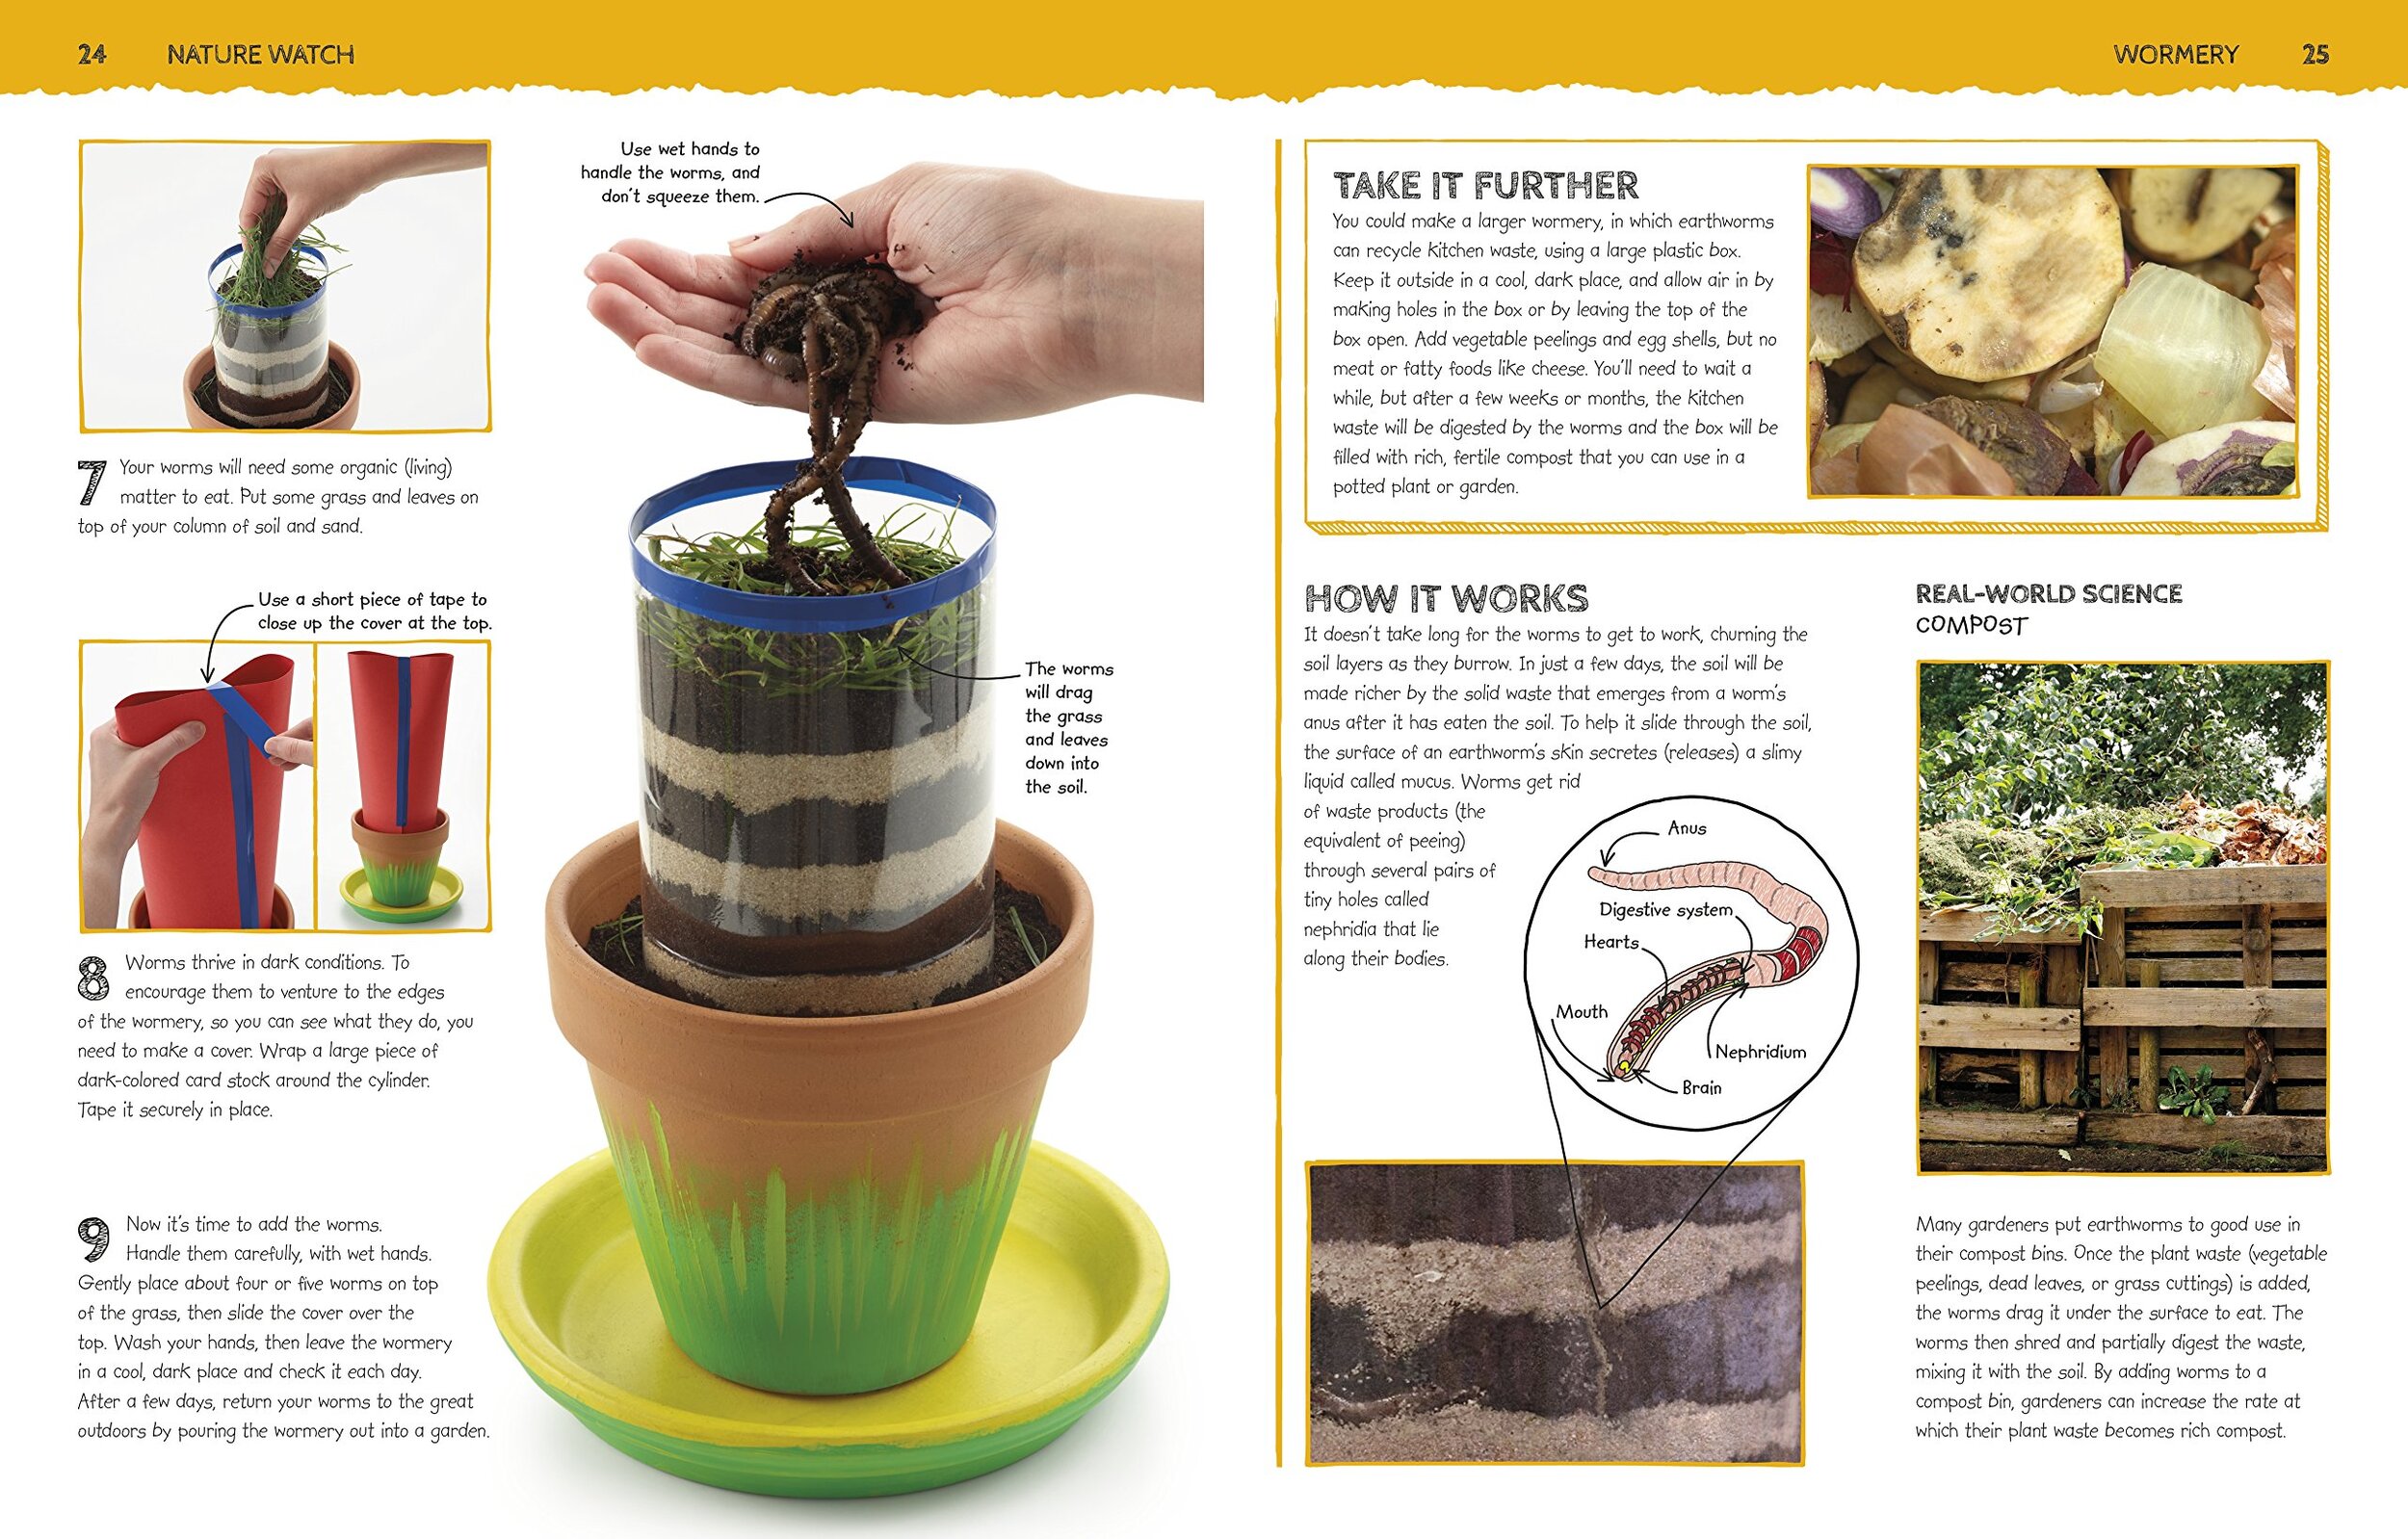
We purchased Makers Lab book at AJ’s school book fair last year. There are twenty-five outdoor science projects and experiments. We love fostering creativity through hands-on learning and this book is a great addition to our toolkit.

Projects focus on Earth and the environment, plants and animals, weather, water, and physics, bringing science-based learning home and into the backyard. Young scientists can build a wormery and learn about compost, crack rocks with water and learn about freezing and thawing, build and launch a water rocket to see Newton's laws in action, and much more.

With stunning photography, succinct step-by-step instructions, and detailed explanations, Maker Lab: Outdoors takes readers on a journey of discovery. This book is a must-have for every young scientist curious about their surroundings, as well as makers, crafters, and those who enjoy exploring the outdoors. There different books of the Smithsonian Makers Lab series; see below for a few of our favorites.

Written by Head Rascal (Ngoc Nguyen Lay), mother of two rascals, ages 4 and 7.


Shop This Post