Mother's Day Flowers
/Mother’s Day is a special day to show your mom how much she means to you. While there are many gifts that you can buy for her, nothing says “I love you” more than something made with love and care.
Creating flower arrangements for mom using store bought flowers is a thoughtful and easy way to show your appreciation this Mother’s Day. With just a few supplies and some creativity, you can create beautiful bouquets that are sure to make your mom feel loved and appreciated. With this guide from Better Home & Gardens, you will learn how to make the perfect flower arrangement for Mom that she will cherish forever!
Step 1: Decide on a flower arrangement design.
One way to guide your arrangement is to decide on a color scheme before shopping for flowers. Then, when you go to buy flowers, you know you're picking up colors that work well together. Monochromatic schemes, which show off the variety of different hues of the same color, can be striking. For another high-impact floral design, try complementary colors that will pop against each other.
Step 2: Cut and prepare flowers.
After arriving home with your flowers, you might be tempted to begin arranging right away. However, there are some important steps to take to prepare flowers and make them last longer. First, remove extra leaves and damaged petals from stems. If there are unwanted buds on the same stem as a full flower, cut those off as well. Once the stems are cleaned up, make a fresh diagonal cut to the bottom of the stems. Put the trimmed stems into a vase or bucket of water (this doesn't have to be your final vessel) with cut flower food.
Step 3: Choose a vessel.
When selecting a vase or other container for your arrangement, consider the type of flowers you're using. Tulips typically require the support of a straight-sided vase, for example, while tall branches or top-heavy flowers might need a weighted vessel. Apart from traditional vases, we likes to house flower arrangements in woven baskets for added natural texture. To hold water and keep the flowers in place, line the basket with a plastic container (shop your kitchen cabinets or repurpose plastic water bottles and other packaging). If necessary, fill in with moss around the container to disguise the plastic inside the basket.
Step 4: Prepare your flower vase.
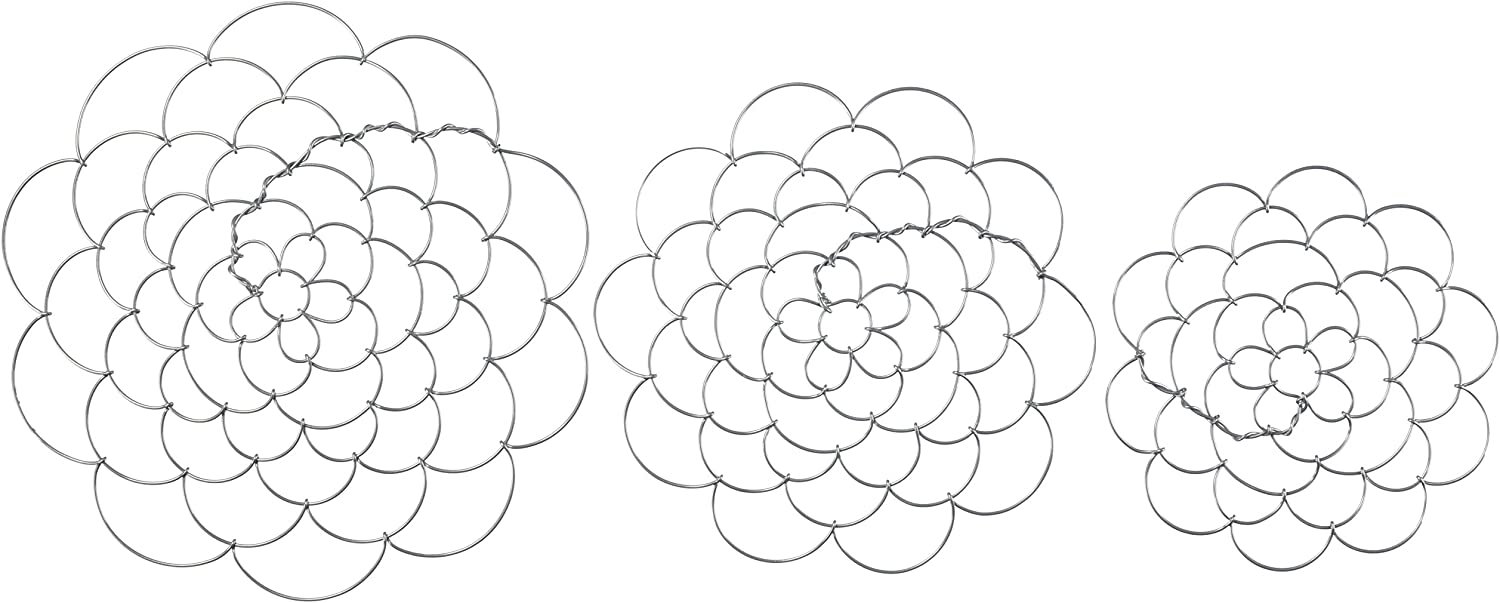
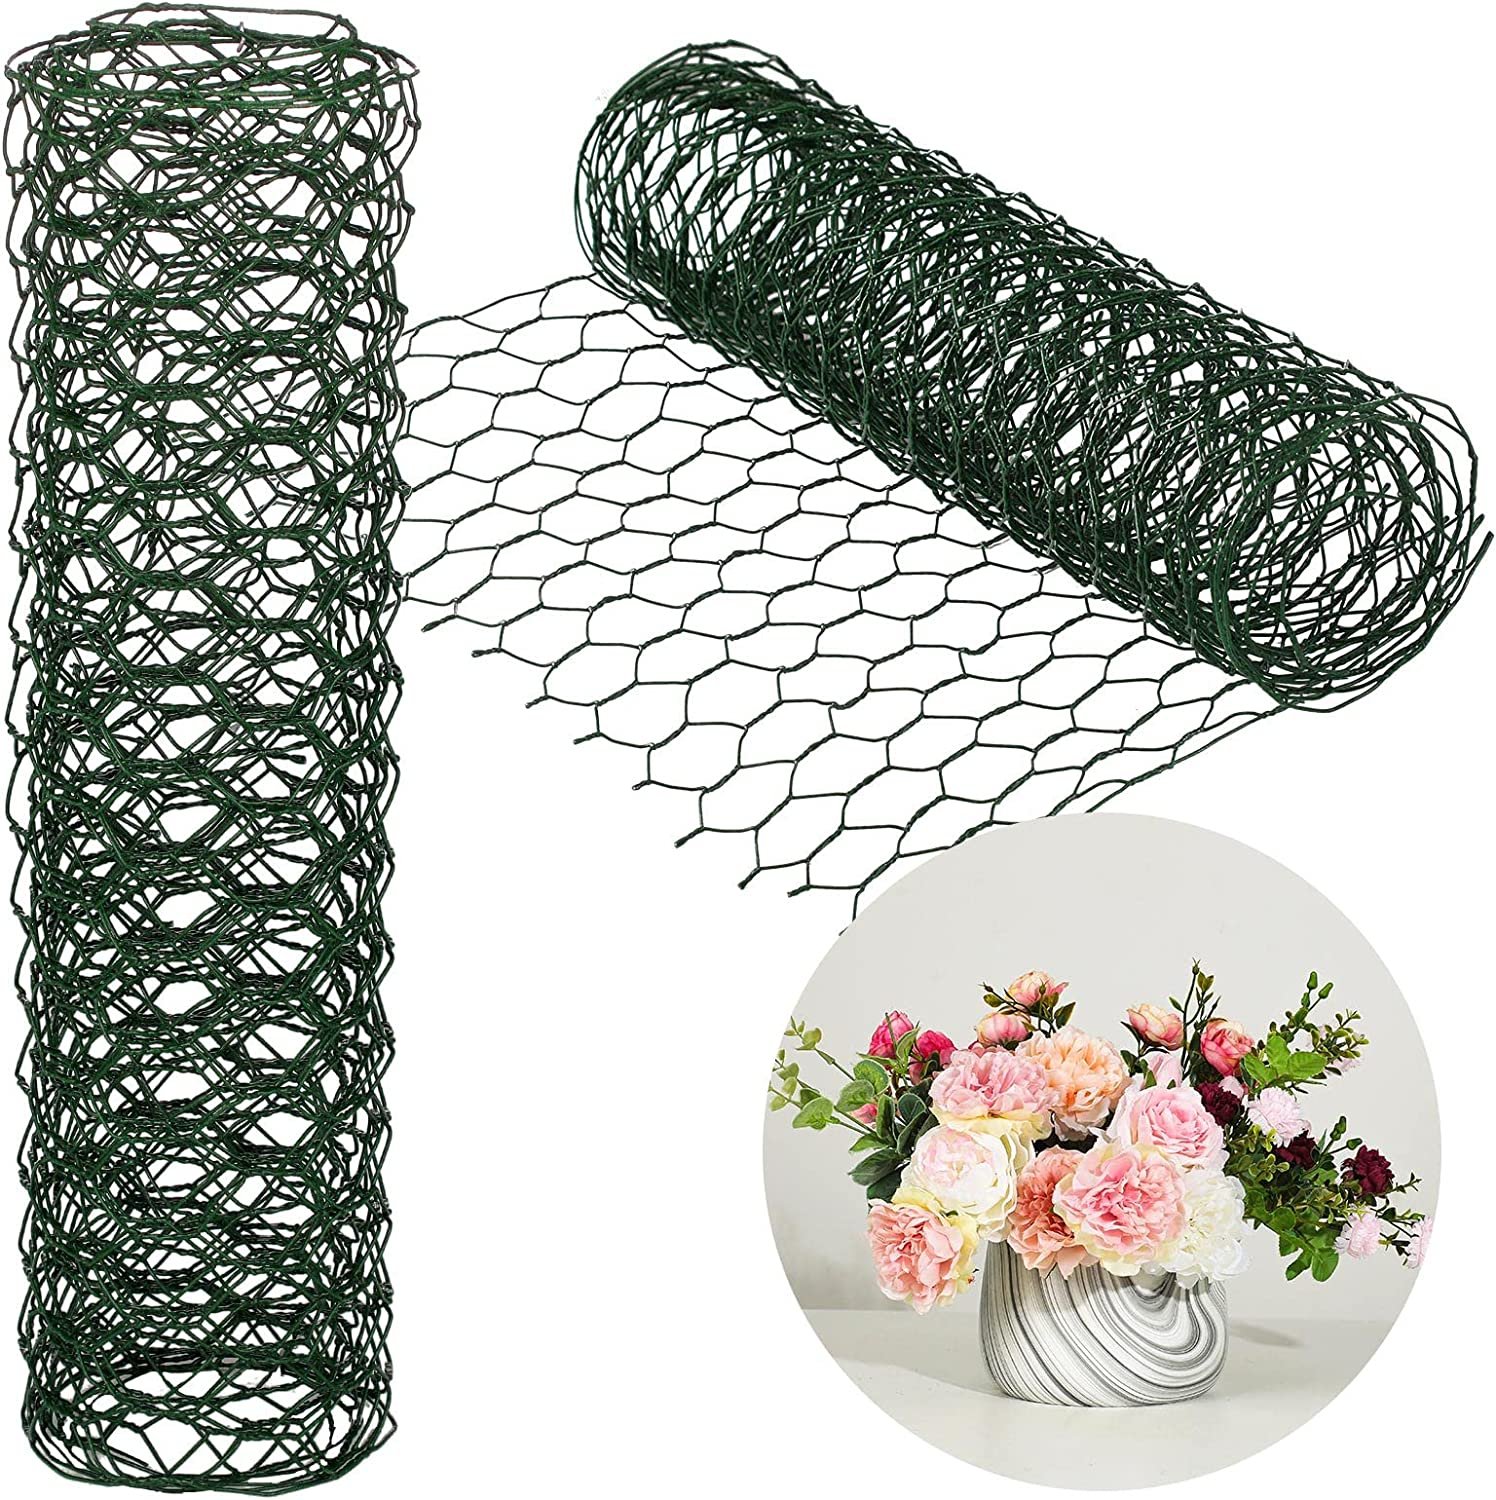
The most important flower arrangement technique doesn't actually involve the flowers—it's all about the vessel you put them in. If the flowers don't have a sturdy foundation, they won't stay in place and your arrangement will end up falling apart. To make sure flowers stay in place, create a grid of floral tape over the mouth of the vase. Stick the stems through the holes of the grid to keep them in place. You can also purchase a floral frog, which is a vessel insert with pins for stems to be stuck into. You can even DIY a floral frog with a small section of chicken wire bent into a ball.
Step 5: Create a base with greenery.
The best way to arrange flowers is to start with greenery as a base. Eucalyptus, ivy, and fern fronds are good greenery go-tos. Use the stems of the greenery to create an inverted triangular shape. This guarantees your arrangement will have both a horizontal and a vertical presence. Also, be sure to recut stems before adding them to the vase.
Step 6: Add focal flowers.
Focal flowers are usually the largest blooms or those with an unusual color or texture. Make sure to add in odd numbers for a more natural (not symmetrical) look. Don't place the focal flowers so they are sticking straight out on the sides: they will look droopy and heavy, rather than strong and perky.
Step 7: Add filler flowers.
Add smaller flowers and textural elements in the arrangement to fill around the focal flowers. Again, don't place all of the supporting flowers straight up or to the sides. You can think of the shape of the arrangement as a dome, and you need to fill in all angles of that dome for it to look complete. Combine smaller flowers in groups of three or five to create clustering, similar to what happens in nature.
Step 8: Finish your flower arrangement.
Finish the design with floaters or delicate blooms like baby's breath, sedum, or yarrow. Put these in last so they don't get squished or buried by heavier blooms. Before displaying, give your finished flower arrangement a light spritz of water to mimic the look of fresh dew. Refill the vase with water as needed to keep the flowers hydrated and fresh.
It’s easy to make your own flower arrangement and personalize it for the mother figure in your life. We hope you can use this idea to create something special this Mother’s Day.
Written by Head Rascal (Ngoc Nguyen Lay), mother of two rascals, ages 8 and 10. Shared from Better Homes & Garden.


